The Carenado Cessna S550 Citation
Introduction
Wikipedia states that the Cessna Citation family is Cessna’s business jets line. The 7,000th Citation was delivered on June 27, 2016, forming the largest business jet fleet. The first Citation was put into service in 1972 and more than 35 million flight hours have been logged since. The Cessna Citation II (Model 550) series of Citation jets are light corporate jets built by Cessna. Stretched from the Citation I, it was announced in September 1976, first flew as a single pilot version on 31 January 1977 and was certified in March 1978.

The improved S/II, two pilot version, first flew on 14 February 1984. The Citation II (Model 550) stretches the Citation I fuselage by 1.14m (3ft 9in), increasing passenger seating capacity to 10 and also increasing baggage capacity. Wingspan was increased and its larger fuel capacity and more powerful, 2,500 lbf (11 kN) Pratt & Whitney Canada JT15D4 engines provided higher cruise speeds and longer range.
Variants
Citation II (Model 550) a larger stretched development of the Model 500 first produced in 1978. Initially replaced by the S/II in production, but was brought back and produced side-by-side with the S/II. The T-47A (Model 552) is the military designation of the Citation II. The United States Navy purchased 15 T-47A aircraft as radar system trainers. The Citation II/SP (Model 551) single-pilot operations Citation S/II (Model S550) incorporated a number of improvements, especially an improved wing and is the basis for this model. The Citation continued to be developed after the S550 Citation II and the Citation Longitude made its first flight in October 2016 and is expected to enter service late 2018, early 2019. The Citation II has also been operated by military forces around the world.


Installation and Documentation
Download speeds depend on internet connection but the process is straight forward and once downloaded the aircraft folder should be put in the users aircraft file. Once selected in the X-Plane flight configuration page the model loads immediately and the box to enter the serial number, provided with the download, appears. Once the serial number is entered the model is reloaded and its ready to fly. It is delivered with a default livery and six others.
The S550 file contains 24 items one of which is the documentation folder. This in turn contains 11 items. The copyright document, version history and credits are included. There is a screen shot document clearly illustrating recommended joystick settings and another to show graphics settings.
The other documents are PDFs and all relate to aircraft operation and include Electronic Flight Information System and Autopilot, S550 Normal Procedures, S550 Emergency Procedures, S550 Performance Tables, S550 Reference (lists speed limitations), and the X-Plane FMS Manual. These documents contain a considerable amount of detailed information and allow the user to fly the model at many different levels of accuracy.
The checklists provided in the procedures PDFs are comprehensive and thorough covering all aspects of flight including those for issues before and after flight. All aspects are explained clearly and in a helpful manner. I have never flown in a Citation and a manual for the model itself, especially a cockpit diagram would be really useful, although the illustrations included in the PDFs do assist with familiarisation with the aircraft.
Exterior Modelling
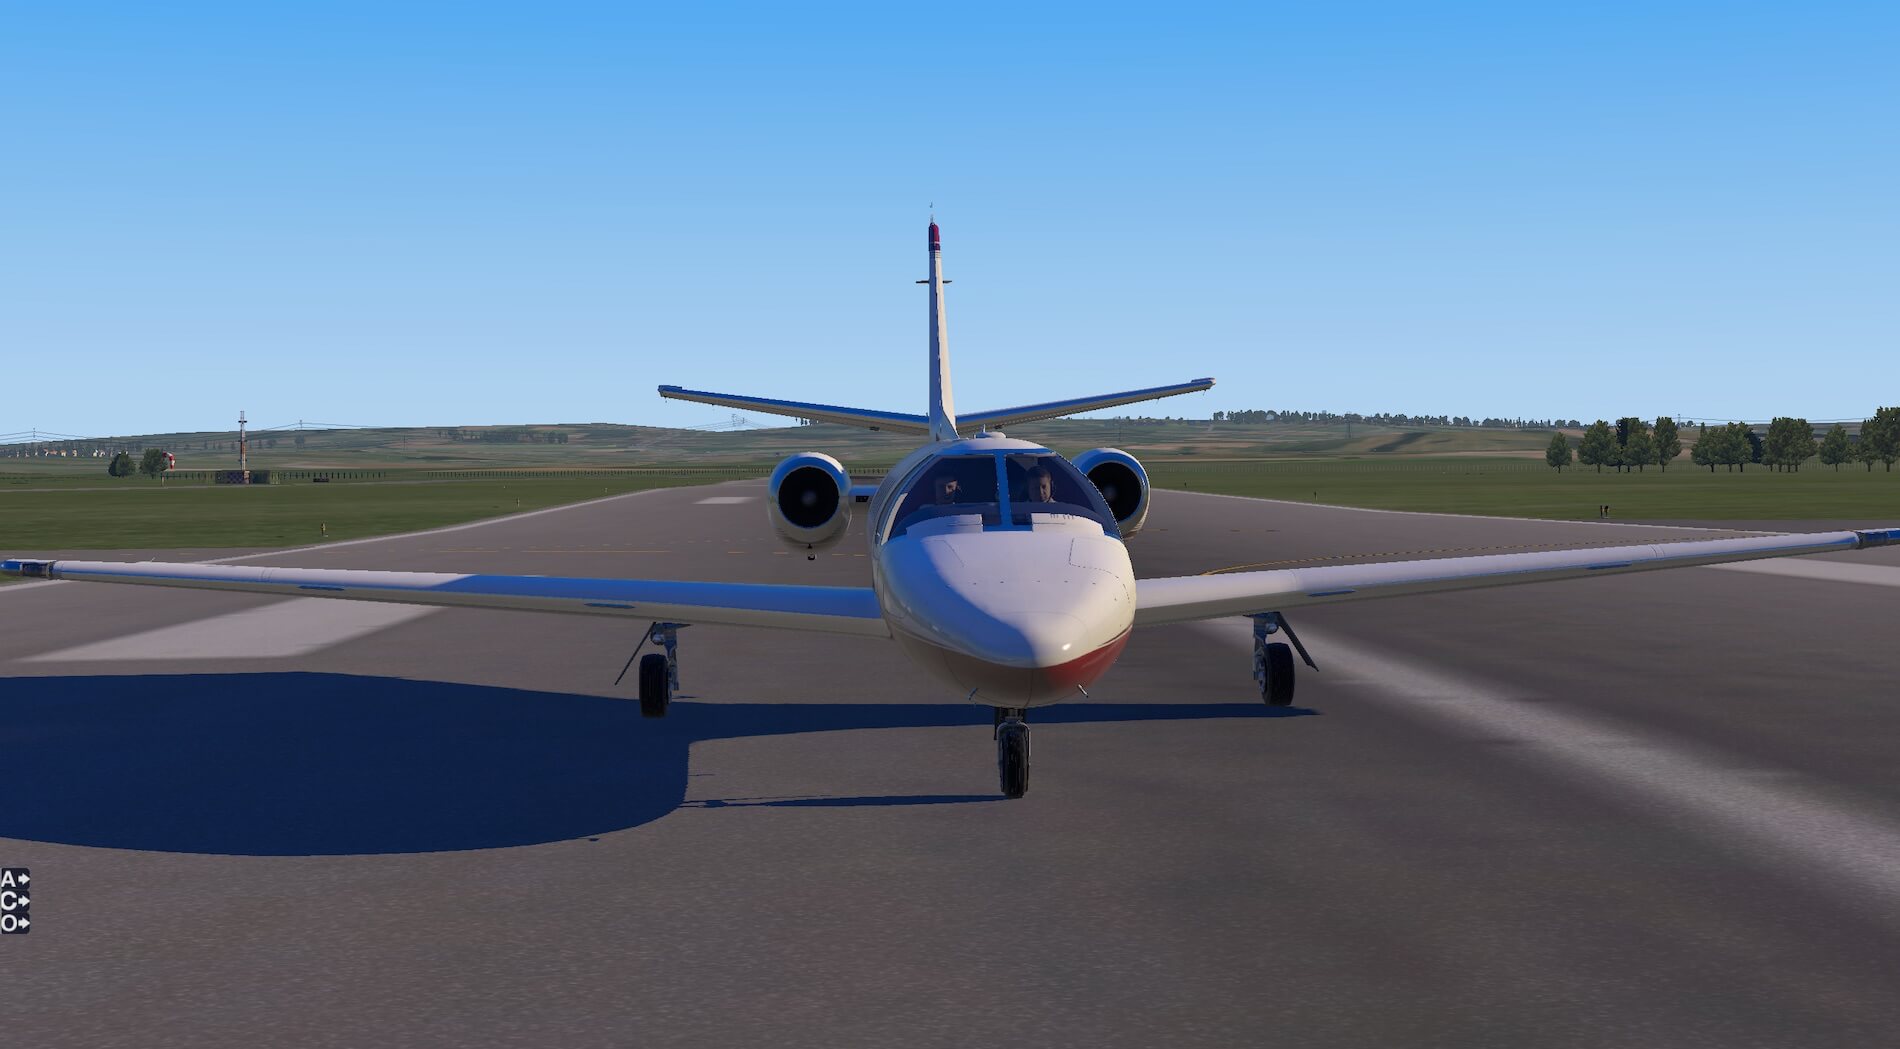
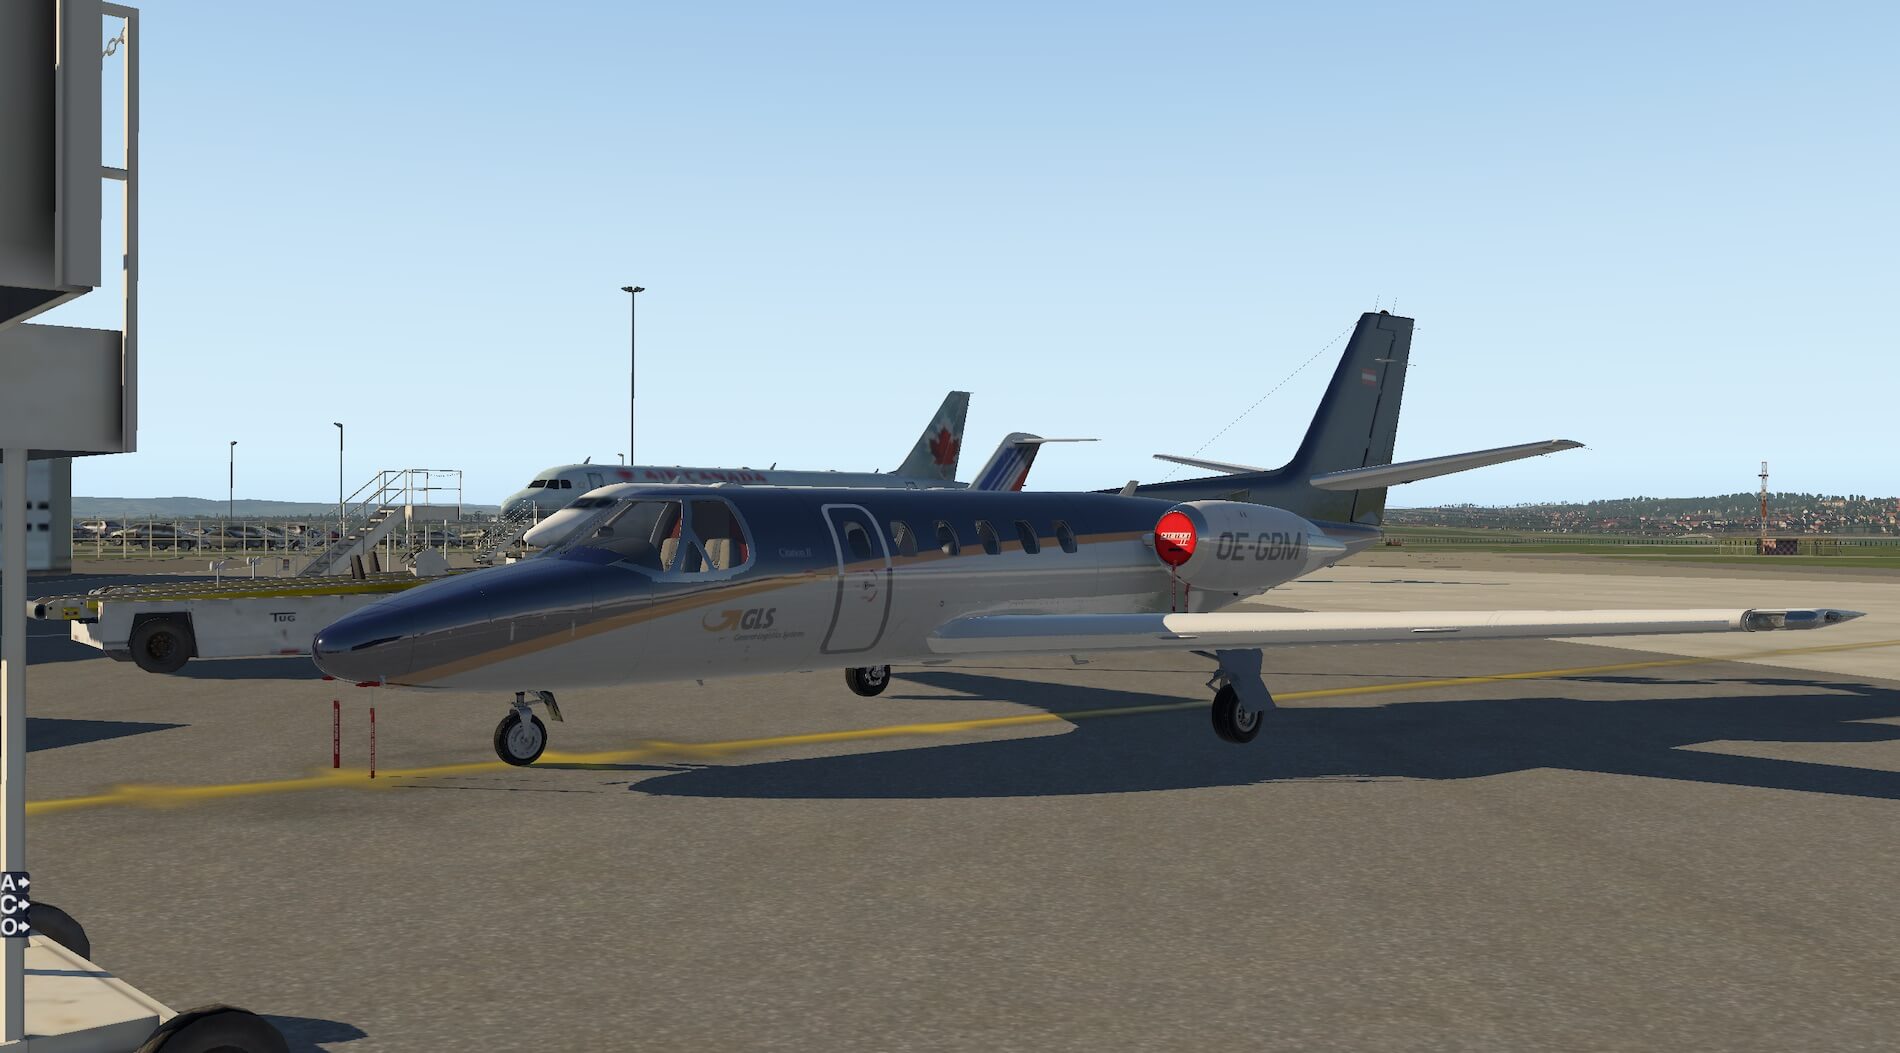
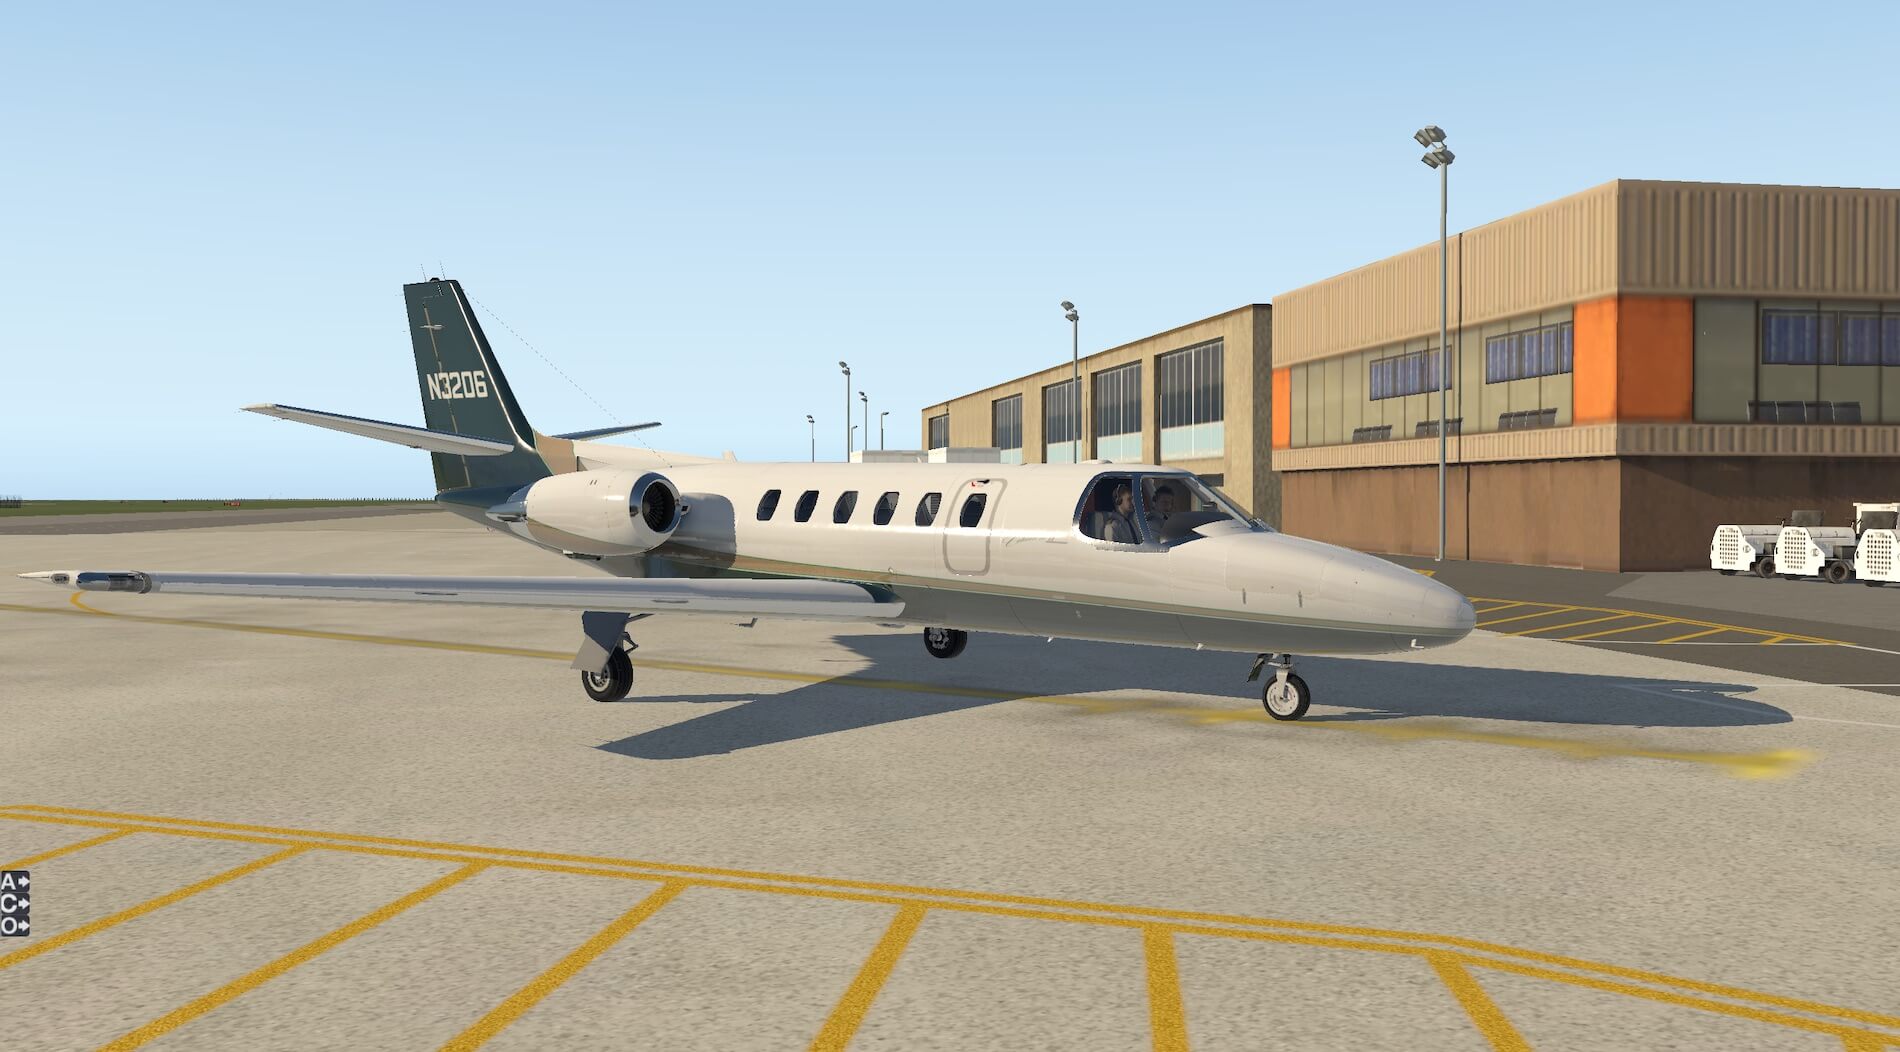
I approached the aircraft on the ground and followed the exterior check list in the normal procedures PDF, whilst understanding it is not possible to carry out every item used for the real aircraft. The initial approach was to the left nose of the model. Immediately the quality of the colour and surface detail of the model was evident.
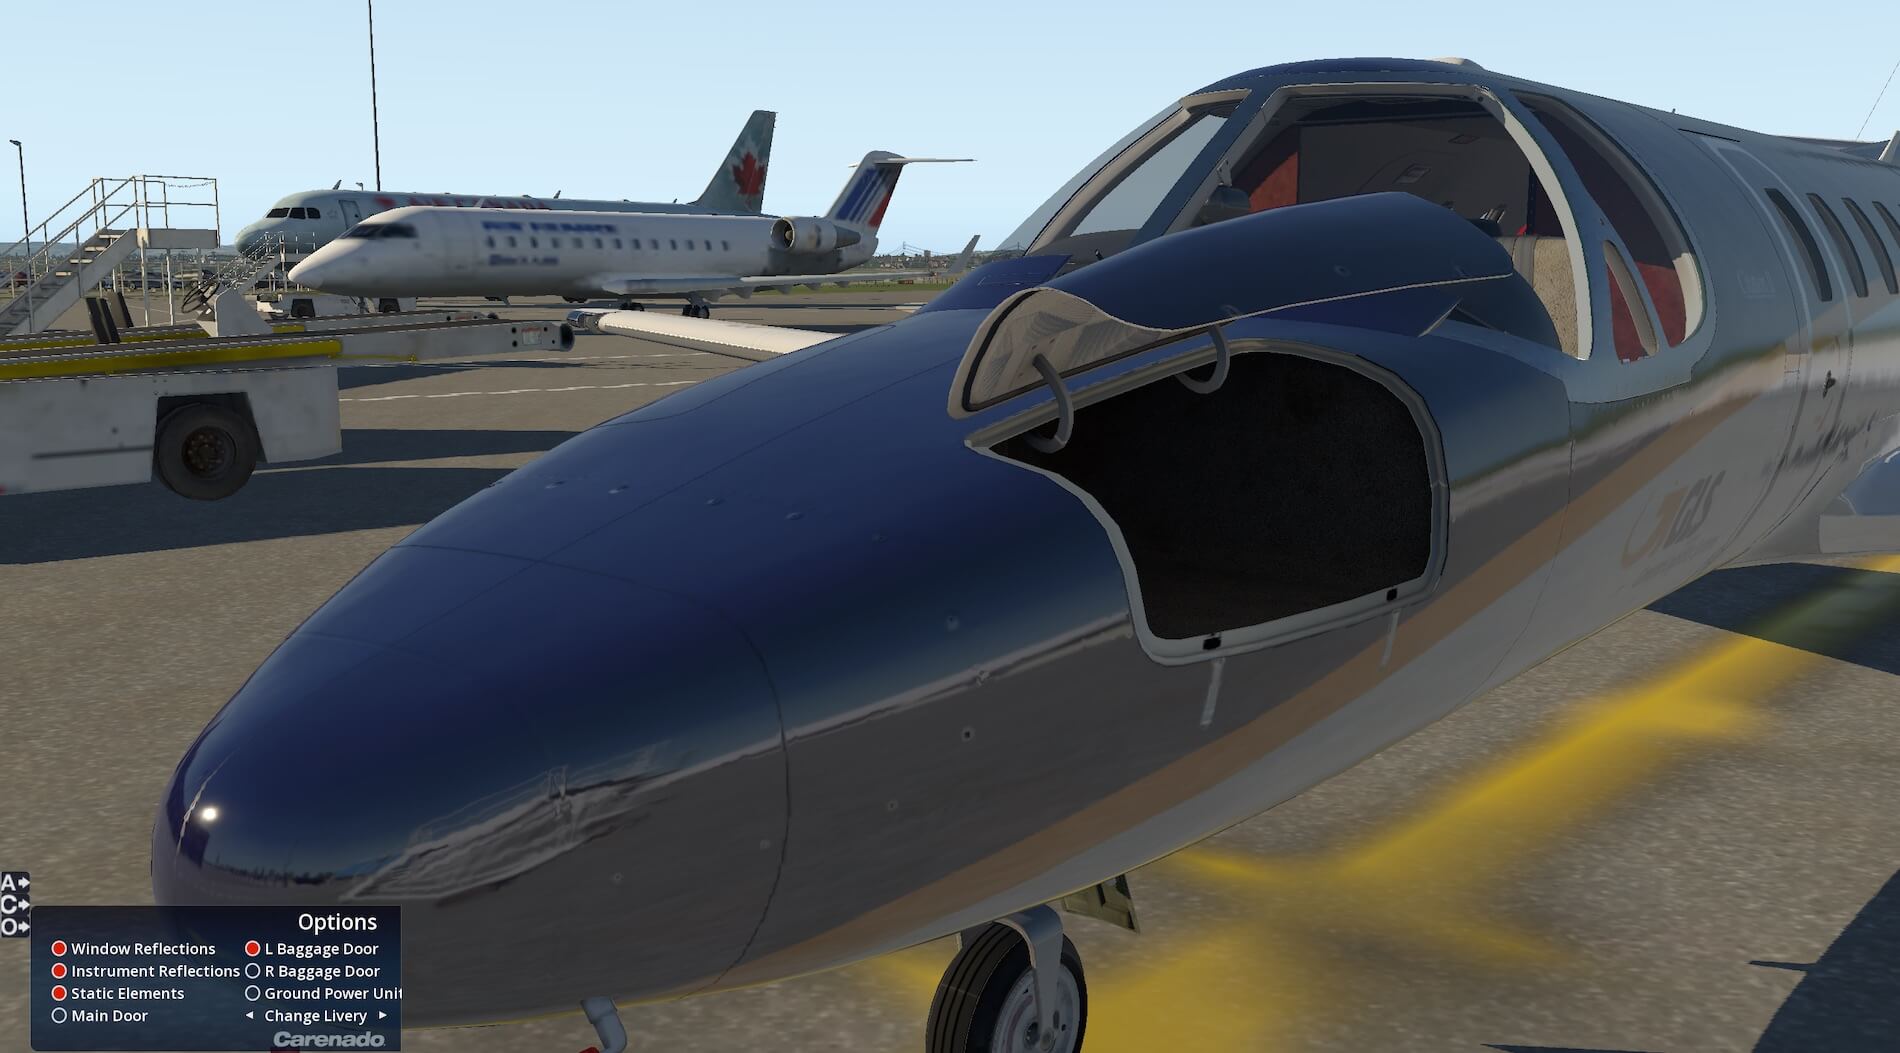
Light and reflections worked with the aircraft in a very convincing fashion, with scenery objects clearly and correctly reflected in the paint work. Panel markings and fixings are modelled in detail. The first check was the left nose baggage door and this can be operated by use of Carenado’s on screen menu to the bottom left of the screen, using the options section. The door opens smoothly when required with all mechanisms visible and a clear view of the inside of the baggage area showing a textured and modelled interior.
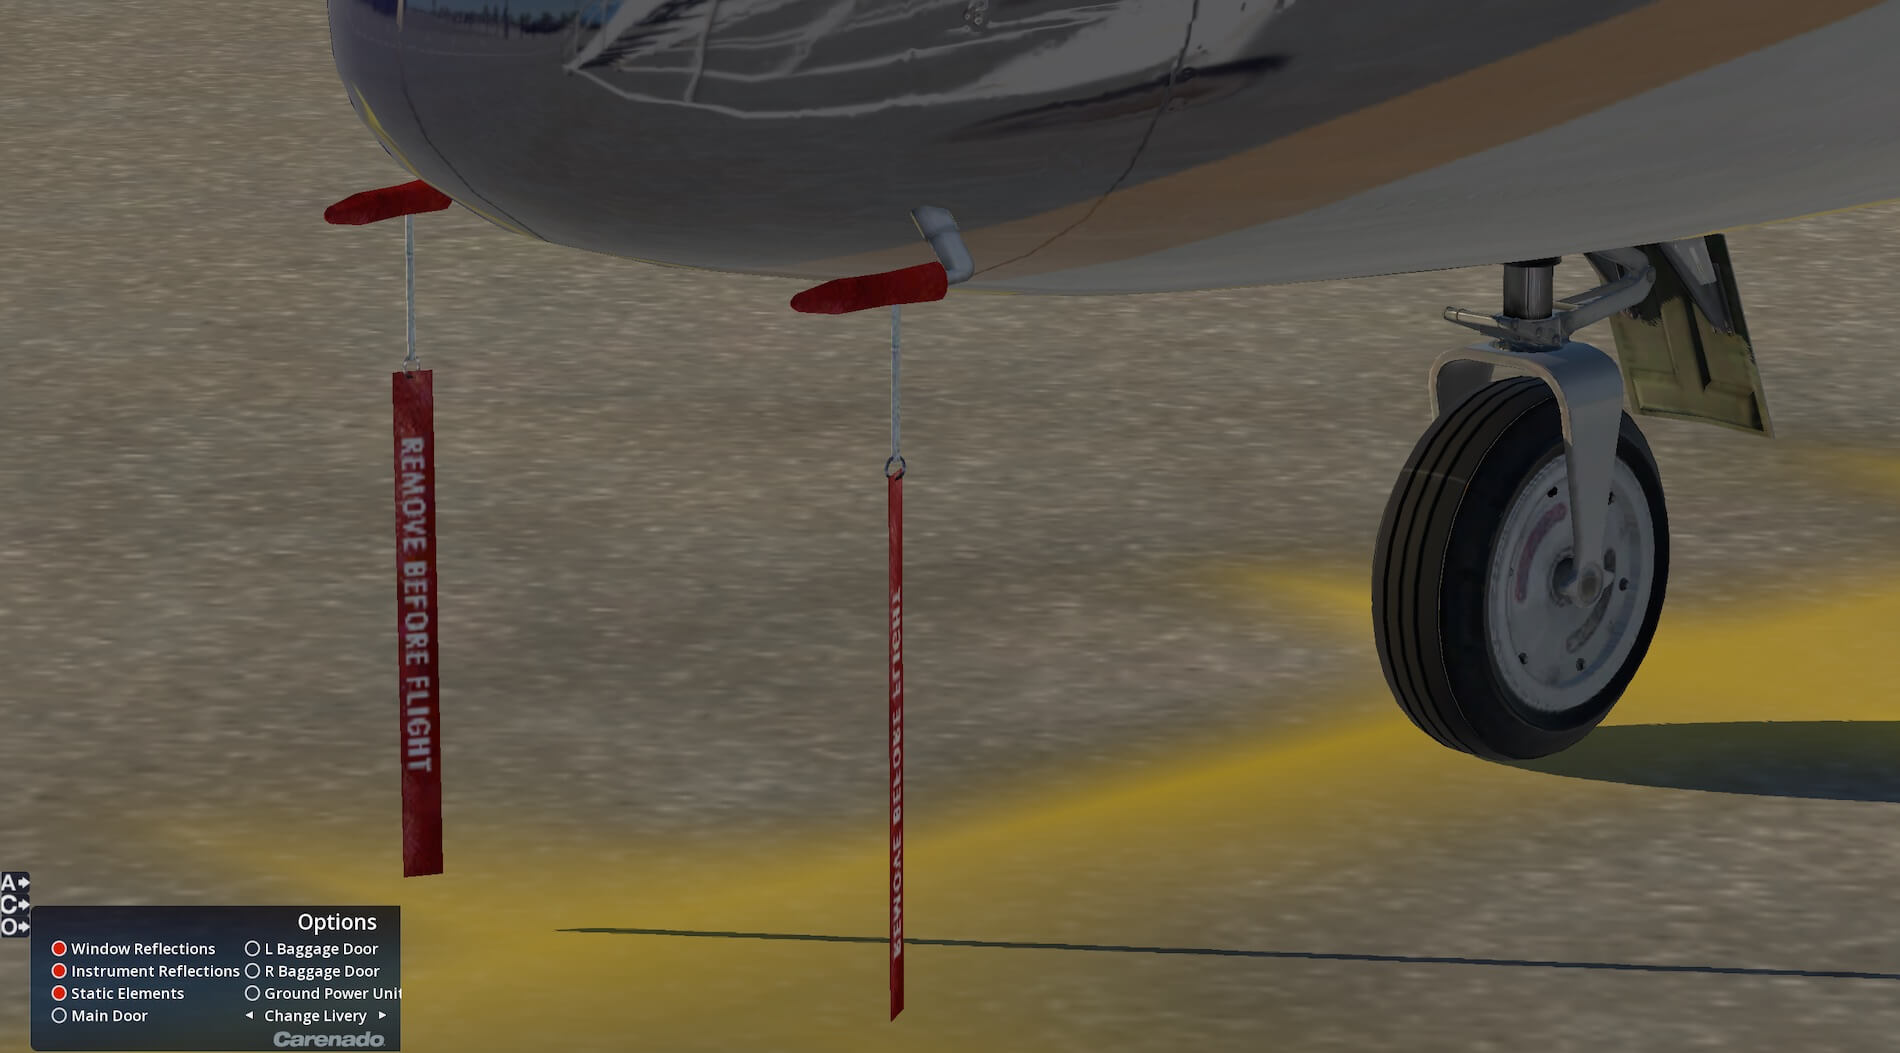
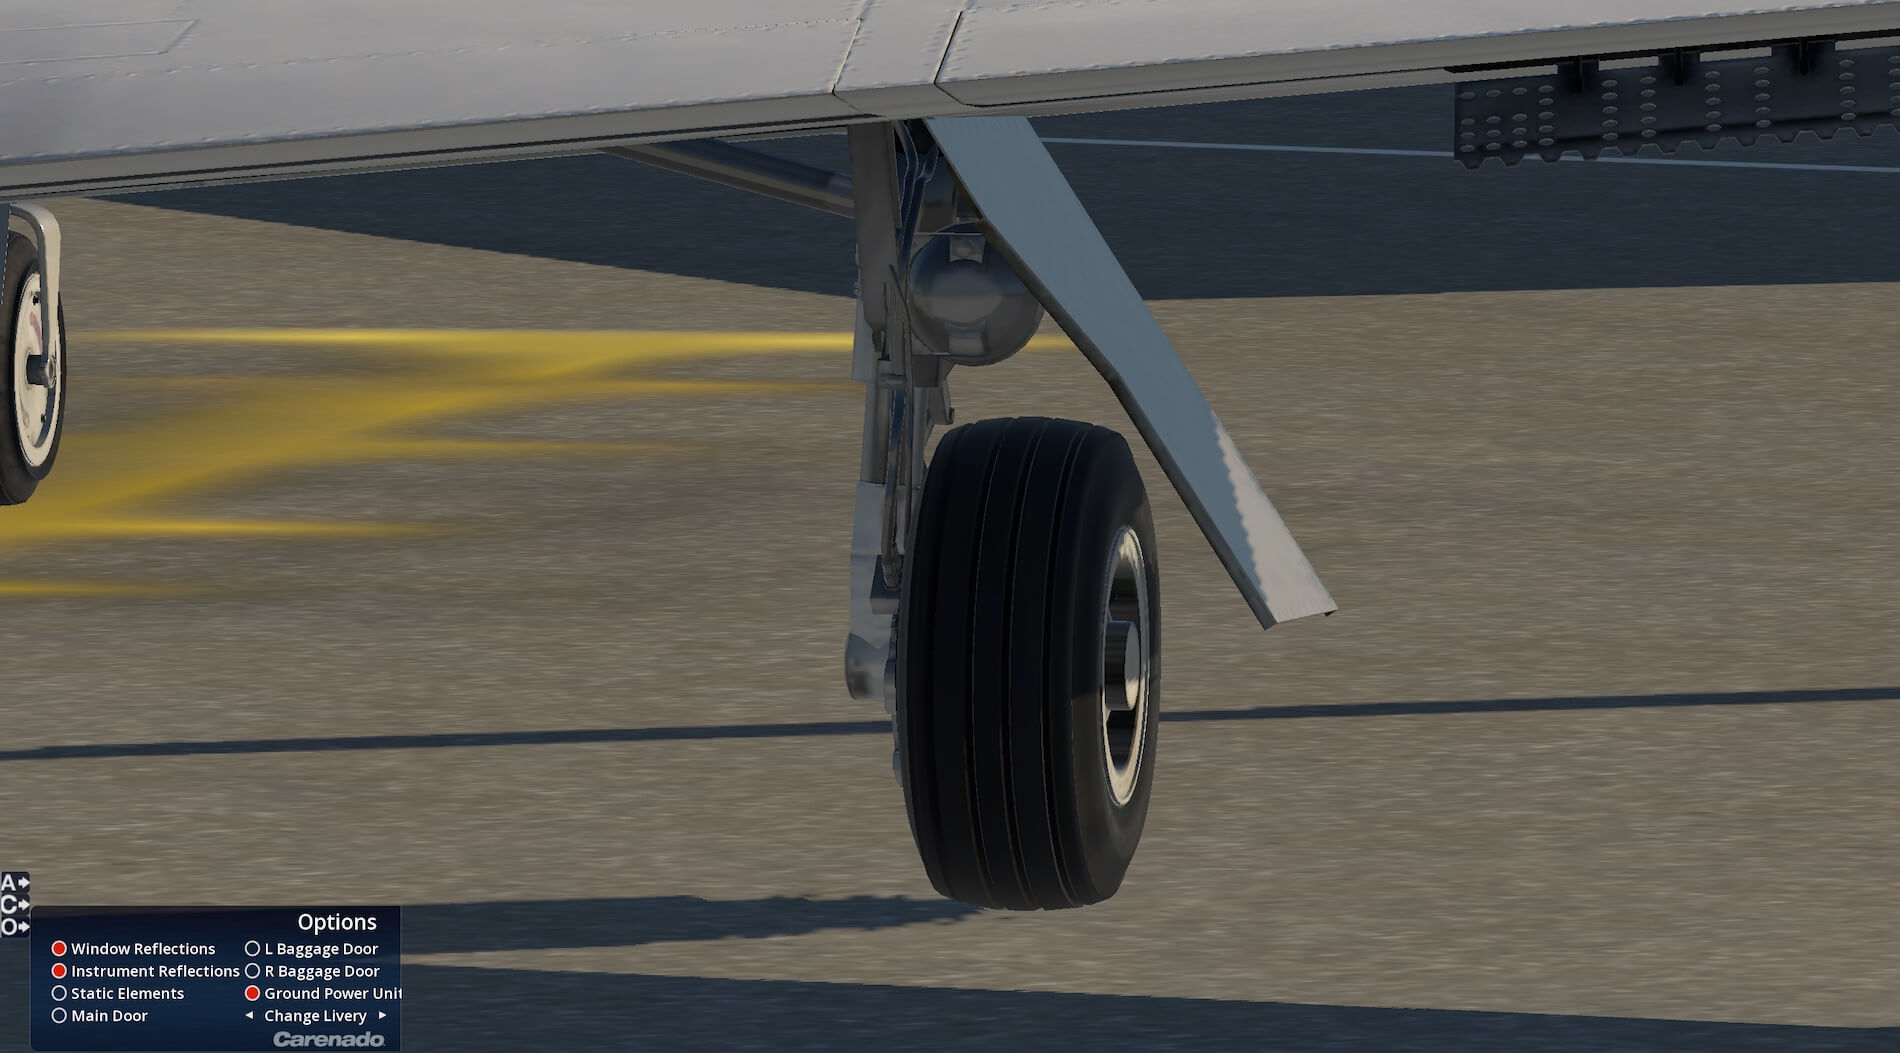
In accordance with the checklist I ensured the baggage door was closed and the accompanying sounds confirmed this. The approach also allowed an initial view into the cockpit area which can seen through the windscreen and the same menu allowed the window reflections to be added or removed. The next item was to check the nose wheel and this is modelled in detail with clear tyre tread patterns, wheel fixings, strut mechanisms and shadow and colour on the inside of the undercarriage door.
Colours vary from the tyre colour, flat white wheel and metallic reflective suspension mechanism. These all work together very well and create a very realistic undercarriage.
The checklist moves around to the right nose. The first item on the list can actually complete is to check the right baggage door. This is very similar to the left one with the same quality applied to the interior. The same menu allowed me to open and close the door to comply with the checklist.
The detail on the undercarriage continued and on this livery the colour and detail remained impressive with signage and logos presented crisply and clearly. I could see more detail in the cockpit, through the windscreen, and this also looked detailed and convincing. Light and colour are also of a high quality however the model is viewed.


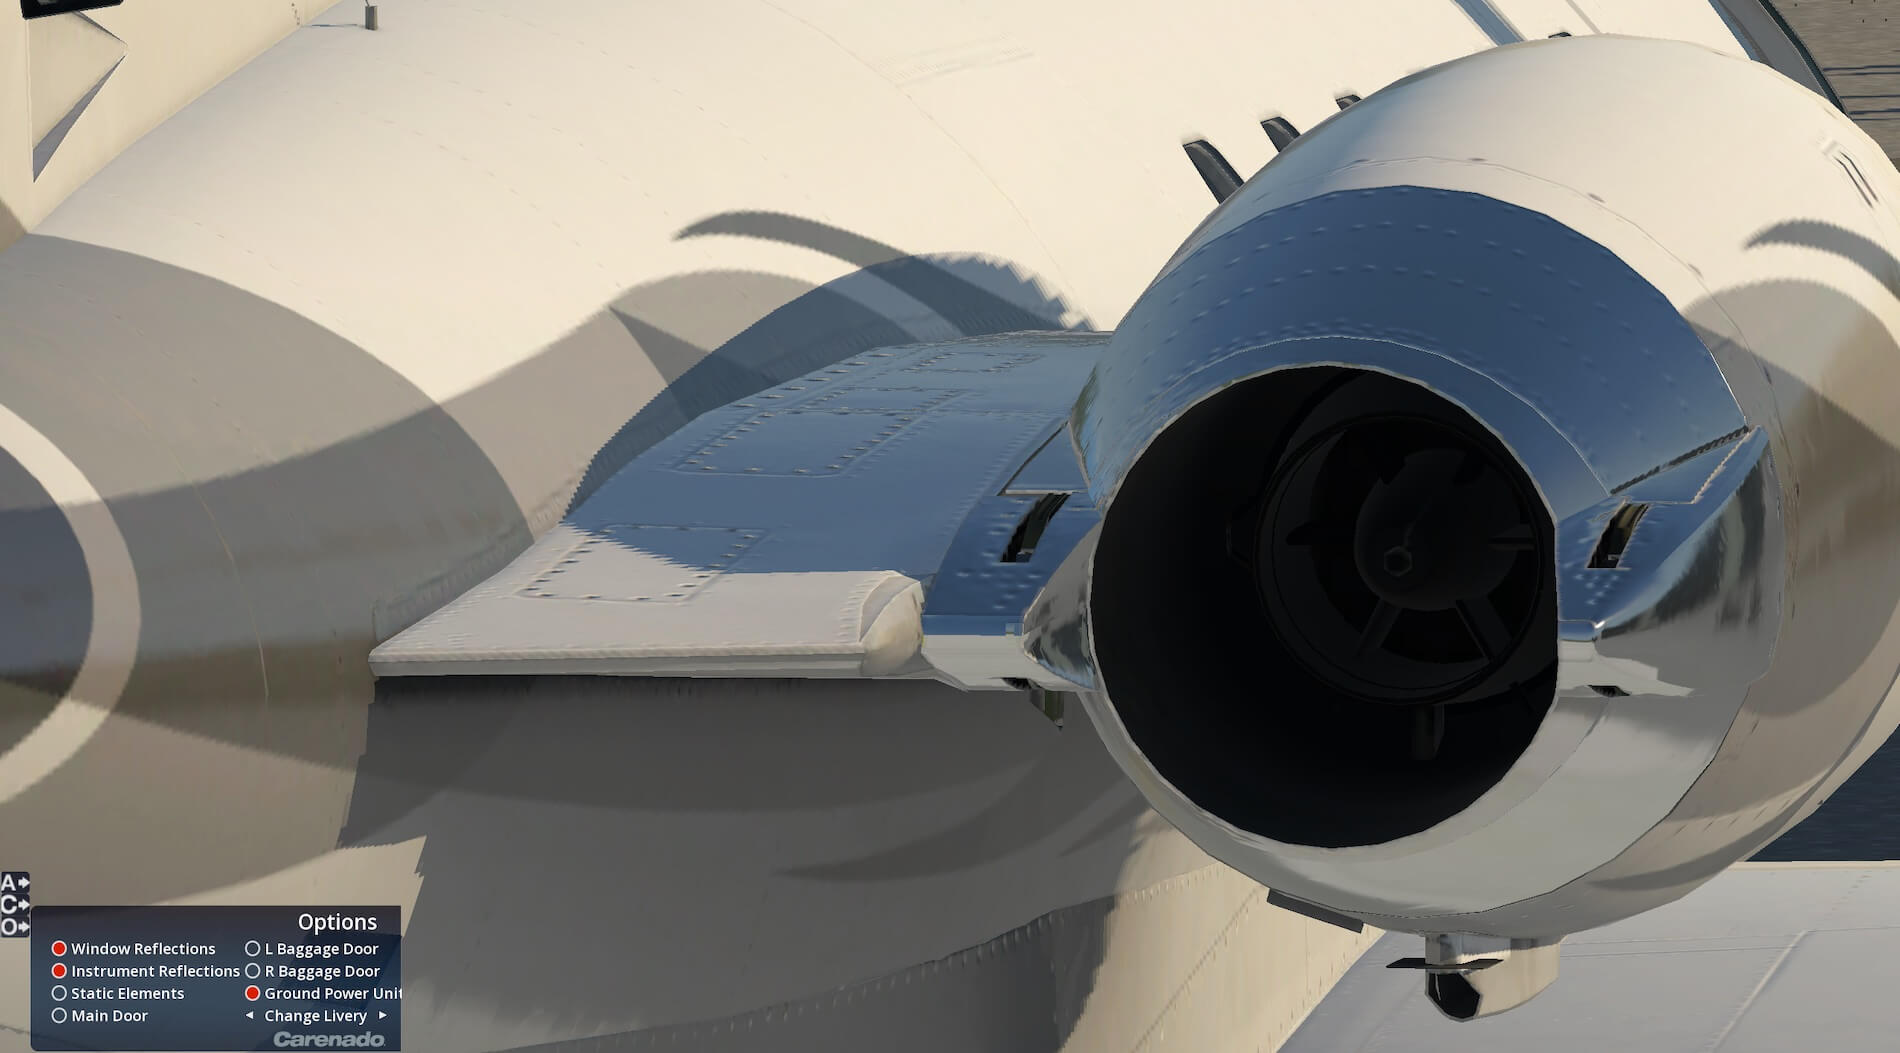
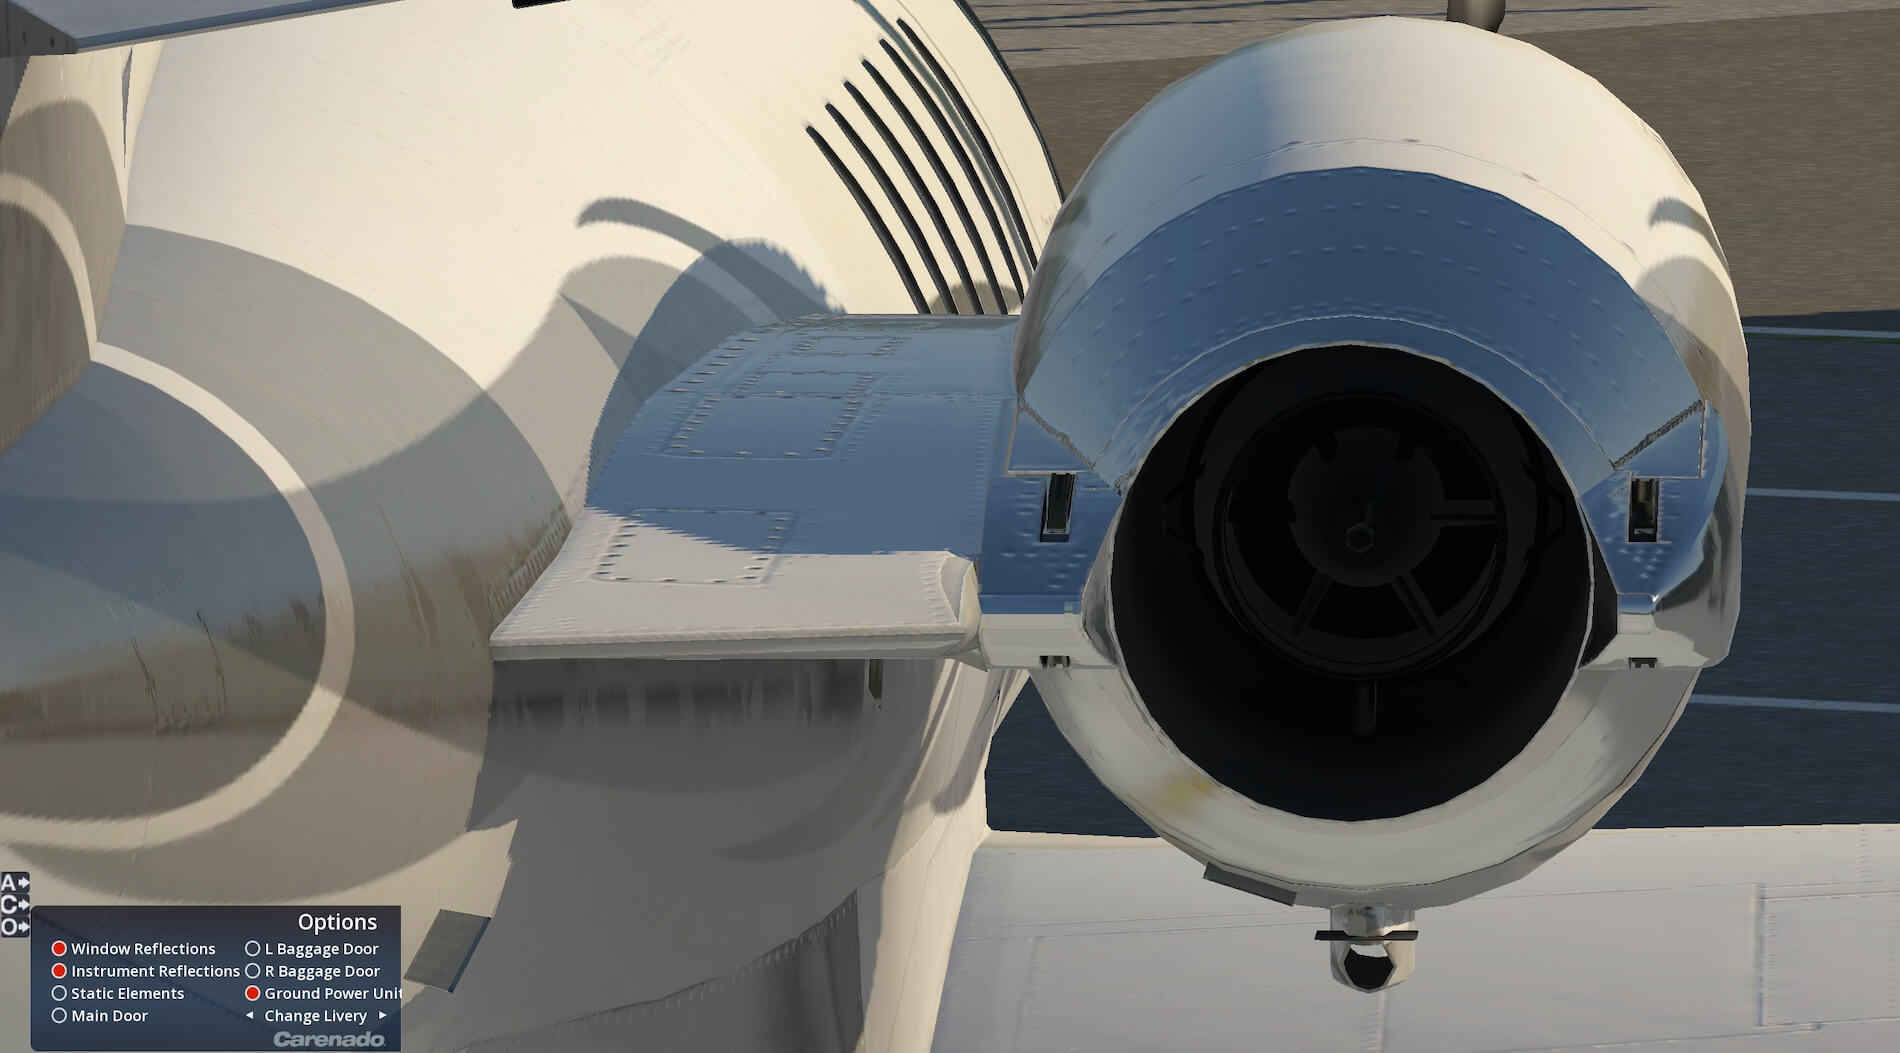
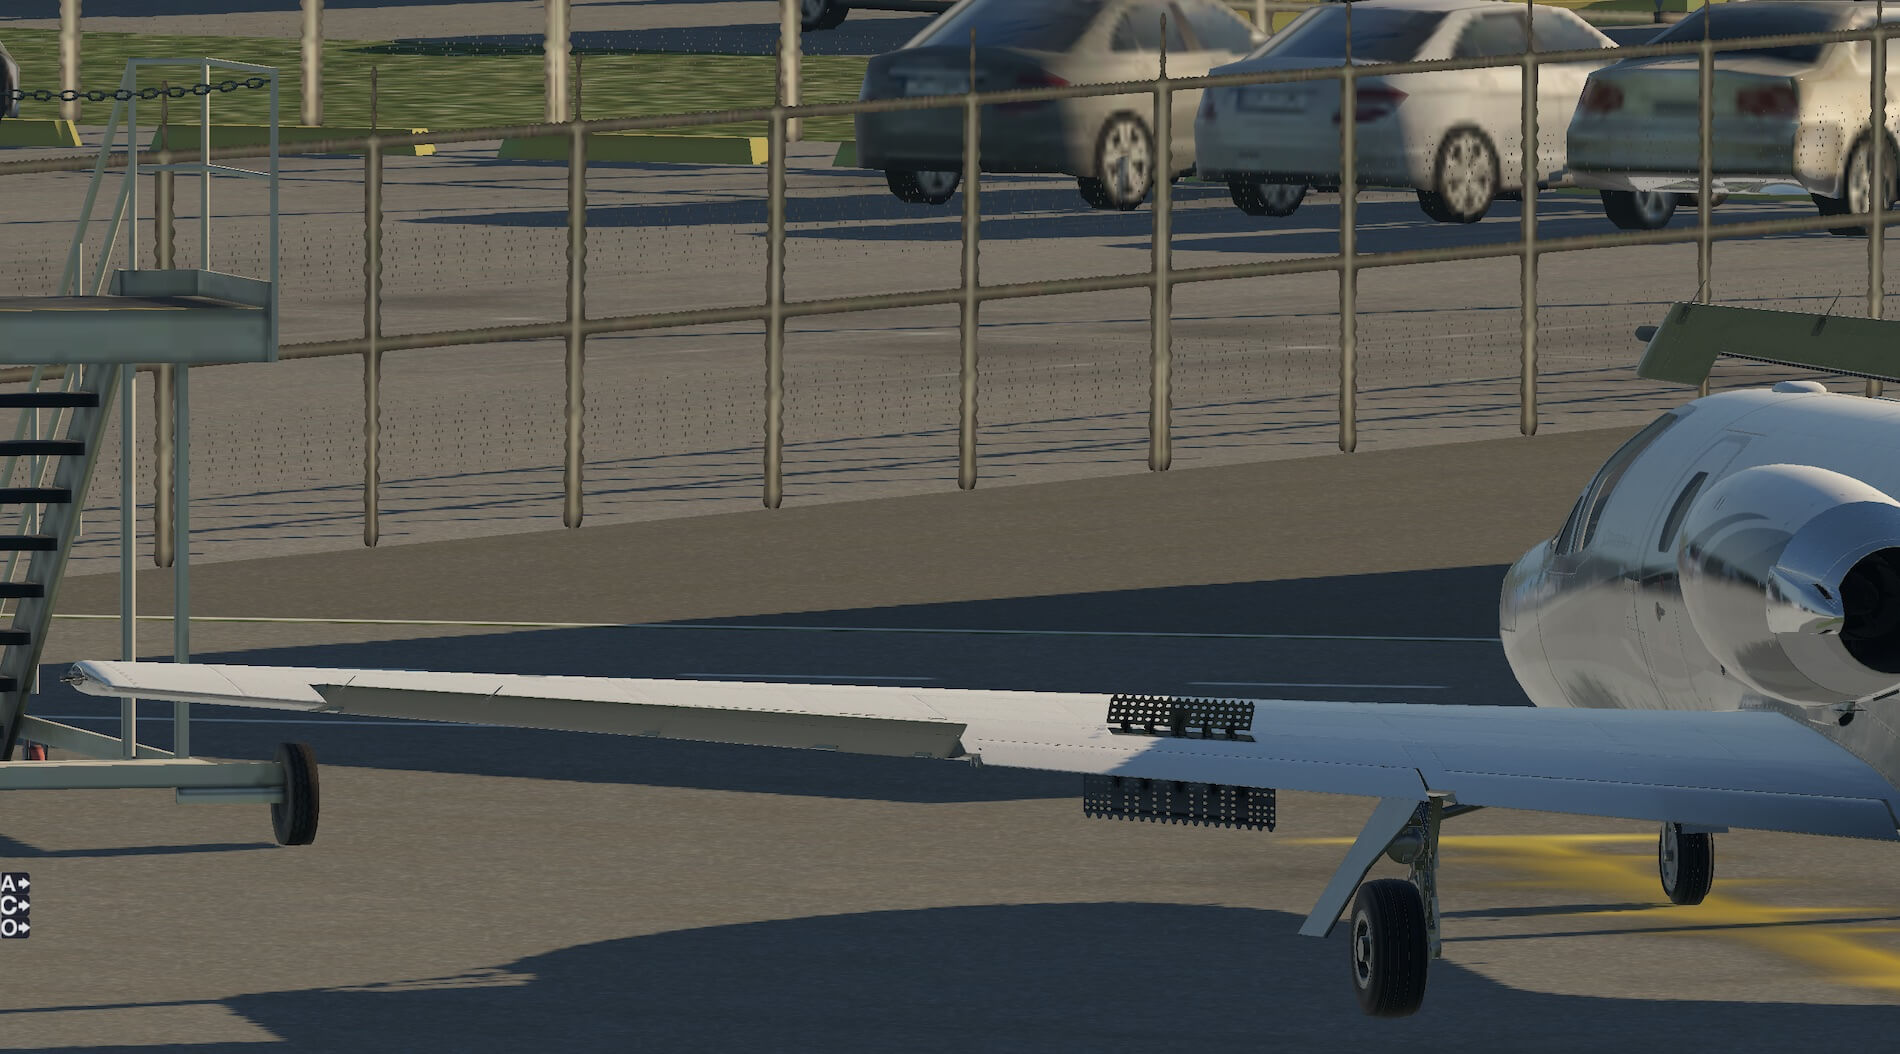
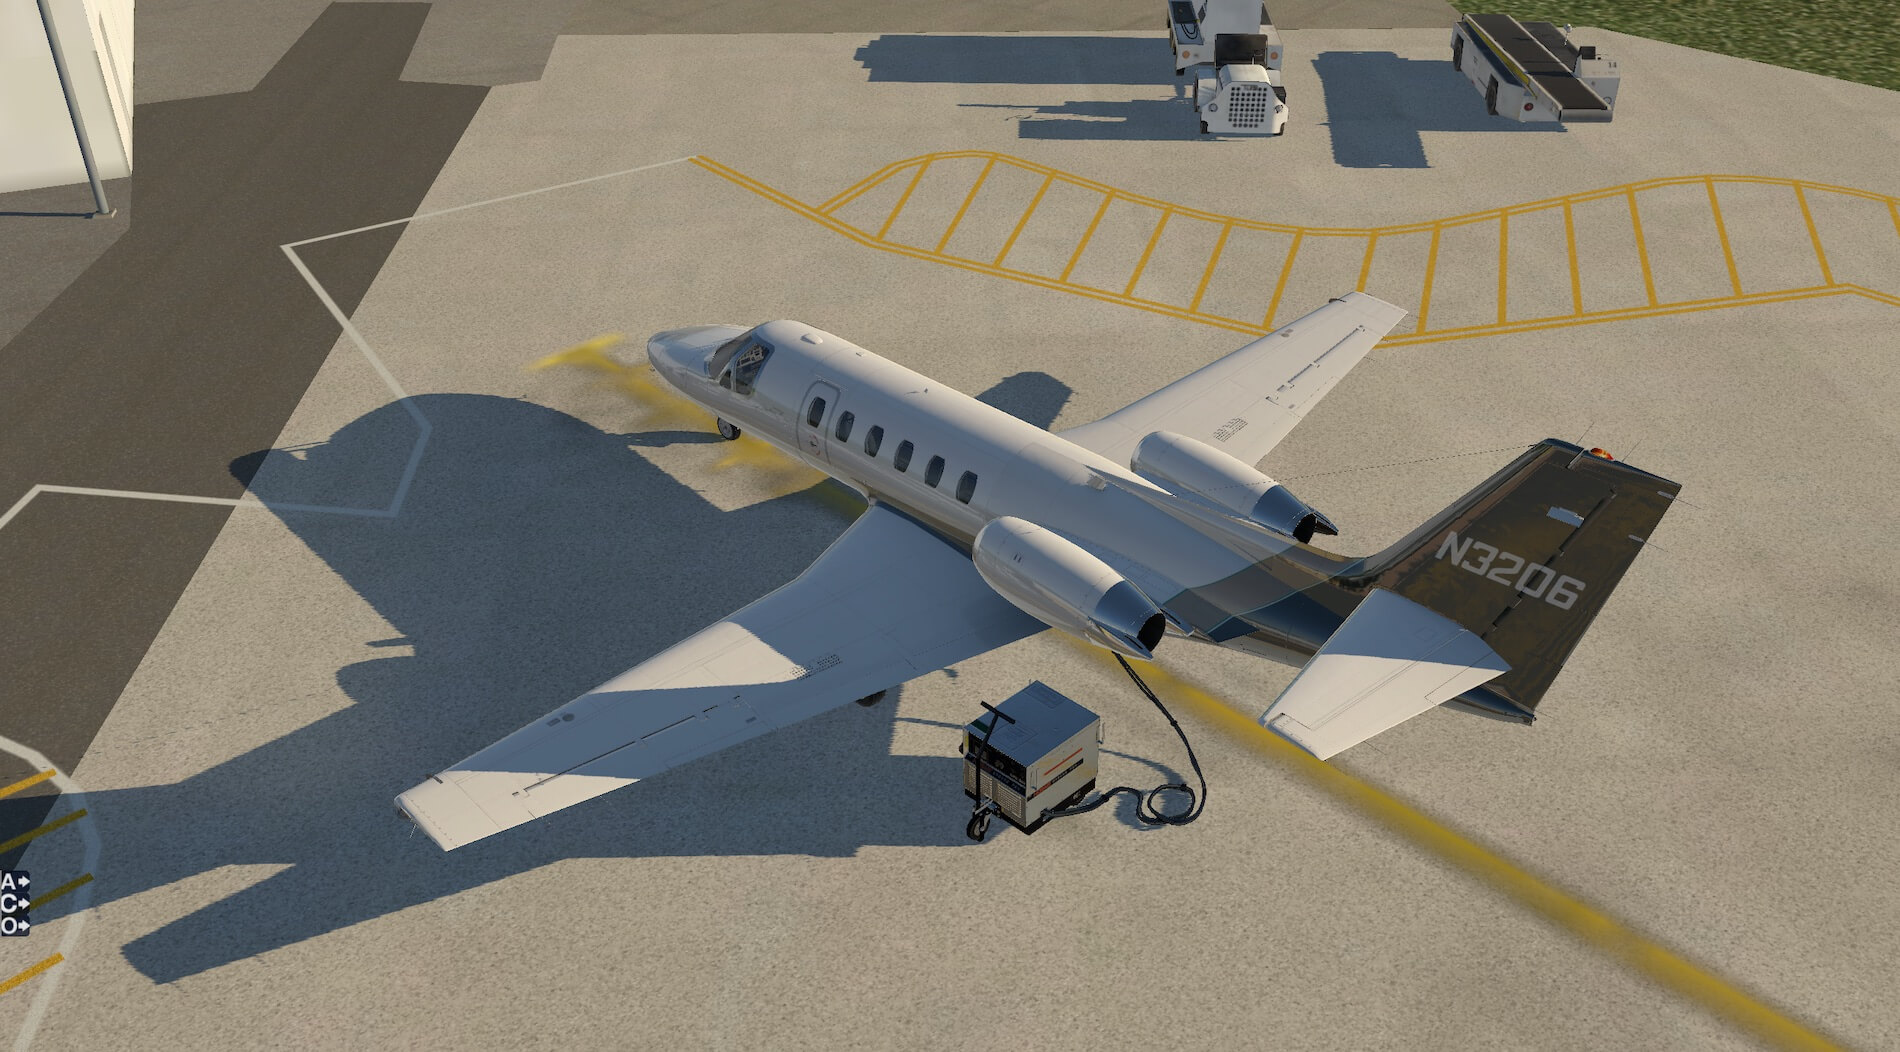
The next area for the checklist is the right wing. Again colour, reflections and panel and fixings modelling is to a high standard. By toggling the static elements in the options menu I was able to check various air and engine inlets. These were modelled in detail with the engine detail particularly impressive.
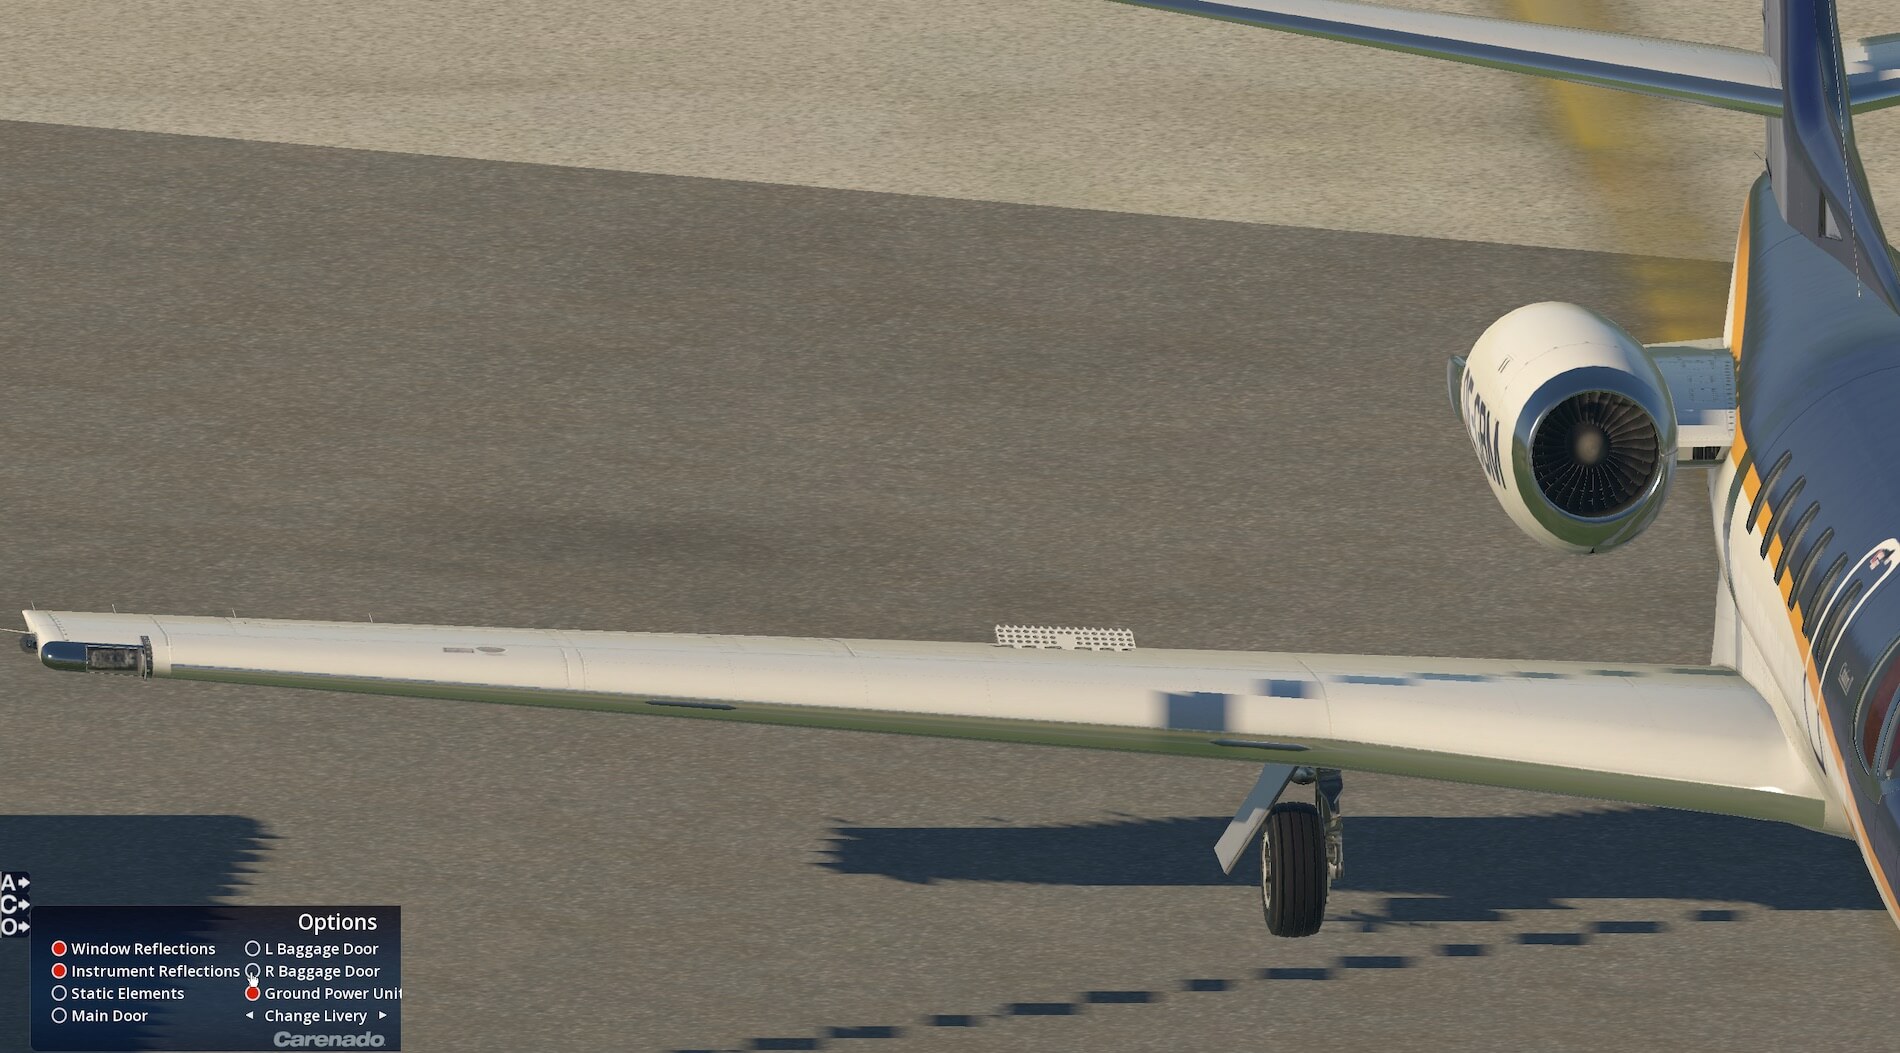
The quality of the modelling and visual effects is of great quality whatever the level of zoom and indeed detail increases as areas are examined more closely. I followed the checklist and examined out along the wing and the right undercarriage. The undercarriage is again modelled very well with tyre and strut detail, brake mechanisms visible and colour and shadow on the interior of the door.
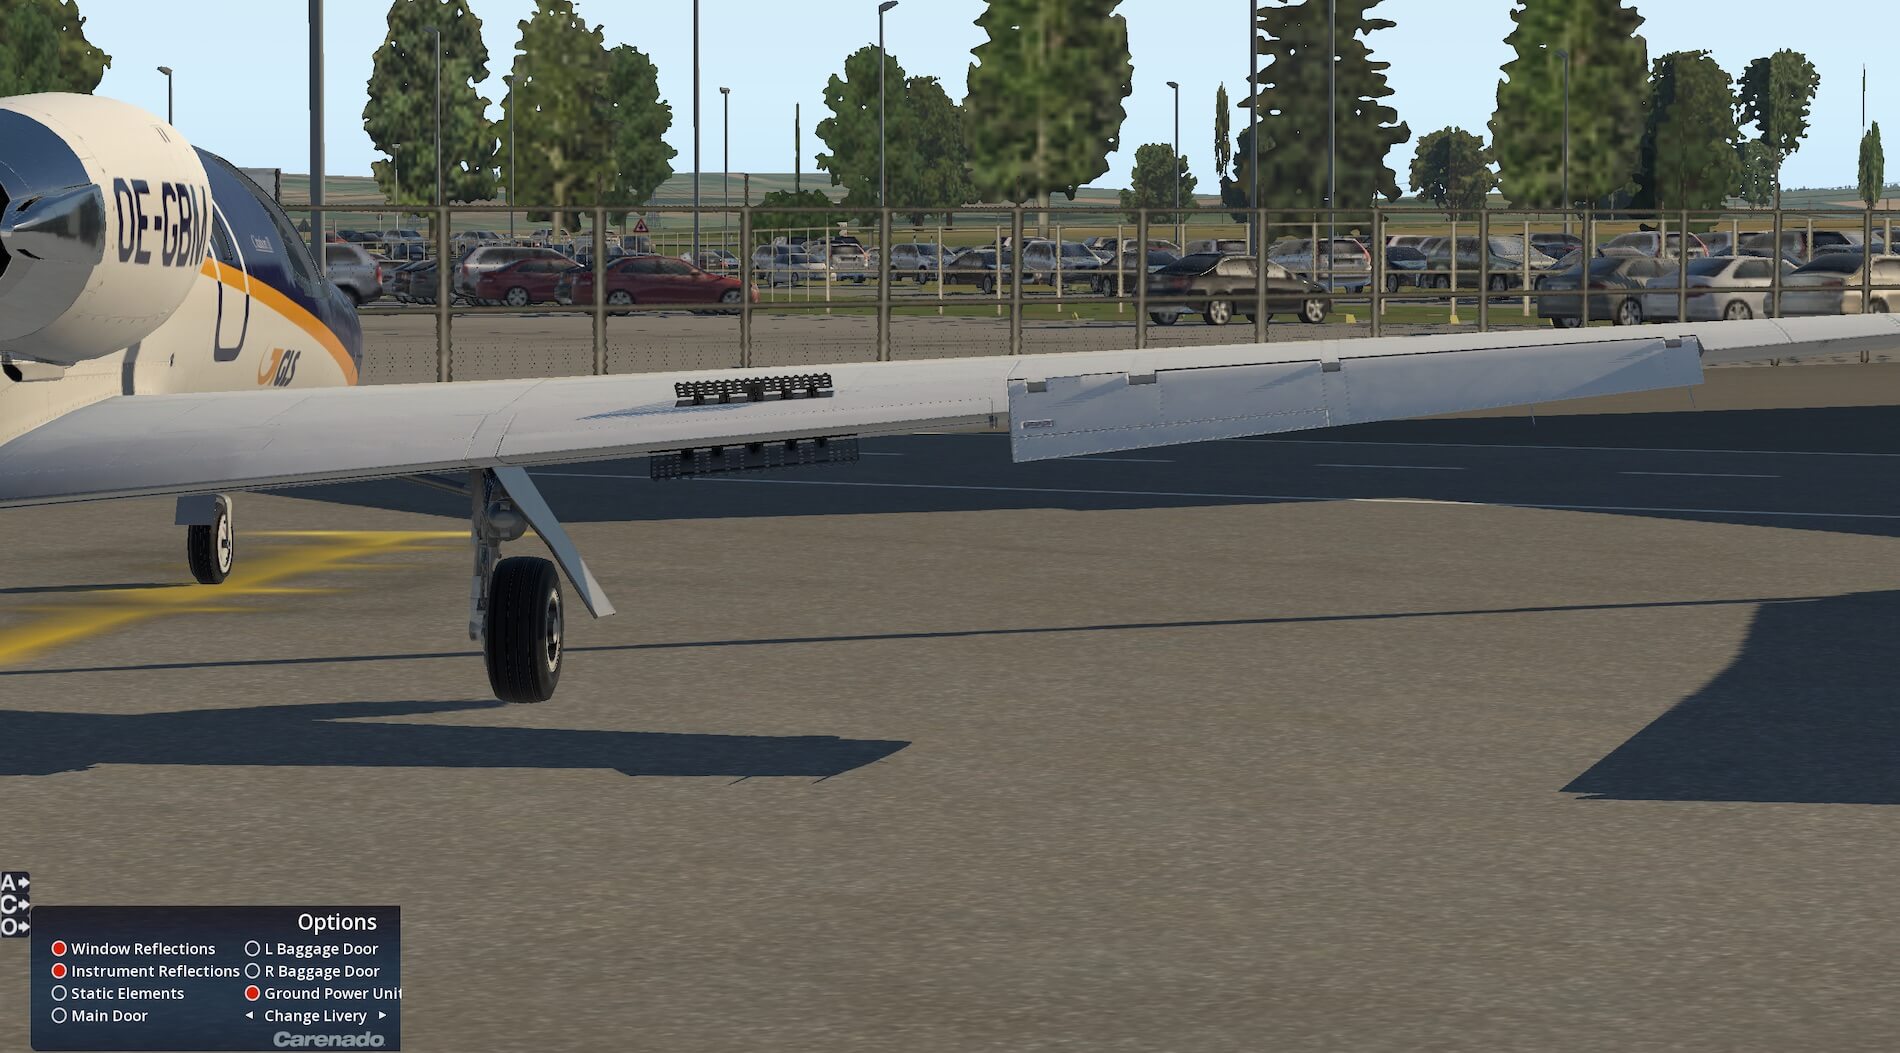
The wing itself is well modelled and I checked the fuel filler cap which is visible on the surface. Moving to the rear of the wing I checked the aileron, flap and speed brakes. This are modelled very well and are very convincing. This also allowed further inspection of the right undercarriage and the modelling of the rear of the struts and the undercarriage light. Colours and reflections continued to work well on all aspects of the model.


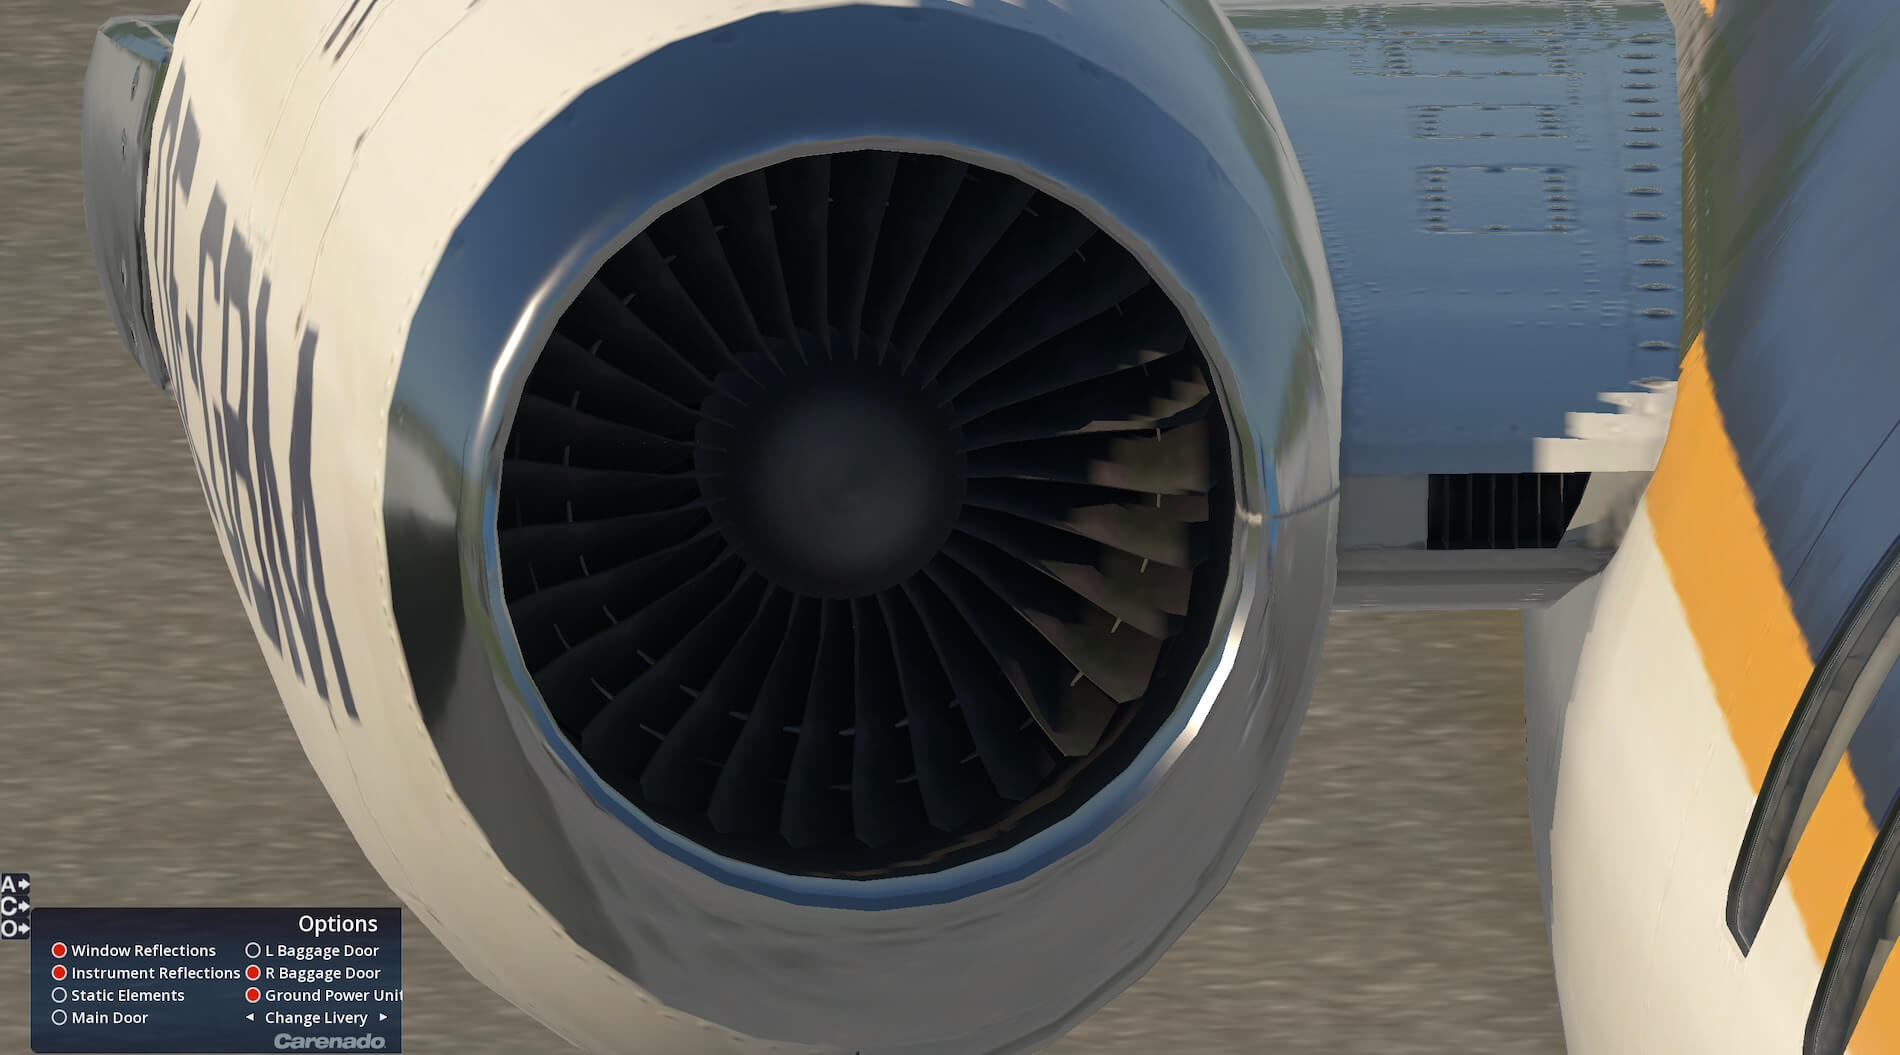

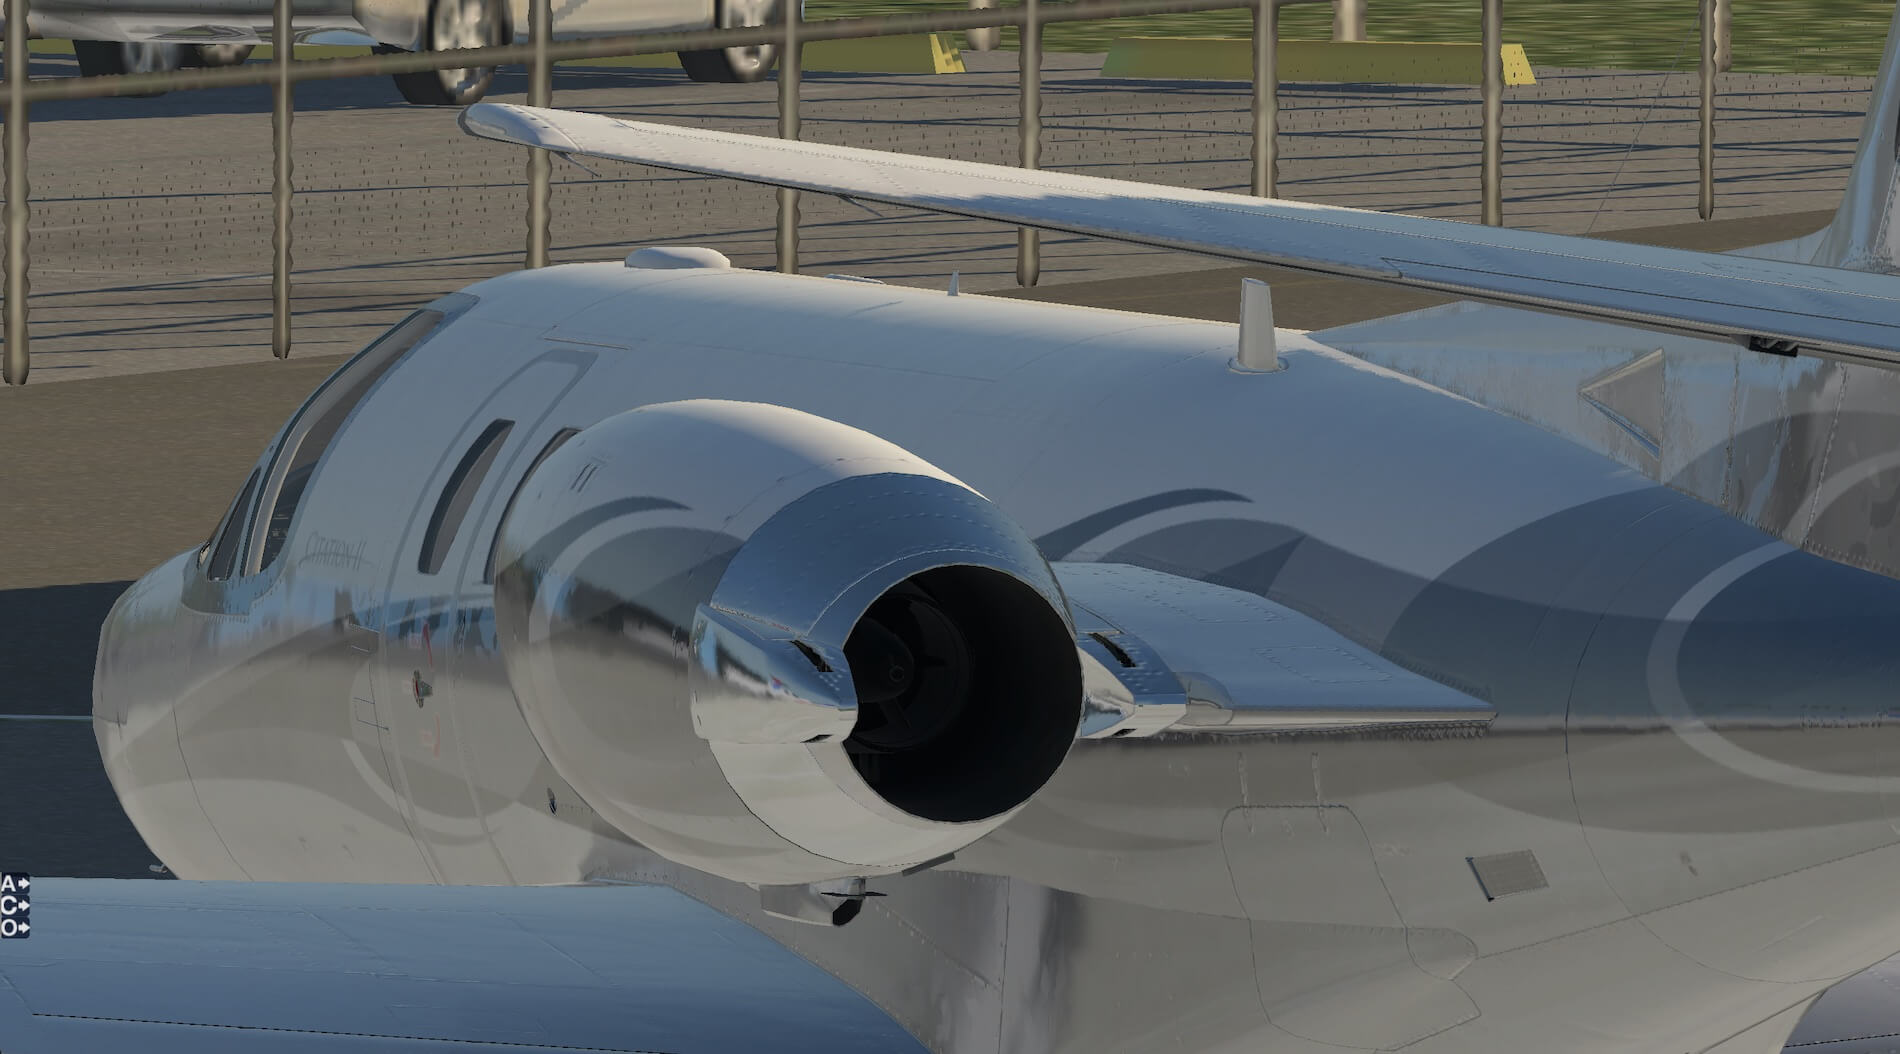
The checklist then takes the user to examine the right nacelle and requires checks on exhausts and thrust reverser buckets. With no power on the aircraft I could not operate the buckets but they are visible and modelled. The close inspection of the nacelle, even using a different livery, shows great attention to detail in riveting, panels, lighting and reflections. The rear of the engine is created within the nacelle and is clearly visible.
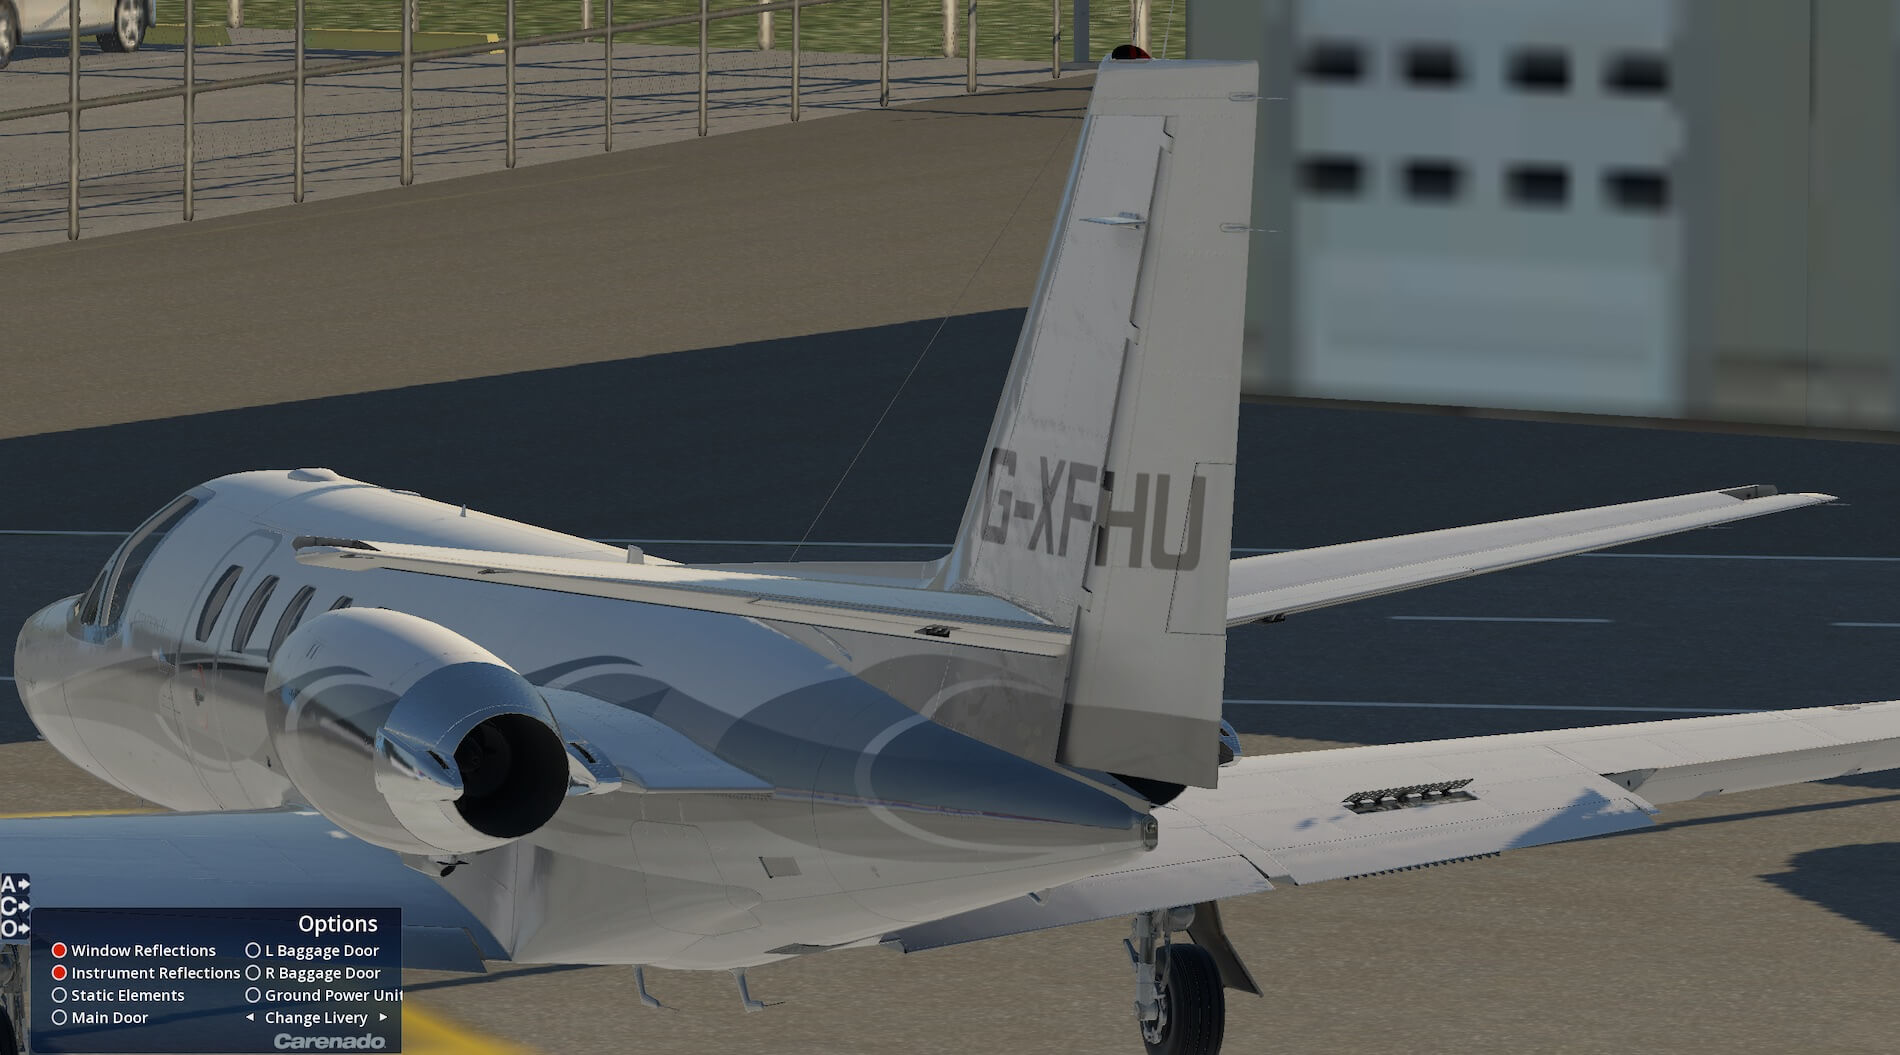
Moving to the right of the tail section I was able to examine the modelling closely and I remained impressed at the detail. I was able to check the movement of the control surfaces and the detail created around their mechanisms and use. I repeated this from the left-hand side.


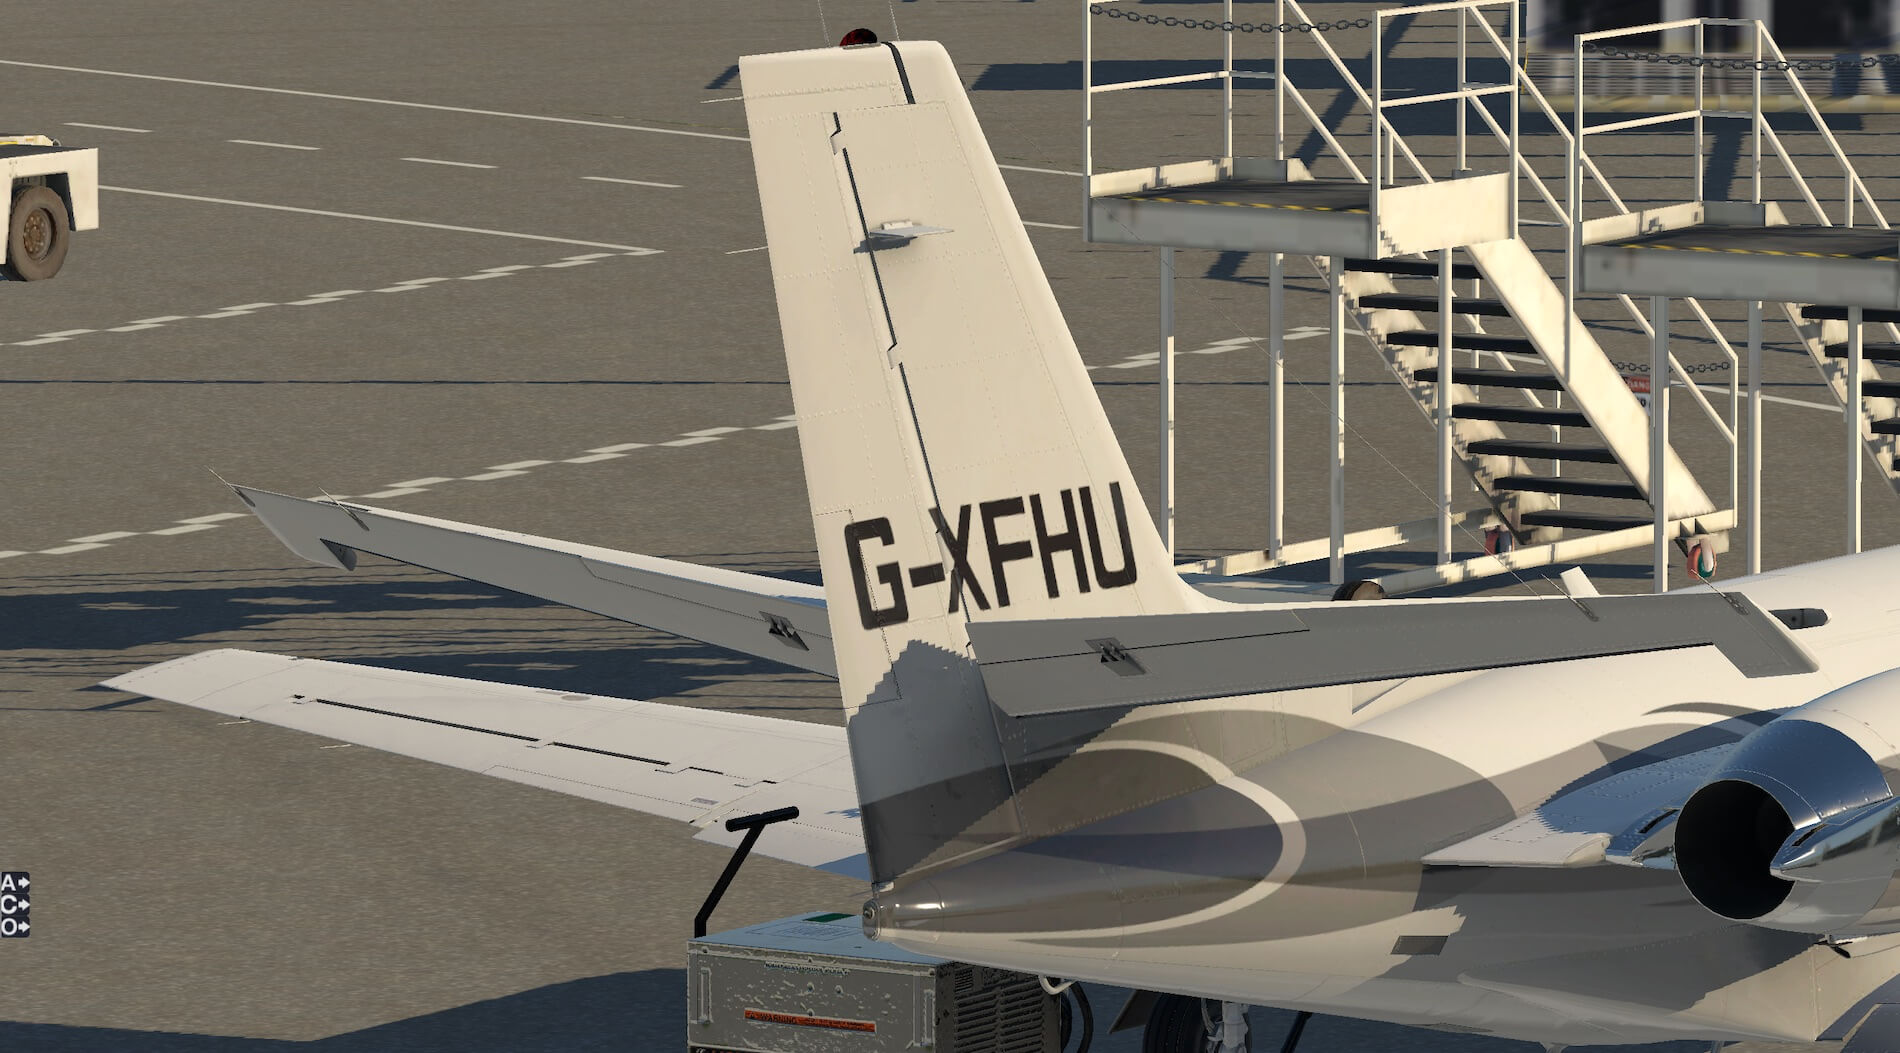
The next item is the aft baggage door which is visible though not modelled to operate. This view does allow further inspection of the aerials under the aircraft and even more detail on the undercarriage. Colour light and reflections remain at a high quality as do the different colours patterns and signage in the livery.
The checklist then requires repeat inspections of the left nacelle and the left wing and these reach the same standards as those described for the right side of the aircraft. Control surfaces reacted well and had the expected effect on light and reflections. Panelling and surface modelling is high quality and the detail of the undercarriage continued to impress.


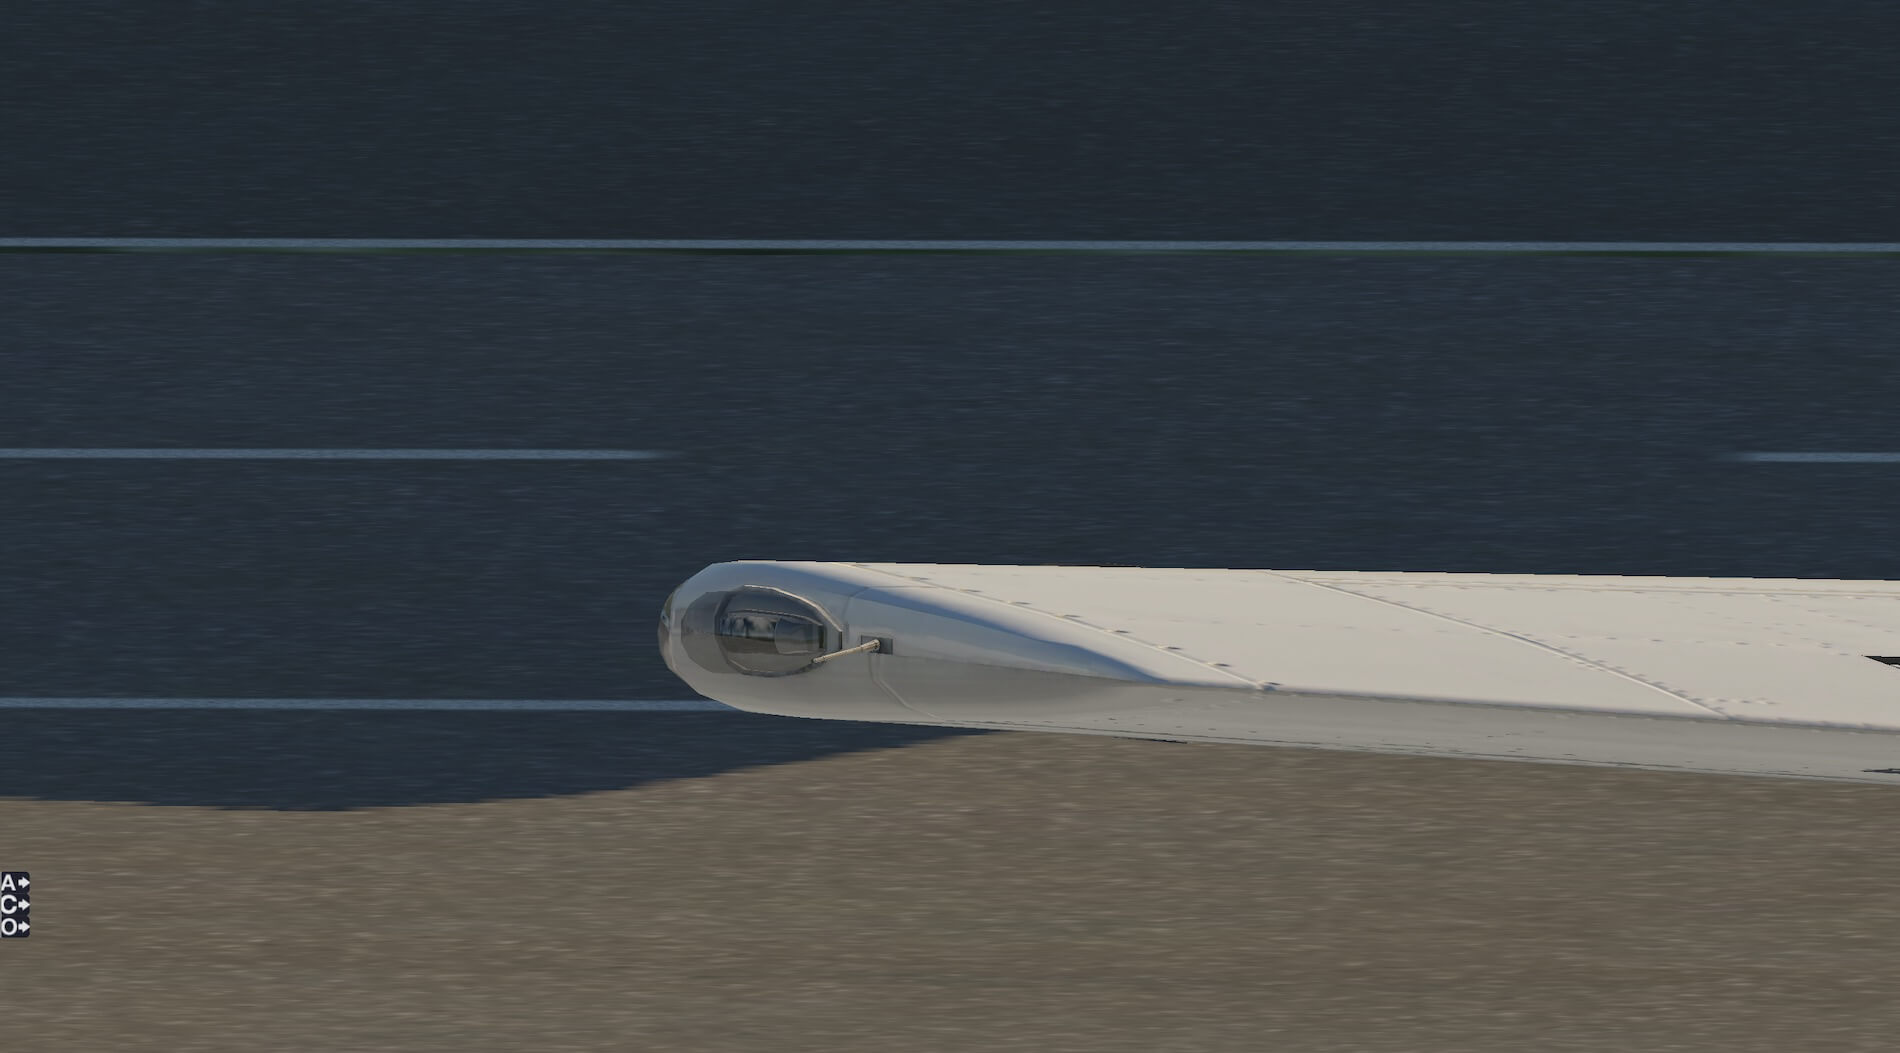
Close inspection of the wing tips showed the detail produced in all the exterior lights on the aircraft and how all details of antennae and instrumentation is completed. Whilst the exterior checklist finishes here I took the opportunity to use the final operable door in the options menu and opened and closed the main door. This showed how well this is modelled with detailed mechanisms and signage and gave a view inside the cabin from outside.


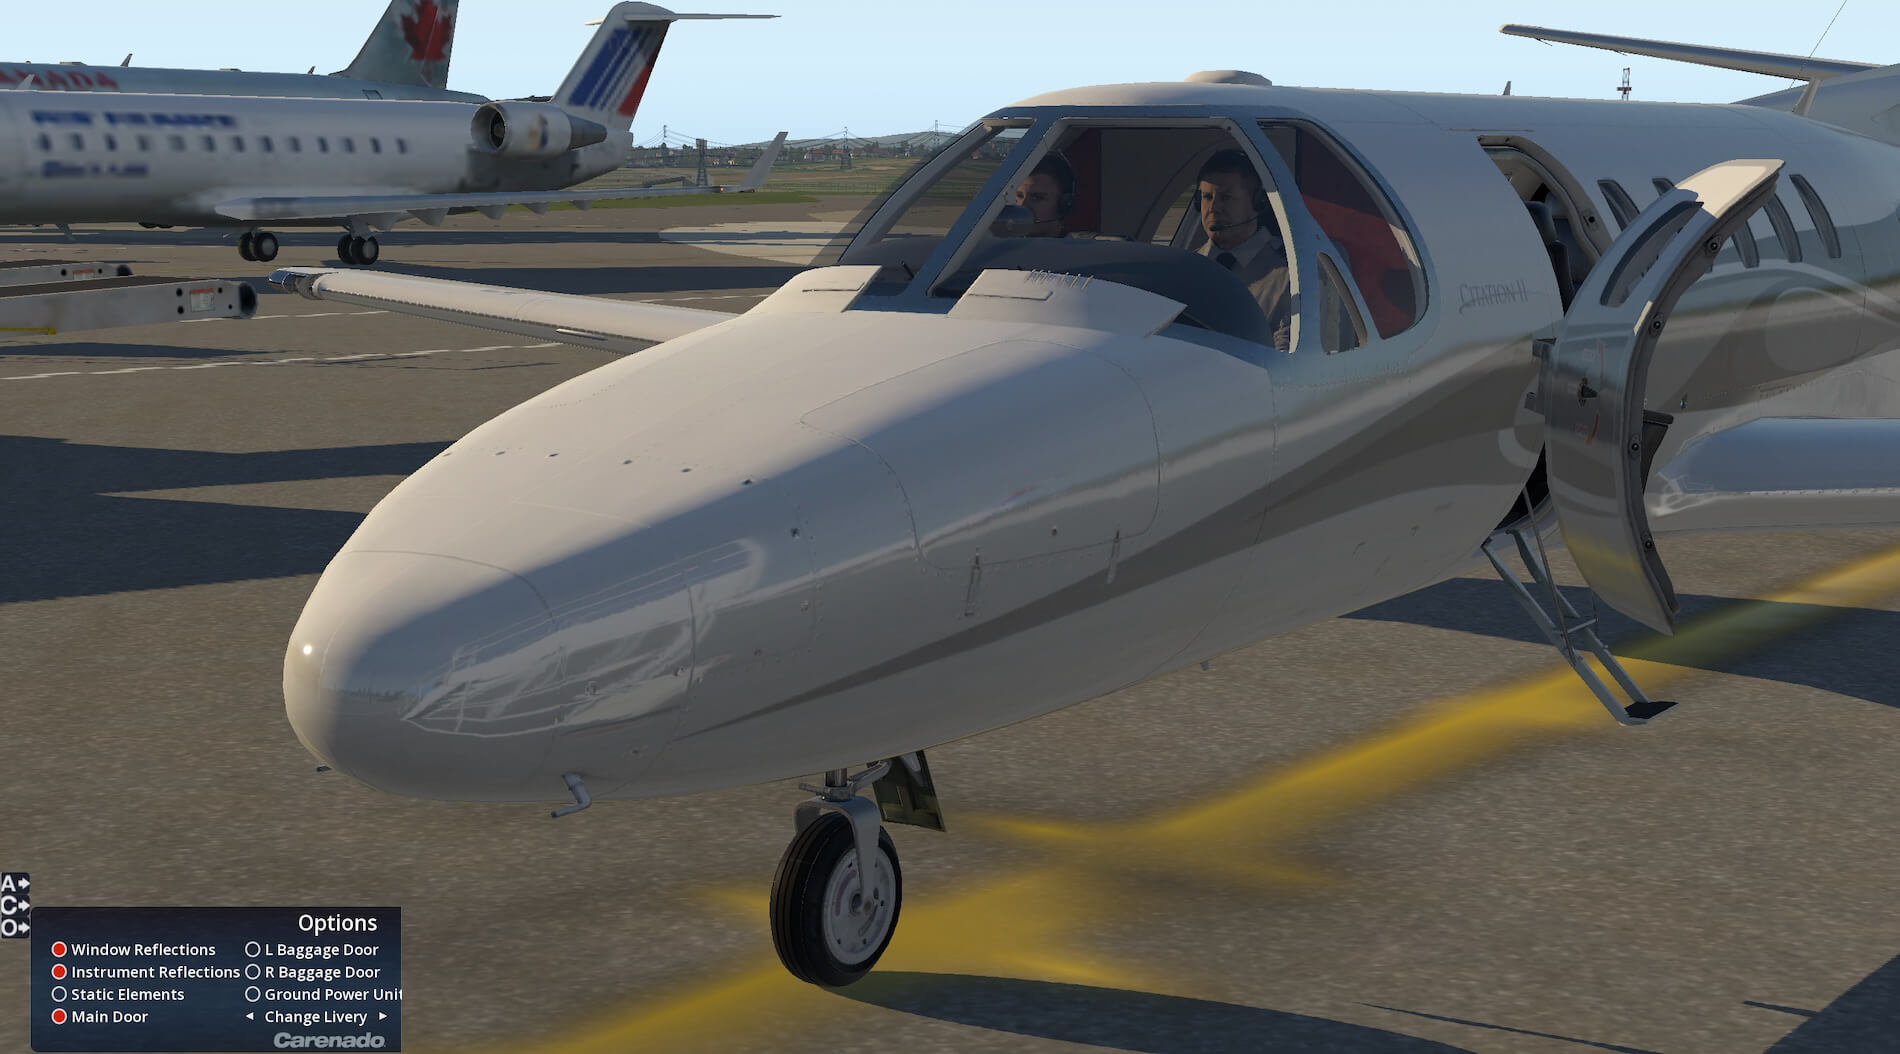
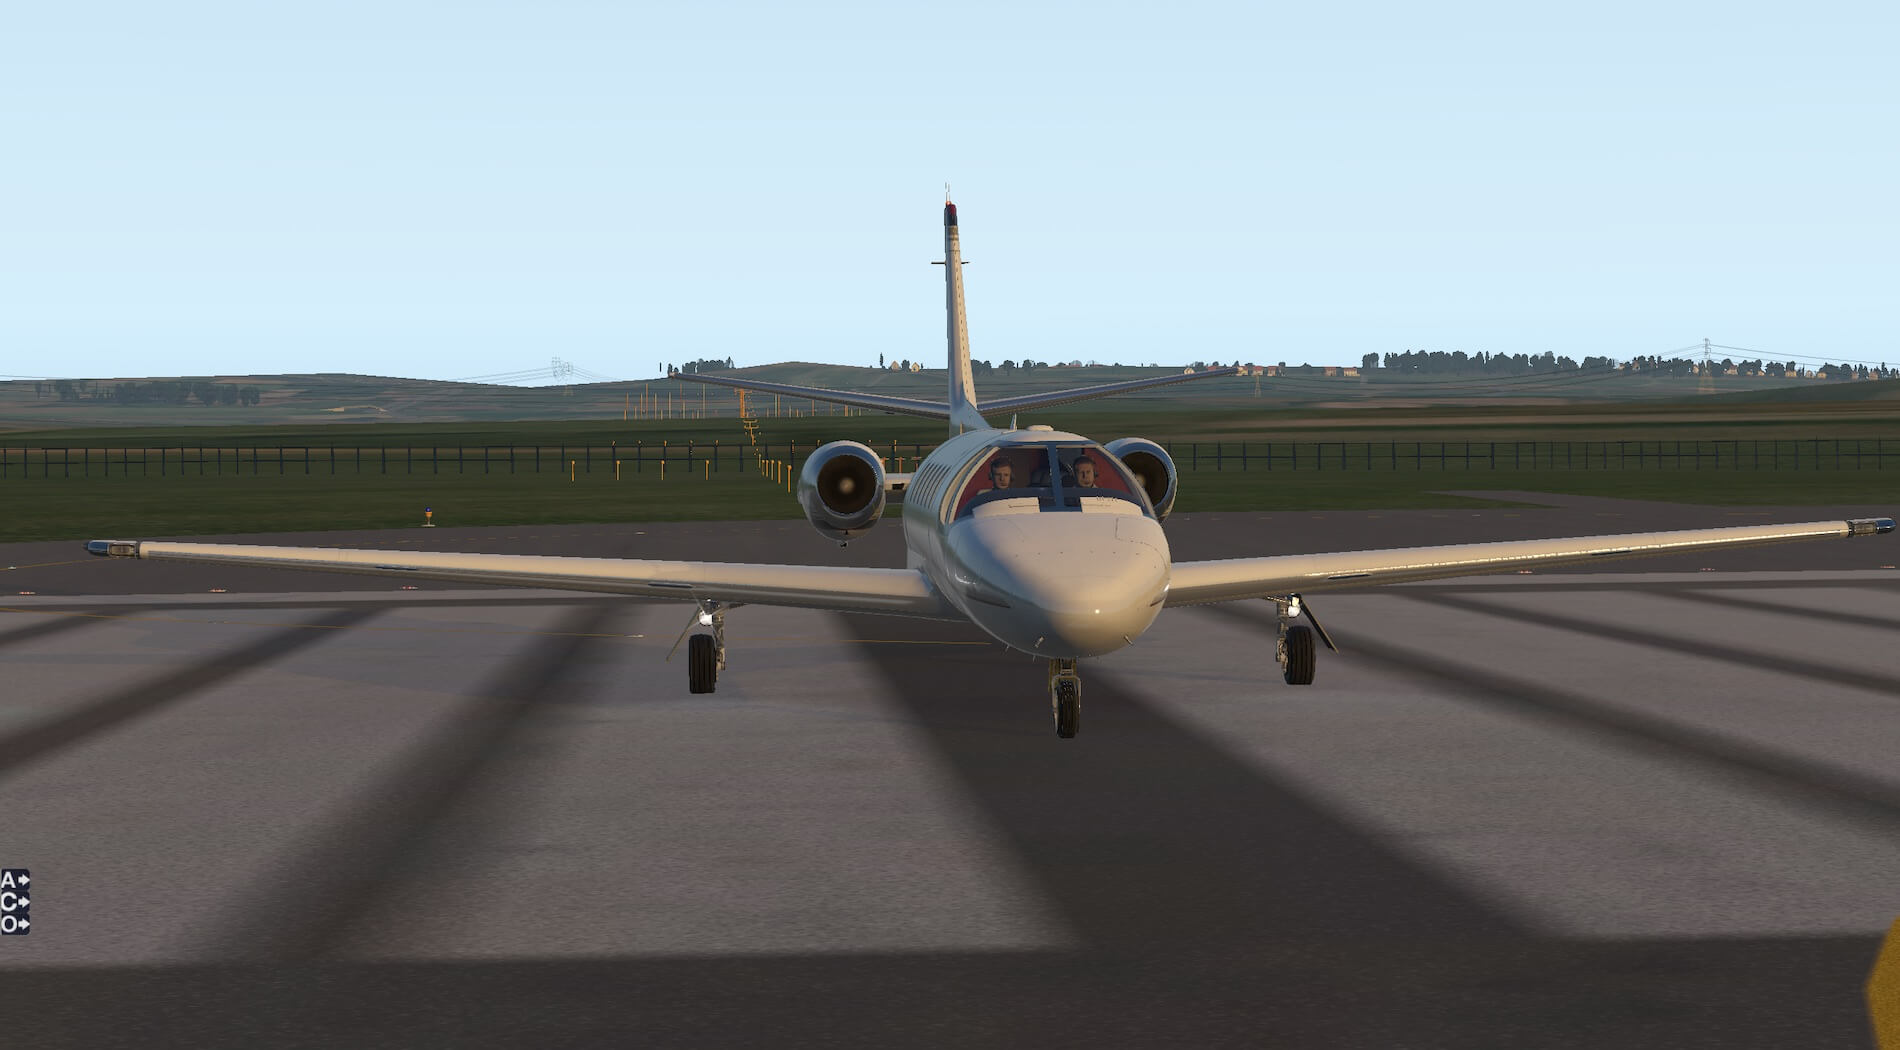
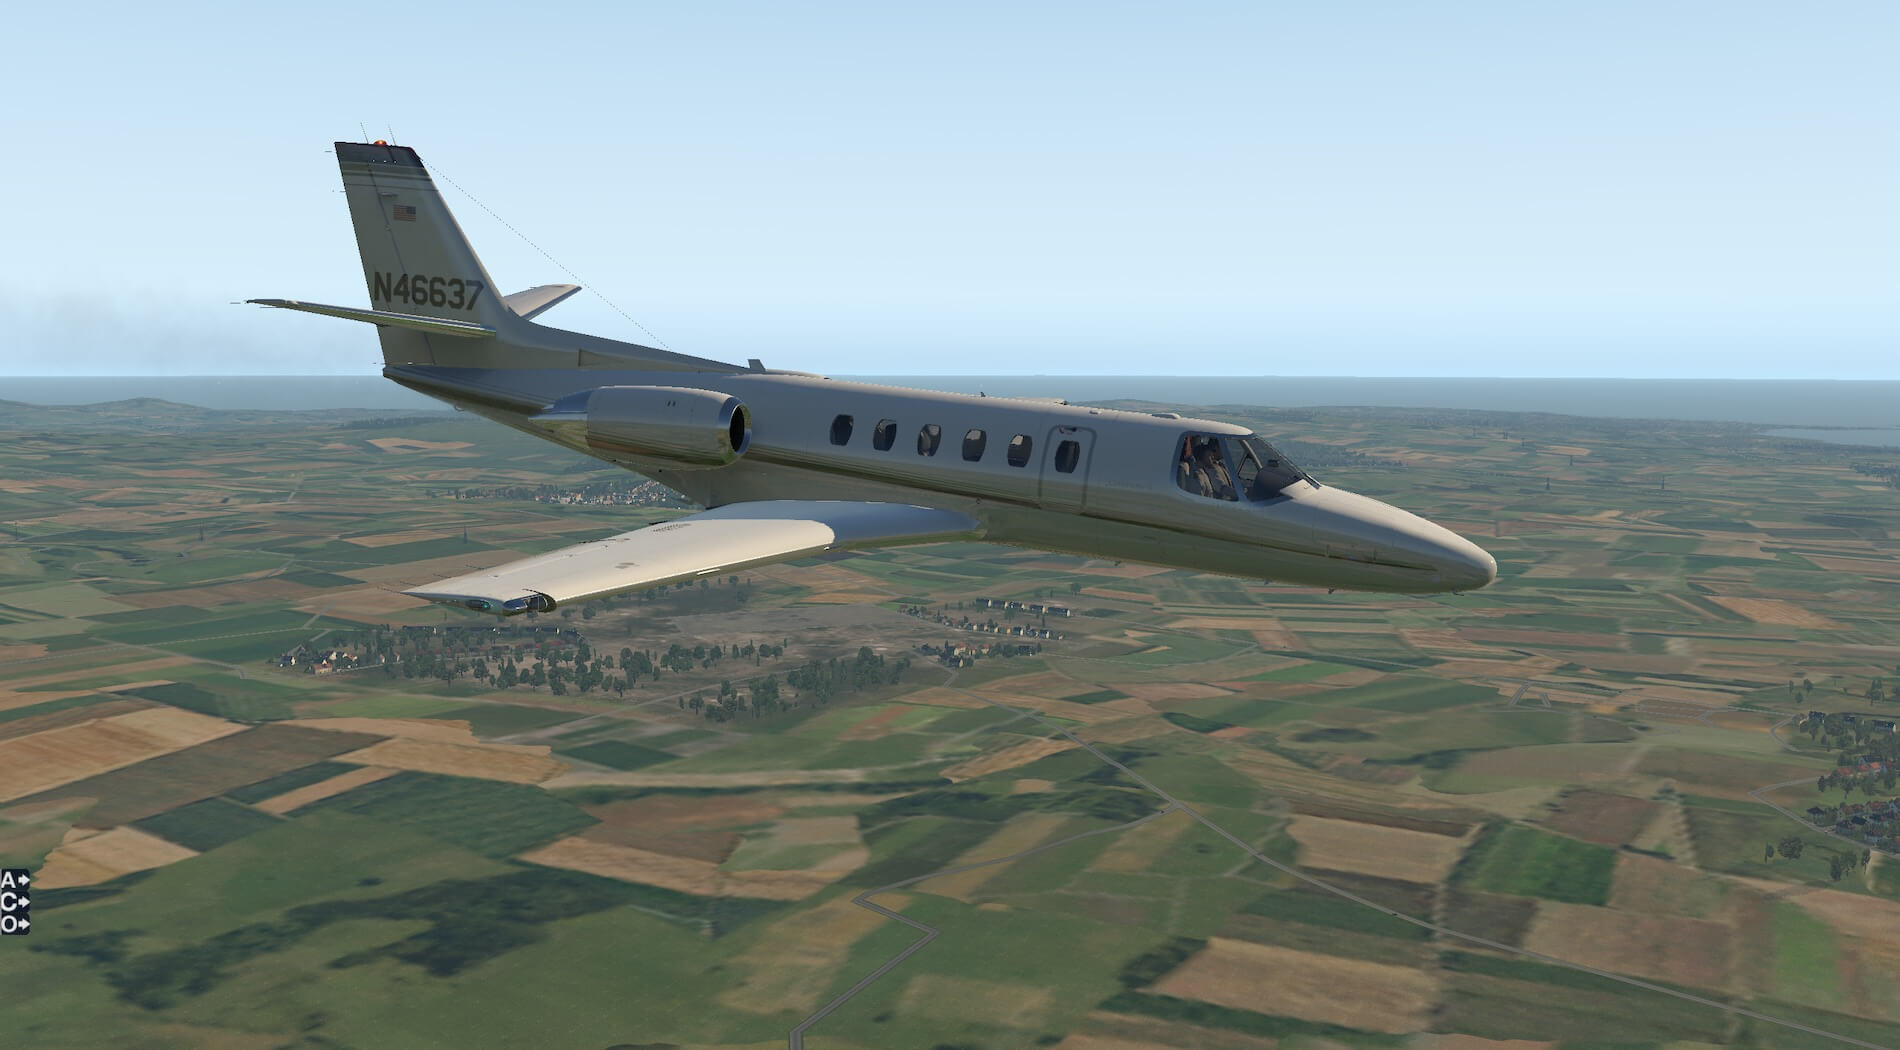
Finally back to the front of the aircraft, with the static elements option disabled, the two pilot figures, moving independently and realistically, could be seen in the cockpit. The exterior of the model is highly impressive with vivid, varied colours, surface detail and convincing liveries. The developers have created a realistic model that emphasis the attractive lines of this aircraft.
Interior Modelling
The checklist then moves on to the interior inspection. I approached the main door to the aircraft and the outside modelling continued to impress and the detail of the door mechanisms was very good. First glimpses inside the cabin area immediately showed that the interior of the aircraft was prepared as well as the exterior.

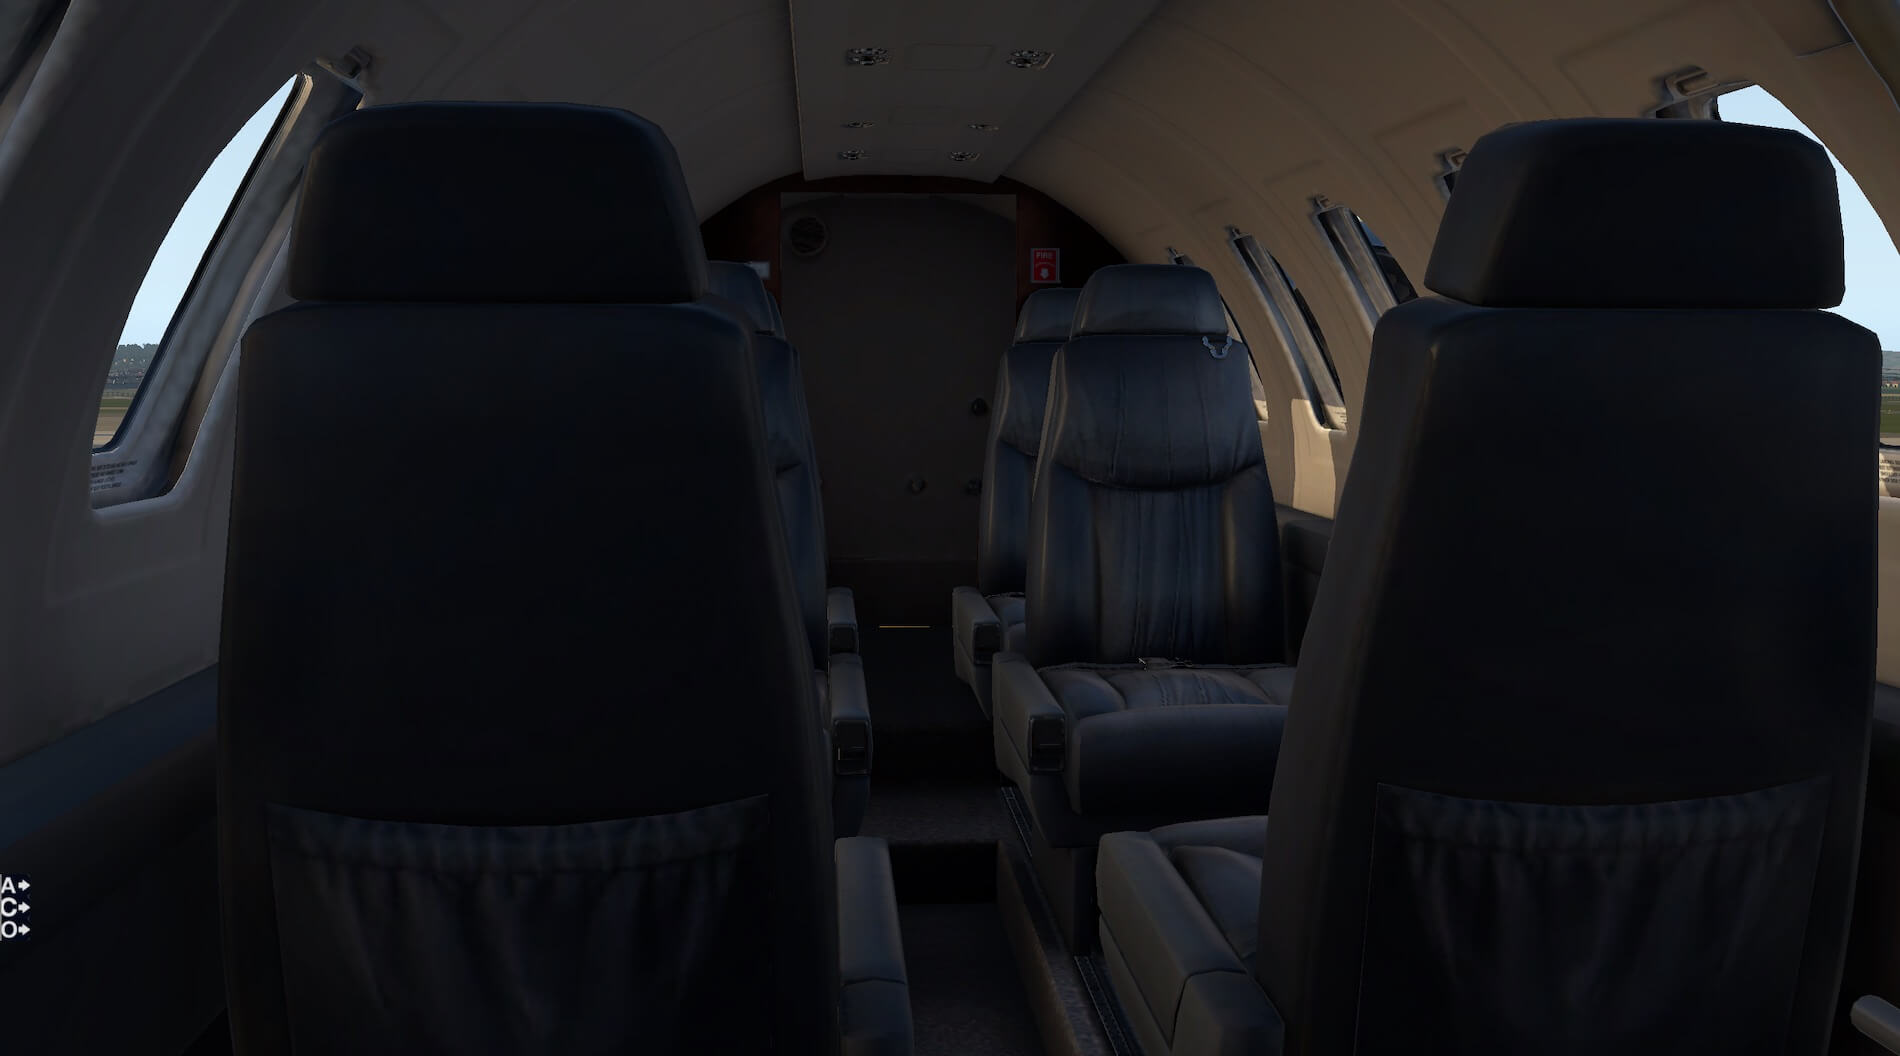
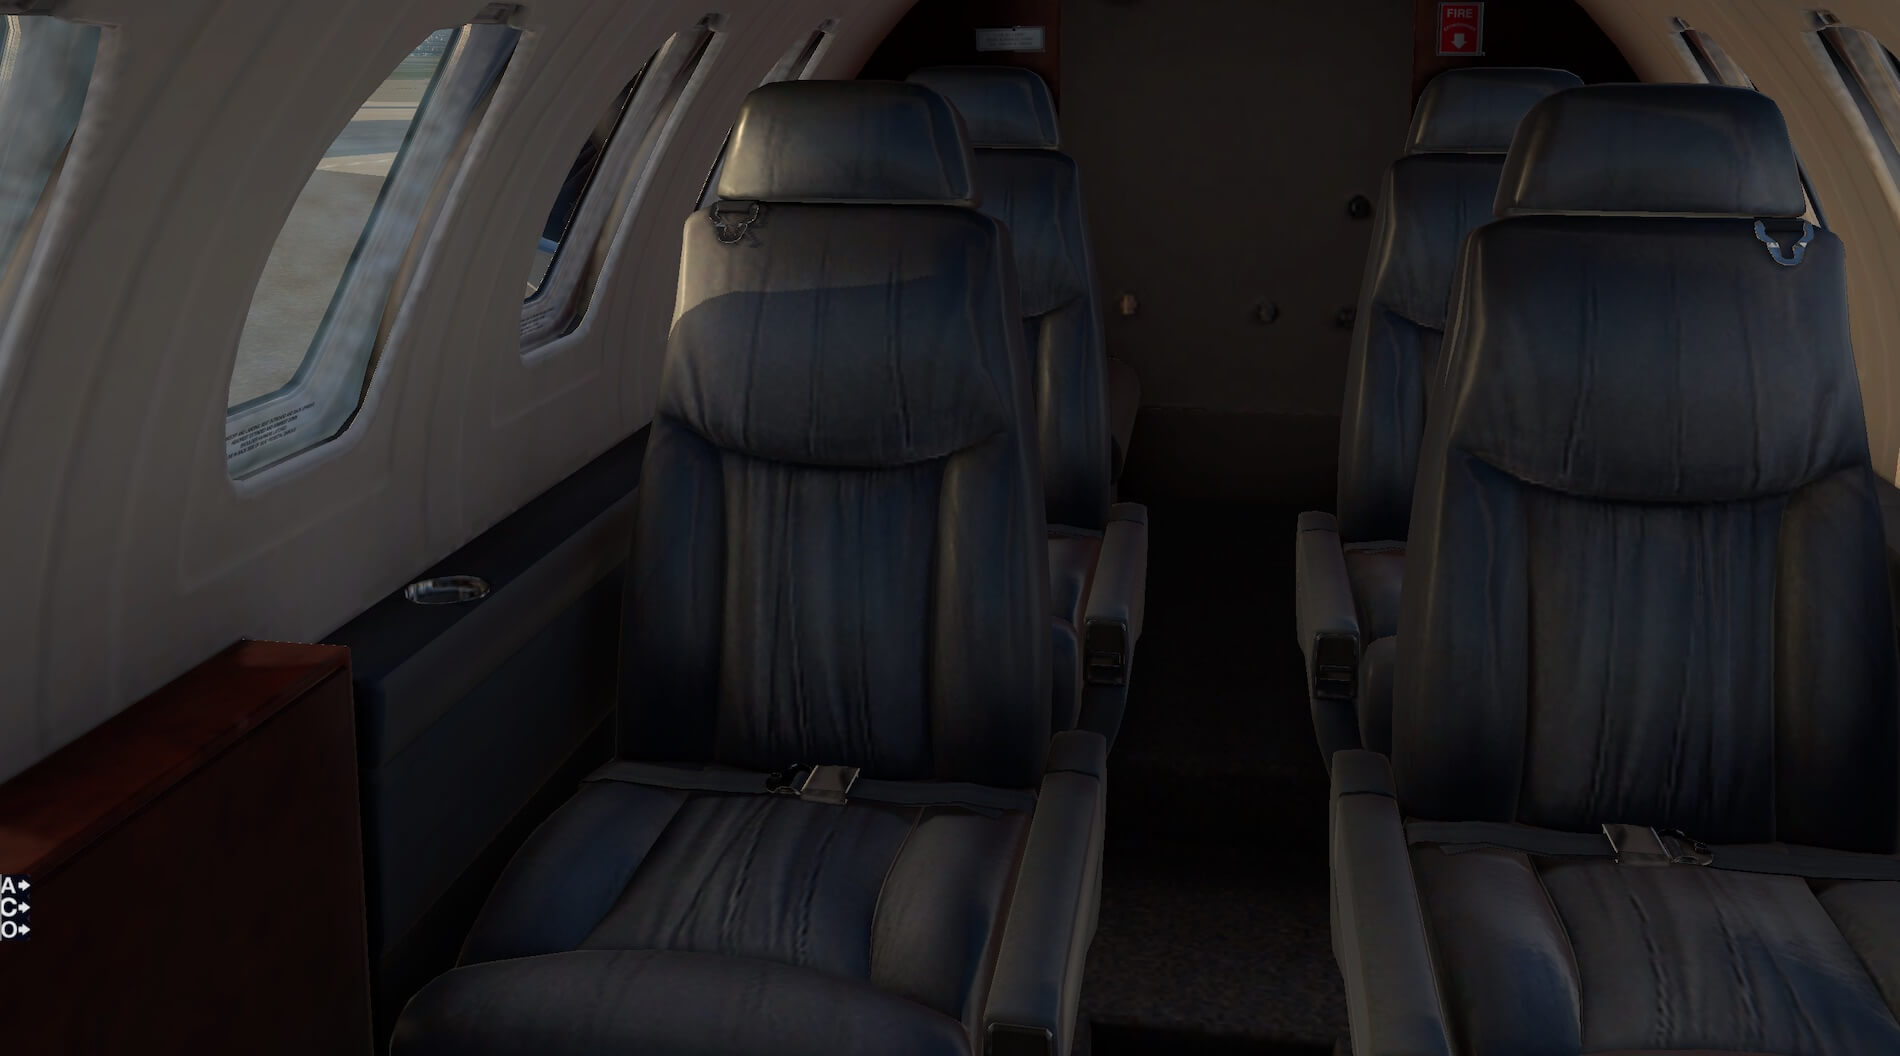
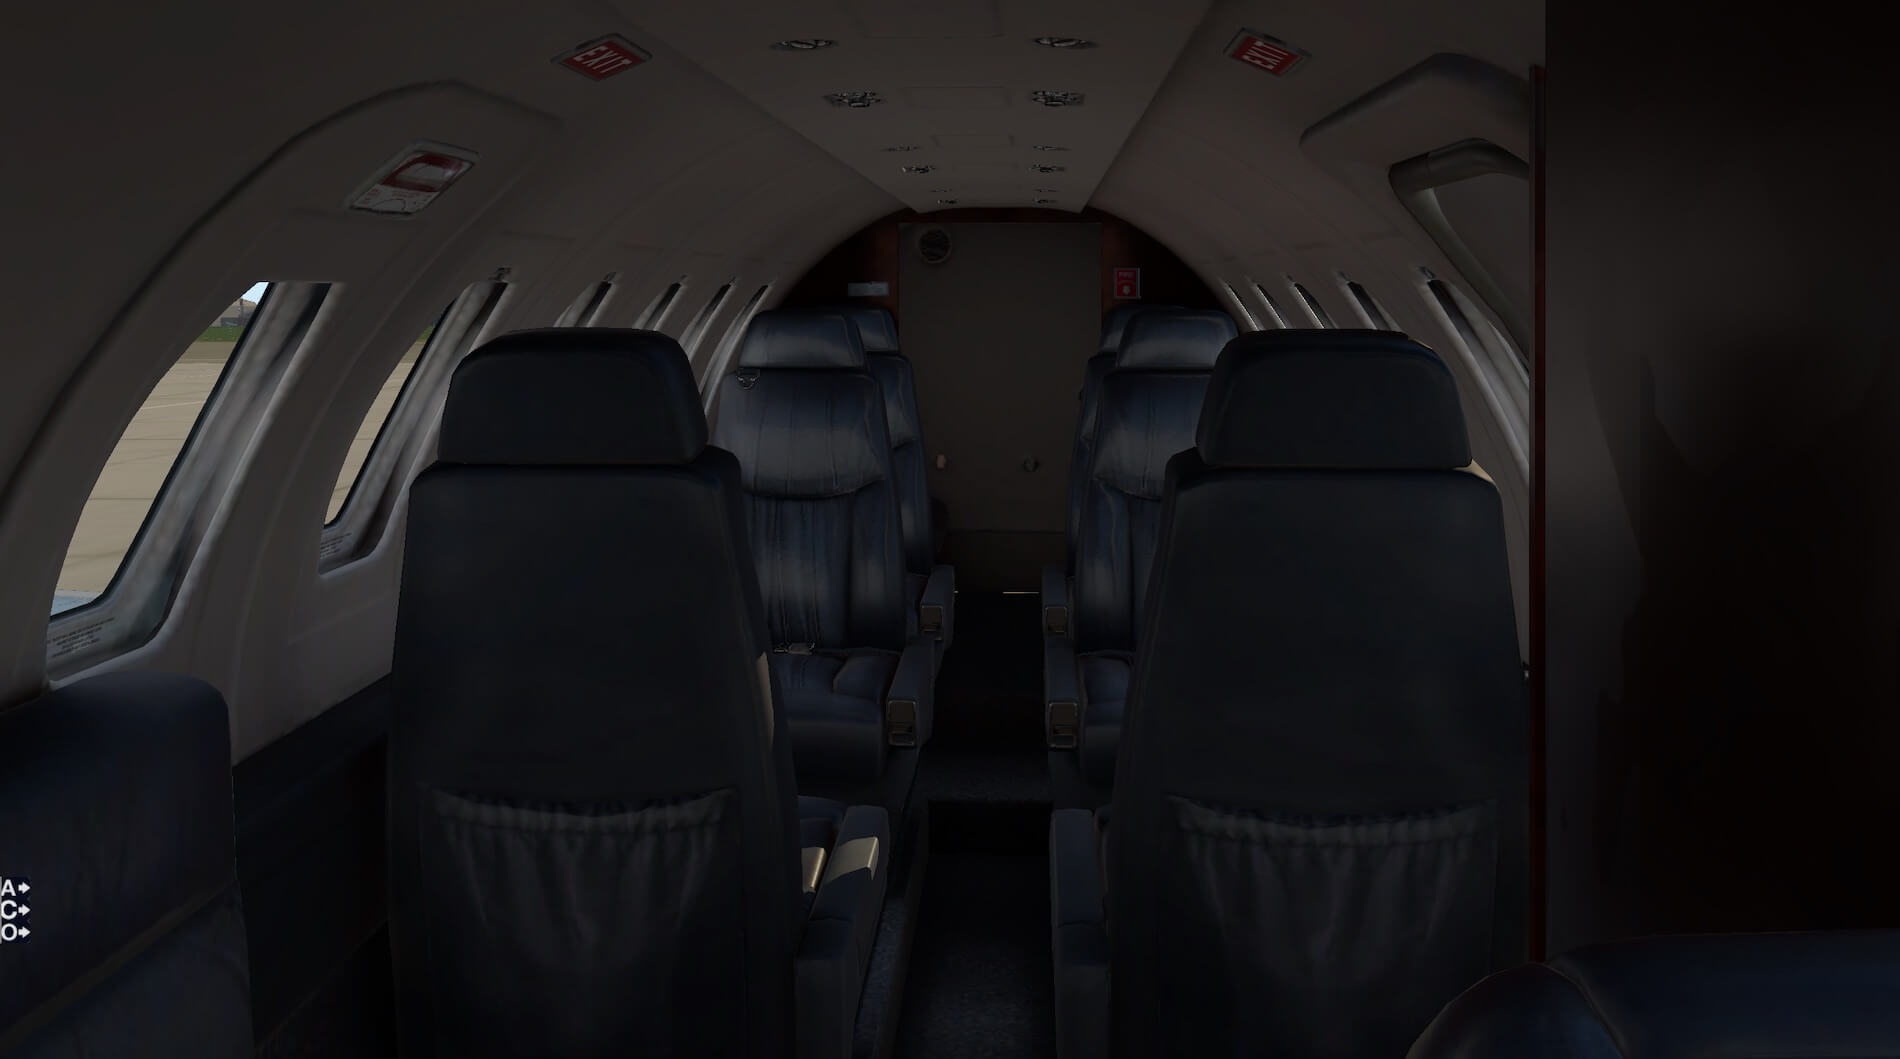
The checklist requires for the emergency exits to be checked along with the passenger seats and seat belts. This an opportunity to view the high quality of the colours and textures within the cabin. The individual seats are modelled in detail and the floor and wall coverings add to the atmosphere of the cabin. Light coming in to the interior from the outside creates the highlights and shadows that bring the cabin to life.
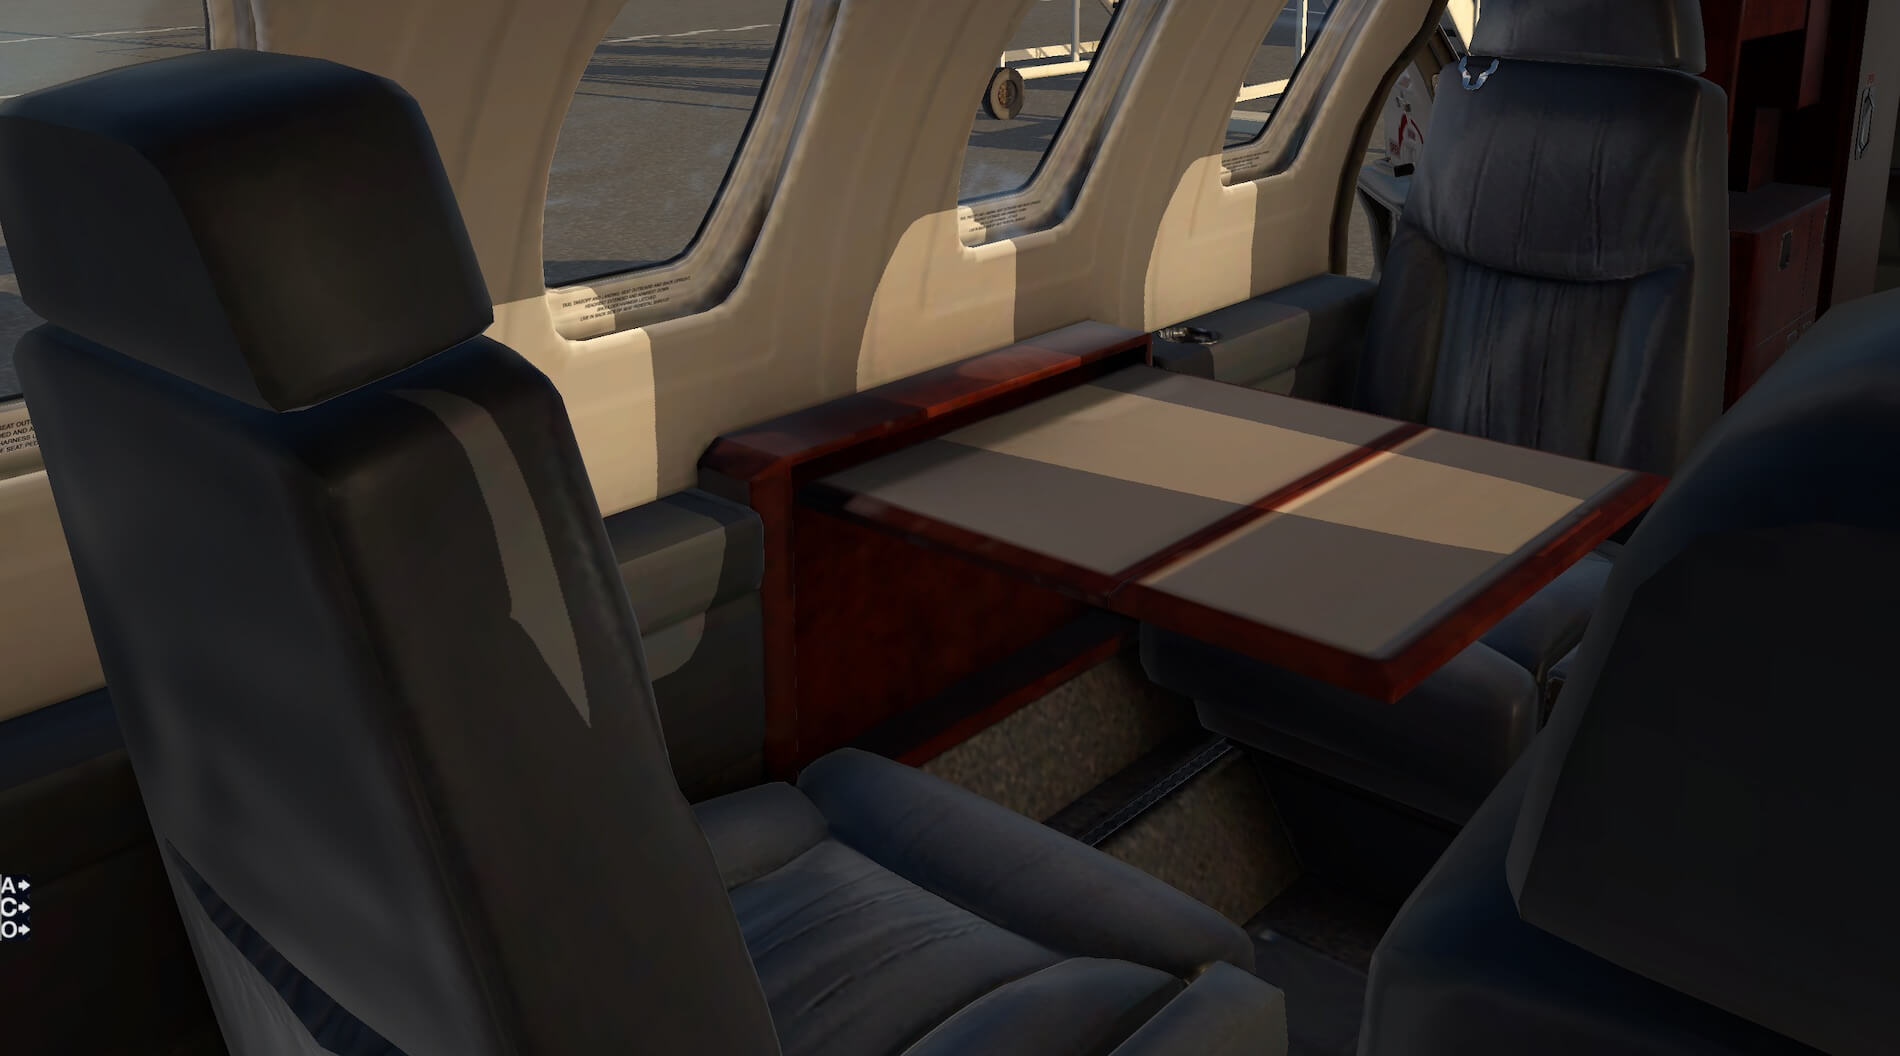
This is laid out with high standard leather seating and the appearance and colours used are very convincing. Checking the seat belts showed the material of the belts themselves creates a real contrast with the seats and the metal buckles have a shiny clean appearance. The furniture within the cabin area is modelled in detail, with moving tables, and the fire extinguisher position is clearly marked.
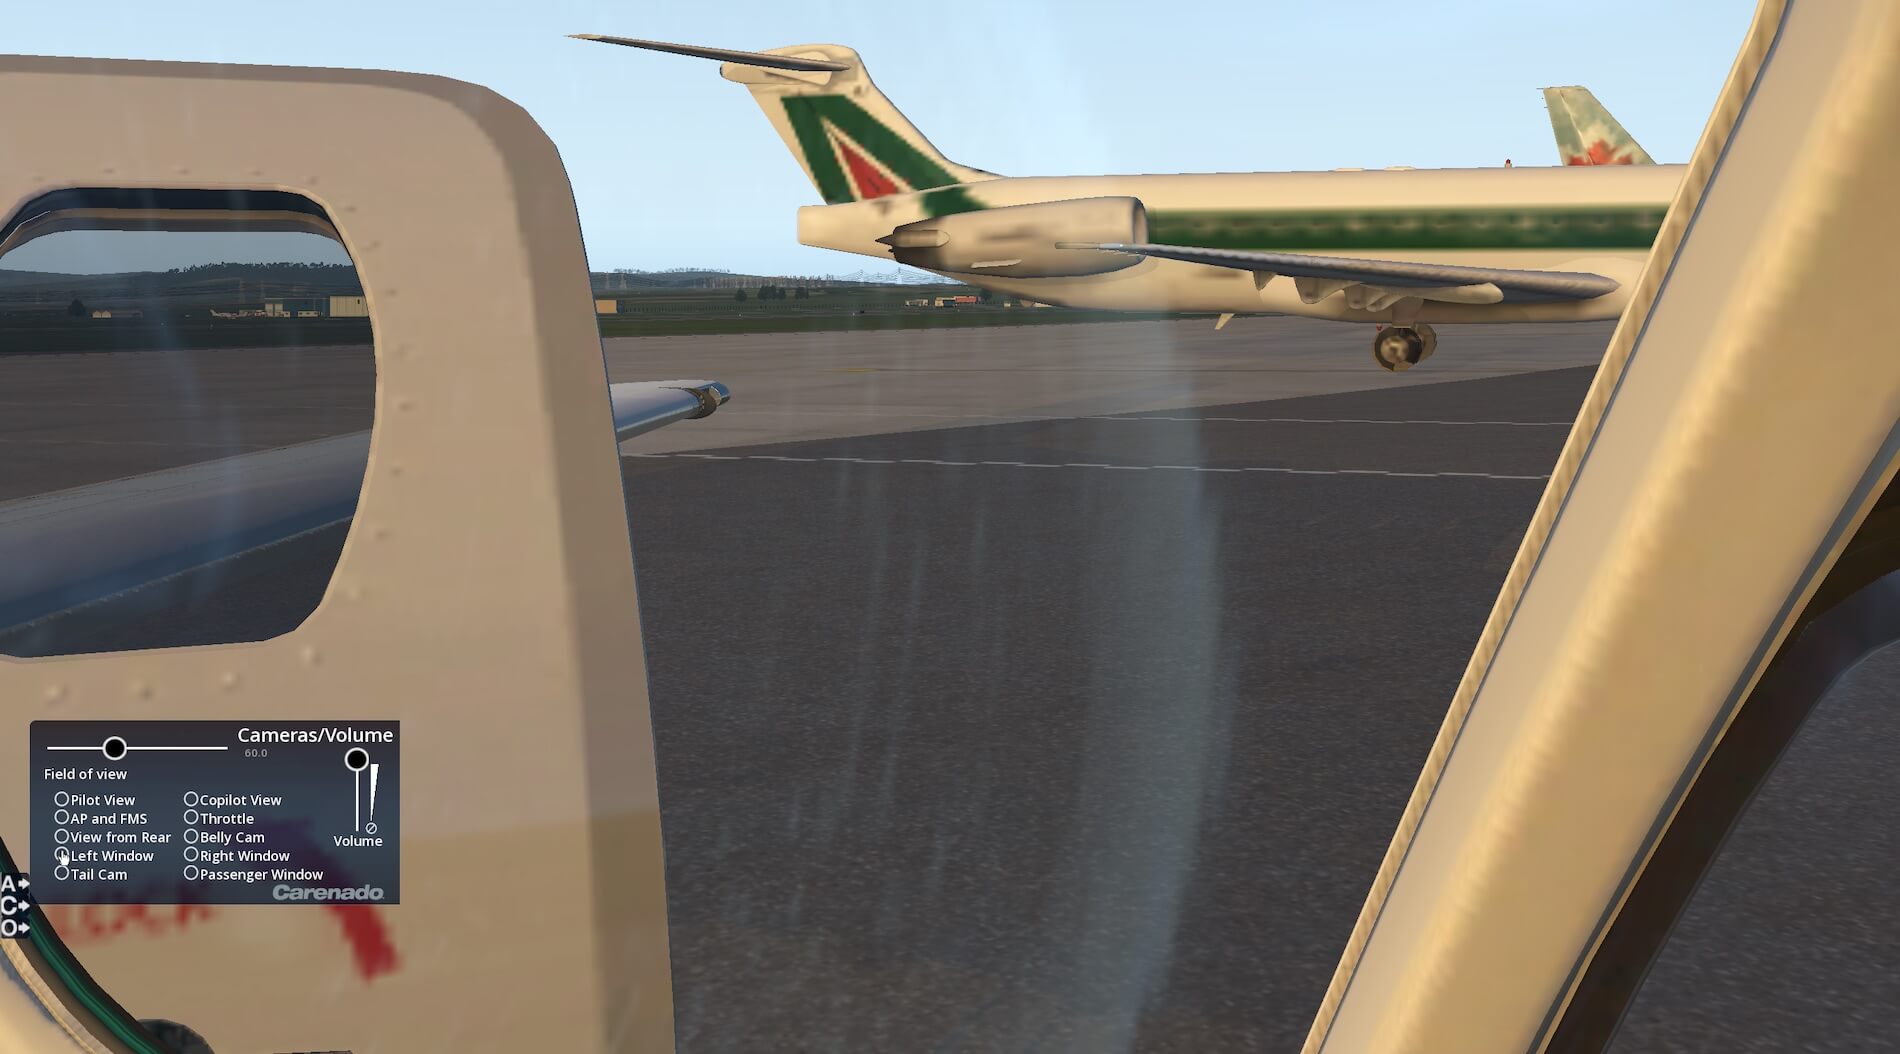
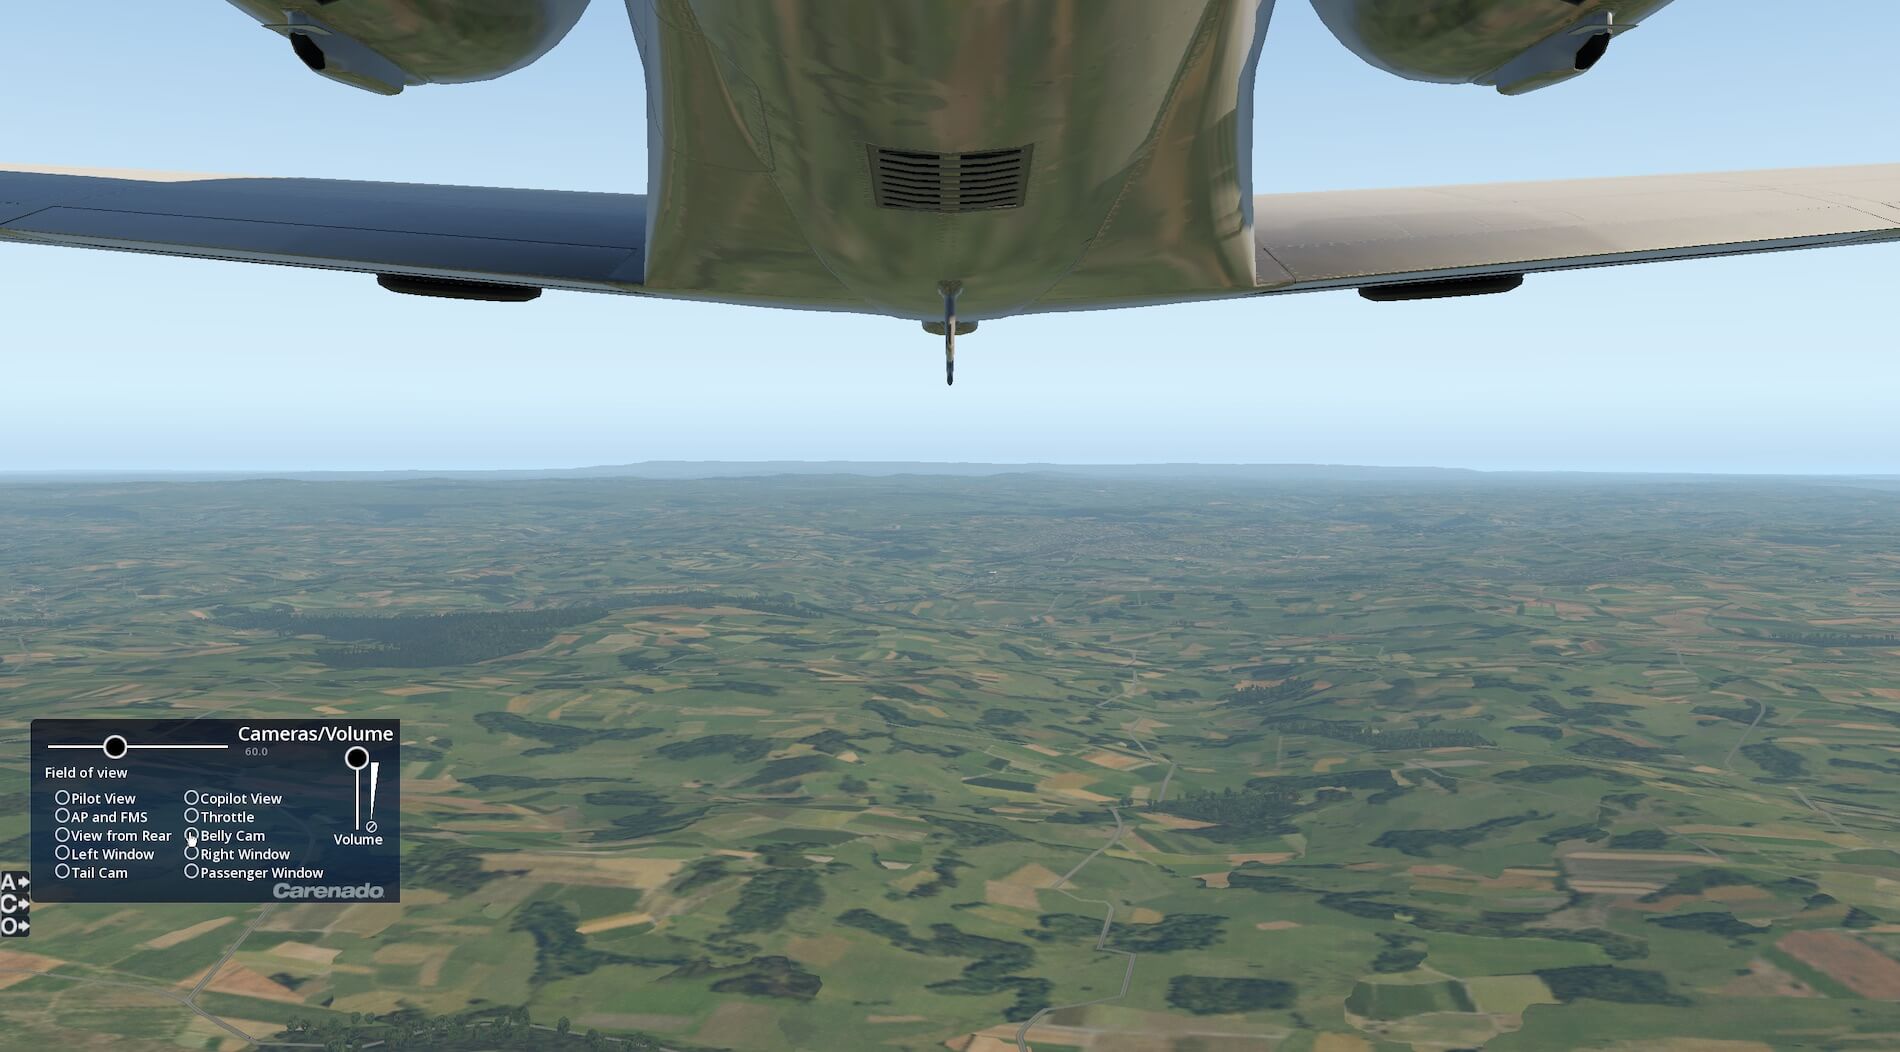
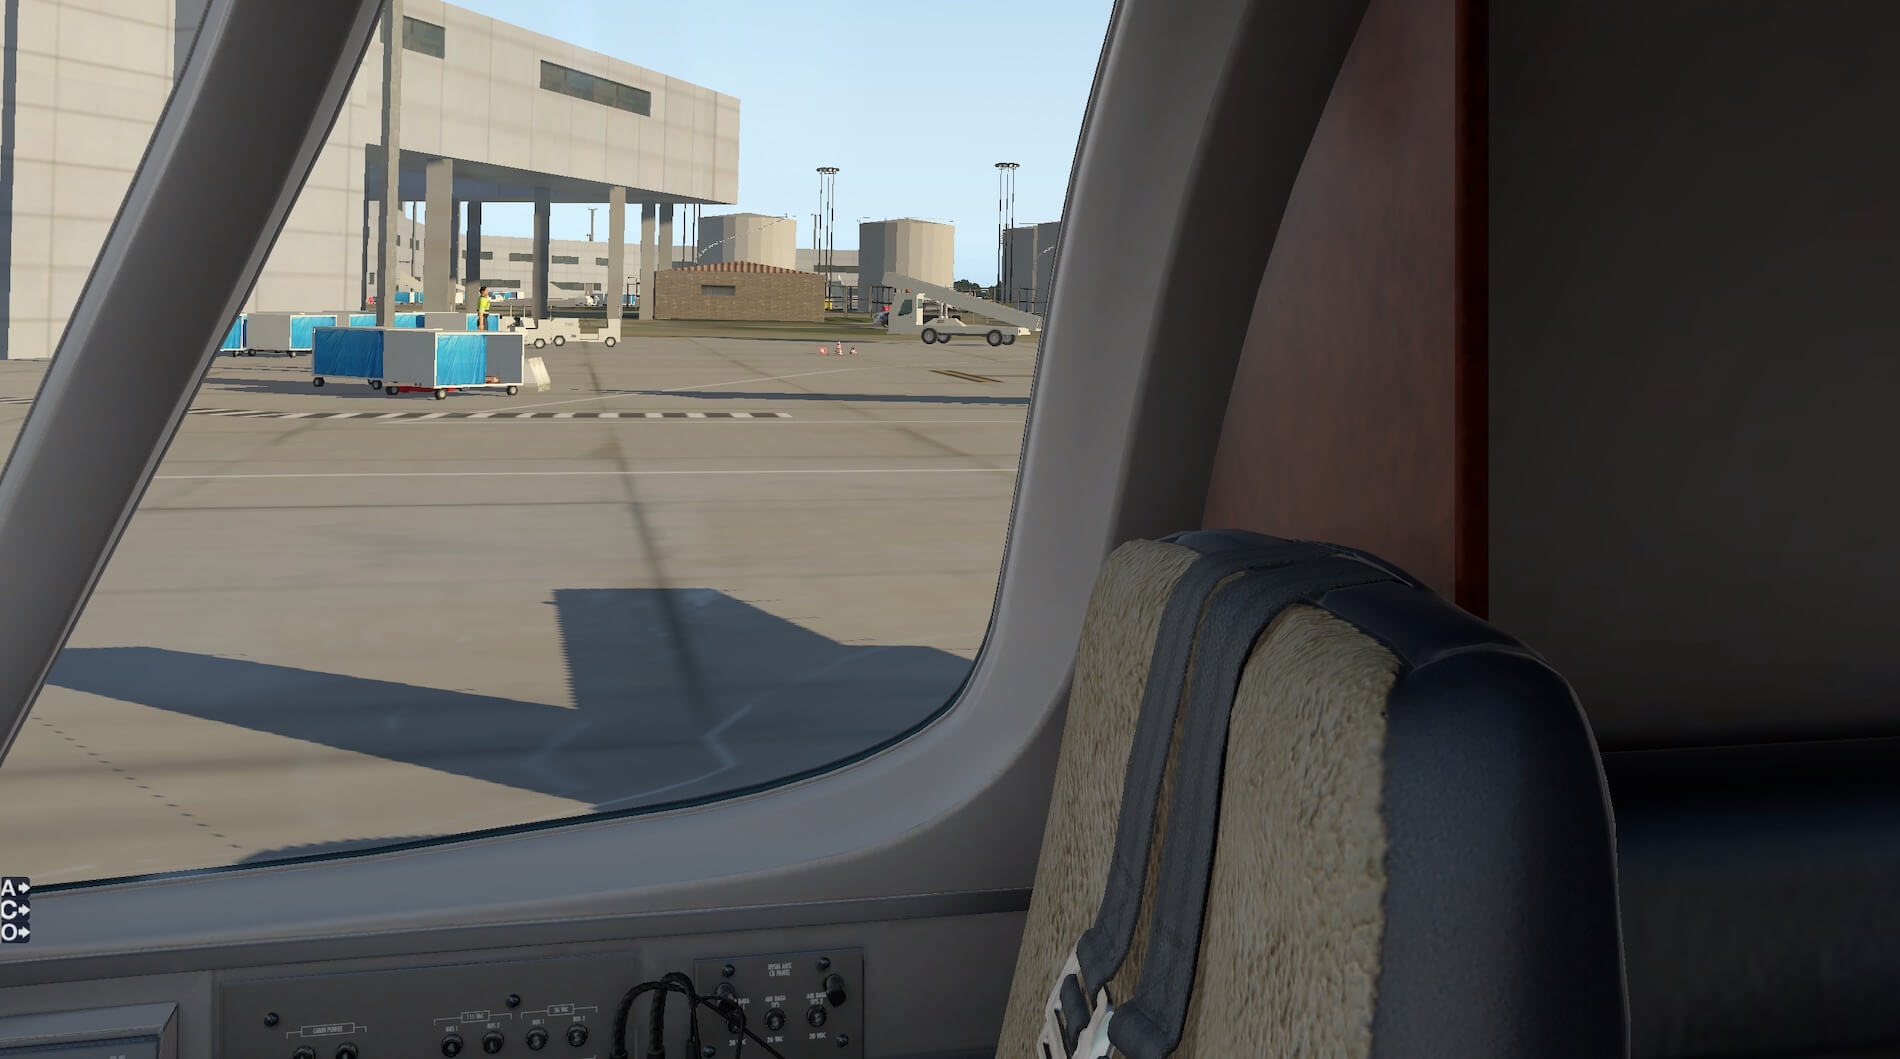
Advice and warning signs to passengers remain crisp and legible and views through the windows to the outside of the aircraft are clear with surfaces and colours appearing as expected. The camera options allowed for a view from the rear of the aircraft towards the cockpit and again, even at a distance, the cockpit detail looked impressive.


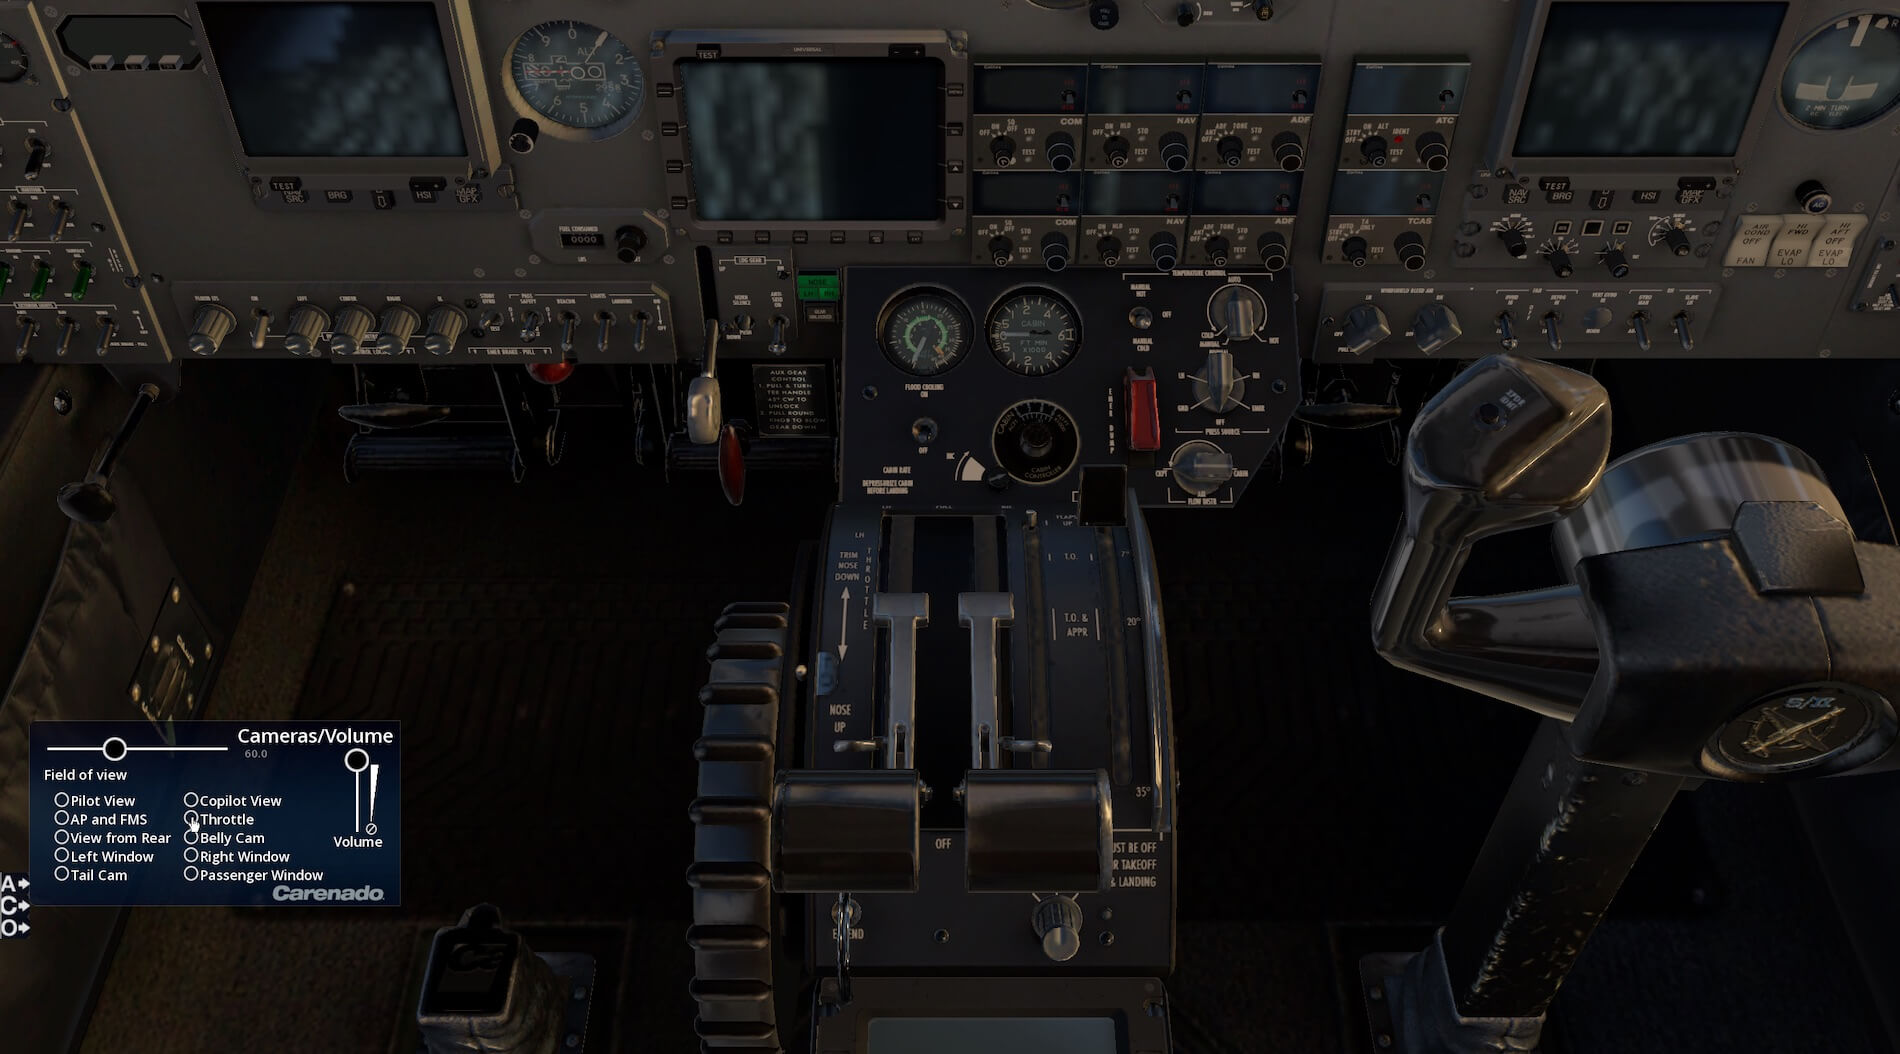
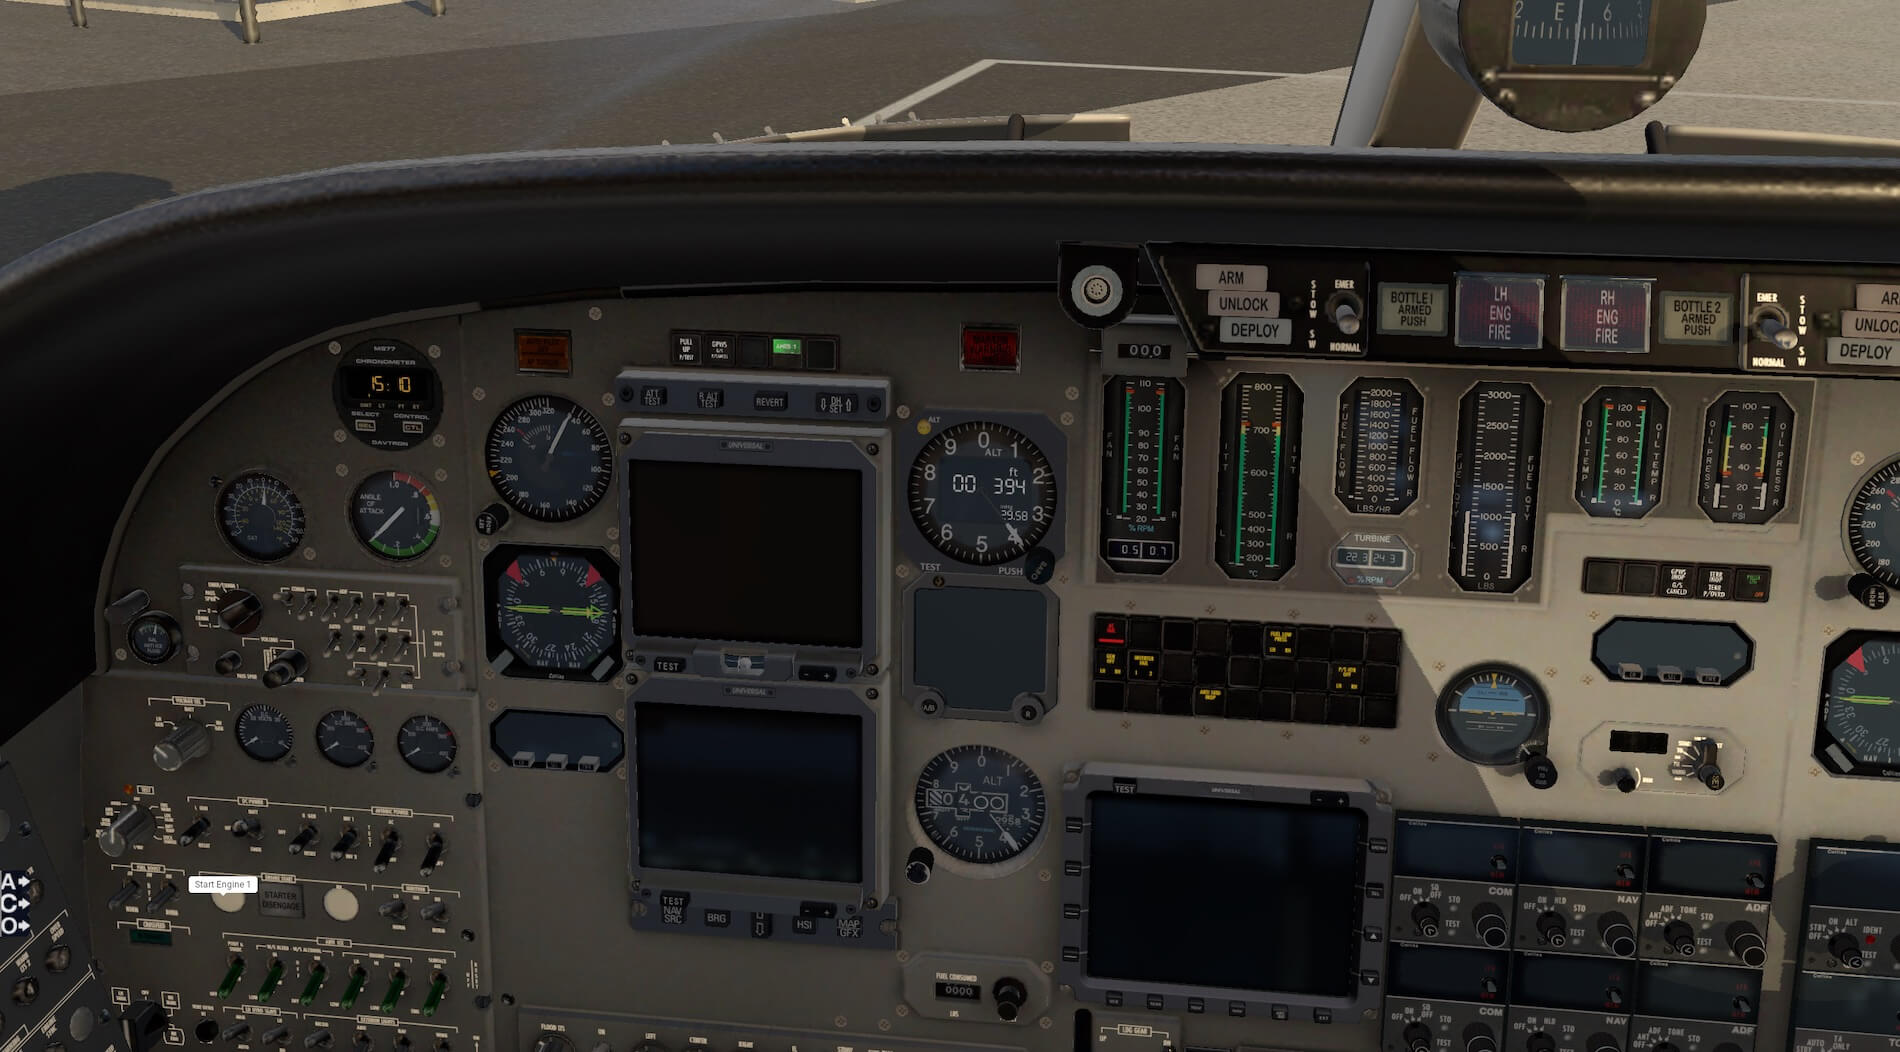
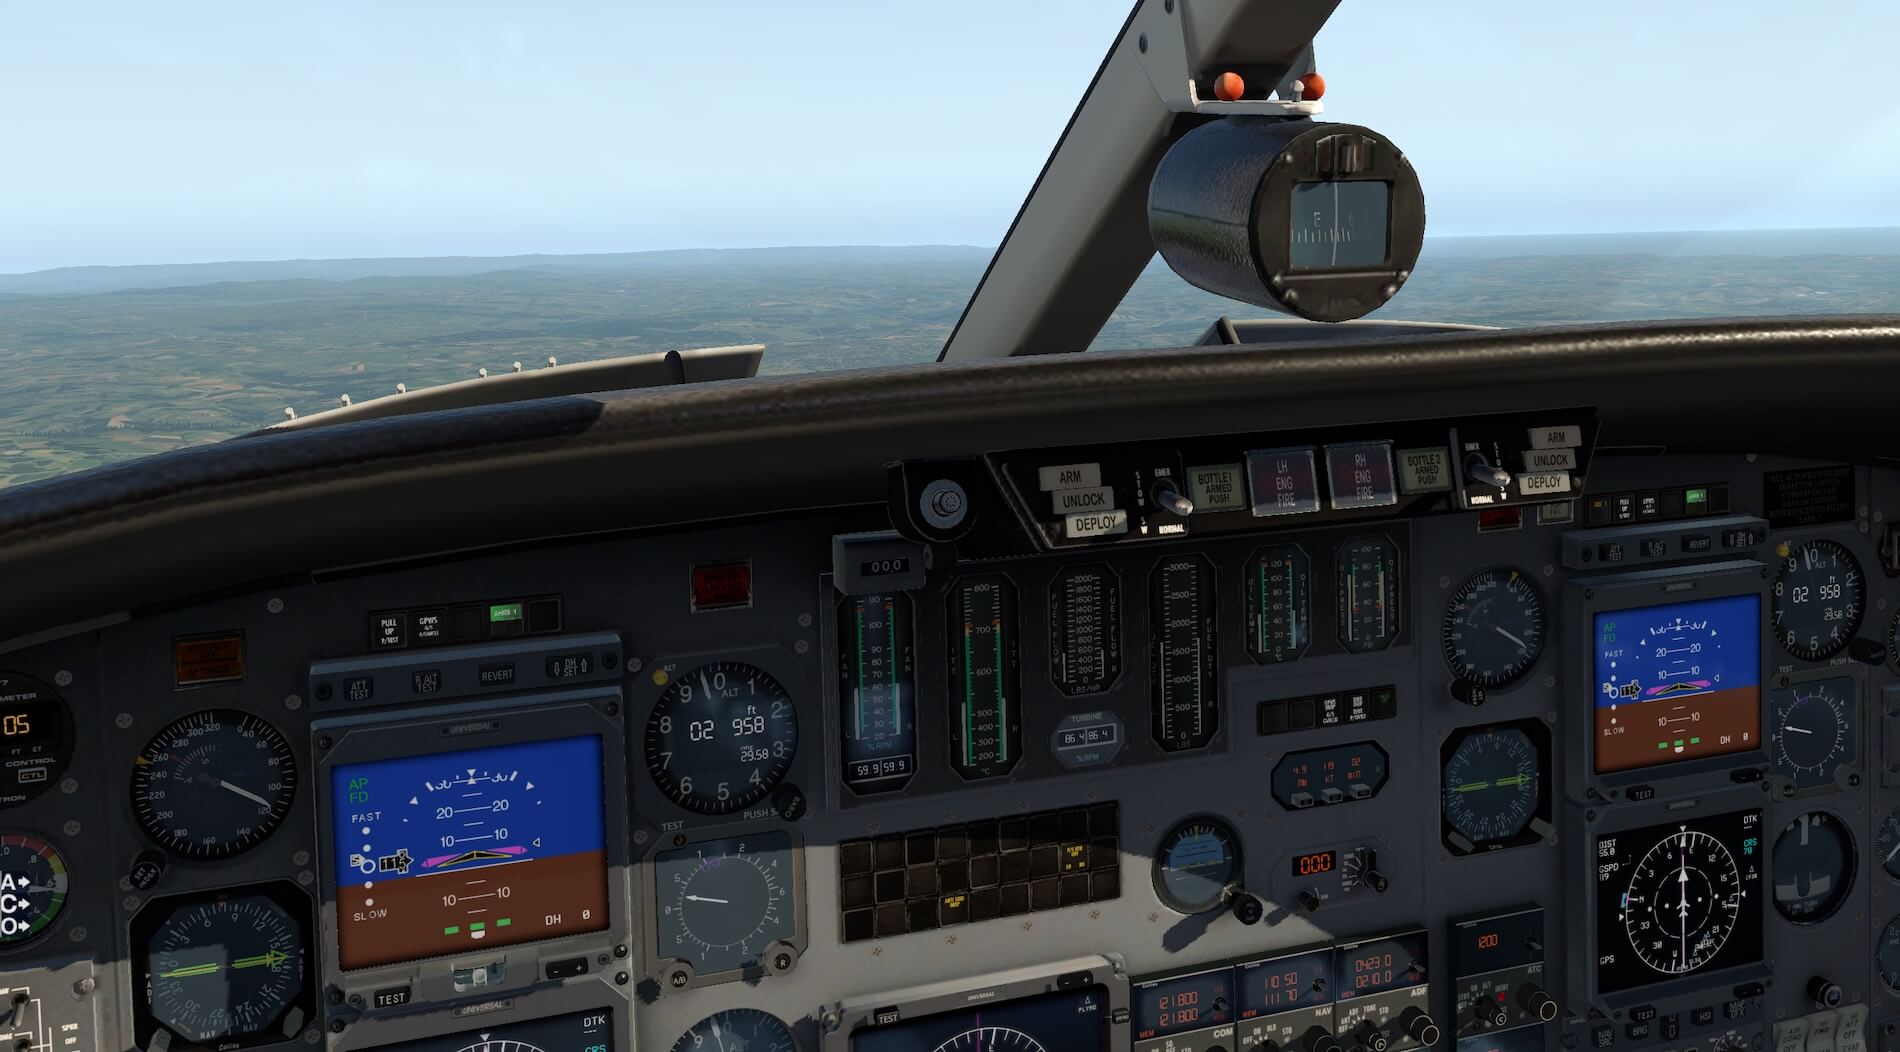
Moving forward to the cockpit the level of detail is highly impressive as the clarity and colour of the instrumentation. The labelling and advice information across the instrument panel is all clearly legible and in some way mitigates the need for a cockpit diagram in the documentation as all switches, levers and dials are clearly marked.
The glass displays were off at the time of this initial check and the surfaces reflected realistically. The instrumentation and controls are modelled with a reasonable degree of wear and tear but as this is clearly a jet for executive transport it is modelled to show a high degree of maintenance and care. The different materials that comprise the cockpit have their own textures and reaction with light and shadow.
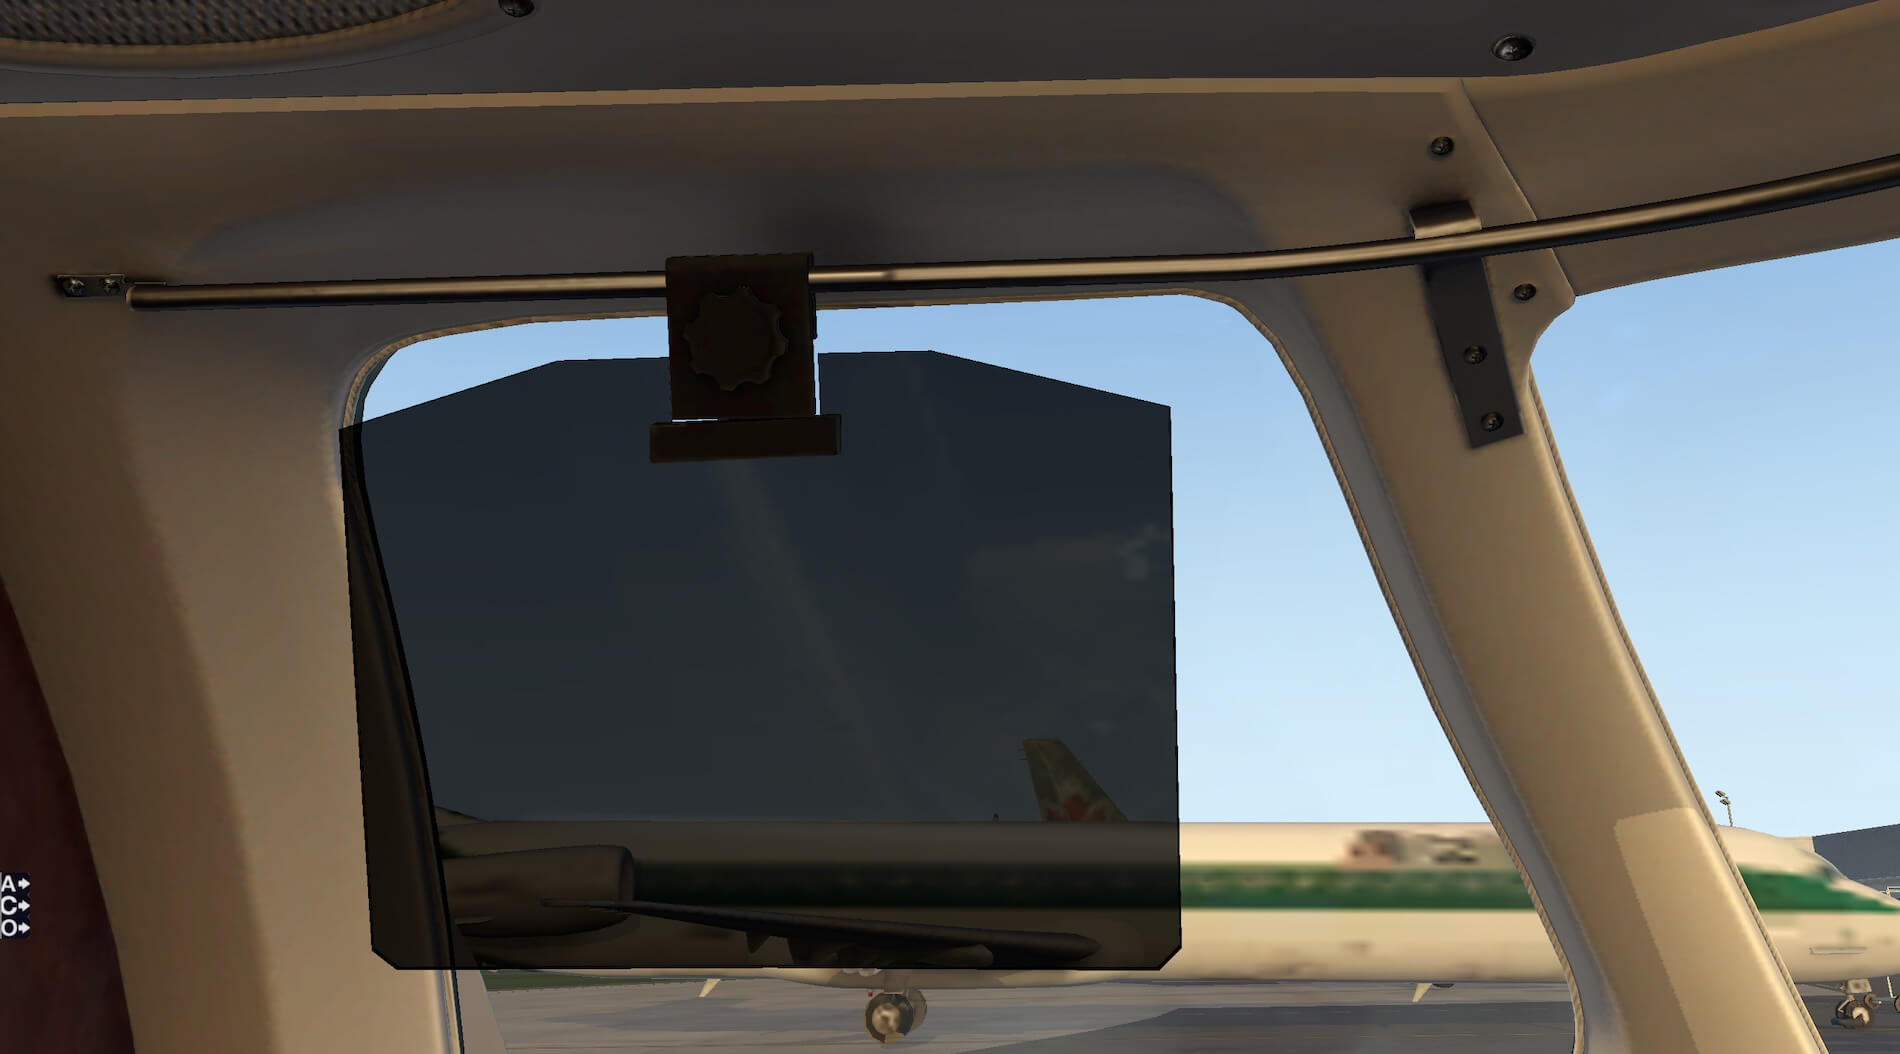
This makes the whole presentation highly effective and convincing. The cockpit divider can be opened closed, separating the cabin and cockpit and the sun visors can be moved up and down and also slid along their own rail to be positioned wherever they are required. The pilots window is modelled to open and close.


The checklist required I checked various settings through out the cockpit and I was able to locate the controls and instruments required to carry out most of the procedures whereas others such as foot-warmers were difficult for the developers to recreate for me! Moving around the instrument panel for these initial checks showed the high standard of modelling. The circuit breakers are all modelled and labelled.
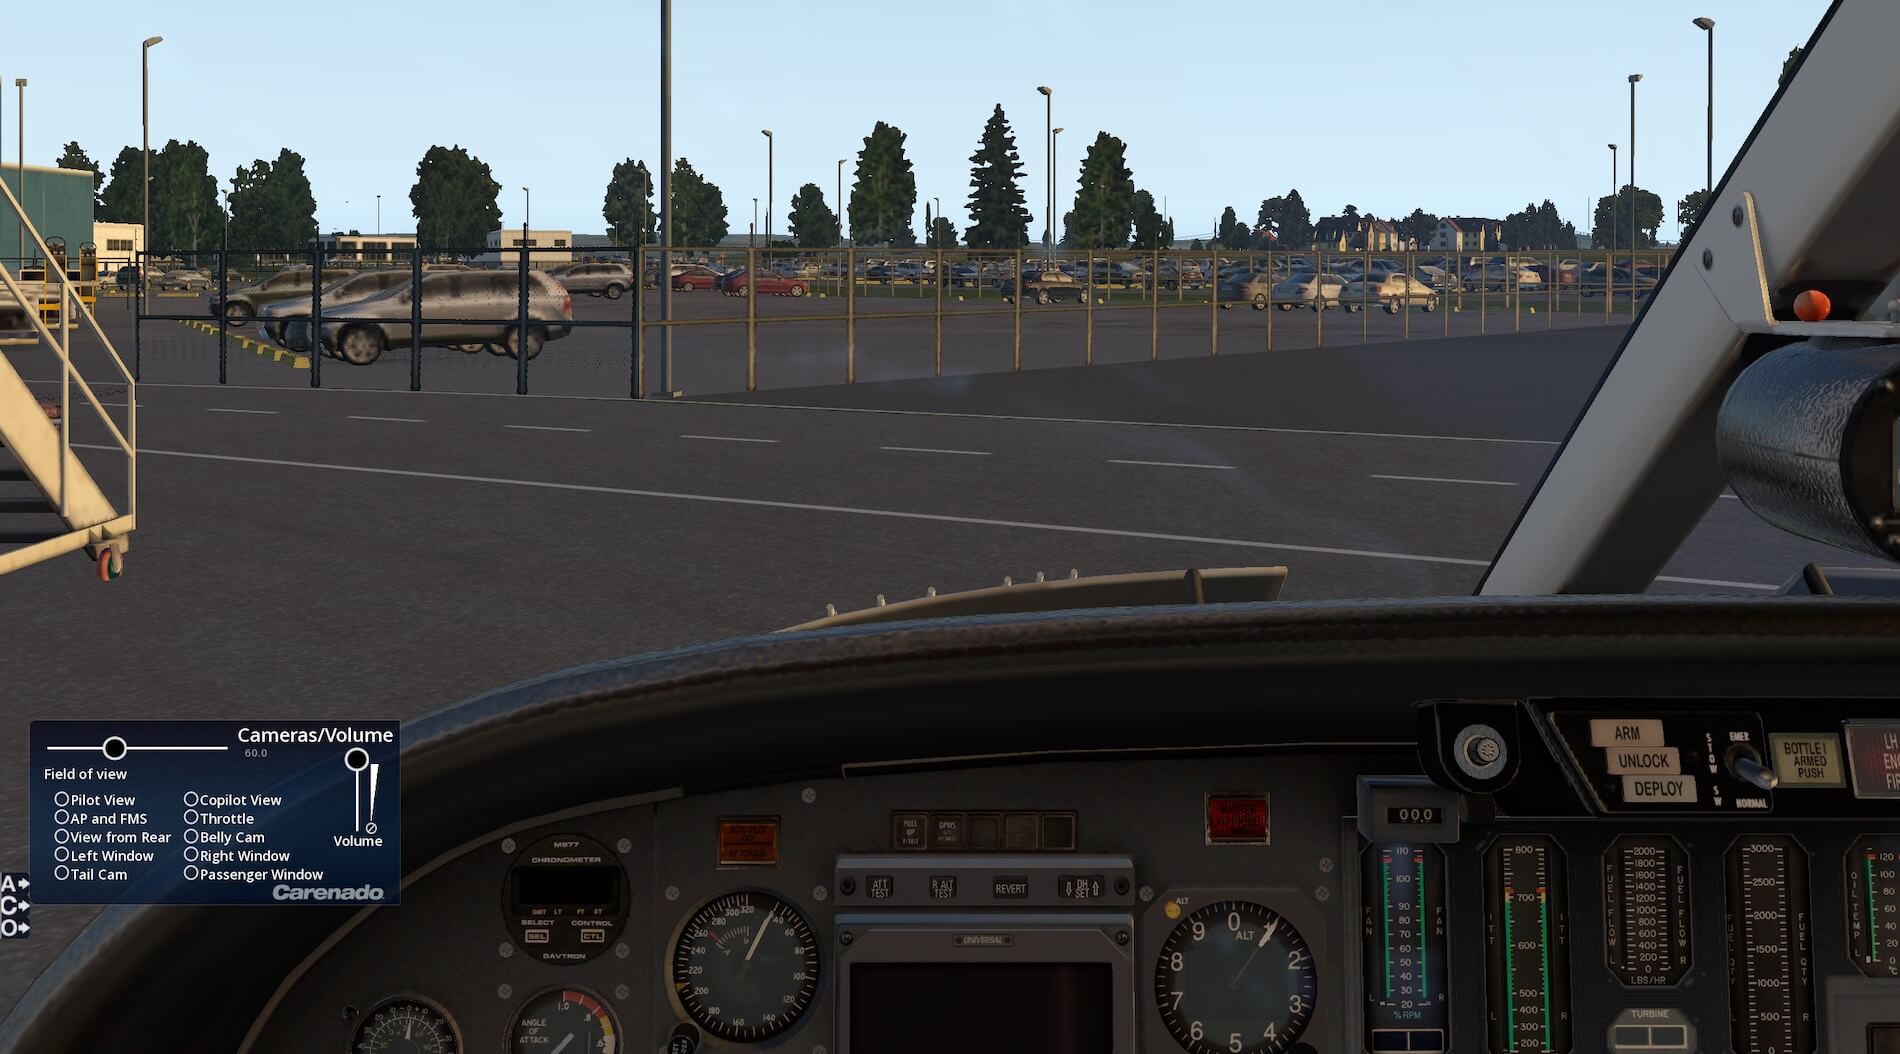
The camera options allow for views from the pilot seat, the copilot seat and the left and right windows. They also allow the user to quickly move the view to the Autopilot and Flight Management System and also the throttle. This helps the user when doing preflight checks but is also useful in flight when moving from one task to another.


When the light is lower and lighting is required the cockpit maintains its impressive presentation and the interior lighting can be controlled and adds to the atmosphere. Individual lights in the cockpit and the cabin can be moved manually to shine in a desired direction. This model is very impressive when viewed in the interior.
The textures, colours and detail make the whole aircraft an immersive experience and create a real atmosphere within the aircraft. The developers have produced an environment in which using the model is a real pleasure.
Sounds
Starting with the engines running, and systems on, the aircraft sounds smooth and sophisticated and the internal sounds are not much different from a modern airliner, adding to the atmosphere of the aircraft. Increasing the throttle raises both the jet whine and the low rumble and creates a very convincing engine noise, and opening doors and windows, which sound realistic, increases the volume and depth of the sound.
Switches and levers all have clear crisp sounds which are not only realistic but serve to confirm an action has been completed. Warning alarms are loud and clear and sounds also confirm actions on the Flight Management System. Preparing for take off the flaps move with a convincing noise.
Ground noise is present, though not overbearing, during taxi and take off and the undercarriage retracts with its own sounds. The engine noise reacts well with throttle changes. In-flight sounds are clear both in terms of alarms and voice warnings. Landing is accompanied by realistic control surface noises and the undercarriage makes a reassuring sound as it locks down.

Again ground noise is realistic as are the sounds that accompany a crash! This is a very good looking model and it is equipped with a sounds package that augments its detailed appearance and enables the user to become immersed in all aspects of using the aircraft.
Systems
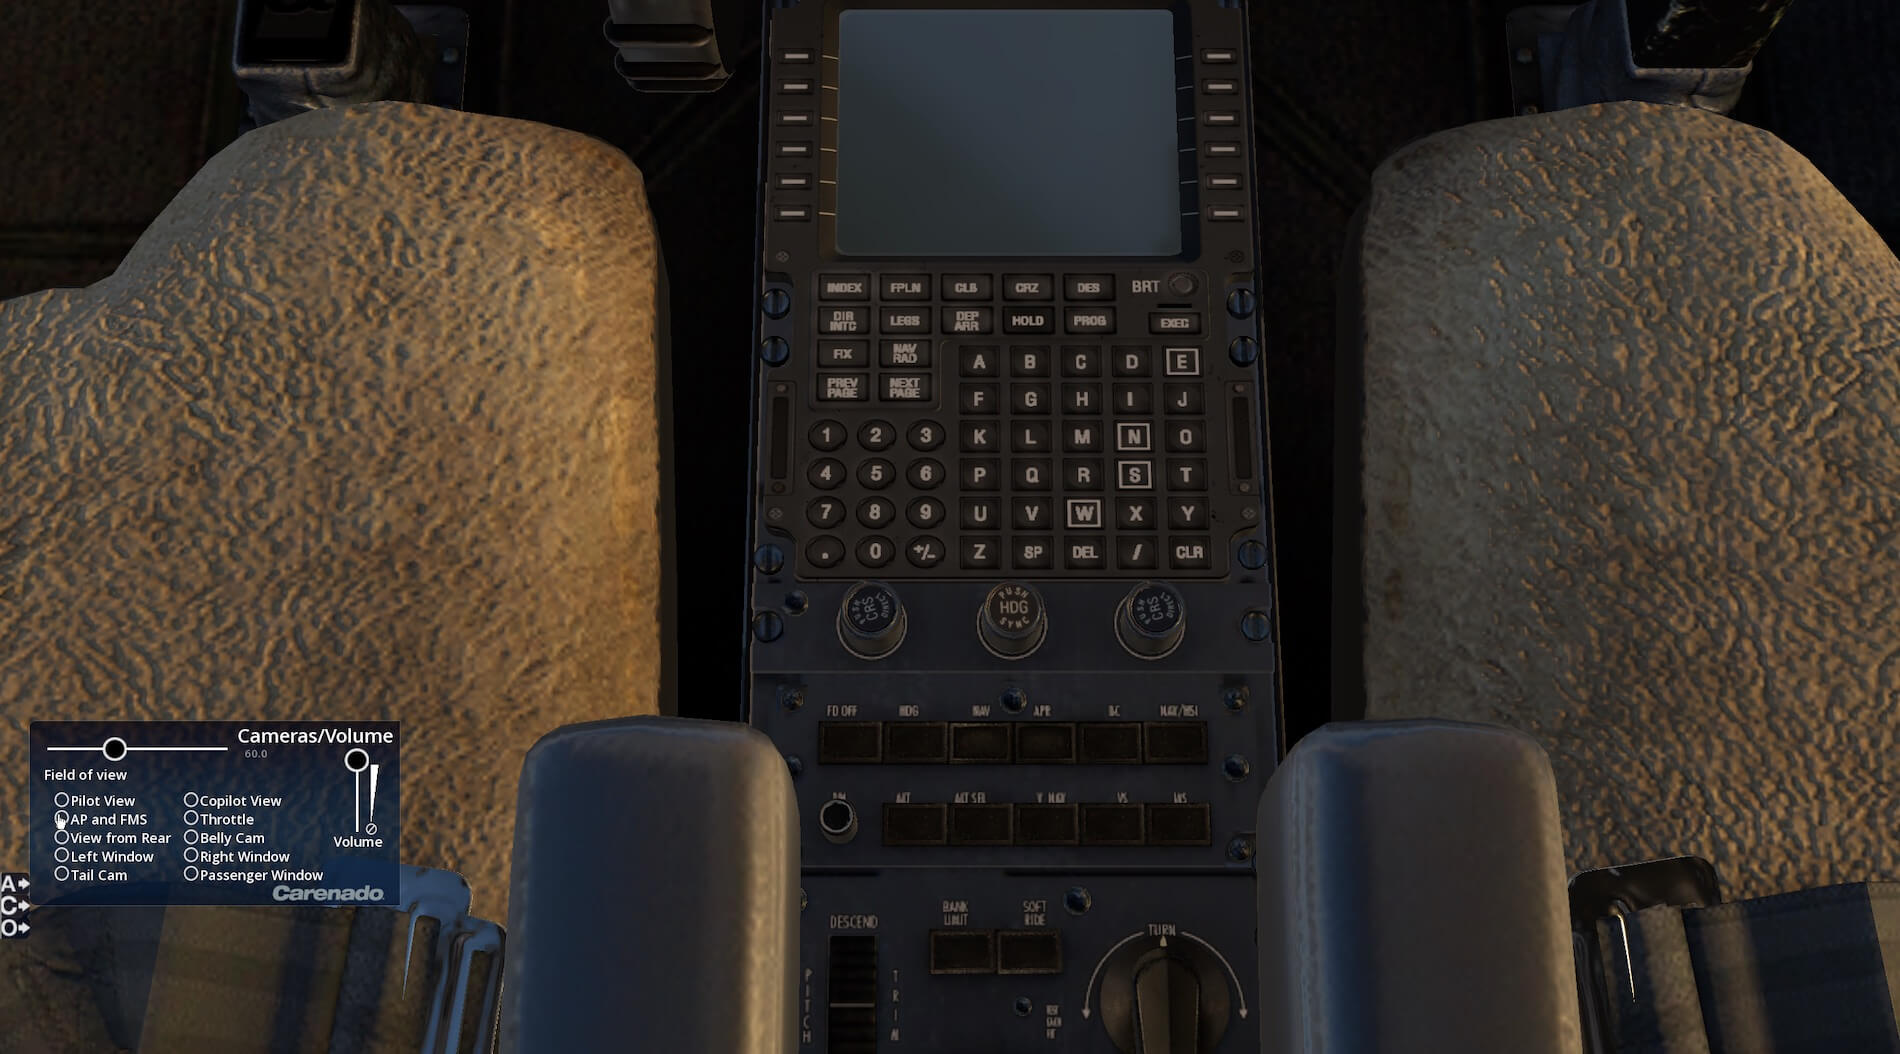
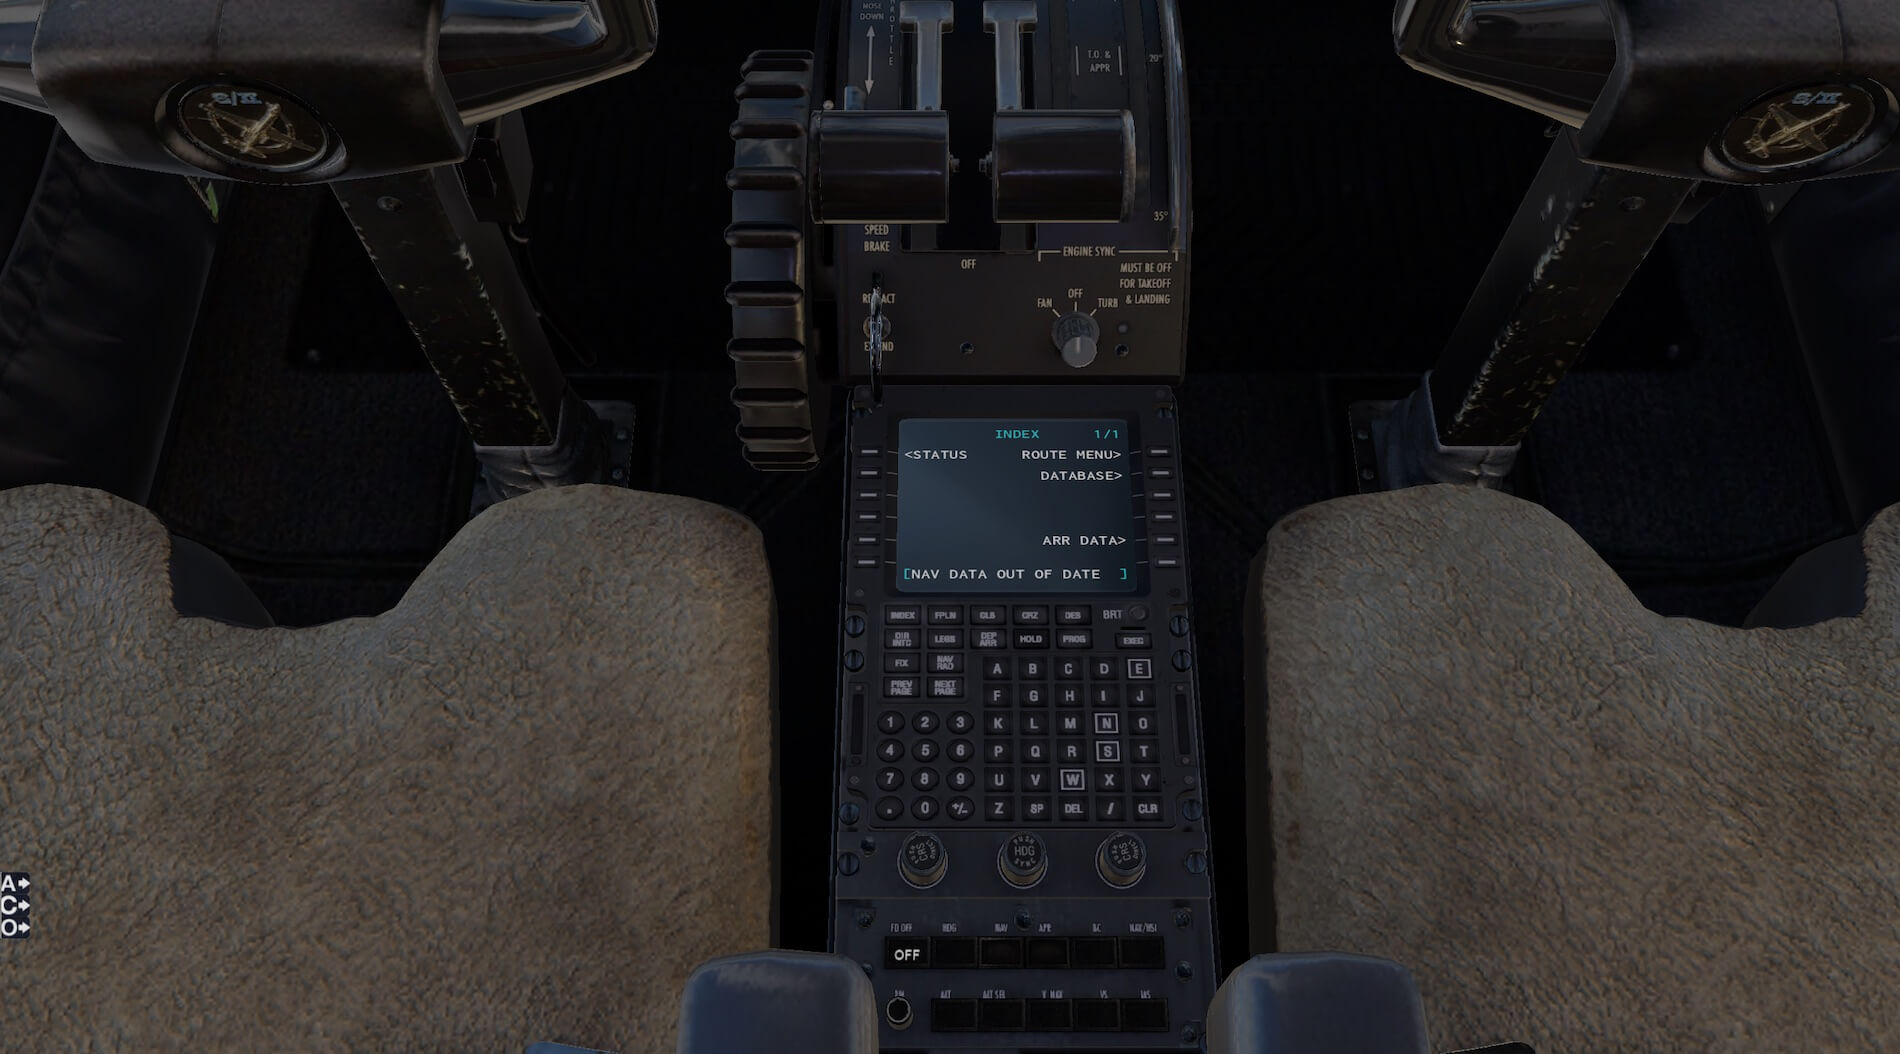
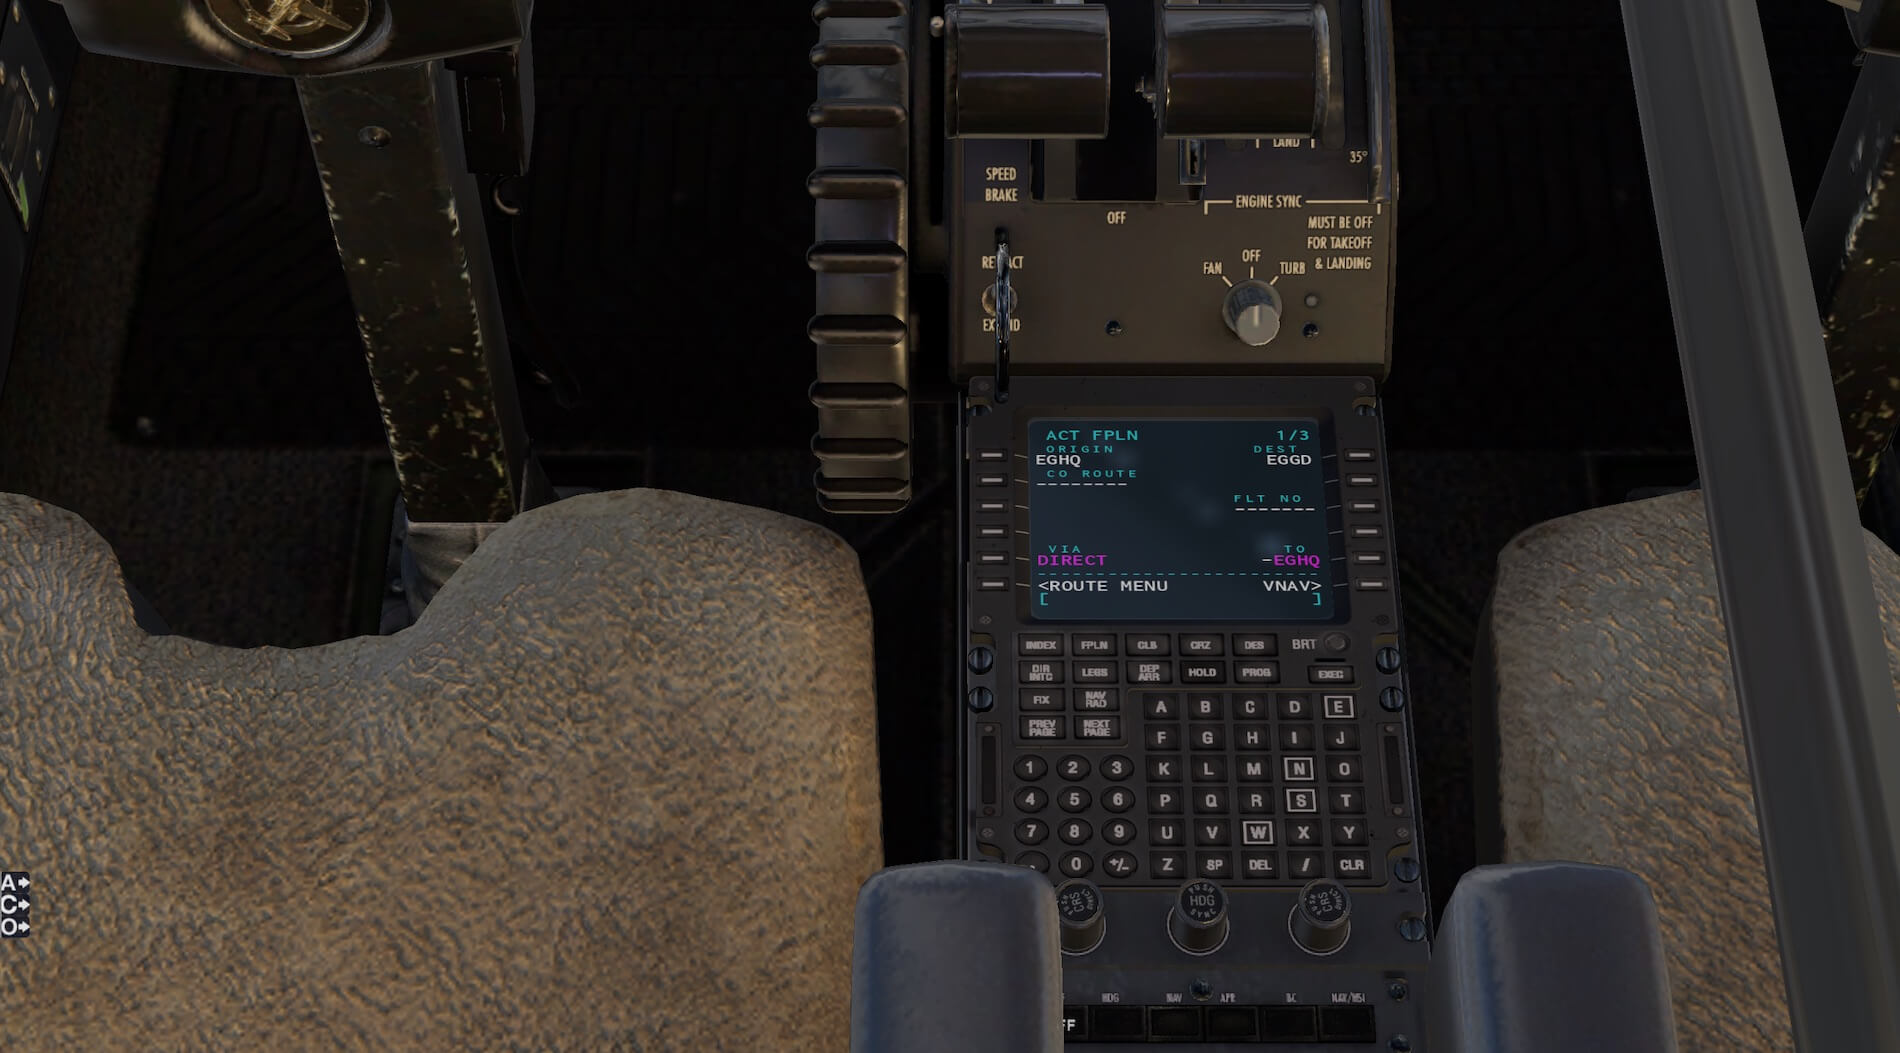
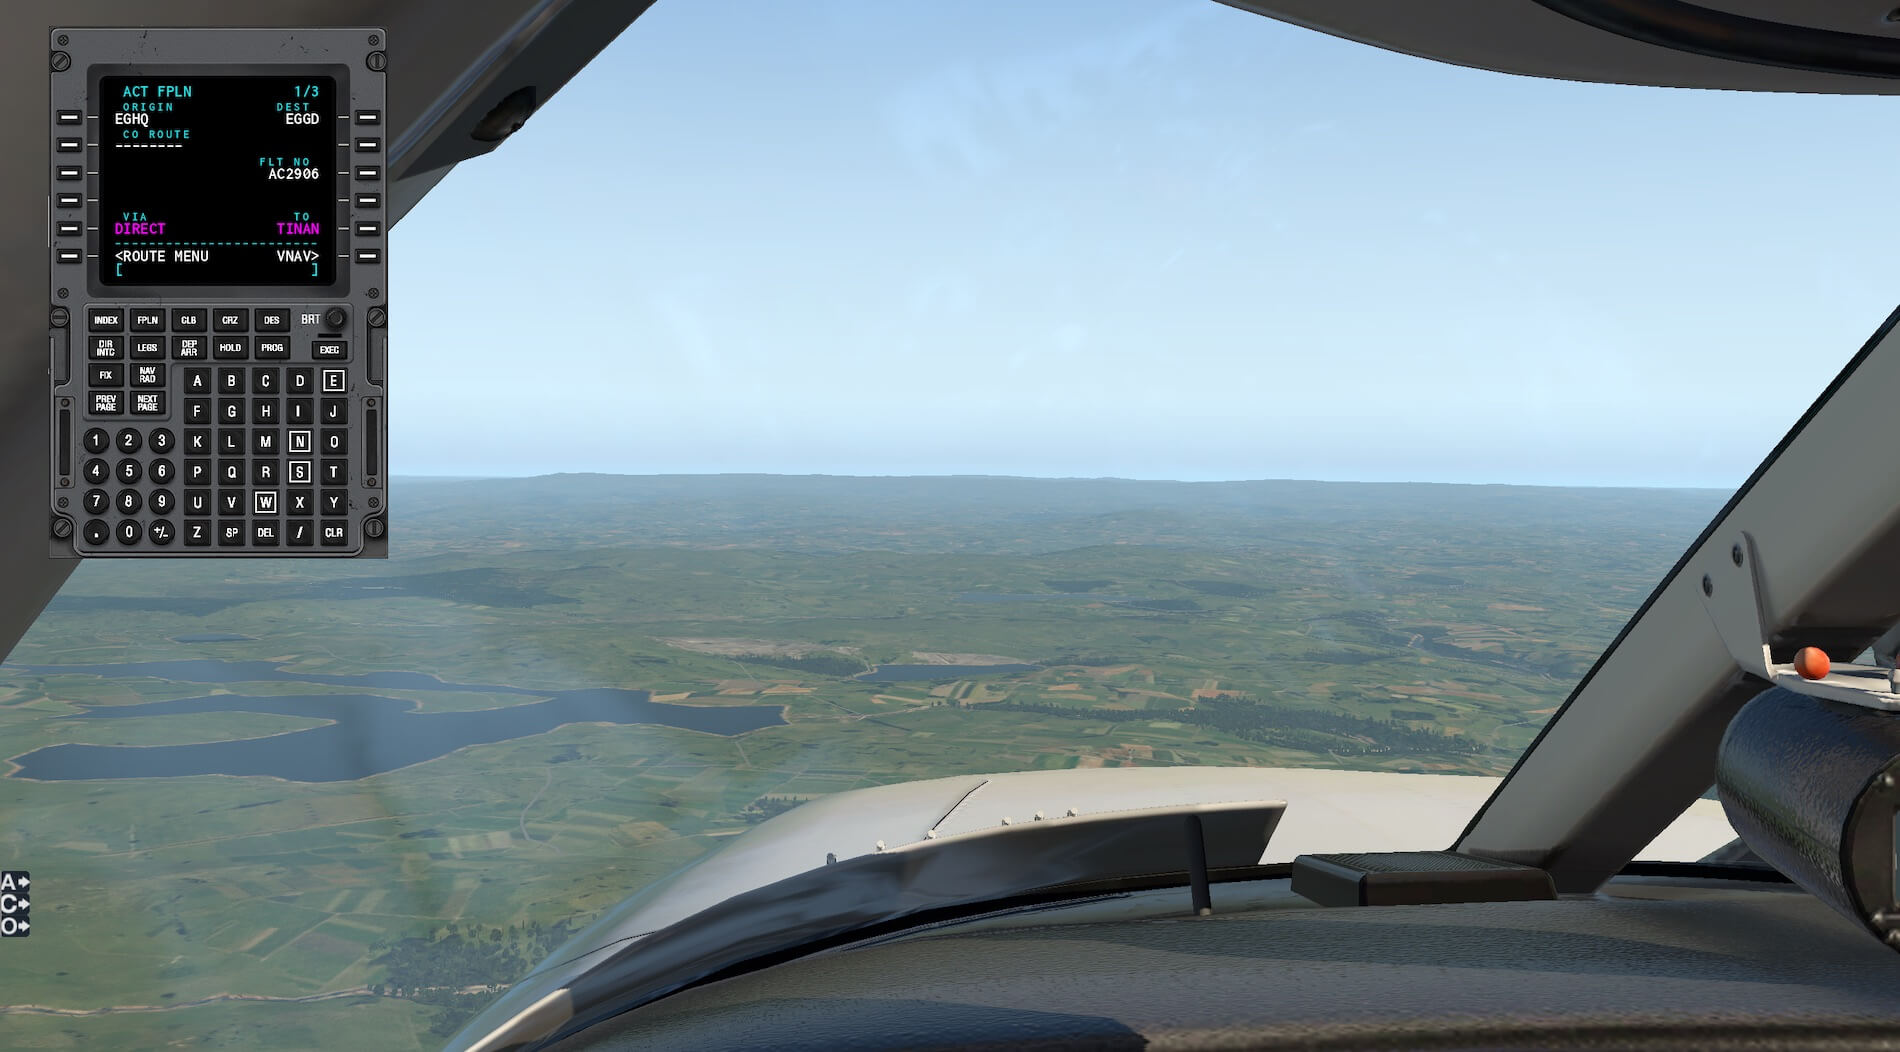
The model comes equipped with the X-Plane Flight Management System and this can be used in the console between the two pilots seats in the pop out window. The document folder contains an item which covers the use of the FMS.
The aircraft is also Goodway compatible and using the model with that particular plug in is very straight forward as the aircraft is immediately recognised, and therefore the performance data is automatically entered, and the route planned is loaded when required. This leaves the user to enter start and finish details for the flight but the actual flight planning process is simplified.


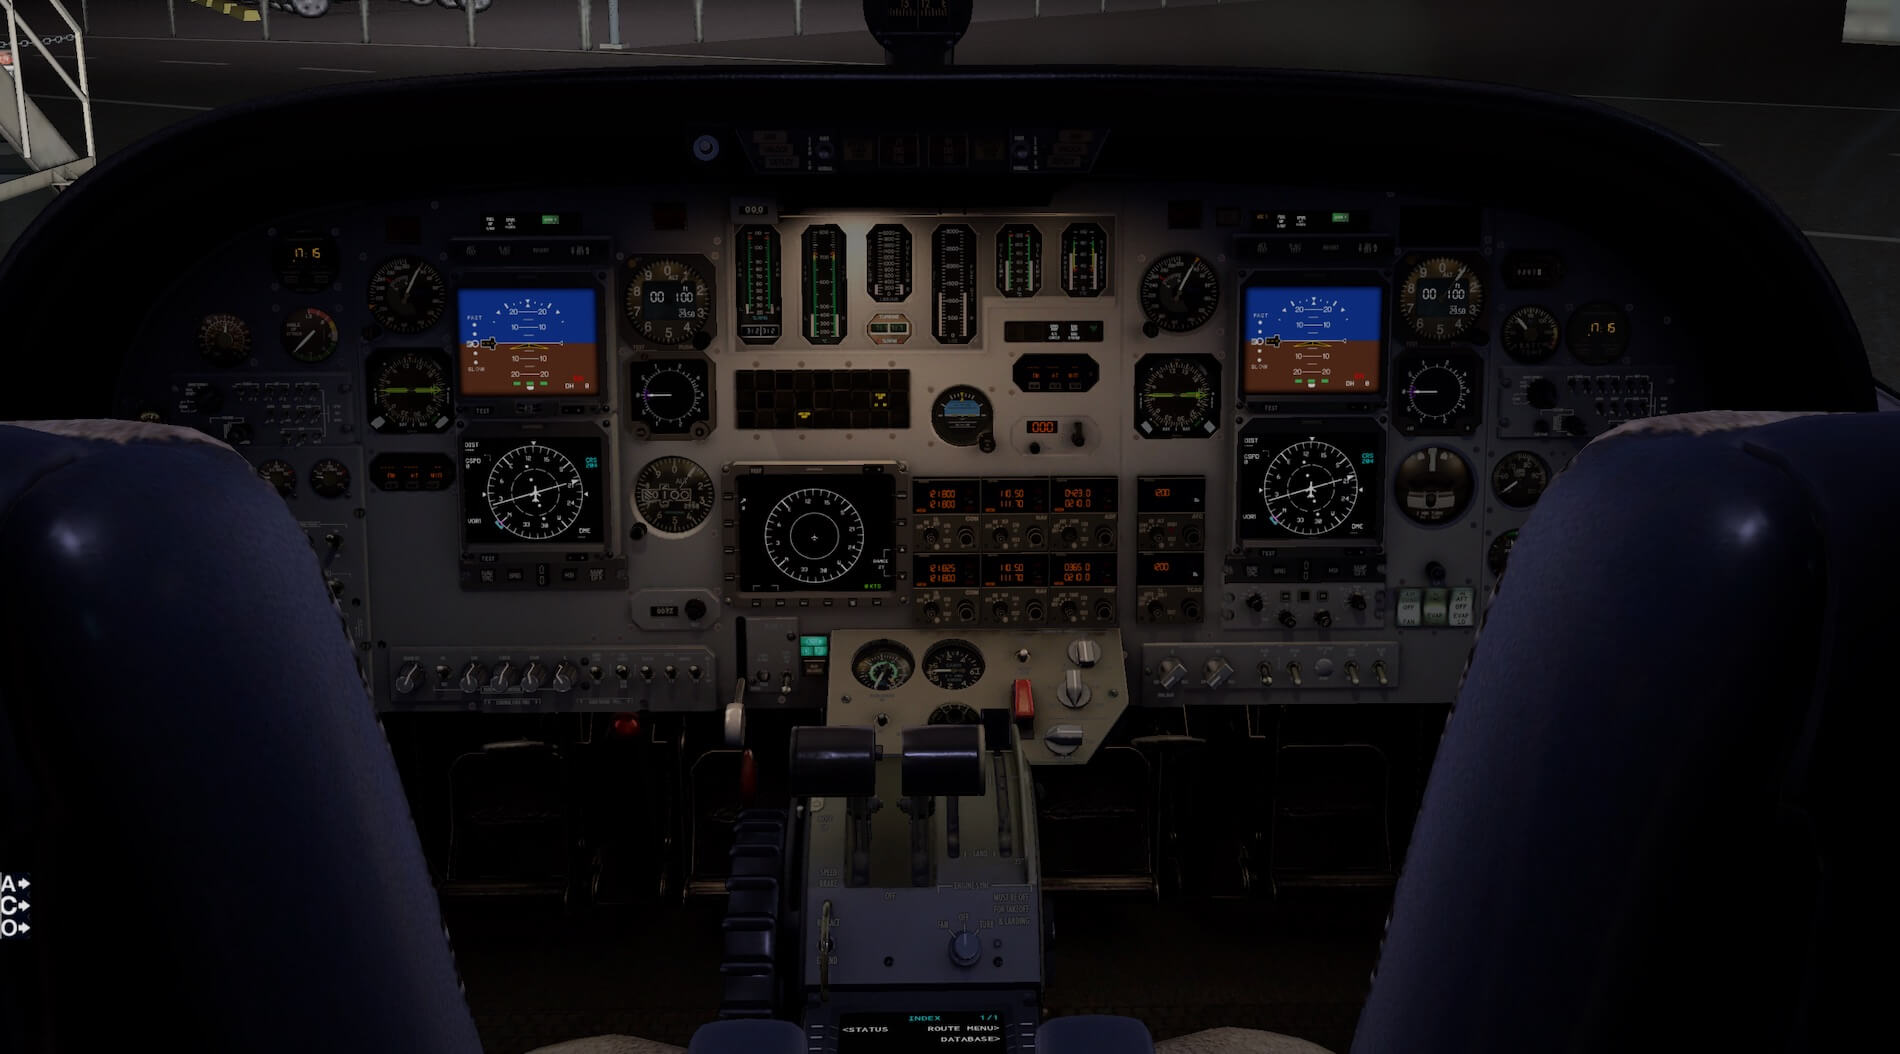
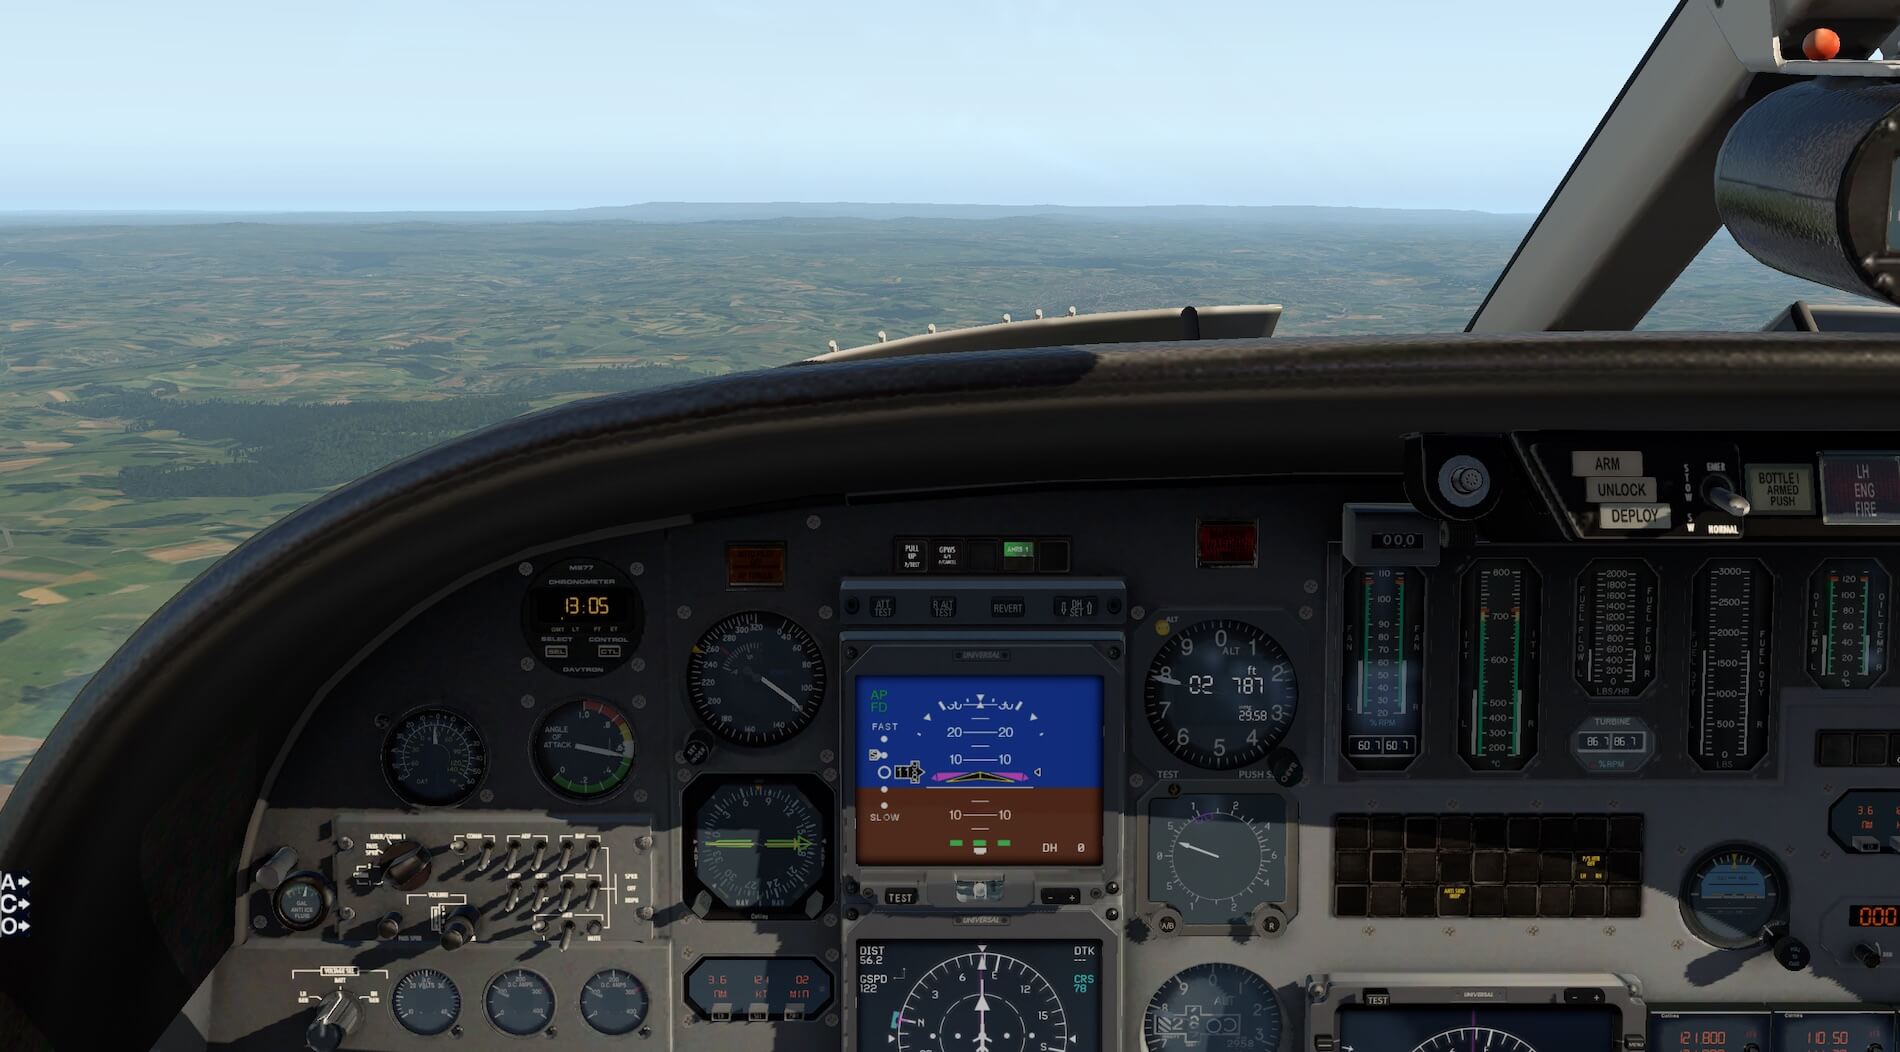
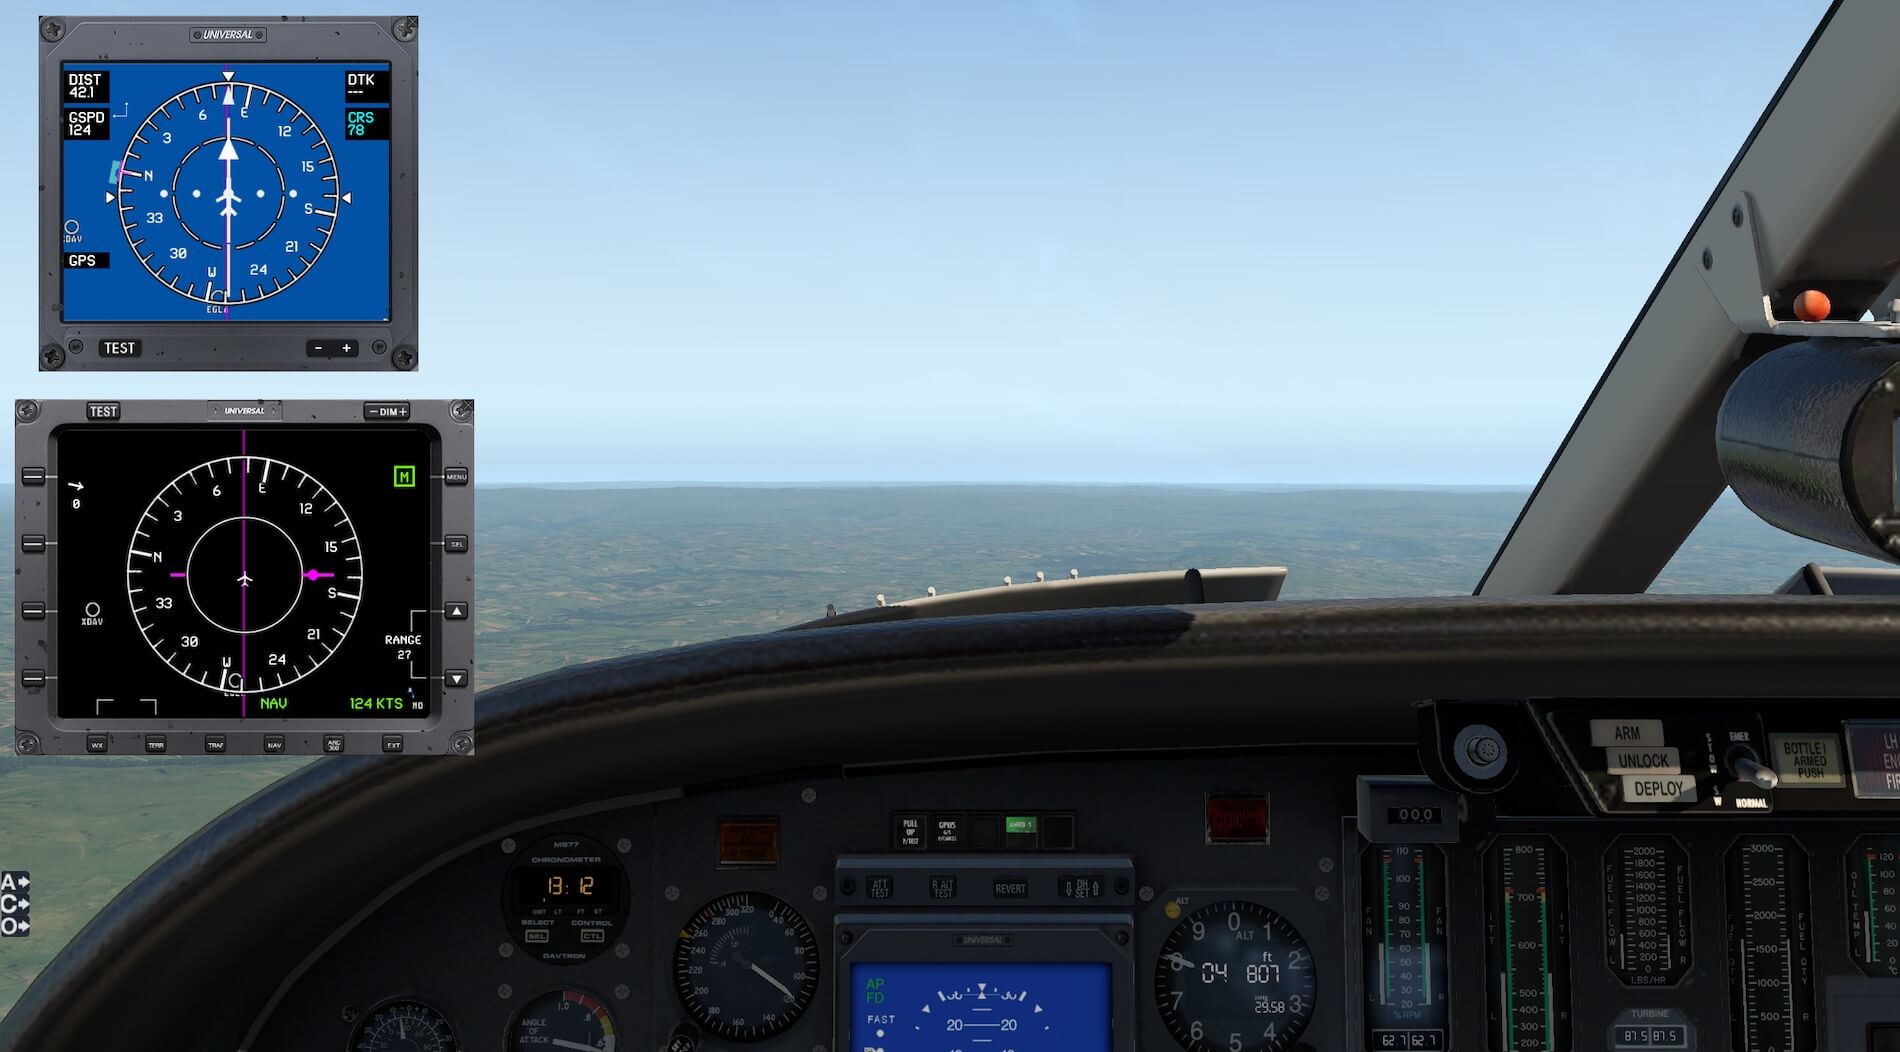
The model has its own Electronic Flight Information System (EFIS) and Autopilot and there is a document provided that explains the functions and capabilities of those systems. The manual explains that the EFIS consists of an Electronic Attitude Director Indicator (EADI), Electronic Horizontal Situation Indicator (EHSI), Electronic Flight Information System (EFIS) control panel, Autopilot control panel and an Altitude selector.
The manual gives clear illustrations of all of these. The autopilot control panel and altitude selector can be viewed within the instrument panel or popped out. The on screen menu also gives a quick popped out view of these two displays without having to search the cockpit during flight.
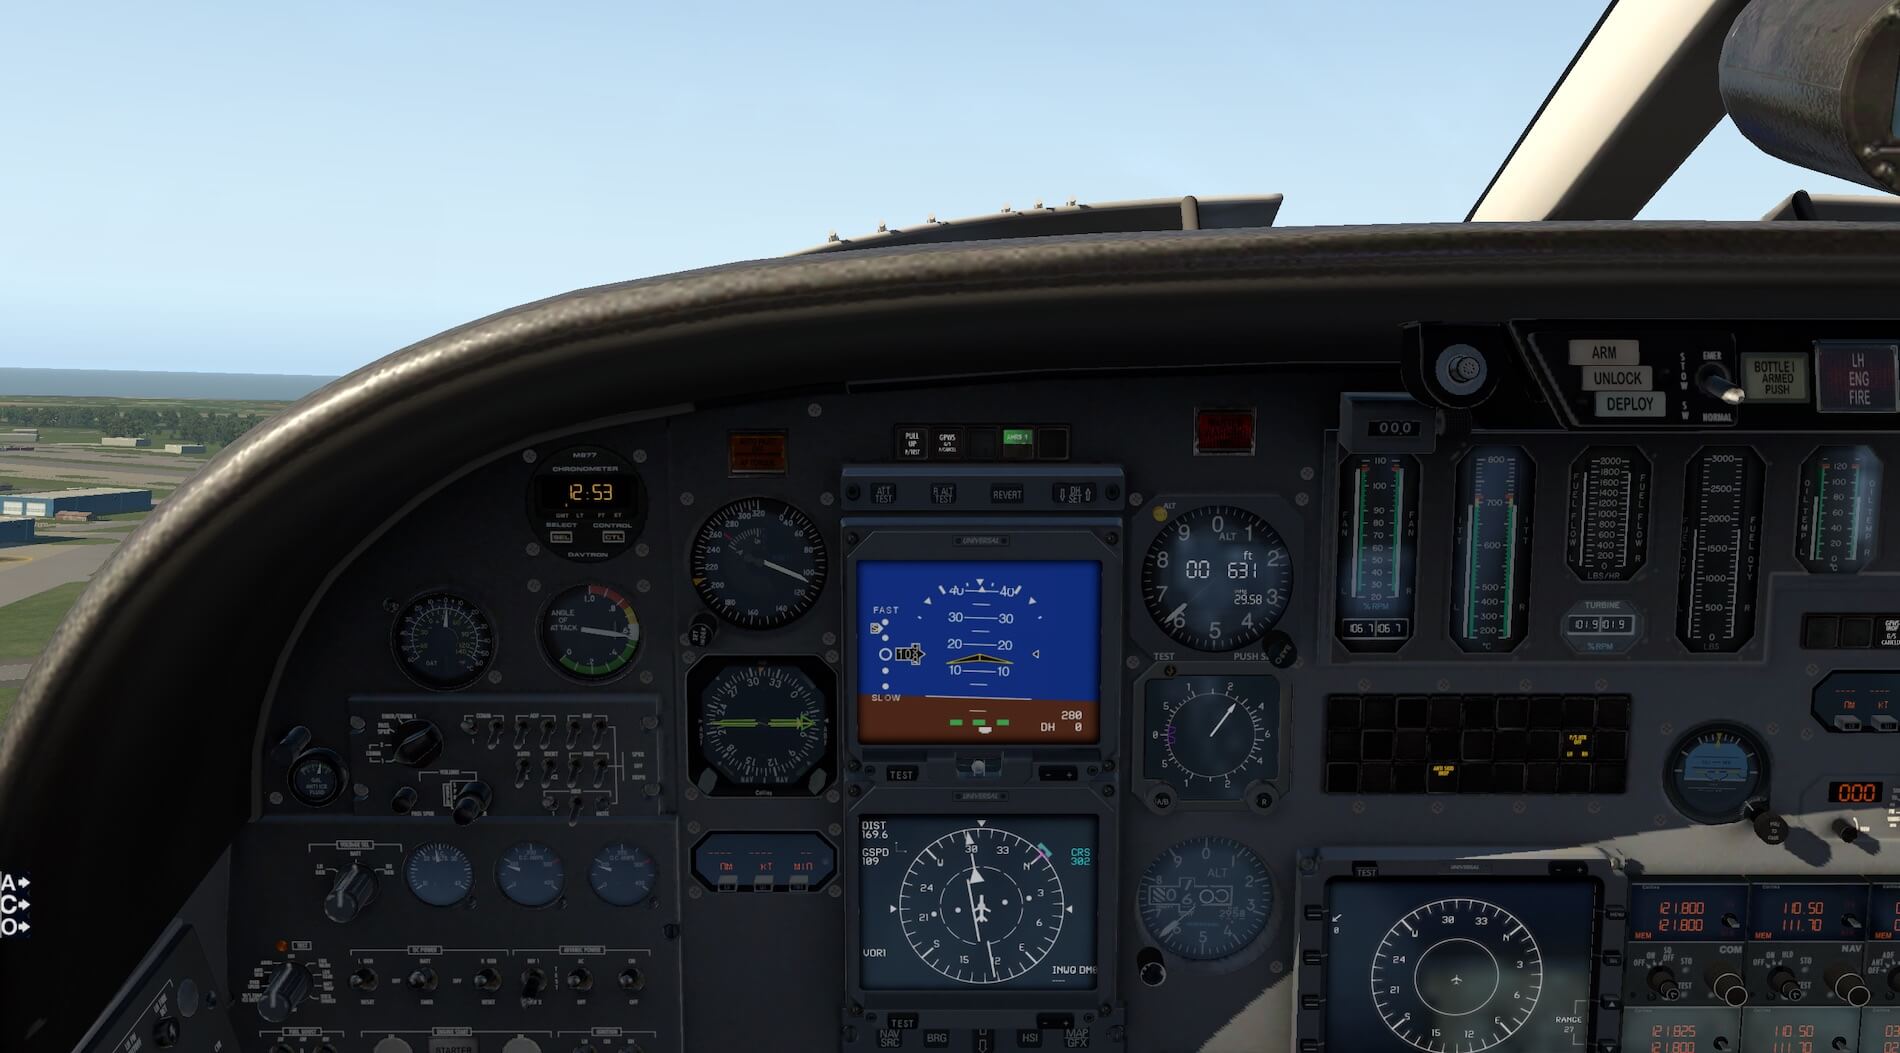
The document then goes on to explain the functions available in the EADI which include information from the autopilot, aircraft speed and whether this is too fast or too slow, glide slope and a lateral deviation indicator. This is all displayed on bright clear screens in front of both the pilot and co-pilot. The EHSI is also displayed in front of both pilots and contains navigation and glide slope information.
The EFIS control panel allows access to a large menu of information relating to navigation, bearing, HSI and mapping. The document also explains the auto pilot functions which are detailed and comprehensive allowing control over navigation, altitude, vertical speed, airspeed and bank limit. The associated altitude selector allows the pilot to select the desired altitude at which the aircraft will climb or descend when used with the autopilot control panel.
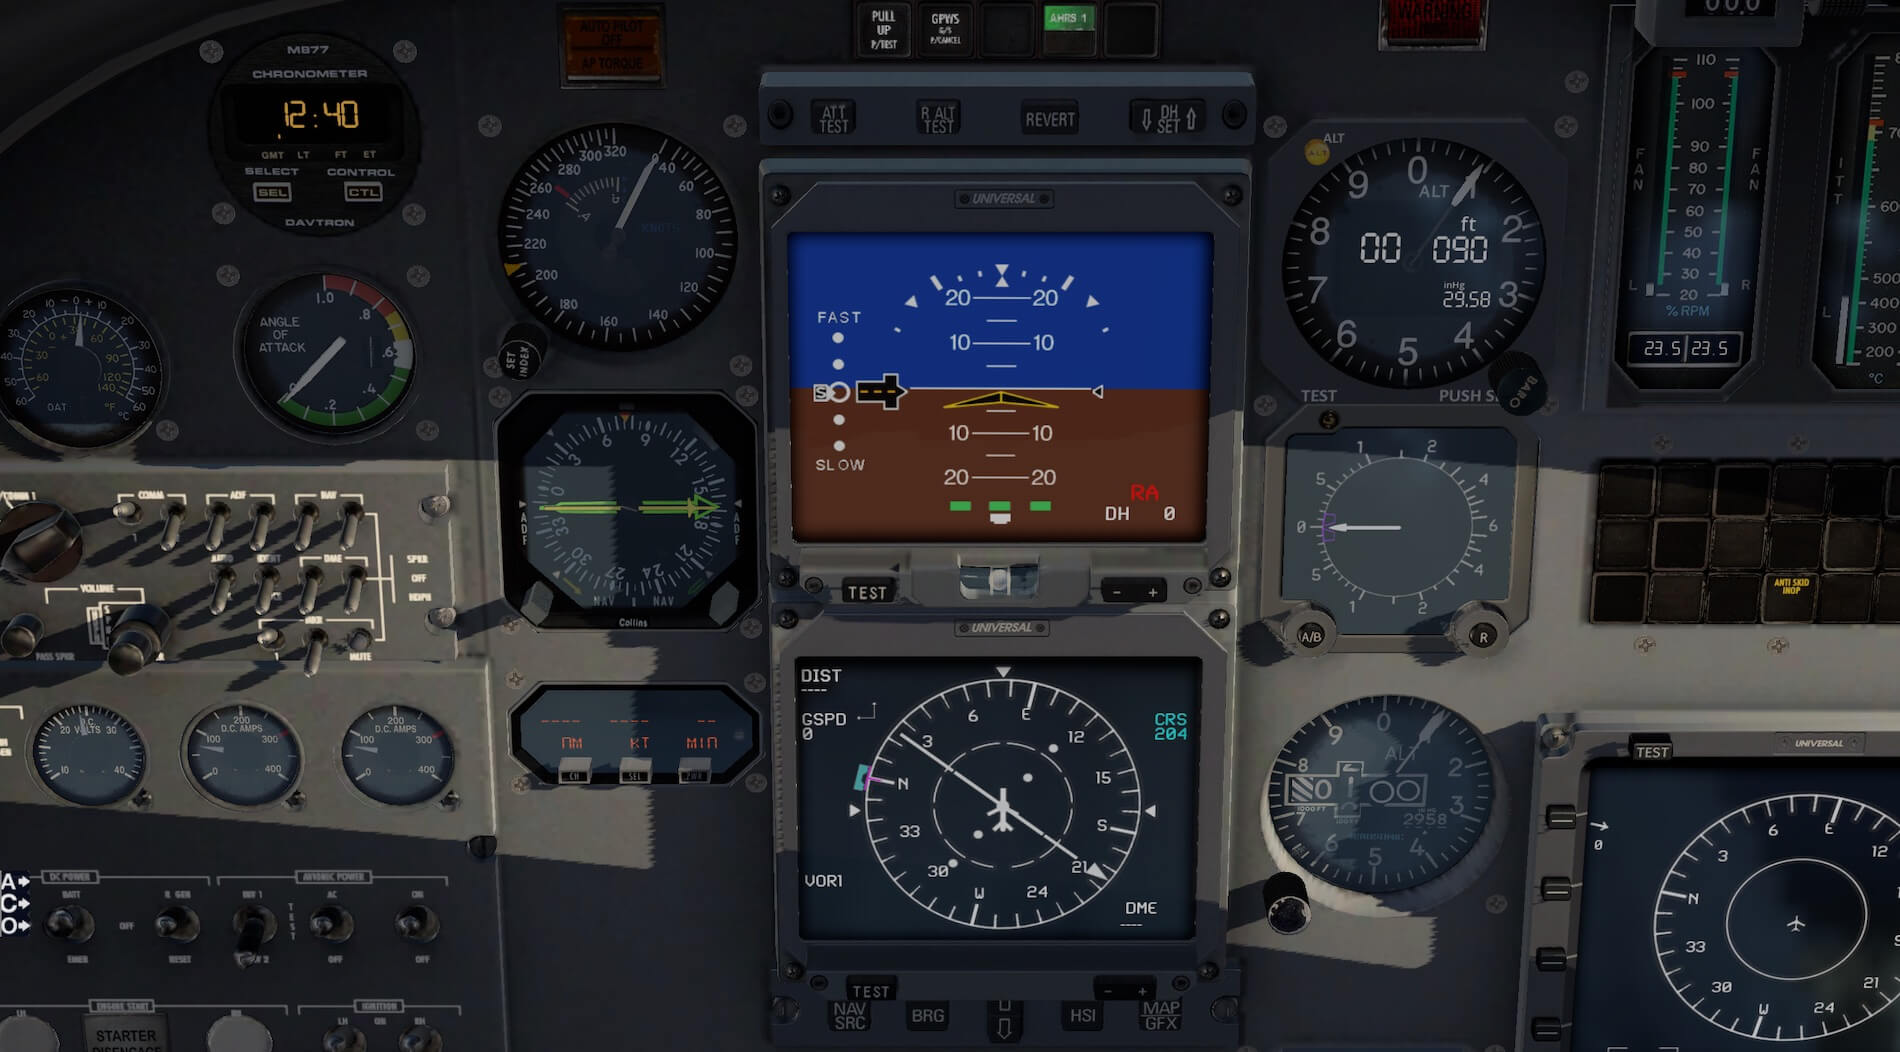


This is a comprehensive suite of electronic aids which looks quite mind boggling initially but are all useful assistants towards a successful and comfortable flight.
Flight Experience
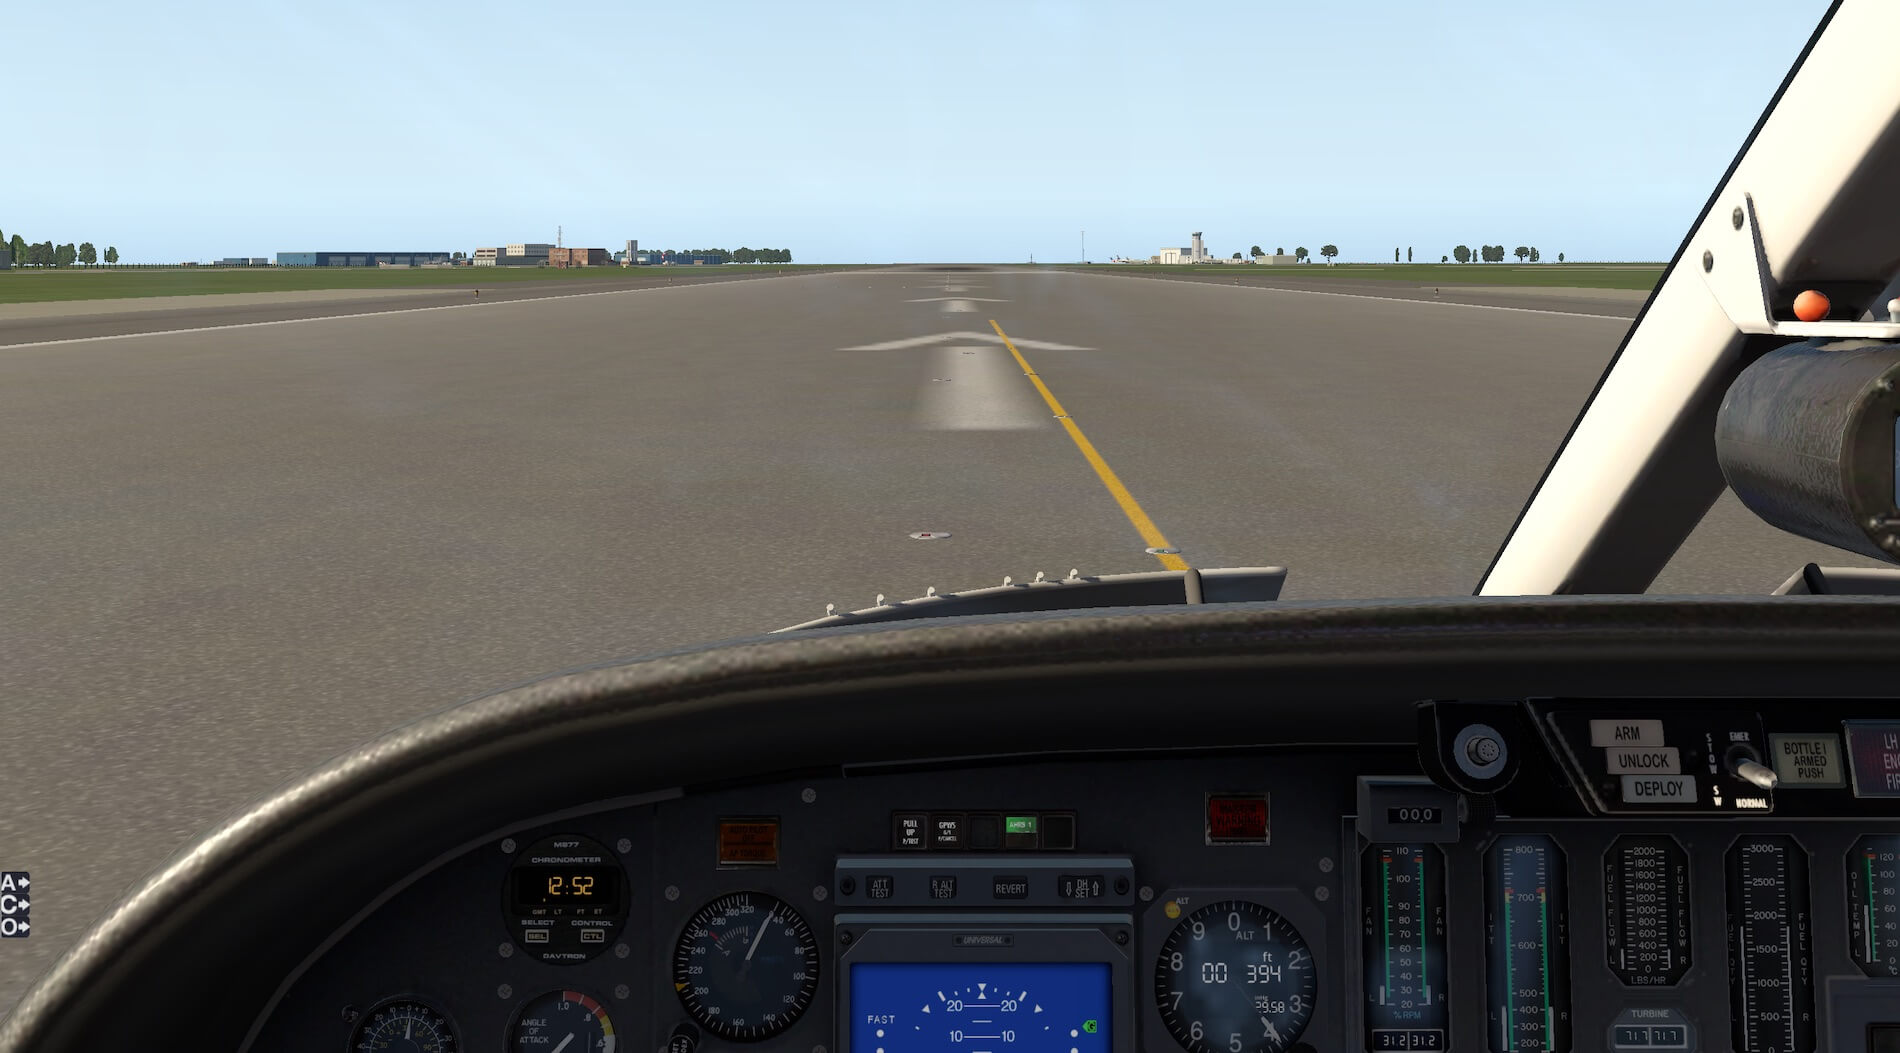
The aircraft is easy to load and fly without reference to any checklists or manuals. The model can be positioned at the end of a runway of the users choice. The aircraft is responsive and smooth. I increased the throttle, lowered flaps and released the brakes. The aircraft accelerated smoothly down the runway and was easy to steer on the ground. Engine noise was realistic and control surface noises were helpful in knowing the aircraft was responding to commands.
The aircraft wants to be airborne and climbed quickly on take off and undercarriage and flaps were easy to retract. The aircraft instruments looked very impressive and a clear and easy to read. Flying a circuit was straight forward and the warning systems encouraged me to bank smoothly, my passengers must have been glad, although I had to concentrate on altitude and speed as the aircraft achieved both more easily than I expected.
This was no fault with the flight model and more about me learning the characteristics of the model in a simple flight. My approach to land suffered from my lack of control of altitude and, lessons learned, I went around again. Once I sorted this on the second approach I achieved a good smooth landing. A great first flight in an aircraft that was more refined and sophisticated than I expected and was a pleasure to use.
Having carried out an initial straight forward flight I moved on to using the checklist to make a more detailed journey and to have a chance to use the systems outlined above. I planned to fly from Newquay (EGHQ) to Bristol (EGGD). I started on the apron with engines off.


I started the check list where I had finished and moved on to checks to be completed before starting the engines. With the preflight inspections complete I set the battery switch and parking brake as required, used the options menu to remove wheel chocks, engine covers and remove before flight ribbons. I then set the cockpit lights and beacon in the panel in front of the pilot.
The next part of the checklist covers engine start and I used the options menu to add a Ground Power Unit to assist. Following the check list I started both engines, switched on the generators and removed the external power. Before taxiing I switched on the avionics power and loaded the flight plan in to the FMS, supported by Goodway. I then followed the pre taxi check list prior to setting off for the runway and ensured I employed the correct exterior lighting. I then taxied to the end of the runway.


Having arrived at the end of the runway I completed the next section of the check list ensuring I had checked control surfaces were free and working and all data was in place. I also checked there were no warning lights on and all instruments were set as the list. I took off successfully and raised the undercarriage and flaps. I set the autopilot and continued to climb. The aircraft responded to the autopilot smoothly and positively and the use of the pitch wheel made setting the rate of climb very straight forward.


The autopilot gave me a chance to go through the screens on the EFIS and to learn the locations of the various pieces of information provided. The aircraft flew very smoothly in response to the autopilot and provided a very stable platform, giving me the opportunity to look around. Whilst the amount of information provided in the cockpit seemed a little overwhelming at first I soon became accustomed to it and was able to use the different inputs to fly the model as well as possible. The sounds also confirmed many of my actions and I found it very easy to become immersed in the whole experience.

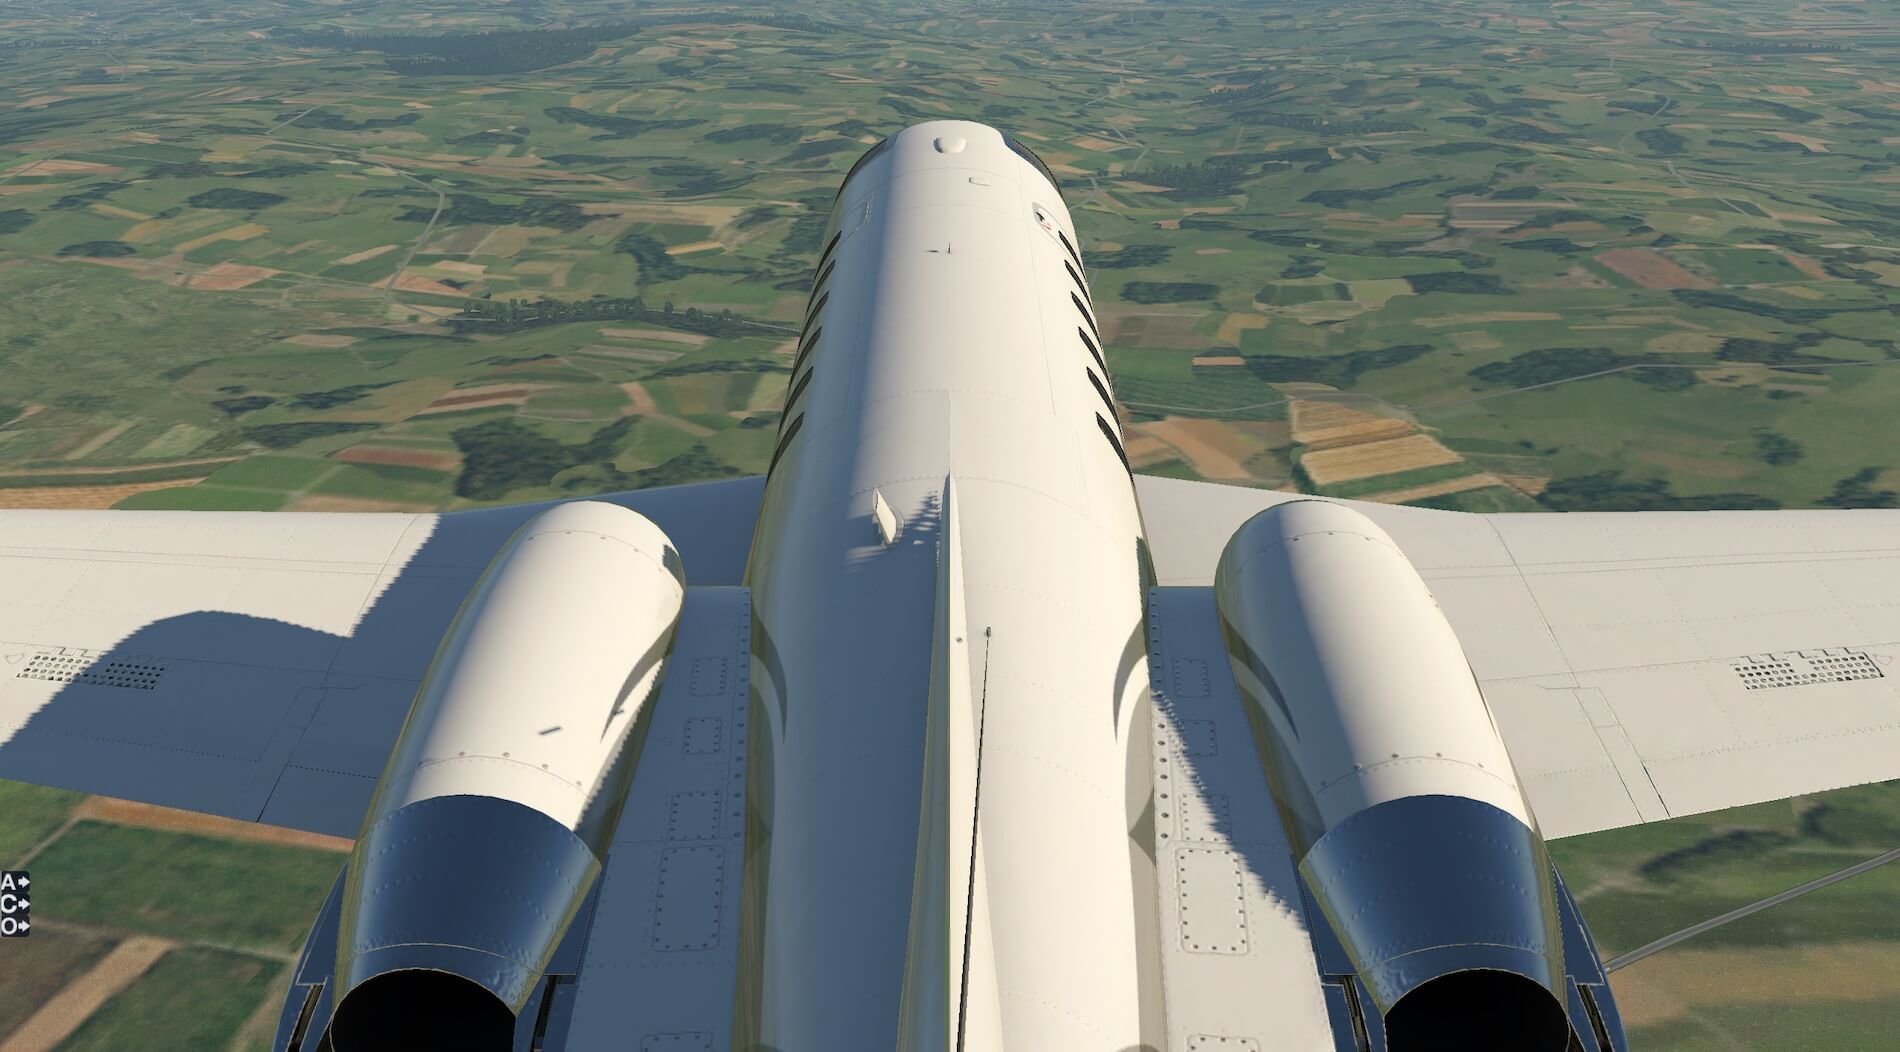
The model is a pleasure to fly. I think I could have learned some of the systems and processes better if there had been a cockpit diagram available as I sometimes had to pause the flight to establish where some things were located. The aircraft looked good from all angles, with effects such as exhaust heat haze clearly visible, and worked well with the X-Plane scenery.


I used the flight to try the different pop out windows in order to establish the information they provided and how they worked. They are intuitive instruments and I needed just a few references to the manuals before I became far more confident in their use. The ability to pop out the autopilot even more quickly through the side menu was also very useful.


The autopilot worked well alongside the flight management system and I was able to configure the EFIS screens to show navigation aids, my route and information relating to distance from each way point. Turns were timely and smooth and the model’s reliable and steady behaviour increased my confidence in its use. I also used the flight to use the camera options to view different parts of the scenery at key points along the route, made possible as the autopilot was looking after the flying for me.


I decided to use the ILS approach towards my destination to see how well this worked in the model. I found it very straight forward to use and I was able to line up and use the autopilot to meet the approach and follow the glide path. This was confirmed by the instrumentation. I found that once this was established my main input was through the throttle to ensure the indicated airspeed was kept as close to the ideal marker on the display.
I went through the checklist items which reminded me to deploy the undercarriage and flaps, quite useful as was concentrating on other things at the time! I managed a successful landing which was made easier by the use of the reverse thrust facility which I had programmed in to my joy stick buttons.
The aircraft stopped in quite a short distance and I was able to taxi to the stand. Ground noise and control surface sounds added to the effect. I completed the after landing checklist and then moved on to engine shut down.


I switched off the avionics power switches, applied the brakes, ensured the wheels were chocked and moved the throttles to cut off. Finally I set all switches to off or normal. Having completed the flight I opened the main door manually from the inside and left the aircraft.


This model is extremely enjoyable to fly. The flight information instruments modelled and provided create a huge amount of data and once the user becomes accustomed to their location they augment the flight and make it easier to carry out the essential tasks.
The checklists provided enable the flight to be carried out with considerable detail and realism and there is more to come as I have not carried out any of the emergency procedures checklist in this review. The aircraft provides a very stable platform in flight but remains smooth, agile and responsive. It is supplied with most equipment modelled and this adds to the authenticity of the flight and immerses the user in the aircraft environment. The attention to detail and clarity of modelling also makes flying the model a pleasure.
Summary
This model is highly detailed both inside and out and comes with a very good sounds package. The developers have worked to make as many systems usable and this creates a busy and interesting cockpit environment. The aircraft surprised me with is level of sophistication for relatively small, and not so young aircraft.
The avionics modelled really do add to the experience and enable a great involvement for the user. The model provides a platform that is easy for the less experienced user to create an enjoyable flight without going through numerous procedures and preparation yet at the same time there is so much that actually works in the model it can become more and more challenging to use to its full potential. A detailed aircraft that looks great and provides a flight experience to match.
As of this writing, the Carenado Cessna Citation cost you 39.95 USD and is based on product version 1.2. More information can be found at the Carenado website, the dedicated X-Plane.Org store page and at the Aerosoft Shop page. It should be noted that the Aerosoft shop price is 44.65 Euro including VAT.
.
With Greetings,
Andy Clarke
| Add-on: | Payware Carenado Cessna Citation S550 Version 1.2 |
|---|---|
| Publisher | Developer: | X-Plane.Org | Aerosoft | Carenado |
| Description: | Realistic rendition of the Cessna S550 Citation |
| Software Source / Size: | Download / Approximately 470MB (unzipped) |
| Reviewed by: | Andy Clarke |
| Published: | February 2nd 2019 |
| Hardware specifications: | - iMac Intel i5 27" - 3.5 GHz Intel Core i5 - AMD Radeon R9 M290X 2048 MB - 16 GB 1600 MHz DDR3 RAM - Logitech Force 3D Pro |
| Software specifications: | - macOS Big Sur 11.x - X-Plane 11.5x (64 Bit) Private Use - A variety of freeware and payware airports |
1 Comment
Submit a Comment
You must be logged in to post a comment.
I bought the 550 last month and I have really enjoyed it. It’s a great model and paired with the RealityXP GTN 750 is a pleasure to fly on short and long hauls. She’s not the prettiest bird, but she flies like a dream.