The Only FlightFactor Boeing 767-400ER
Dear readers,
As usual with X-Plained.Com reviews, we always run into large reviews when it’s fun to review a product. When it’s fun, we want to add this or that and so on. In other words, our reviews grow and grow and before we know, they are very long, but we always try to offer high quality content. Because of our in-depth reviews, we from X-Plained.Com are never the first party in releasing reviews.
Your personal reporter and ex-Airbus ground engineer and ex-technical trainer Angelique van Campen, started exploring the FlightFactor 767-400ER and while writing and writing, she asked if our dedicated reviewer Paul Beckwith could help Angelique with some sections. Because the review has become much longer then expected, Angelique and Paul decided to add a Table of Contents. So lets check that out.
Table Of Contents
Introduction
Boeing 767 History
Installation, Documentation
– Installation
– Documentation
EFB (Electronic Flight Bag)
Walk Around Check
The Inside
– A Note on Textures
– The Galley and Passenger Cabin
– The Flight Deck
Simulated Systems
– Introduction
– General systems modeling
– FMS (Flight Management System)
– Automatic Flight Control System
– Implemented Checklists
Part I – Flight Introduction
– The Planned Flight
Part II – Flight Plan Preparations
– Flight Planning
– Loading the Flight Plan
Part III – Cockpit Preparations
– AUTO PERFORM or VTM
– FMC CDU Data
– Ground Handling
Part I – Flight KPAE – KSAN
– Pushback
– Engine Start
– Taxi
Part II – Flight KPAE – KSAN
– Take-Off
– Initial Climb – Climb
– Cruise
Part III – Flight KPAE – KSAN
– Descent Preparations
– T/D (Top of Descent)
– Approach – Final Approach – Landing
Implemented Sounds
FPS (Frames Per Second)
Summary
Introduction
The FlightFactor 767 is an X-Plane product that many people know as a realistic replica of the Boeing 767 Series. It all started with a bare 767 model known as the 767 BASE, then upgrade packages became available like the “Professional Extended”, the “Professional Avionics Upgrade”, the “767-200 Series” and recently the “767-400 Series”. The anticipation, partially awakened by FlightFactor’s previous work and partially by the extremely large list of features, has risen to what is arguably the highest it’s ever been for an released X-Plane product. There’s really no issue asking whether or not the 767-400 is worth that additional upgrade, but perhaps it’s worth asking just how well all of those features are implemented and how they stack up to the previous efforts made by FlightFactor.
Just to make clear that this review deals with the 767-400ER, and I can tell you right now, it is worth adding this to your FF 767 bucket list. The review is based on the FlightFactor model 1.5.6 and X-Plane 11.55r2. Angelique is reviewing the model on an iMac Pro with macOS Monterey while Paul is testing it on Windows 11.
Boeing 767 History
Some real-world info about the 767 models seems worth since as a study-level simulation model. I could take the information from the Boeing Commercial website, but for many purposes I decided to check it out at Wikipedia:
The Boeing 767 is an American wide-body aircraft developed and manufactured by Boeing Commercial Airplanes. The aircraft was launched as the 7X7 program on July 14, 1978, the prototype first flew on September 26, 1981, and it was certified on July 30, 1982. The original 767-200 entered service on September 8, 1982, with United Airlines, and the extended-range 767-200ER in 1984. It was stretched into the 767-300 in October 1986, followed by the 767-300ER in 1988, the most popular variant. The 767-300F, a production freighter version, debuted in October 1995. It was stretched again into the 767-400ER from September 2000.
To complement the larger 747, it has a seven-abreast cross-section, accommodating smaller LD2 ULD cargo containers. The 767 is Boeing’s first wide-body twinjet, powered by General Electric CF6, Rolls-Royce RB211, or Pratt & Whitney JT9D turbofans. JT9D engines were eventually replaced by PW4000 engines. The aircraft has a conventional tail and a supercritical wing for reduced aerodynamic drag. Its two-crew glass cockpit, a first for a Boeing airliner, was developed jointly for the 757 − a narrow-body aircraft, allowing a common pilot type rating. Studies for a higher-capacity 767 in 1986 led Boeing to develop the larger 777 twinjet, introduced in June 1995. (Courtesy of Wikipedia)
But when I search the Web for more information – Oh my goodness, there’s so much to find about the famous 767 – I do find some interesting info at the Boeing Commercial website, dedicated to the 767-400ER. According to Boeing “The Boeing 767-400 Extended Range (ER) airplane is the latest derivative in the 767 family, and is the first new airplane designed together by Boeing Commercial Airplane Group and Douglas Products Division (DPD). It is intended to replace the venerable Airbus A300/A310, DC-10, and L-1011 airplanes currently in service around the world.”
“The 767-400ER delivers improved operating economics compared to these airplanes while offering similar seating capacity and range. It also provides operators of existing 767-200/-300 airplanes with the ability to increase passenger capacity and improve operating economics. The rollout of the 767-400ER is scheduled for August 1999, followed by first flight in September. First delivery is planned for May 2000.”
“Design of the 767-400ER, a derivative of the 767-300ER, began in January 1997 through a technical assistance agreement between Boeing and the former Douglas Aircraft Company. Since the August 1997 merger of Boeing and McDonnell Douglas, the two divisions of the new Boeing Company have reached final configuration for the new airplane. Scheduled for delivery to launch customer Delta Air Lines in May 2000, this stretched version of the 767-300ER includes several improvements to meet customer requirements for increased passenger capacity and improved operating economics.”
Want to read the whole story? Then check out this link.
Perhaps you didn’t know, but the following is quite interesting. It’s taken from the official Boeing Commercial airplanes website. The 767-400ER incorporates a new flight deck similar to that on the 777. It includes six 8- by 8-inch LCDs that replace the current displays and several instruments. Other changes include a new main instrument panel and glare shield, aisle stand, two-position landing gear selection lever, and a new air data inertial reference system that integrates the air data computers and inertial reference units. The overhead panels are largely unchanged.
Installation and Documentation
Although the installation process isn’t difficult, it is of course protected by a serial number. After downloading the 767-400 upgrade package or you bought only the 767-400ER as a stand-alone package from your X-Plane.Org account, you’ll find yourself with a zip file that contains the upgraded or stand-alone 767-400. Installation is a breeze as usual, with the only needed action being pushing the updater if you got an upgrade to an existing package, and copying and pasting standalone 767-400 aircraft into a folder.
Anyway, after starting X-Plane, the 767-400ER will load all the systems etc. Don’t worry, this is normal and has to happen every time you load the aircraft. It should only take a few seconds, or a couple of minutes depending on your flight sim hardware. But before this happens, you need to enter the serial number.
Documentation wise, this aircraft is obviously well-equipped. All documents are stored in the DOCS root folder. Containing a slightly adapted version the official Boeing 767-400 FCOM, with volume 2 so only system description and operation. But it’s still over 700 pages. To be exactly, 733 pages! As applicable to all other FlightFactor models, the depth of these included official Boeing manuals and the own FlightFactor Boeing manuals give you a good indication of the systems depth and shows that the Boeing licensed-seal actually means something.
But besides the previous mentioned FCOM, there’s much more. Let me highlight them all for you:
– 764 FCOM Acrobat document
– 763 FCOM Acrobat document (only available when you also have the -300ER base)
– 767 Remote CDU Manual Acrobat documents
– 767reqs.txt
– changelog.txt
– FCOM FPDS addition Acrobat documents
– FMS (all variants) Acrobat documents
– honeycombBravo757767.json file
– manual Acrobat documents
– manual FPDS Acrobat documents
– manual VR Acrobat documents
– terms_of_use.txt
I will not highlight them all since some are self explanatory, but others I will briefly highlight.
The 767 Remote CDU manual allows you to transport the CDU to your iPad. It pops out as 2D panel and then use keyboard typing and of course it has become a touchscreen device. It’s a build in FlightFactor feature like you also have with another add-on product WebFMC from Green Arc Studios. When you have that add-on, I normally would say that this has my preference since you can swap between the FWD aisle CDU’s while the build in FlightFactor feature only shows one CDU or to be exactly only the left-hand CDU. That may be an advantage for the WebFMC, but unfortunately it turned out that the GreenArc WebFMC has some issues with the -400ER CDUs. More about that later in this review.
Next, FCOM FPDS and the FF own FPDS manual although it depends a bit if you have bought previously the FPDS upgrade. If not, you won’t see these manuals. A couple of words about this additional FPDS package or also known as the Modern Avionics. FPDS stands for Flat Panel Display System. The FPDS upgrade package consists of a pilot and copilot Primary Flight Display/Navigation Display (PFD/ND) suite, containing four 6 by 8 inch Display Units (DU) and two Display Control Panels (DCP) located in the forward center pedestal and three 6 MCU Data Concentrator Units (DCU) installed in the electronics bay.
Besides other differences the original avionics or EFIS for the FlightFactor 767 consist of the EADI (Electronic Attitude Directional Indicator) and EHSI (Electronic Horizontal Situation Indicator) while the additional avionics package comes with the modern version of EFIS with PFD (Primary Flight Display) and ND (Navigation Display). Still with me?
The 767-400 or 764 has its own set of avionics. These different avionics sets can be found in the EFB (Electronic Flight Bag) although when you select the 764 then there’s no possibility to select from a different AVIONICS EFIS set since the 764 has its own 777 look alike configuration. On the following screenshots I’ll try to show you all the differences.
EFB (Electronic Flight Bag)
Note that all the EFB options and functions were tested in a default or “clean” install of X-Plane 11 with no other plugins loaded.
FlightFactor’s implementation of an interactive menu system is a multi-tabbed interface rendered within a representation of an electronic tablet device. The device is accessible via the 767’s menu under the X-Plane plugin menu. Selecting any of the options from the menu will open that option in the pop-up device screen. The other option available to access the device is to click on it in the pilot’s storage area to the left of the seat.
The tablet is an independent window in much the same way as the default pop-up screens implemented by X-Plane for many of the default GPS and FMS equipment supplied with the simulator. The tablet can be resized by clicking and dragging at the corners of the window. The bottommost button at the right-side bezel of the tablet will place the tablet into its own discrete window. In either its native format or within this windowed format, the tablet can be moved around the screen and located wherever you’d like to put it. If you have a second monitor, it can be dragged to that monitor.
The EFB has five sections of which four have additional sub-sections selectable via a drop-down menu. Occasionally, a drop-down menu will “stick” open and the only way to clear it from the screen is to click on it, clicking elsewhere does not close the menu. An additional note from Roman about this “This is a specially designed feature. A drop-down tab can be closed only by selecting something in the selected tab or by clicking on another tab or on the selected tab again.”
The five main categories are General, Operations, Options, Failures, and In-Flight.
General
This section allows you to set some basic functions that, when you click on the “save options” button, will remain across sessions until you click on “reset default”. Moving your mouse cursor over the options will bring up a brief hint at the bottom left of the EFB screen to provide a description of what that option does.
Challenge level, real limits, real time, and f/o in control apply specifically to aircraft functions. These options control how frequently things go wrong, whether the aircraft is constrained to realistic structural limits, if items affected by the passage of time do so in real time (it is not clear how these items are affected if you deselect this option), and if your default point of view is from the first officer’s side of the aircraft. The used saved config option does not apply if you only have the 400ER variant of the aircraft installed since it has no configurable options.
According to the manual, the mouse wheel option has four choices effecting how the device functions. There is a detailed description towards the end of the manual about how this is supposed to work but I was unable to get either of the click options to work so I was limited to off, on, or zoom (activated by choosing either the +c or +cd options).
Off allows you to click on a control to move it in a desired direction, and on achieves the same function by rolling the mouse wheel up or down. Selecting an option that sets the mouse in zoom function prevents you from interacting with the controls.
Later on, under the Cockpit Interaction Options, I found the interaction activation control that lets you specify what button allows the mouse to be used for both zoom and interaction with the +c and +cd options and, once set, this option works as described by the developer. The default is the middle mouse button which is not noted on this screen.
The next three options are directed to the yokes. You can display charts that you have to configure in a specific way on the yoke. Removing the yokes can only be accomplished through this section of the EFB. It is also here that you can control if, and when, the yokes will automatically return to a centered position when not in use.
To configure charts for display on the yoke, you need to create a .png file version of your chart, create a new folder in the charts folder within the 767-400ER main folder, and save your .png file in that new folder. You can name that folder whatever you would like. You then need to open the “data.txt” file and change the entry found there to the name of your folder.
This needs to be done prior to the aircraft loading since the file is read at that time. There is also a pop-up option that will display your chart in its own window. Note that only the first folder name in the data.txt file will be loaded for chart display. If you want more than one chart available, you will need to place them all in the same folder. You can then position your cursor at the top center of the pilots yoke to get a very small left or right arrow to cycle through the charts you included in your folder.
Autosave can be deselected if you prefer to manually save any changes you make to your aircraft configuration. Save Options is the button you would use to affect that manual save, and Reset Defaults restores the aircraft to the way it was upon installation.
The buttons in Additional Options are an alternate way of reaching those options. They will be covered as we move through the tab selections at the top of the screen. Another option for selecting any section of the EFB is through the 767 menu found in the X-Plane Plugins menu.
Operations
The Operations menu allows you a choice of ground operations or aircraft operations. The ground operations allow for the manipulation of various bits of ground equipment as well as the weight, balance, and CG of your aircraft. The aircraft option is where you access the door controls and various other aircraft specific options.
Ground Options
A quick look at the ground options starts with a note about the gate config option in the second column. This option, when selected, turns off the need to have the stairs and passenger bus in place for loading or unloading the plane. You will still need the fuel truck for this function. The aircraft is in the SAM database and SAM jetways work as expected with the 767-400ER. This is independent of selecting the gate config option.
The other items in the top section of the ground operations screen deploy a complete complement of ground support items. These are all static deployments that are placed near the aircraft. As mentioned, if you wish to use the load functions in the lower part of the screen, you will get prompted to have the fuel truck present along with the stairs and bus if you are not using gate config.
The Push Back button summons a pushback truck that will park itself at the front landing gear. To operate the truck, you use the yaw axis to steer it and your throttle axis to move it. The truck will only do what you called it to do so, if you want to reverse direction, you must dismiss it, and then recall it with the direction button you want to move in. You may choose to use the default pushback trucks or you can also integrate Better Pushback with this operation if you have that plugin.
Saving the config allows you to recall your equipment deployments as they were when you saved them with a click of the Load Config button.
According to the manual, “maintenance is needed to reset the inter-flight data – oxygen and hydraulic fluid quantities, starter usage counters etc. To make it easier the top overhead panel has a special flight counter which tells you how many flights have passed from the last maintenance.”
The lower screen allows you to enter your passengers, cargo weight, and fuel weight. The arrows next to the passenger and cargo weight options allow you to manually adjust the CG for these items. The green boxes on the aircraft schematic will show you how this has been adjusted and the CG notation at the nose of the schematic will tell you where your CG is set.
Save Custom will remember your settings in this section of the screen. Use Load Custom to recall those settings.
The load / unload options will entertain you with passenger and cargo loading sounds only if you are on the flight deck. The ground equipment is not animated and nothing on the EFB screen changes. If you watch the fuel gauge in the cockpit’s overhead center panel, you will see those numbers change while the aircraft is being fueled.
You will minimally have to have the fuel truck selected and either the passenger bus and stairs or gate config selected. You will also have to make sure all doors are open. This will take several moments to complete, and the screen prompt will display a please wait statement. You can move on to other things while this is taking place.
Airplane Options
This screen is pretty much self-explanatory. The top half has settings that you can adjust to change how much wingflex the wings will possess, the intensity of window and instrument glass reflections, and the amount of reflection on metal parts. These last two will be inactive if you have chosen custom effects from the Effects Params choice under the Options tab. The Advanced Effects button on this screen also takes you to the Effects Params screen. While the manual states the effects apply to metal parts, the only change I could see while changing this setting was an increase or reduction in the clarity of text on the various flight displays as the apparent “glow” was increased or reduced.
Options – Avionics
The 767 series from FlightFactor is modular with a base package that can be upgraded with additional options or variants of the aircraft. This includes an option to expand the base 767 Professional with the 400ER upgrade. This results in different options that you will see in the manual for the avionics that do not apply to our stand-alone 767-400ER.
The stand alone 400ER has no configurable avionics equipment options. The available options on this screen will allow you to configure some of the information displayed on the avionics, set the radio frequency step, and choose between an old style and new style ground proximity warning system.
Save Config saves your choices which will remain active across flights until you make additional changes on this screen.
Sim Options
Within this screen are eight options that influence your experience with the 400 ER within the simulation environment. The shake on turb and advanced windshear options will alter the behavior of the aircraft when encountering these weather phenomena. The interflight data will force the sim to remember data from flight to flight requiring the use of maintenance to reset some such as oxygen levels.
The metric weights option changes the units of measure anywhere in the aircraft simulation that they are used. Realistic sound will dampen some of the sounds you hear in the cockpit for a more realistic experience and real weather radar allows you to choose between a tilt level radar and a full square radar.
Of note here is the throttles block option. Basically, this prevents the sim pilot from experiencing some major flight disruptions when turning the auto throttle off. When the AT is turned off, the throttles will not move until you adjust your hardware throttle levers to synchronize with the current throttle position. Once they synchronize, movement of the hardware throttle will control movement of the aircraft throttle levers.
Cockpit Interactions
If you’re an avid turboprop bush pilot such as I, this will be one of your favorite screens because here, in the second column, you can turn on tooltips that will tell you what the control you select does. You can specify where on the screen the tip shows and what type of background the text has. If you want to know the dataref that the control is linked to, you can turn that option on. This can be useful to set up your hardware controls. If you are an experienced airliner operator, the tooltip option can be set to off.
This screen also allows you to set methods by which you interact with cockpit controls with your mouse. This corresponds to the mouse wheel setting on the General tab of the EFB. When you select the interaction type, the activation section becomes available, and you need to select the option you want to use to switch between zoom and interaction modes of the mouse wheel.
I was unable to get the option on the General tab to work because the middle mouse button is the default and, not knowing this, I had my mouse programmed to a different function for that button so, naturally, it didn’t work!
I am unable to address the VR options on this screen since I do not have a VR setup.
Advanced Sound Options
This option screen is one that needs little description in terms of what it does. What is worth noting is the number of options available. There are many sounds incorporated in the 767-400ER experience and losing some of the lower volume ones to quiet the higher volume sounds would be an injustice to the experience these numerous sounds provide.
If you find the realistic sound option removes more sounds from your cockpit experience than you’d like, leave it off and use these sliders to tweak them to your liking. An especially nice feature is the separation of interior and exterior engine sounds. So often, reducing the engine volume with the X-Plane sound option to something realistic means losing the same when you occasion out for that external fly by view or to replay your flight to review that amazing landing you just pulled off. With this split control, that is no longer the case. Clearly, sound is a priority for the developers and, later, we’ll be evaluating the results of their efforts.
Advance Effects Parameters
Earlier, we saw that we had the ability to adjust reflections and effects on a global level with the sliders on the airplane options screen. Here, those options are broken down more specifically to accomplish for the simulation visuals what the previous screen does for the audio features. The Displays AA Level option is not applicable to the new style avionic instruments of the 767-400ER and is thus greyed out in our freestanding version of the aircraft.
The advanced rain effect is an option that will invoke the librain plugin features that are functional only in X-Plane’s OpenGL mode at this time.
Failures
After spending so much time on the exhaustive number of options included in the EFB, we can move on to the area that has much to do with the highly touted systems programming of the 767 series. In this section, you can set up several scenarios that will involve failures in one or more of these systems that you, as the pilot in command, will then need to deal with.
Reports
The first screen in this section has one purpose: to tell you what has gone wrong. This screen will be blank until you visit the Scenarios screen to make something go wrong or until you do something so negligent as a pilot that you damage a system in flight (or while doing aerobatics on the ground!).
Scenarios
This screen is a multilevel interface where you set up scenarios for equipment failures that will affect the aircraft’s performance. Start with clicking the New button and you are taken to a screen where you can name the scenario and then choose when it will happen.
Click the OK button and you are taken to the next level where you will choose the failure. When you click OK this time, your scenario is complete, and one more click on the OK button will return you to the original screen. The final step is to click the enable button to activate your scenario. The name of the scenario turns red to inform you it is active.
Note that while you are constructing your scenario, you will see a downward pointing arrow next to your completed line. Clicking on this arrow provides you additional options that you can use to build more complex failure events even to the point of creating an airborne Titanic. You do need to click the arrow a second time to clear the menu if you do not select an option.
In-Flight – PA
The PA screen gives you a choice of twenty-one different recorded messages to use during your flight. To use them, you simply click the circle to select the message and it immediately plays over the aircraft PA system.
Charts
In addition to being able to display charts from a folder on the yoke, you can gain direct access to your Navigraph charts if you have a subscription to that service. To use this, you will first need to click on the Options button at the lower right. This takes you to a screen where you can sign in to the Navigraph service with your credentials.
If you select web authorization, your web browser will open the first time in a flight that you access the charts screen so you can sign in to your account. If you opt to, you can prevent that from occurring by entering your login and password into the provided boxes and clicking the OK button at the bottom right. This will sign you in to your account each time you load the aircraft.
The charts screen will allow you to search for, and select, charts. You can also rotate them as needed with the CCW and CW buttons. If you are properly set up, you will be able to see where your plane is on the chart. This can be very useful for navigating airports especially if you more regularly find yourself at single dirt strip aerodromes than the places you’ll be frequenting with the 767-400ER.
Checklists
The final option in the EFB is also one of the more complex to navigate. The initial screen provides options for Normal, Amplified, and Abnormal checklists. The Amplified checklist is the same as the Normal with additional detail and descriptions that can help the newer pilot learn the features and systems of the aircraft. You complete an item in the checklist by clicking on that item or by clicking the Perform button. The completion status is indicated by the text changing to a green color. If you bypass an option, it will turn red.
The Auto Perform works as if your FO (First Officer) is performing the task. The list will stop at “check” items that you need to indicate have been checked and then it will resume to complete all other items.
The VTM option is an interesting variation on the Auto Perform. This is a visual tutorial mode that works with the Amplified Checklist and is only useful during daytime hours. When you complete or override an item on the checklist, the next item in the list is selected. The reason this does not work at night is that the appropriate switch is highlighted as bright white so you can see what control you need to operate to complete the checklist item, and this is not very visible in night hours.
The reset buttons are a little sticky in that they do not reset items where the switch or control is in the “completed” position. You will need to restore the control to its original position before being able to reset it to an incomplete status in the list.
What reset does and is work like an undo option if you accidentally click on a list item and it gets marked as complete when you weren’t ready to have it marked that way. Reset All will reset every option it can on the given page. Reset Normal will reset the entire normal checklist and Reset Amplified will do the same for the Amplified checklist.
The Amplified Checklist, when used with the Visual Tutorial Mode and the object description from the cockpit interaction screen turned on, will assure that the new user learns what each control does and when to use it. This is a rather brilliant method for implementing a “live” manual. It is also incredibly necessary in a model this complex with documentation that can be described as difficult to work with at best and more often as simply confusing, and at times even misleading.
Walk Around Check
The more you look, the more you find, but one thing first.
Keep in mind that FlightFactor sees this 767-400ER package as an upgrade or as a standalone extension whatever you prefer. That said, the external modeled 767 is basically the very first FlightFactor 767-300ER from a couple of years ago. Ok, of course with all the fuselage, wing, tail and so on belonging to the 767-400ER with some improvements, but the 767-400ER is not a complete new model from the drawing table.
No matter where I start with the detailed landing gears with great animations, flaps/slats and spoilers. Besides that it’s all there, they are animated in a proper way and looking great. But hold on, all other things belonging to the flaps, spoiler control, hydraulic lines, hinges, fairing support, and so on, all is modeled. Don’t believe me? Then check out some of the screenshots I made while looking up to the main landing gears and the flap fairing and drive mechanism as well as the spoiler panel actuators, hydraulics etc.
One note for you is that we found during our individual external checks that for some reason the wheels (tires) and (hydraulic) lines around the gears differ between the -200/-300 and the -400ER. We’ve informed FlightFactor about this, so hopefully this will be updated with the next aircraft update.
Anyway, getting up close, all linkages, struts and other construction parts of the nose- and main landing gears have been included. Fully modeled, fully textured, fully animated. I like the way it is weathered and it should be noted that the external walk around FPS (Frame Rates per Second) impact is not much. It depends of course on your PC, iMac, MBP or Mac Pro which is different then when you enter the cockpit. The modeled cockpit needs a lot of frame rates. In case it does effect your frame rates, then you should lower your rendering settings and check it once more.
That the fuselage “look and shape” of the 767-400ER is basically the same as the 767-300ER means that the fuselage is only a bit longer, but the -400ER has other dedicated features like the raked wingtips for performance reasons installed. Raked (swept-back) wingtips have been added to improve the overall aerodynamic efficiency of the wing. They help reduce takeoff field length, increase climb performance, and reduce fuel burn. The new tips are 7 ft 8 in (2.34 m) long and are an all-composite structure, with an aluminum leading edge for erosion protection.
I must conclude that this raked wingtip is well modeled, and nicely installed the navigation and strobe lights, but compared to other wingtips, it’s a bit weird design, but that’s just my opinion and has nothing to do the way it is modeled by the FlightFactor 3D artist.
What I should check when at the wingtip, is having a look to the wing bending or wing flex. As you might know, real wings of large commercial jets are quite flexible. If they where not, then they would break off. A wing flex in action during the flight when you have a window seat can be easily monitored however, this wing flex is also visible when the aircraft is parked on the ground.
Beautiful to see that the FlightFactor 767-400ER wing bends down. I can or could say “yeah, that’s normal” and for a real airplane it is normal of this size, but remember, all is simulated. It’s a beautiful combination of all kind of polygons, calculations and so on. All that together gives the modeled FlightFactor 767-400ER this nice wing flex.
Not directly related to the exterior 3D modeling, neither less, important are the airline liveries. The modeled 767-400ER comes with a bunch of dedicated -400ER liveries although one livery seems not to work or not included and that’s the Boeing house color. By the way, not all livery folders I see offer dedicated textures for the -400ER. Some liveries are only for the -200 and -300 or for the -F (freighter). This last sentence is most likely applicable when you had already other 767 variants. When you buy the bare 767-400ER as previously mentioned, then you only have dedicated -400ER liveries.
The dedicated -400ER liveries are pretty nice, making up a standard of large airliners including those who like American Airlines, Air Canada, ANA, Azur Air, Condor, Delta and some others. I didn’t mention this before, but was happily surprised to see that all the text or decals on the fuselage, doors, wings, tail or whatever I’ve forgotten, are razor sharp. Via a separate markings.png and belonging object file text is printed on the texture sheets which are by the way 4K.
One of the checks to perform is the external lighting. That navigation lights should work is a minimum requirement under all conditions weather it is a day- or night flight. Therefore navigation lights as an example should be operative according to the MEL (Minimum Equipment List). A note to the NAV lights is that at least one NAV system should work. The lighting test can be done at daytime or under twilight/nightly conditions.
During daytime it’s just a matter if the bulb works while during dark conditions you also see the reflection on the apron, whenever applicable of course. The wing, taxi and NLG (Nose Landing Gear) T.O. landing lights illuminate the appropriate parts of the wings and body with a nice glow, where the lower red beacon light reflects beautifully onto the engines. I like in particular the light beams on the apron of the taxi and landing lights.
Let’s put it like this; elegant, not too much but also enough when using it. It is difficult to compare it for me with real photos or videos, but I feel it’s realistic. It is mentioned in the manual, but HDR rendering is required.
Wrapping it all together; a clearly and well crafted 767-400ER, and yes, as I mentioned before, it’s not using the latest 3D technology for superb external look and feel since, as I wrote before, it’s basically an addition of the original 767 from a while ago.
Overall I’m happy with what I’ve seen. And yes, when the cargo doors are open, these doors are well crafted on the inside but, and logically too, the inside of the cargo holds is basic. I didn’t mention this before, but the larger the aircraft becomes, the more polygons are needed, and the amount of polygons are related to the available FPS. Therefore you see with large aircraft from not only FlightFactor but also with ToLiss and JARDesign, that they are not able to offer every item or part of section with great detail else you won’t have left any frame rates.
The Inside
A Note on Textures
Upon starting my evaluation of the cockpit, I discovered that FF is using DDS files in several areas of the aircraft. While the file dimension is a 4K dimension, the use of DDS results in a less detailed appearance as I cover at the start of the Flight Deck section of this review.
The Galley and Passenger Cabin
Whether climbing the stairs or coming through the jetway, the first stop inside the aircraft is the galley. From here, the crew will head to the cockpit and passengers to the cabin. Arriving in the galley, we can see that it is completely represented with jump chairs, door controls, lavatory, and storage. Curtains drape the doorways between the galley and the cabin.
This representation is appropriate for this model because it is not a place that anyone is likely to be spending a lot of time in, so seriously detailed and interactive items are not a requisite accoutrement. We would not expect high detail textures and a load of polygons to be used here that would result in not much other than dragging down that precious frame rate. Turning on the cabin lights results in a drastic improvement to the appearance of this small area as that increases the PBR effects that provides depth to the scene.
Turning to the right, a few steps takes us through the doorway into the first class cabin where you will not find three seats abreast. Rather, you will find richly appointed leather seats well represented with quality modeling. Once again, we can forgive the use of simple textures in a non-essential area unless your desire is to simulate being a passenger.
What we also observe is how the modeling has captured the curves of the overhead storage areas coming down from the ceiling, the fact that every seat light is represented even if not functional, and the multi-step recesses for the windows smoothly lead to the view out the window itself. Like the galley, and every other part of the interior of the fuselage, the area benefits immensely from night lighting.
Moving further back, we walk through the remainder of the cabin before reaching the rear galley. Here we see the middle aisle with three seats abreast and a fabric seat texture that is designed quite differently than the first-class seats. Continuing through this section is the same accurately rendered structures of the interior fuselage incorporating details right down to the instructions on the back of the seats. Strangely, however, only the left most aisle has those instructions properly oriented while they are reversed on the middle and right aisles.
At the end, we come to the rear galley that very much looks like the forward galley except for more storage areas. The other difference is this area is always dark, even with the lights on. Again, amazing work on the detail modeling. The textures are blurry up close but very effective from a distance as they are everywhere else in the cabin areas. This area is also a good example of the developers’ use of light and shadow to enhance the area without necessitating a frame rate hit as higher detailed textures would.
The Flight Deck
Let’s begin the tour of the cockpit by noting, and then moving on from, what appear to be blurry textures in use throughout. (Note that while I can offer you can explanation as to why things look the way they do, I cannot advise on making any changes to your installation that are not supported by the developer.)
At first, I was thinking that they were low resolution to save on frame rate but that didn’t make sense to me for use in the cockpit where everything is in a close-up view. When I looked at the files, they were saved with 4k pixel dimensions. At the same time, I noticed the folder contained both .dds and .png files covering the same areas of the cockpit.
Not knowing which one X-Plane would use with both present, I removed the .dds files from the folder and loaded the 764 using the .png files. I’m not sure if this will come across when viewed from a web site, but if it does, you can see the difference in these two screen shots. The first is using .dds and the second is .png. If you aren’t familiar with the difference, the .dds file is a compressed file that drops data to decrease file size (lossy compression) while .png is a compression scheme that does not (lossless). Graphics cards process .dds files faster than .png files but the cost is a loss of detail. As a result, the texture files are 4K but lose that appearance. It also appears that X-Plane will use the .dds file first if it is present. The cockpit is reviewed utilizing the .dds files since that is the default.
FlightFactor has built the 767-400ER model with a high priority, and focus on, the aircraft systems to create that “study level” experience for the user. One would expect, then, that the cockpit would be incredibly detailed and accurate since this is where all of that takes place and where the sim pilot will be spending most of their time. FF does not disappoint in this area.
First off, the pilot has to step onto the flight deck through the door. Immediately, we are greeted with a plethora of colors, textures, shadows, highlights, and of course, controls. Here is where everything looks fantastic and the PBR effects and reflections are able to define the scene. The use of a photo texture to create the sheepskin seat covering is brilliant. The effect, from a distance, as to the realism of the cockpit even though it is a small detail. Unfortunately, all of the seat textures give way to blurriness once you are seated behind the yoke.
Once you take that seat, the glareshield and controls fill your view. The PBR effects and shading work create such an immersive experience it seems like you could reach out and touch the controls. The cockpit has a very solid “feel” to it especially as you look to your left where multiple surfaces come together flawlessly and the comparison can be made between the heaviness of the window area and the fineness of the captains control switches. No detail is missed from the smallest screw around the tiller to the ventilation airducts.
As we look around, from the screens directly in front of us, over to the FO’s seat, and overhead to the panel, every switch and button is sculpted with exacting detail down to the build up of dirt in the grooves of the rheostats That dirt, along with other indicators of wear and tear throughout the cockpit, informs you that this is no showroom new aircraft. At the same time, if has the feeling of a worn but maintained piece of equipment. If you find the dirt and reflections on the screen a bit too much for you, head to the EFB and turn those effects down as we saw in that section of the review.
Turning our attention overhead, we see the array of circuit breakers all present and clearly labelled. None of these breakers are operational but that doesn’t lessen the impact that this level of detail has on the overall cockpit experience. The overhead panel is nestled between two well modeled map lights and bears the indications of repetitive use. Every panel section is well defined, every screw appears in sharp relief, and every label and schematic line is accurately drawn where it should be. As far as the operation of these various controls are concerned, that we shall leave for our pilot in command to cover during her test flight.
Looking downward, we see the front and rear pedestal as well as the ever-familiar FMS CDUs. Again, we will defer to our PIC for the use and operation of these units during flight. The visual representation is quite satisfying although the text appears to be suffering from the aforementioned .dds compression.
Below that, we find a faithfully reproduced throttle quadrant with well made levers and switches. Every shape and style reproduced here adheres to what you would find in the actual aircraft. They are well textured and display a masterful use of color and shading for a realistic depiction.
Finally, lying to the cabin side of the throttle quadrant is the rear aisle pedestal with a credible depiction of radio controls, rudder and wing trim controls, and easily distinguished engine and APU fire control levers.
For our final consideration of the cockpit reproductions, we’ll turn our attention the night lighting. The quality of this lighting and make overnight fights possible with a model or, if not done well, can make those flights near impossible. We start our tests with the indicator light test located at the front of the left overhead panel. These lights, labeling various switches, need to be visible in daylight as well as dark conditions. A press of the test button produces bright and clear illumination on all switches for a satisfactory test of that system.
The many lights within the cockpit are controlled from various locations. The indicator lights, cabin lights, and the dome light switches are all located at the front of the left overhead panel. There is also a switch labelled Chart, but I was unable to determine the effect created using that switch.
At the front of the left overhead panel are two nested rheostats for controlling the flood lights and the label illuminations of the glareshield and the aisle stand. One oddity with these controls is the rotation of the outer rheostat is the reverse of what one would expect. Therefore, when you are turning the lights up, the rheostat moves counterclockwise and clockwise to turn them down. This is also the same for the aisle stand flood control at the FO’s side rear corner of the rear aisle stand section.
The Pilot and FO each have a set of light controls at their end of the glareshield and to the outboard side of their respective yokes. The outboard rheostats control lights and brightness of various parts of the forward panel. The switches at each end of the glareshield are for the map lights overhead of each position.
The last switch is next to the aisle stand flood control rheostat and that is for the floor lights. A little confusion resides within this switch in that the “dim” side of the toggle is for the bright lights and the “bright” position activates the dim variation of the floor lights.
The quality and effect of the lighting is quite satisfactory and very functional. All light operations seem to be spot on and the number of light controls allows you to customize the lighting to your heart’s content.
Simulated Systems
Introduction
It’s not just an additional upgrade of the 767 with a slightly modified -400ER cockpit. No, it’s much more then that in my humble opinion. It’s a completely wherever applicable of course, brand new cockpit with new EFIS systems and more changes that belong to the -400ER cockpit layout. In the following 3 screenshots you see all the differences in respect to EFIS for the -200ER/-300ER and the -400ER. With the -200ER/-300ER you have the option to select either ORIGINAL or FPDS UPGRADE while for the -400ER you have a dedicated EFIS which is fully compatible and functional as the 777 Series.
General systems modeling
Lets start with how the aircraft systems are modeled. One note for those simmers who also fly Airbus aircraft and that is the naming convention of the pedestal (Airbus) versus Boeing with the control stand (throttles, flap- and speed brake controls, stabilizer and some others), FWD aisle stand (FMS CDUs and weather radar DU) and the AFT aisle stand (radio and navigation controls etc.) on the Boeing 767 Series.
The systems modeling inside the airplane itself is superb. Many features are implemented. Some of the most impressive (and notable) examples of systems depth and detail are the EFIS and EICAS systems. Not only are these both more then well-implemented than most other add-ons, but there’s more. What do you think of the weather and terrain radar and even though there aren’t many that have a terrain radar, they’re also not noticeable when it comes to frame rate hit. It depends a bit on your rendering settings and your PC or Mac, but there’s a frame rate hit. Not surprising when you think about al the calculations that has to be done when powering up the cockpit.
GPWS warnings, EICAS messages, FMC messages, everything is present and correct although I must admit that I haven’t checked if all EICAS messages and warnings are as the real EICAS. The same implies for the FMS. The FMS is a complex system and not easy to simulate since with modern aircraft the FMS is completely integrated in the Auto Flight System.
But let me give you a couple of examples; when leaving OFF the icing system during icing conditions will light up ‘icing’ lights and leaving the park brake on or not deploying flaps as stated in the takeoff performance page gives you an EICAS and audio warning. Perhaps some of these cautions and/or warnings are default X-Plane data-refs but for sure many dedicated features are programmed.
Not properly following checklists could mean that you get a mysterious issue that you don’t know how to solve – because you didn’t think that pressing a certain button would be necessary. Or maybe you simply get a call from the flight attendant, stating that you have left the seatbelt and no-smoking signs OFF. Although you don’t use or touch most of the knobs and systems during a regular flight, the simulation of it all makes things feel smooth and interesting as you start up and shut down. Knowing you have to watch what you do adds a layer of often wanted realism and immersion to this 767-400ER.
As far as I can see, and as far as I’ve tested the systems, the following panels and their systems aren’t modeled. On the overhead panel the cockpit voice recorder panel, the rain repellent (INOP), on the center panel the STANDBY horizon OFF-APP-B/CRS knob and finally, on the side-panel the HEATERS control near the NWS (Nose wheel Steering) handle. Everything else seems to be functional, but I don’t know if the system behind it is fully animated or programmed. When you want to know it exactly, then you have to check out the 764 FCOM Acrobat manual page by page, but I couldn’t find any exceptions in this manual that indicates that “this and/or that” isn’t modeled.
In case you need on one of your flights due to a cabin decompression oxygen, you grasp the QDM (Quick Don(ny) Mask), and put it over your virtual face or actually when you grasp it out of the oxygen box, your view has changed. Check out the following screenshots.
As far as I’ve see and as far as my knowledge goes, I’ve got the idea that most of the systems are simulated. On purpose I write “most” since I can’t check all the aircraft systems and their behavior, but the overall looks impressive and although it’s not a complete new model, many new features have been implemented. Almost one important thing forgotten; which 767-400ER aircraft is modeled by FlightFactor when you check the 767-400 FCOM? The 764 FCOM manual shows for certain systems 1801 trough 1820 and 1821. You need to read only the sections related to the 1801 through 1820 aircraft model! As far as I can see the only difference is the use of mechanical indication windows or digital windows on the MCP since for all other functions the text is for both 767-400ER serial numbers.
FMS (Flight Management System)
The implemented FMS with its FMC (Flight Management Computers) and CDUs (Control Display Units) is modeled in great depth, something we may expect these days with well known developers. Although it all sounds so simple ….. just programming an FMS, when you know the complexity of the overall FMS and how the FMS is linked to the Auto Flight System including the CDUs, you will be amazed how FlightFactor managed to implement this.
You can pop out each CDU into a 2D panel and can select keyboard input. I write on purpose each CDU since this FMS is simulated as the real FMS which means you’ve got a split function of this system although one CDU, again, as in real, is always the master and the other is always the slave. FlightFactor offers these 2D popups and allows you to move them to another monitor and perhaps an iPad.
The FMS works well with all the other systems in the aircraft, including the autopilot of course. All basic steps are accurately implemented, from the initialization to route planning, including all the features the real-life FMC would have in that respect. Deleting waypoints, executing direct-to actions, holds, fixes with range rings and abeam points, all of that is present. During setup, when entering weights, CG and such information, you can simply click on the appropriate line select keys to auto-fill data. A luxury feature that real-life pilots do not have.
The progress page and performance initialization page during descent seem to be accurate, as is T/D (Top of Descent) calculation. Also this T/D calculation can cause nightmares for developers since it’s not that easy, in particular when you fly online with real weather. This is also applicable for the descent angle and approaching each waypoint along the flight plan. Or in the right terms, LNAV (Lateral Navigation) and VNAV (Vertical Navigation). I did a couple of test flights with of course a flight plan inserted, and I must say that every time the FMS calculates for perfect climb, descent or approach, it always reaches the next waypoint as calculated. I’ll come back to this in more detail when I do my “written” test flight and check this while writing.
VSpeeds are calculated for you and can be inserted manually, but I’m only wondering how to find out the DERATED temperature value. I can guess to enter 40C or 45C, but no idea where to get this information. Asked Roman from FlightFactor, but till now not received an answer how to deal with this.
Automatic Flight Control System
No need to guess when it comes to the modeled Automatic Flight Control System that consist of the Autopilot Flight Director System (AFDS) and the Auto throttle system (A/T). The Mode Control Panel (MCP) and the previous highlighted Flight Management System (FMS) controls the AFDS and the auto throttle system to perform climb, cruise, descent and approach. Perhaps you’re aware of it, perhaps not, but there’s a difference between an Auto throttle System and Auto thrust System.
Besides the fact that it depends on the type of engines mounted to the aircraft like GE (thrust parameter is N1), PW (thrust parameter is EPR) or RR (thrust parameter is EPR). With an Auto throttle System the throttles or thrust levers can move depending on the calculated thrust while with an Auto Thrust System the thrust levers have fixed positions on the pedestal, typical for modern Airbus aircraft.
The Auto Flight System is a completely in-house created/programmed dedicated real Boeing Auto Pilot except for a small amount of not included features. As in real, it’s a split system like you can see for example when you select the FD (Flight Director) switch to ON. Hold on, you can control either FD switch and consequently, the EFIS DUs respond independent from each other.
In other words, the CAPTAIN and CO-PILOT EFIS can show their own data depending on the different settings you made on the MCP (Mode control Panel). Since I see no exceptions in the provided 764 FCOM manual, I may assume that the modeled AFDS is completely created as the real system, of course within the boundaries of what X-Plane allows to be programmed.
Implemented Checklists
Since this is already discussed in great detail by Paul, there’s no need for me to do it once more, but of course, I will use it when I do my flight and see what options are possible besides using it as a checklist only. According to the FlightFactor “manual” Acrobat file page 11 you have, in particular handy for beginners, the Auto Checklist and VTM (Visual Tutorial Mode) modes. Hold on, what is the VTM then? According to the manual “Basically even standard and procedural checklist can be turned into a tutorial-like process by selecting the VTM checkbox in the checklister. Please note that the VTM mode is only available during daylight hours.” We’ll see that later.
Part I – Flight Introduction
The Planned Flight
For this test flight I decide to depart from the Boeing Everett Production Facility (KPAE), north of Seattle, Washington. Just for your information; the other huge Boeing facility is known as the Boeing Renton factory, east of Seattle. At Renton Boeing builds the 737 and in the past also the 757 models while at the Everett Production Boeing rolls out the 777, 787 and in the past the 767.
Anyway, the flight will be from Paine Field also known as Snohomish County Airport. It is a commercial and general aviation airport serving the Seattle metropolitan area in the U.S. state of Washington. We fly in a southern direction to San Diego International (KSAN). The freeware San Diego airport is from MisterX6 and can be downloaded from either this Org link or this X-Plained.Com link. The Paine Field scenery package is available as freeware but also as payware from Drzewiecki Design and can be bought via this X-Plane.Org store page or from the dedicated Orbx webshop page. You can even download KPAE from the X-Plane.Com gateway.
To make it complete, you can use for this flight the Orbx TrueEarth packages. Oops, almost forgotten. You can install many more packages like the ones for environmental conditions, ground textures for the apron, taxiways and runways, add-ons that control or monitor your frame rates etc. For now let me stick to these airports and scenery packages. And finally, I used for this Boeing test flight the Boeing house livery painted by X-Plane.Org user Hydroxide.
Part II – Flight Plan Preparations
Flight Planning
For this flight I need to make a flight plan, right?
I can do that either by entering all the waypoints in the CDU or I use an external program and load that flight plan via the CDU. Lets see what options there are.
For creating a flight plan you’ve got the choice out on many online and offline programs. Let me highlight a couple of these possibilities. First of all, you can use the online website of Routefinder that offers you the possibility to quickly create a flight plan, but this is not in “X-Plane fms” format and that’s what we need for the FlightFactor 767-400ER and perhaps for now the most important issue, it doesn’t allow you to add manually waypoints. But hold on, we don’t need the default X-Plane “fms” format. According to the FlightFactor manual we need e.g. the Aerosoft Airbus Extended format which is flp.
Then you’ve got the well known real flight planning program FlightAware, but again, this doesn’t allow you to export it to an flp file format and it’s only based on real flight plans which is by the way great news. Another very interesting option is simBrief. Although you need an account to get access which is by the way free to register, it comes with a wealth flight planning information. In case you use SimBrief, then you can select the B764 – B767-400ER profile for correct calculations and flight planning.
This is in my humble opinion right now the best program since it allows you and me to save the flight plan in the right format thus flp, but for up-to-date AIRAC cycles you need a Navigraph account. When you don’t have an Navigraph account I suggest that you make one ASAP and take a monthly or better a yearly subscription to the AIRAC cycles or even better, create a subscription that lso includes the charts they offer. Awesome feature from Navigraph!
Hold on, there’s more. When you use simBrief in combination with SkyVector, you’ve got a lot of interesting features. When you prefer to use SkyVector then this is another option to create a flight plan and it can be loaded into SimBrief.
And last but not least is the offline freeware LittleNavMap software. I can tell you that it can do much more then just flight planning. It does basically the same as SkyVector, but offers a bit more flexibility. Perhaps most important is that it’s a program that can be downloaded and installed on your Windows PC, Mac or Linux computer. It offers many “save as” options including the fms extension from X-Plane 11. One thing to keep in mind is that Little Navmap also updated AIRAC cycles and to be more precise, it needs it’s own AIRAC cycle.
Although not directly visible and it needs to be activated, is that Little Navmap can also save it as the Aerosoft Airbus format. To activate this save option you select from the menu File – Multiexport Flight Plan Options – tick the line Aerosoft Airbus and Others. After that, when you have created a flight plan then you select from the menu File – Multiexport Flight Plan and save it with the name of your choice.
Loading the Flight Plan
After I’ve updated the default X-Plane AIRAC to match the same AIRAC with Little Navmap or you used SimBrief which has this time my preference, you copy and paste the flight plan file KPAEKSAN01.flp (KPAE – SEA – J5 – SUMMA – DCT – PAAGE – Q11 – PASKE – DCT – HUULK DCT – LAX – COMIX2–KSAN) into the X-Plane Aircraft/FlightFactor 767-400ER/co-routes folder. Attention, the name of the “FlightFactor 767-400ER” is taken as an example. Other option where to install the flight plan can be found in the FlightFactor manual.
Part III – Cockpit Preparations
AUTO PERFORM or VTM
For me cockpit preparations means “using the checklists”. Weather you’re an experienced Boeing simmer or not at all, I feel that using the checklist is not only mandatory, but prevents you from making mistakes or forgetting steps to perform. When doing so, it’s then up to you if you follow the build in checklist or that you automate the steps to perform although you still need to do certain steps yourself. Or you simply use a ordinary paper checklist or print the official amplified checklist which is by the way only possible if you have the full 767 package.
But when you want to make it yourself a bit easier and to be sure that you don’t forget anything, you can also use the “auto checklist” or AUTO PERFORM function. According to the FlightFactor manual; “Most of the checklists have an auto button operations. Pressing it, will activate a “copilot” – an automatic helper that will operate the switches for you in the correct order. Some items should be checked by the user. To CHECK such item, click on the checklist text itself. The same will override a auto item.”
Another option is the VTM or Visual Tutorial Mode however, this is only applicable for daylight operations. Keep in mind that the VTM is only available in combination with the amplified checklist. That said, when you use the NORMAL checklist, you only have the AUTO PERFORM option. When you’ve selected either the AUTO PERFORM or the VTM option, click the PERFORM button to start.
In the following example I started the amplified checklist and selected VTM, followed by the PERFORM button. As you can see on the screenshot, the checklist is performed for me, but at certain steps I need to do something too. So it stops and the PERFORM button turns to white. When you click the PERFORM button the respective buttons or selector that needs to be operated starts to flash white or they do it by themselves. The moment you’ve done this, the checklist item turns green – action performed – and waits for the next action. In this case – see the screenshots below – that’s switching ON the APU Generator.
When the page is all green so all items are checked or performed, you click the right-hand arrow and the next page comes in view. Is an awesome tool to be honest. Just to make this clear, it’s not an auto checklist since you still need to do things yourself, in particular when it comes to enter data in the FMS CDU, but also for other systems or things you need to check. When you need to select switches, the respective switches flash white which means you need to select them.
Back to the CDU items on the electronic checklist; the checklist not only shows you what to do, but it also gives a lot of additional information why you do it, where to look for or what to enter. And finally, it’s of course an interactive checklist. When you’ve performed a step, it automatically continues to the next item on the list.
That said, I use the VTM option just to check it out, but I do not use the AUTO PERFORM since with that option I feel I loose control over the steps to perform. I’m overall impressed by this since it’s an important part of your learning process and understanding how the 767 works. Is it the perfect and complete checklist that FlightFactor offers? No, there’s still some work to do to complete the checklist items and to correct errors. He hold on, when you’re a lua expert, you could modify these checklist sections yourself!
Some final words about the AUTO PERFORM.
I’m impressed by this checklist function too although I got the impression that some CDU steps are not mentioned, so you need to keep alert and use common sense, but above all, how awesome this function is, you are the one who’s in control. Besides that you can follow all the steps in the VTM, you can also use the original FMC manual as a reference. In that case, print or read the pages starting at 488 “Flight Management, Navigation FMC Preflight Chapter 11 Section 40” of the 764 FCOM Acrobat manual. But you can also use the supplied FMS (all variants) Acrobat manual. In that case you start reading at page 66.
I can conclude that the VTM or AUTO PERFORM features are awesome, but as mentioned before, sometimes I got the impression that some AUTO PERFORM steps are missing. Not really that they are suddenly that annoying, but you need to stay alert. If you can want you can search the Web for YouTube tutorials and although you will find many, I found this official FlightFactor FMC tutorial for the 757/767 good. It is explained in a relaxed way, with many examples or other ways how to do it. You can check it out via this link. And yes, I’m aware that the movie is from April 2021 and not dedicated recorded with the 767-400ER, but many explanations that are explained can be used for the 767-400ER.
Hold on, when you’re an experienced Boeing simmer or new to Boeing aircraft, but don’t want a help from the AUOTO PERFORM or VTM, then you can decide to use the regular checklist as you can see on the following screenshot. You don’t tick AUTO PERFORM or VTM. Instead, you only select the NORMAL or AMPLIFIED checklist and to it all yourself as it was a paper checklist.
FMC CDU Data
One of the steps or perhaps one of the most important steps is data for the CDU. Before I can do that, it would be a good idea, no, mandatory to collect all the necessary data like charts and the SimBrief information. In particular the SimBrief document offers lots of important data like the fuel we need for this trip thus the block fuel, the amount of reserve fuel, aircraft estimated weights like TOW, LW and ZFW. But the papers offer much more then that.
Think about the CI (Cost Index), ground/air distance, wind although that depends on if you fly with real weather or not. On the third page weights are explained and in our case it seems that we have 270 pax, some cargo etc. Not mentioned anywhere is the value of the CI. This ranges from 0 to 999 and on average to can enter a value between 50 and 100.
Anyway, lots of data we need to enter in the FlightFactor EFB and CDU. It could be that I mentioned this before. The 757/767 are equipped with a CDU and not an MCDU. The M stands for Multi purpose and his FMC CDU is just a basic device.
Lets start at the beginning, where are we at KPAE and what runway to expect. When you fly with real weather, then the wind decides for you which runway you need to take else you’re free if you take runway 16R or 34L although 16R is the most logical one since it’s in a southern direction.
Since we’re parked at the Boeing ramp, we need to take taxiway A up to A1 (16R) else to A9 or A10 (34L). If available, we can take PAINE 6 DEPARTURE thus a SID, but when we select 16R or 34L, the CDU doesn’t show me a SID. On the other hand and what can be seen on the following screenshot the SID is basically following the runway heading while climbing out to a certain altitude, in case of online, assigned by ATC. So, not really a spectacular SID, but still worth to check it and to show it.
Now it’s time to enter the FMS CDU and for that I use the VTM option, but what I said before, not all steps are correctly interpret which is confirmed by Roman from FlightFactor.
That the CDU data is only at the EFB as reference information what to do is to me clear. For all other steps to what to select on the overhead panel, aisle stands, center panel or glareshield, is in most cases flashing white – as explained before – but not always. That said, sometimes you need to look where to find the switch or selector. Still a worthy tool!
The following screenshots shows you the steps I’m doing with the belonging panel or DU next of it.
I’ve worked my way thru the different checklist sections and now it’s time to start with the pushback, with after being pushed back, starting the engines. I’ve tried all the different options of the implemented checklist. The most realistic one if of course not offering any help, no, you have to find it out yourself, but it was worth my time and effort to check the VTM.
Ground Handling
Although the FlightFactor 767-400ER comes with a lot of static ground equipment, it could be that you own the JARDesign Ground Handling Deluxe. It depends a bit on what you want and what you want to see when you’re at the apron.
Basically, the FlightFactor ground equipment is a large collection of ground objects, either the same or even more objects then the JARDesign GHD however, the JAR add-on offers an additional control window and you’ve got the option to install “sets” of airliner colours or dedicated to airports and it’s all animated. Overall, it’s a matter of taste and how often you’re outside the aircraft and where your preference lies.
When you own or planned to buy the JARdesign GHD then check it out at the dedicated Aerosoft Store page or at X-Plane.Org webpage. See some screenshots below I made in combination with the 767-400ER, using the dedicated JARDesign FF 767-400ER GHD set.
Part I – Flight KPAE – KSAN
Pushback
Starting the engines is planned after the pushback. I can tell you, the way FlightFactor implemented the possibility to use the Better Pushback plugin is awesome. Ok, first things first. If I decide to ask for a pushback from my parked position, there’s a lot to choose from which or what pushback function to use. First of all, the FlightFactor comes with a build-in pushback truck function. Although it’s nice, the Better Pushback plugin option is a truck of a total different level. The good new is that it’s perfectly integrated into the 767 EFB. Let me try to explain that.
When you’ve decided to use the Better Pushback (truck) plugin – do it, it’s a great plugin for free – you need to download and install the freeware BetterPushback plugin. Unzip it, and copy and paste the BetterPushback folder in the X-Plane /Resources/plugins folder. You can use the plugin directly from the X-Plane menu Plugins – Better Pushback, but much more elegant is when you tick in the FlightFactor EFB under “Simulation Options” the “use Better Pushback” option. See the screenshots below.
The EFB checks the presence of the plugin. When there’s no folder then this option is greyed out else it’s clickable. Besides that it’s a beautiful truck, it comes with a nice controlling tool that allows you to visualizes how and where to pushback too. This layer also appears when you’ve ticked the FlightFactor EFB “use Better Pushback” option. In other words, it’s fully implemented.
Engine Start
Once the pushback is completed, it’s time to start the engines by using the electronic checklist. You can zoom in on the EICAS (Engine Indicating and Crew Alerting System) DUs to see all the parameters, but you can also click and hold the middle mouse button at the lower left-hand or right-hand corners of the upper and lower EICAS DUs and resize them or click at the top of the DU menubar and chose your size you want.
Since my 767-400ER is equipped and modeled with the GE CF6-80C2 (General Electric Commercial Fan) engines, you only have N2 and the thrust parameter N1 so two spools. Although the -400ER isn’t equipped with other engine types, it’s worth to bring the following to your attention in case you didn’t know. The only other engine on the -400Er was the Pratt and Whitney PW4000. This engine use as primary parameter EPR (Engine Pressure Ratio) and has also two spools.
Starting the engines on the 767-400ER is not complicated at all although it’s a bit older system compared to modern 787 or Airbus aircraft. That said, to initiate the starting sequence I select on the overhead panel the engine start selector to GND – you either start with the RH or LH engine. The FlightFactor VTM checklist starts with the LH engine, but that’s a bit up to the airliner. As far as I can remember from the past, we always started with the RH engine.
The moment you’ve selected the start selector to GND, monitor the N2 on the lower EICAS and of course, the oil pressure should slowly rise. At approximately 20-25 percent N2, select the fuel control switch engine 1 and place it in ON. Ignition and the HP fuel valve are started/opened, as written in this order. This can be seen by a quick increase in EGT (Exhaust Gas Temperature) and a slow pickup of the N1 and a further increase in N2.
Although FADEC is monitoring the parameters too, you still need to check and act in case of a hot start. When you use the VTM function it tells you to wait till the engine is stabilized at IDLE. When you have no clue where to look for or how to know if it’s at IDLE, then no panic. With VTM active, the line turns cyan – sea blue – indicating it’s stabilized and you and I are ready to start engine 2. A compilation of the sequence can be seen below.
Taxi
I’ll check the BEFORE TAXI amplified checklist and when completed, it’s time to taxi to the holding point of runway 16R. As previously mentioned, I taxi via taxiway A to A1 before turning onto 16R. Taxiing the 767-400ER is not as difficult as for example with the much larger 777, 747-8 or A340-600. The NLG (Nose Landing Gear) is more or less underneath the cockpit so making turns is easier then when you sitting sky high and having a NLG that’s positioned behind you.
You can use the nose wheel tiller in the cockpit to steer or just your hardware. We scroll the checklist to the next page which is BEFORE TAKEOFF, but I suggest to wait with these steps till we’re at holding point A1. I had hoped that after this checklist there’s an unofficial checklist page with the necessary info for the takeoff. Think about settings related to the MCP, FWD or AFT aisle, start chrono on the clock, what to do after liftoff, what and when to select the AP and so on.
SINCE the next checklist page starts with CLIMB and CRUISE, I feel there’s something missing. Besides that, there’s also a discrepancy between the Normal and Amplified BEFORE TAKEOFF checklist. While the normal checklist highlights the TAKEOFF BRIEFING and FLIGHT CONTROLS check, these are for example not mentioned in the amplified checklist. So, some work to do for FlightFactor. Having electronic checklists is great, but even without the VTM or AUTO PERFORM option it should be complete and consistent.
In case you want to know what to do at the takeoff, check out the 763 FCOM starting at page 60 til land including 62, but as I mentioned in the beginning of the review, this manual is only available when you had already the -300ER base package. In case you only have the -400ER package, then you don’t have the amplified checklist since it is missing in the 764 FCOM. In that case you can download via this link a -300ER manual with the necessary amplified checklists included.
One comment (see above screenshot); I noticed with the amplified checklist with a finished BEFORE TAKEOFF completed, that when I select NORMAL, I personally expected that these normal and amplified checklist are synced with each other, but that seems not the case since the NORMAL checklist shows me PREFLIGHT not even completed. Not a big issue as long as you know that swapping between the different checklists is not possible. I’m also not sure if it is possible to sync these different checklist pages, but that’s up to FlightFactor. Anyway, keep it in mind.
Part II – Flight KPAE – KSAN
Take-Off
With the previous mentioned “amplified” pages in my hand knowing what to do before I start my takeoff, I can continue to turn onto runway 16R. I don’t fly online so there’s nobody to bother.
Besides many other things to check and to do, I keep in mind that I need once aligned on the runway and set the thrust, to select on the MCP the THR button. After takeoff, positive climb , I command GEAR UP – oops, I have to do it myself – and at 400 feet RA (Radio Altimeter) I set a ROLL mode e.g. HDG (remember, the SID for 16R was PAINE 6 DEPARTURE which was “climb out on a runway heading 163 degrees”). Then at the thrust reduction altitude which could be as low as starting at 400 feet RA, select VNAV. There after an Auto Pilot can be engaged.
That said, lets go and see if it all works according to the book.
This could be very short paragraph, but no, that’s not me. It does go according to the books. I turn on to the runway, and once aligned, I click the THR button on the MCP. And yes, I had set the HDG bug to the runway heading which is 163. Not that I really need it, but HDG and V/S (vertical Speed) are basic AP modes, just in case. The thrust – N1 – produced by the fan of the CF6-80C2 spools up and once reached, the FMA (Flight Mode Annunciator) shows THR HOLD. The -400ER accelerates while I keep it on the center line and monitor the PFD speed scale. The speeds entered in the CDU are shown on the speed scale as well as when to retract the flaps and slats.
Initial Climb – Climb
At approximately 700 feet I click VNAV and after that the AP R (right). No need for me to do anything although you always need to keep alert. While I monitor the PFD FMA, the -400ER climbs out to the first assigned altitude which was FL100. Before reaching FL100 I could enter e.g. FL250 and then FL360, but since I’m flying offline, I’m free to do what I want. What counts for me is to see how the -400ER levels off when it approaches FL100. It does it fine without hardly any overshoot although it responds in my humble opinion quite late with reducing the V/S, but for some reason the overshoot is minimal. Good news, right?
And that’s also what surprises me. The Auto Flight which is modeled dedicated for the -400ER by FlightFactor, does its work flawless. I’m not planning to do any tests yet, not playing around with the EFIS control panels. I’ll wait till I level off at FL360. During the climb the PFD FMA shows N1 – LNAV – VNAV SPD and all in the AP R CMD mode. On the MCP (Mode Control Panel) the only illuminated buttons and functions are LNAV and VNAV. The SPD and V/S windows are blank while the HDG window shows the heading bug position on the lower section of the PFD and ND. Before I forget it, and what I’ve learned, always keep the HDG bug aligned with the current track you’re flying.
When you also fly modern Airbuses beware that you need to turn the HDG knob on the MCP to turn the bug and not with Airbus that you press the HDG knob to sync it with the current heading.
Next, the ALT(itude) window shows the selected altitude. While writing this paragraph right now, I’m wondering why Boeing still calls the AP ENGAGED modes CMD. Oh yes, CMD means that the AP is in the COMMAND mode, but there is no other option available like you had in the past with Douglas aircraft known as CWS (Control Wheel Steering) unless this 767-400ER also has a hidden CWS mode, but as far as I could check and find, the only mode being available is CMD.
Cruise
We’re leveling off at FL360. With the 18.4 tons of fuel onboard, 207 passengers, some cargo, I couldn’t make my climb straight away from FL100 to FL360. The highest selectable altitude was FL350, so I selected first FL350 but while the -400ER was climbing further, I could later on select FL360 most likely due to the fact that I had burn some fuel.
We are leveled off at FL360 while the PFD FMA shows SPD – LNAV – VNAV PTH with no armed modes. I will first start with syncing my HDG bug by turning the HDG knob on the MCP. Only turn it, don’t press anything else you’re in the HDG SEL(ect) mode. Logically and as expected, the FMA LNAV mode changes to HDG SEL. And yes, it tells me that I’m in the heading select mode.
When I had pressed the button below the HDG selector “HOLD”, then the FMA would show you HDG HOLD. Anyway, when you turn the HDG knob, the -400ER Auto Flight follows my entered heading. This is not so spectacular. What is more interesting is to see how the aircraft responds when I select the LNAV button again on the MCP. How does the modeled Auto Flight replies, how smooth is it commanding the flight path back to the intended flight plan course.
Needless to say … awesome! Smooth! Great to see!
Hold on, what do you all see then?
First when you’re still in HDG SEL mode, the HDG bugs on the ND and PFD (lower part) move in the direction of what I’ve entered. The aircraft follows and of course, the PFD shows me a roll. Notice that the ND shows the actual value of the track you’re flying, not the selected HDG although when there’s no longer an error between selected HDG and actual HDG, then the TRACK indication on top of the ND is the same as the selected HDG. On the other hand, the lower compressed ROSE at the PFD shows me the selected HDG. When I click again the LNAV, the FMA indication changes and the Auto Flight nicely, smoothly and without an overshoot the -400ER returns to align with the intended flight plan track.
Not much different will be when finding out how the vertical speed or PITCH mode works although we need to add a couple of steps for this. First, we’re leveled off at FL360 which means entering a V/S won’t work since we need first to enter a new altitude, either higher or lower. That said, I first dial a higher altitude, lets say FL365, but before this, I select the ALT HOLD button below the ALT window on. the MCP.
Immediately you’ll see that the white legend in the button illuminates which means the ALT HOLD mode is active, not mentioned before, but the same happens with the HDG HOLD button and the PFD FMA shows ALT HOLD instead of VNAV PTH and logically, the VNAV white legend in that button extinguishes. By the way, when a new mode becomes active on the FMA, a green box appears for a couple of seconds to get your attention. Then it disappears.
But VNAV PTH (path) is a different mode then the ALT HOLD mode. Actually, VNAV PTH also controls and monitors the speed thus the moment I click the ALT HOLD button, the SPD mode on the left-hand side of the MCP becomes active. It can be seen by the SPD button white legend, the SPD window illuminates and shows the current selected speed. The FMA indication doesn’t change since this showed already SPD before.
After I’ve dialed FL365, the magenta ALT bug on the PFD moves to the 36500 position. Around the current altitude an yellow box appears indicating an ALTITUDE ALERT which is also visible on the upper EICAS DU as a crew alert. After this action I can click the V/S button. The V/S button white legend illuminates, following by turning the thumb wheel for a V/S, which is visible in the V/S window and also by 2 small magenta lines at the PFD altimeter tape.
While the -400ER starts climbing, a green kind of banana appears on the ND, indicating that along the flight path under the current conditions you will reach your selected altitude “x” NM (Nautical Miles) from your current position. The banana positions itself at around 17-18NM from the current position, as can be seen on the screenshot below (as an example).
When I want to return to my intended FL360, I need to change the ALT window to FL360, set a “-” V/S of -200 or -300, followed by the LNAV button. This cancels immediately the V/S speed mode. I can hear that the throttles/engines retard to IDLE and thus the PFD FMA shows now during this small descent from 36500 feet to 36000 feet IDLE – LNAV – VNAV SPD. The moment it levels off again at FL365, it will show again SPD – LNAV – VNAV PTH.
So far about changing to a HDG or V/S mode. In the mean time I can play a bit around with the controls on the EFIS control panels which work, needles to say, independent. But hold on, that independent operation is not only for the EFIS control panels. It’s also applicable to the FD (Flight Director) switches, the FWD aisle mounted FMS CDUs, and the EFIS DUs.
This is in particular visible on the ND. On one ND you can have a different RANGE then on the other, or one ND offers a MAP, PLAN or ROSE mode while on the other ND you have a different image with different parameters as can be selected on the EFIS control panels. So, the modeled AFDS and all that belongs to it is pretty much as real as it gets while it must be noted that the FMS is not fully modeled yet so some pages aren’t functional.
You and I can also play around with the EFB and listen to the different PA (Public Address) messages. Or you check what the EFB offers more besides the things you and I have seen before in this review. Although Roman from FlightFactor told me that the 3D model itself isn’t really updated and therefore not a brand new aircraft, the cockpit lay-out looks to me new, and I wrote it before, it looks very similar to the 777, so yes, that’s great news and honestly, when I zoom in on the different sub panels, I’m pleased to say that it looks good. Text on the panels is razor sharp and there’s also at the right places less or more weathering implemented.
That said, keep in mind that even in the cockpit you find objects that have less polygons that you would see. For example the pilot seats with the armrests and the headrests. The textures are not always that sharp or, in particular applicable for the headrests, a little amount of polygons are used to model the headrest, but there’s also a reason for that. FlightFactor and other developers of large, medium and even small aircraft do this. The more polygons you use at places that are less interesting, the less impact it has on the available frame rates.
Not everybody has high performance computers and thus the developer prefers that many simmers with all kind of less and more powerful PCs can run their aircraft. To achieve this, developers seek for a way to reduce the amount of polygons on less interesting places. Ok, a pilot seat is interesting, but having an awesomely modeled AFDS and a realistic modeled aircraft is much more important and that then with reasonable frame rates.
Keeping the precautions in mind, I wanted to test also the possibility to reduce my airspeed, maintaining my FL360 and extend me FLAP and SLATS thus simulating a slow flight. When I say “with the necessary precautions” I need to reduce the SPD manually in a way to keep it safe and not that we enter the STALL speed. To start this flight test, I click the ALT HOLD button and as I wrote before, the VNAV disengages and the SPD mode is also active. Then I click the SPD button on the MCP, white legend illuminates and it allows me to set a lower SPD. I need to keep in mind the maximum allowable speed that belongs by GEAR EXTENDED. Flaps and slats are not indicated on the PFD but the speed scale shows me visually the lowest selectable speed.
Step by step I select flaps and reduce the speed on the MCP. When you have the FLAPS at 25, then remember that after that you need to select the GEAR DOWN else you get a WARNING alert “GEAR NOT DOWN”. Not surprising since this is with most commercial jets the same.
Theoretically when you want to return to the VNAV mode, you could select the VNAV button which disables the SPD and ALT HOLD modes but that’s not a good idea since my GEAR is still extended and the flaps/slats are still down. You could get an “AIRSPEED LOW” alert on EICAS, or even worse, an ALPHA message on the PFD FMA. All together a mesh while you planned a nice and relaxed flight.
What I did is disconnecting the AP, I applied CLB thrust, and of course I retracted the landing gear and flaps/slats afterwards. Lower the nose, increase the speed, don’t worry that you’re descending if that happens. First and important to get out of the low speed is increasing your speed. When the speed is back to normal or in a safe range, you can set VNAV but see if all parameters are a bit within range and then set the AP.
During the flight I also experimented with adding a holding. Not that I want to fly a holding at FL360 with a speed of 0.811 Mach or 270 knots. No no, but just to see if this all works as expected. When you’re an Airbus simmer, it will be slightly different, but not that different that you don’t know how to add a holding. Good, here we go.
I click on the CDU keypad HOLD. Near LSK 6L (Line Select Key) you see 5 boxes. In conjunction with the ND MAP mode I chose a waypoint that is far away from me which is in my case PITVE (don’t worry, see the screenshots below). I click first LSK 2L that copies PITVE to the scratchpad of the CDU. Then I click LSK 6L and that brings me to the next HOLD page or actually it’s called MOD RTE 1 HOLD thus a modification of the route. This HOLD page shows the standard entered HOLDING parameters that can be changed on your preference. I like them as they are, so all what I see is OK for the moment. That said, I click the EXEC button on the CDU. Once done, it allows me to add a second HOLDING, but no, I’m not interested and click right away the LEGS key on the CDU keypad.
But how easy is it to delete a holding. Very easy when you don’t know, yes yes, I know what I write down. Go to the LEGS page and click the DEL key on the CDU keypad. DELETE appears in the scratchpad. Next click the LSK next of the PITVE HOLD RIGHT which is in the following screenshots LSK 2L. When you click 2L, action is done and it seems we’ve got another issue namely, a ROUTE DISCONTINUITY. Between the waypoints PITVE and PUSHH we have an open route. That said, we need to close this and that goes as follows.
Click LSK 3L (from the example screenshot) PUSHH which will be copied to the scratchpad. With PUSHH in the scratchpad, we now click the ROUTE DISCONTINUITY line which is in the screenshot LSK 2L. That said, click LSK 2L and PUSHH replaces the ROUTE DISCONTINUITY line and the flight plan shifts up one place. Flight plan closed and restored. This ROUTE DISCONTINUITY issue we will see later on back when we add a STAR and ILS approach for our landing at KSAN.
One last example is using VOR beacons alone the route as reference. It’s quite easy to do this, as long as you know how. When you’re familiar with the older 767 models (-200 en -300) then this will be new since the layout is different and several VOR panels are gone. Normally VOR tuning is done by the FMS, but you can manually tune for specific VOR beacons. You select the CDU NAV RAD page and at the lines 1L and 1R you can enter manually the VOR beacon frequencies OR much faster without fiddling around, is selecting the X-Plane MAP page and select the beacons you can to see.
Click each of them and you’ll have additional info on your ND. You can add to this by selecting the switches on the EFIS control panel to VOR1 and VOR2. The following screenshot shows a compilation on how this looks like.
Ok, one more thing. A good habit is to have the PROGRESS page on the right-hand CDU, while the left-hand CDU shows the LEGS page.
Part III – Flight KPAE – KSAN
Descent Preparations
When you haven’t done this before, it would look complicated and although I know a lot, I’m also not an expert in doing the descent preparations. The positive part of it is that finding out which STAR and TRANSITION – if applicable – including which ILS to take, is the same for any other commercial jet. The way you enter it in the CDU or MCDU differs.
First what is possible for KSAN and which runway we go for. Again, when you fly online, the virtual ATC commands you which runway to land, but when you’re flying offline, then you’re as free as a bird. Our last waypoint of this flight plan is LAX that is situated SSE (South South East) of KSAN. With that in mind, we can go for STAR (Standard Terminal Arrival Route) HUBRD 1 ARRIVAL, PLYYA 1 RNAV ARRIVAL or for SHAMU 1 ARRIVAL. The PLYYA and SHAMU are intended for landing on runway 9 – we too – while HUBRD is for either a landing on runway 9 or 270. I’ve decided to take the HUBRD 1 ARRIVAL STAR.
Then we need to use runway ILS 9, but that comes with a ILS Z and ILS Y, hum? When I look in more depth in the provided papers from Navigraph, it seems to me that the only differences are the DH (Decision Height) or DA (Decision Altitude), MDA (H) (Minimum Descent Altitude/Height). Since the ILS 9 Y has a higher DH, I go for this one, but honestly, no idea when one or the other is used. Once landed, I only know for now that I have to taxi via taxiway B to the gate, but that’s for later.
Now that we know this, it’s time to enter the data in the CDU and link it to the current flight plan, so lets move on.
Click the DEP ARR key on the CDU keypad. You should see the DEP/ARR INDEX CDU page. If not, click LSK 6L showing INDEX and that should bring you to this page. By the way, I discussed this several times with real pilots from different airliners and different aircraft models, but some pilots do these handlings of adding the STAR, TRANS (if applicable) and ILS data in the CDU data at the departure airport while others do it in flight like me.
Ok, back to the CDU. When I have the DEP/ARR INDEX page, I click KSAN ARR which is in my case – see screenshot – LSK 2R. The upper line shows the DEP and ARR for KPAE, but we’re not intended to land at KPAE again. After I clicked LSK 2R, the CDU shows me the KSAN ARRIVALS pages. As previously discussed, we select the HUBRD 1 arrival and land on ILS 9 chart Y.
As you can see on the screenshot sets below, both are visible on the first page. I click LSK 3L (HUBRD 1 STAR) and LSK 1R (ILS09-Y). The result of this action is that next of each line is written SEL(ected) and it shows me also possible TRANS(itions). I could have selected LAX which is our last waypoint of the flight plan, but I simple forgot it. Although the ND shows my additional STAR, ILS approach and missed approach procedure, I need to activate it via the illuminated EXEC button on the CDU keypad. The white dotted temp flight plan route is replaced by the well known magenta line.
But we have due to these above actions some gaps – ROUTE DISCONTINUITY – in the flight plan. This can be solved – can you remember it – by selecting the LSK of the waypoint directly below the ROUTE DISCONTINUITY line. This copies the waypoint to the scratchpad, and next we select the LSK with the ROUTE DISCONTINUITY. This DISCONTINUITY is then replaced by the waypoint. Scroll page for page to see if there are more ROUTE DISCONTINUITY and take the corrective action to remove them all. What I did too, is selecting on the EFIS control panel the PLAN mode which allows me scroll thru the flight plan. When you’ve removed all the ROUTE DISCONTINUITIES, then click the EXEC button on the CDU to make it active again.
T/D (Top of Descent)
No no, I’m not yet at the T/D, but close to it. Yes, I know, I mentioned this before, but would like to share it once more with you. In the following screenshot I have both CDUs in view. Remember, they work independent although it must be said that there’s always one MASTER and the other is the SLAVE, but you can select different pages on them while changed data is copied to each other. On the PROGRESS page – right-hand CDU – I see that we’re arriving at KSAN with 6.6 tons of fuel and that it’s still a long way to go namely 571 NMs.
The calculated T/D pseudo waypoint is shown in green on the ND, but you won’t find any entry in the CDU flight plan. That said, when we’re approaching the T/D, we can enter already the level off altitude for the ILS KSAN runway 09 which is 2000 feet. That said, turn the ALT knob on the MCP to 2000 and that’s it. Nothing else has to be done.
I’m flying with wonderful weather – partly because I’m working an in iMac 24 inch with M1 Silicon processor – so a weather radar isn’t really needed, but this is fun to see. It works great and it looks beautiful. Check out the following second screenshot. You can see along the coastline waypoint LAX. Further in a southern direction the difference between land (heavily colored) and sea (black)
Yes, we’re 1 to 2 NMs away from the T/D. What you don’t see on the following screenshot is that the engine N1 RPM is already reduced and finally they reduce to IDLE thrust. You and I almost forgot it being alone in the -400ER cockpit, and that is checking the EFB checklist section. I’ve got the DESCENT page in view and working my way thru it. And as expected the -400ER starts descending at the T/D. Well done since it all sounds so logic, but many developers have huge problems calculating the vertical path during a descent and approach.
At each waypoint the CDU informs me about at which altitude we should be as well as the speed belonging to that waypoint, either calculated or due to restrictions like being above 10.000 feet 300 knots, below 10.000 feet maximum 250 knots. During this descent I’m monitoring what the CDU calculates and what happens in reality with the -400ER. It’s so good to see that this works according to the books as I may say so.
Before I forget it; although the electronic EFB checklist suggest different, there’s no need to enter in the CDU at the NAV RAD page the ILS frequency of runway KSAN 09. The moment you’ve entered this before together with the STAR, the ILS frequency is added too. So what’s then left? Not much except then for the APP (approach) pushbutton on the MCP.
Approach – Final Approach – Landing
I check once more the EFB checklist, and noticed that I need to enter either DH or DA, but that’s not really a problem since it’s on the chart. On the EFIS control panel I enter the DH and keep in mind that you need to do this also on the CO-PILOTS side since we have a split system. A note from Roman “there are special sync clickzones (left and right upper corners of the EFIS control panels) for syncing baro and minimums settings between the CAPT and CO-PILOTS sides.”
55 NMs to go to the first waypoint – HUBRD – of the HUBRD 1 STAR. We should be at HUBRD at 9683 feet – unbelievable how precise it is calculated and since we’re below 10.000 feet, the calculated speed indicated on the CDU is 240 knots. While descending with only 7 NM to go to HUBRD, the CDU request me to add some DRAG which is by the way also presented on the EICAS as an alert message. Adding some DRAG is for me also known from Airbus aircraft. In fact, the computer can’t as it is now not reach the calculated altitude for HUBRD unless you add some drag and thus increase the vertical speed. Drag is added via the speed brakes and finally I do manage to reach the calculated altitude for waypoint HUBRD. Since we’ve passed 10.000 feet, according to US rules, we need to switch ON the LANDING LIGHTS.
I’m reaching waypoint TORIE at the calculated 3231 feet – amazing – with a speed of 240 knots. The -400ER makes a sharp right-hand turn toward SARGS. Before reaching SARGS, we should arrive at our final altitude for the ILS of 2000 feet and the speed is reduced to 170 knots. After SARGS almost a sharp left-hand turn, then right again before the -400ER aligns with the runway, but hold on, we need to select the APP button on the MCP, right? But not yet.
Suppose I do it now, then it won’t engage so no white legend in the APP pushbutton illuminates. Just in case you missed it since I didn’t mention this before, the PFD shows just below the FMA the ILS LOC information namely the runway heading and the distance to go, so yeah, I’m almost there. Only 12.7NM to go!
Before approaching SARGS, I click the APP button and all APs are now engaged or doesn’t it? No, all 3 AP buttons are illuminated but you can’t have 3 captains on a ship. That said, the other 2 AP are constantly synced with the master and only when needed, one other can take over. Due to the APP mode being active, the FMA shows in white LOC (Localizer) and G/S (Glide Slope). White on the second line of the FMA means ARMED, but not yet active. A bit later the G/S signal is pickup up – remember what I wrote before with initially a green box around it for crew attention – and I select the flaps gradually down. Remember what I said before, at 25 flaps you need to select the landing gear down, then you can select flaps full.
I’ve set one ND to the ILS ROSE mode. It’s for the actual final approach a much better indication then the MAP mode although the MAP mode gives perfect visual indication in case we need to follow the missed approach procedure. While I’m following the ILS path, the PFD shows me in magenta the deviation of the LOC and G/S versus the intended path. The same can we seen on the ND ROSE mode with the ILS CDI (Course Deviation Indicator) and for G/S the same kind of indications on the PFD.
When all is set, the PFD changes from CMD – below the FMA – to LAND 3 (because of the 3 APs) and below LOC is written in white ROLLOUT and below G/S I see in white armed the FLARE mode. In other words, I don’t have to do anything. Just before touch down the rising runway is clearly visible in the PFD. And yes, the FLARE works flawless as well as the ROLLOUT. Since I had selected AUTOBRAKE, that becomes active during the roll out, but I could better use the engine thrust reversers.
I’m a very happy simmer. I enjoyed the flight, I enjoyed the way systems are interacting with each other, and not unimportant to mention, the flawless and accurate control of the Auto Flight System.
One last paragraph and I know, it’s not directly related to my flight. No, it has to do with the possibility to have a remote CDU either on a second monitor or on your Apple iPad, preferable with a Retina screen. The FlightFactor package comes with a dedicated manual for it, but how easy or difficult is it to manage this and does it offer more or less then the WebFMC from GreenStudios? Let’s find that out.
Using the FlightFactor Remote CDU function which works flawless and above all, it’s fast. Keep in mind that you can only show 1 CDU which is by default the left CDU on the FWD aisle. While I’m working on an iMac with macOS Monterey, I thought “I can use Sidecar” since using the iPad as an additional monitor, I can frame the two FWD CDU’s into a window or dock them and transport the images then to the iPad, but that’s not a good option. That will become too sluggish so not workable at all.
Although WebFMC from GreenArc Studios is a great X-Plane add-on since it allows you for the FlightFactor 757 and 767 to swap between the left-hand and right-hand CDUs, there are also a couple of issues to keep in mind. First is the different color that is used with the WebFMC CDU. The presented CDUs or MCDUs are all grey and not able to select the brown Boeing models.
Then the keypad layout is totally different. Some buttons are swapped position while some pages are totally different in WebFMC then they are in the FlightFactor -400ER. But the biggest problem is that it’s not working. You may expect that when you enter the flight plan via the WebFMC, you’ll see that also on the aircraft ND, right? The answer is no. It could be that the FlightFactor -400ER isn’t yet supported although it looks to me it should support all FlightFactor 757/767 models.
It’s not a big deal, but the build in FlightFactor remote CDU does have it all. I checked and rechecked the WebFMC manual, but I couldn’t find any options where I can change the CDU layout dedicated to the different aircraft models or change the colors to brown, grey or even the Russian green.
Implemented Sounds
The stand alone 767-400ER installation includes 583 sound files occupying about 800mb on disk. There are sounds for just about everything no matter where you are on the aircraft. Every sound seems to be recorded at a high quality and they are accurately directional. These are sounds that add to the immersion factor and do nothing to detract from it.
The sounds begin the moment the model loads and don’t stop until you exit the sim or switch to another plane. We are greeted with a continuous loop of airport sounds until the engine starts. There are passenger sounds while loading the plane and you will also hear them if you walk through the cabin after the plane is loaded. The loading operation also produces the sound of the cargo area being loaded. Switches and knobs all have the proper sound to accompany their operation and your FO has several recorded statements that reveal his increasing frustration each time you press the forward cabin call switch. (this is quite amusing if you repeatedly press it several times in a row.)
The alert sounds are sufficiently annoying and guaranteed to get your attention and all verbal commands and prompts are very clear and easy to understand. From an external view, the engine sounds are heard from their startup whine to the roar of full thrust at takeoff. There appears to be nothing wanting in the sound department and, as we’ve seen, the volume of the sounds is broken down into multiple categories, so you have a greater level of control over what you hear and at what level you hear it.
FPS (Frame Per Second)
So, what do all these systems, shapes, sounds, and textures do to your simulator frame rate? Well, it doesn’t come cheap. With my current setup and using a default installation of X-Plane, the 767-400ER knocked about 9 – 10 frames per second off my performance simply sitting at the gate at the default KSEA airport.
Once everything was running with the “start with engines running” option, it cost another 3 – 5 frames. At one point, with everything running, a few lights on, and the wipers running, I was in the hole by as much as 18 frames per second. Bottom line is if your system is running short on muscle, you will be turning down some options to fly the 767-400ER while maintaining a decent frame rate considering that most of us do not fly with the default X-Plane setup.
The alert sounds are sufficiently annoying and guaranteed to get your attention and all verbal commands and prompts are very clear and easy to understand. From an external view, the engine sounds are heard from their startup whine to the roar of full thrust at takeoff. There appears to be nothing wanting in the sound department and, as we’ve seen, the volume of the sounds is broken down into multiple categories, so you have a greater level of control over what you hear and at what level you hear it.
Summary
Yeah, this was another massive review according to Angelique. A review I shared with Paul in a way that we’re sure we’ve covered everything. While I’m moving from the Netherlands to France, I had to find a solution for my computer, but that turned out fine. Paul has for sure mentioned it already that textures aren’t always of the latest quality as you may expect from current developers, but I was warned by Roman from FlightFactor.
What is from scratch and definitely beautiful is the new dedicated look like 777 3D cockpit and in 95 percent of the cases the razor sharp text on the panels, and the razor sharp DUs. When you like Boeing aircraft and looking for a developer who always updates his aircraft, then this 767-400ER is a great investment and worth being a part of the 767 family. But perhaps the very best to mention are the flight dynamics, the way the AFDS is programmed in combination with the FMS although Roman told me that the FMS is not for the fully 100 percent modeled. It all works to me as ex-ground engineer so smooth, so realistic together. Congratulations!
What else can Angelique say?
First, no, we didn’t cover everything. For sure we have missed a couple of things to discuss or to test, but the review should give you a good overall impression on how we reviewed the FlightFactor 767-400ER.
And what else has Paul to say about the FlightFactor -400ER?
It is no secret here at X-Plained.com that your intrepid reviewer is first and foremost a bush-hopping turboprop aficionado whose adrenaline level goes up even more when adding floats and splashing around in some remote bit of water. So, your Pilot in Command, Angelique, was very wise when, asking for my assistance with this review, she steered me away from anything having to do with flying the 767-400ER. I can admit to managing to get the thing off the ground enough to experience the various sounds and, as you have seen, to do things with it you never should do just to get the EFB to tell me I did something very bad!
So that is my perspective from which I viewed the current model in question and from which I say the FlightFactor 767-400ER is the most interesting airliner I’ve seen for X-Plane. I have the feeling, after encountering some differences between my installation and Angelique’s, that my impression would be even better if I had the base 767-300 and the 400ER was installed as an add-on package so, if you are thinking of getting this aircraft model, my recommendation would be to go about it by getting at least the Boeing 767 Pair Pack 300 / 400 ER.
I am impressed by the amount of work FlightFactor has poured into this model. As someone who is new to airliners, I found the combination of the VTM amplified checklist and instrument descriptions incredibly useful despite a few minor issues in their implementation. The sounds really did immerse me into the environment as I was walking about the cabin and sitting in the left seat on the flight deck turning rheostats and flipping switches.
The visuals are very well done and satisfying with the one caveat I noted about the use of the DDS file format in the cockpit. My only other minor gripe is that the overall high quality of this model is compromised by a few minor glitches with working cockpit buttons having no apparent effect, and others rotating in the wrong direction or being labelled incorrectly. It seems likely that these are very small things that FlightFactor can hopefully rectify in a future update.
So, from what I’ve seen thus far, I must conclude that this is an airliner model that is worth the asking price especially when you add in FlightFactor’s commitment to providing owners with a free upgrade to the X-Plane 12 version when that is released.
You can always check out the FlightFactor Aero website, but when you’re interested in one of their models then you must visit the dedicated FlightFactor Aero 767-300/-400 Pack Pair store pages at X-Plane.Org or at the dedicated Aerosoft page. When you own already the FlightFactor 767, then you can add this -400ER model as a package upgrade. In that case you should check out this dedicated X-Plane.Org link. Worth to mention that when you buy the model, you get a free upgrade to X-Plane 12 when released.
But we also need to mention a couple of small issues while exploring the -400ER package. The control wheel indications/text is off line or off track. Note that after a second complete fresh install it was all OK, so it seems no issue anymore. We also noticed that the landing gear and wheels of the -200ER and -300ER are completely different then the ones on the -400ER. The -400ER wheels have no marking or vendor identification, the hydraulic lines are also different and it looks like that the textures of the gears is different too. We past this issue forward to FlightFactor and hopefully with the next update this is solved.
Feel free to contact me if you’ve got additional questions related to this impression. You can reach me via email Angelique.van.Campen@gmail.com or to Angelique@X-Plained.com.
With Greetings,
Angelique van Campen and Paul Beckwith
| Add-on: | Payware FlightFactor Boeing 767-400ER |
|---|---|
| Publisher | Developer: | X-Plane.Org / Aerosoft | FlighFactor |
| Description: | Realistic rendition of the Boeing 767-400ER |
| Software Source / Size: | Download / Approximately 5.17GB all - 583MB -400ER only (unzipped) |
| Reviewed by: | Angelique van Campen / Paul Beckwith |
| Published: | August 23rd 2022 |
| Hardware Angelique: Hardware Paul: | - iMac Pro - Intel 3GHz Intel Xeon W / 4.5Ghz - Radeon Pro Vega 64 16368 MB - 64 GB 2666 MHz DDR4 - 1 internal shared 1TB SSD (Big Sur 11.x) - 1 internal shared 1TB SSD (Bootcamp Windows 10) - 1 external 2TB LaCie Rugged Pro SSD (Big Sur 11.x) - Saitek Pro Flight System X-52 Pro and X-56 Rhino - Honeycomb Alpha Flight Controls - Honeycomb Bravo Throttle Quadrant - Ryzen 9 5950X CPU @ 3.40GHz - 64 GB DDR4 3200MHz RAM - Nvidia GeForce RTX 3080 10 GB GDDR6X - Honeycomb Alpha Yoke - Honeycomb Bravo Quadrant - CH Products Pedals |
| Software Angelique: Software Paul: | - macOS Monterey (12.5.1) - X-Plane 11.55r2 - FlightFactor 767-400ER version 1.5.6 - Windows 11 - X-Plane 11.55 (64 Bit) |

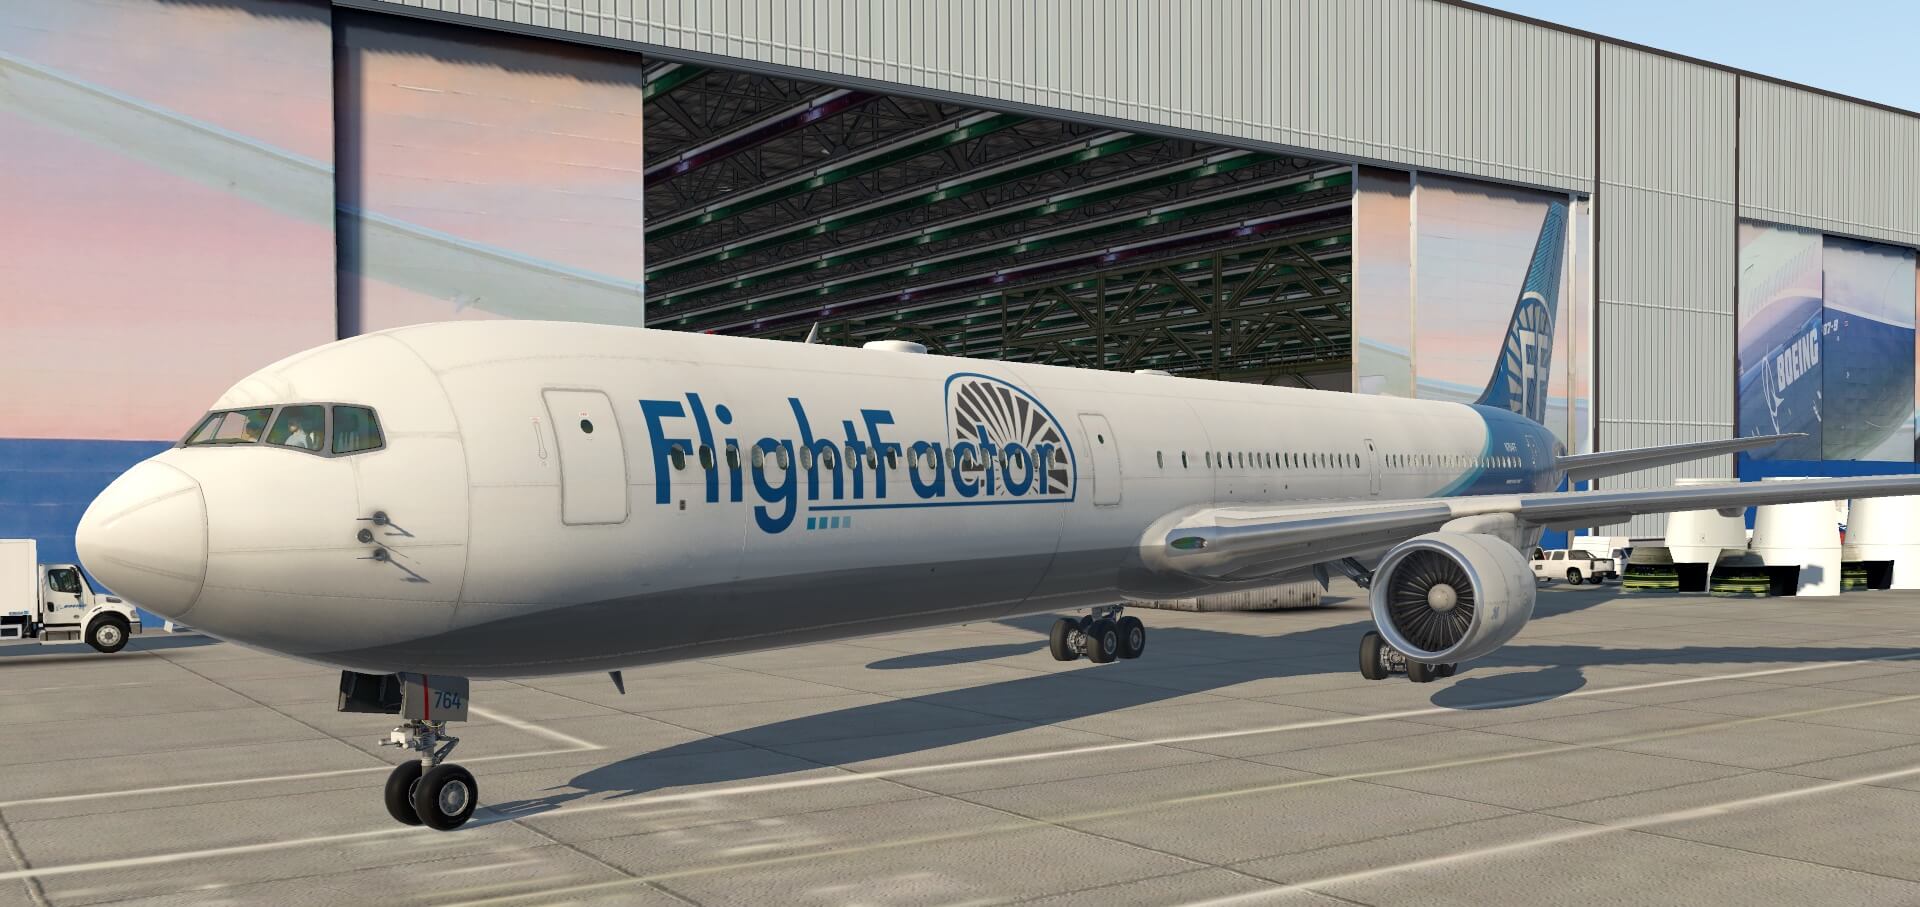


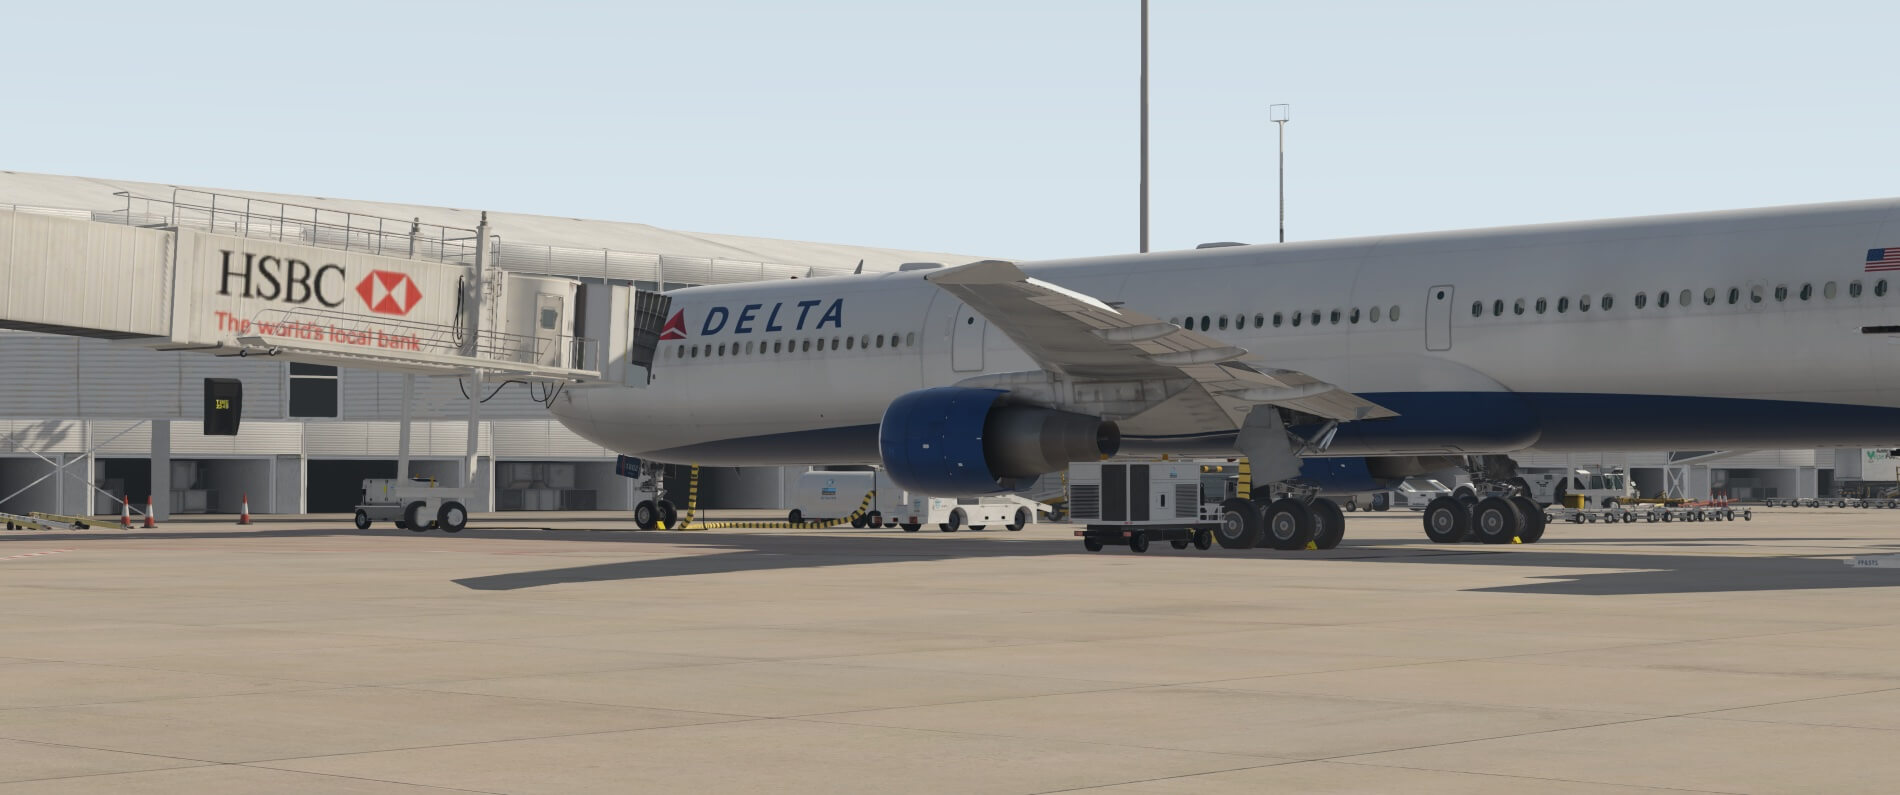


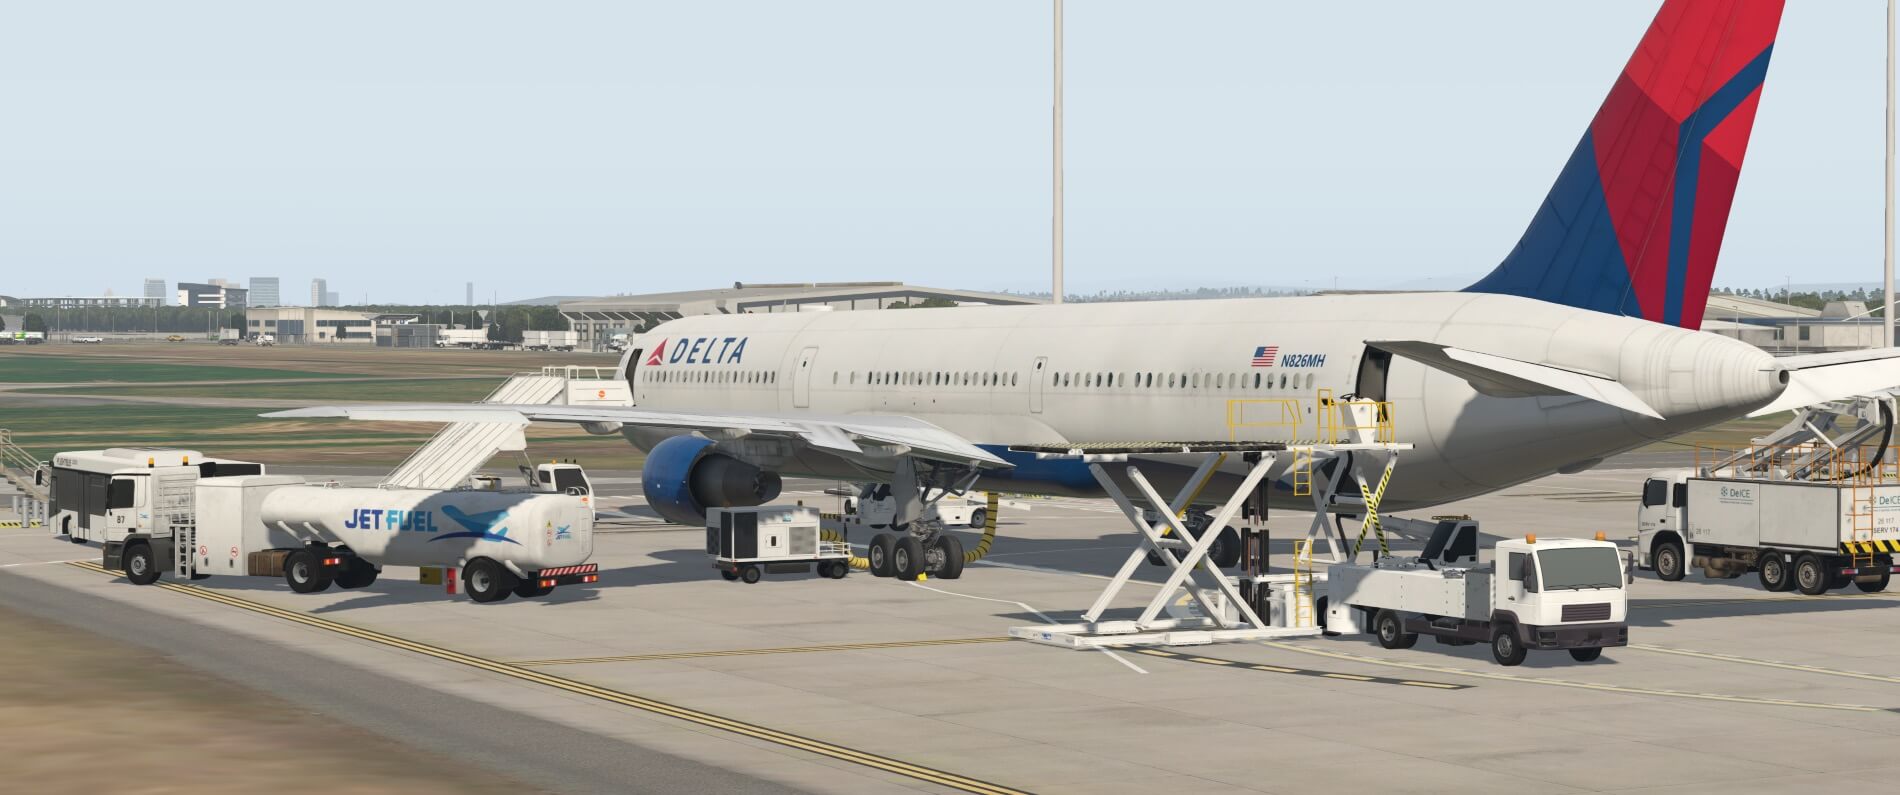

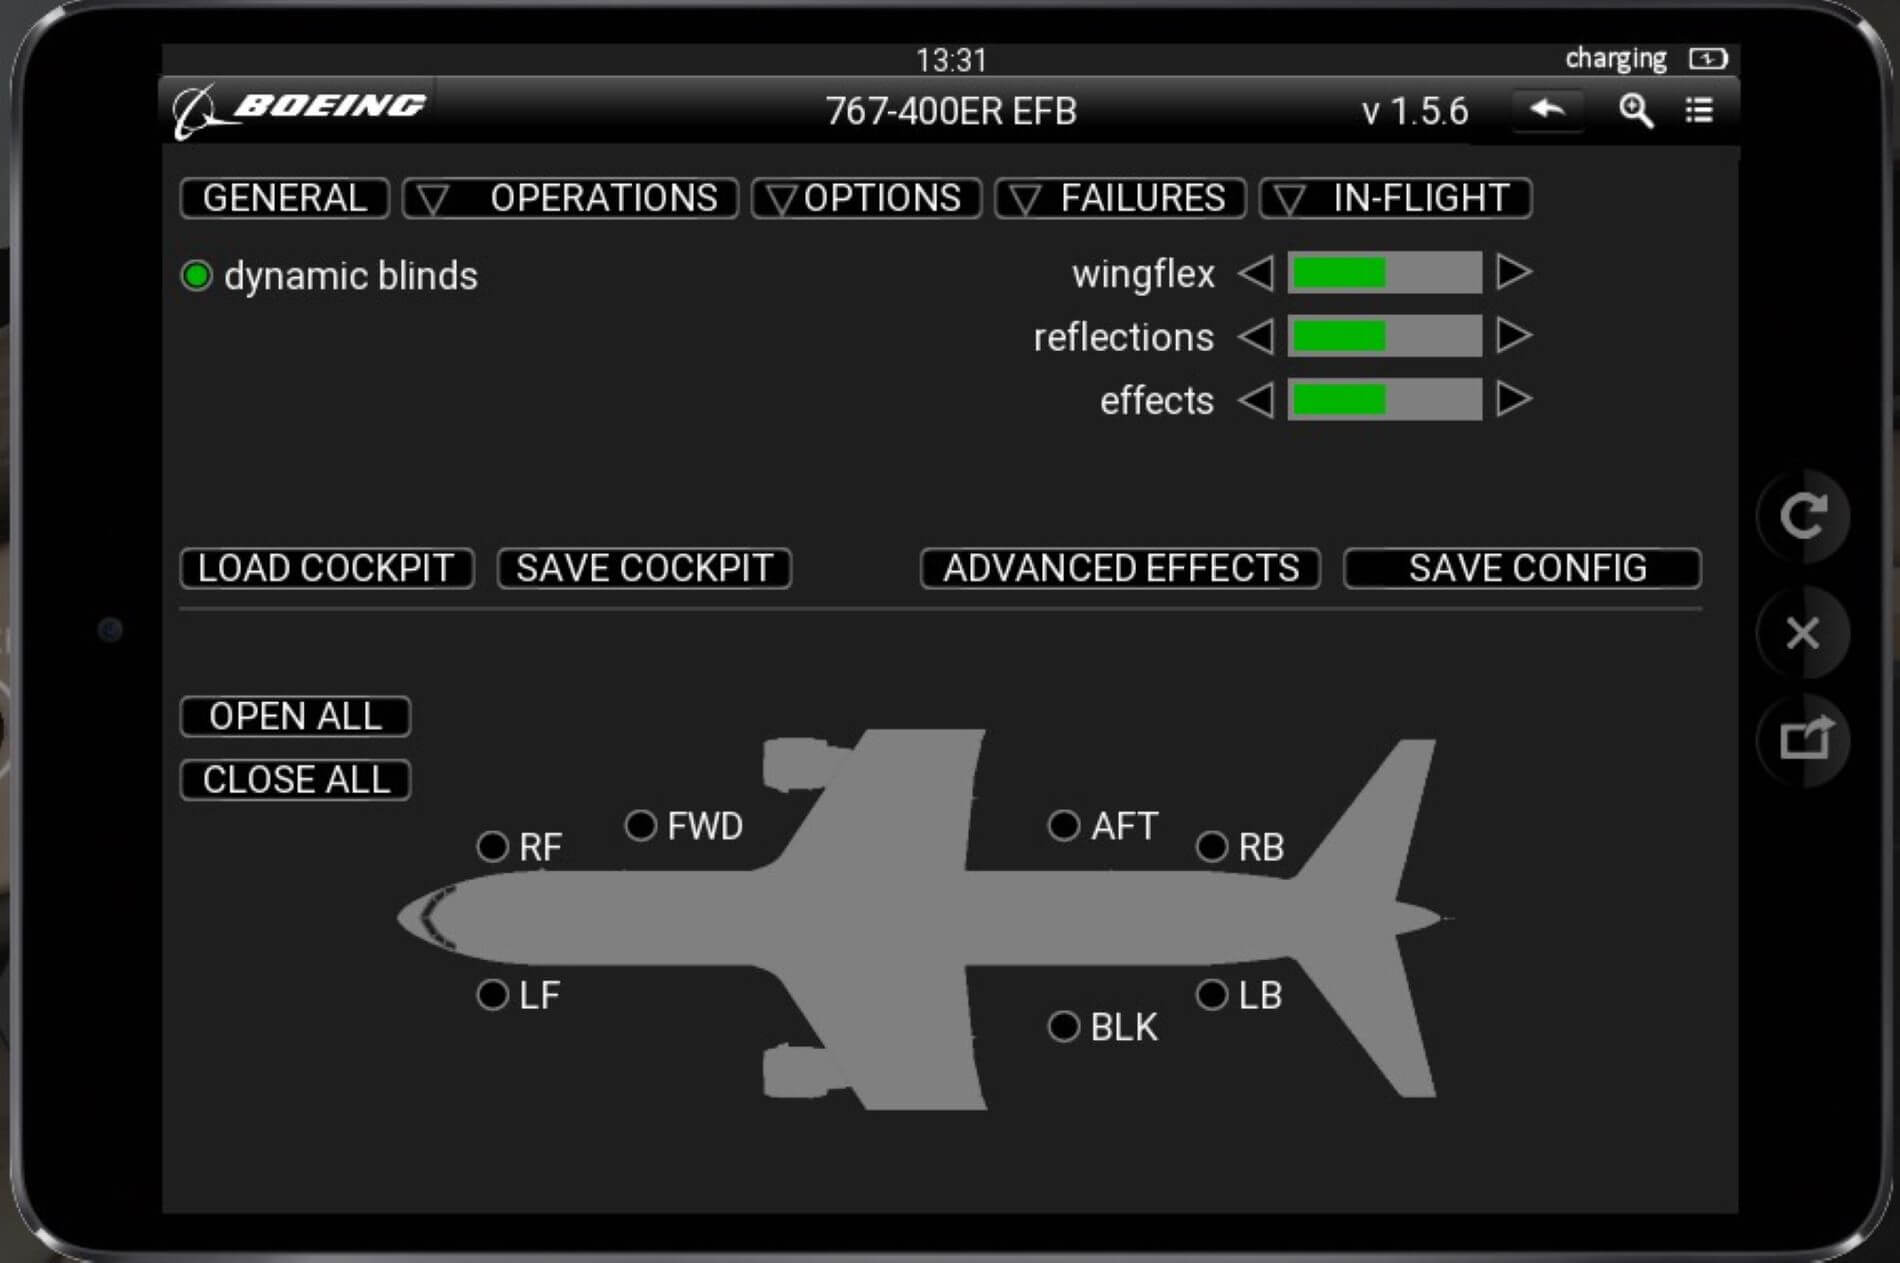


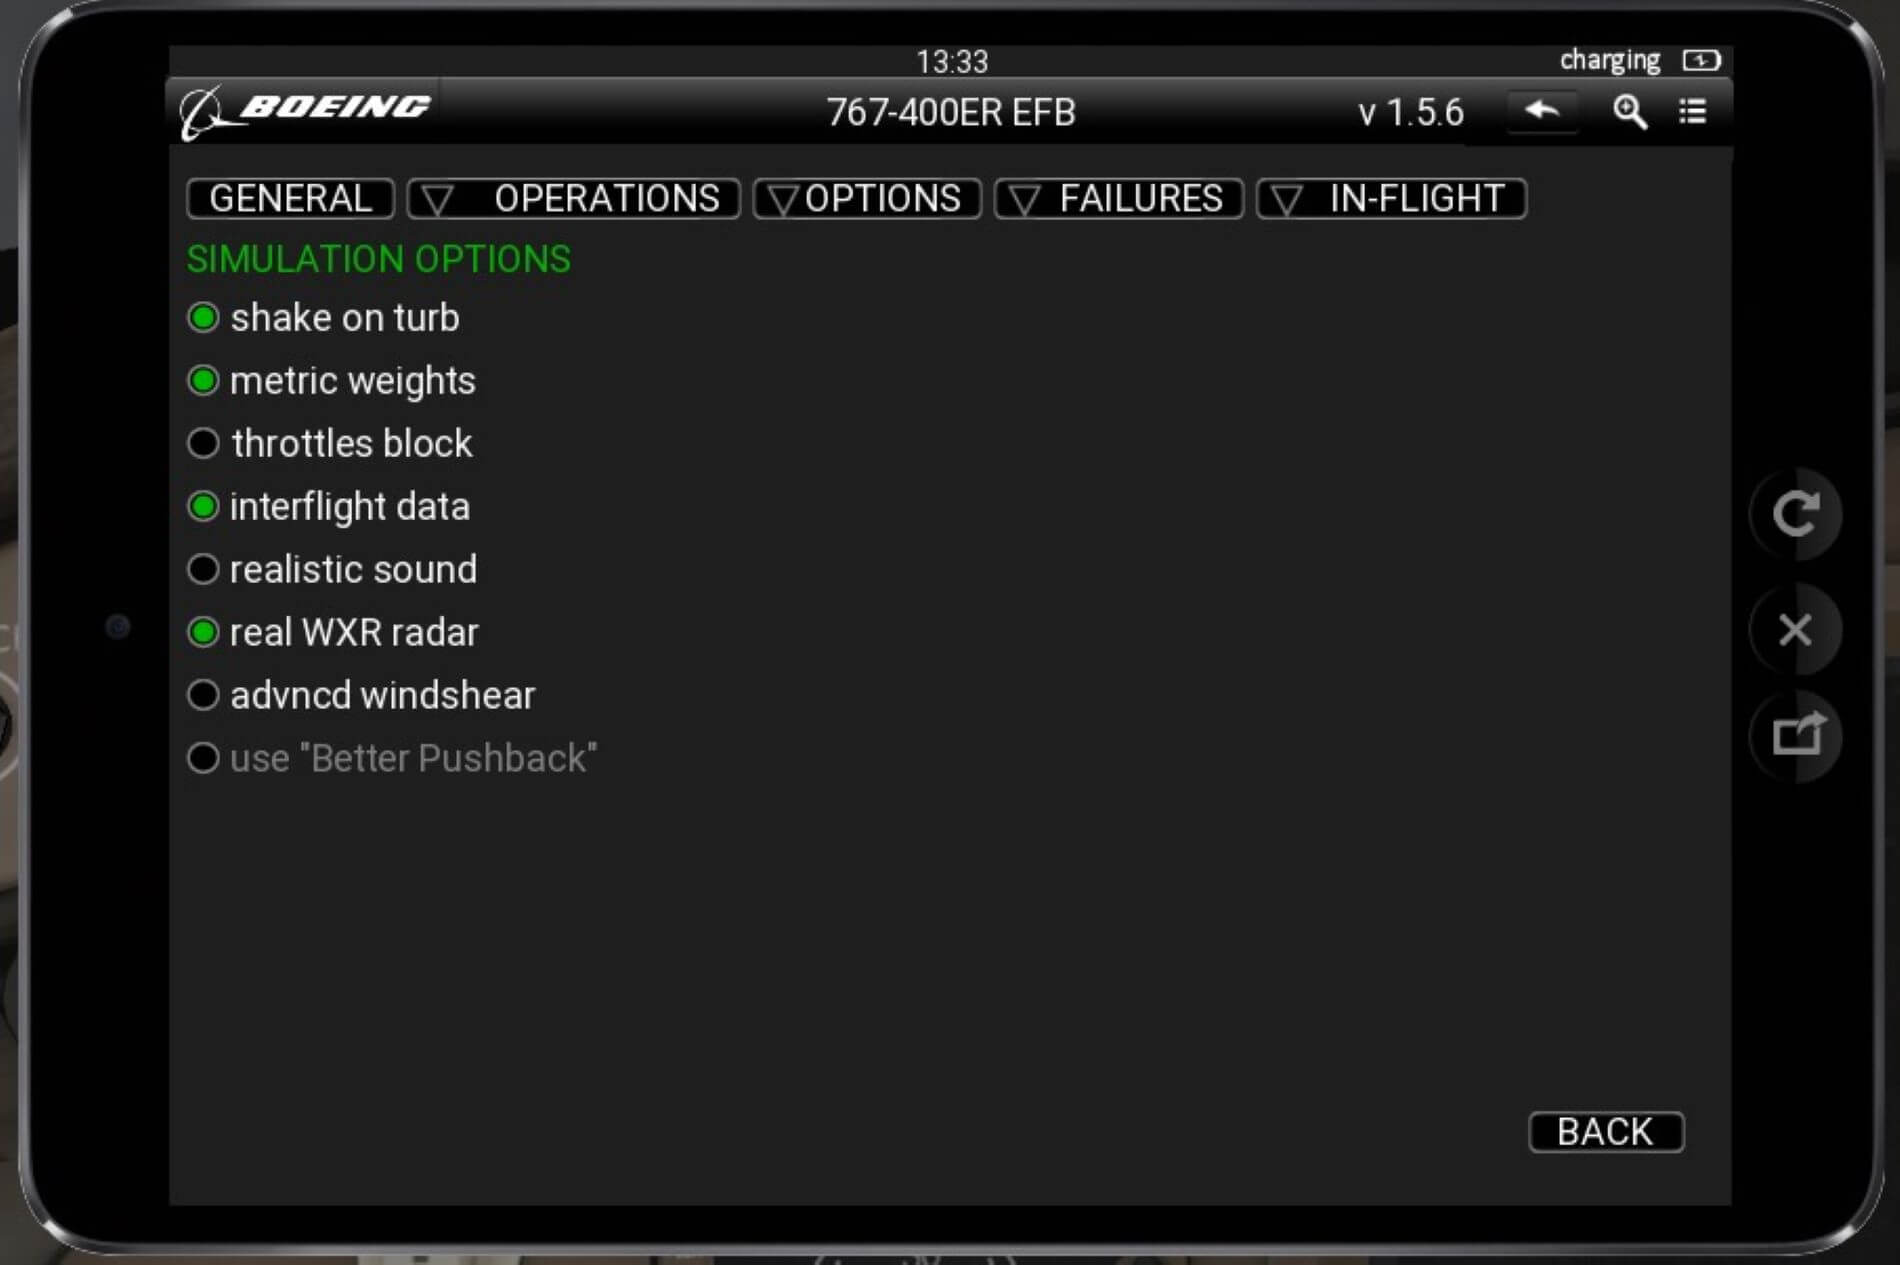

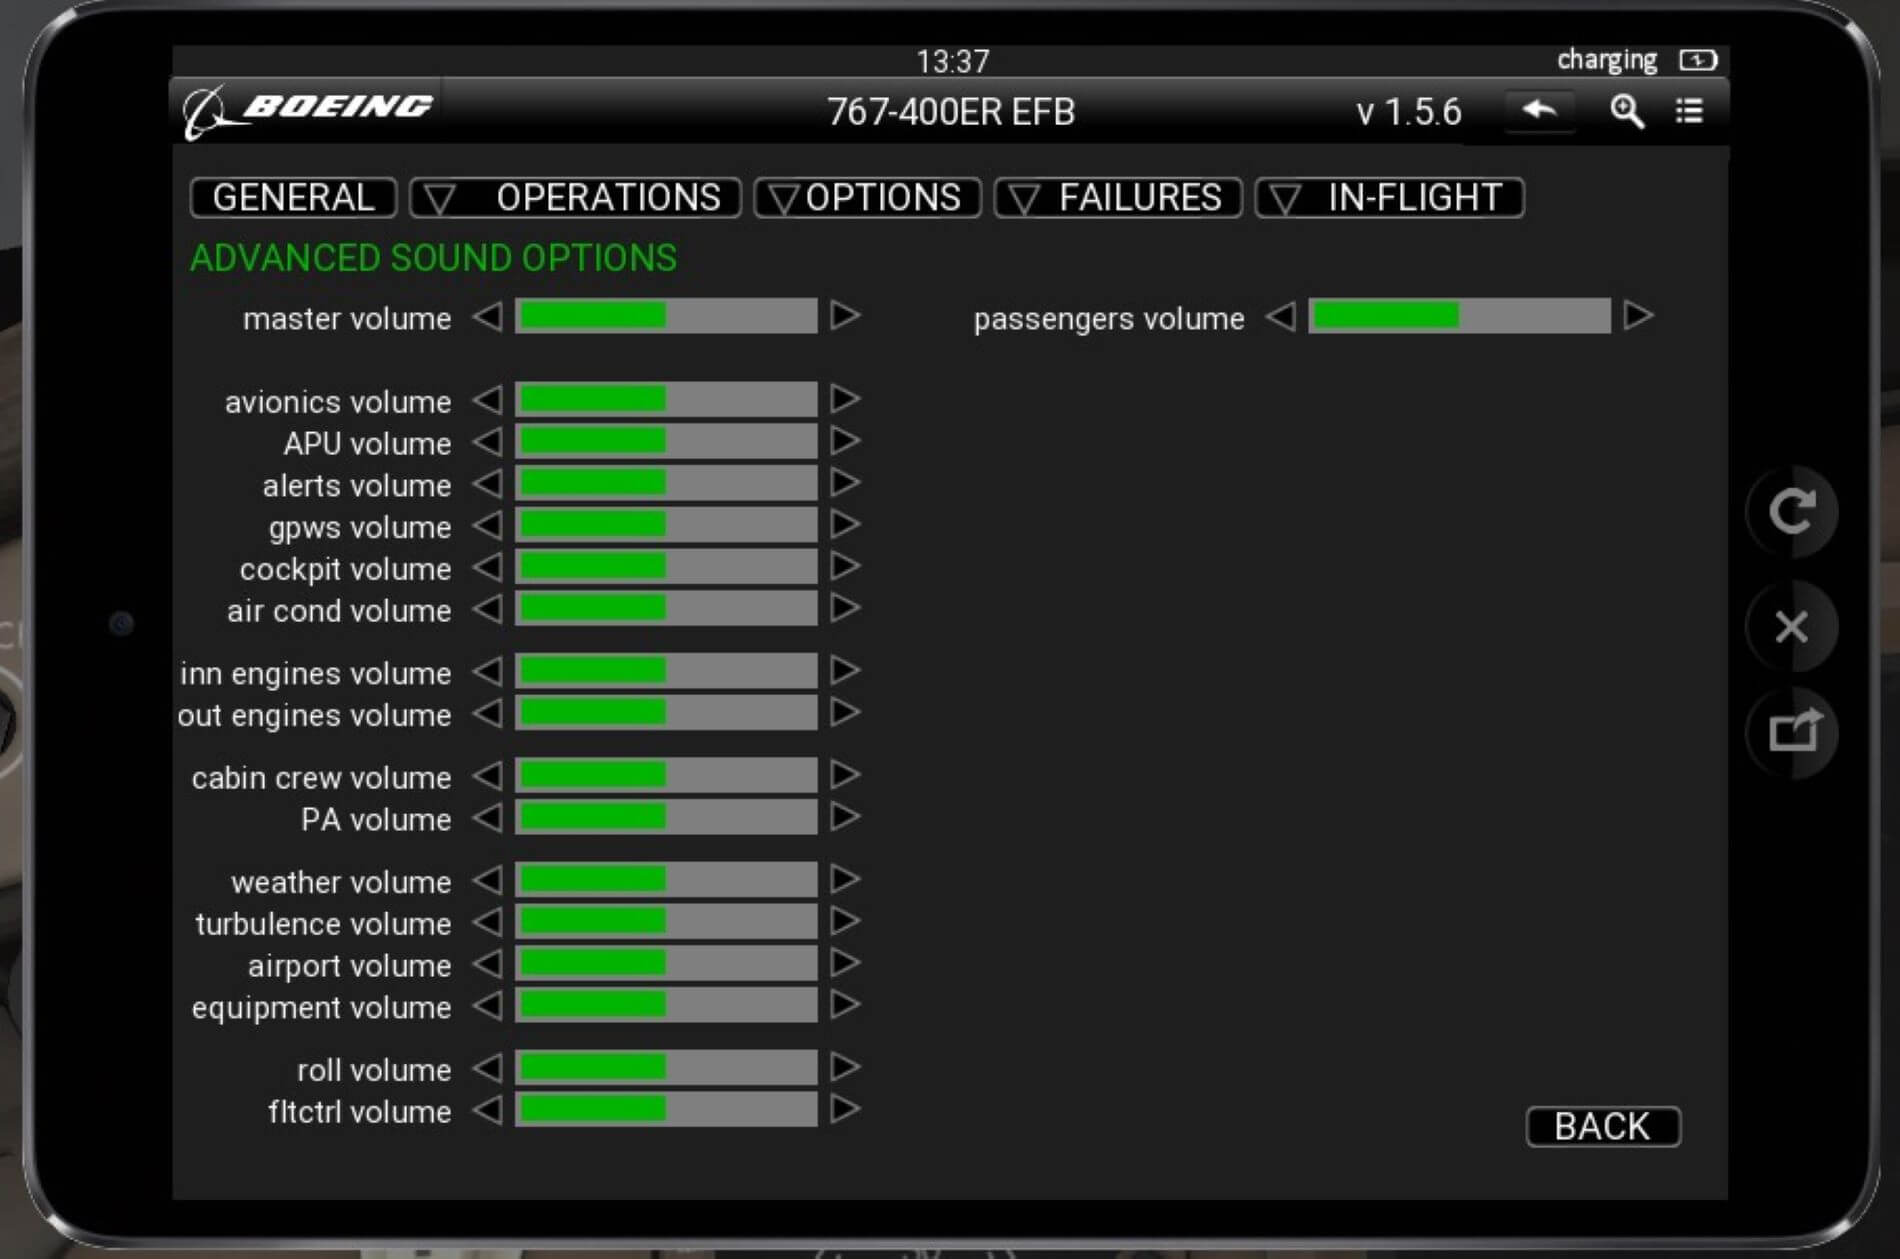
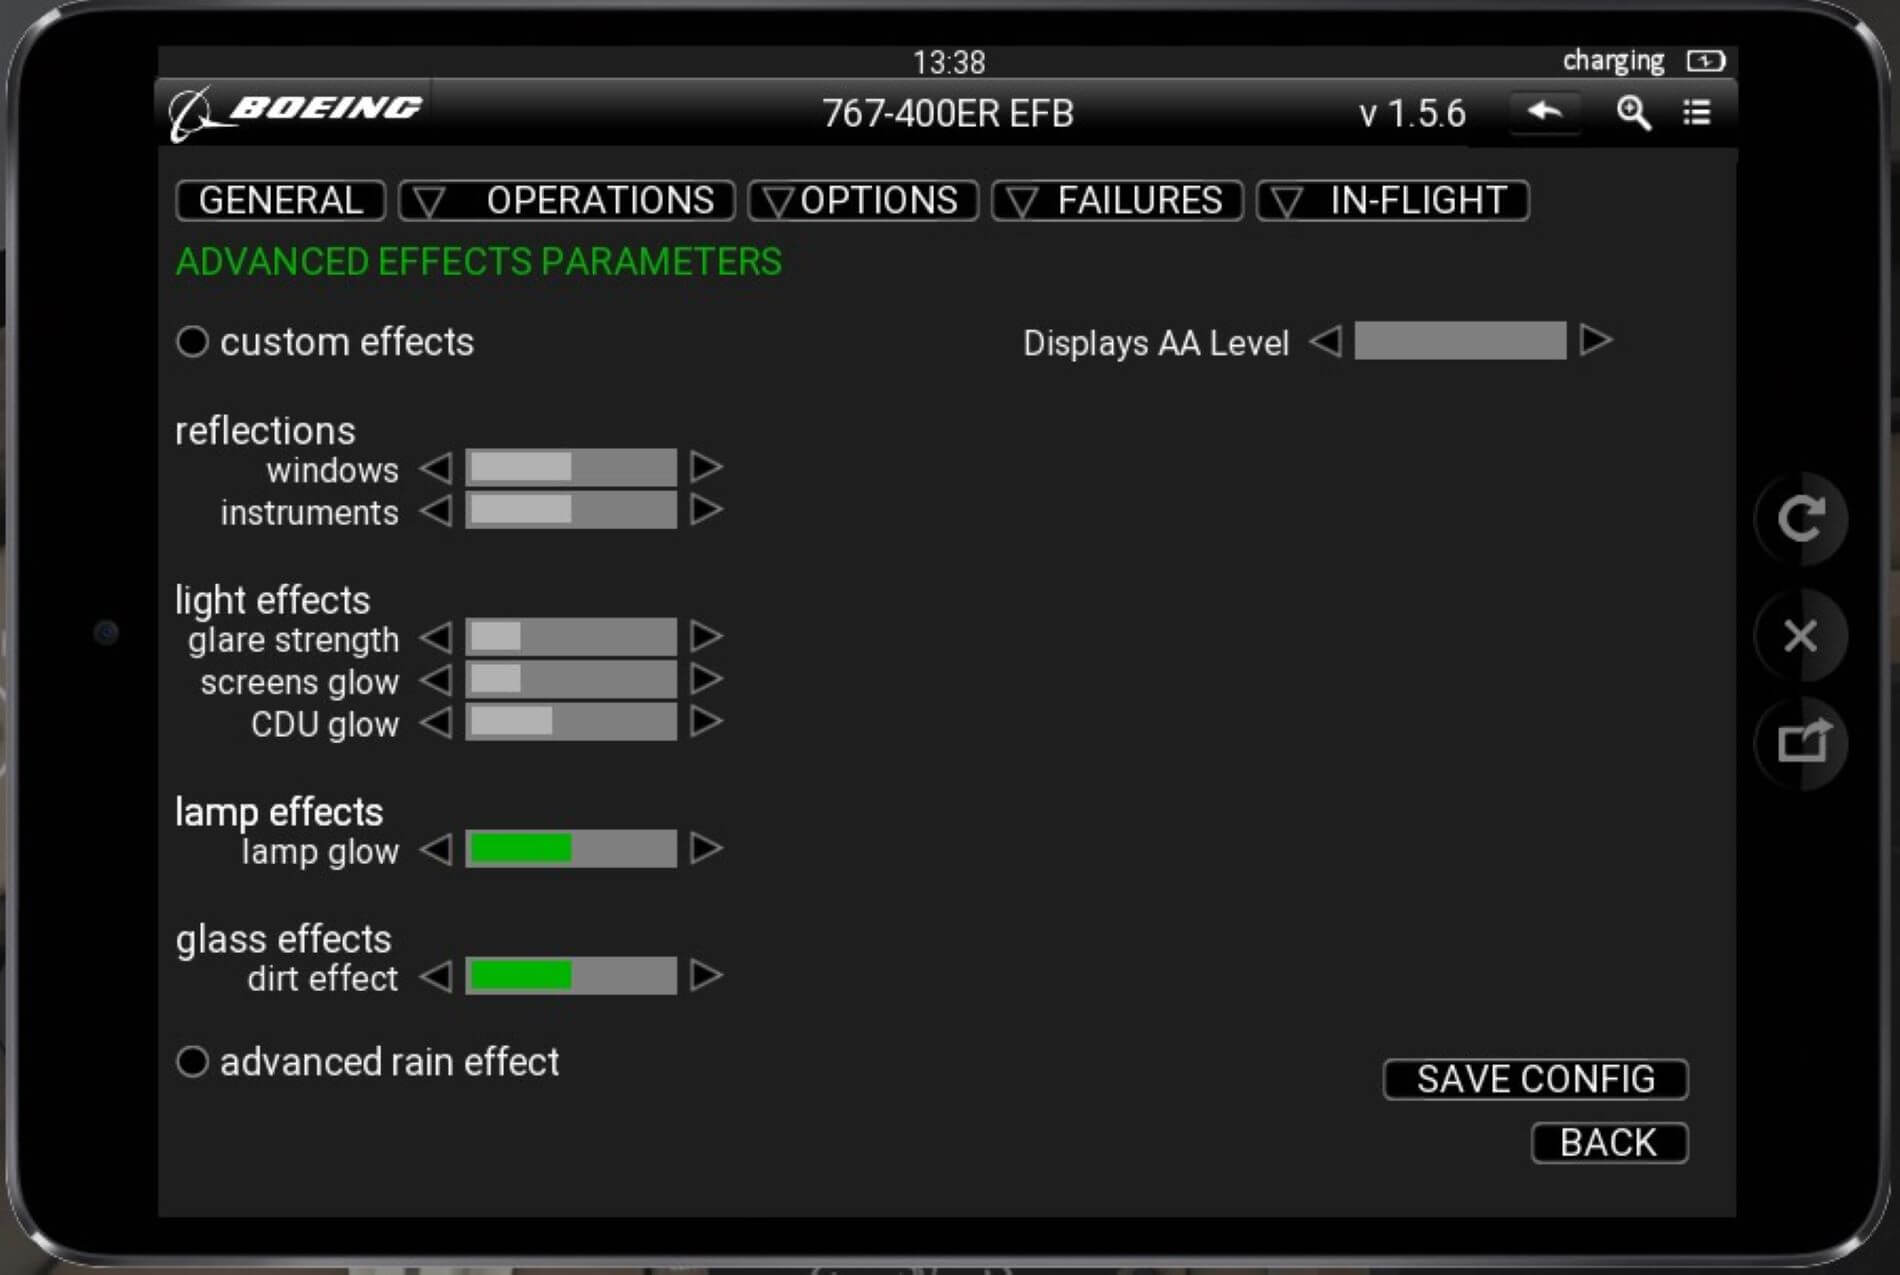
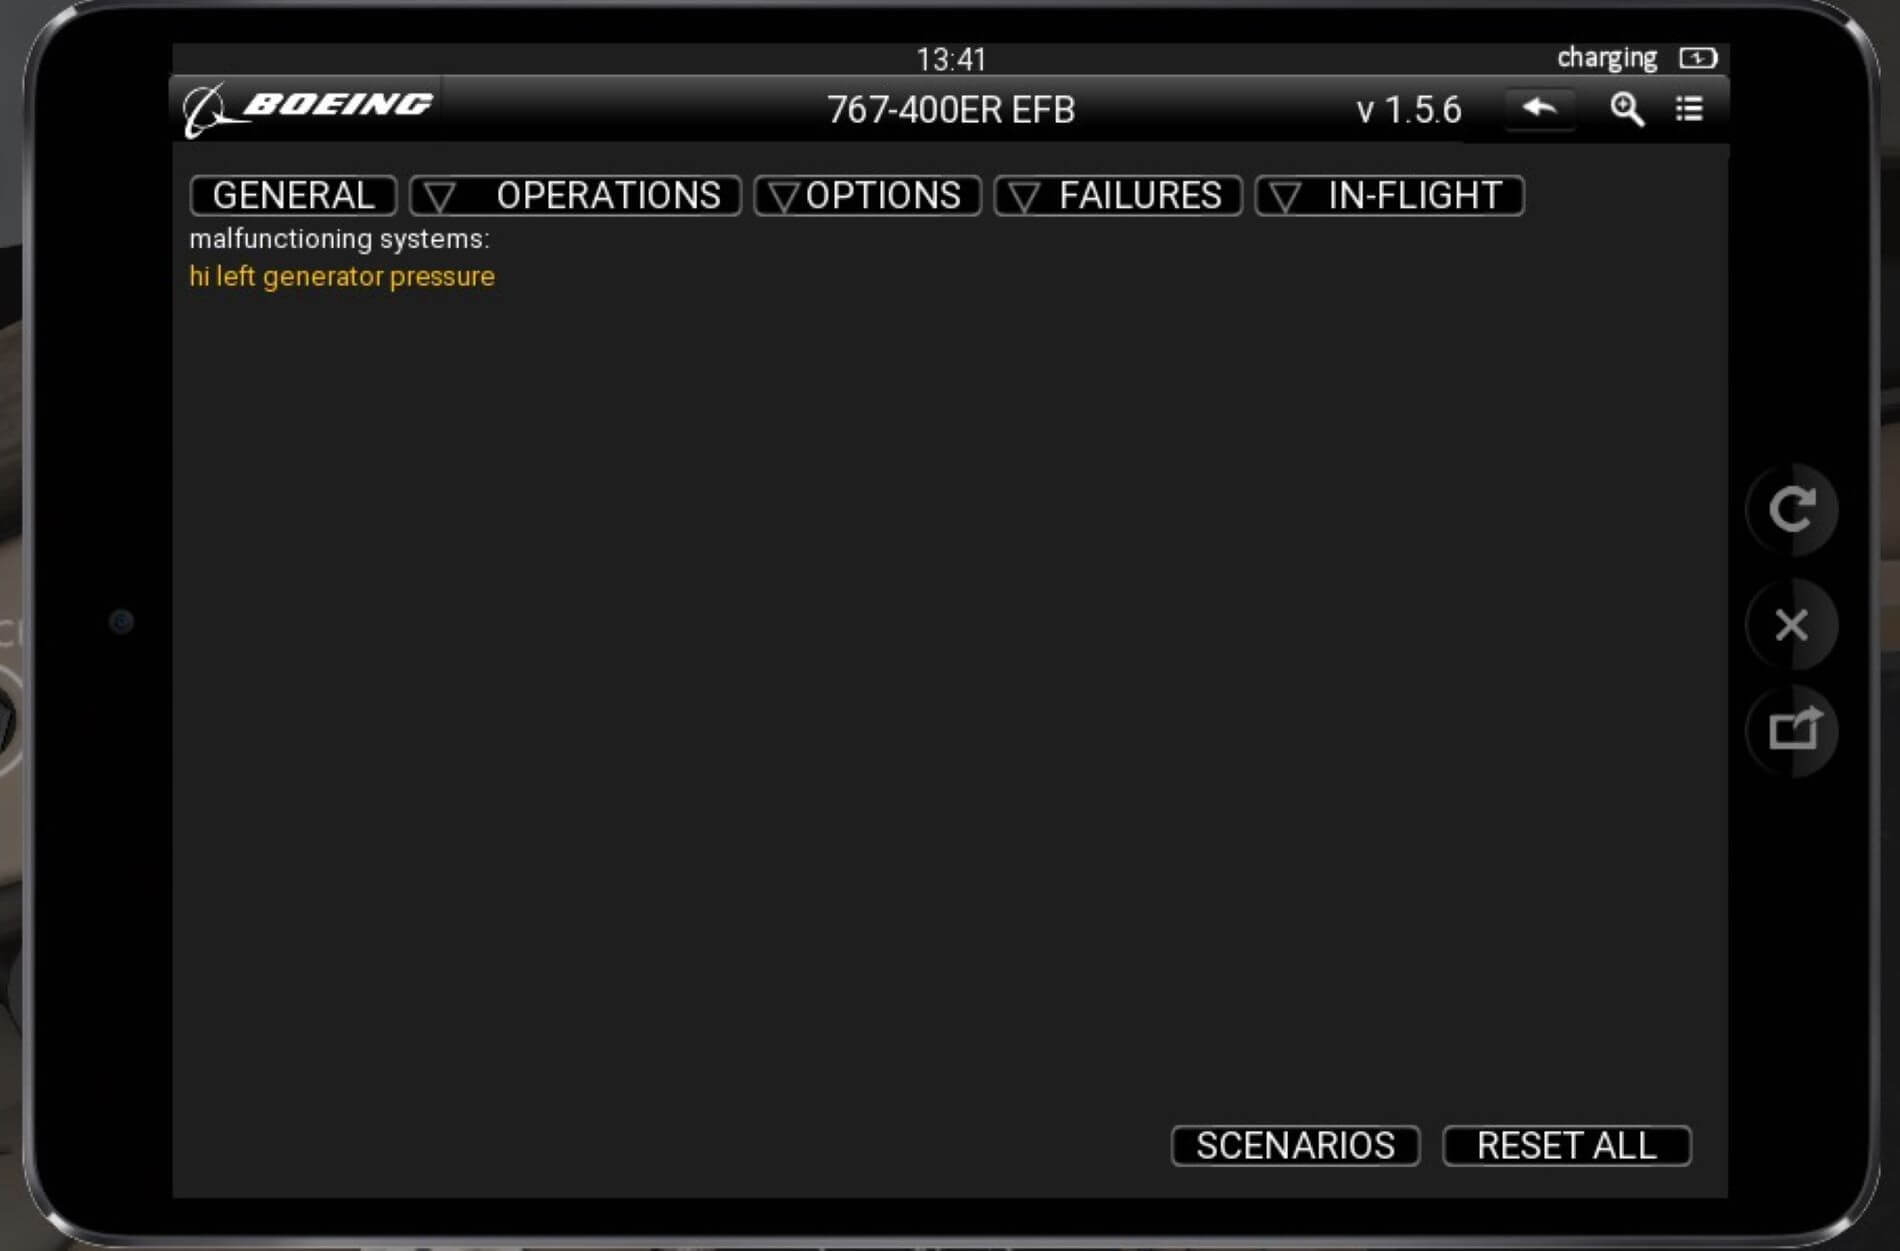


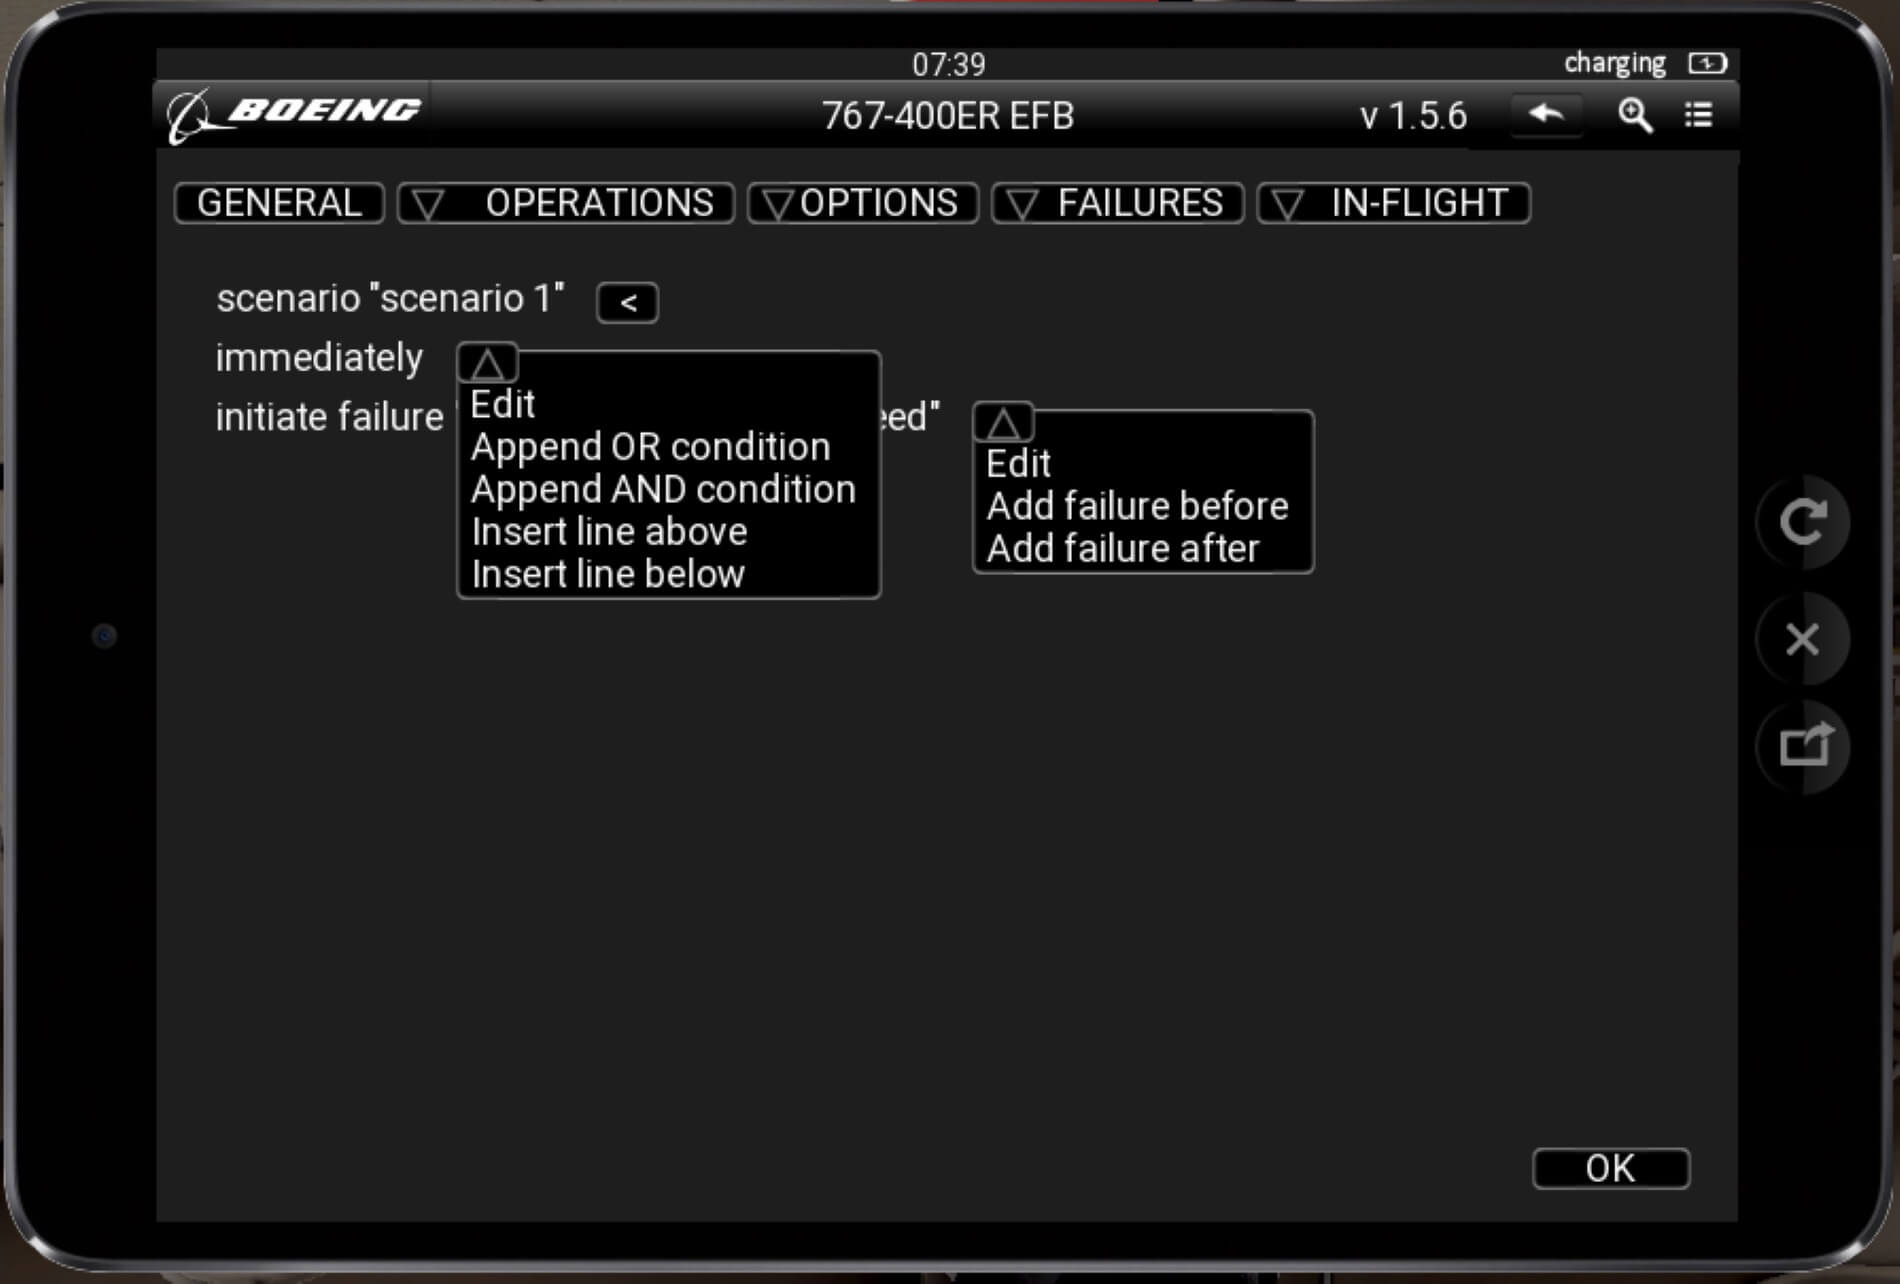


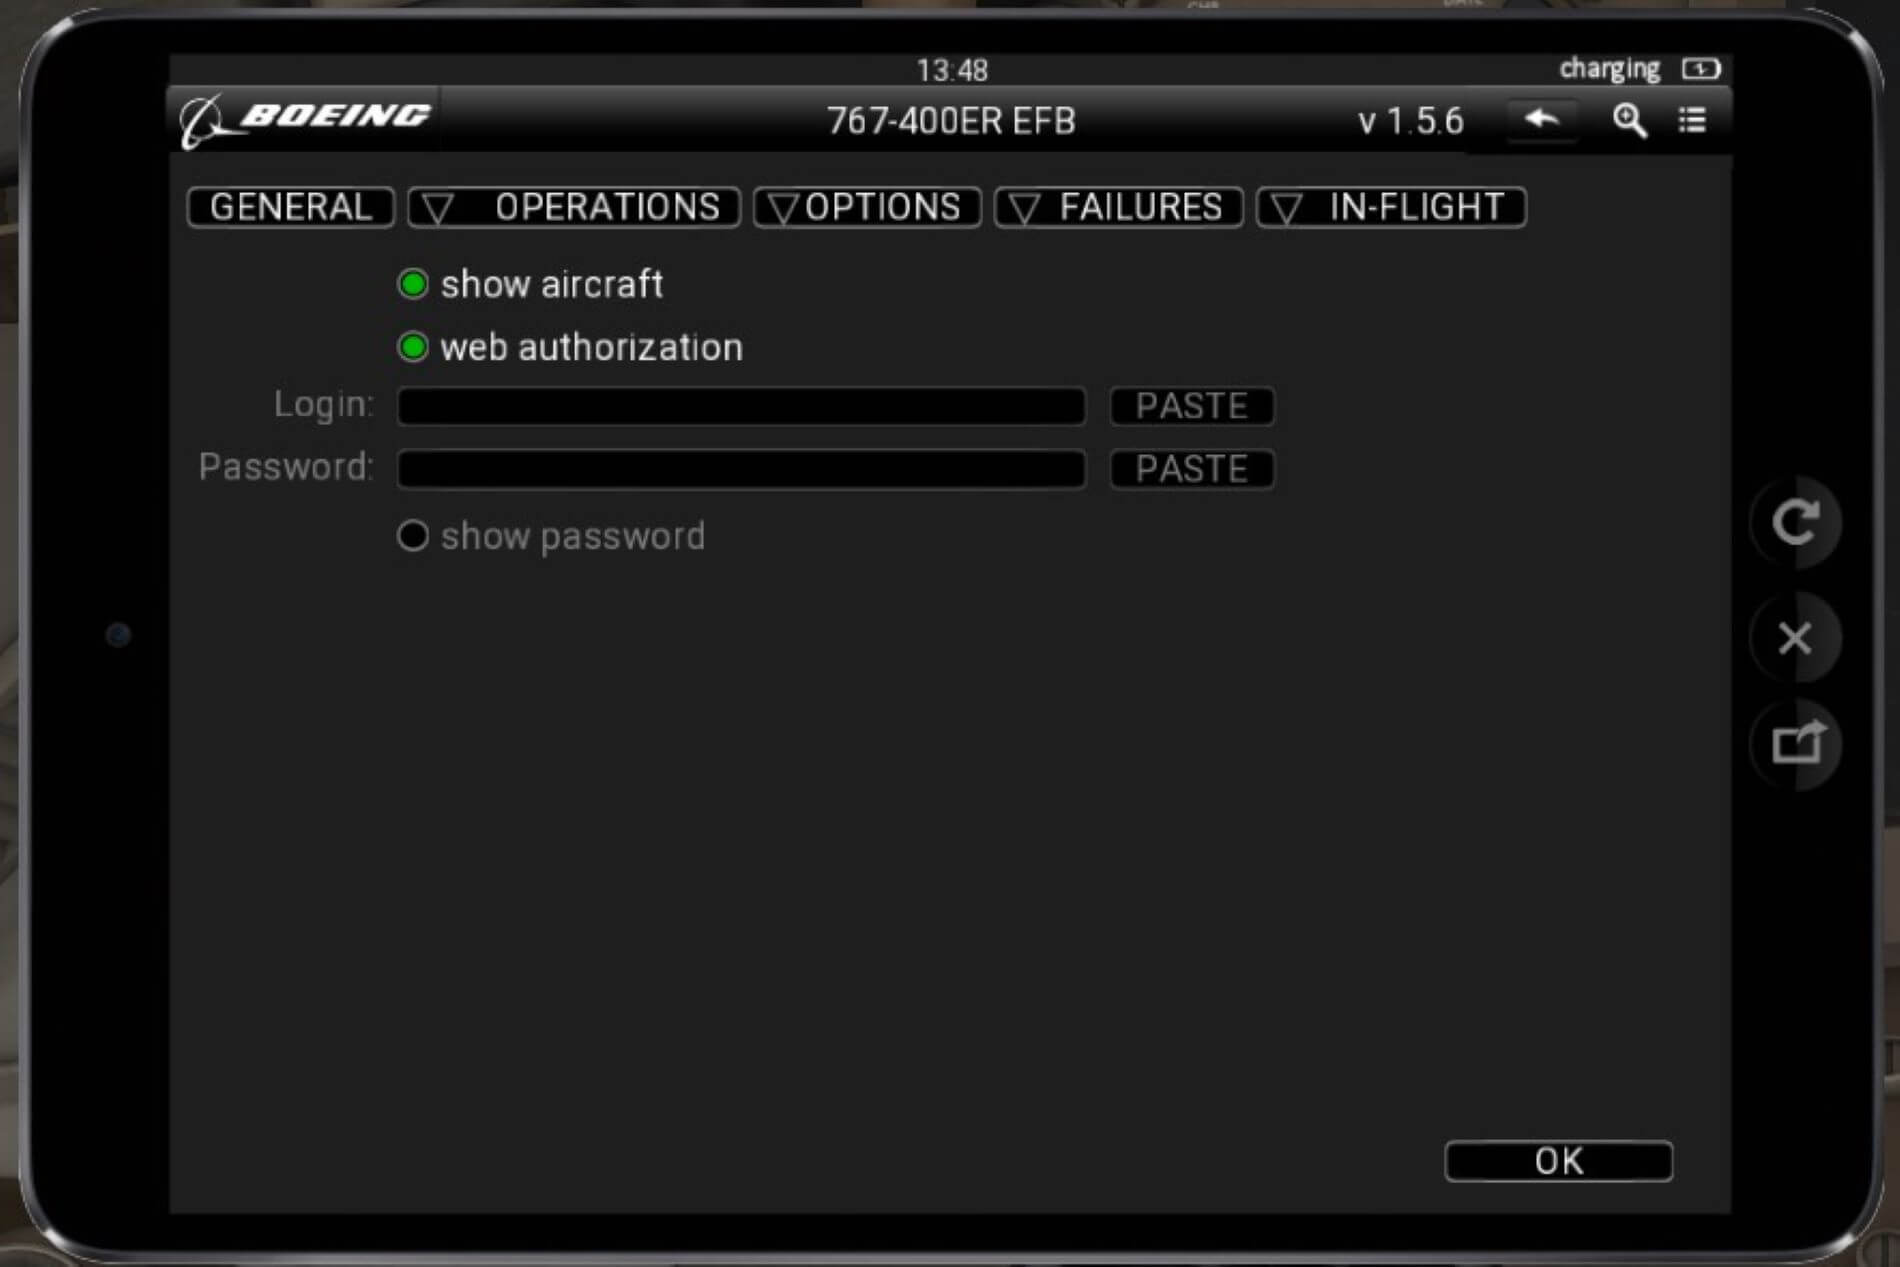
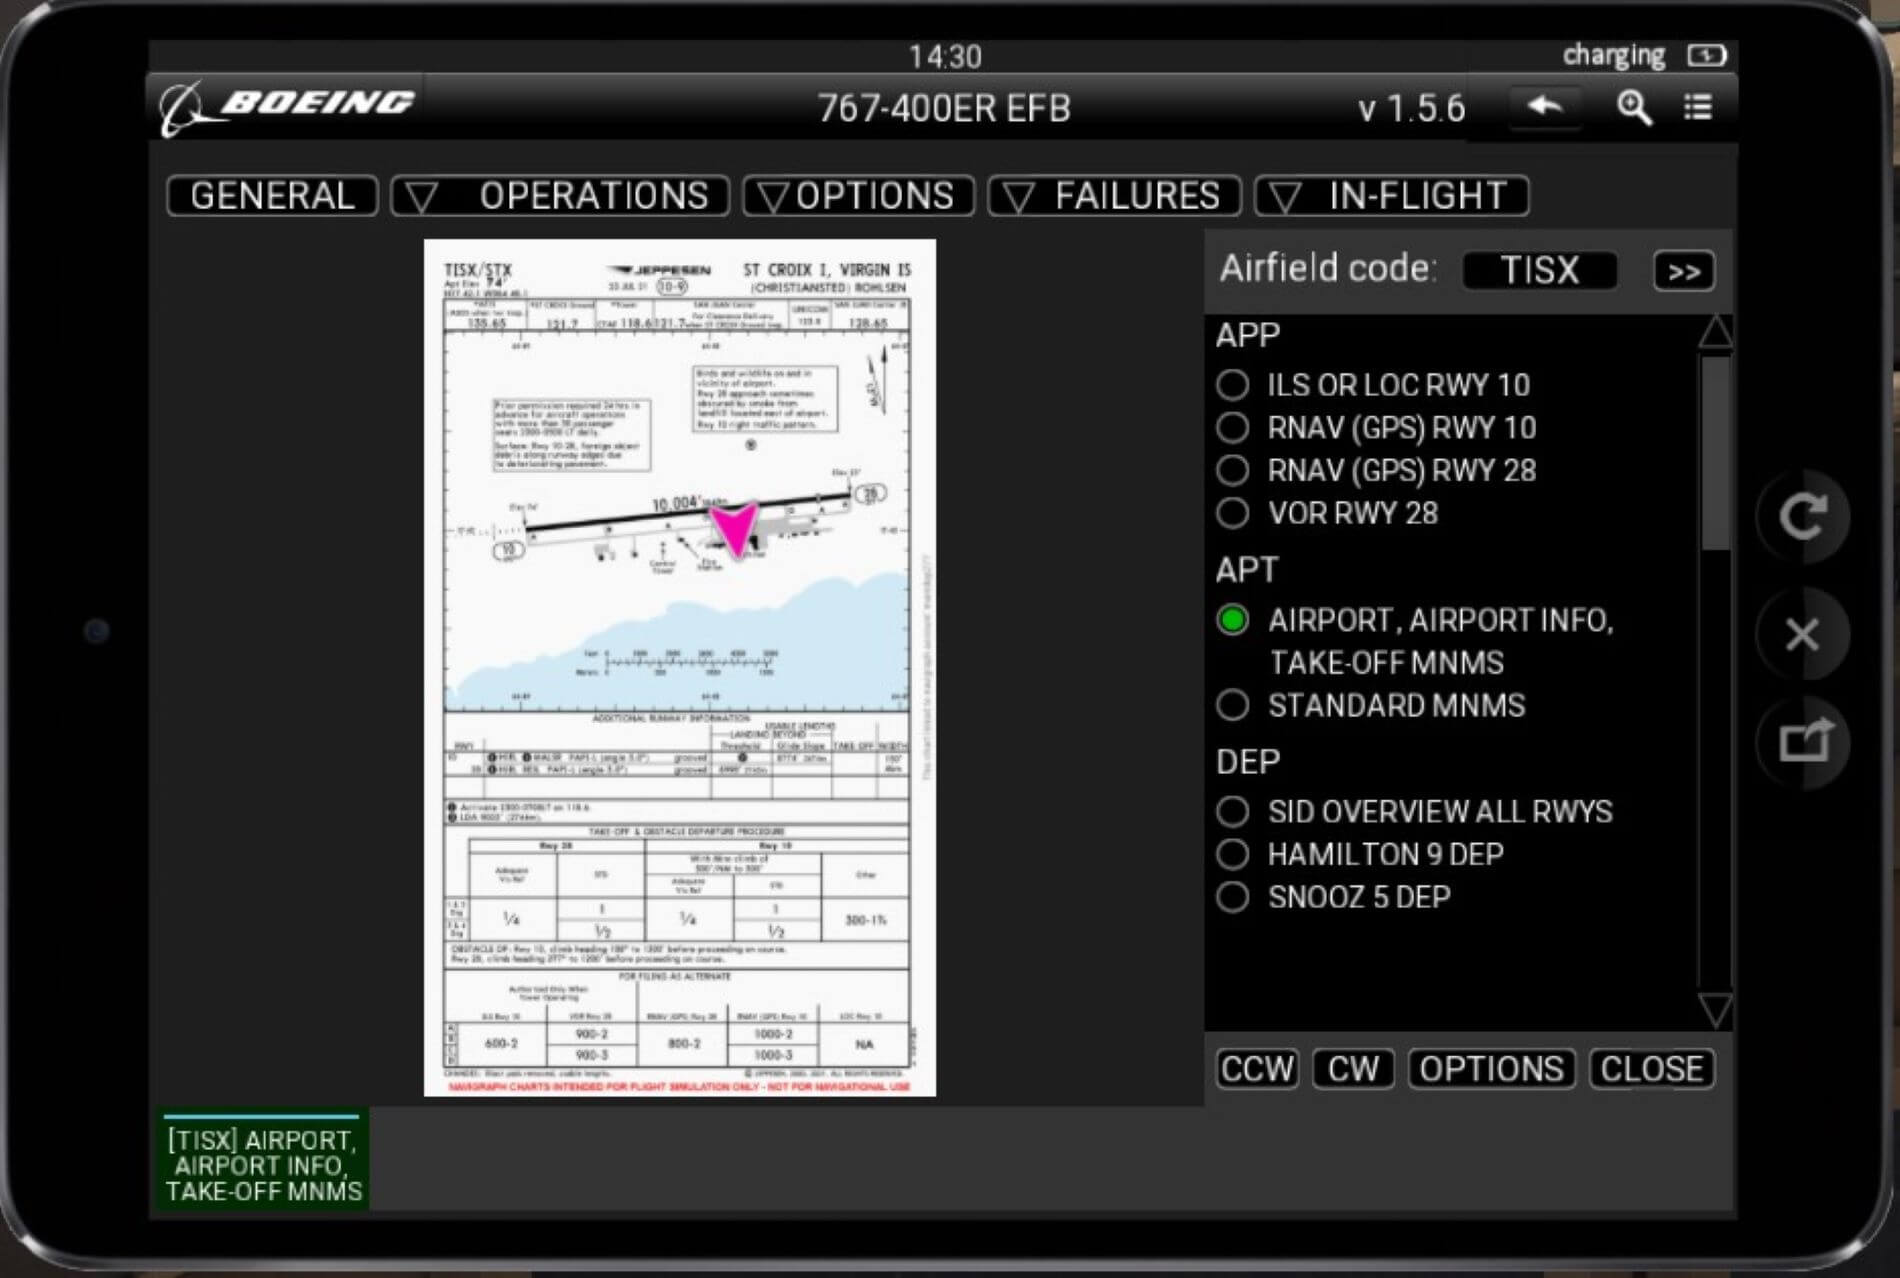


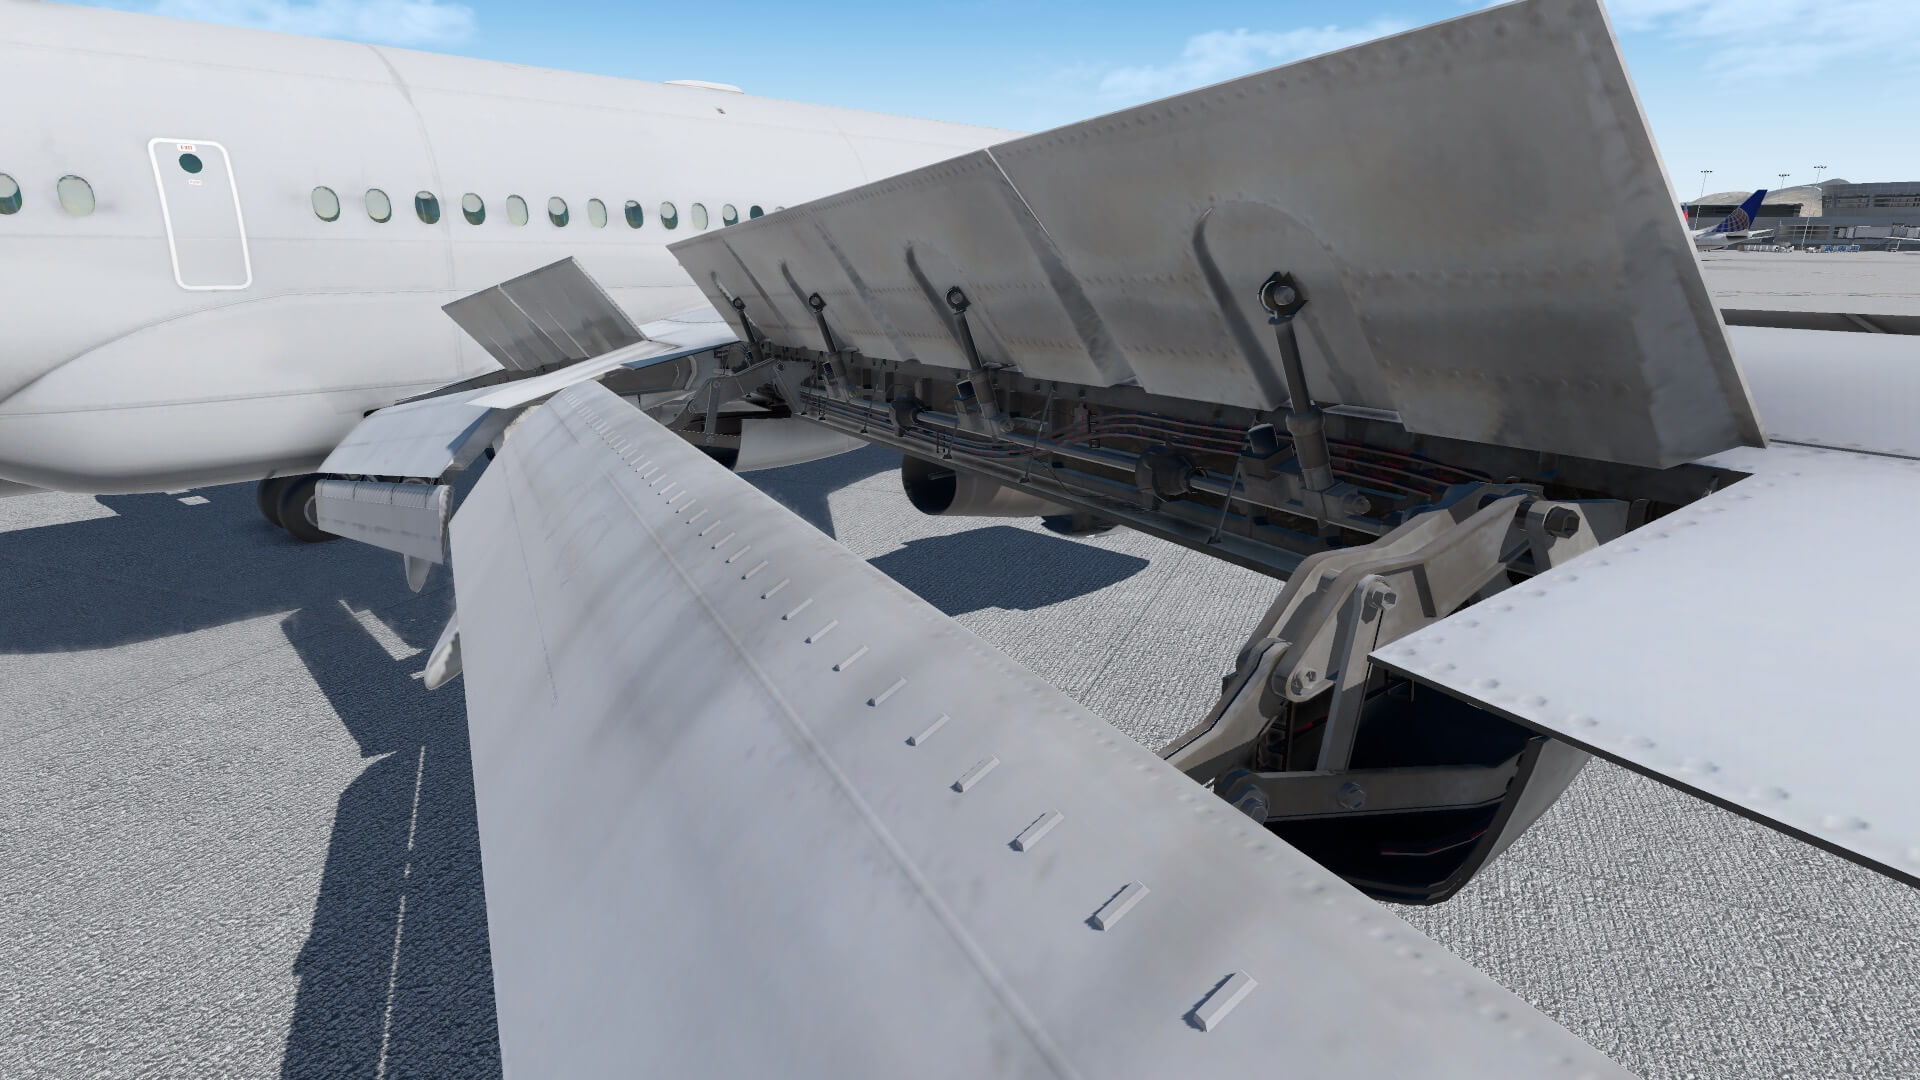

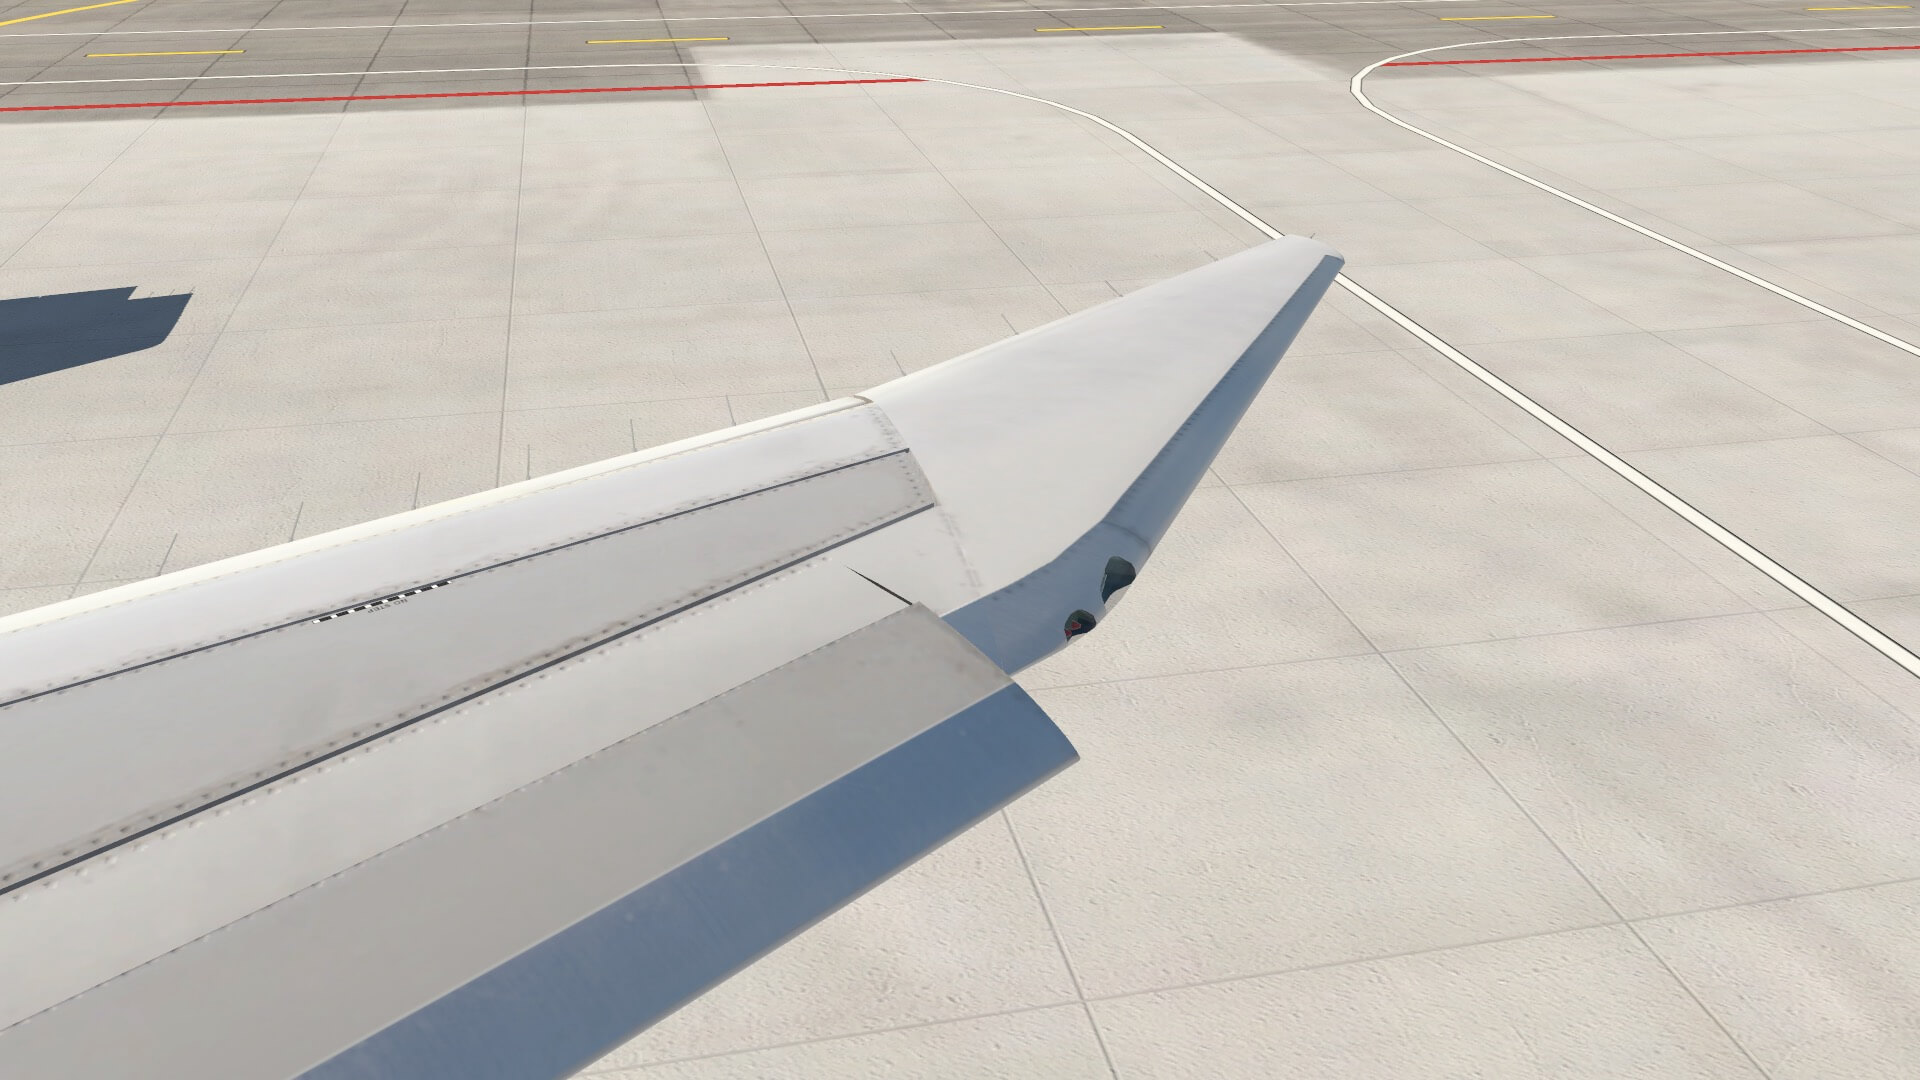

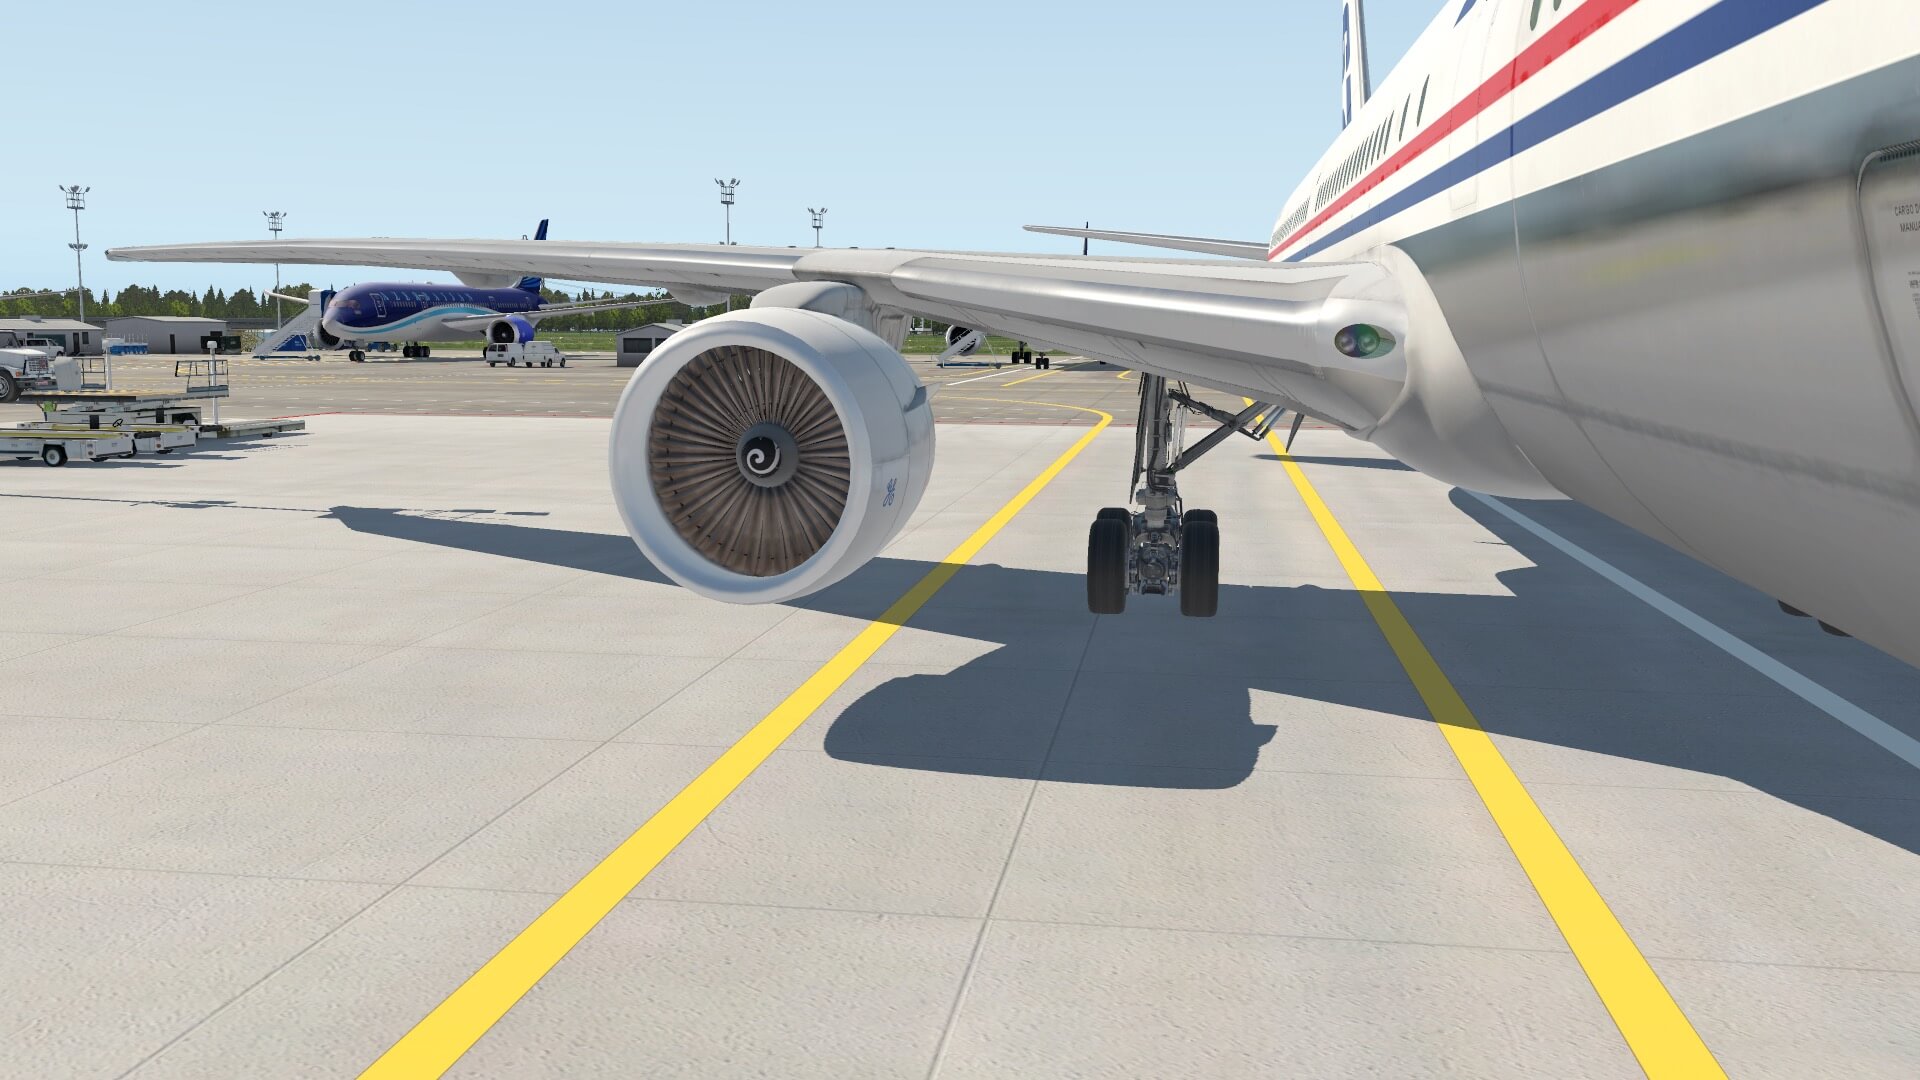
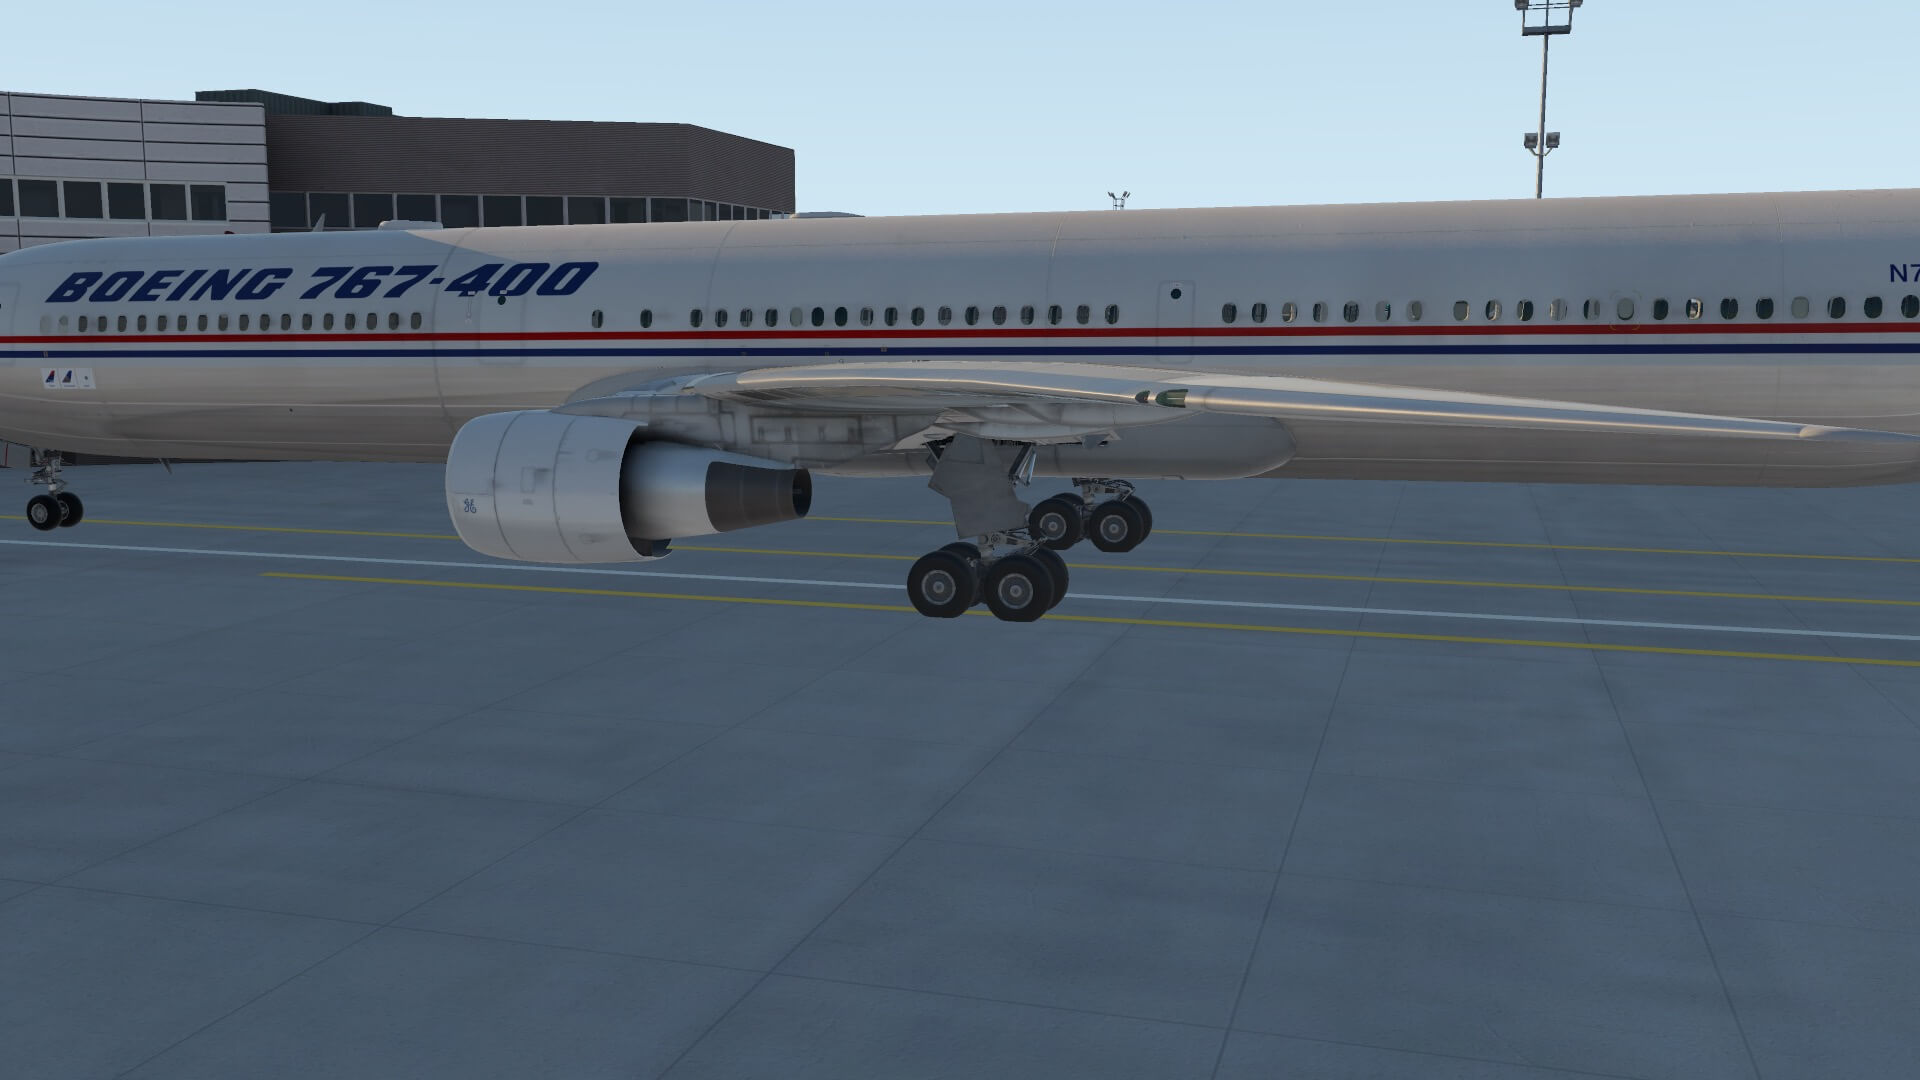

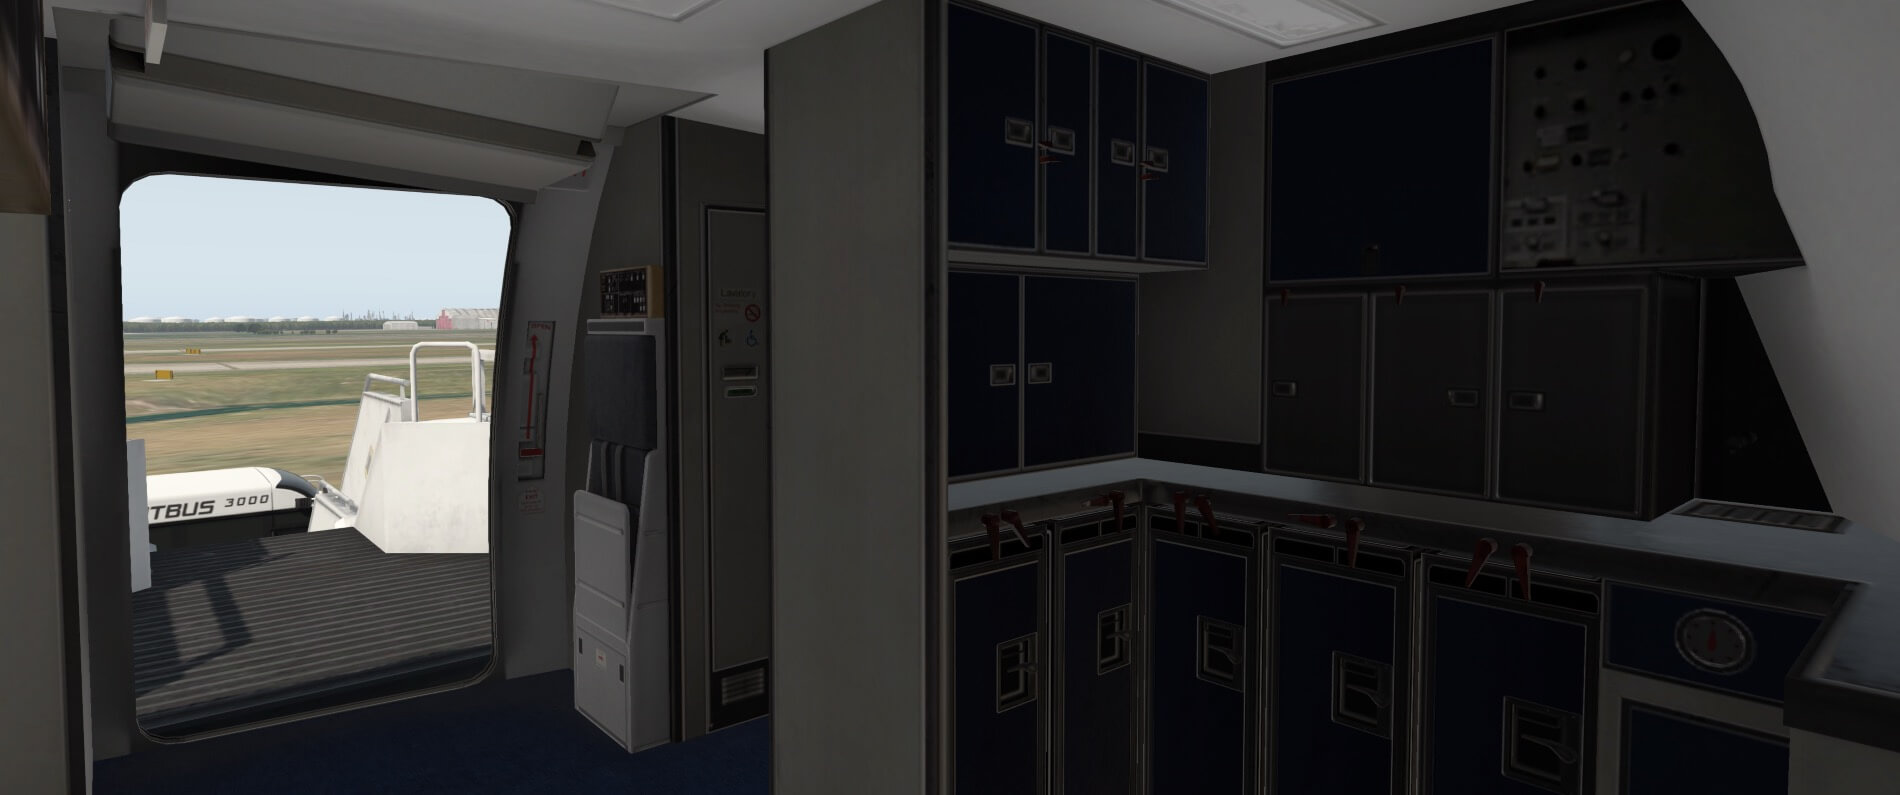

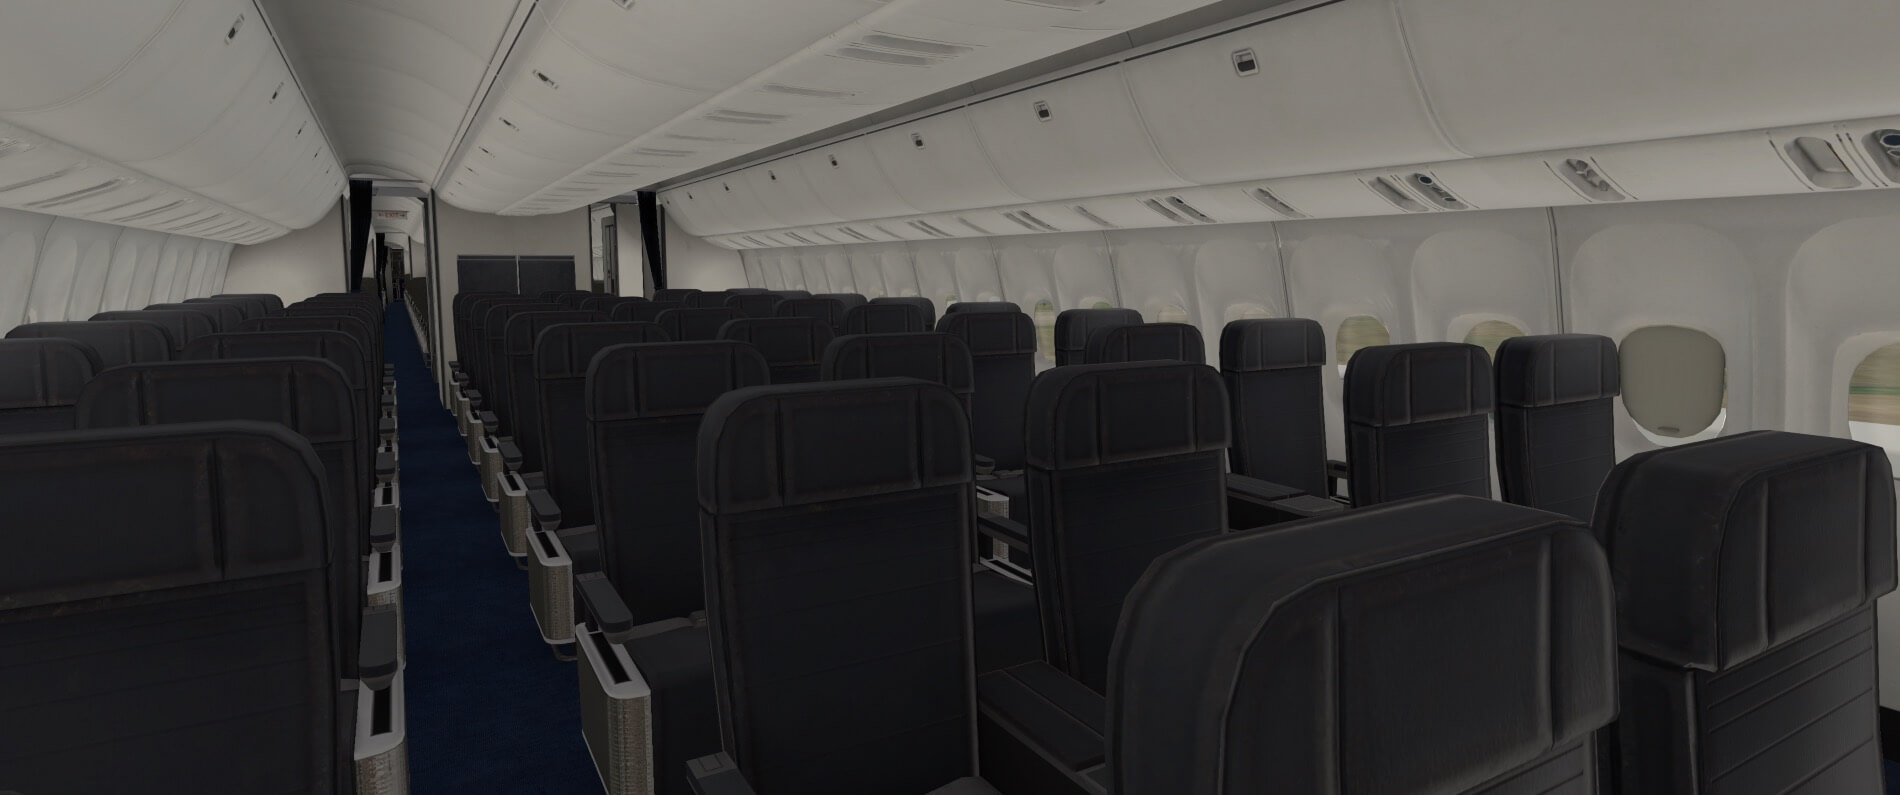


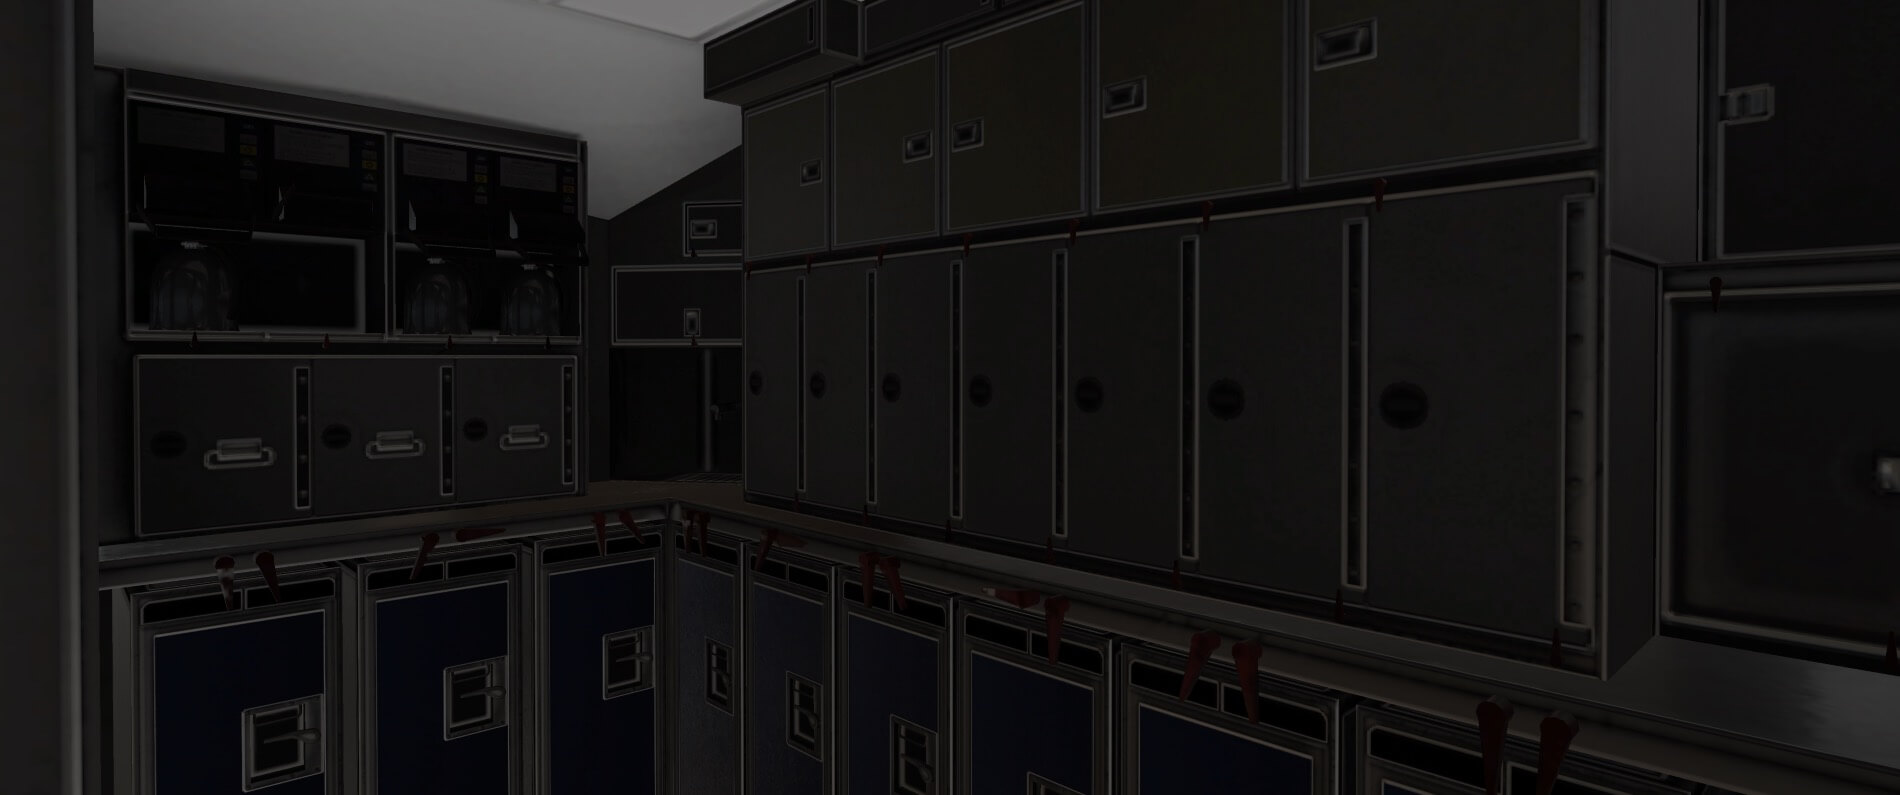
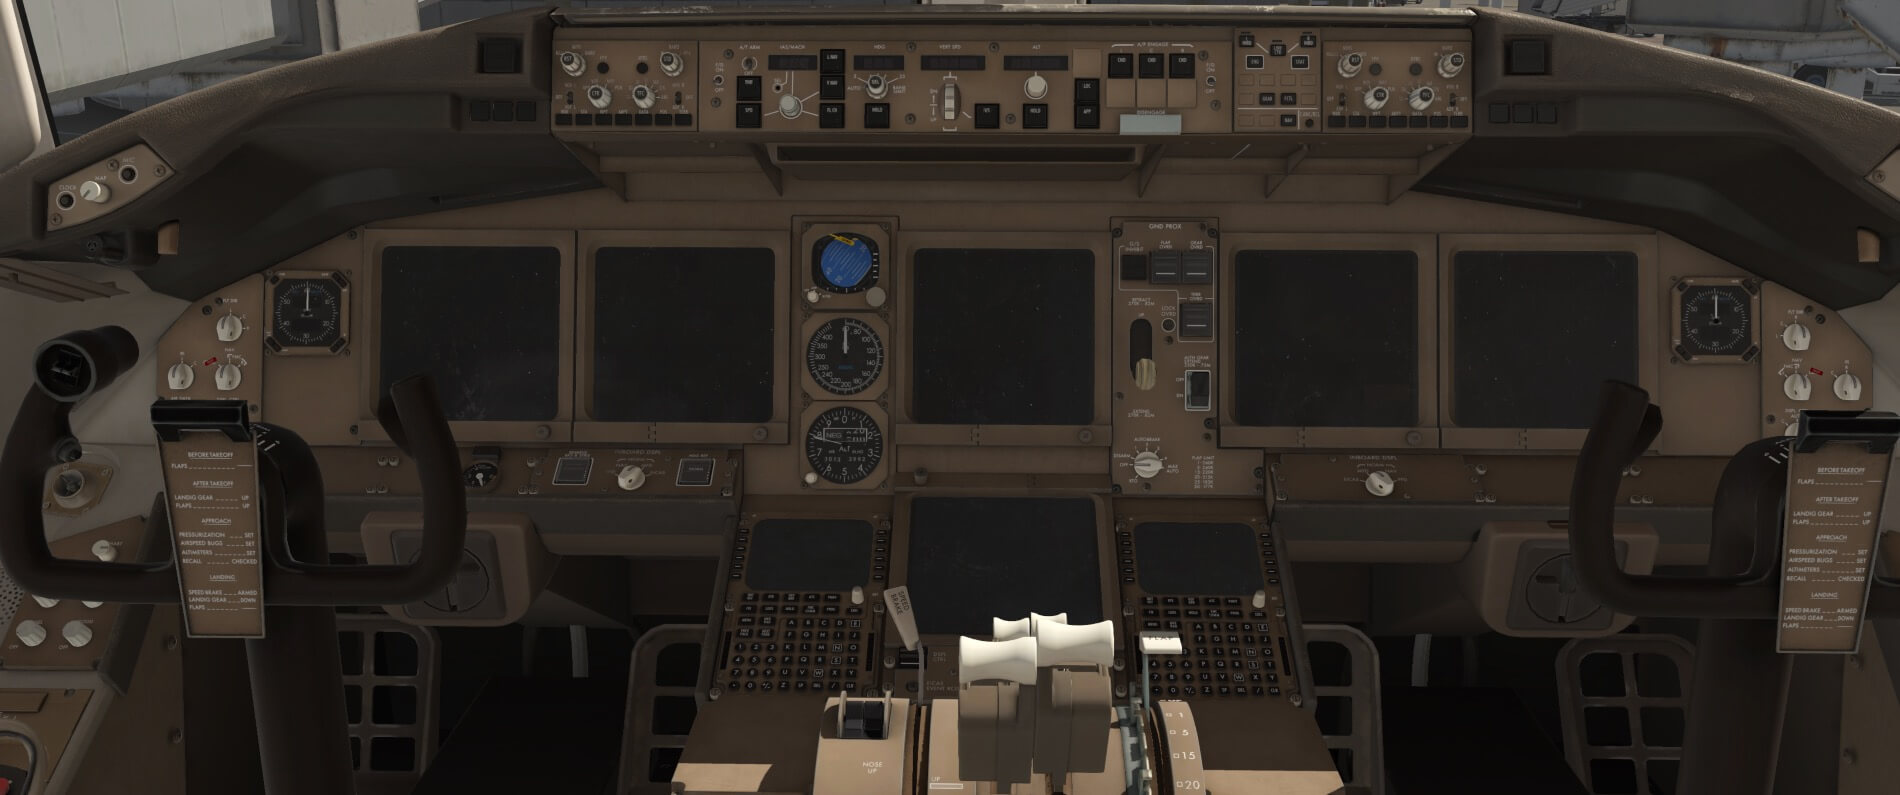


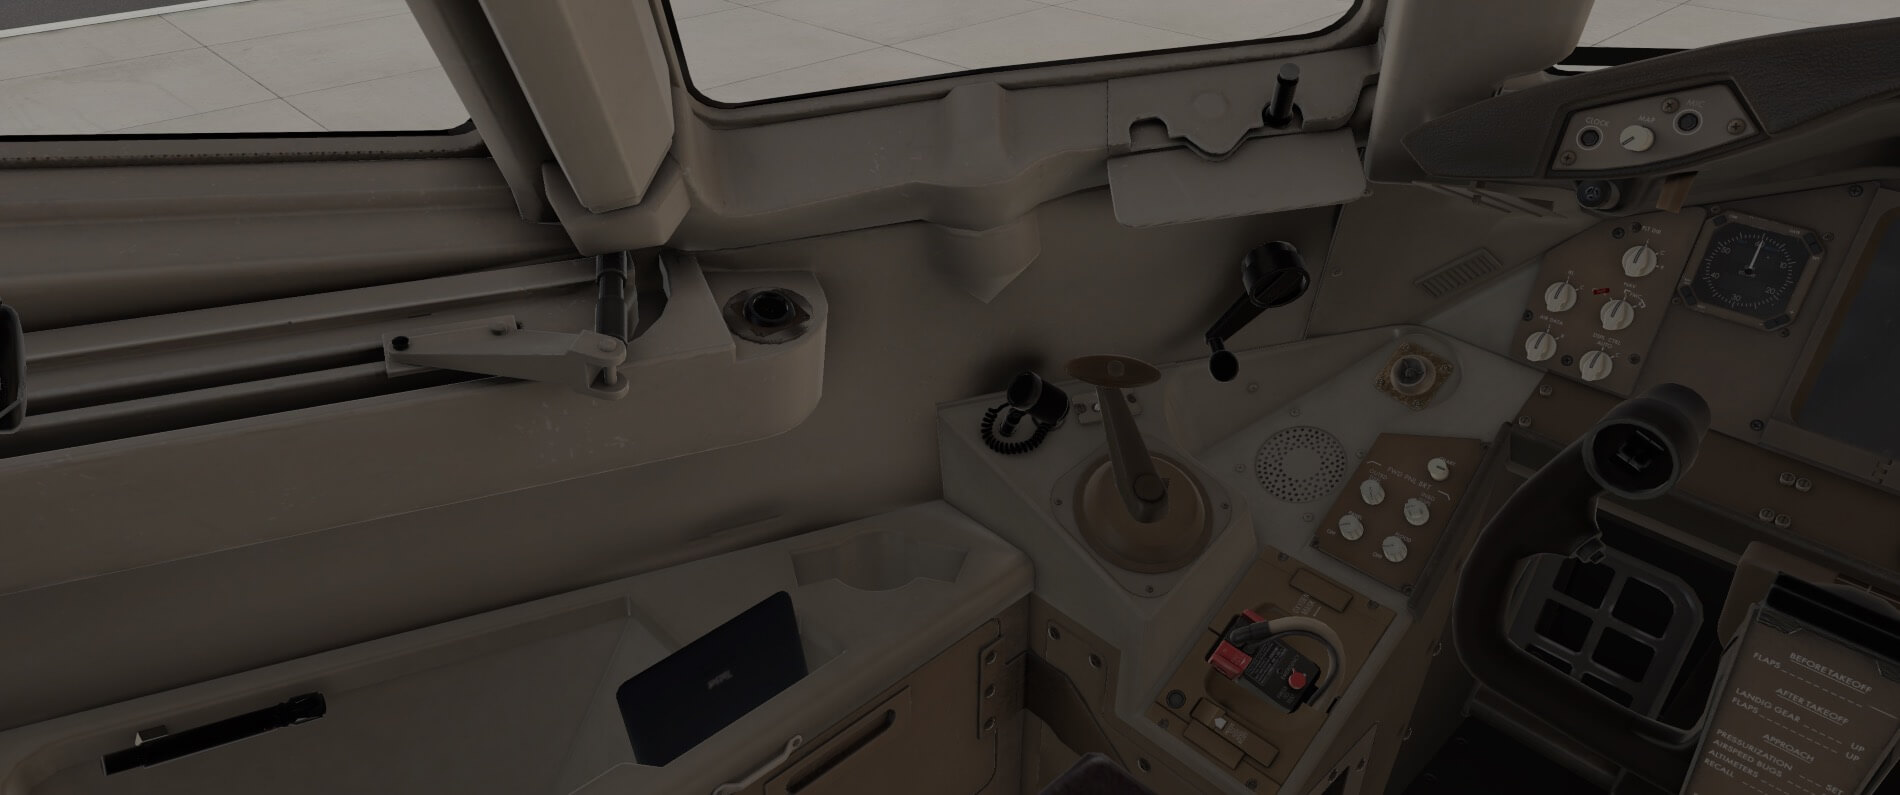


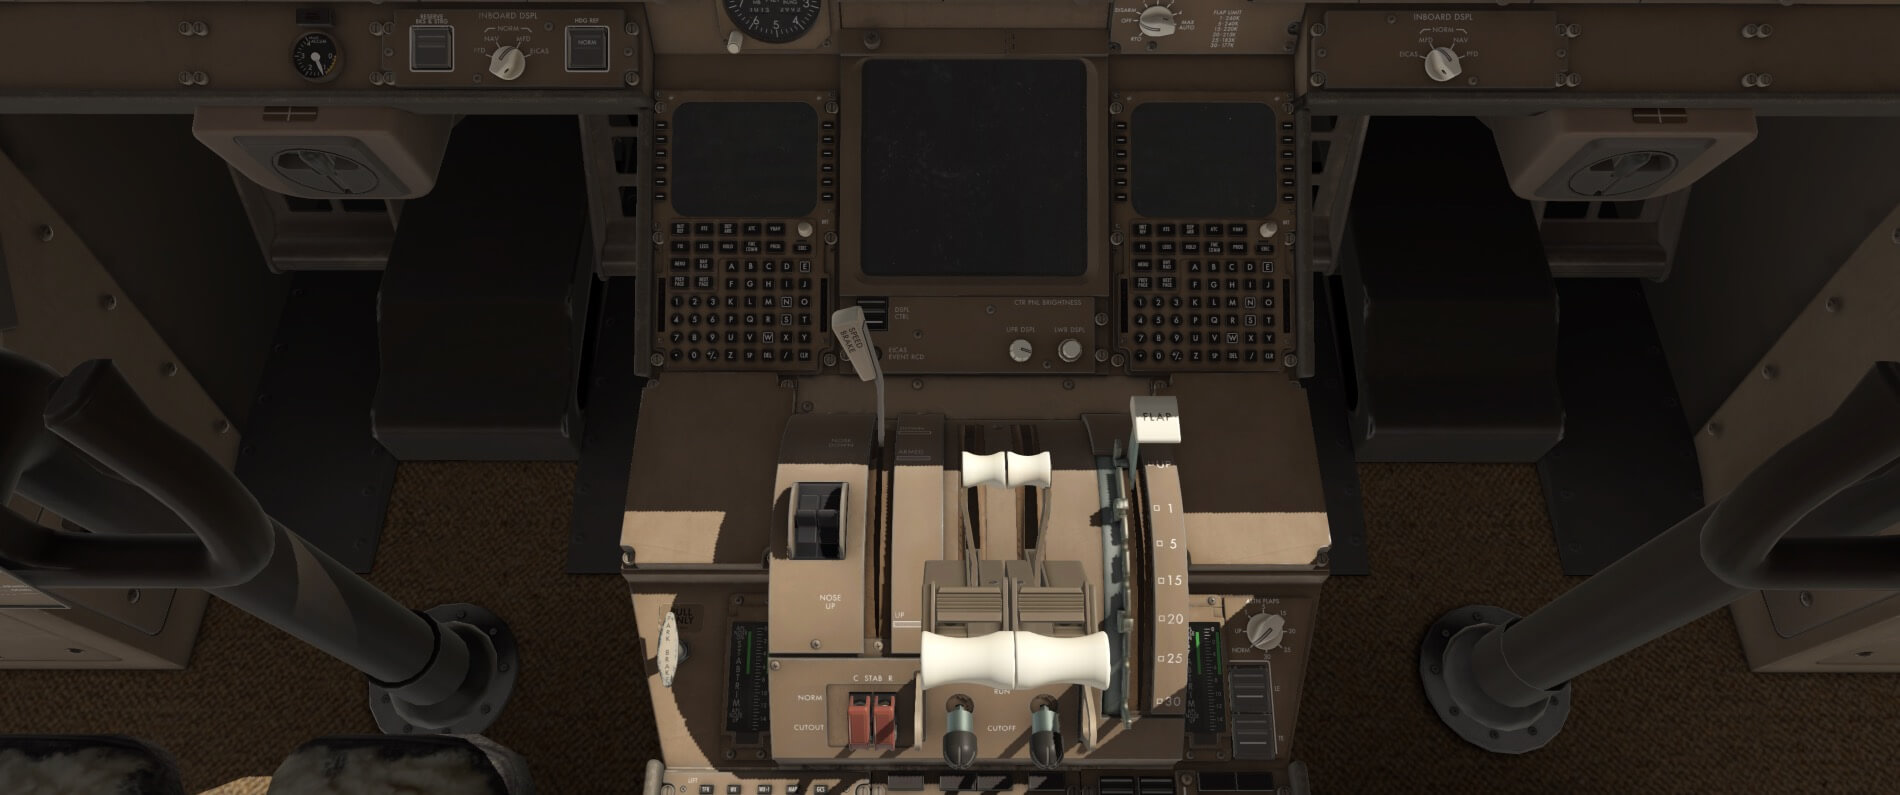


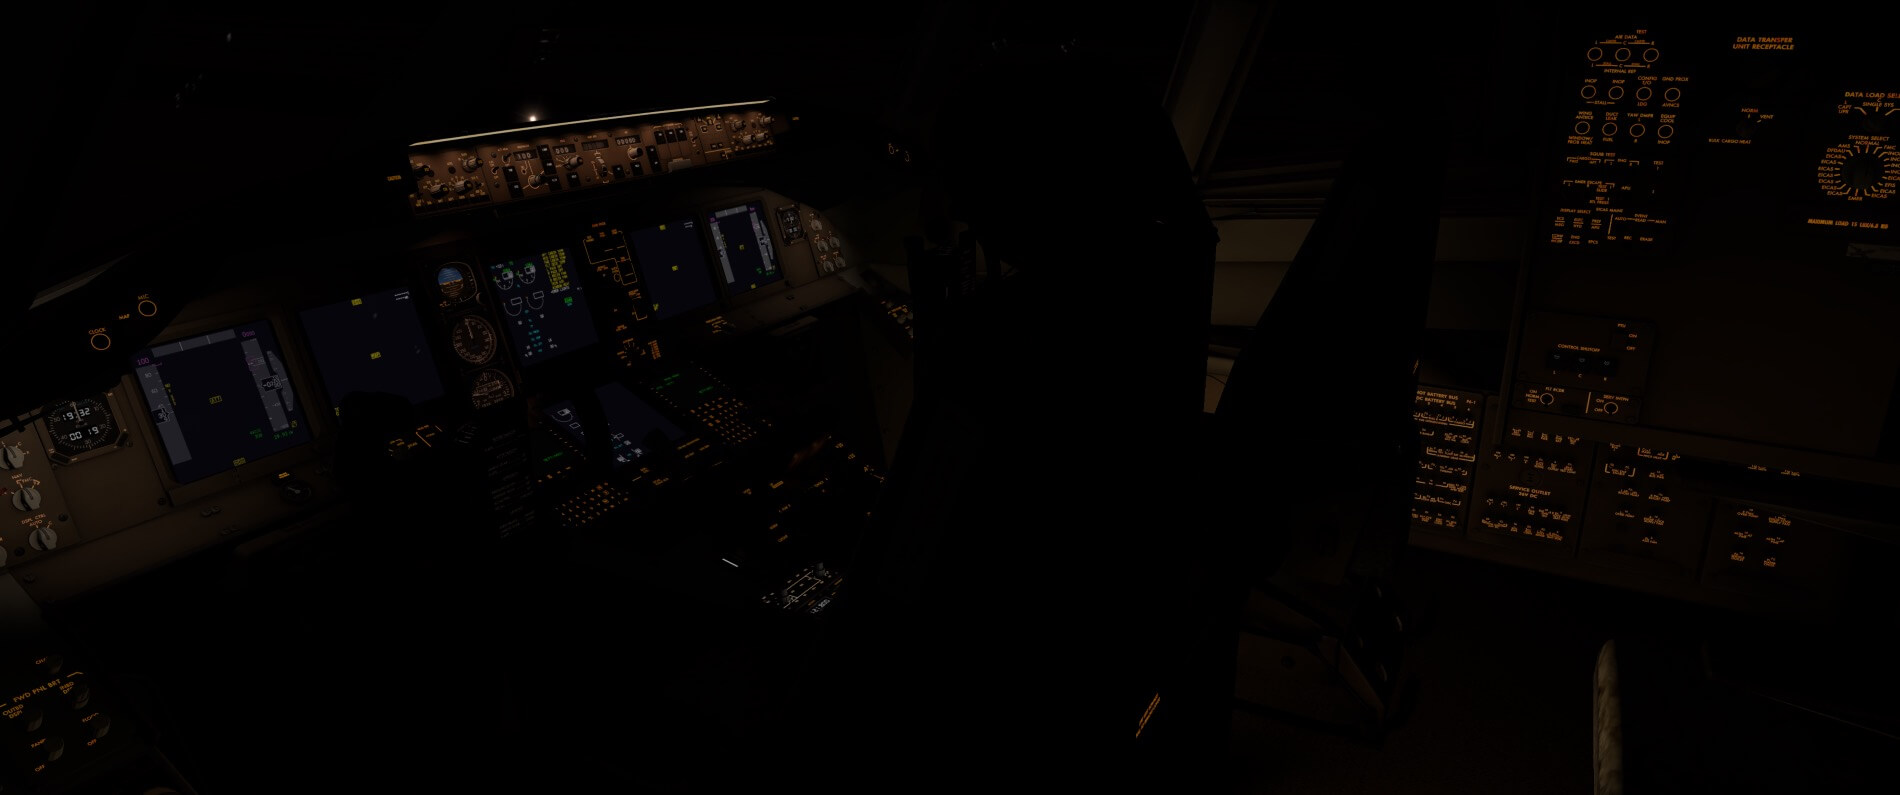


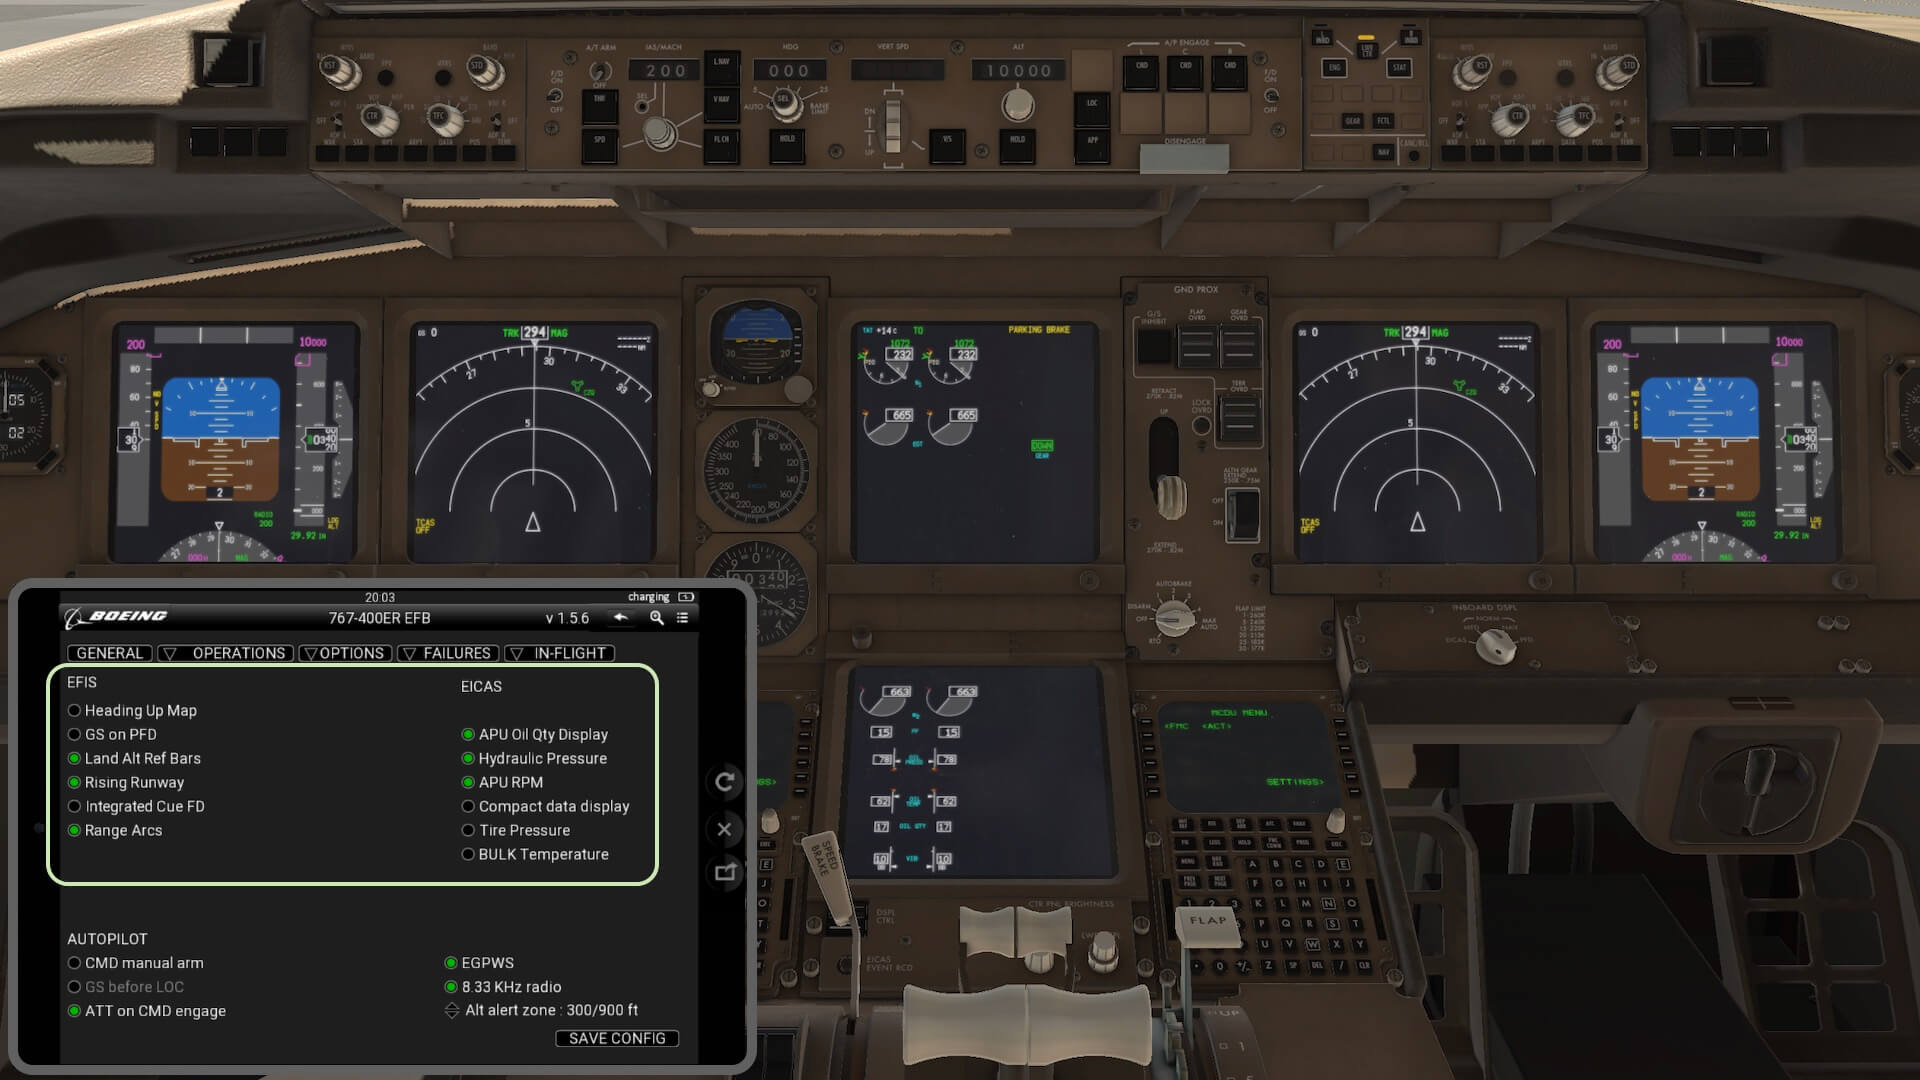
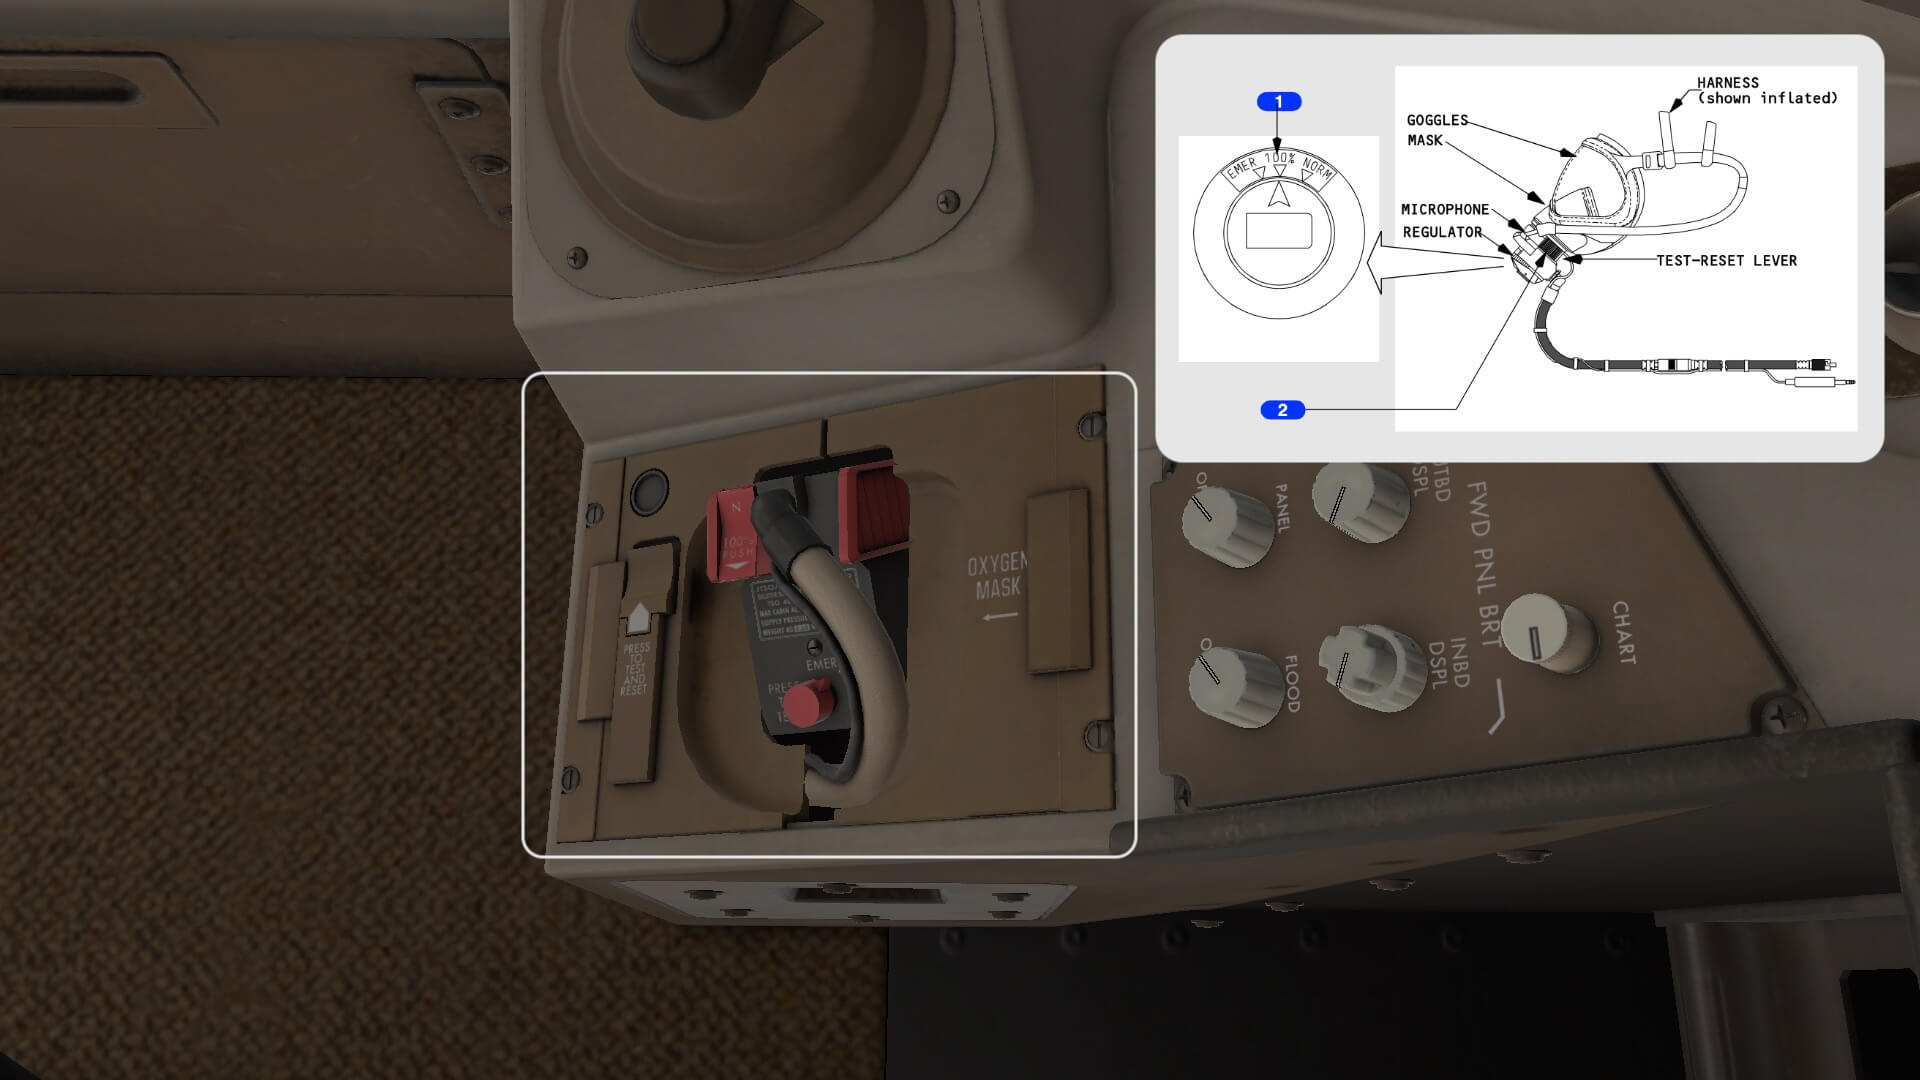


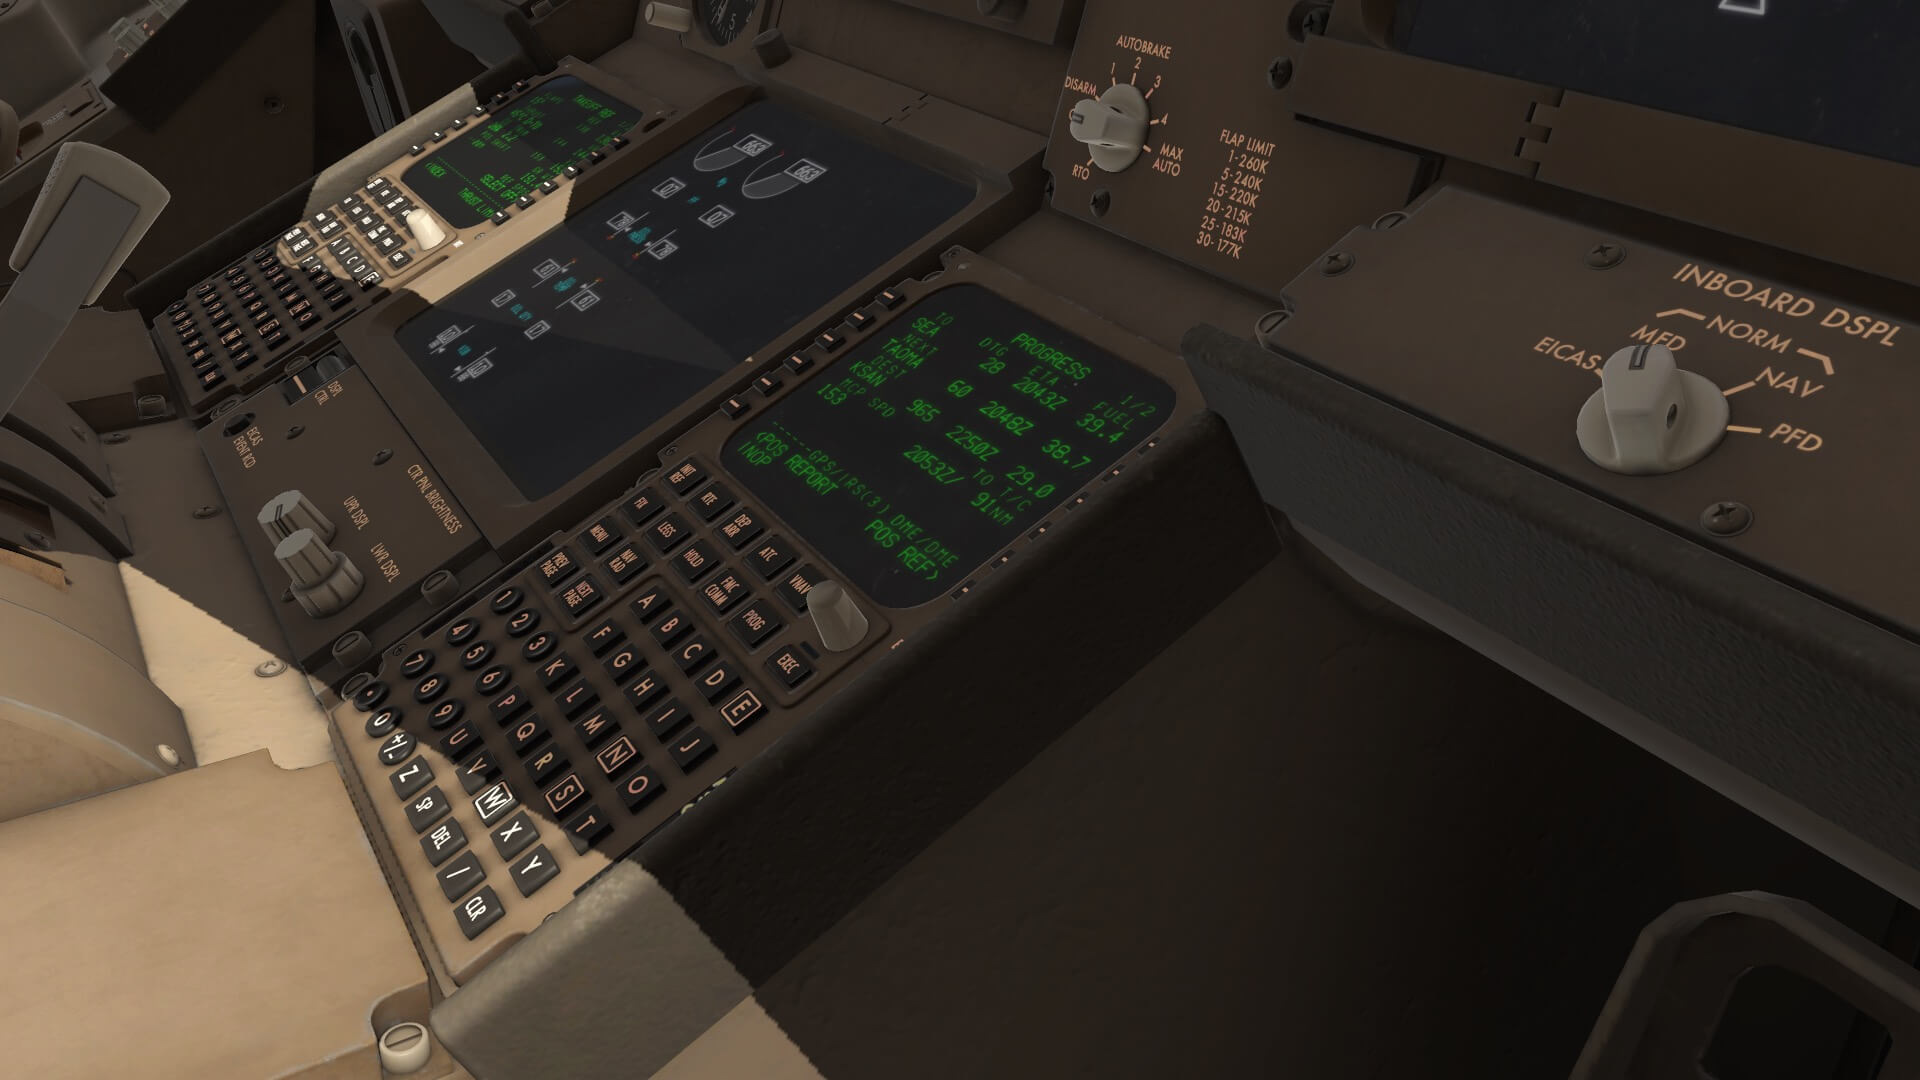
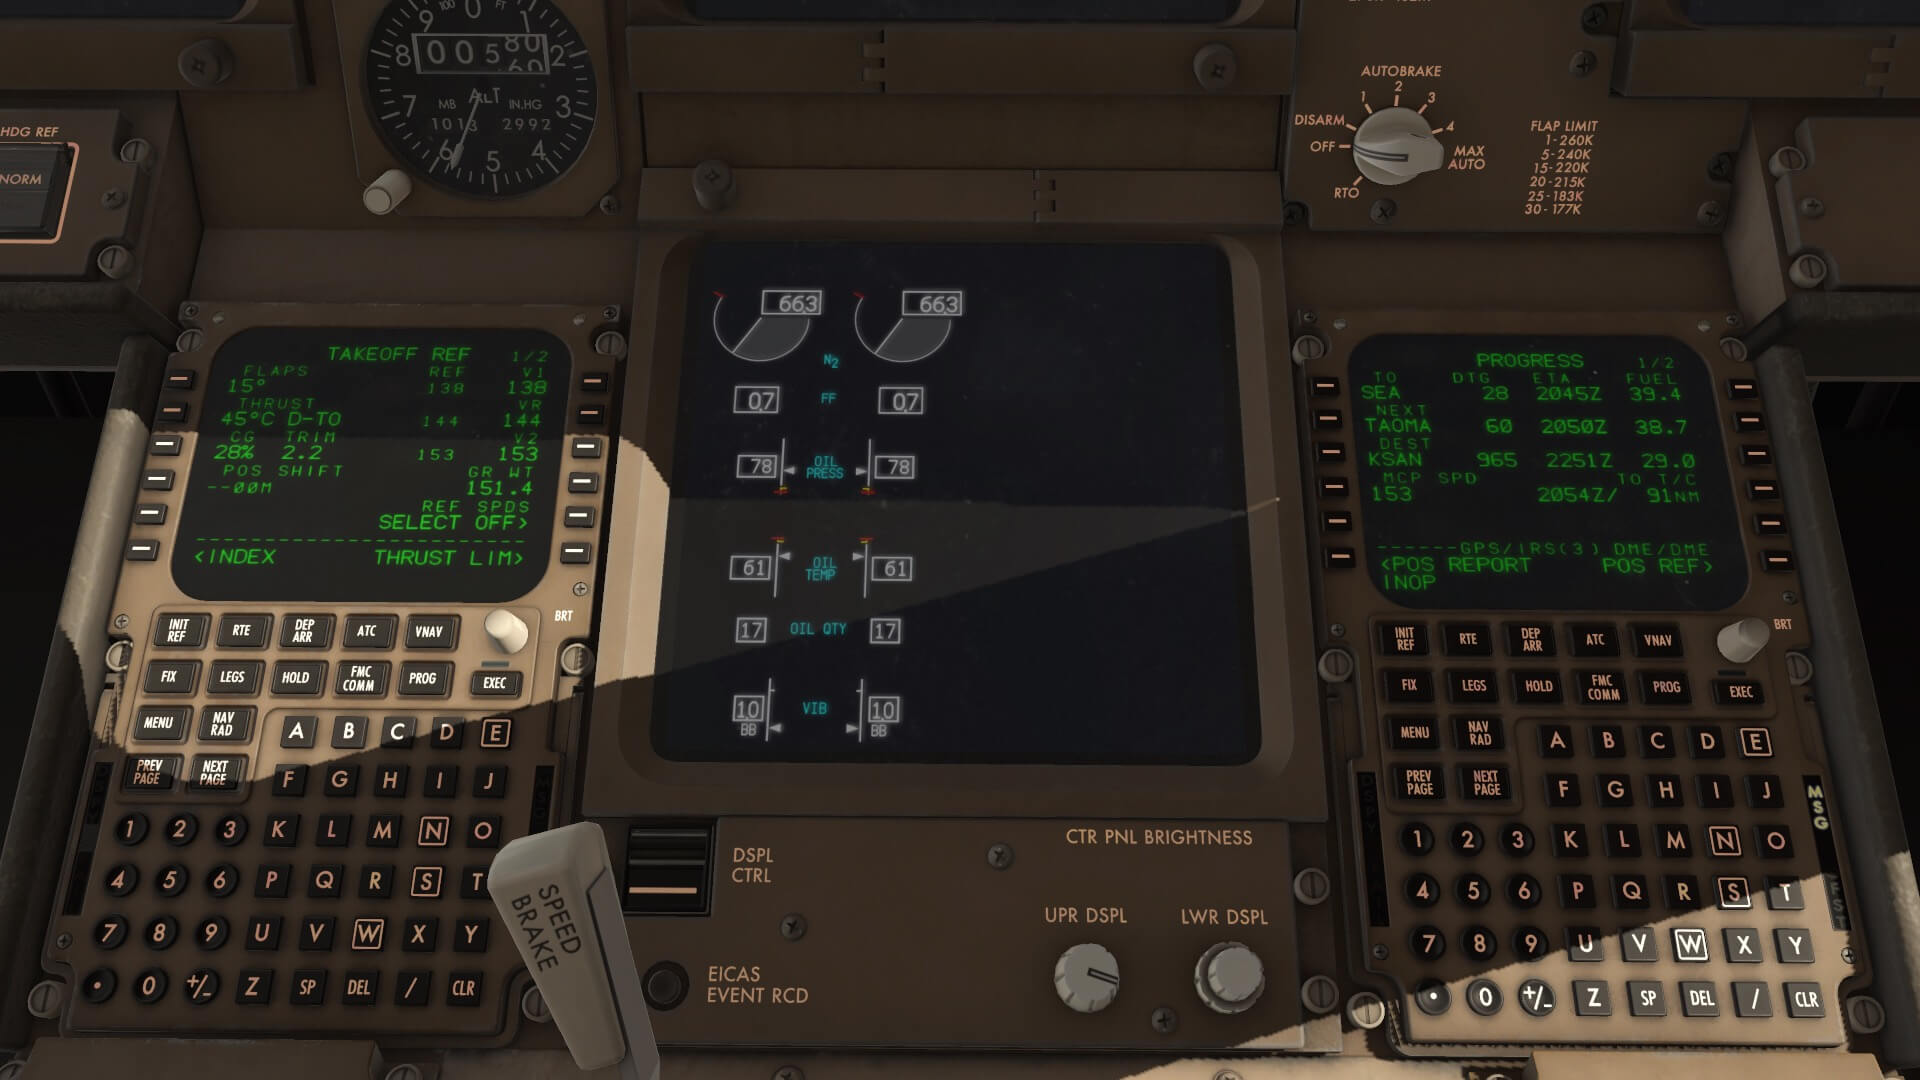
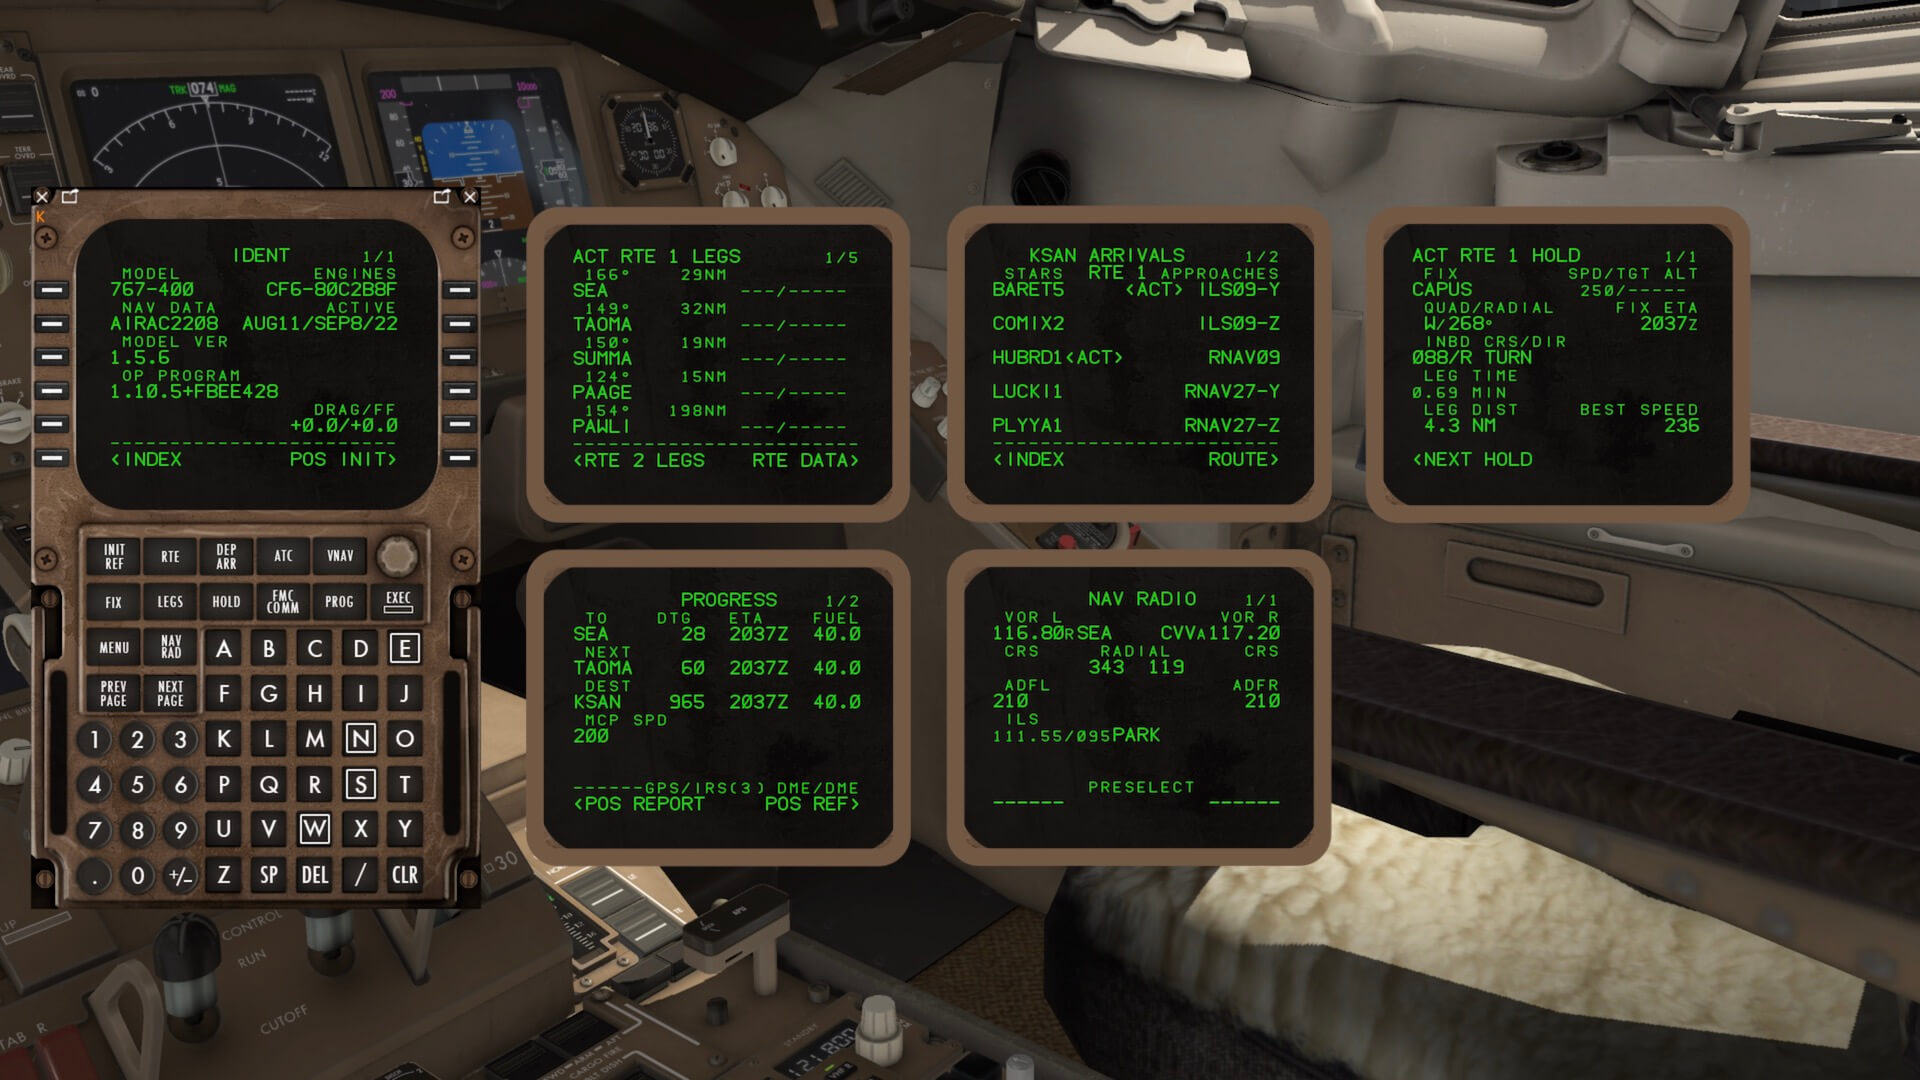
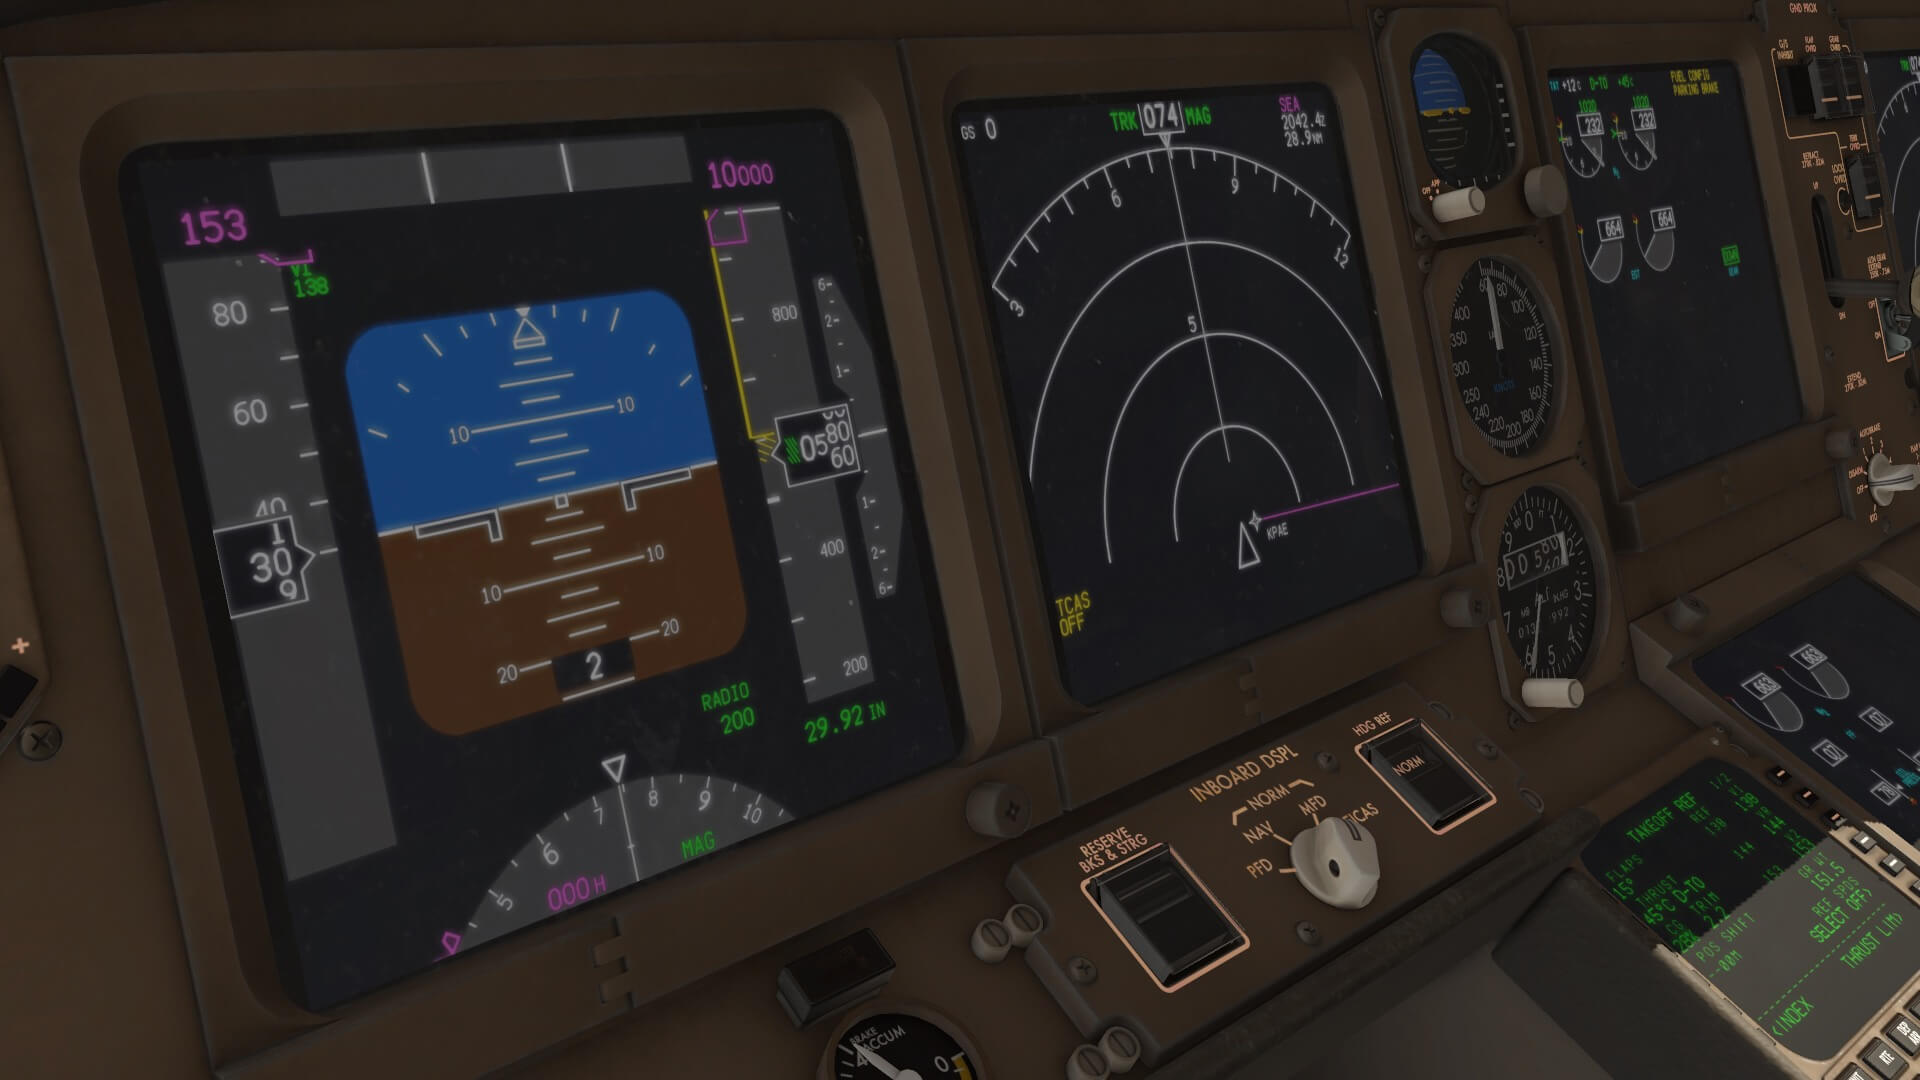


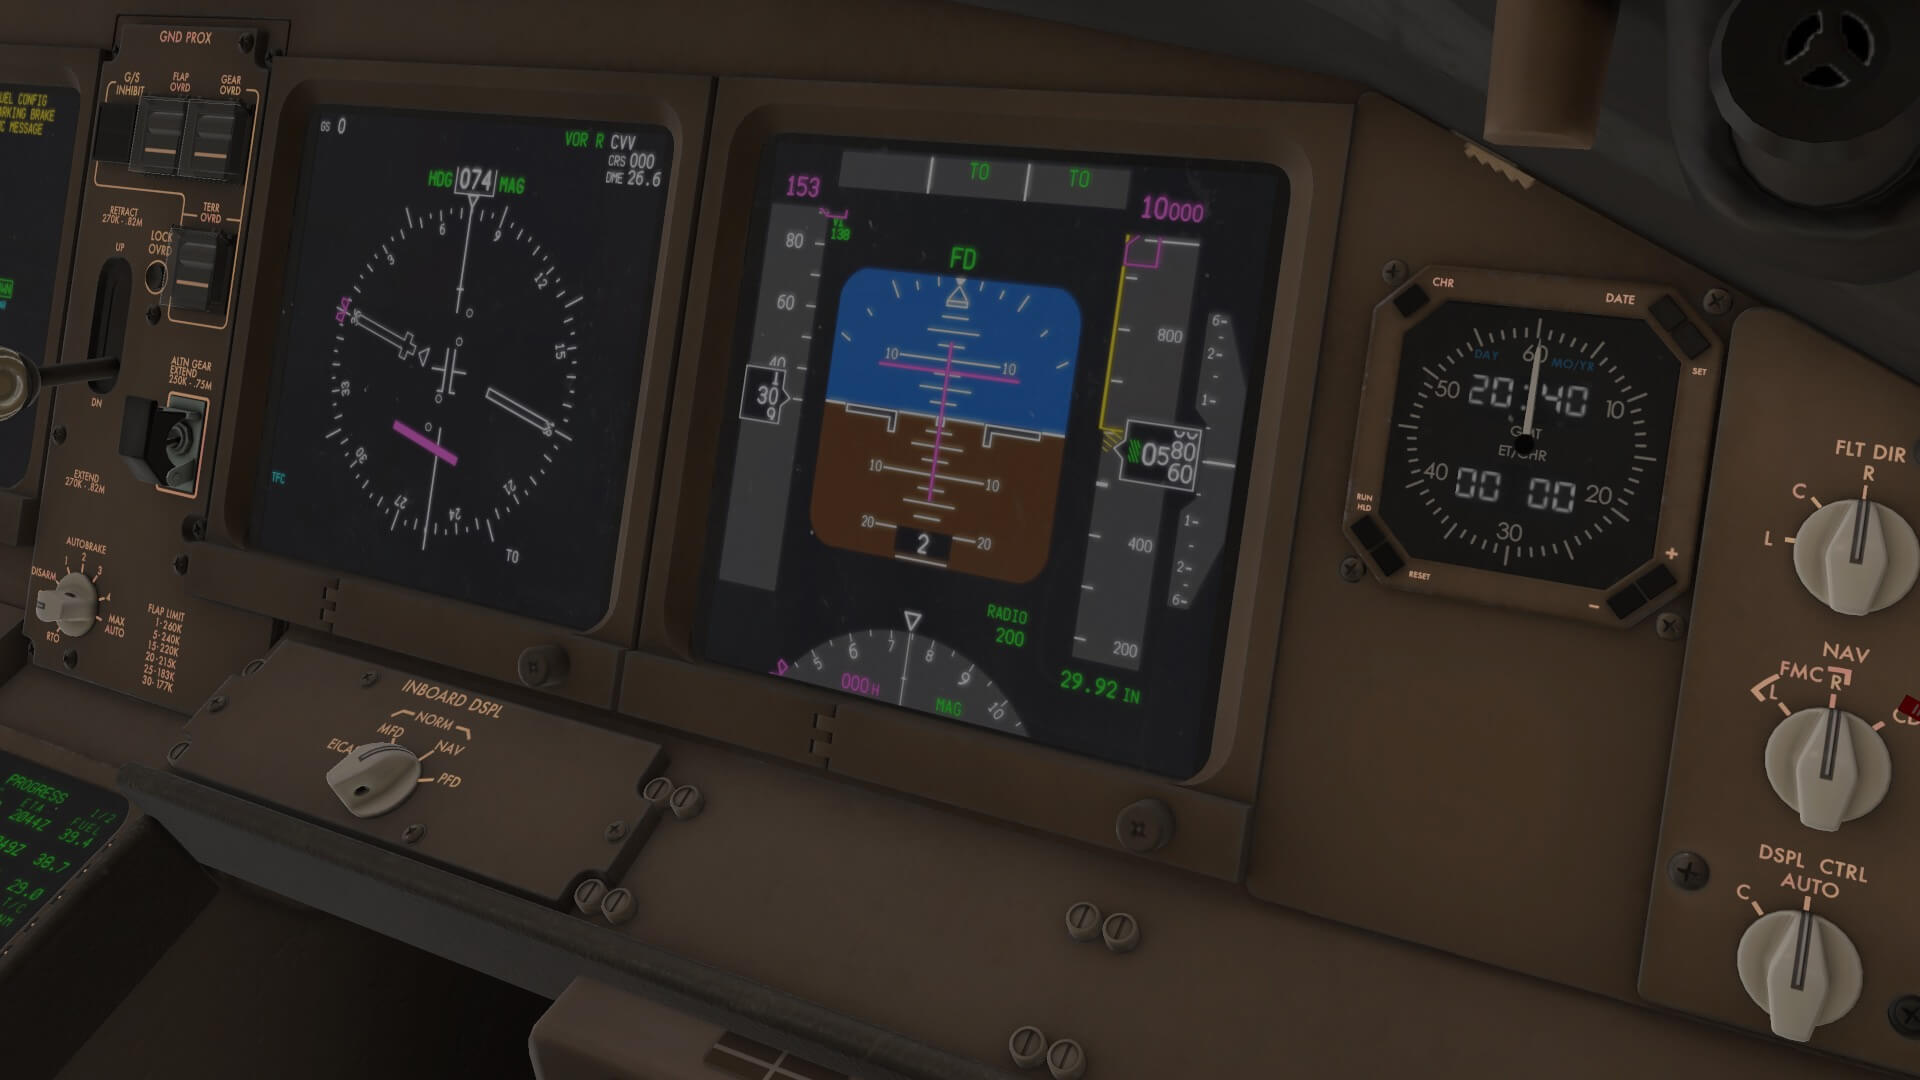

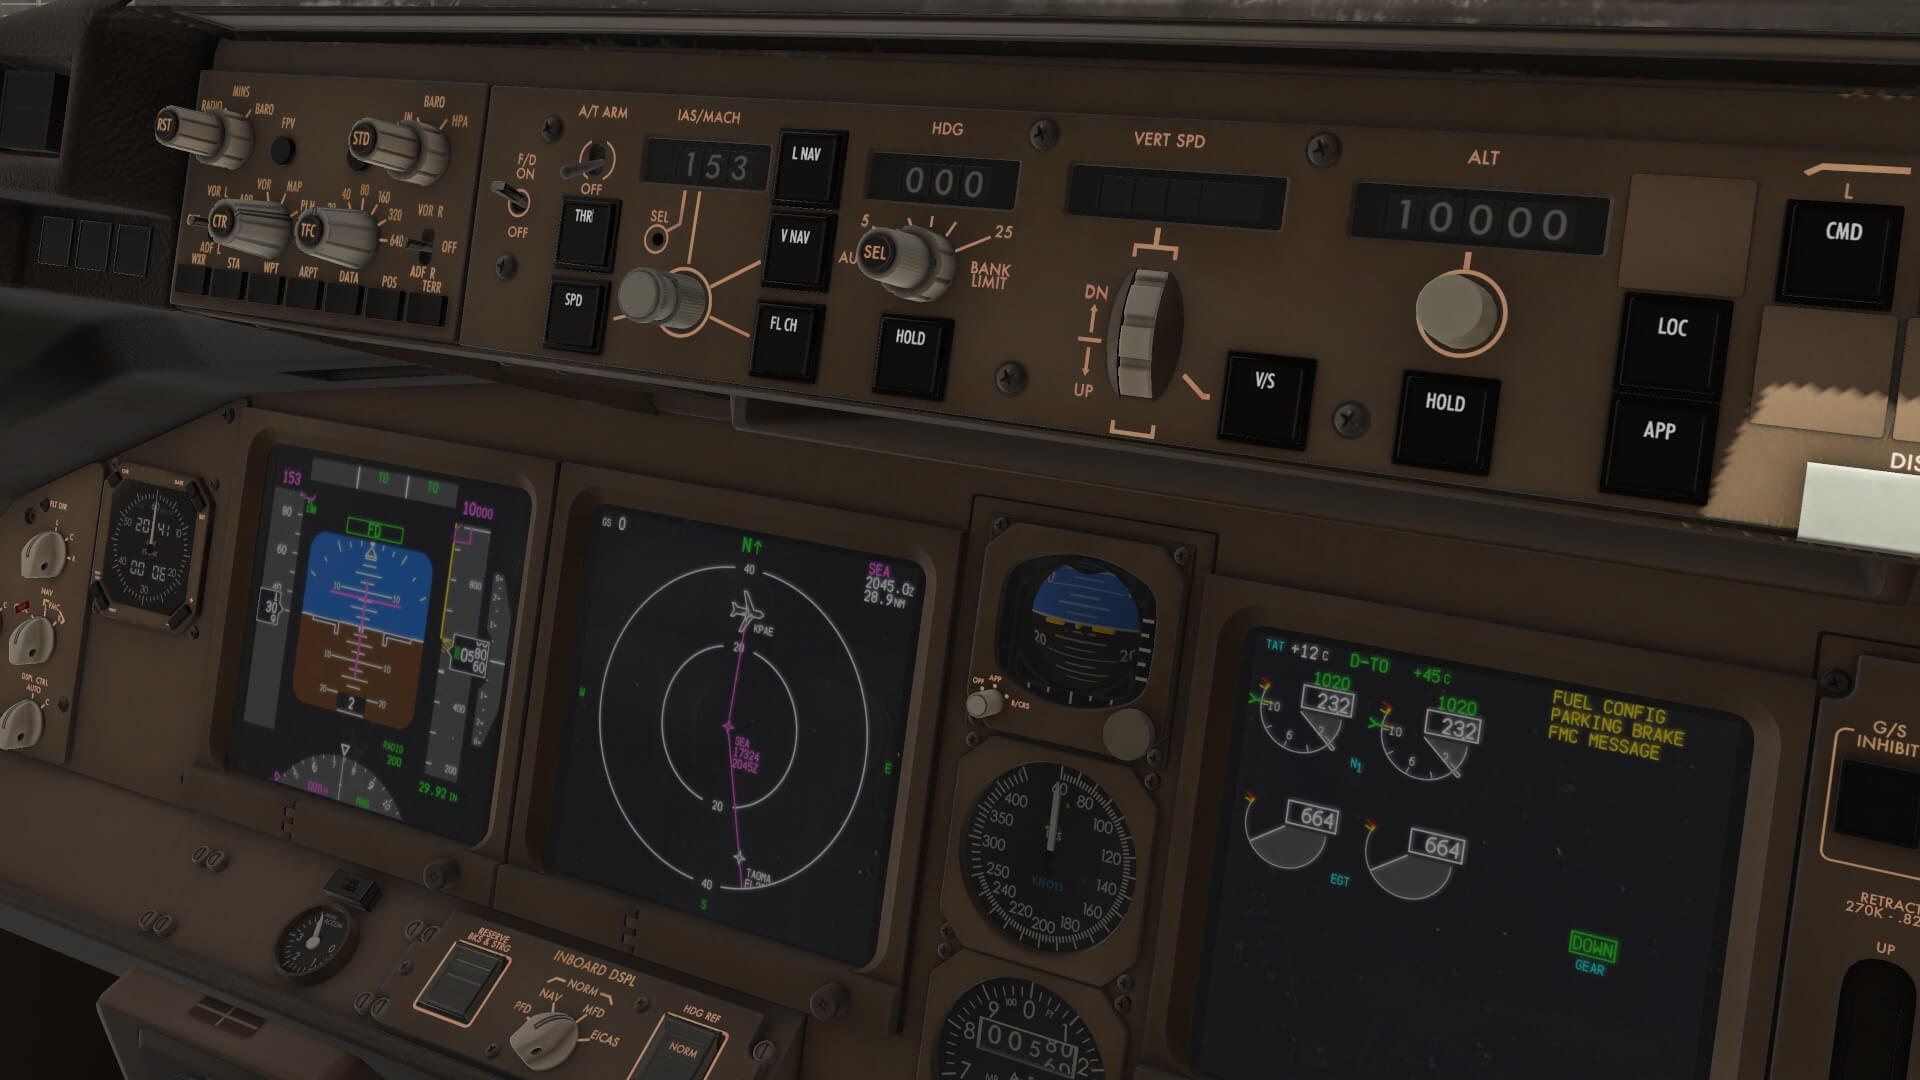


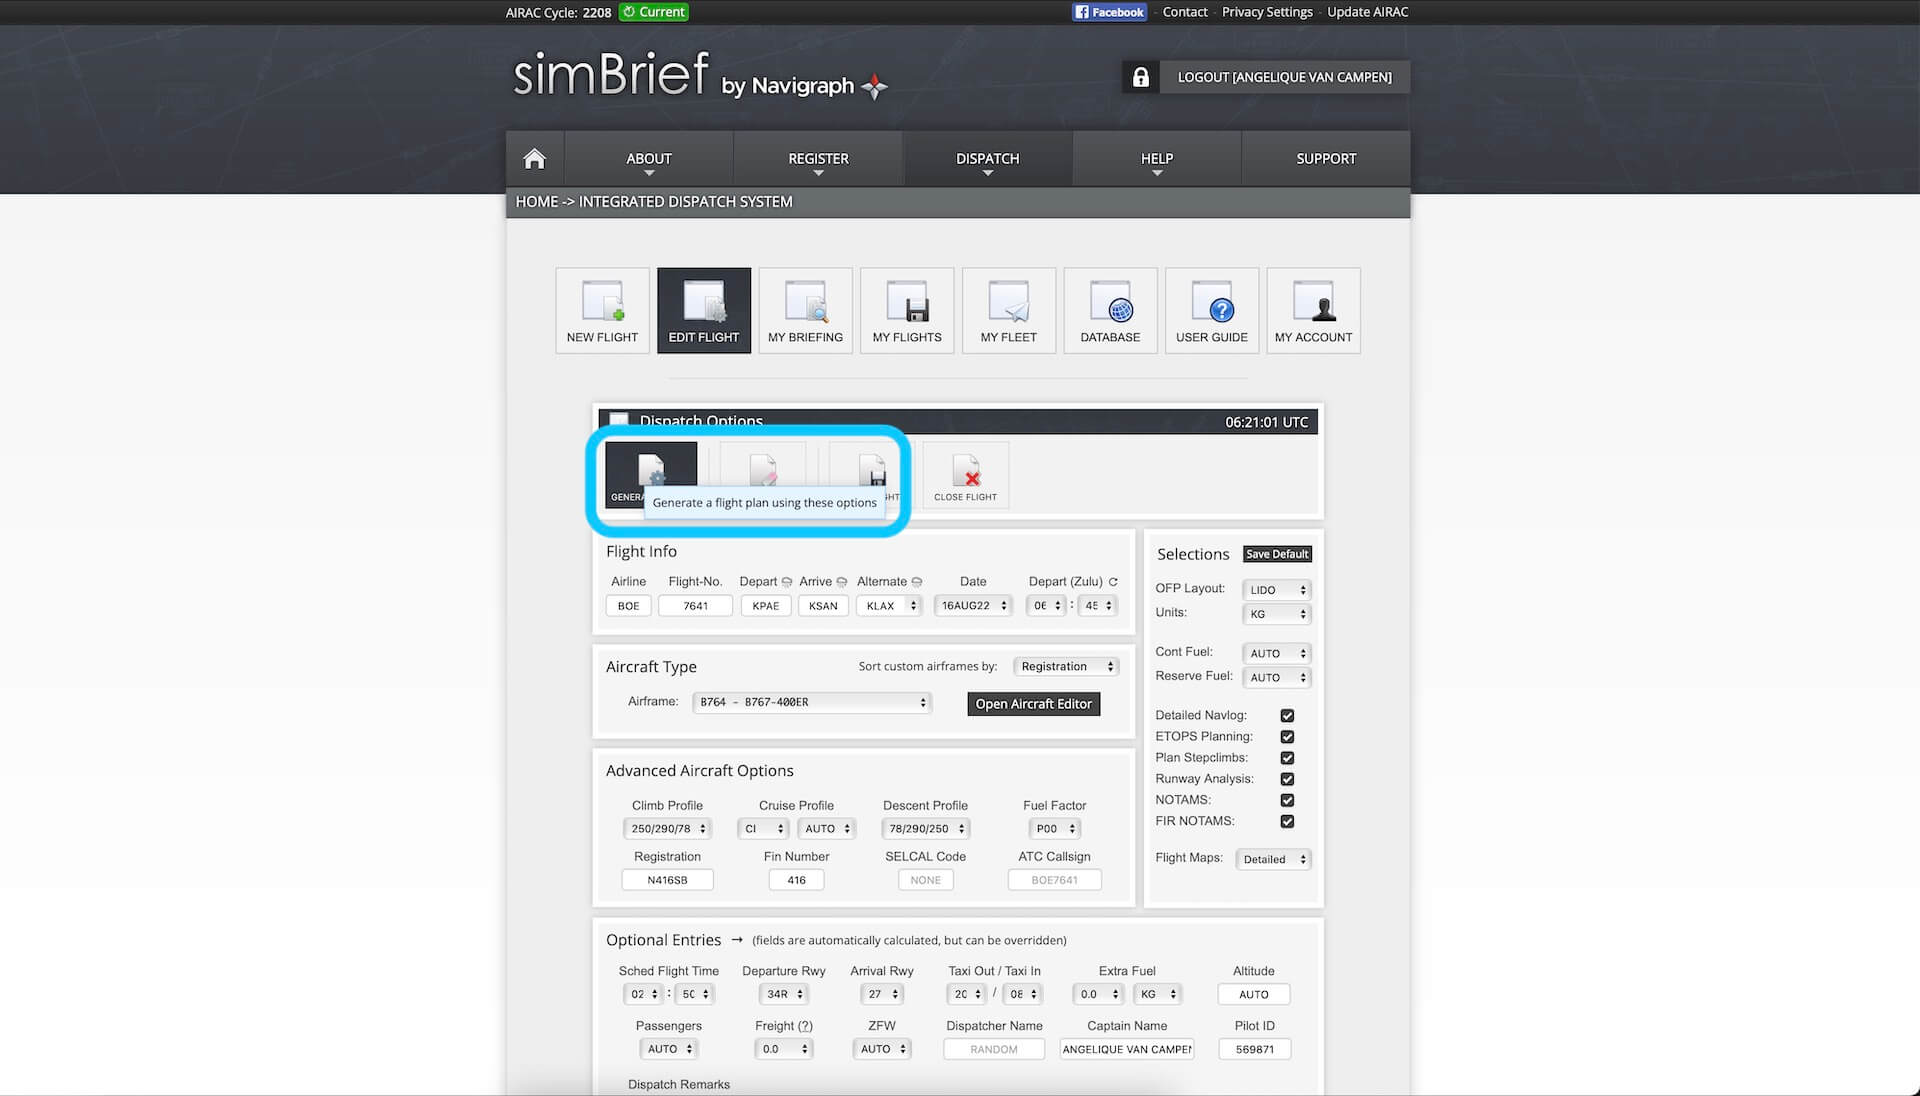

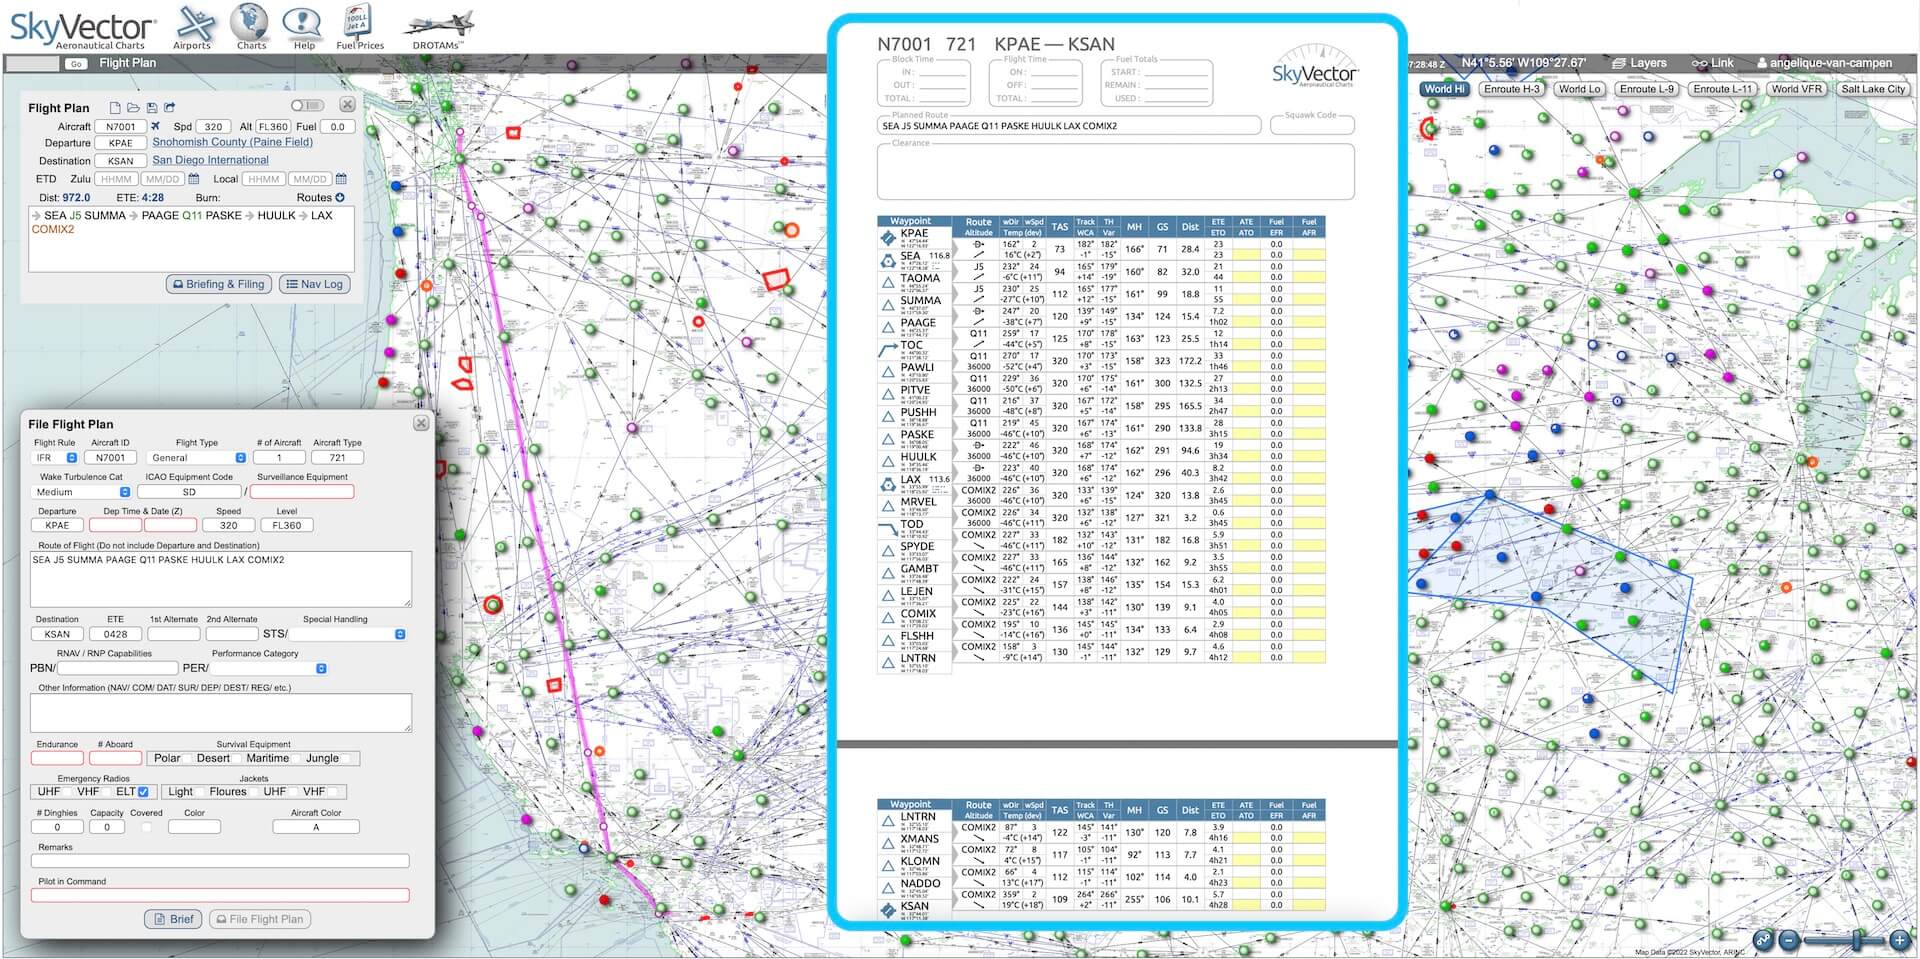

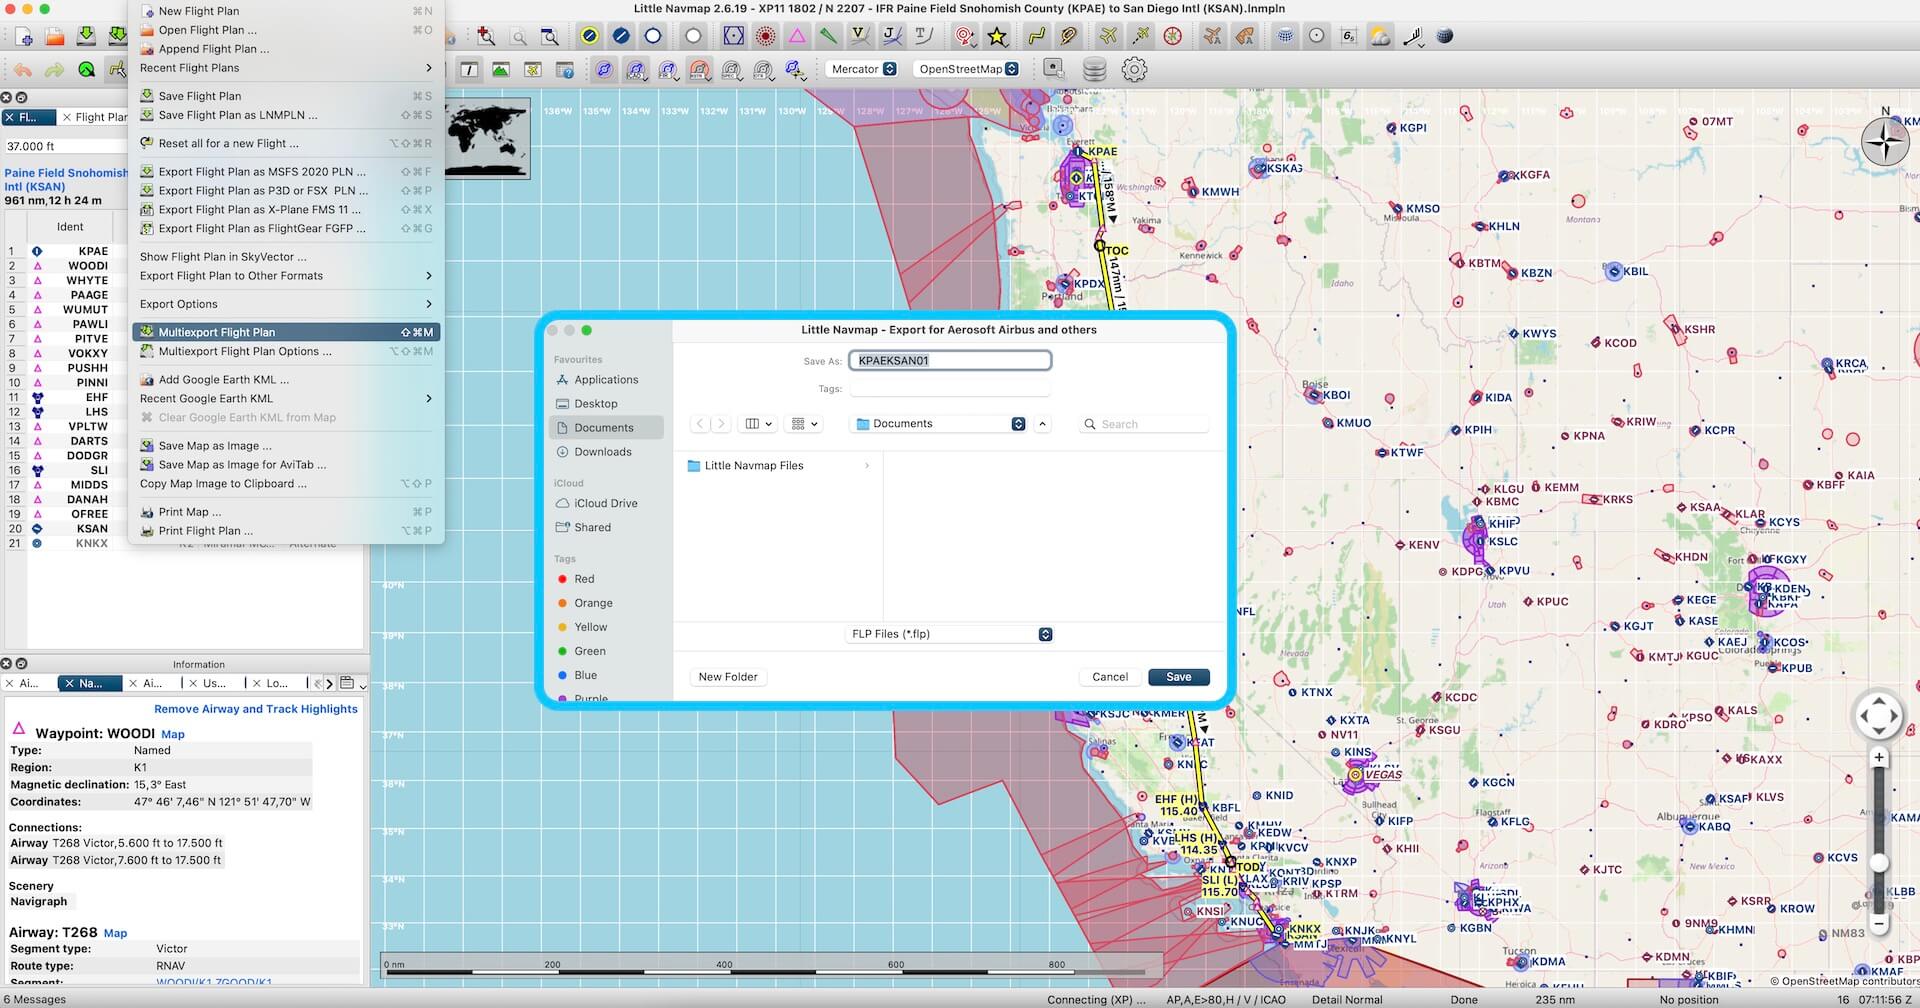

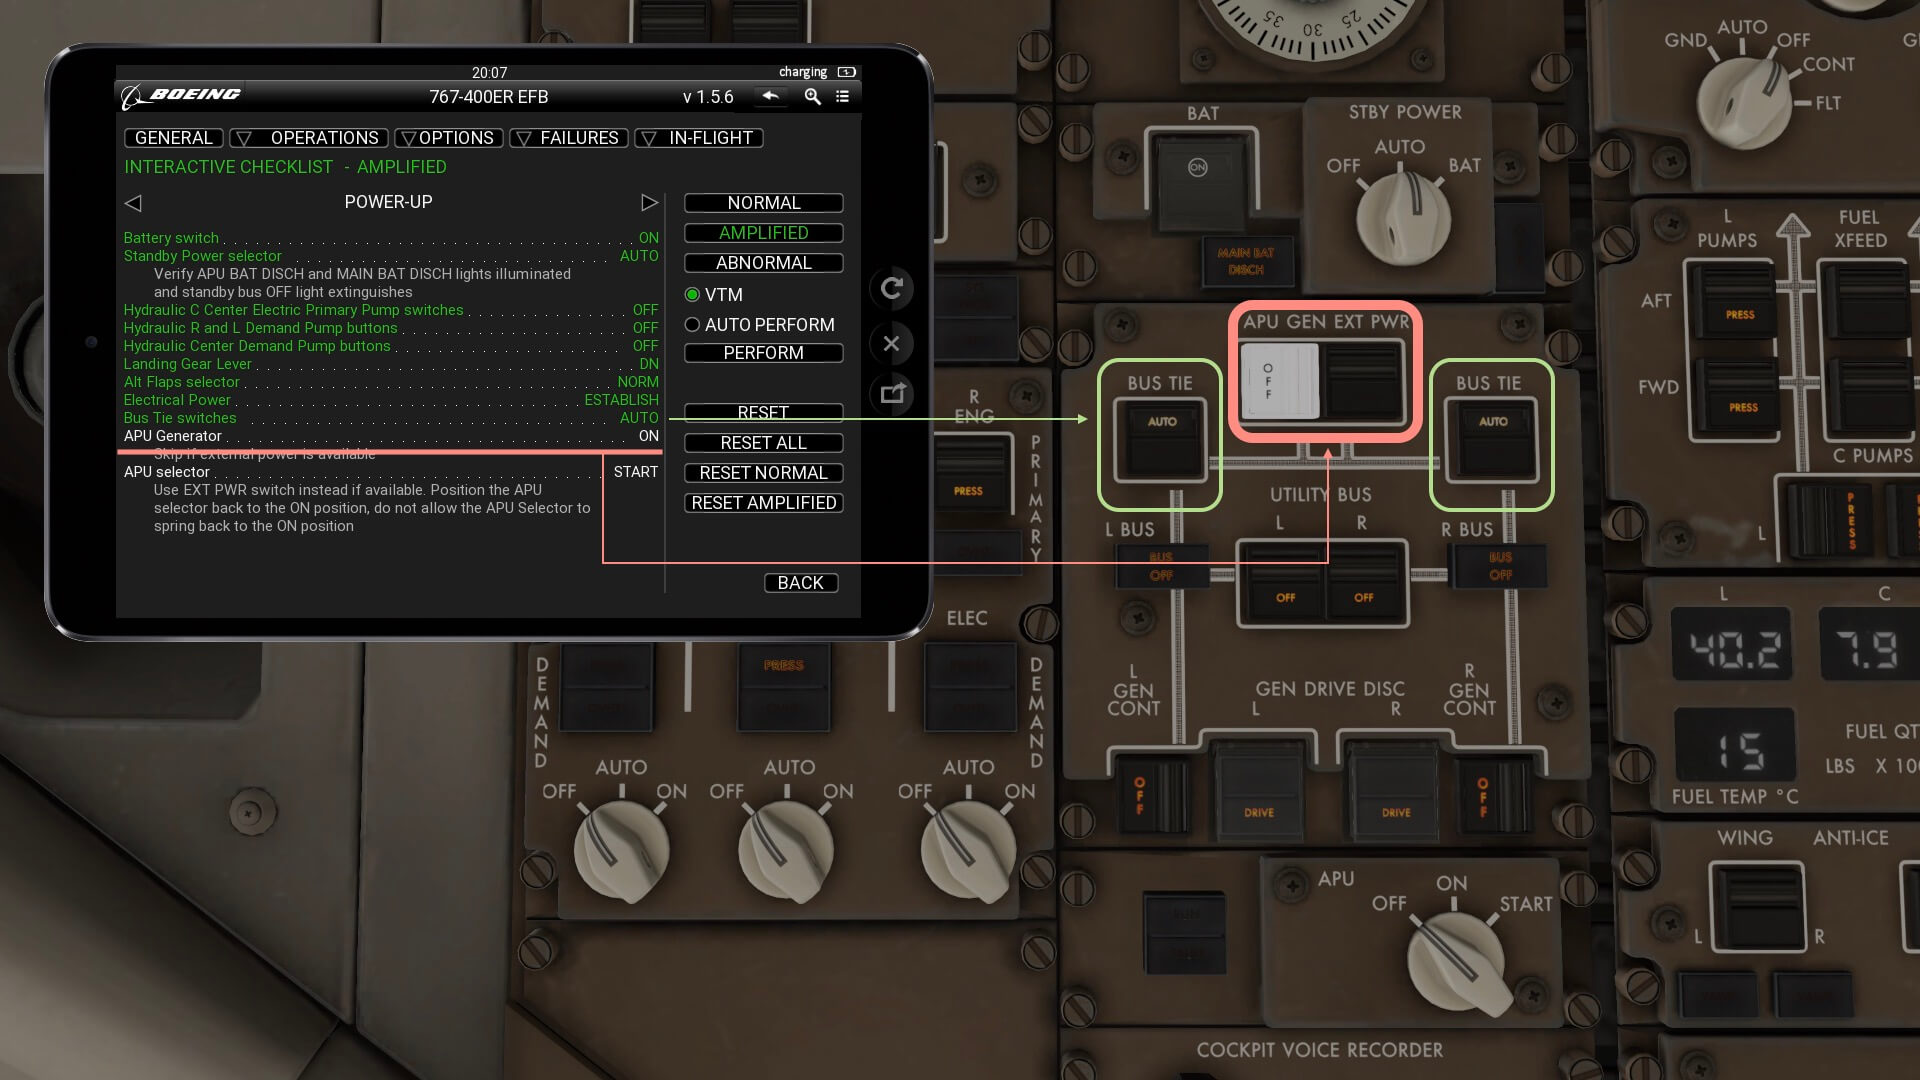

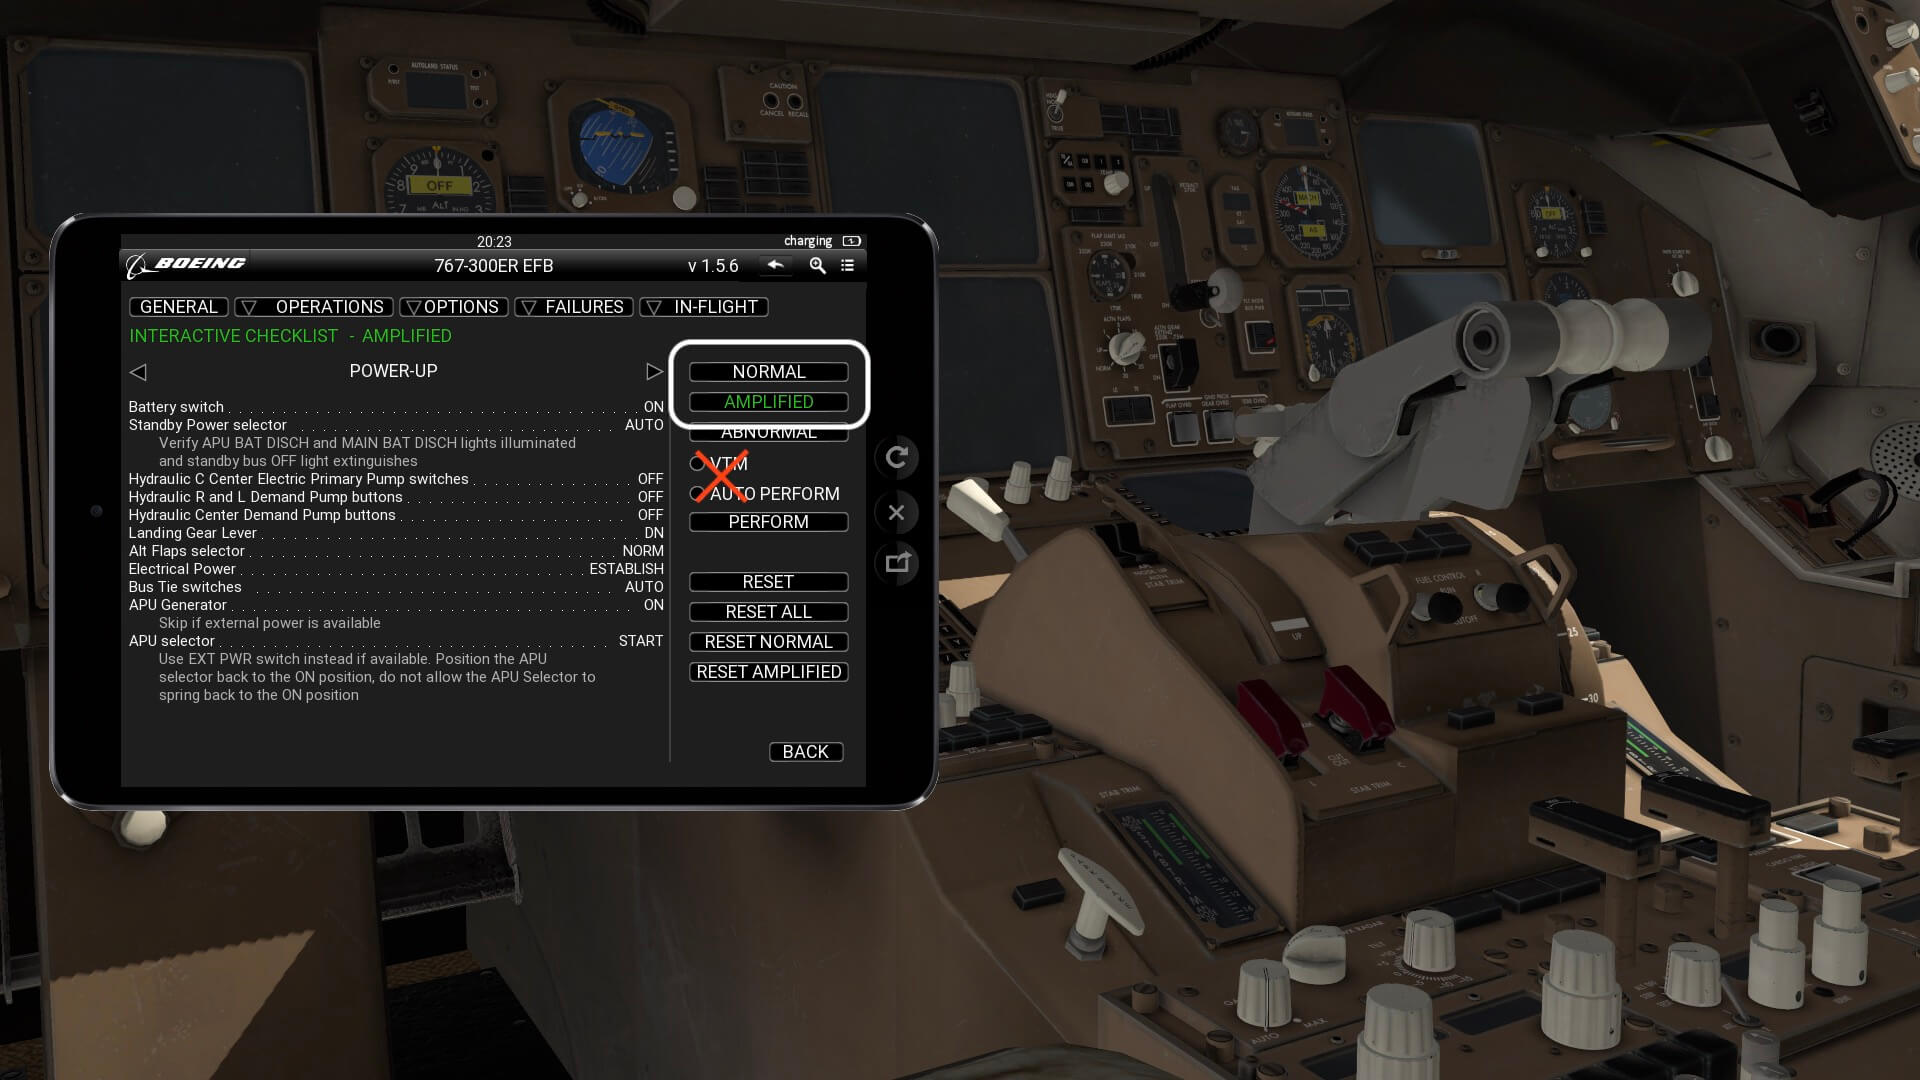
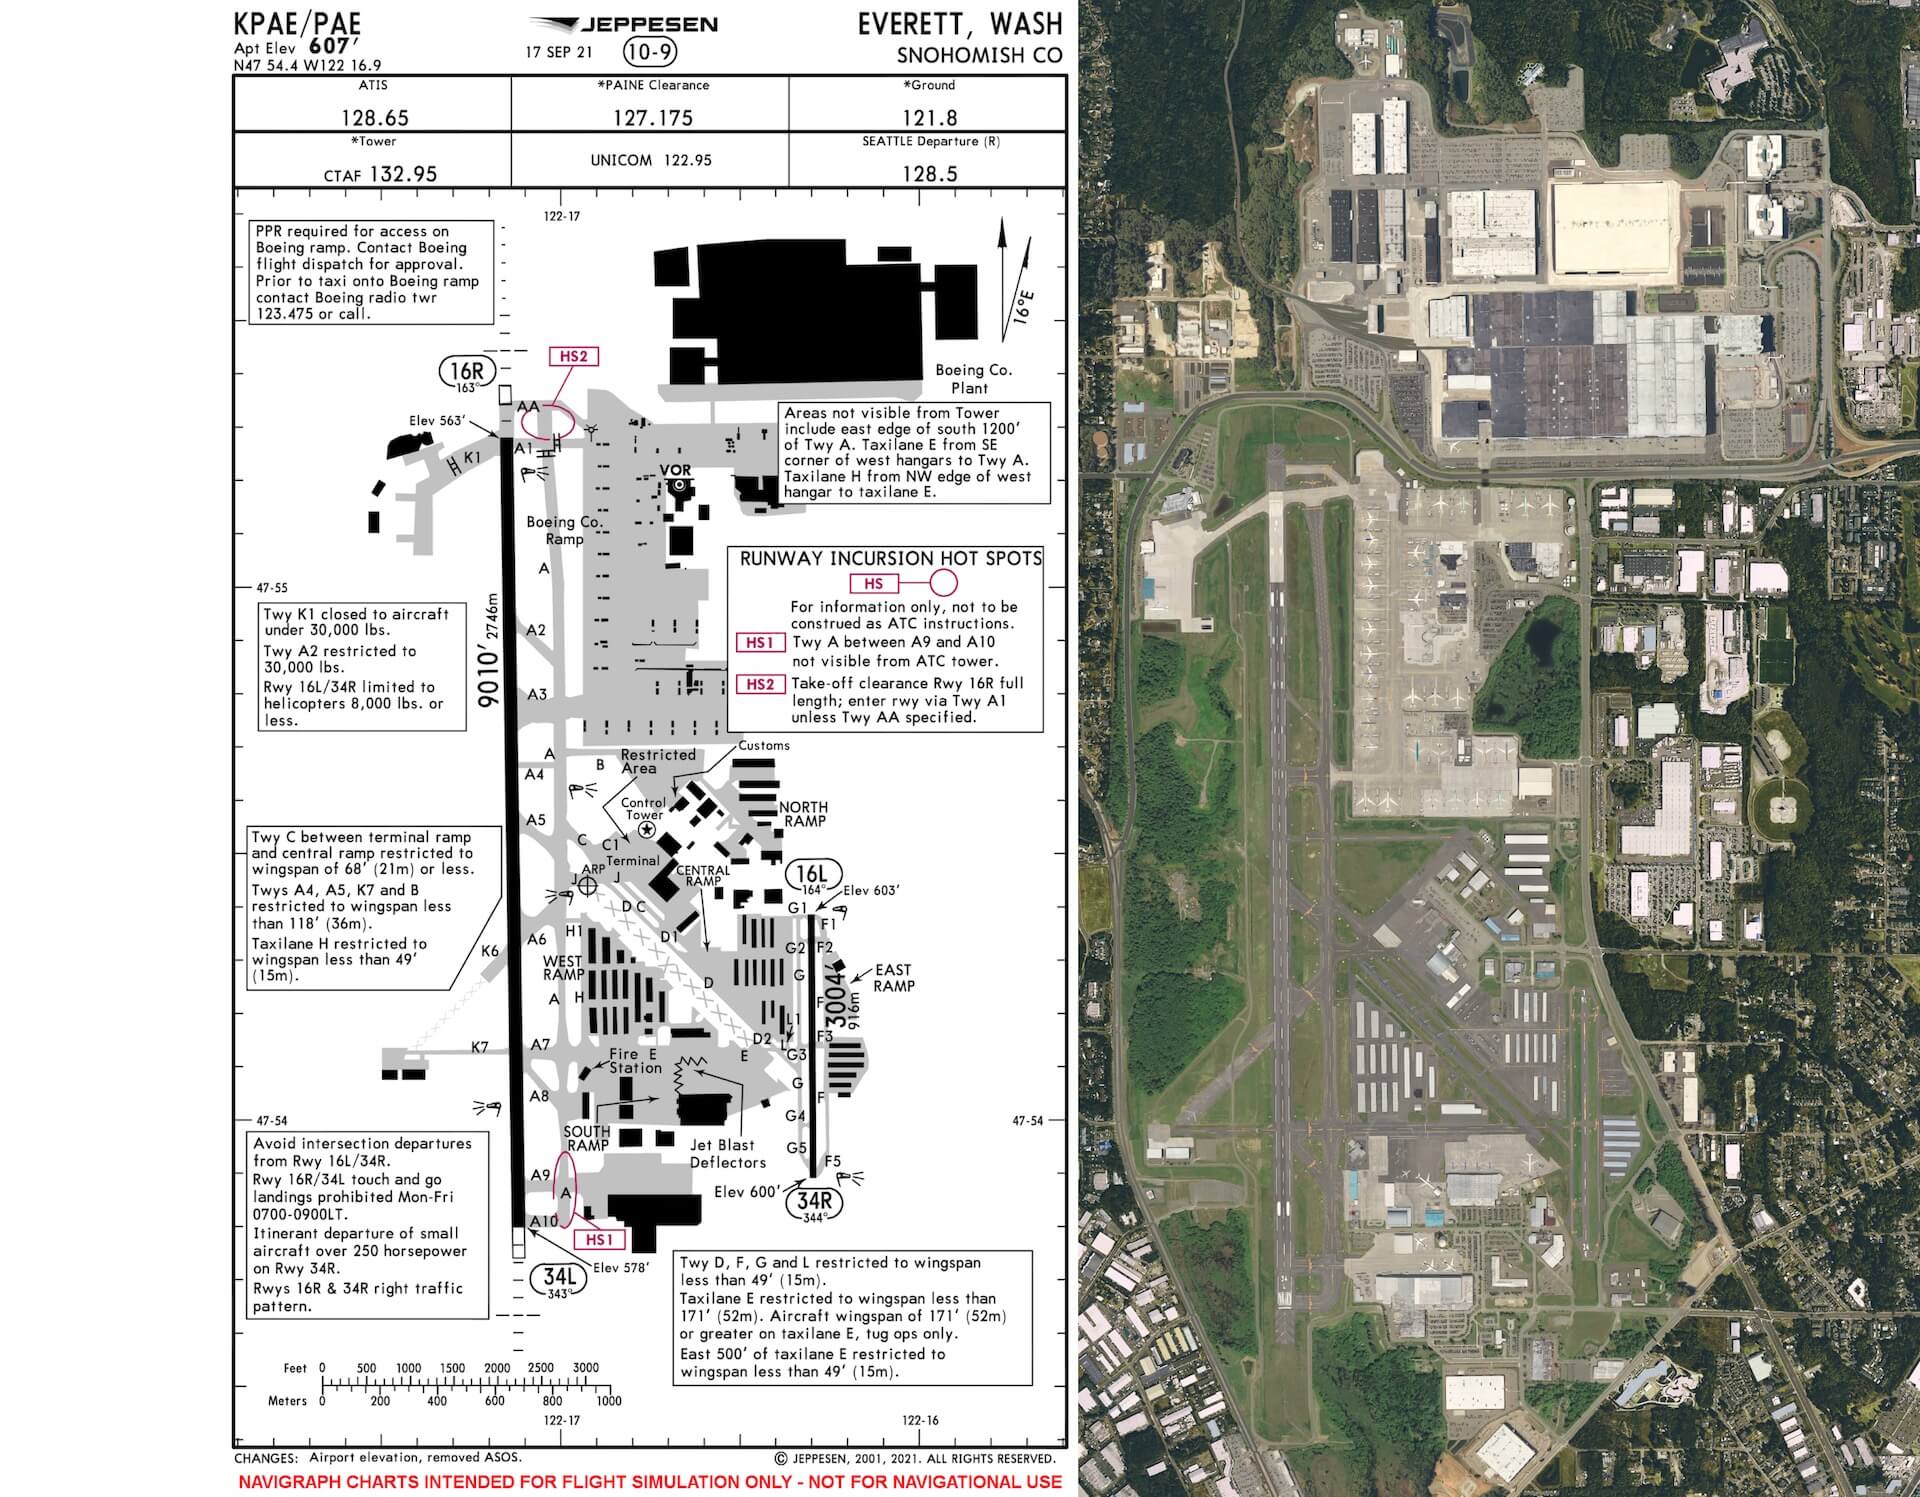


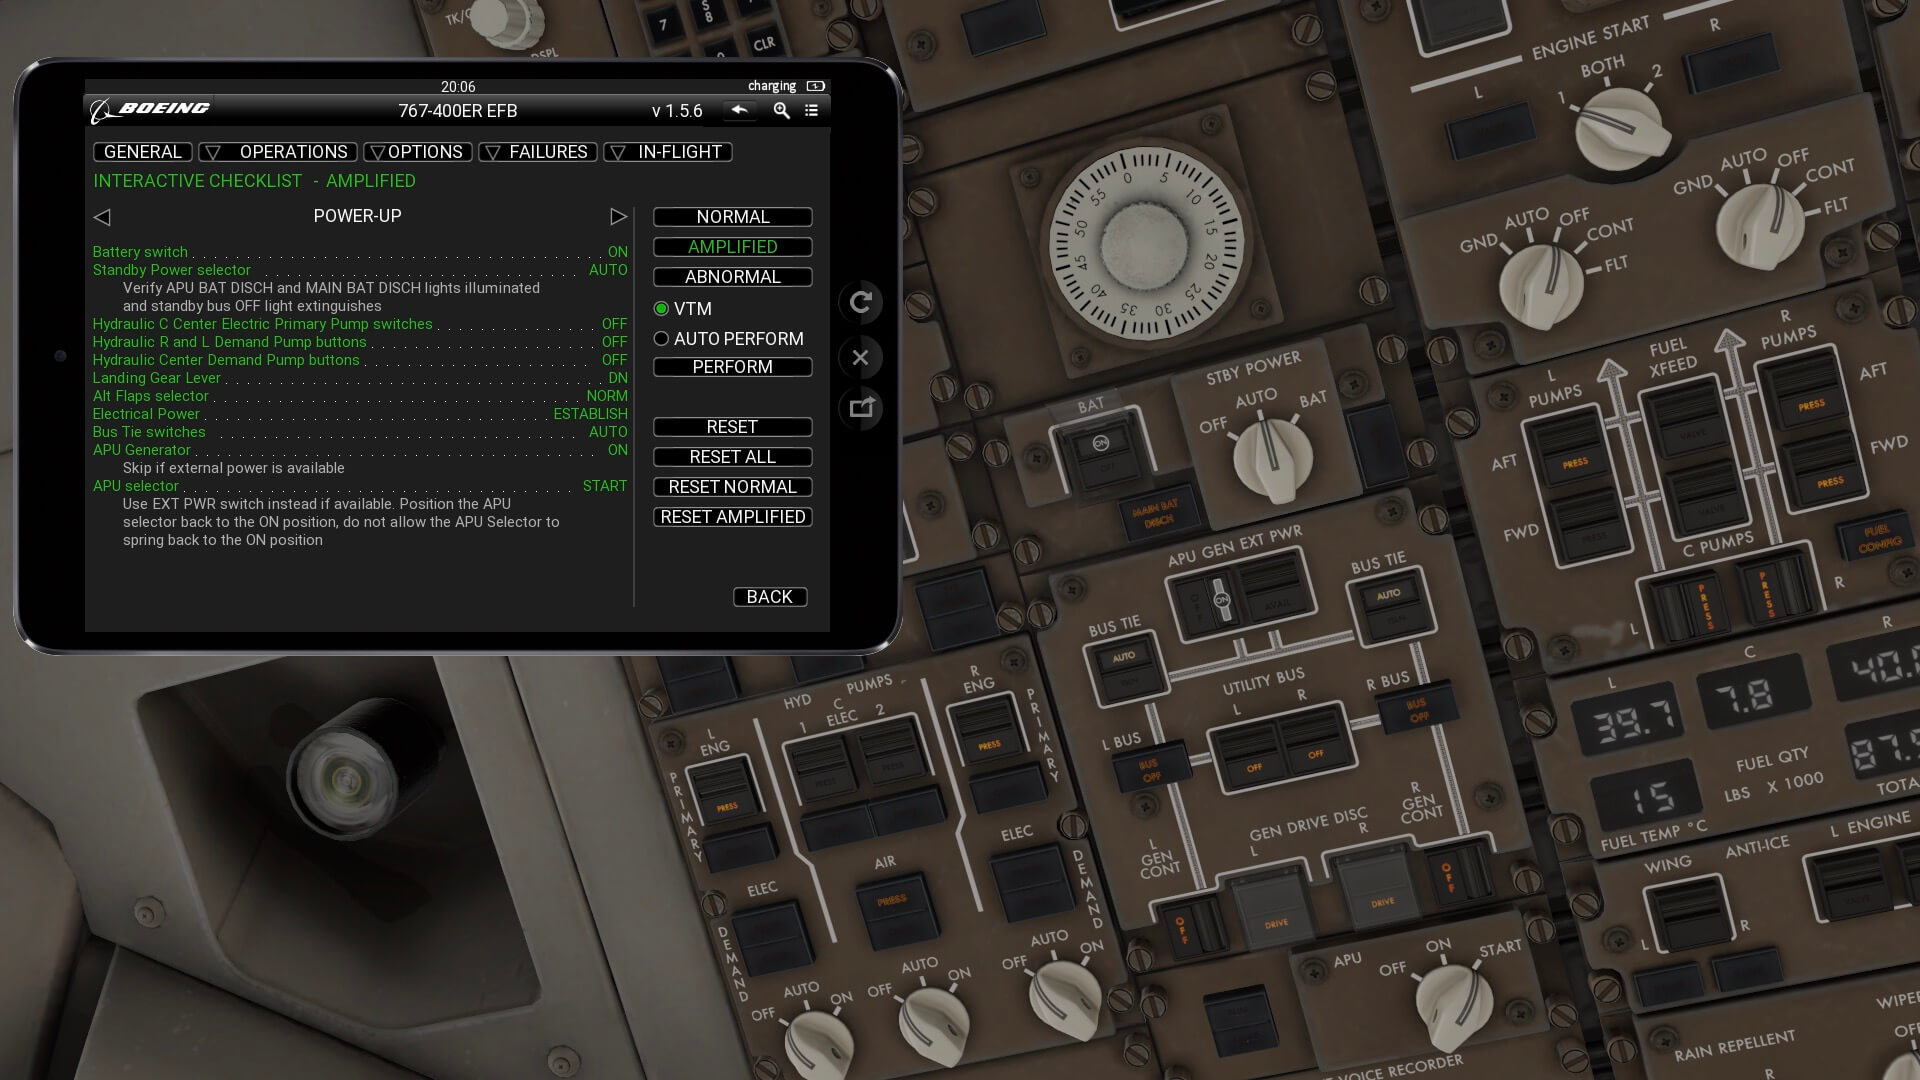
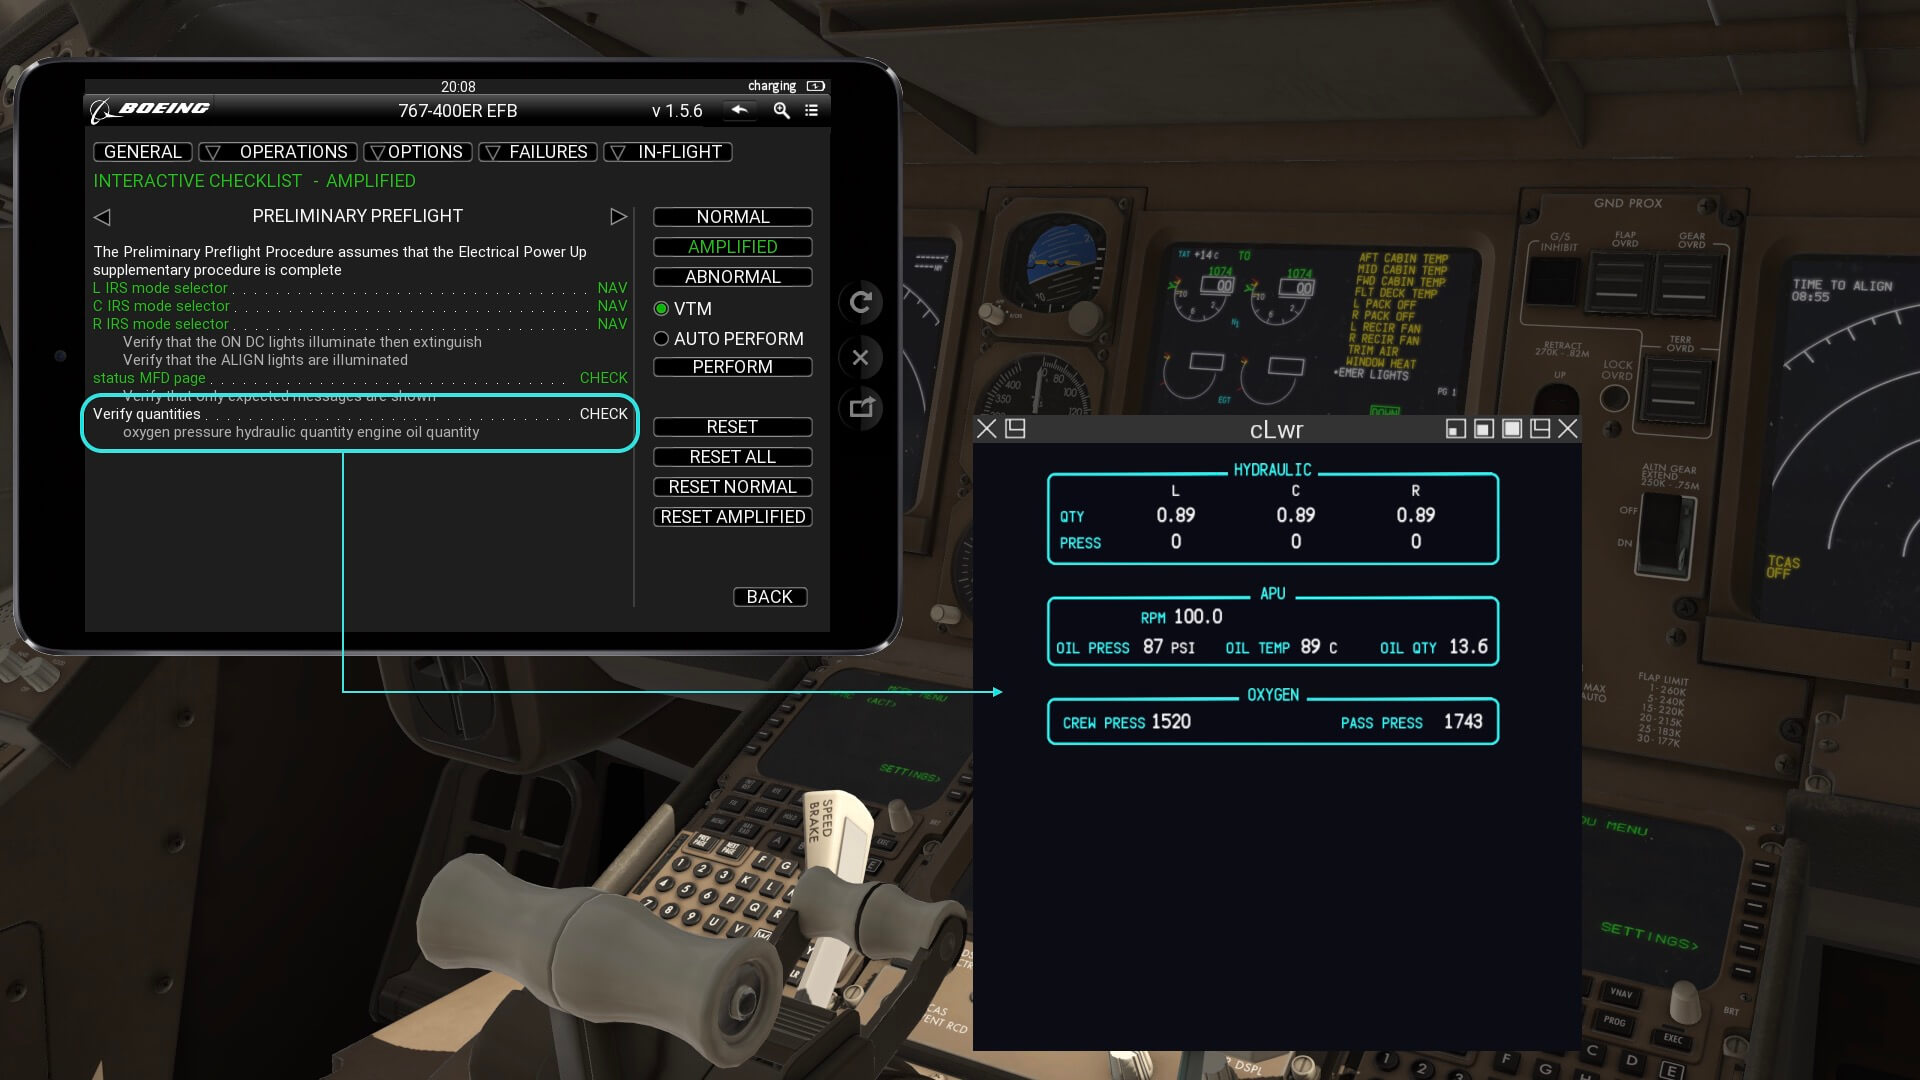


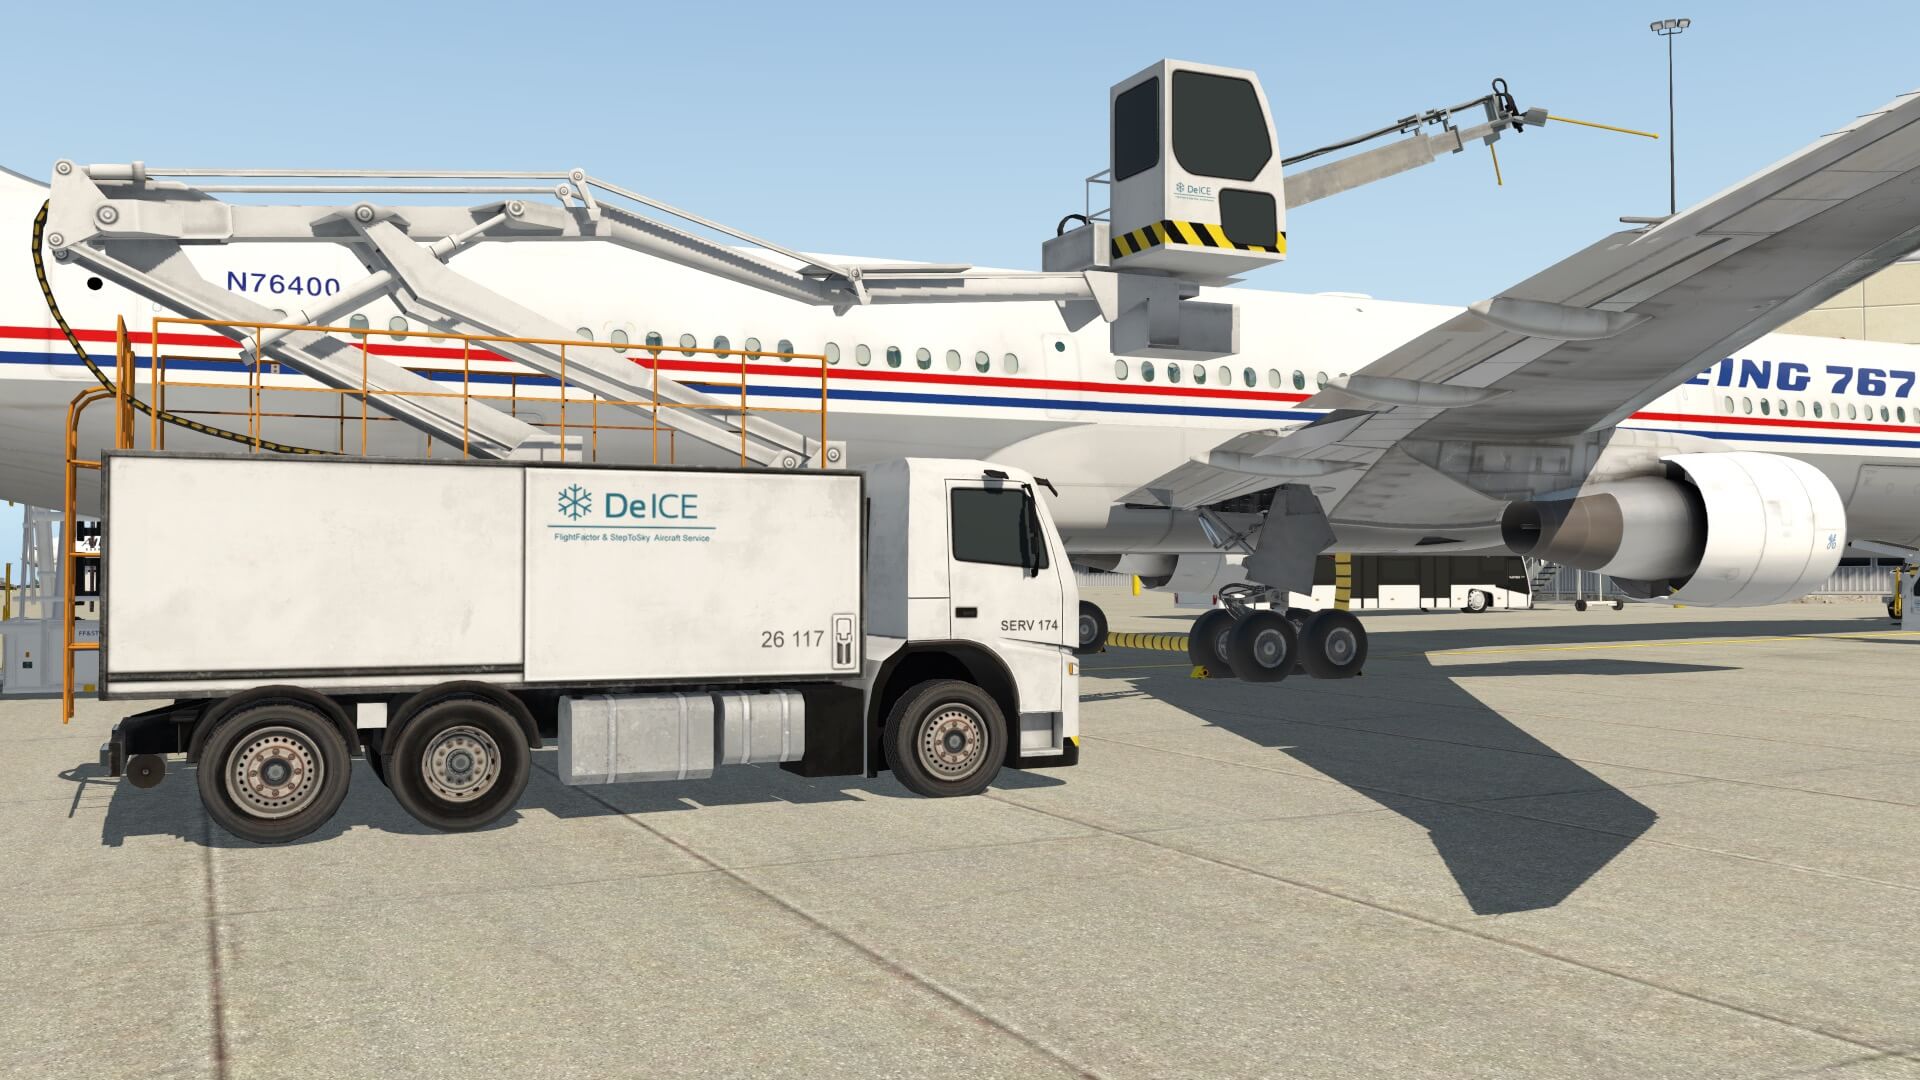
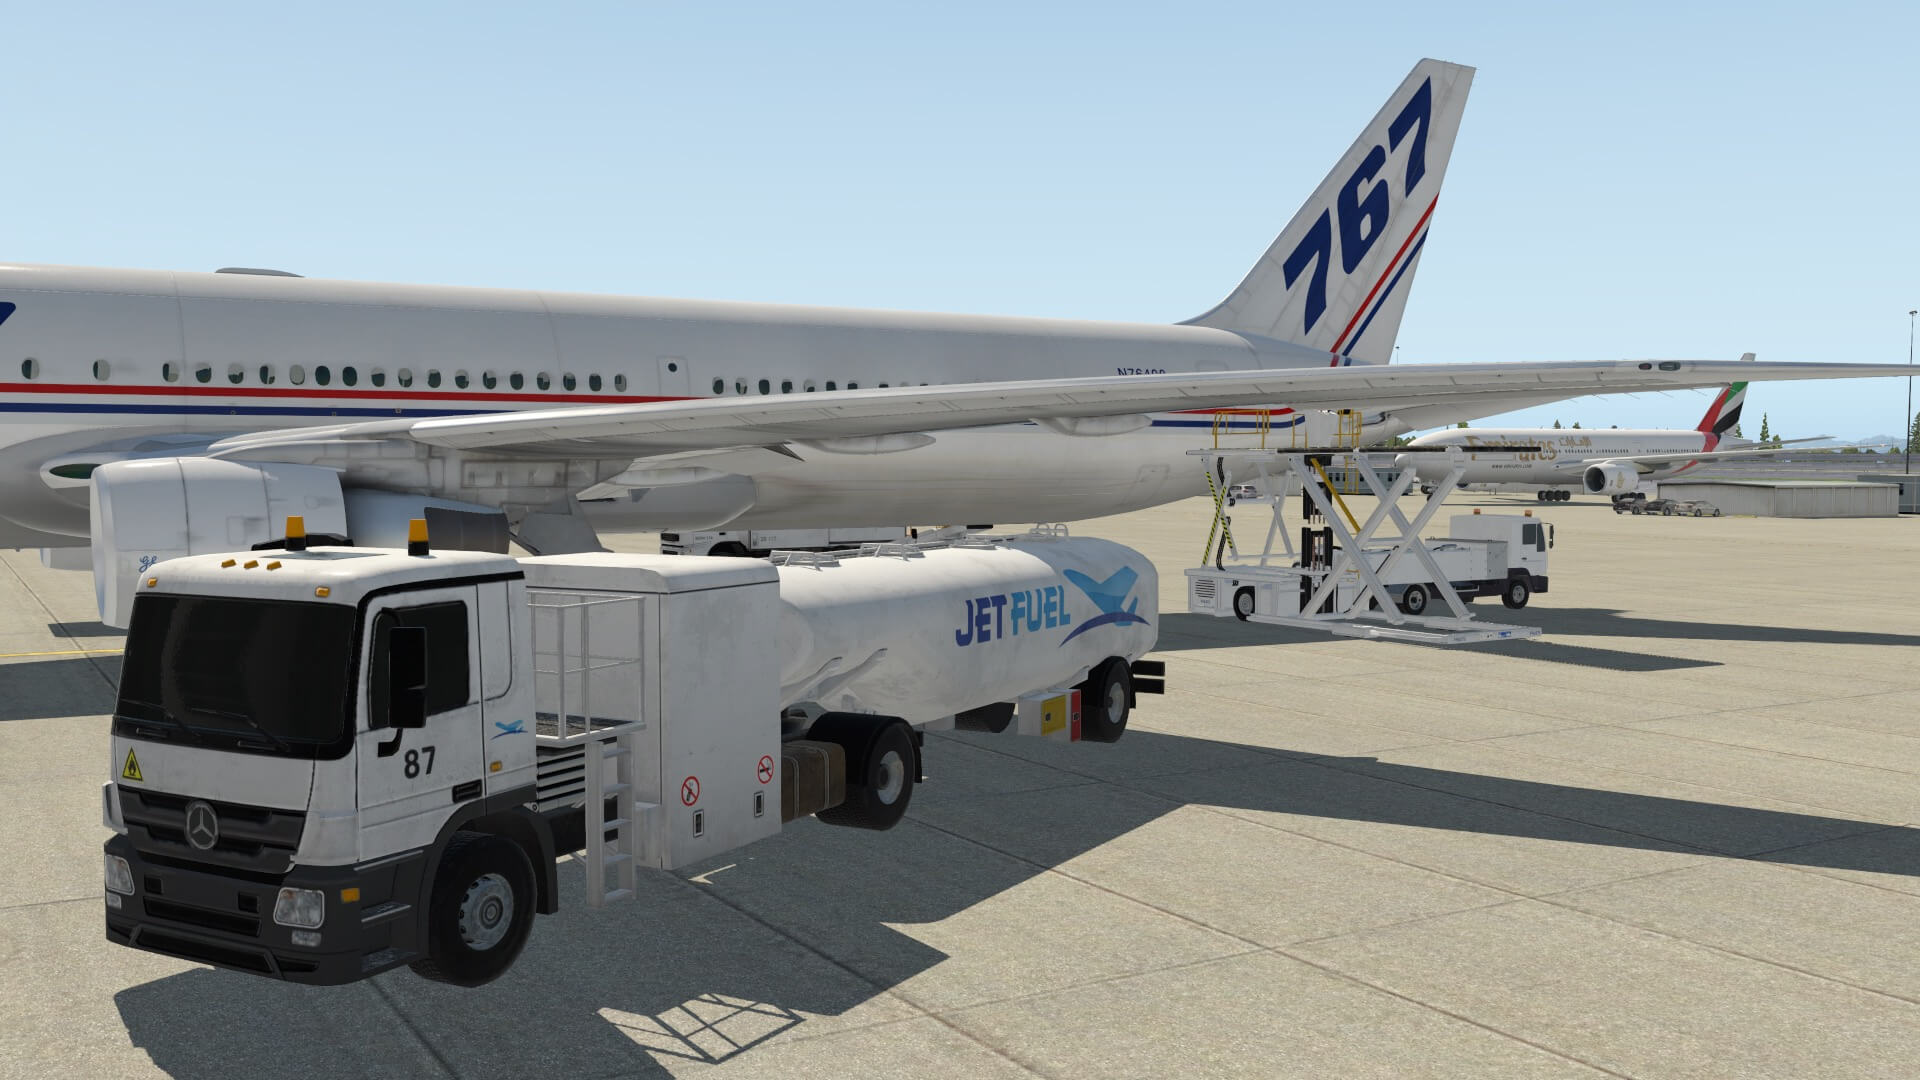
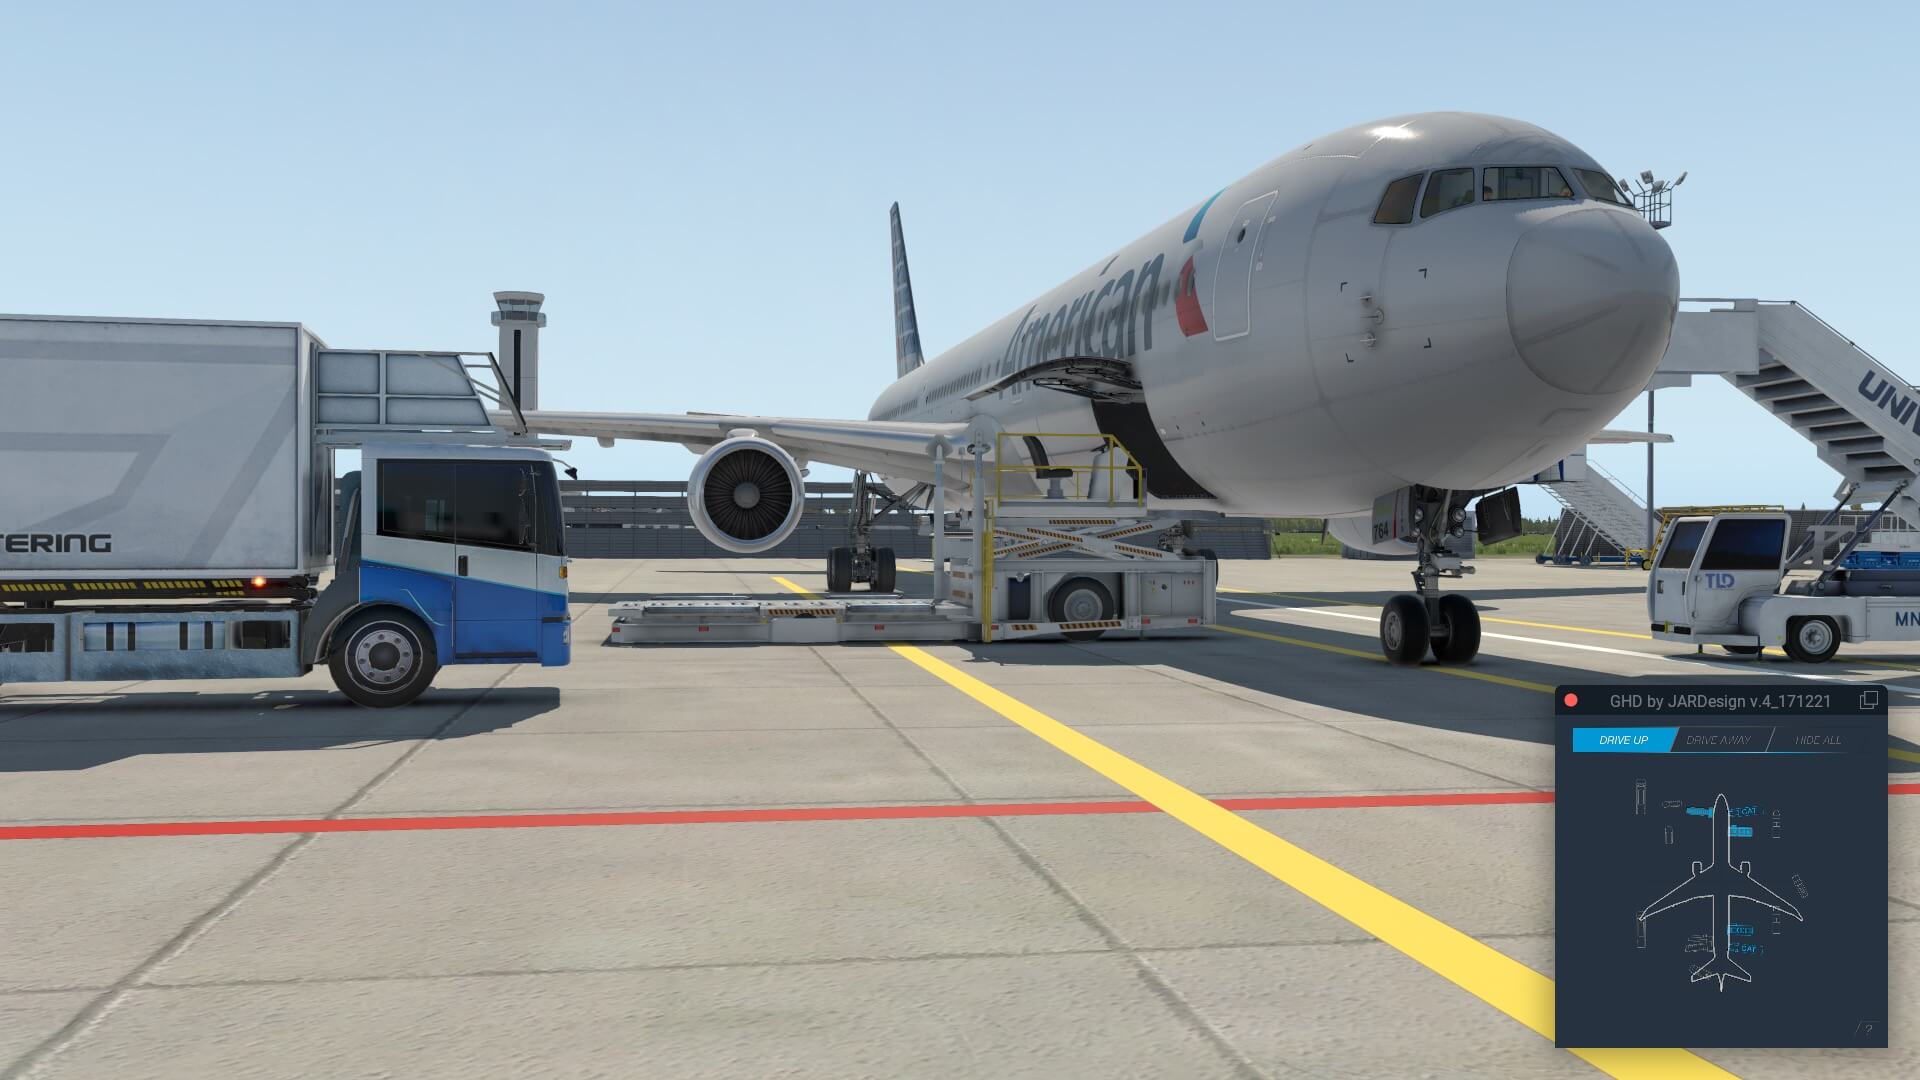
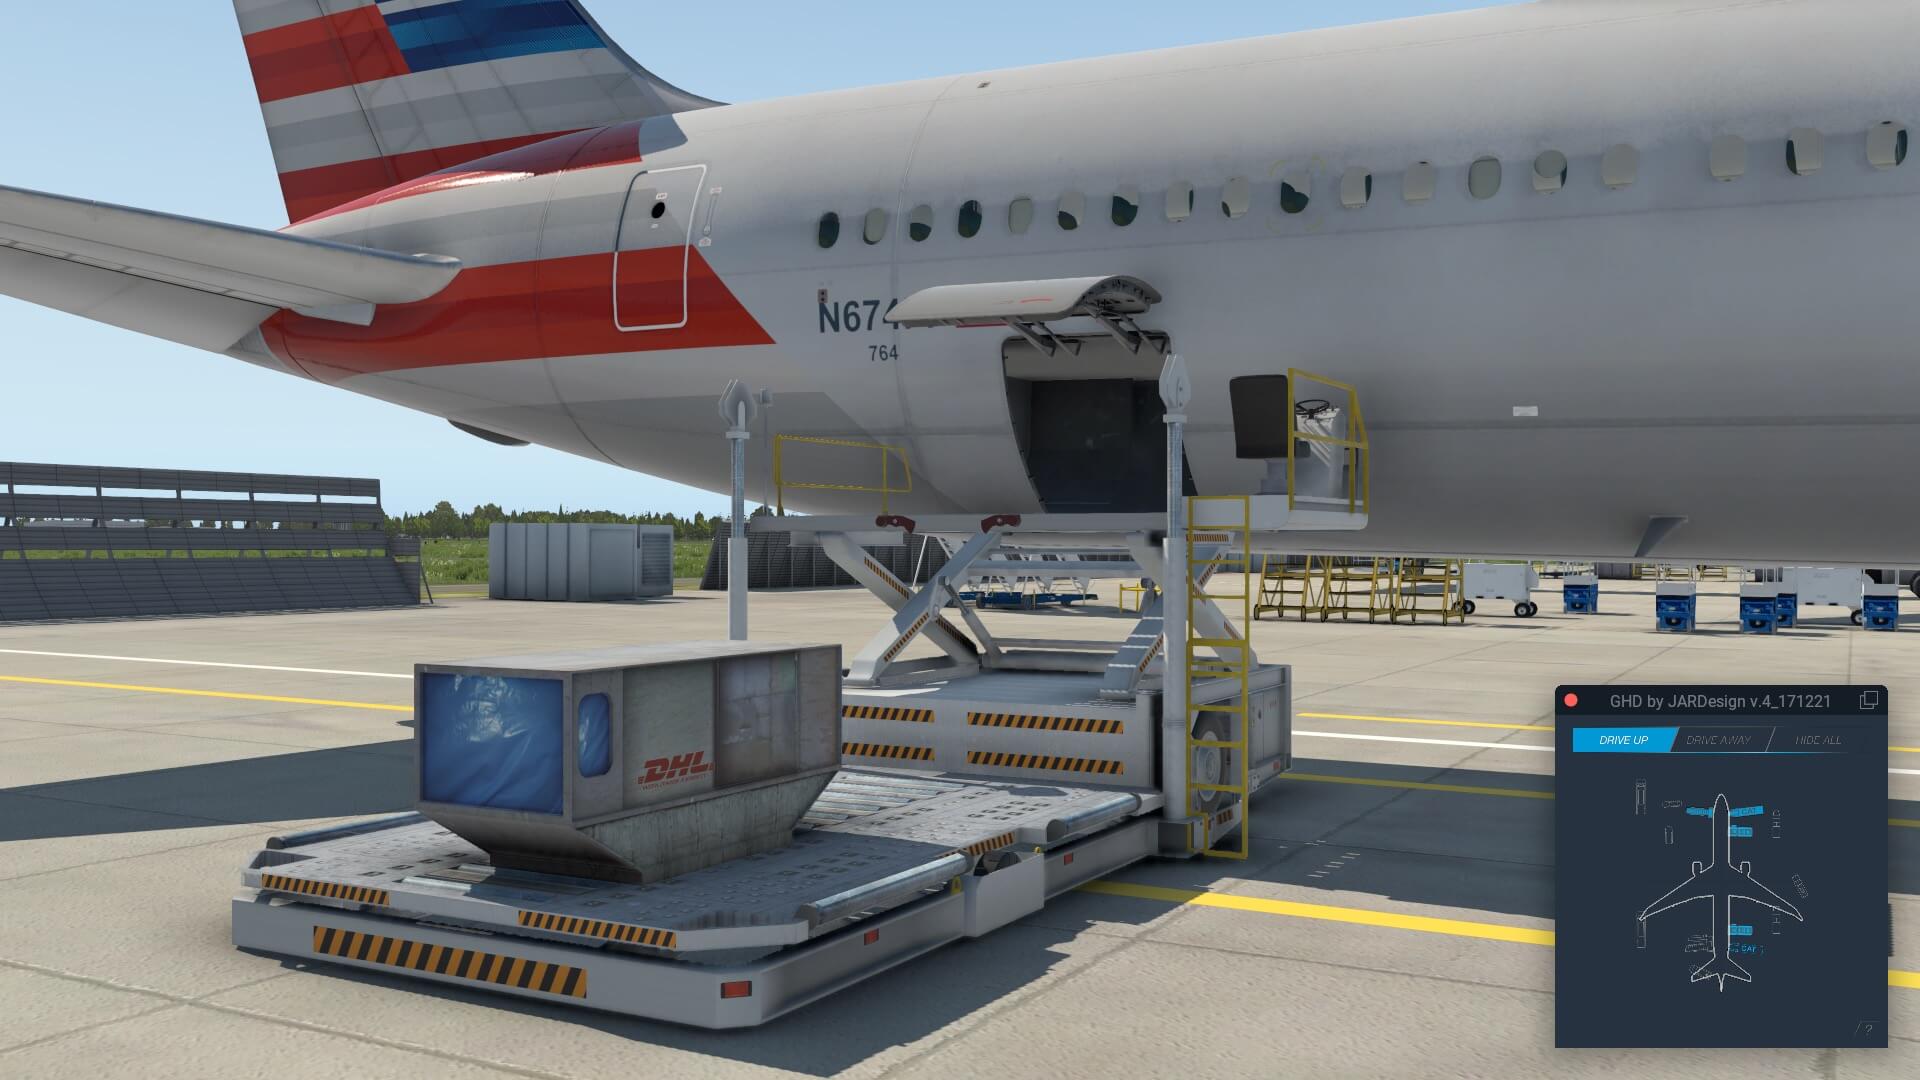
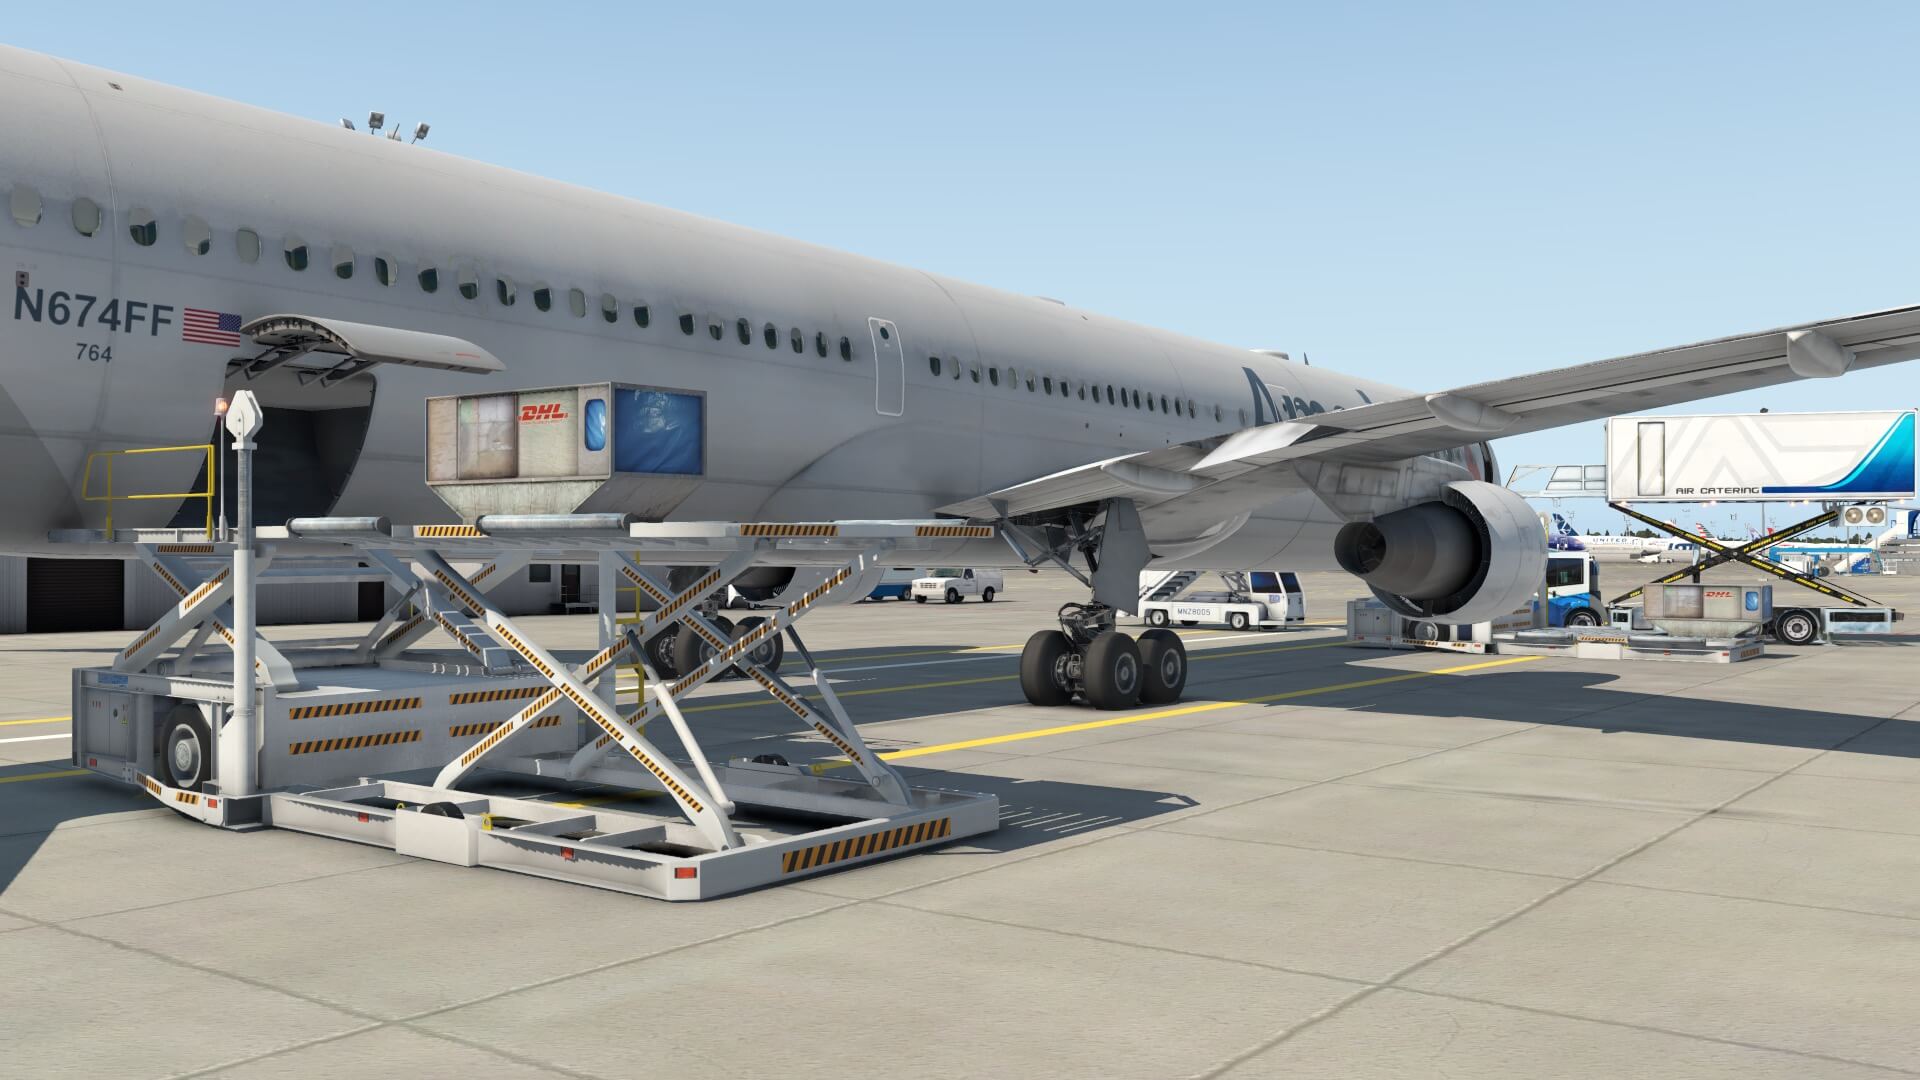
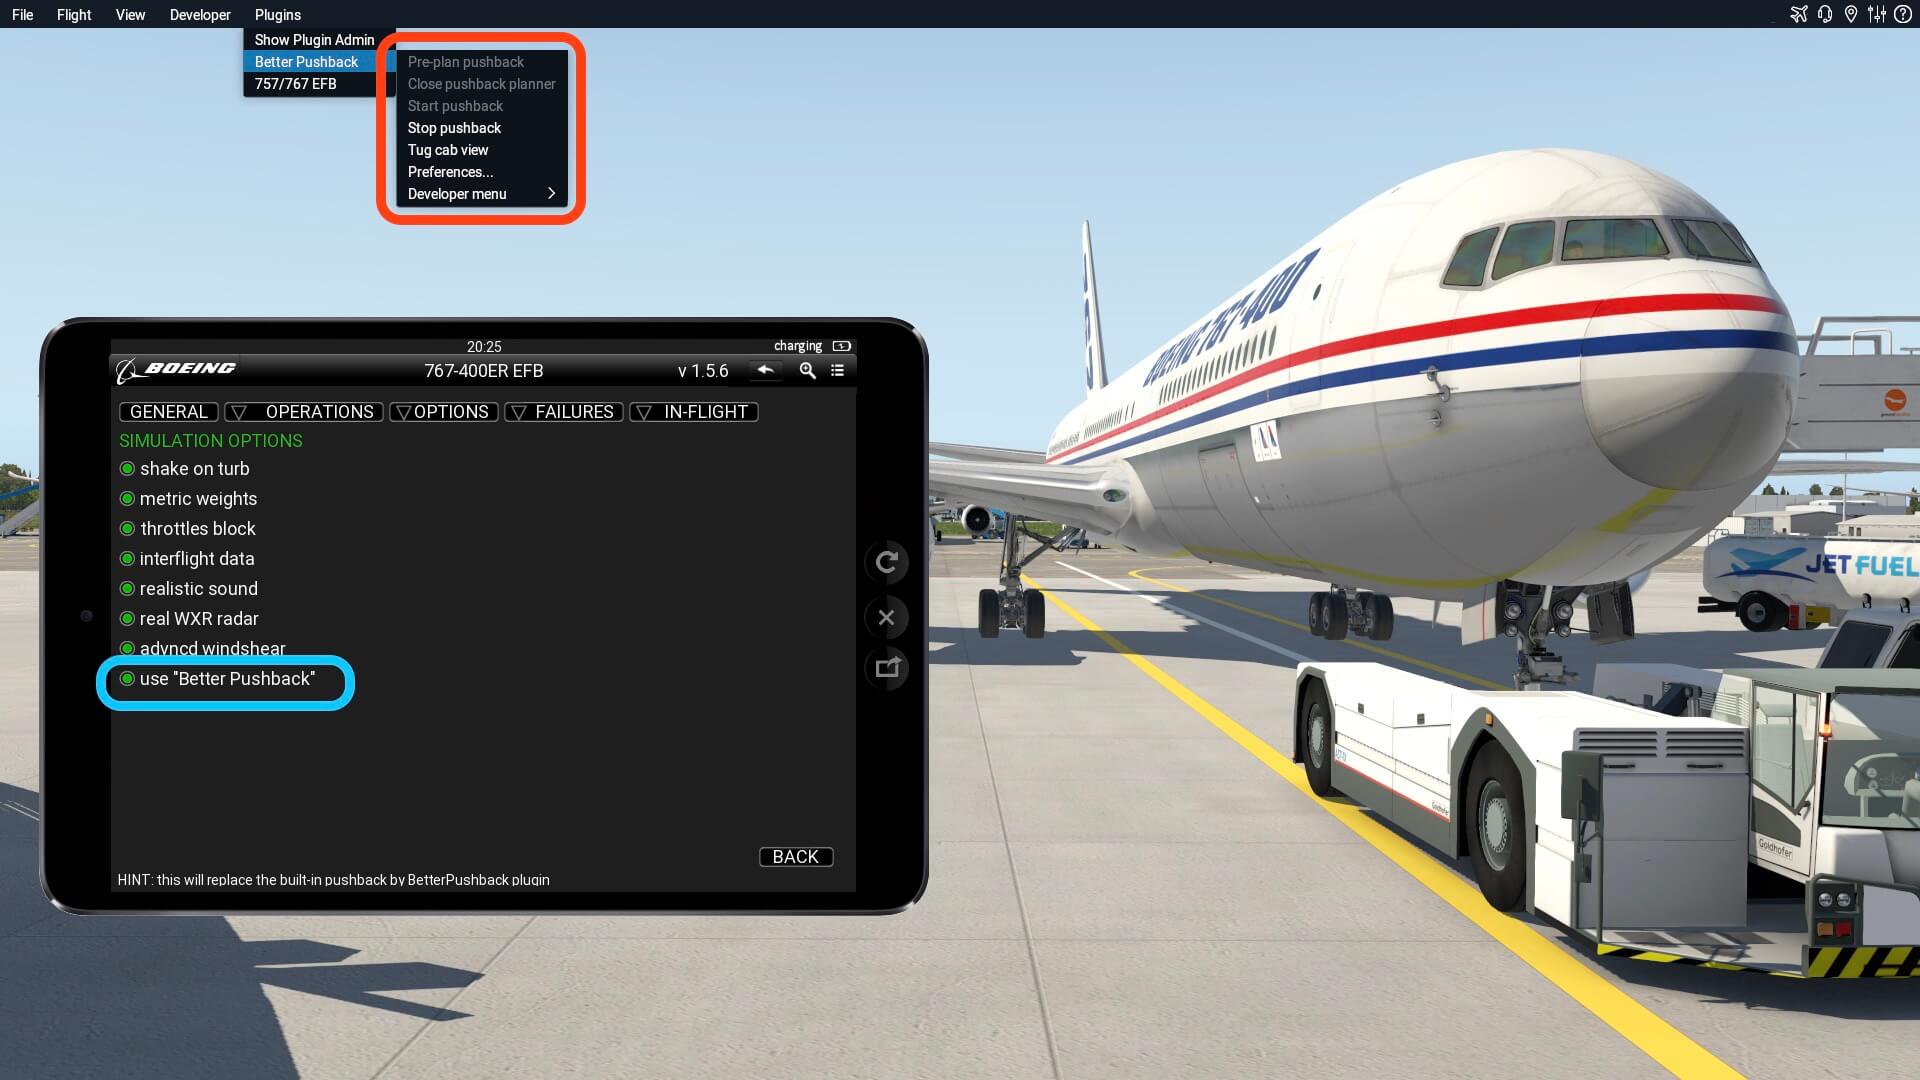
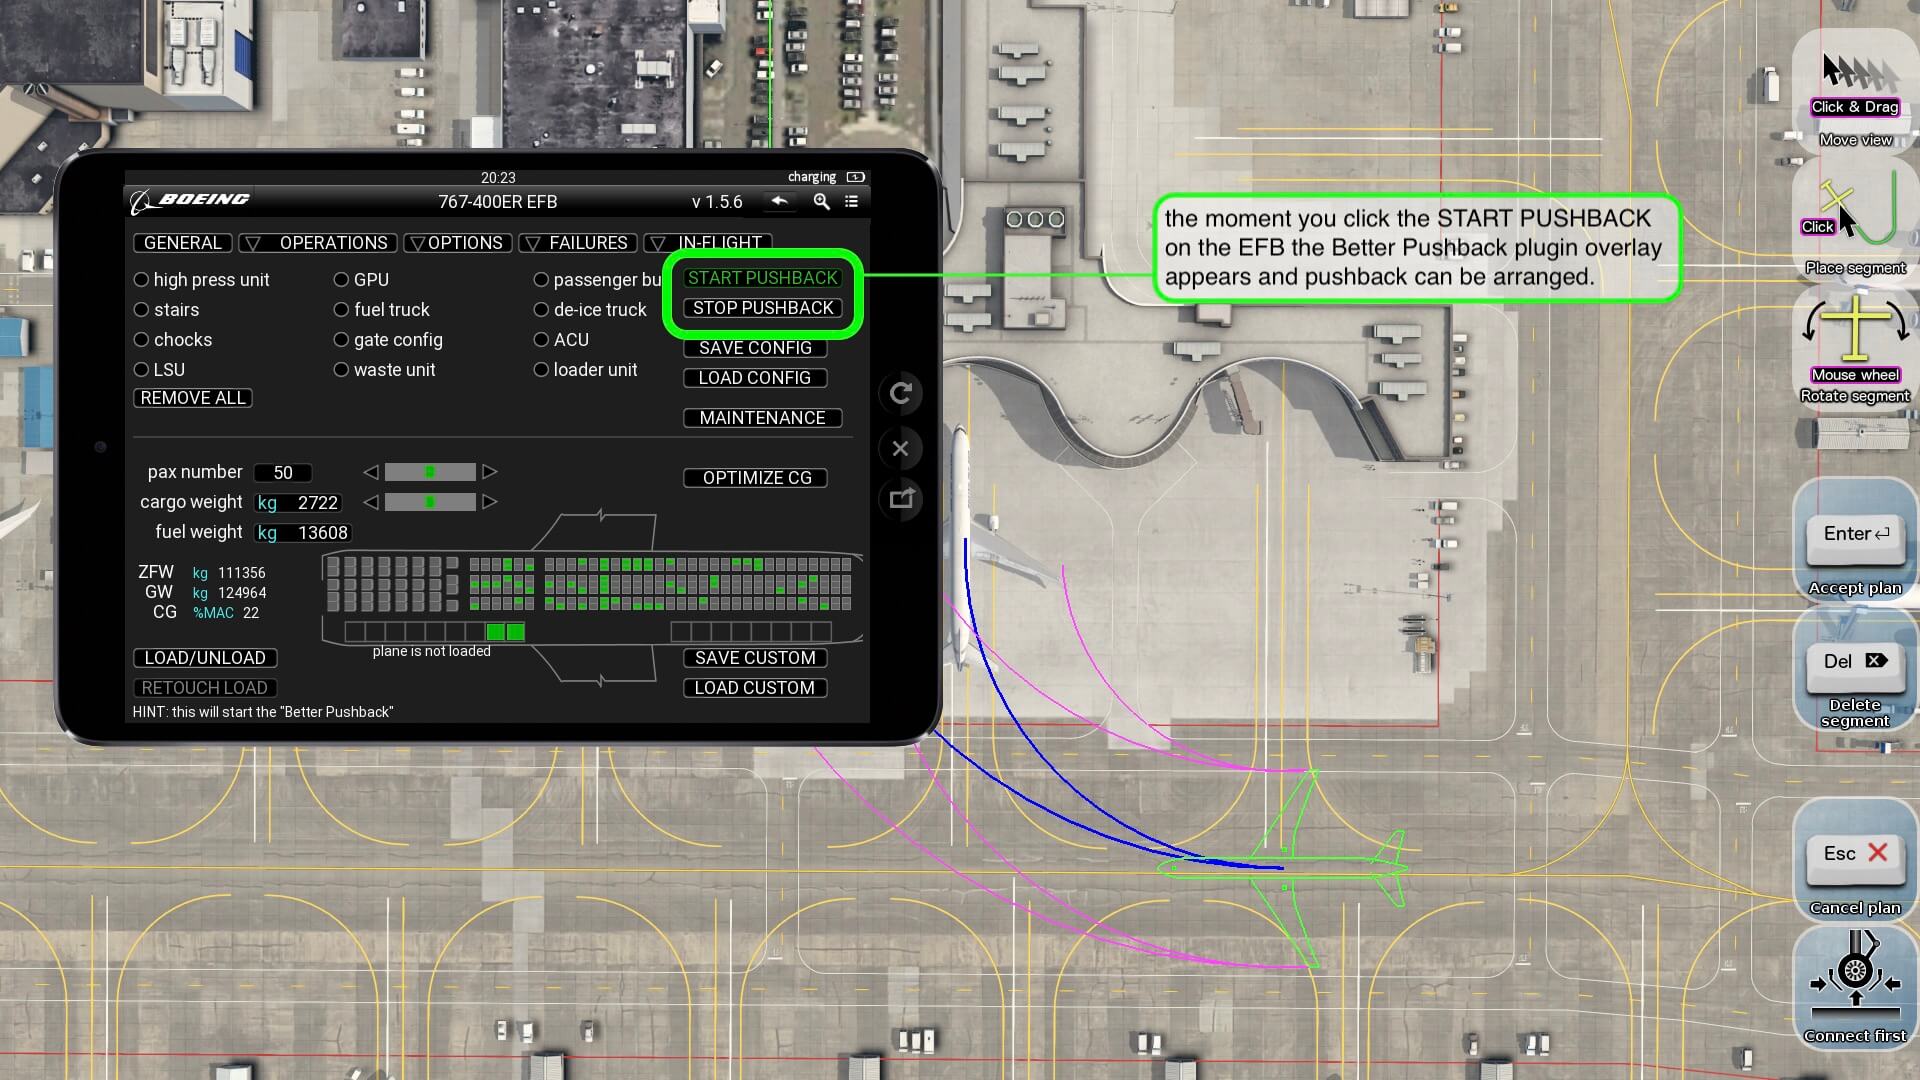

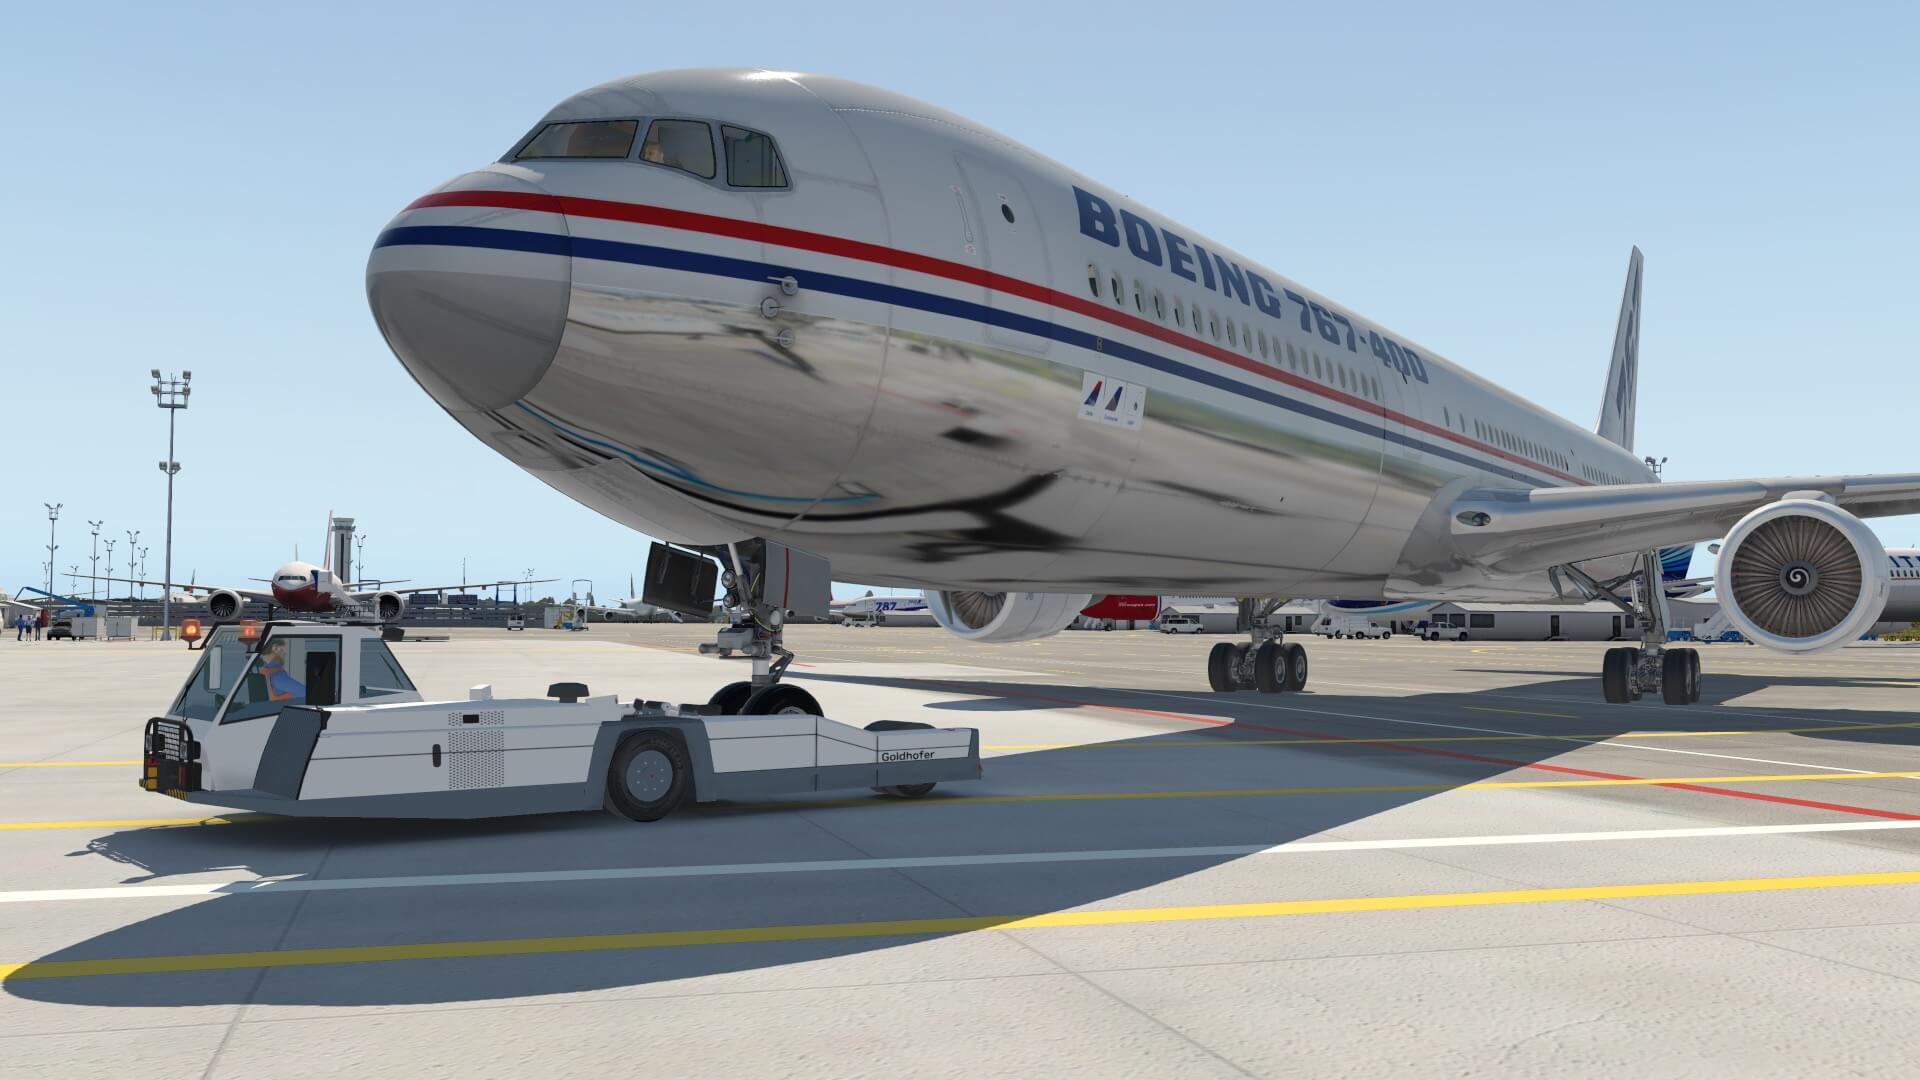
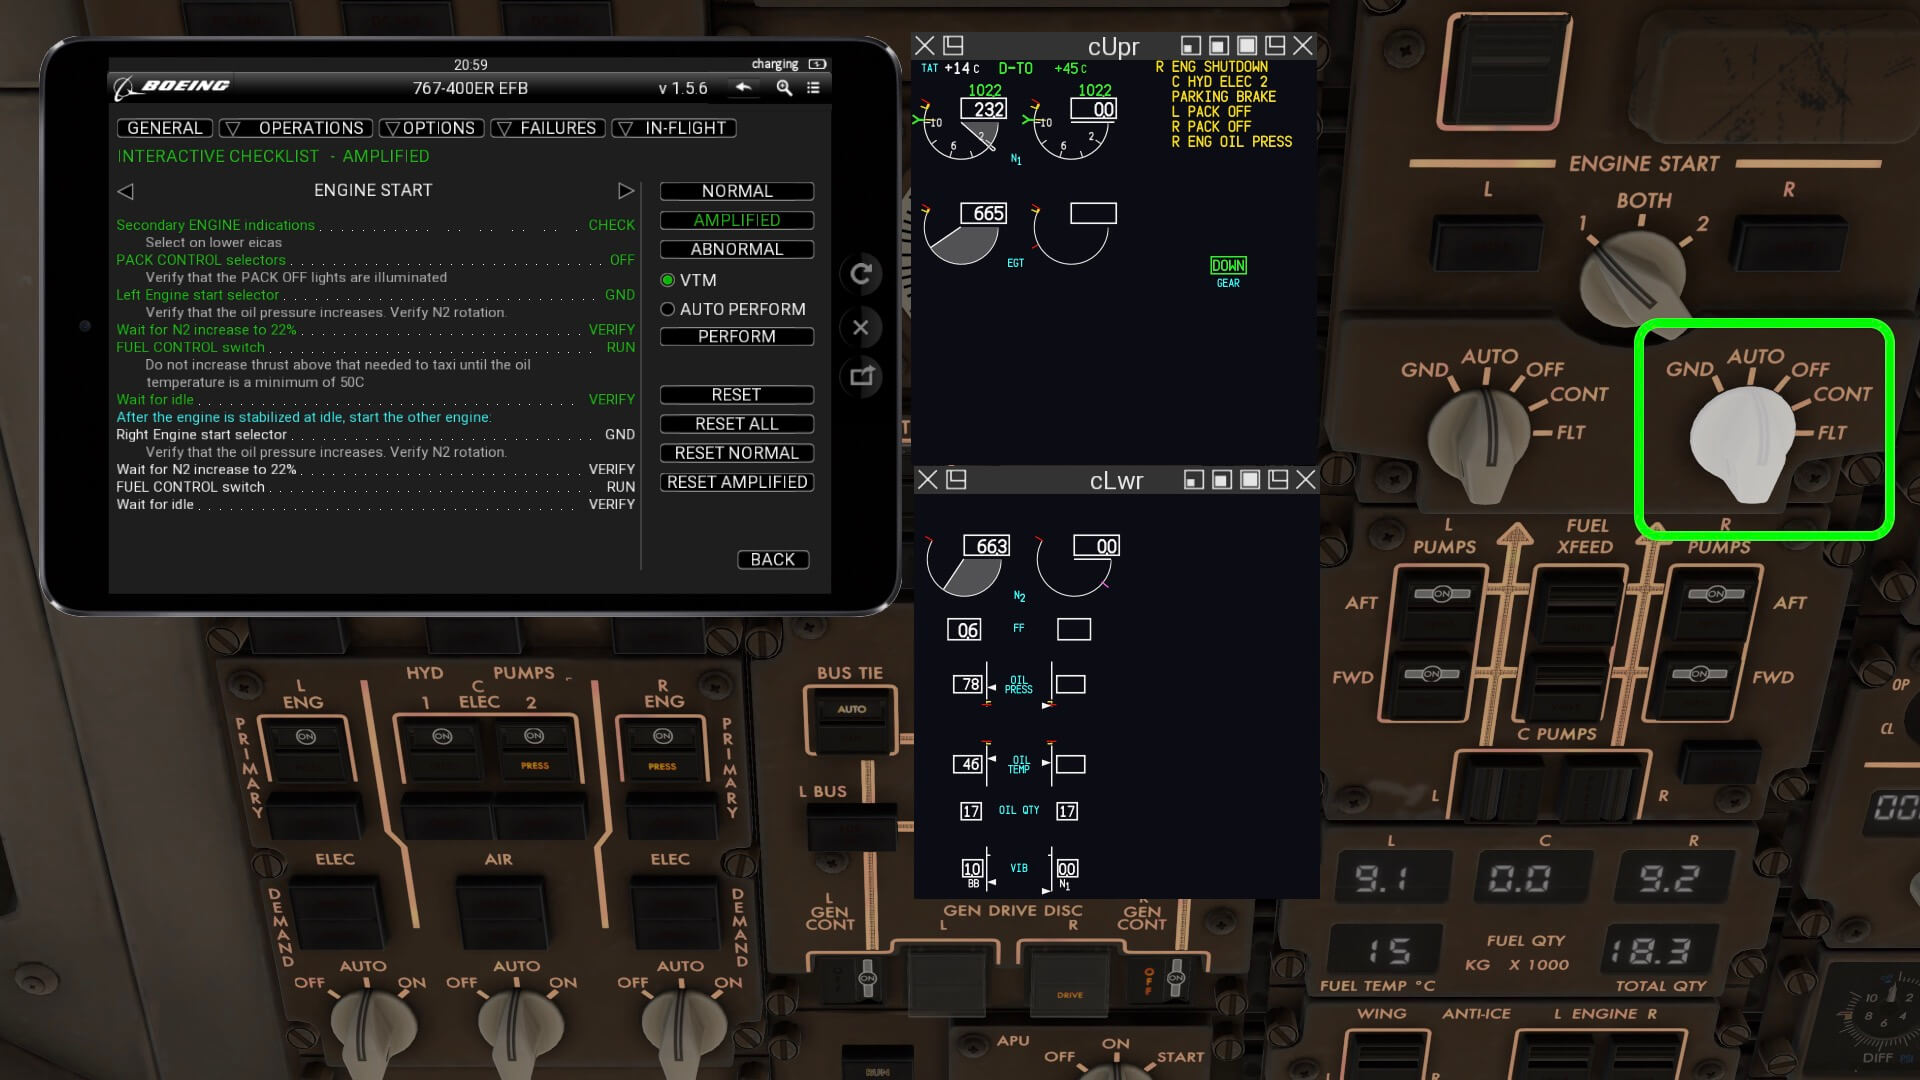
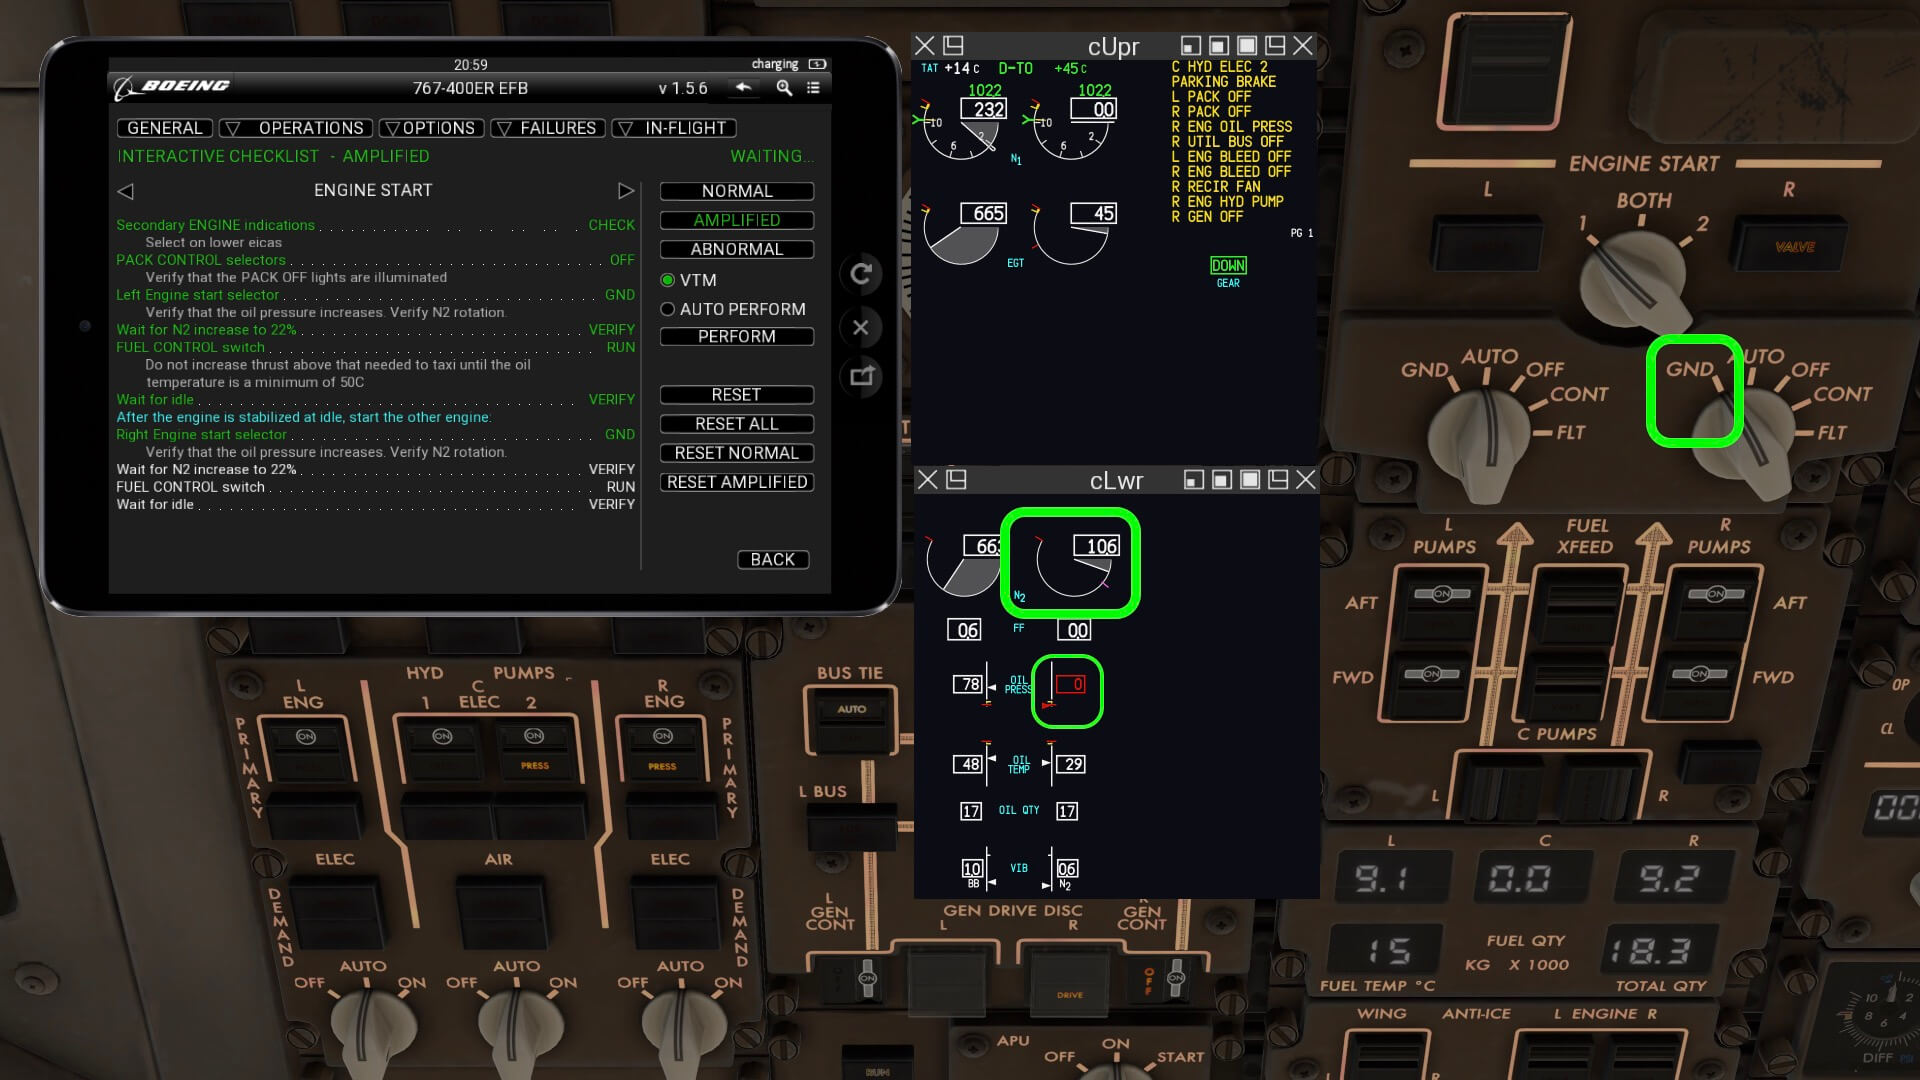

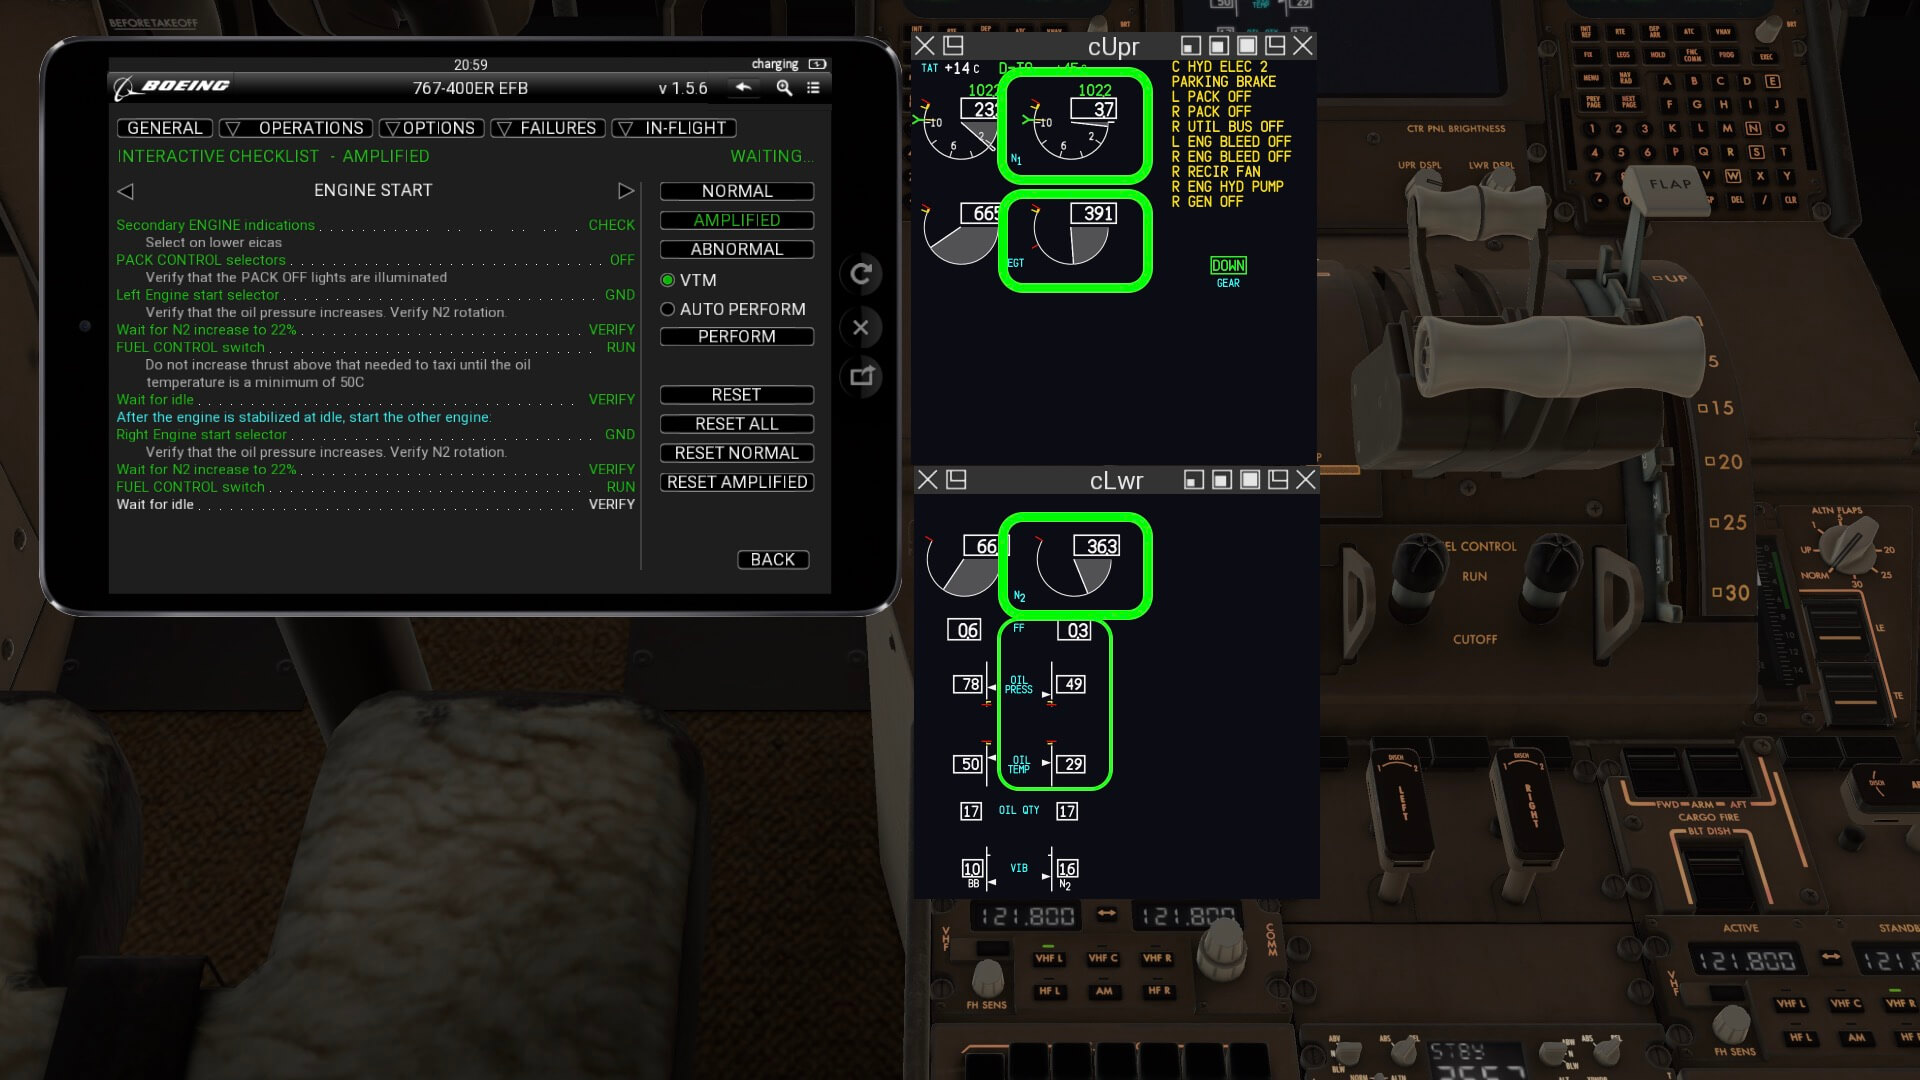


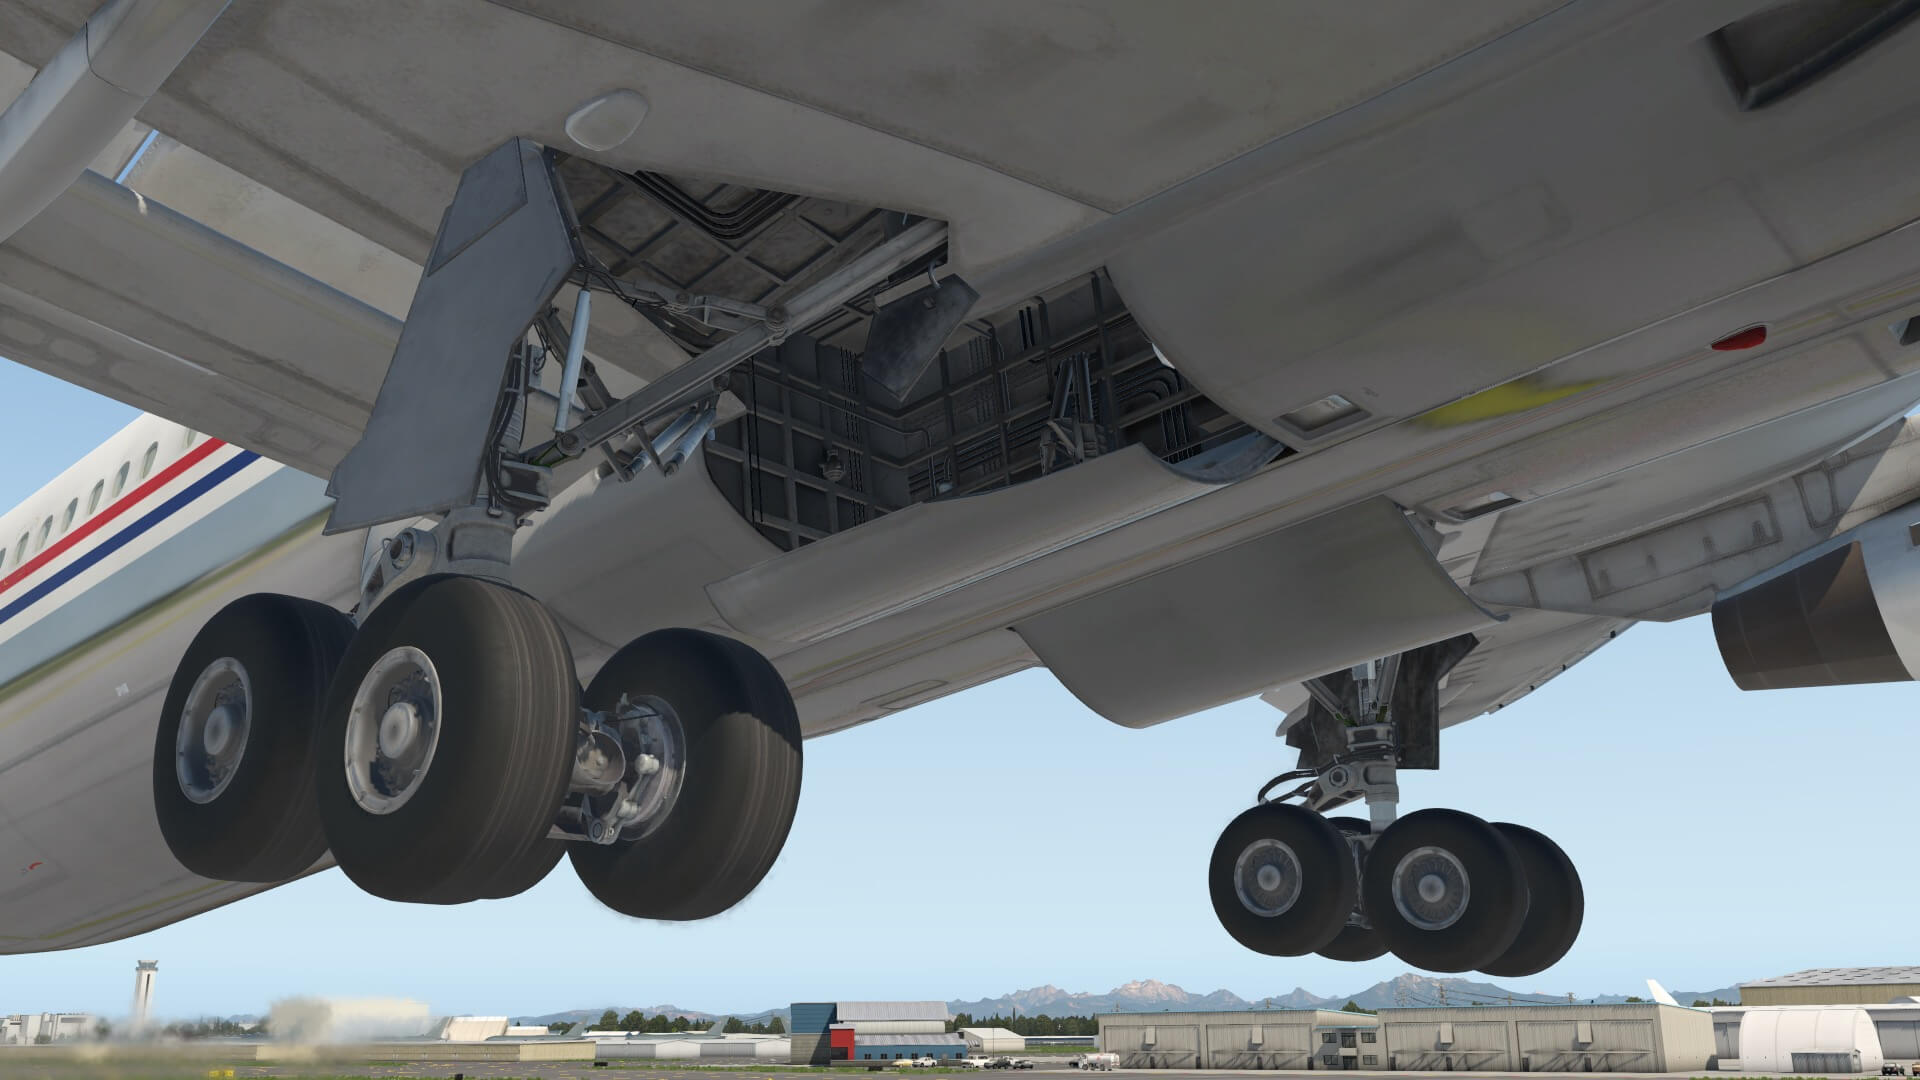

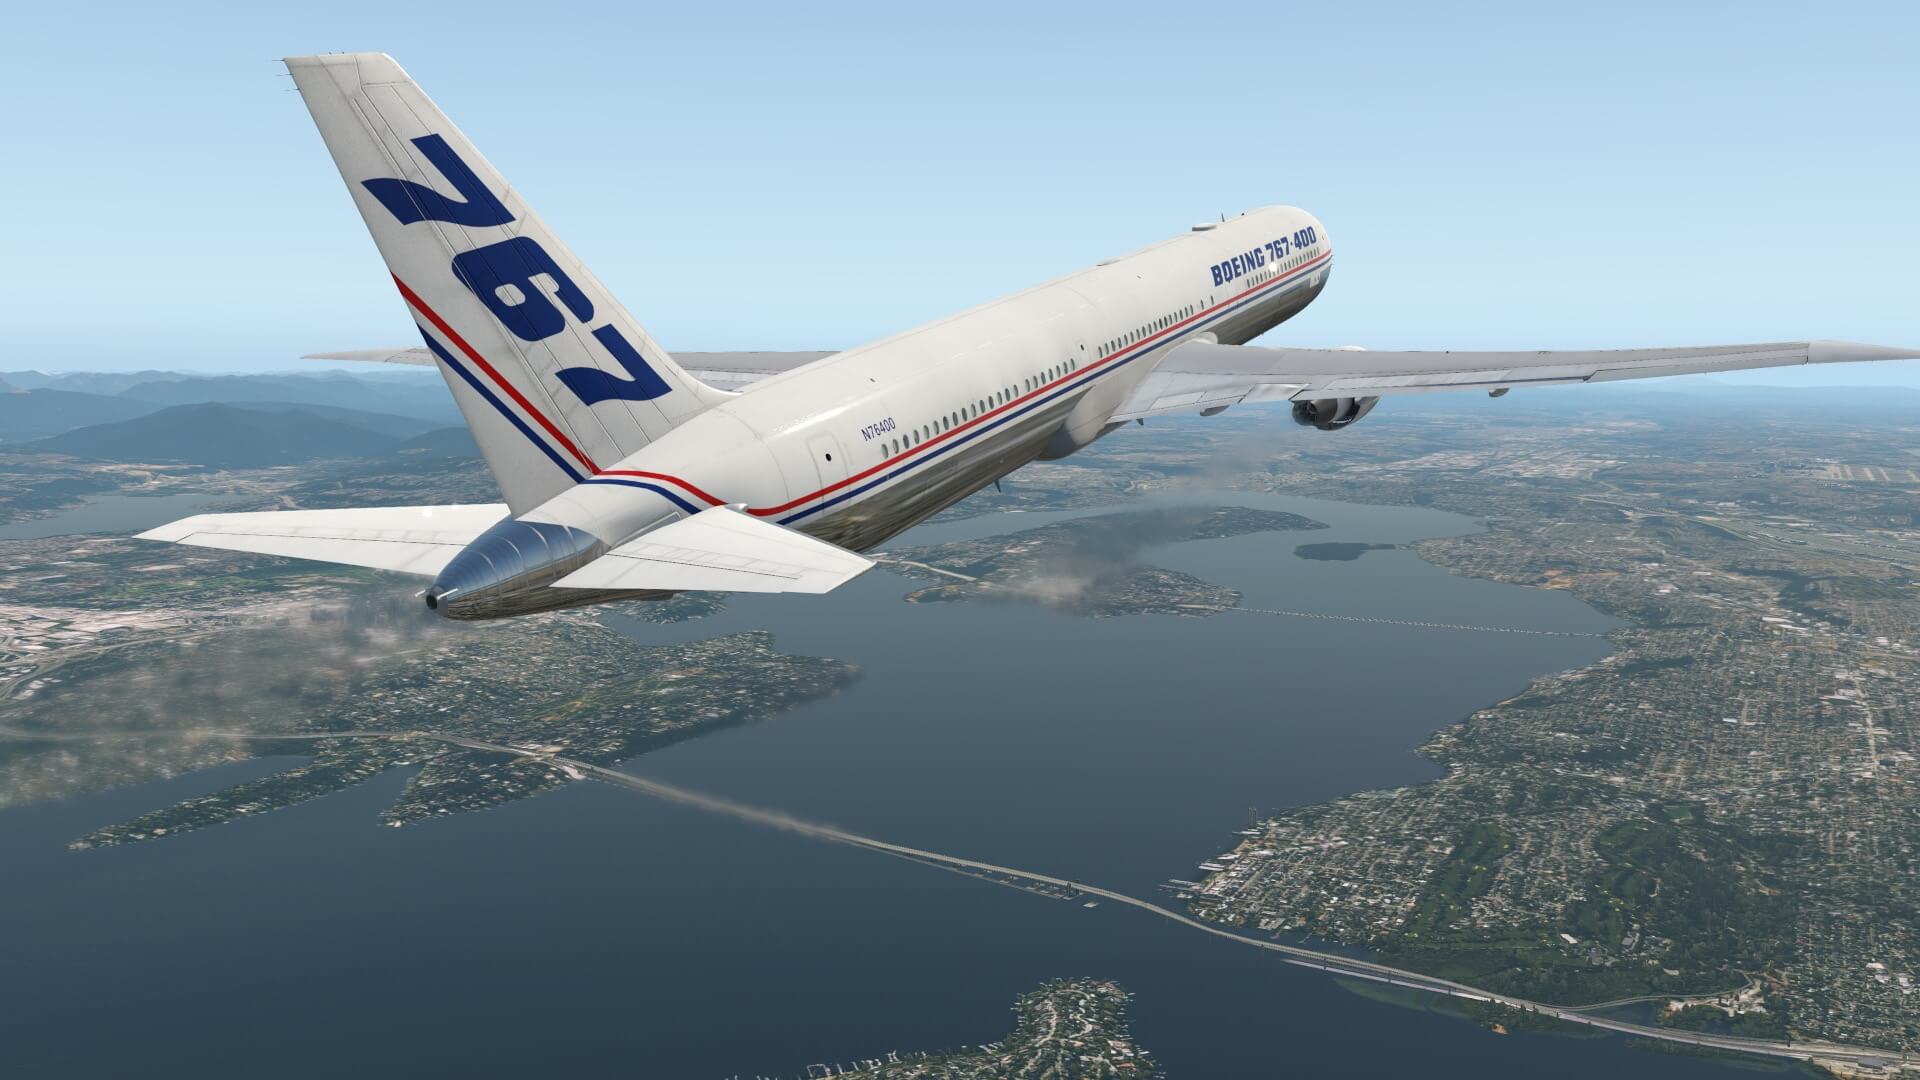
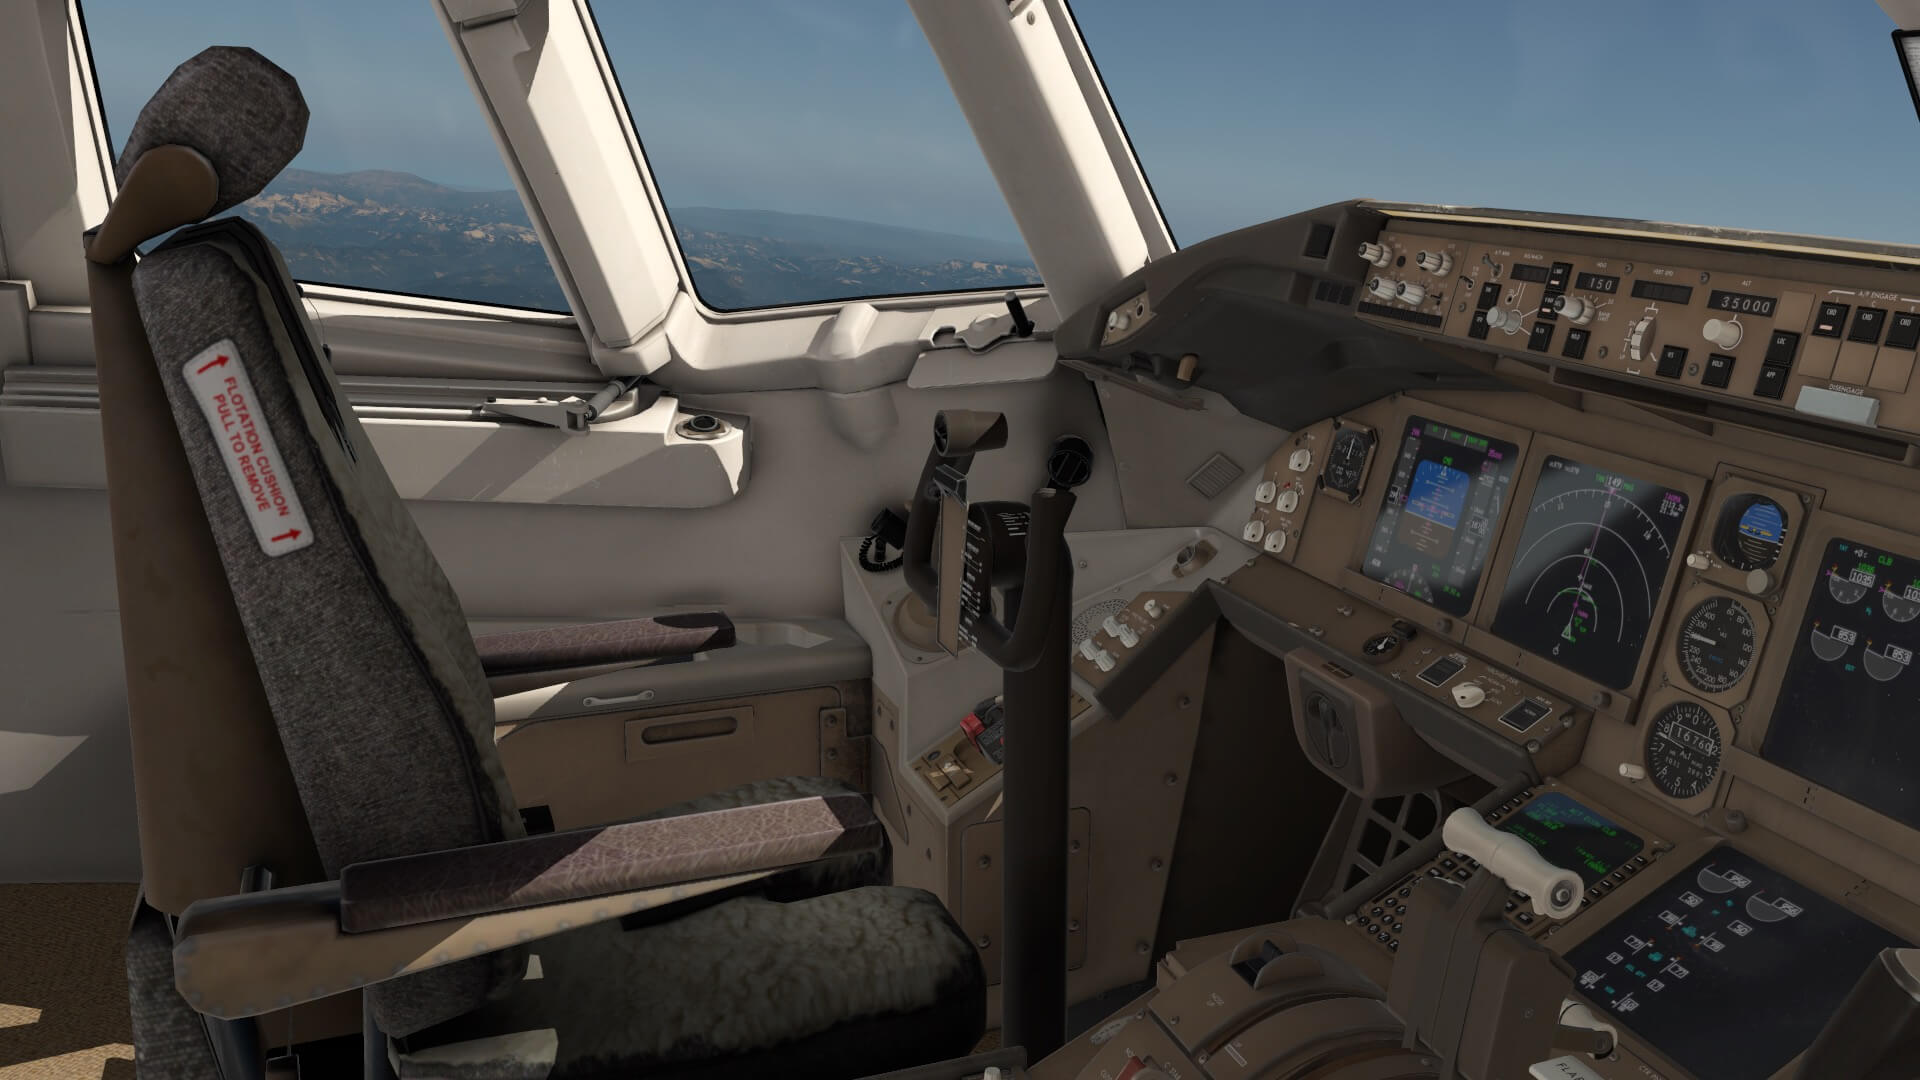

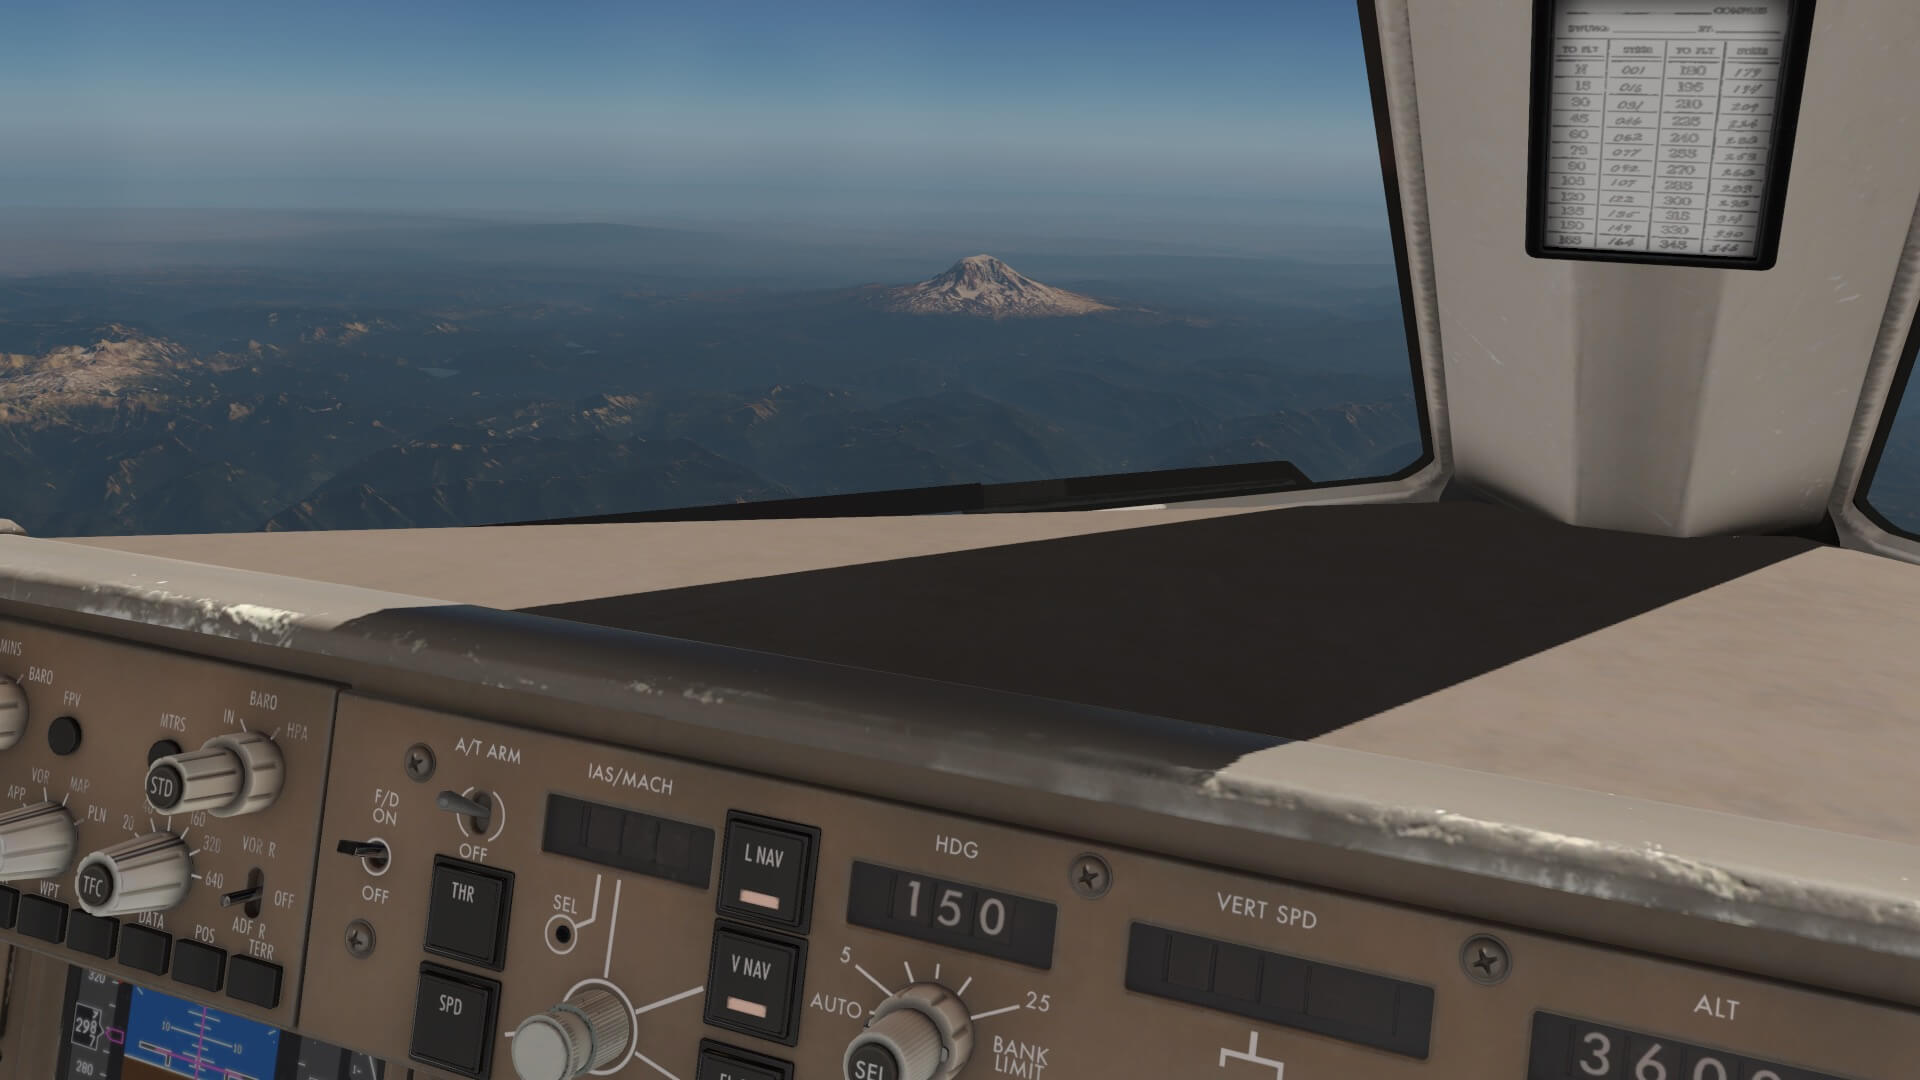
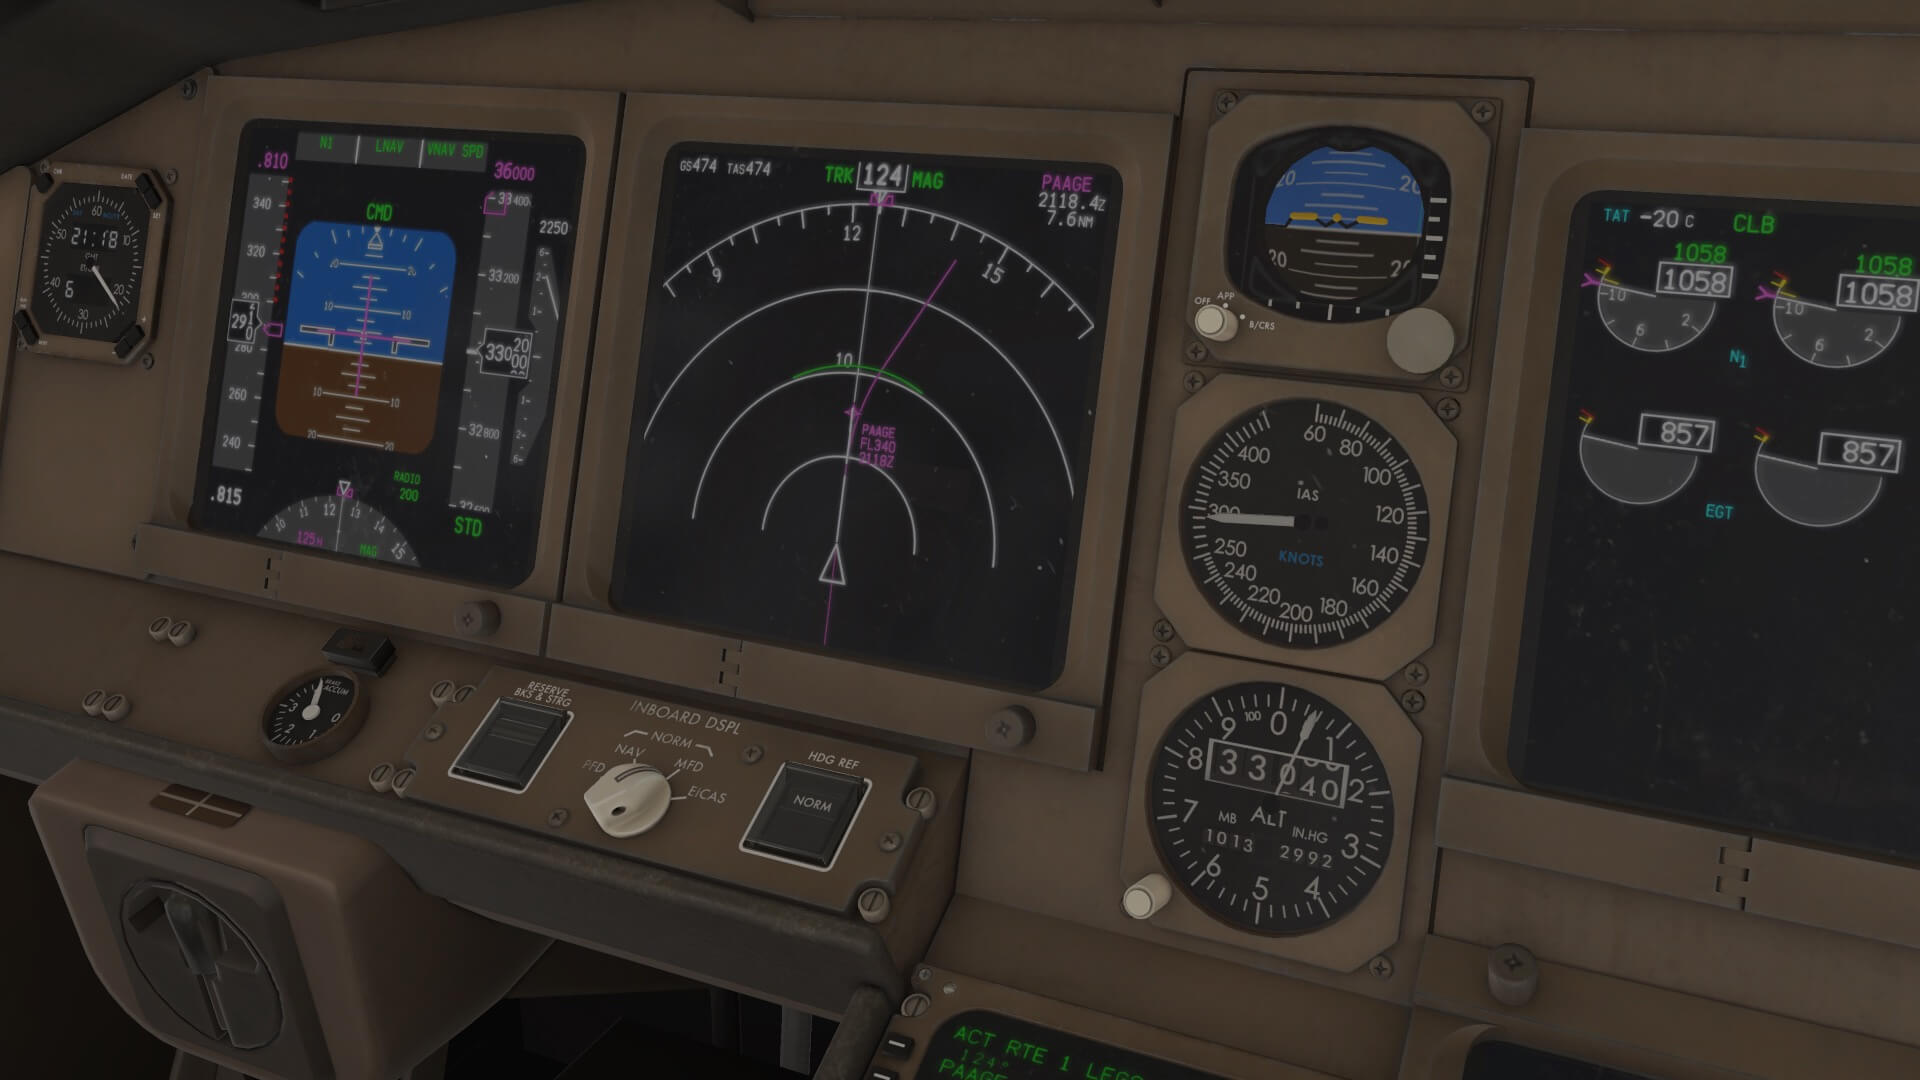


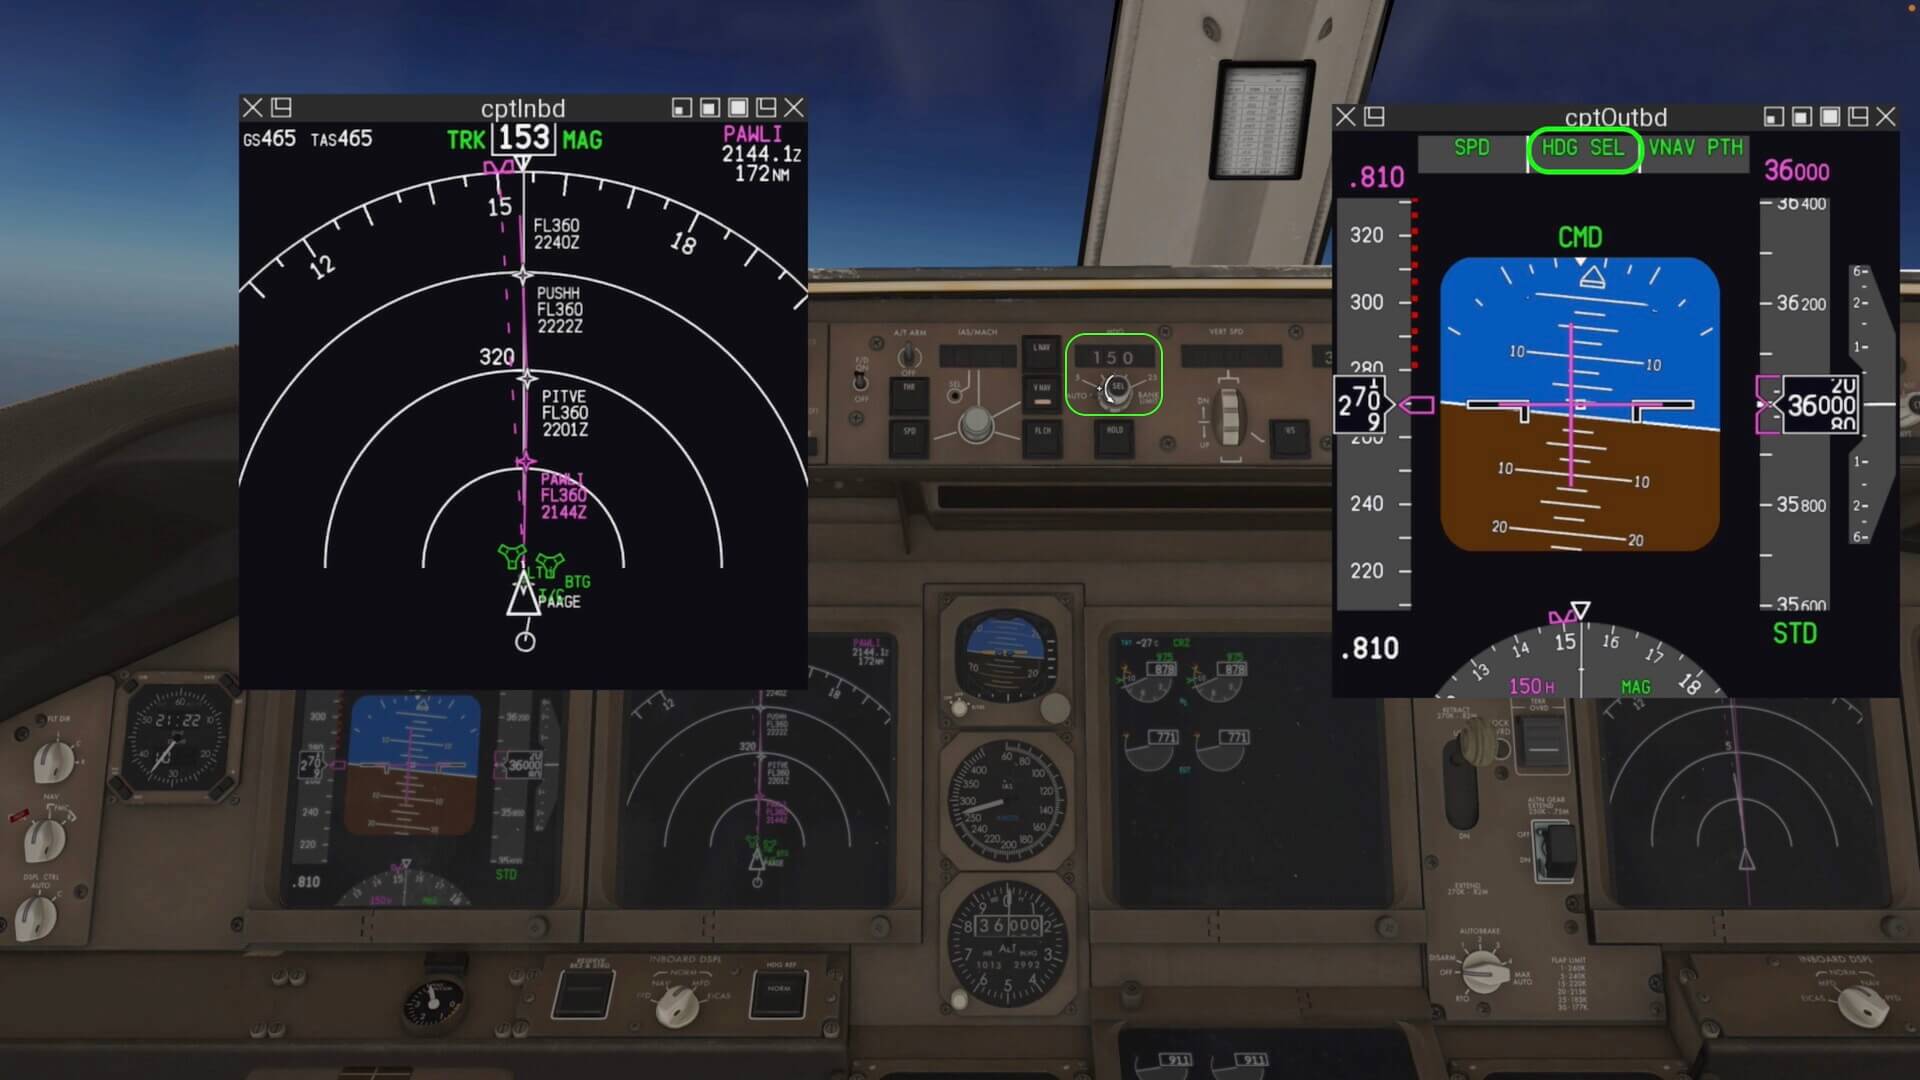

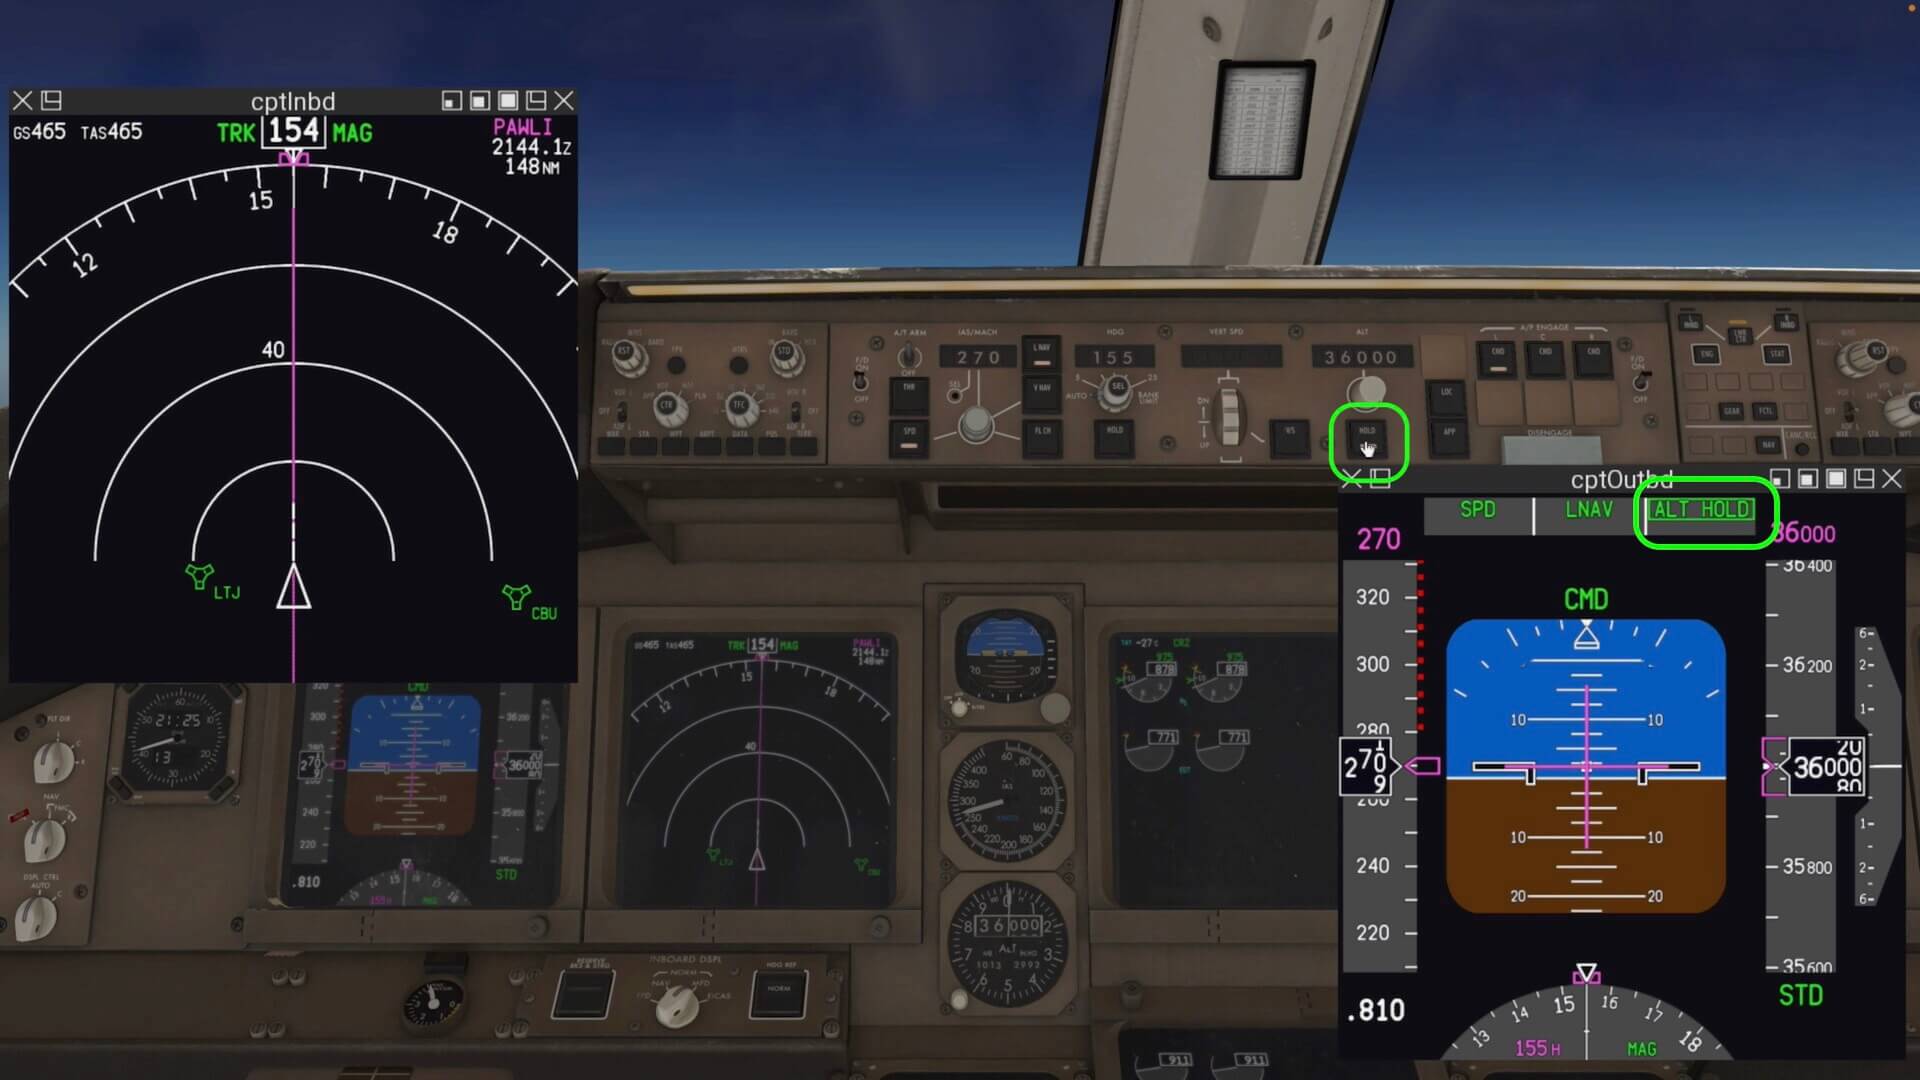


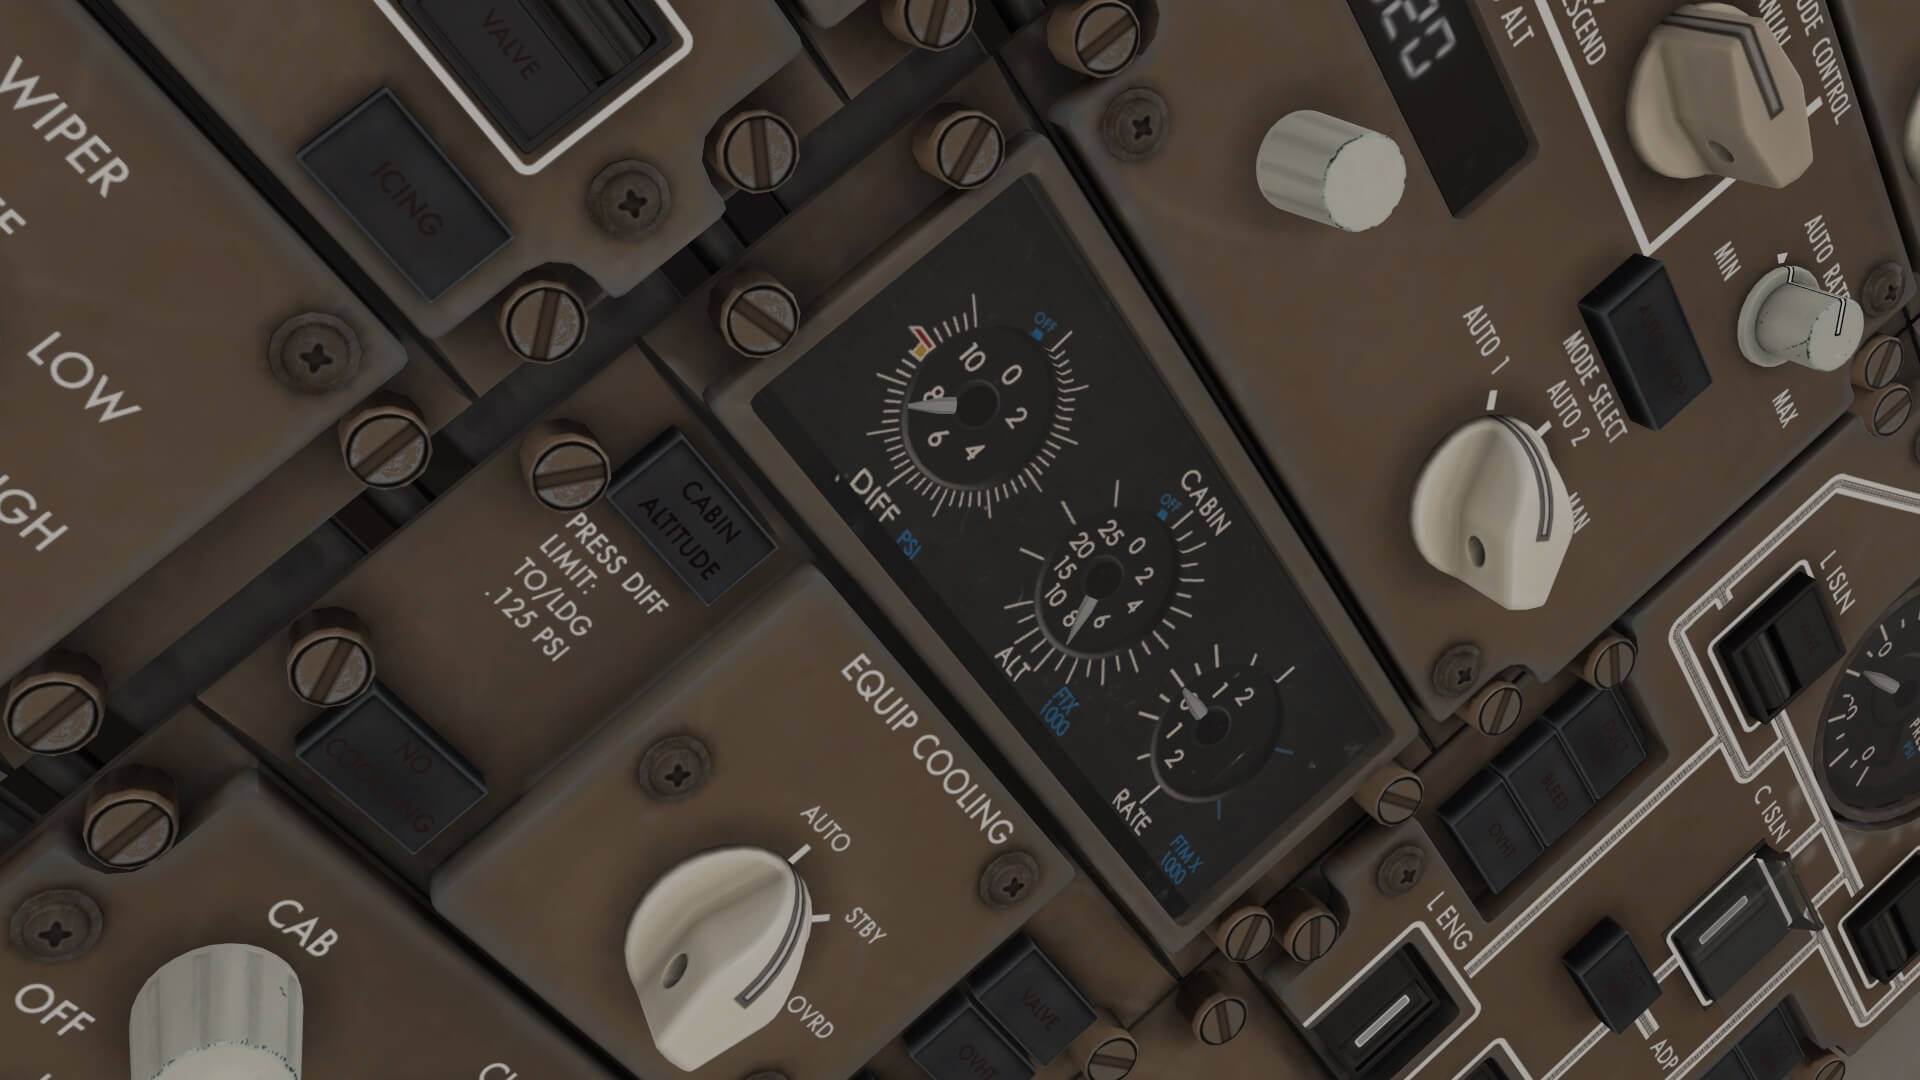

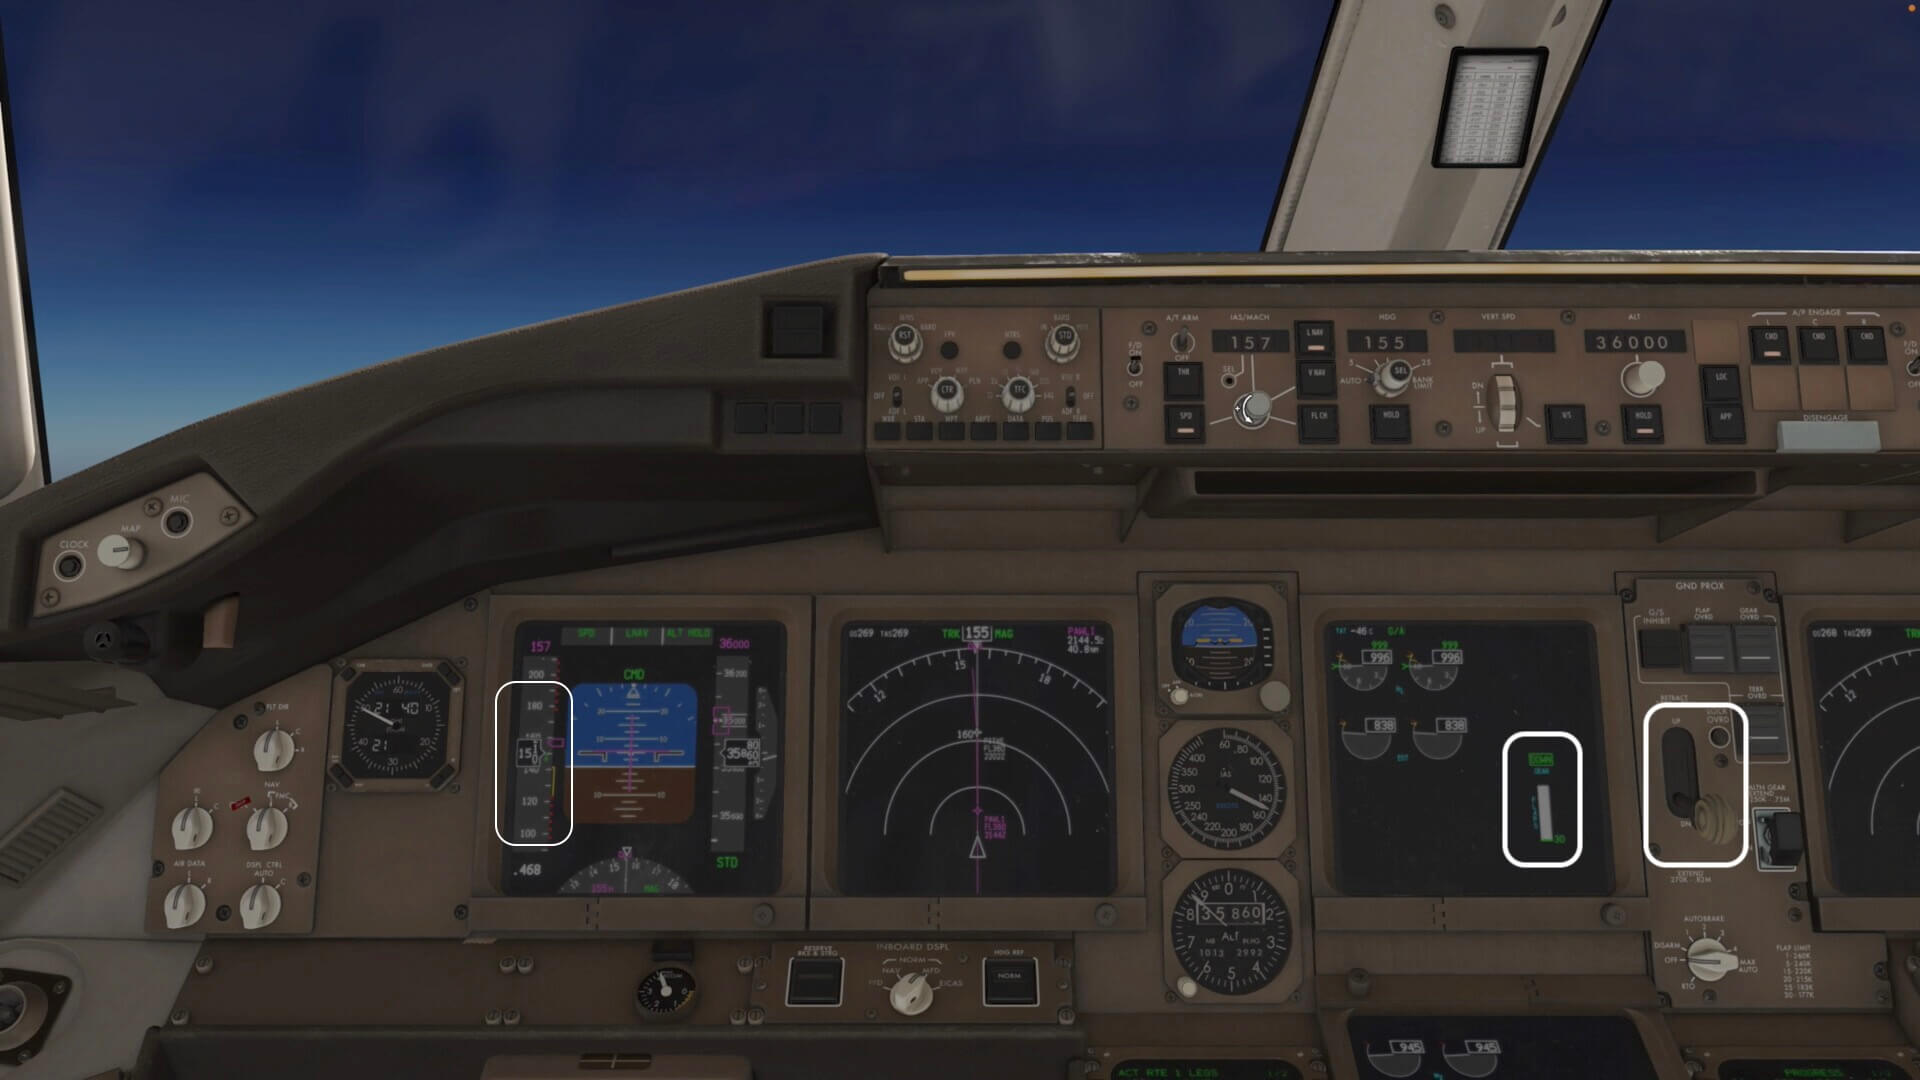
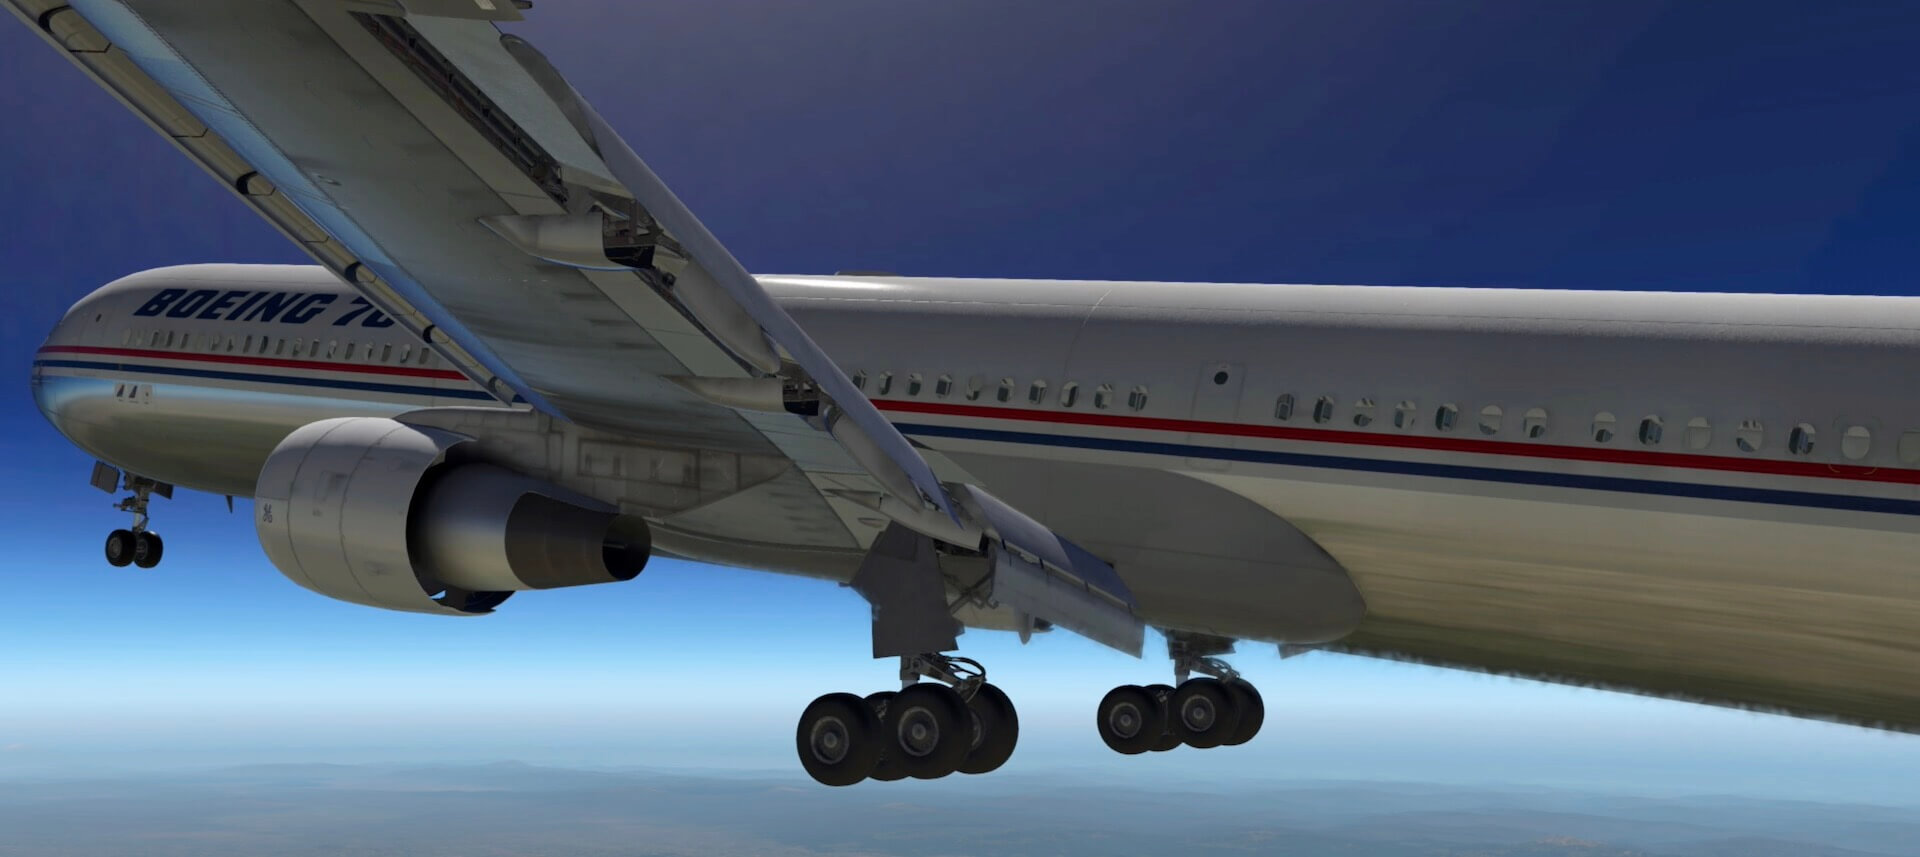
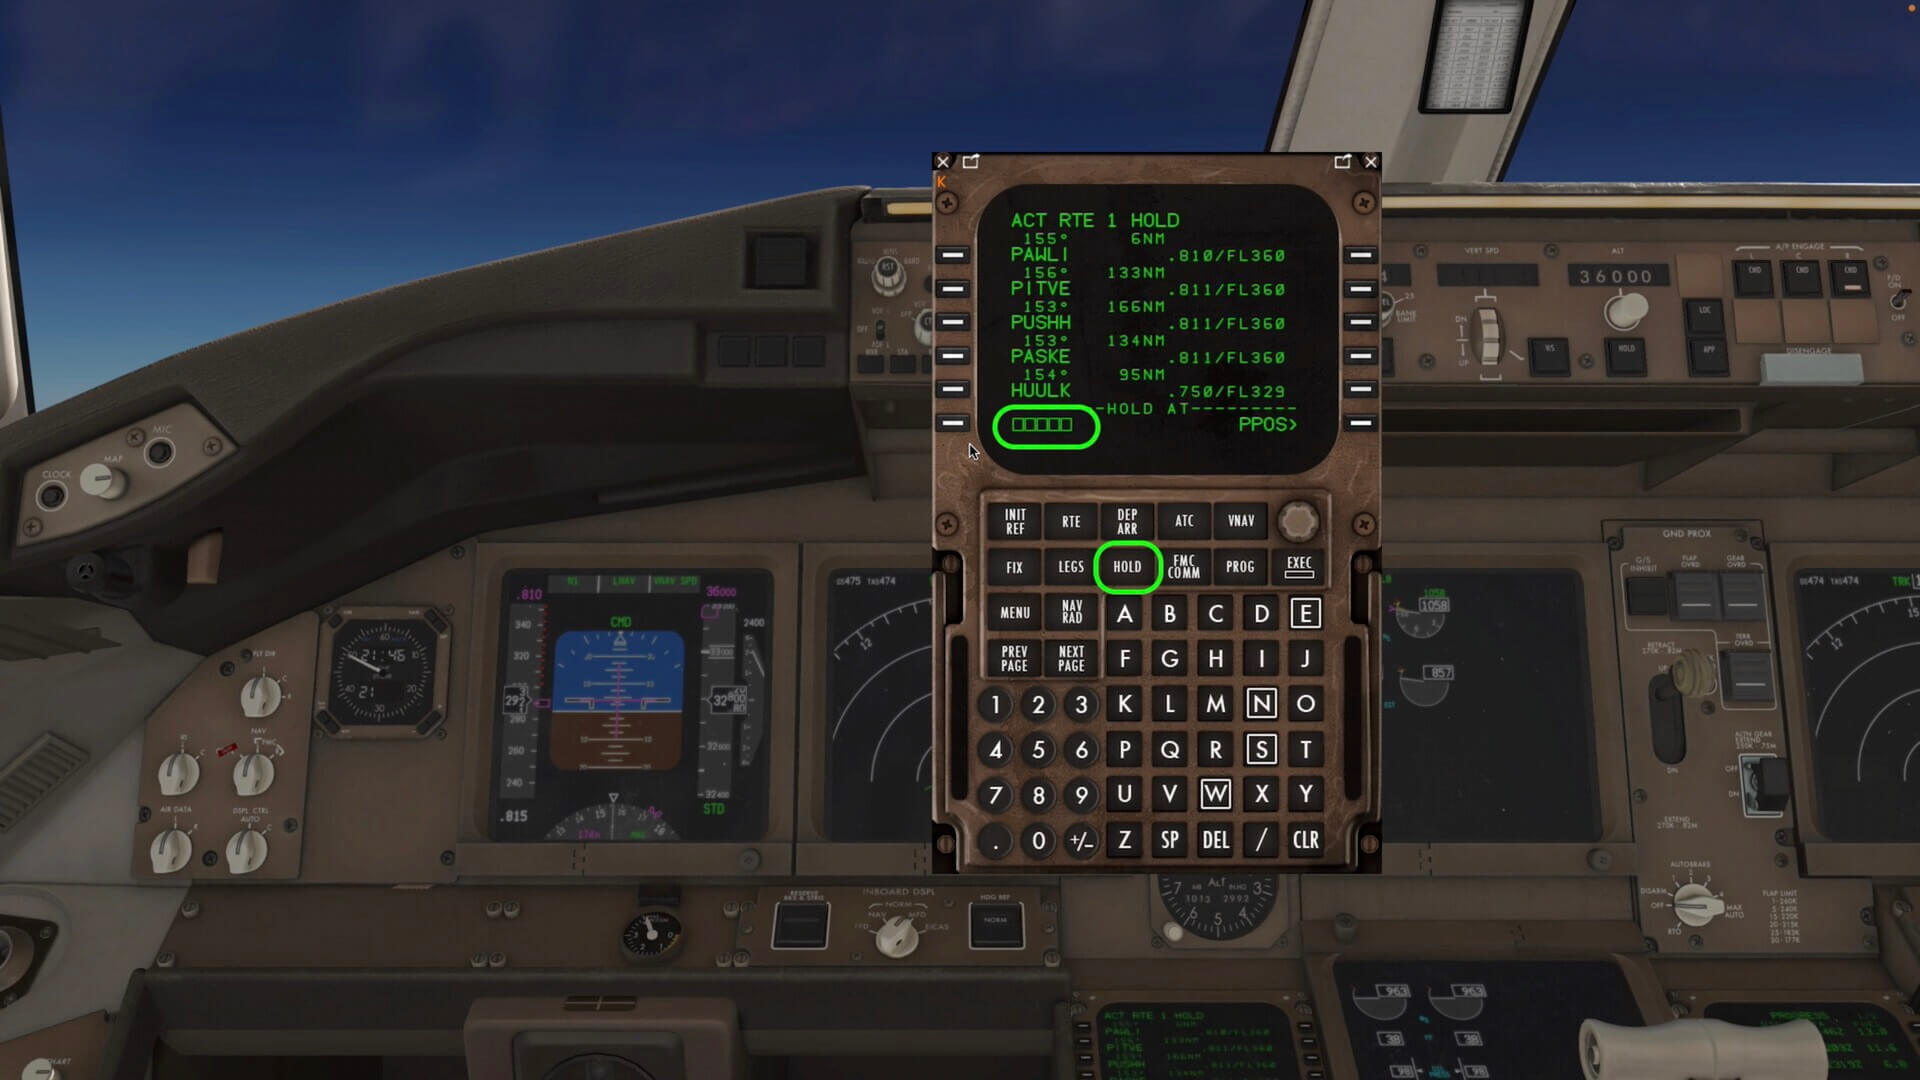


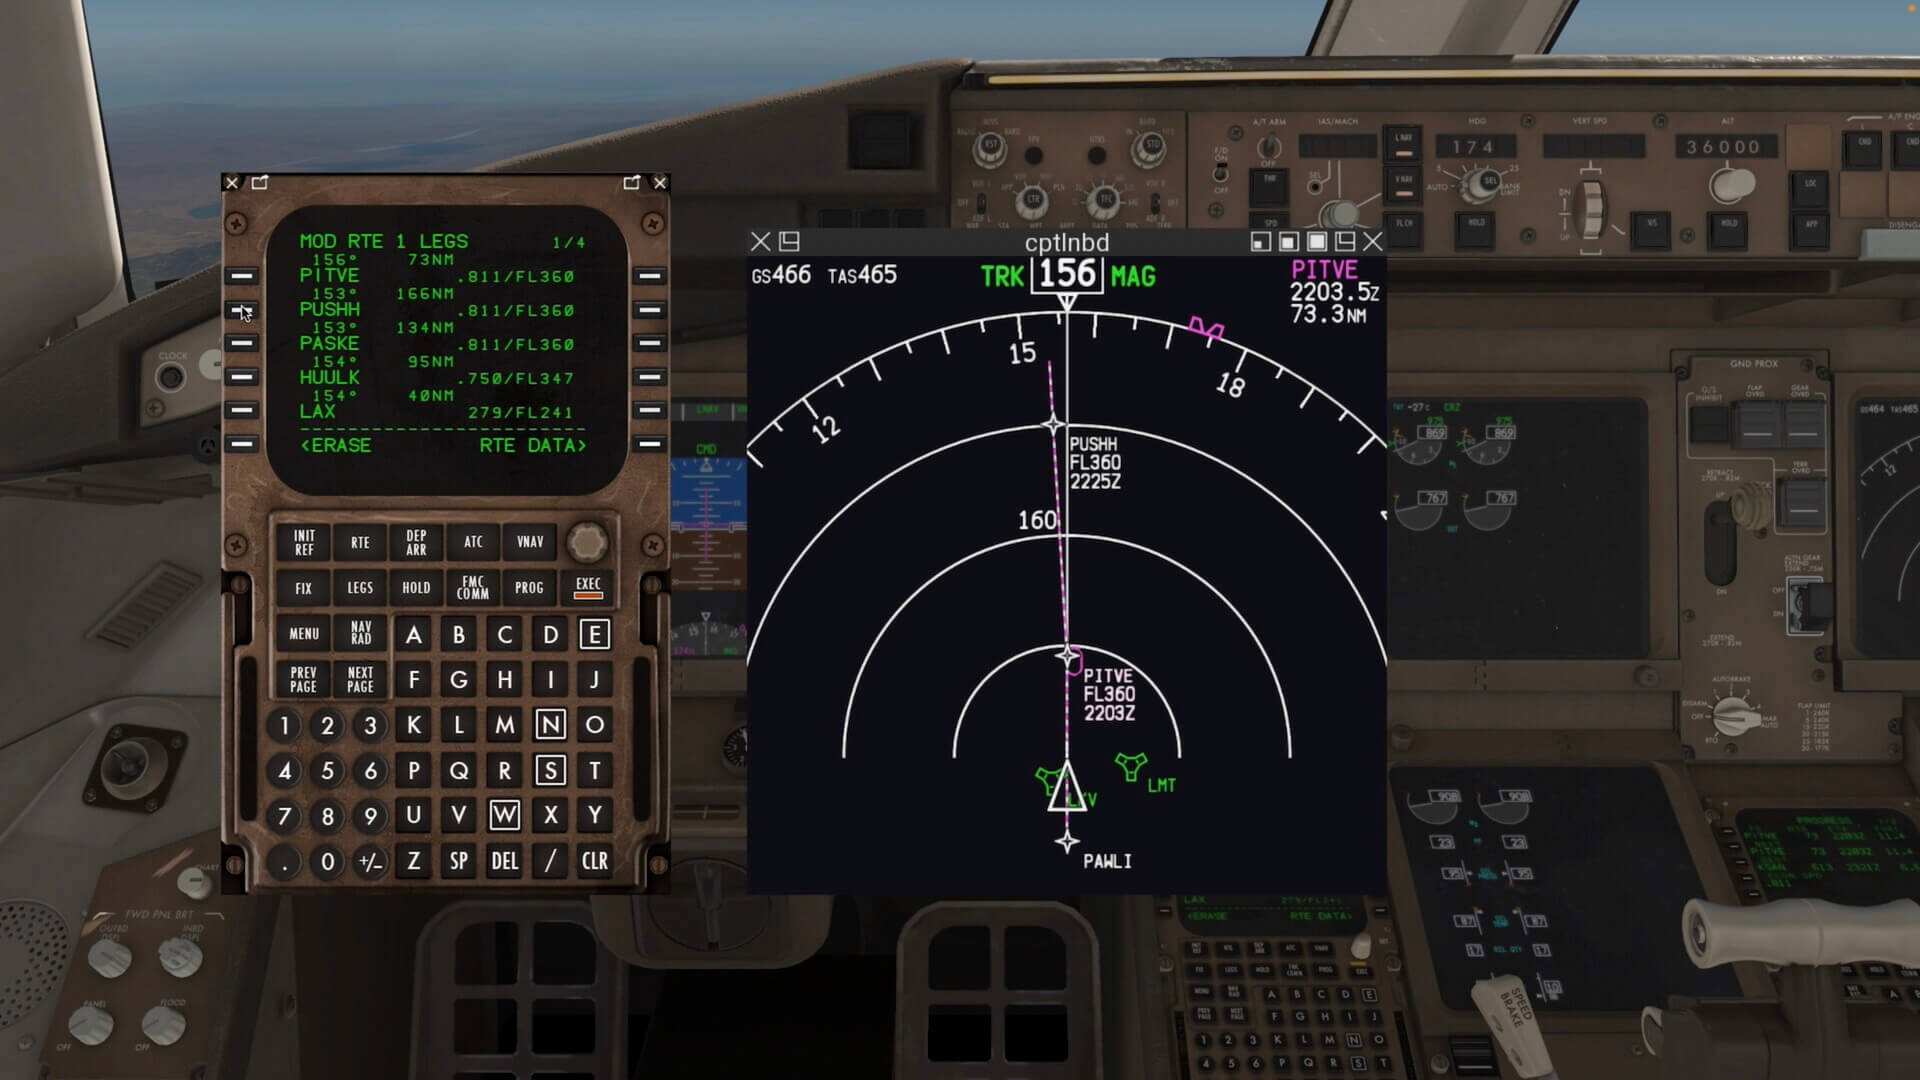
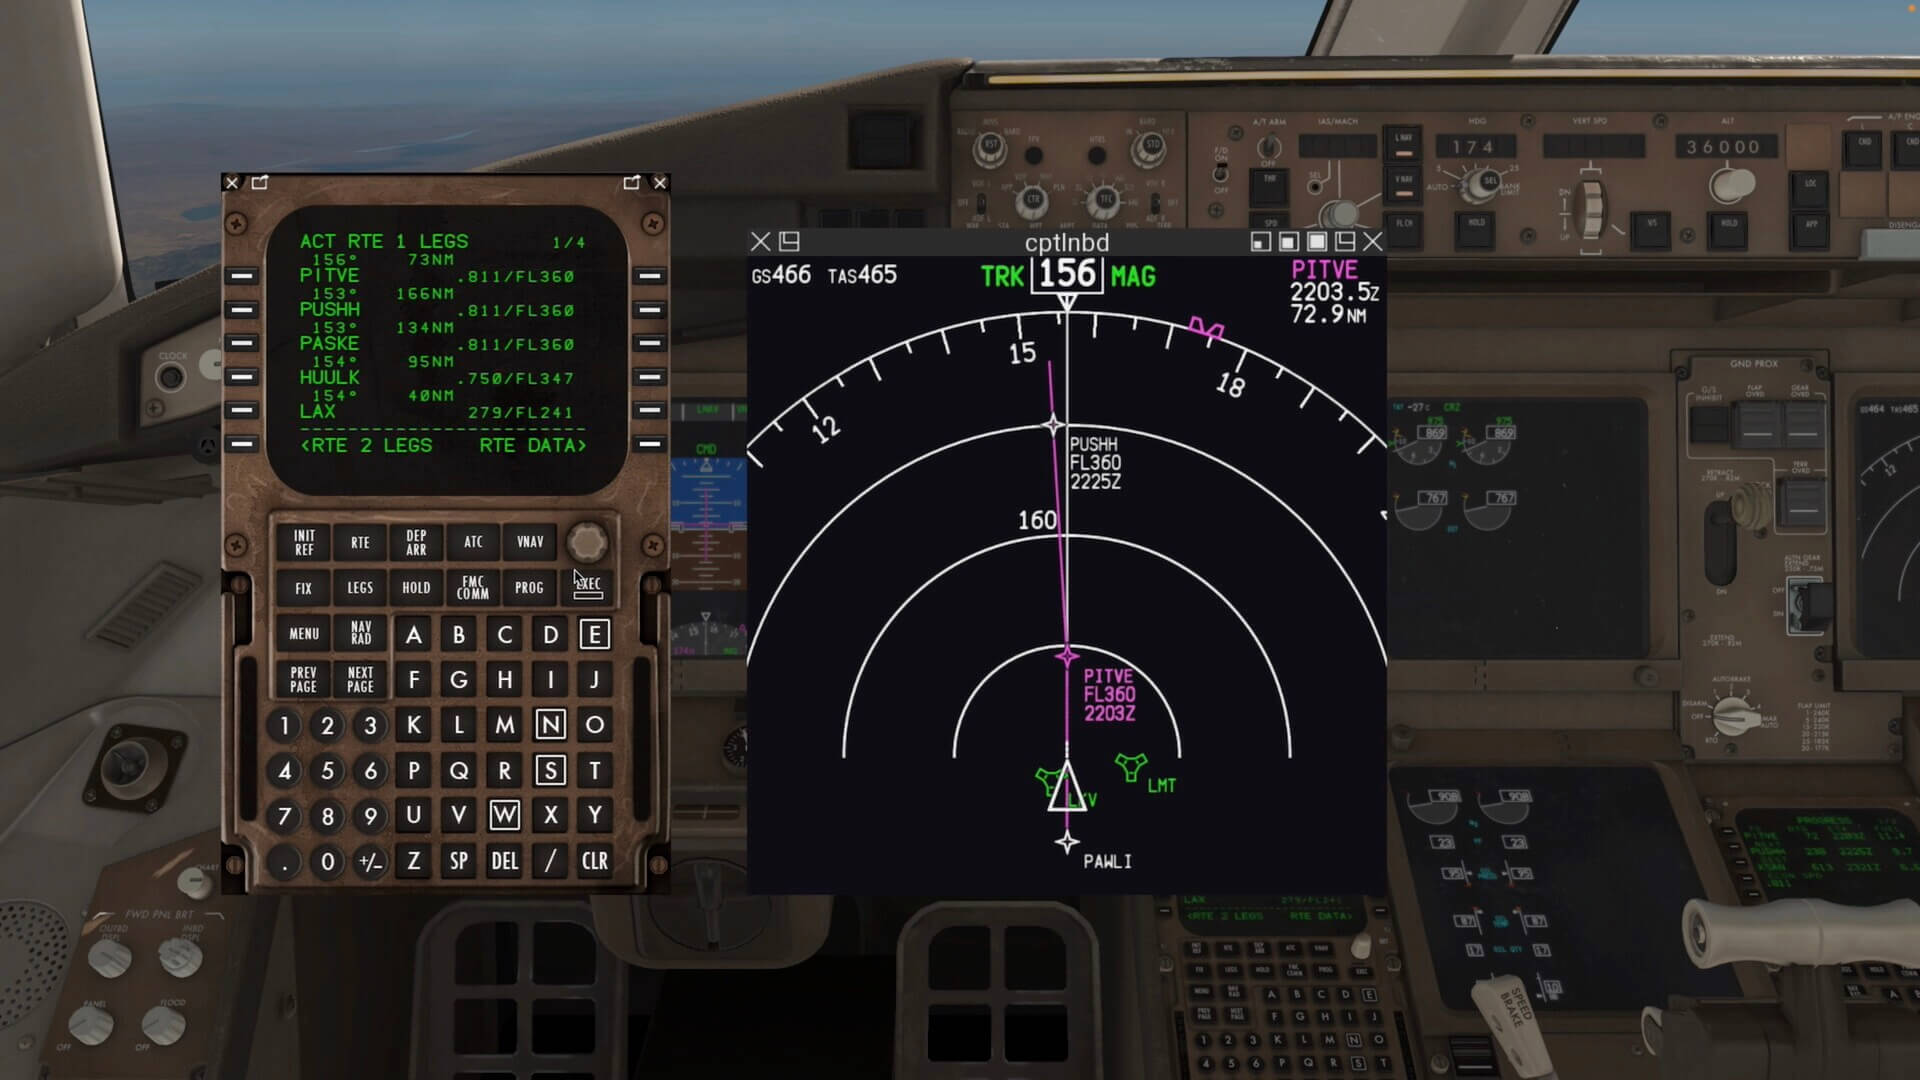


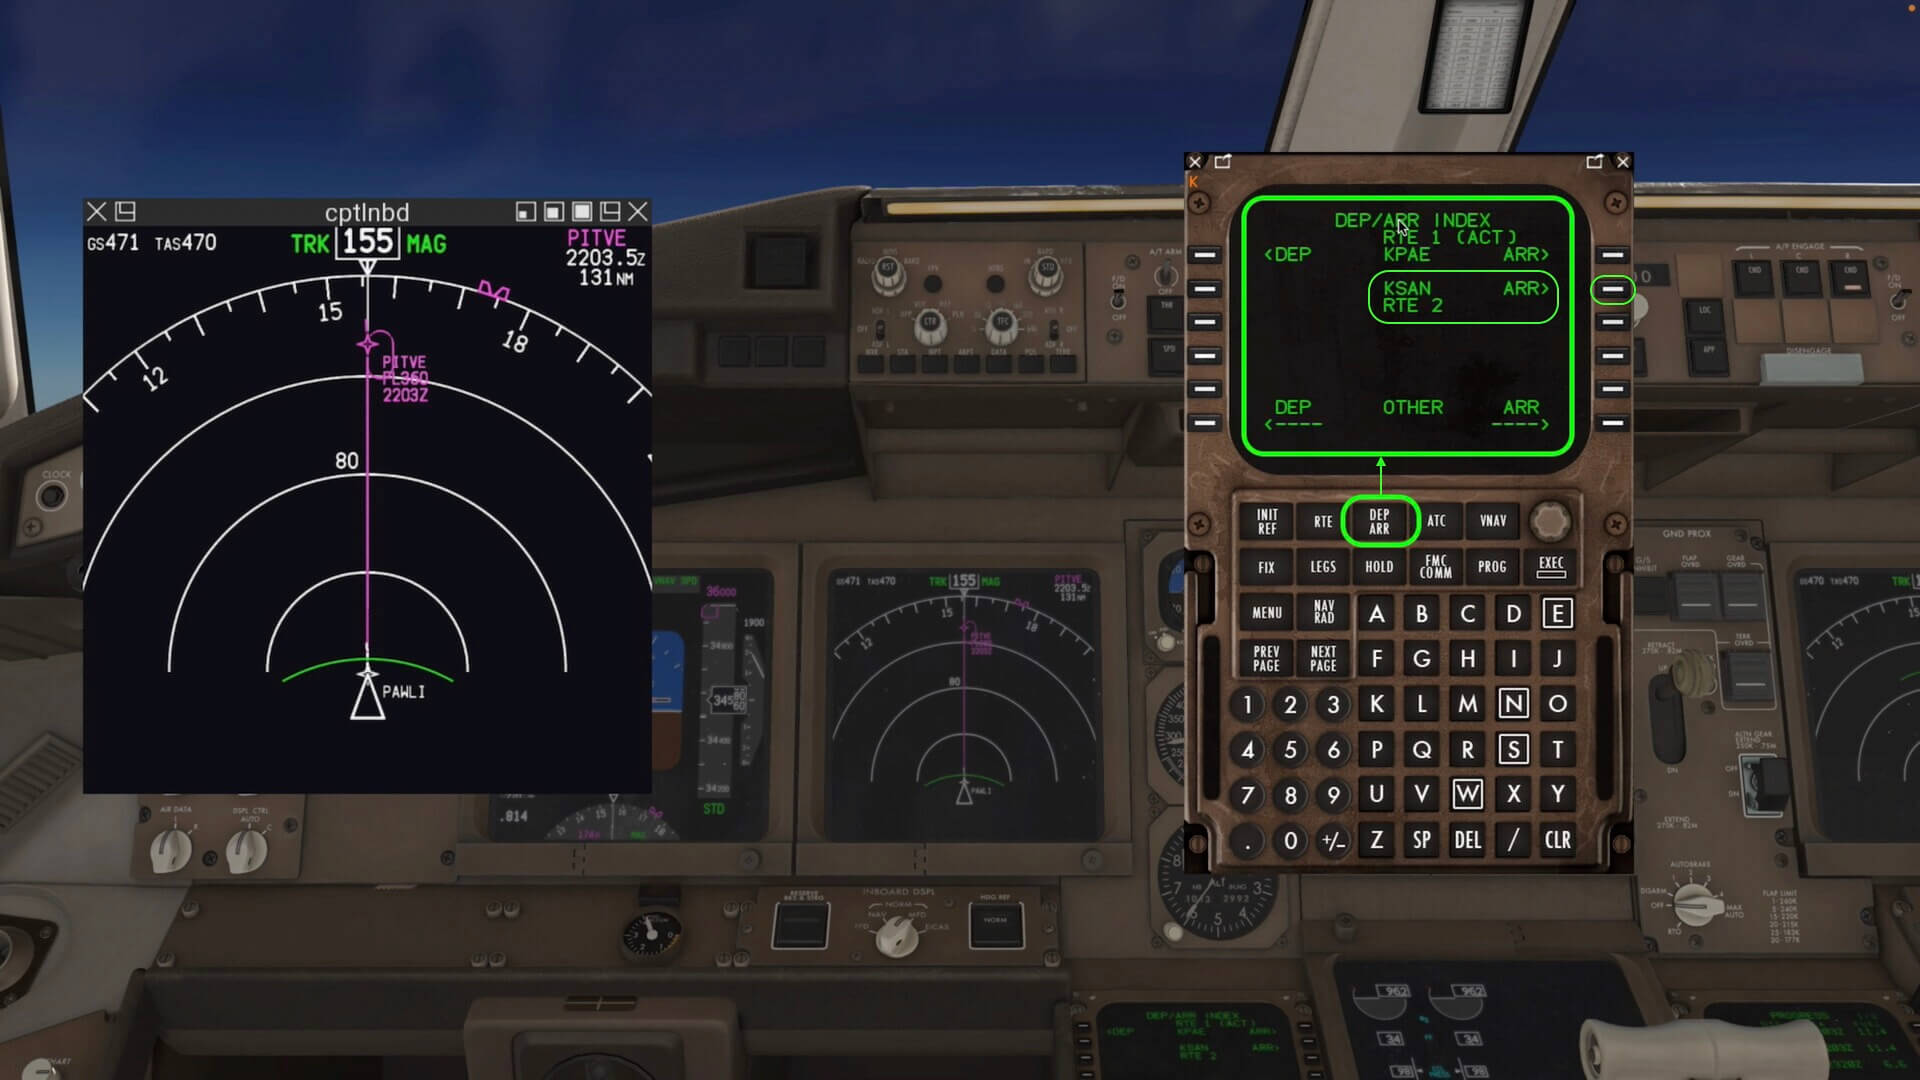
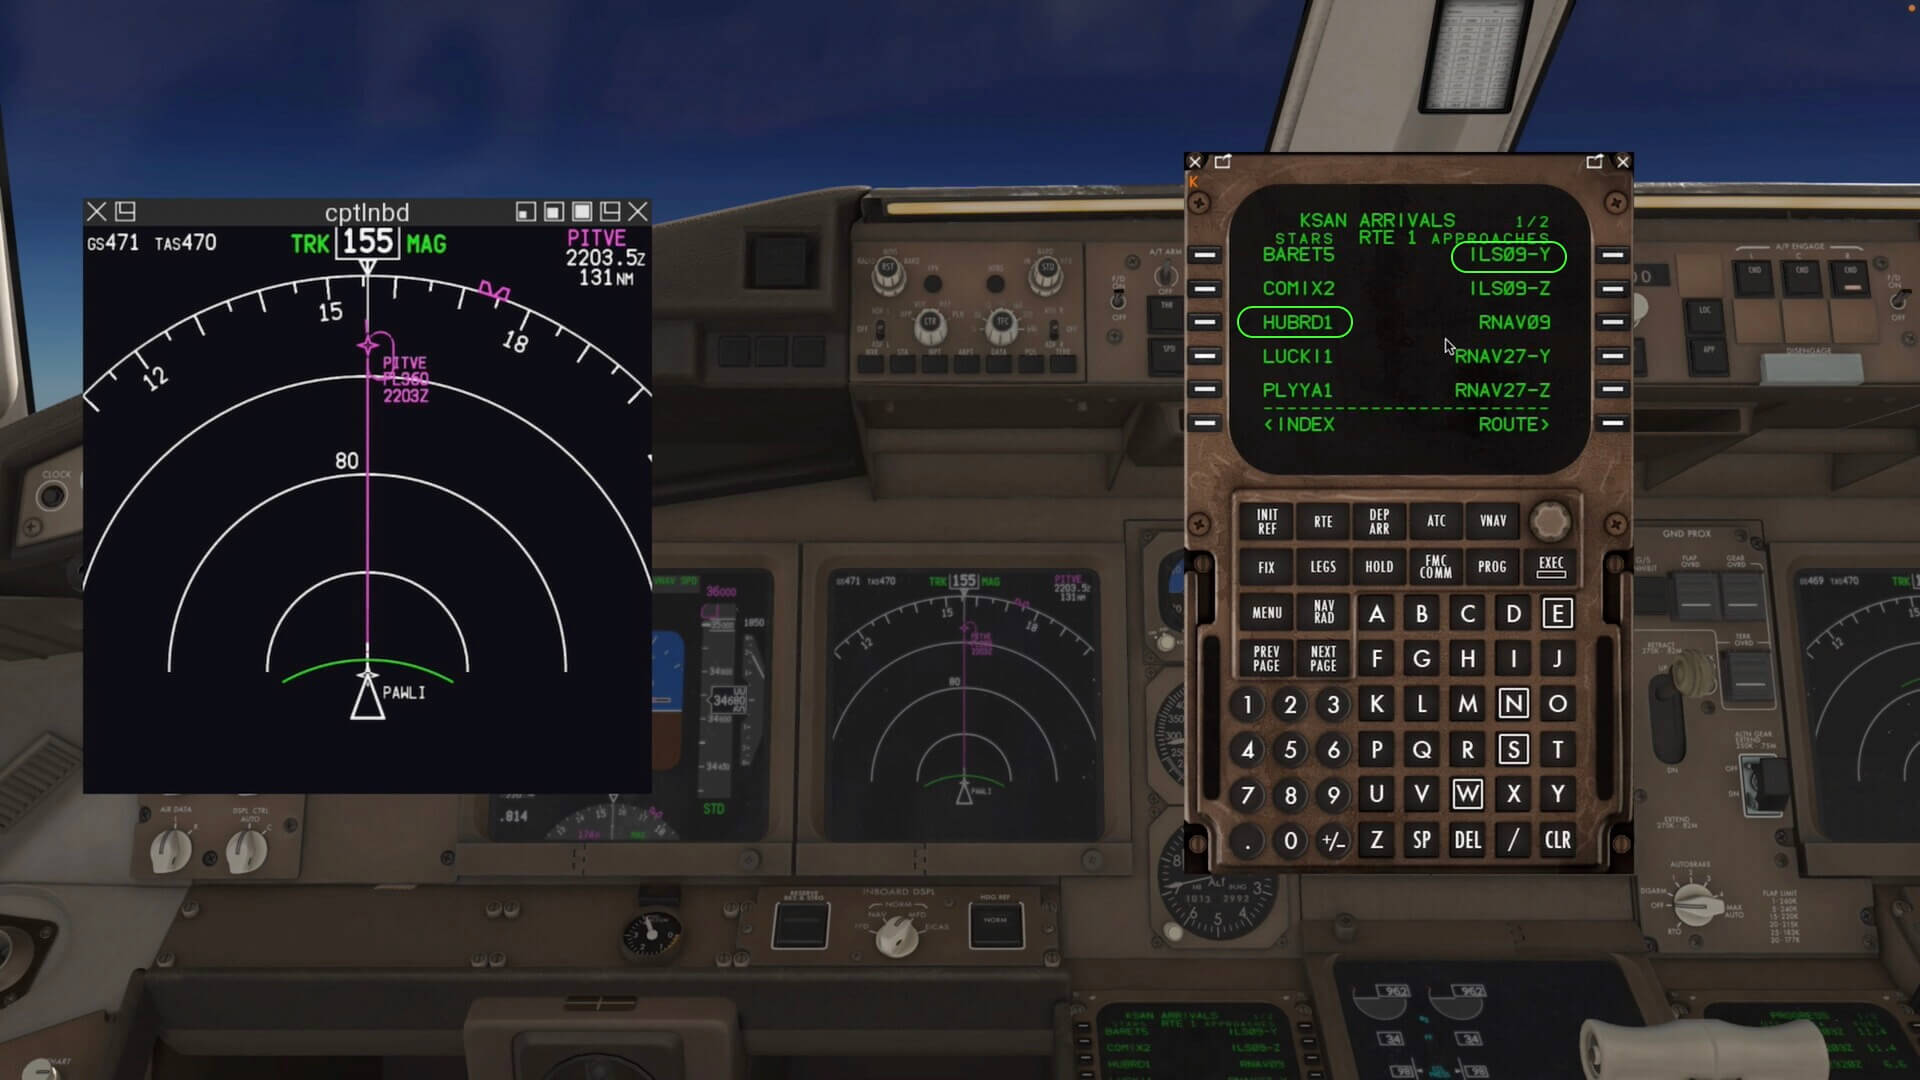
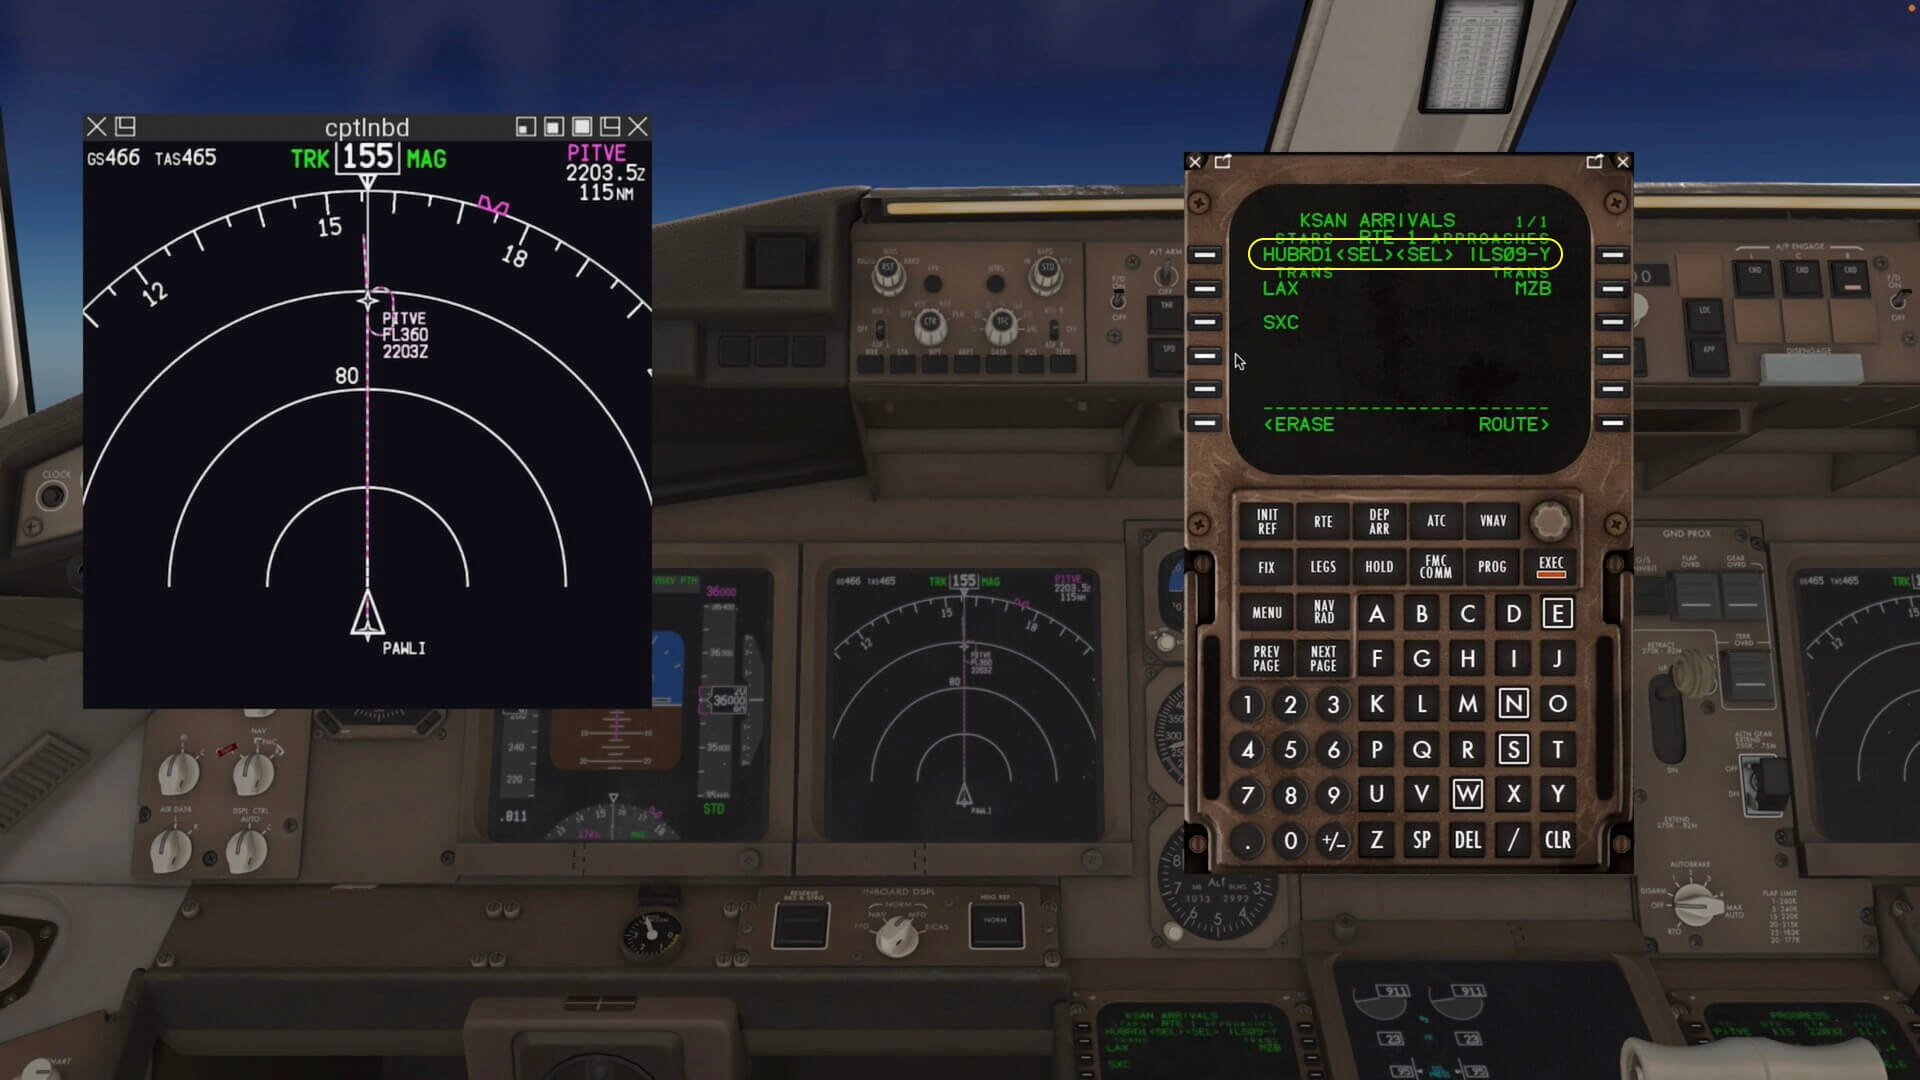

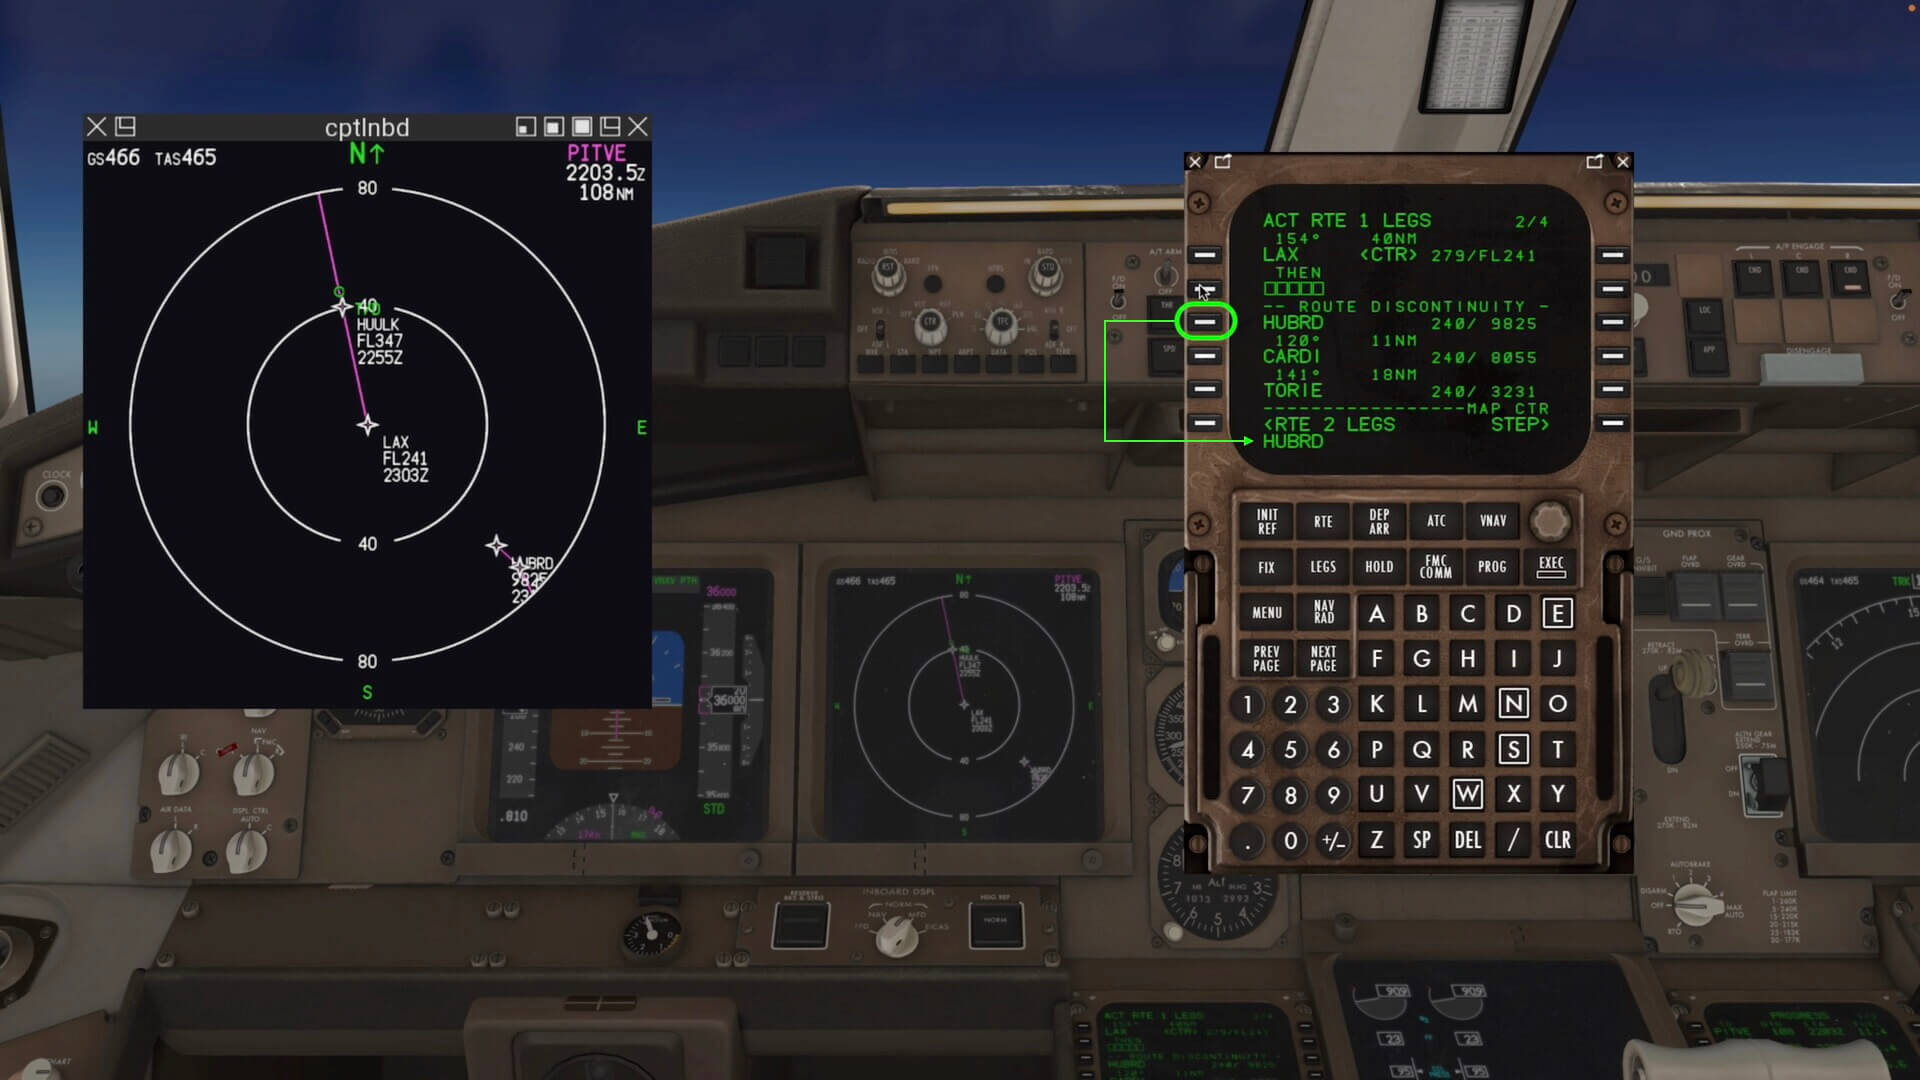
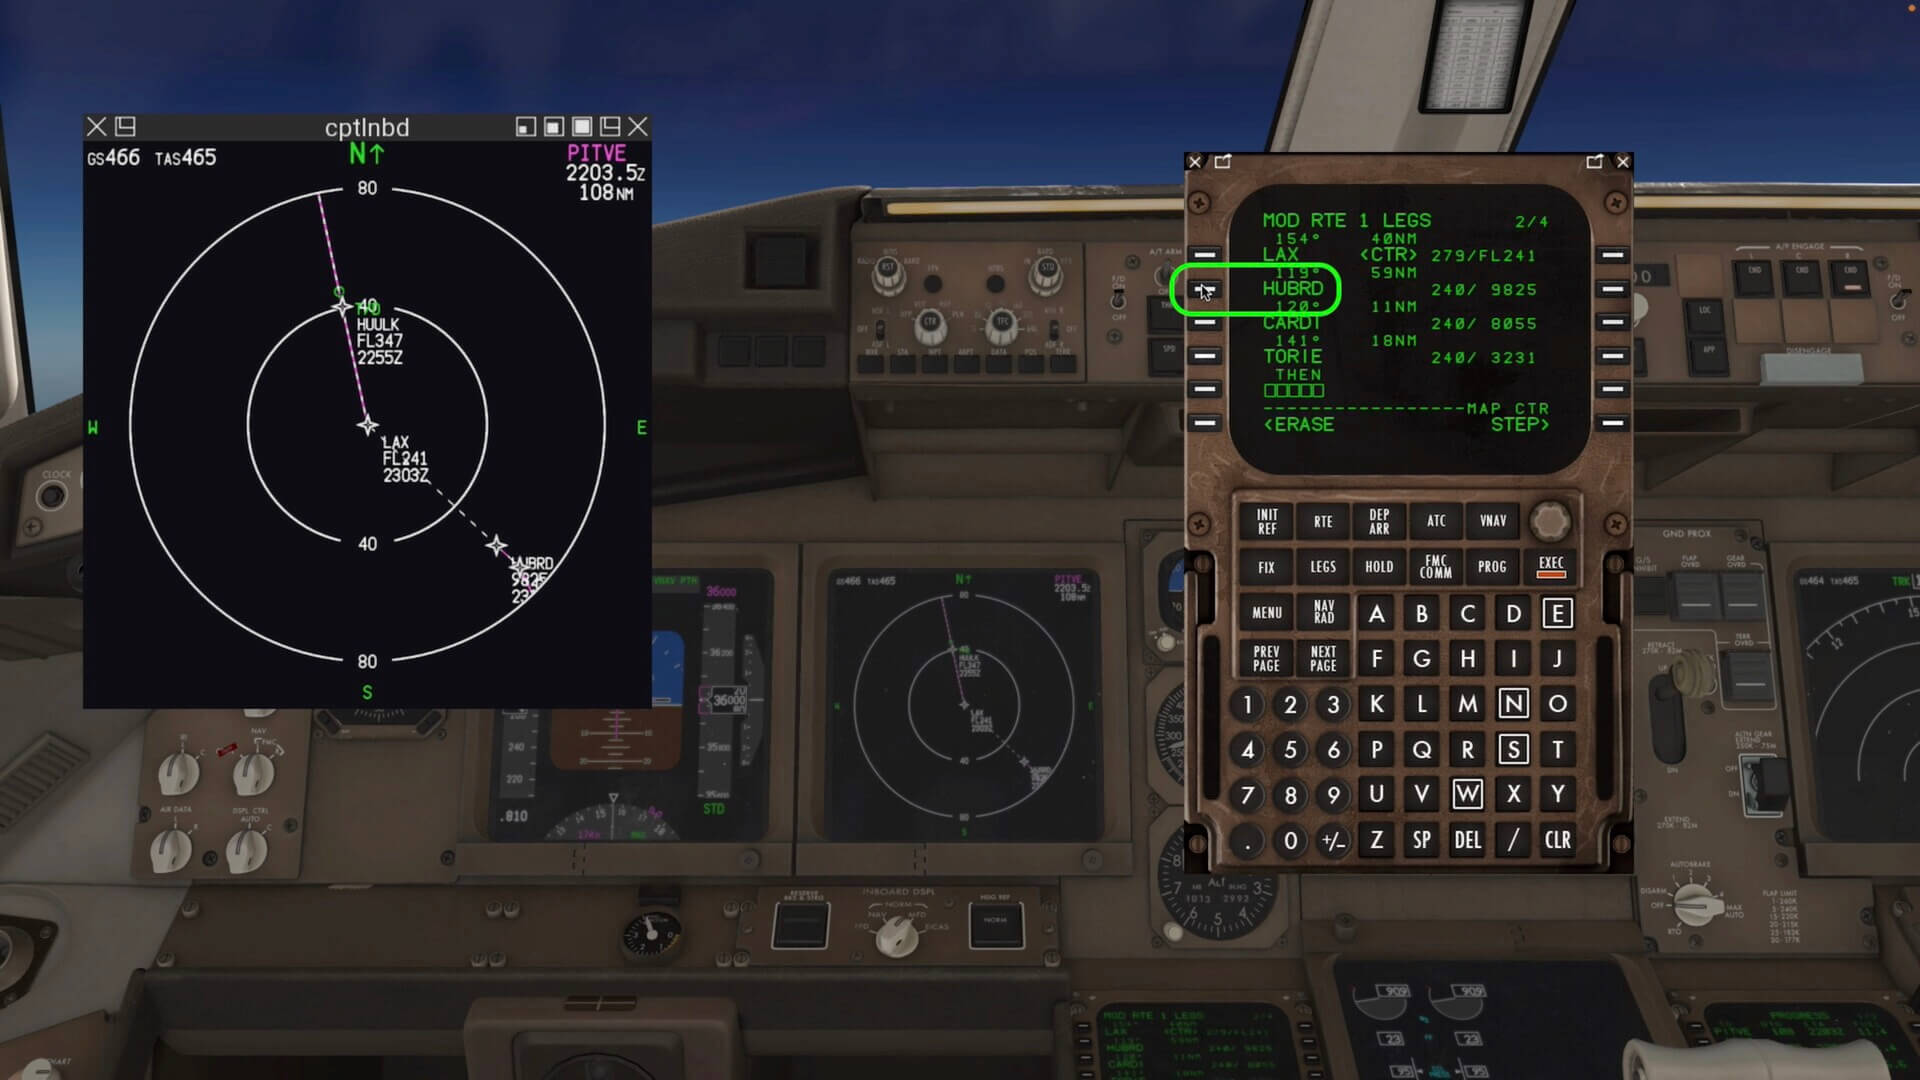
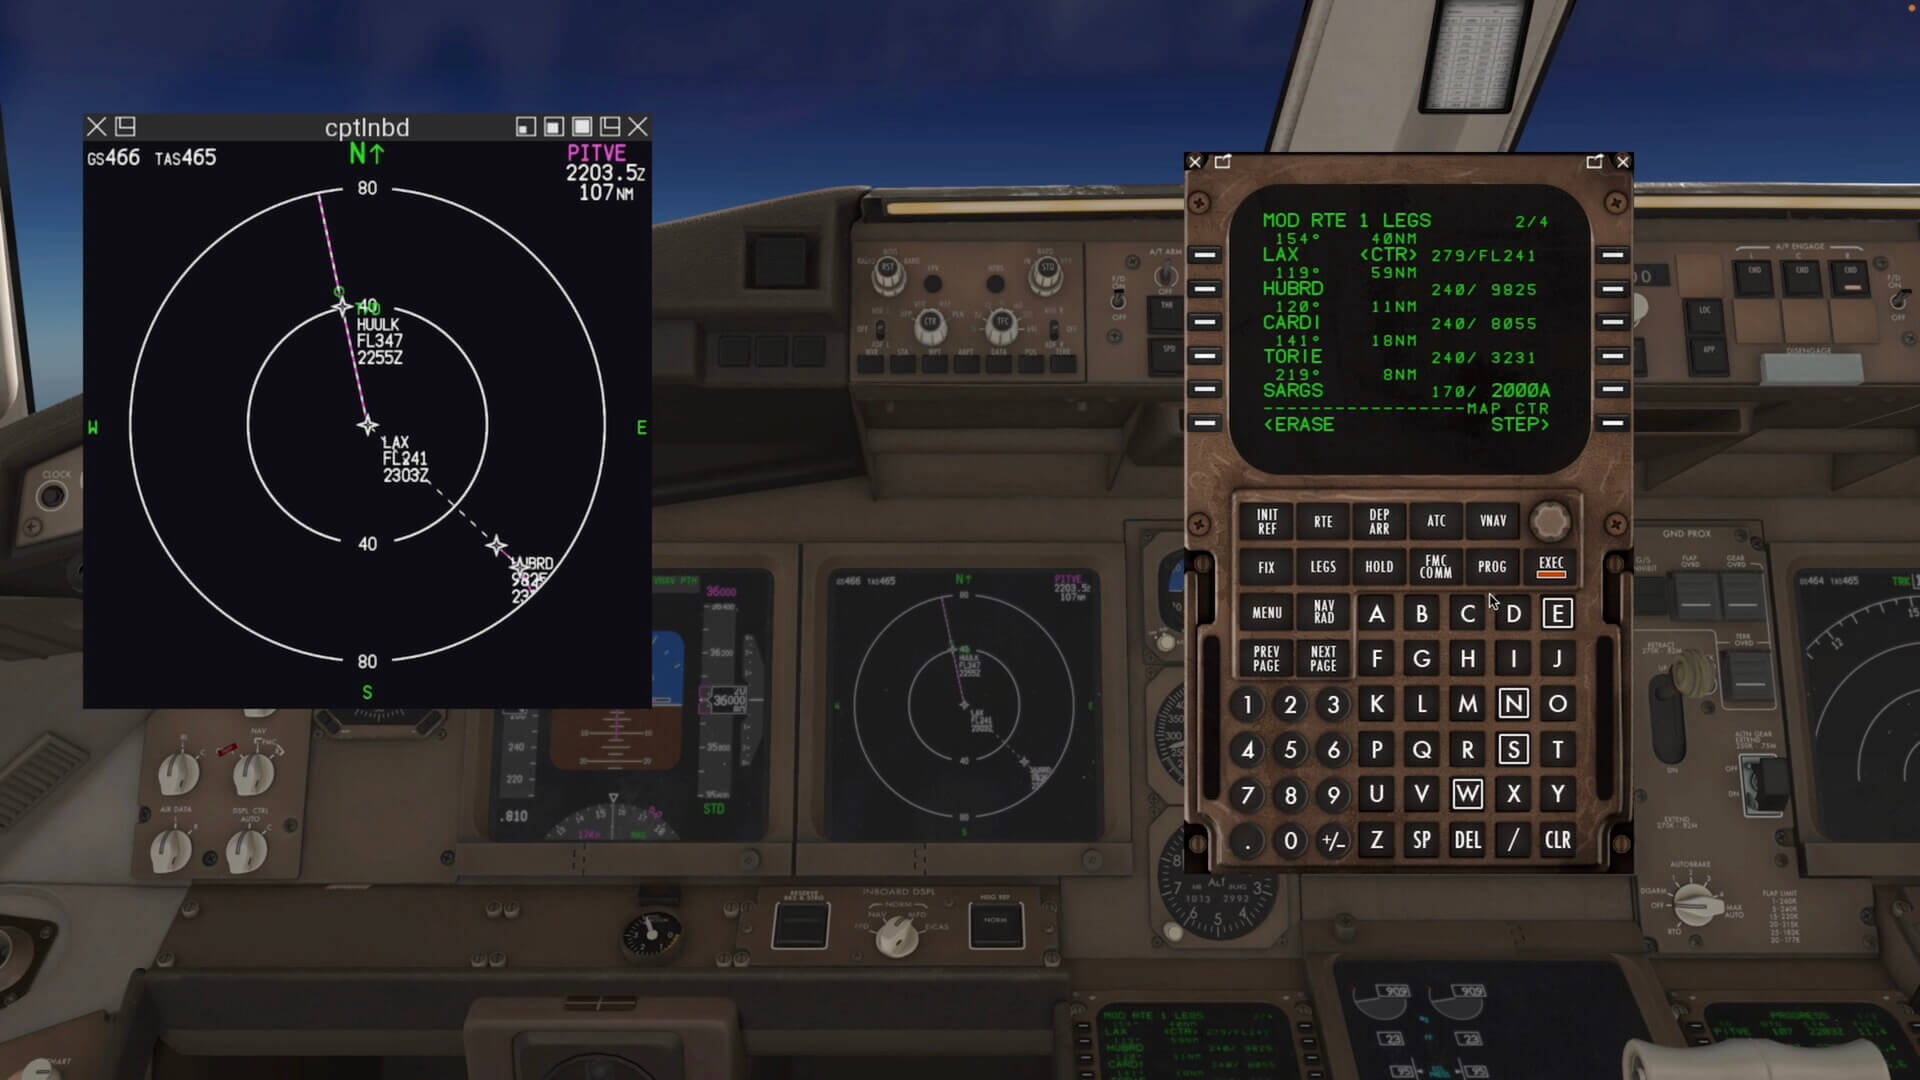
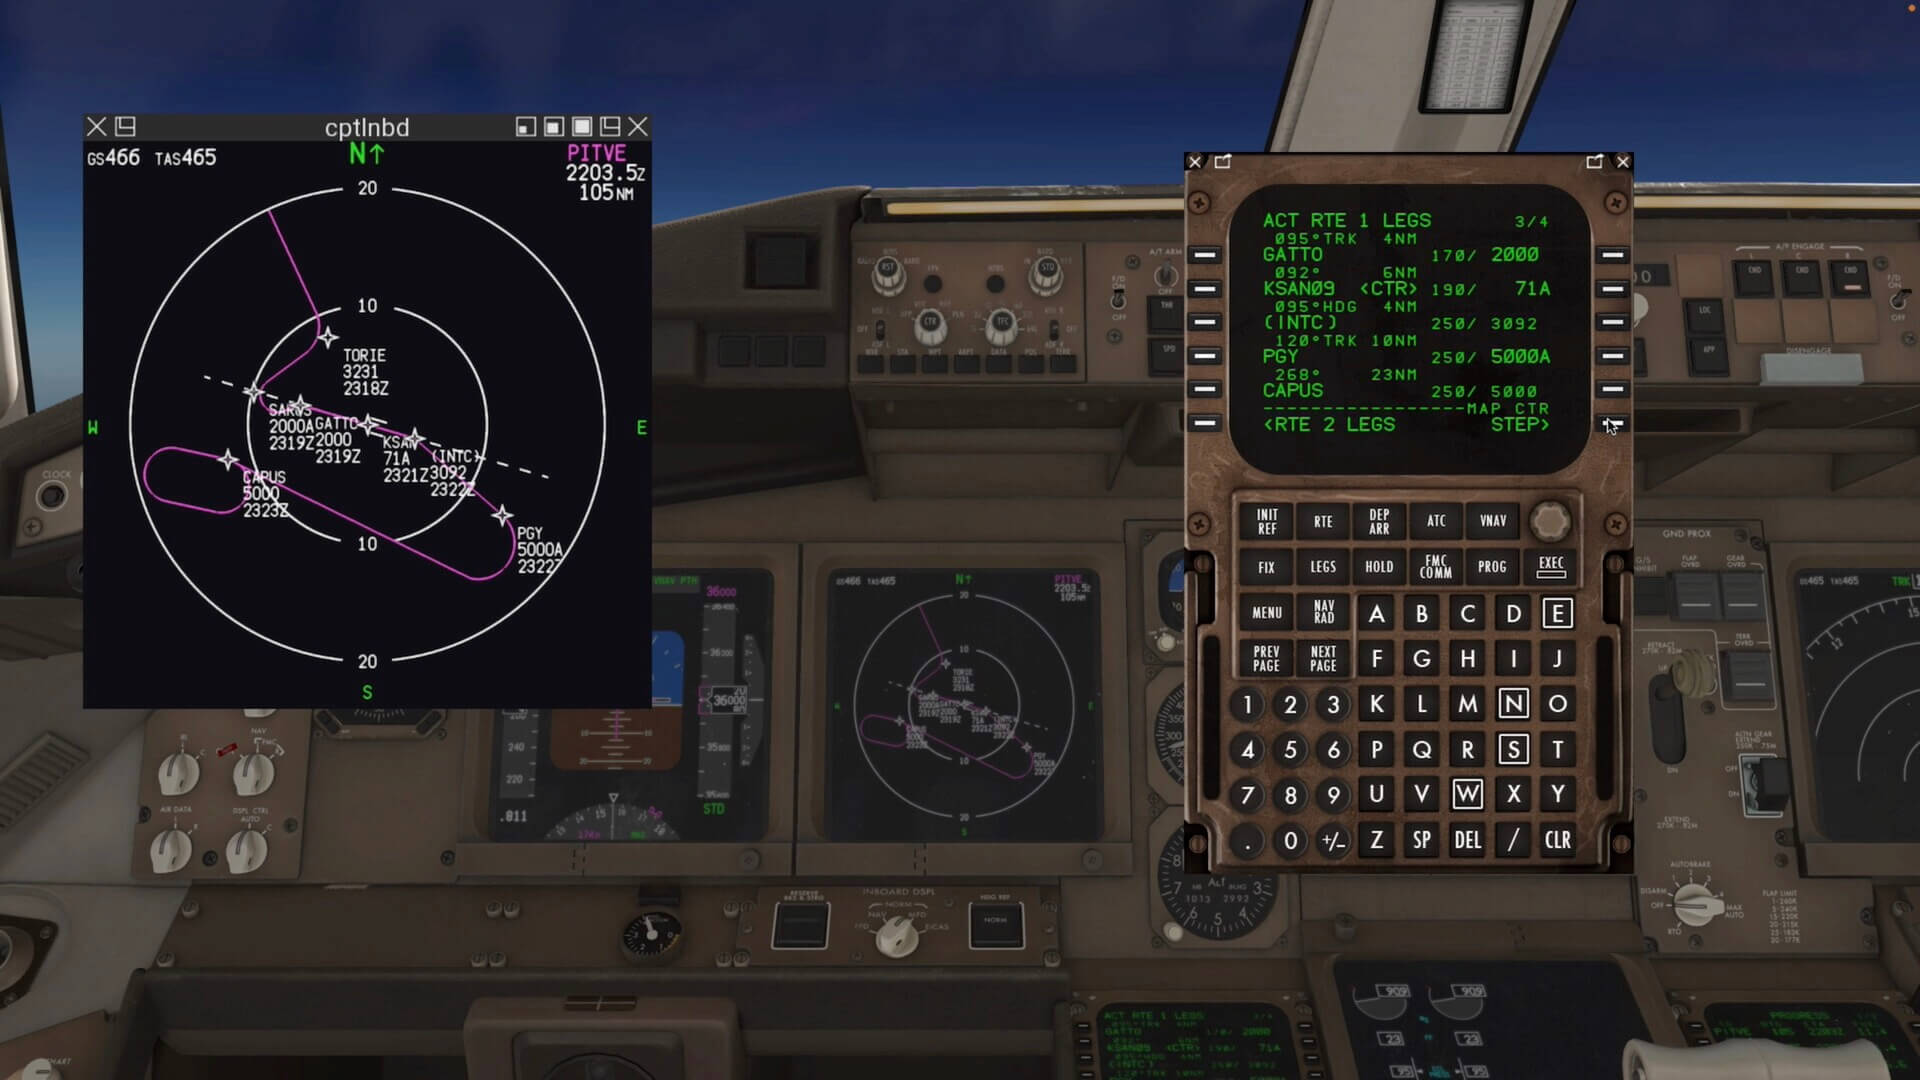

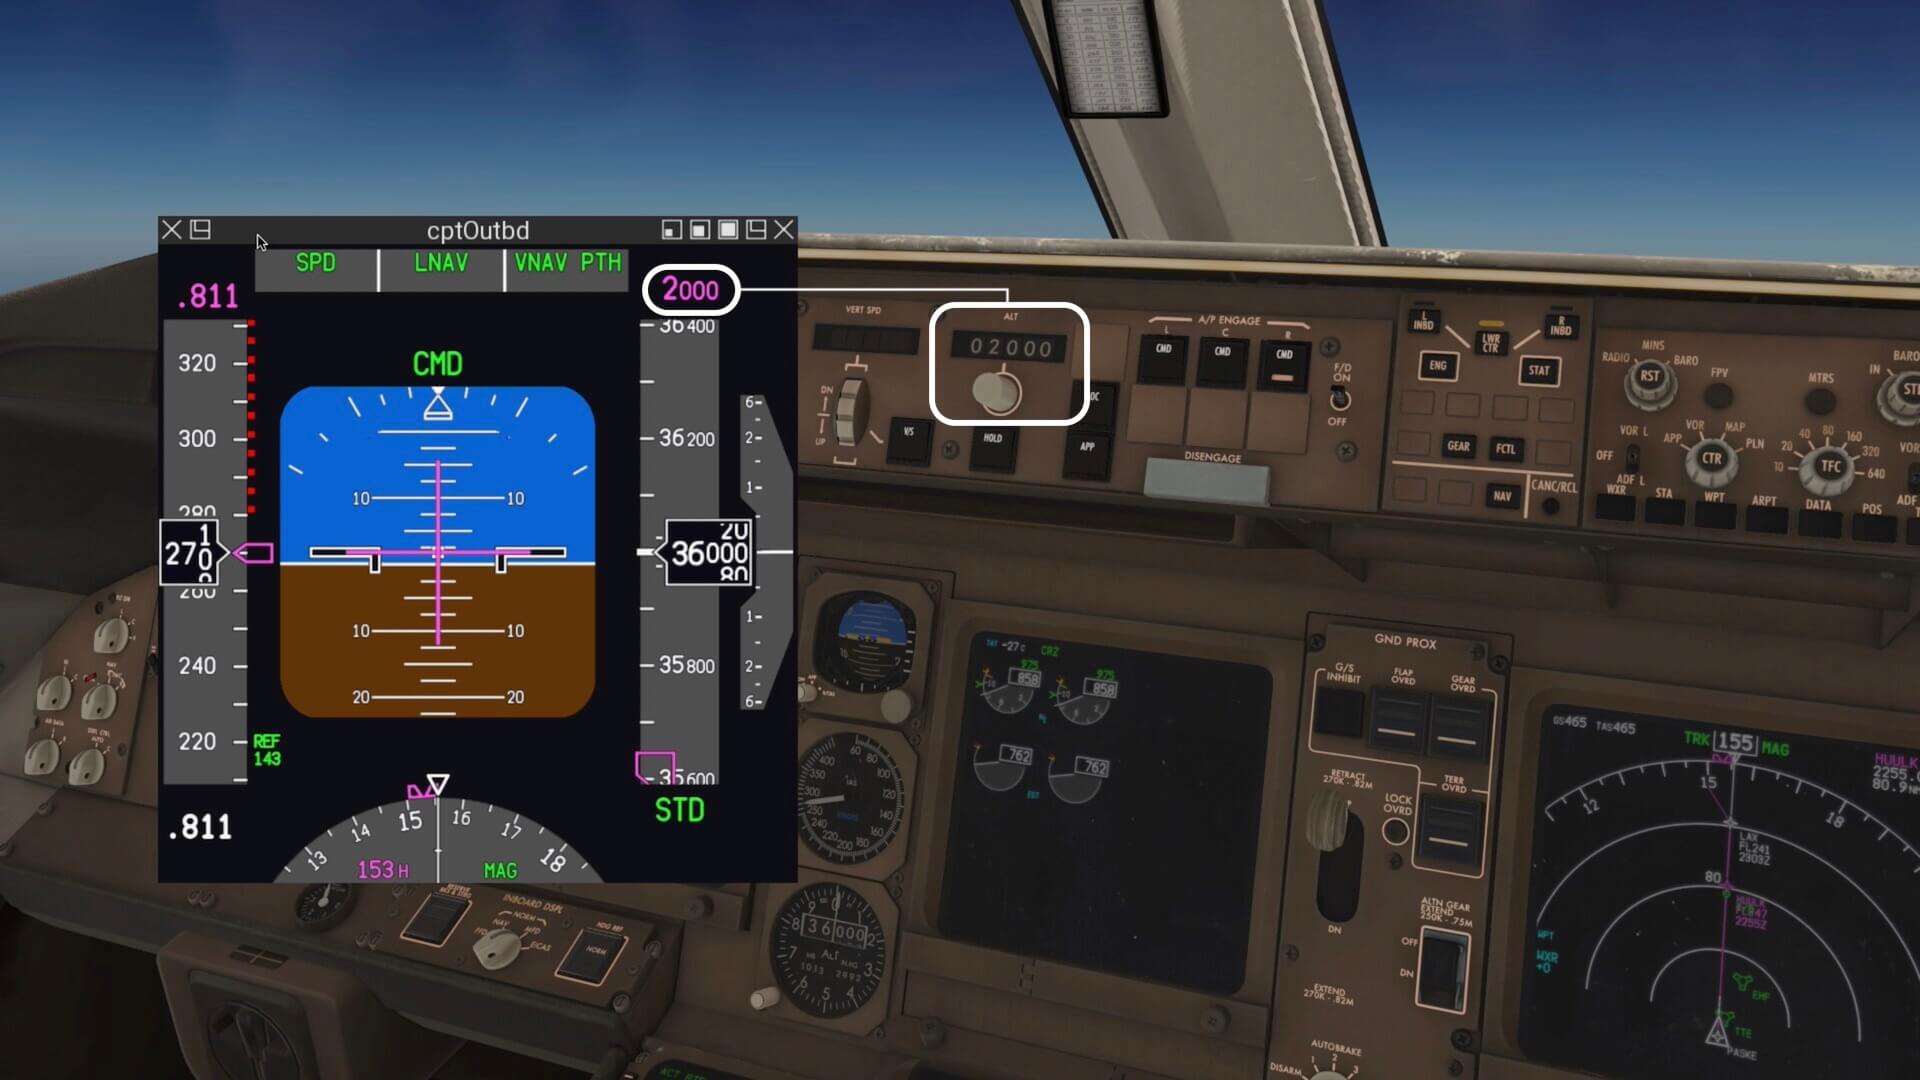

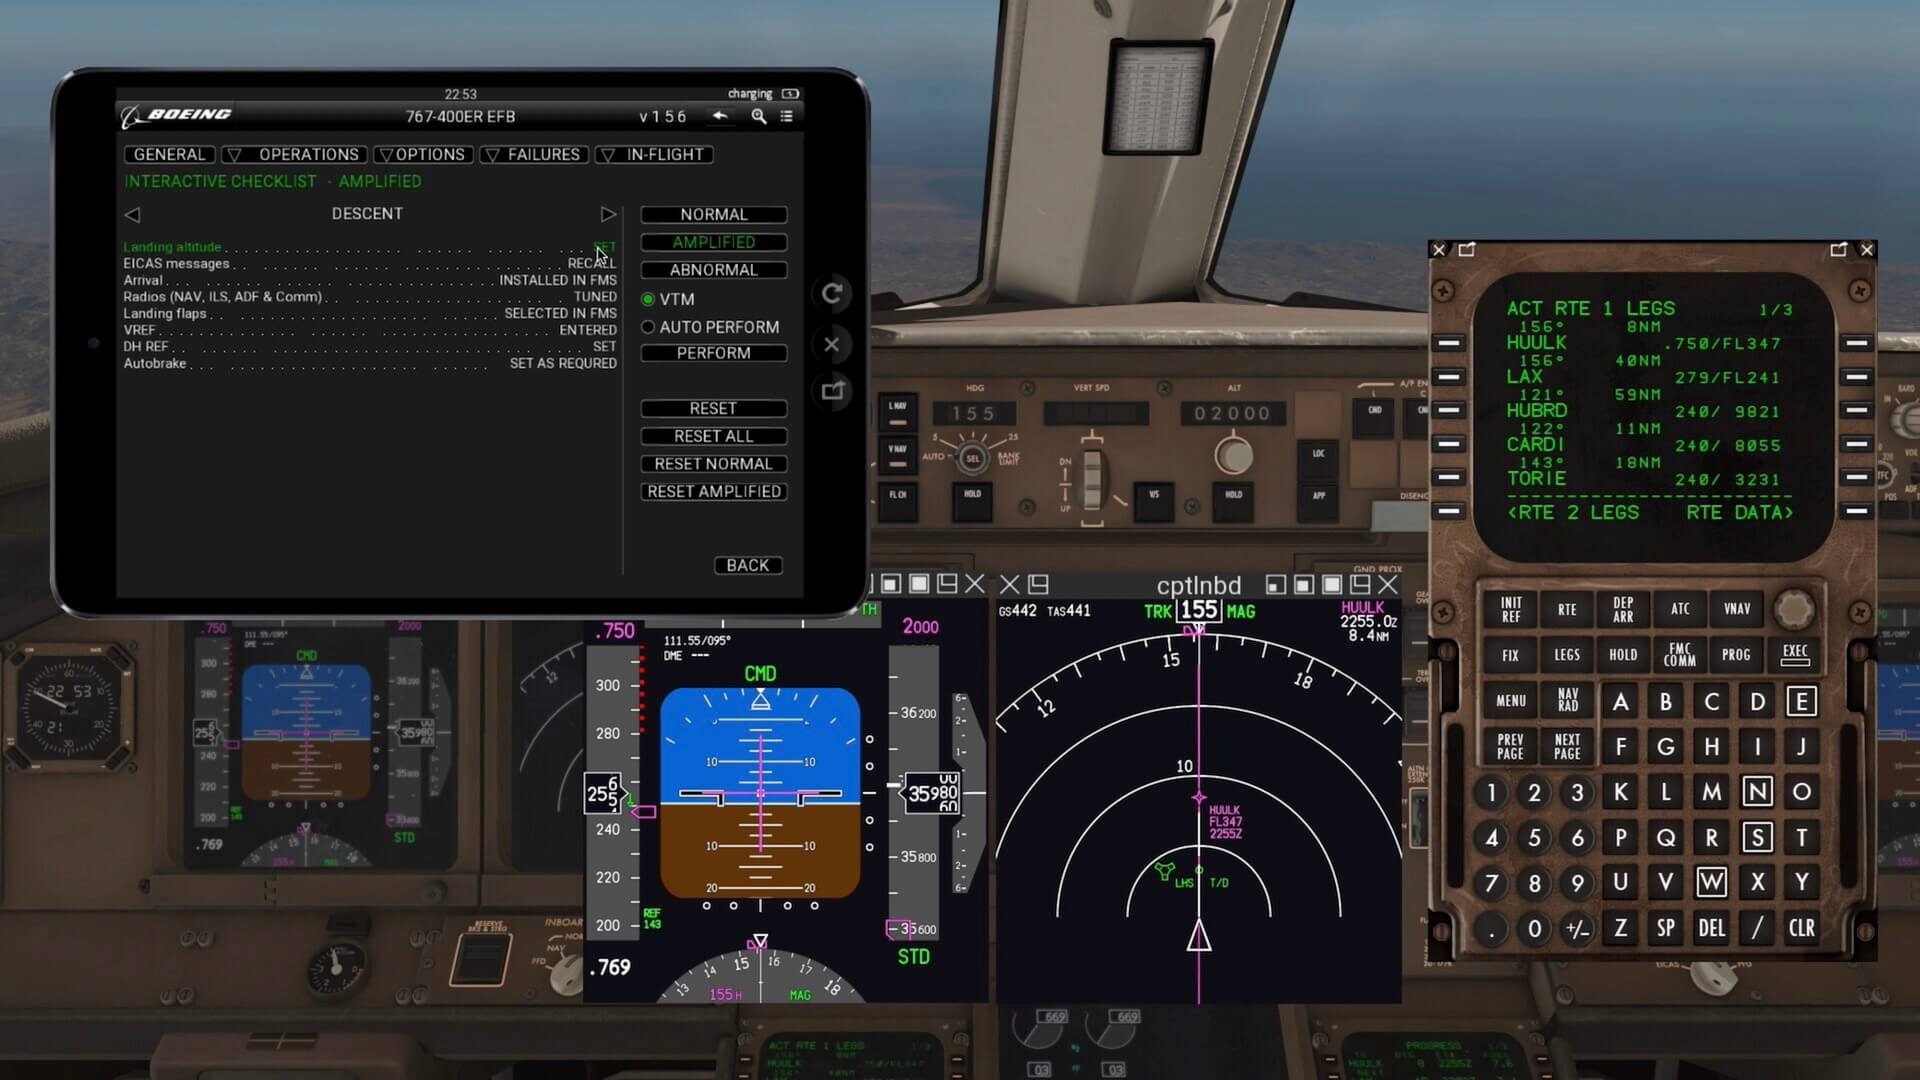
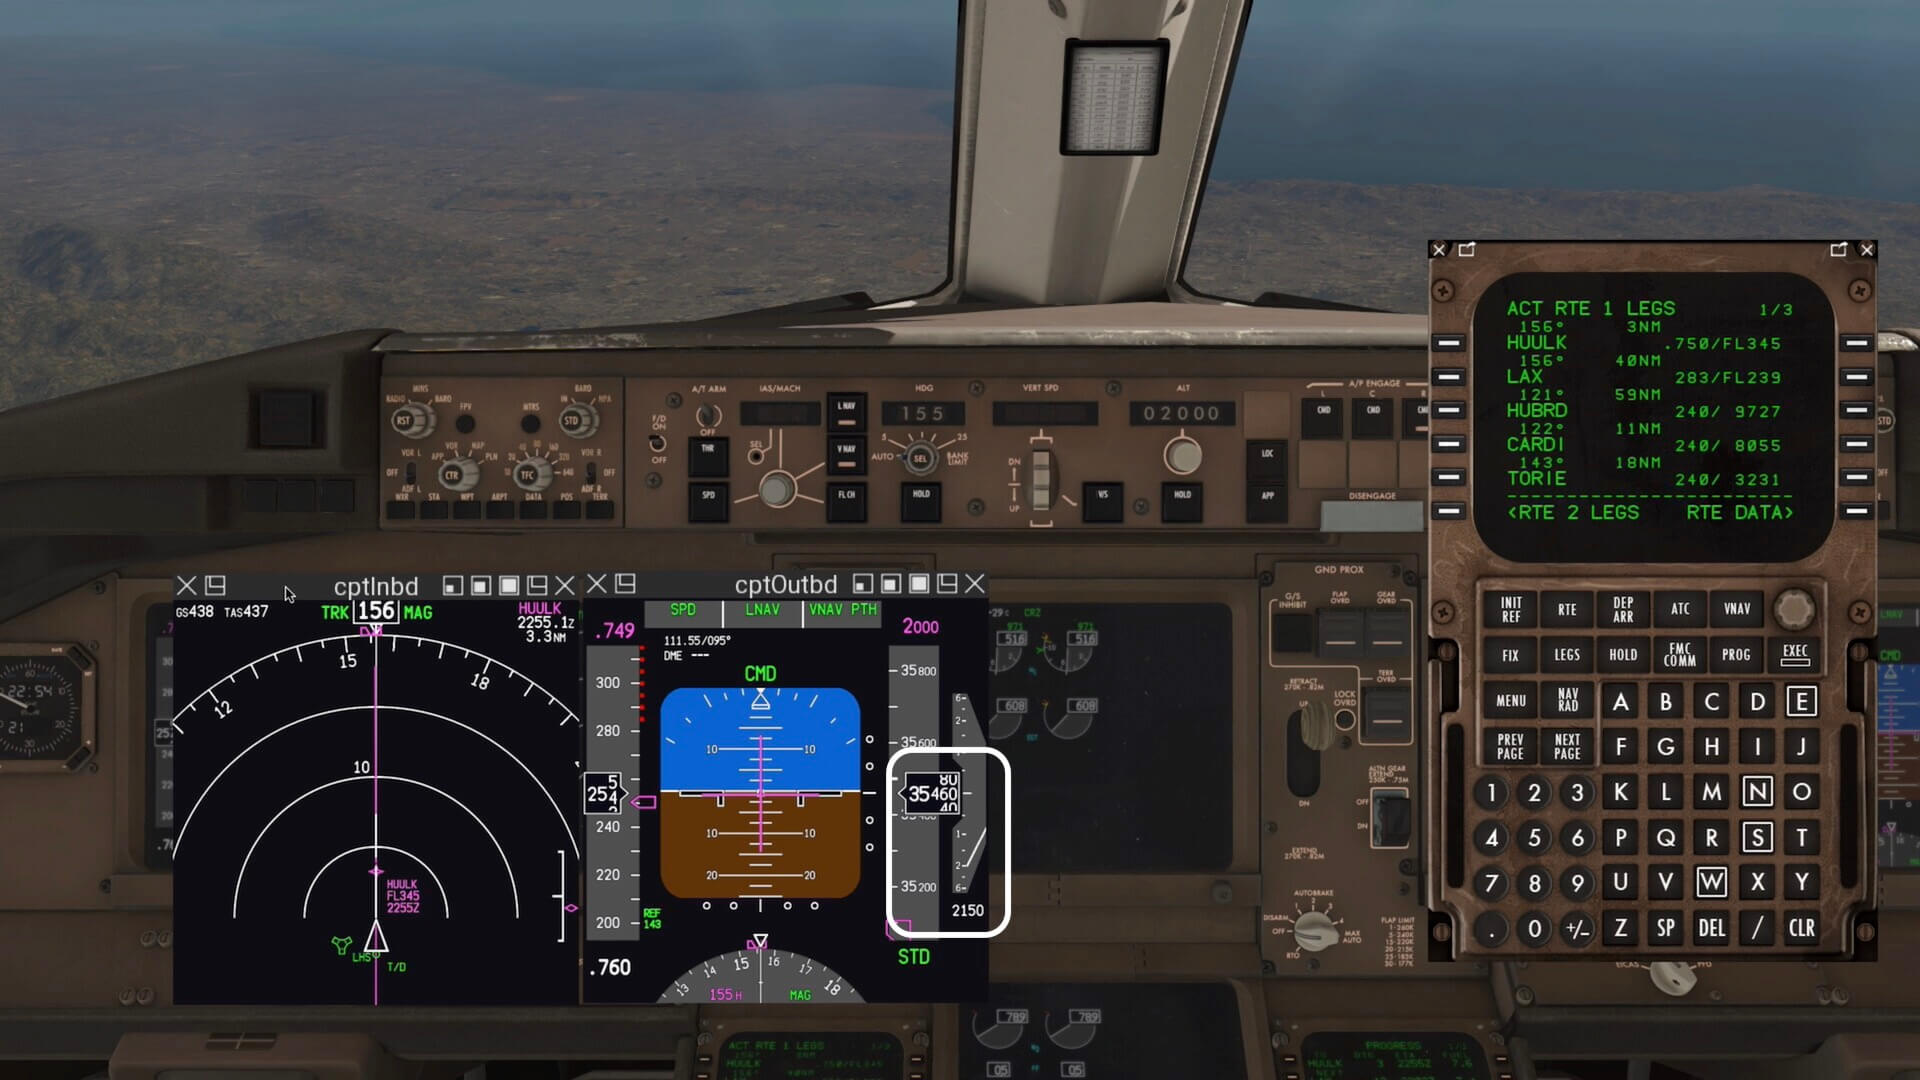


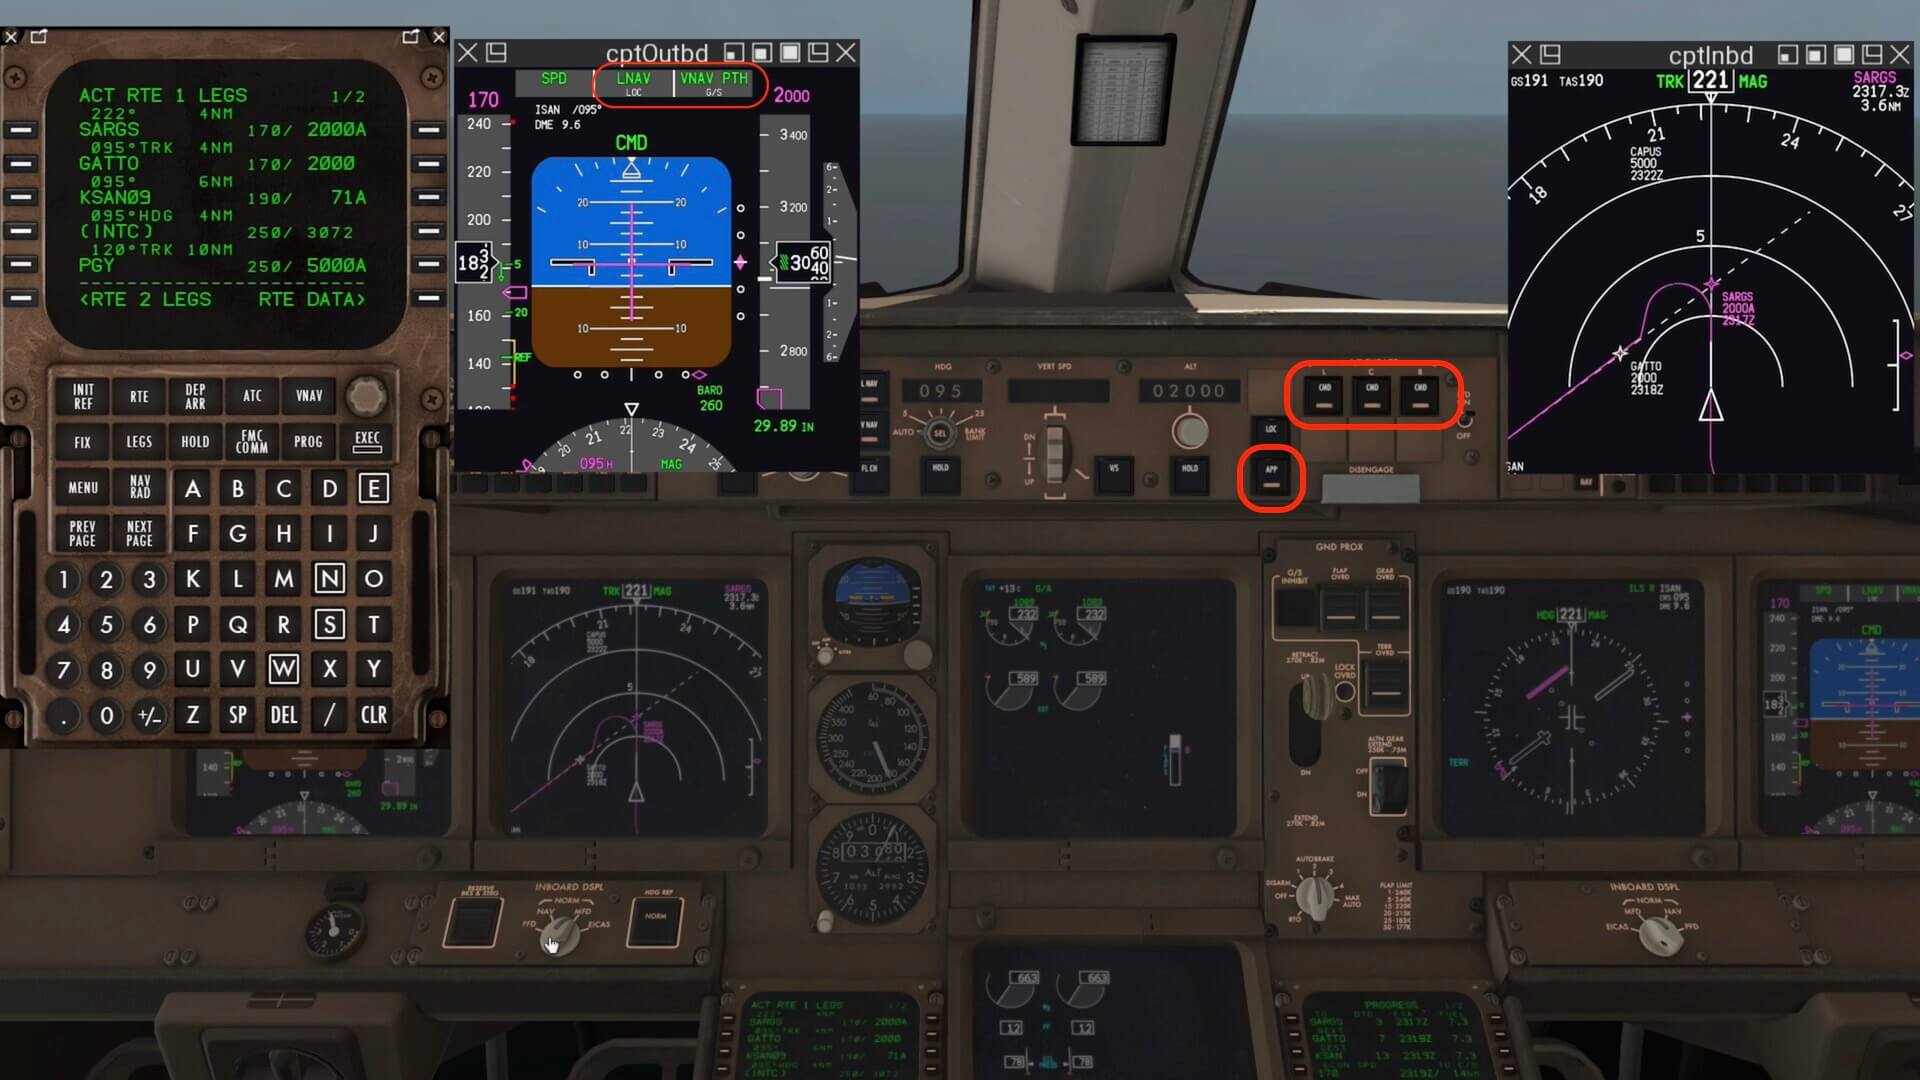
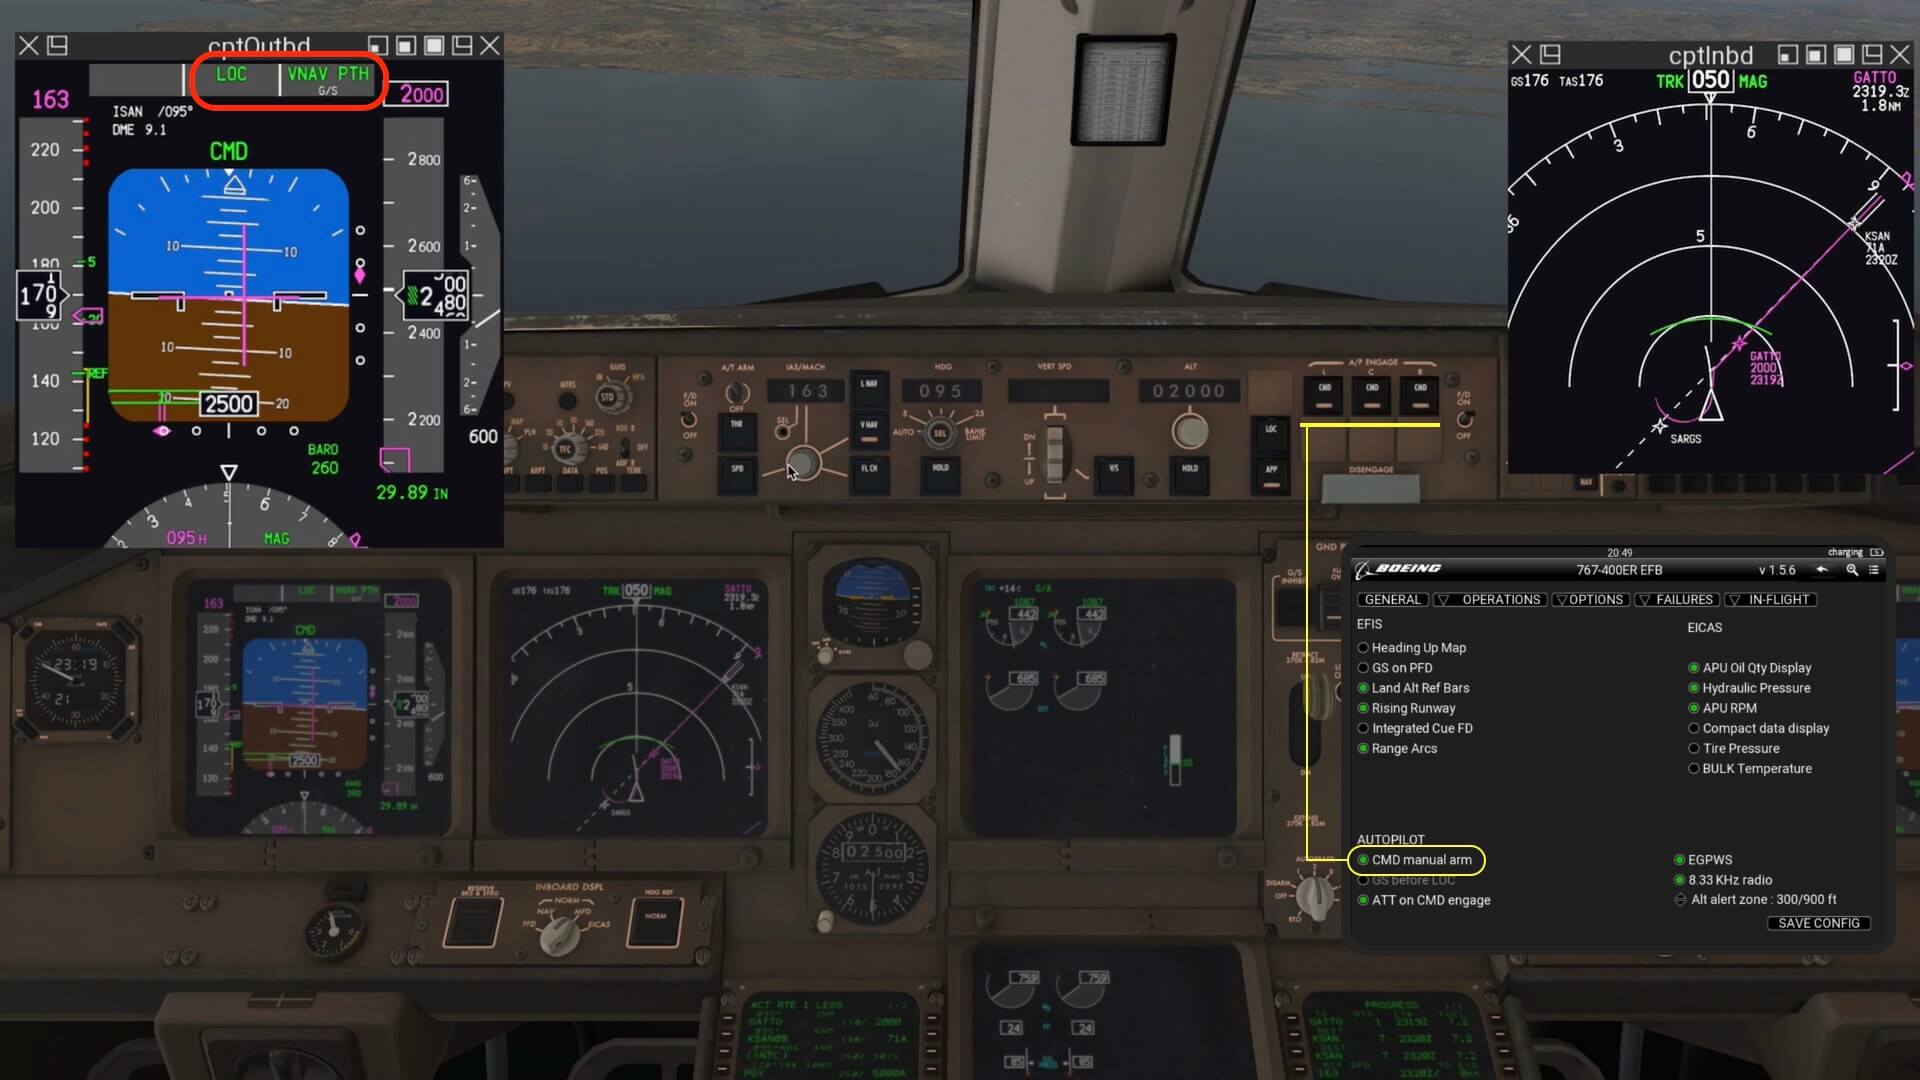


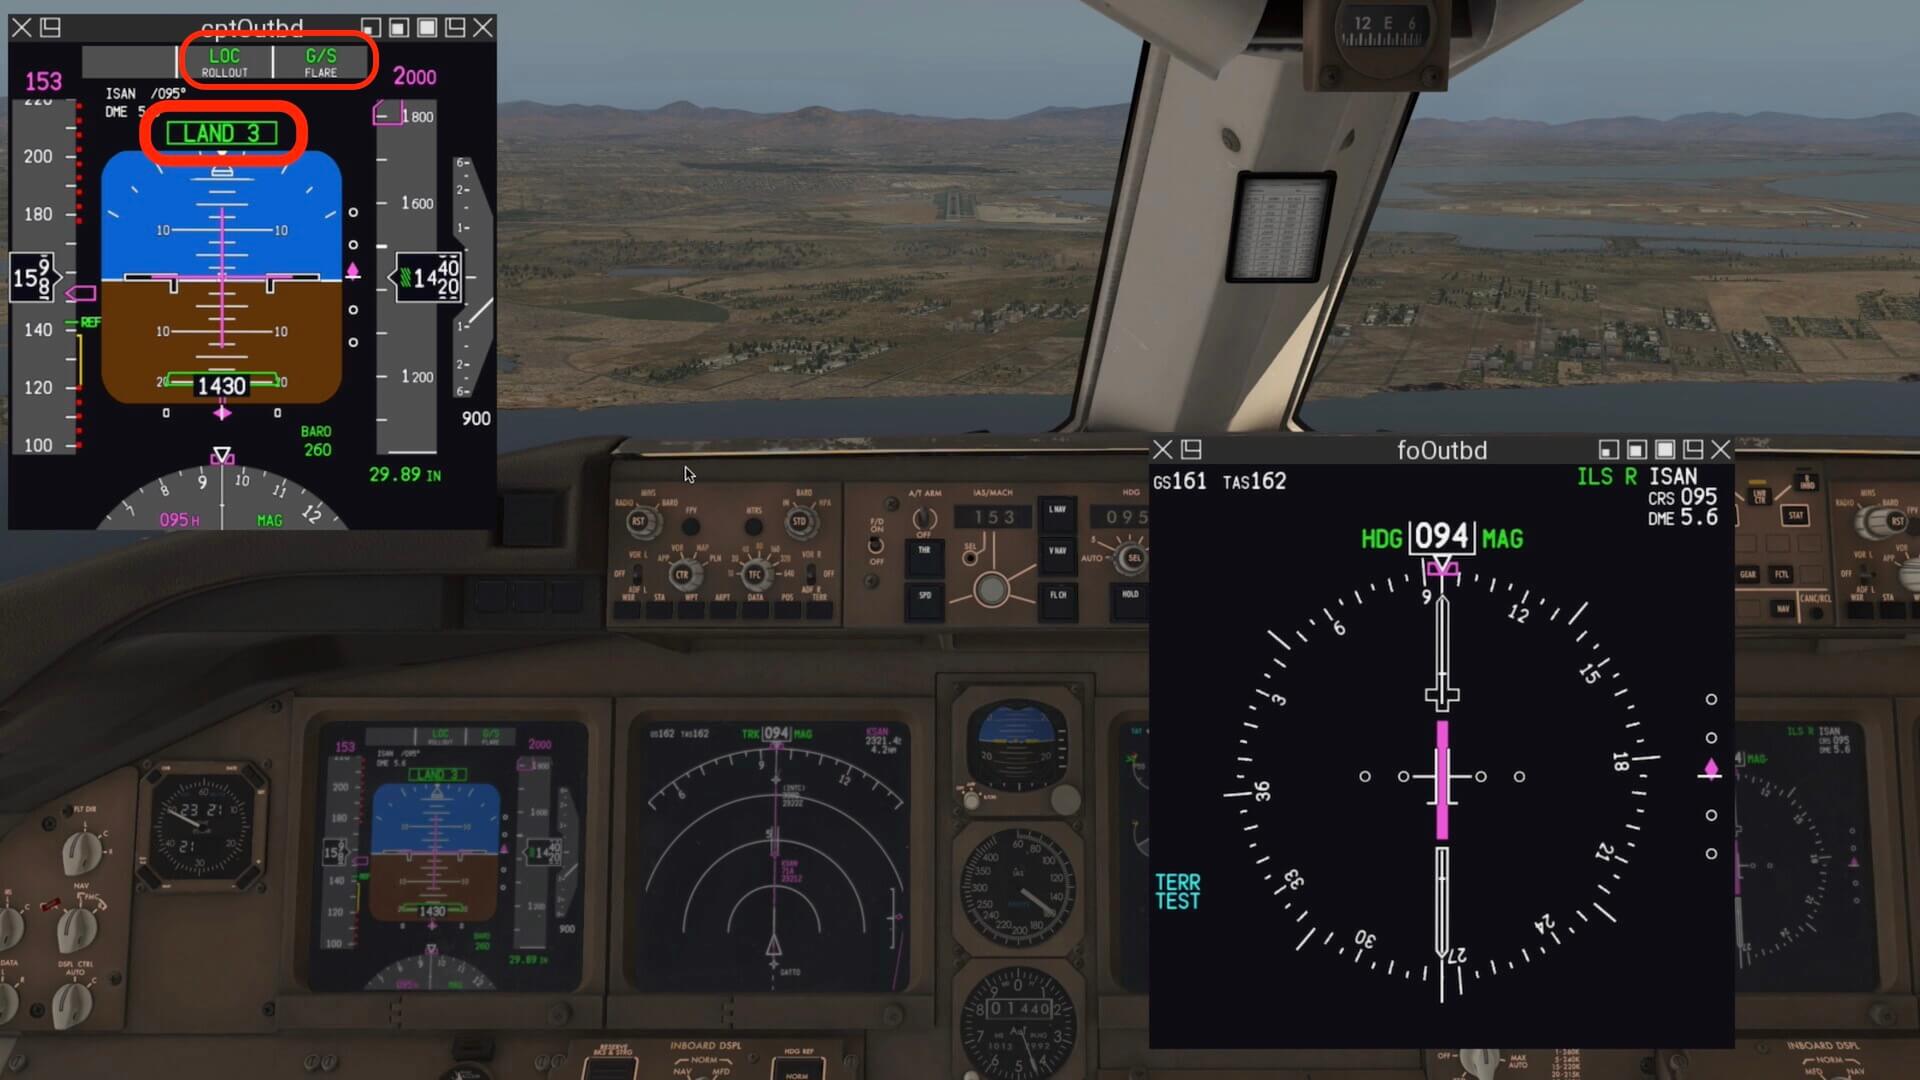


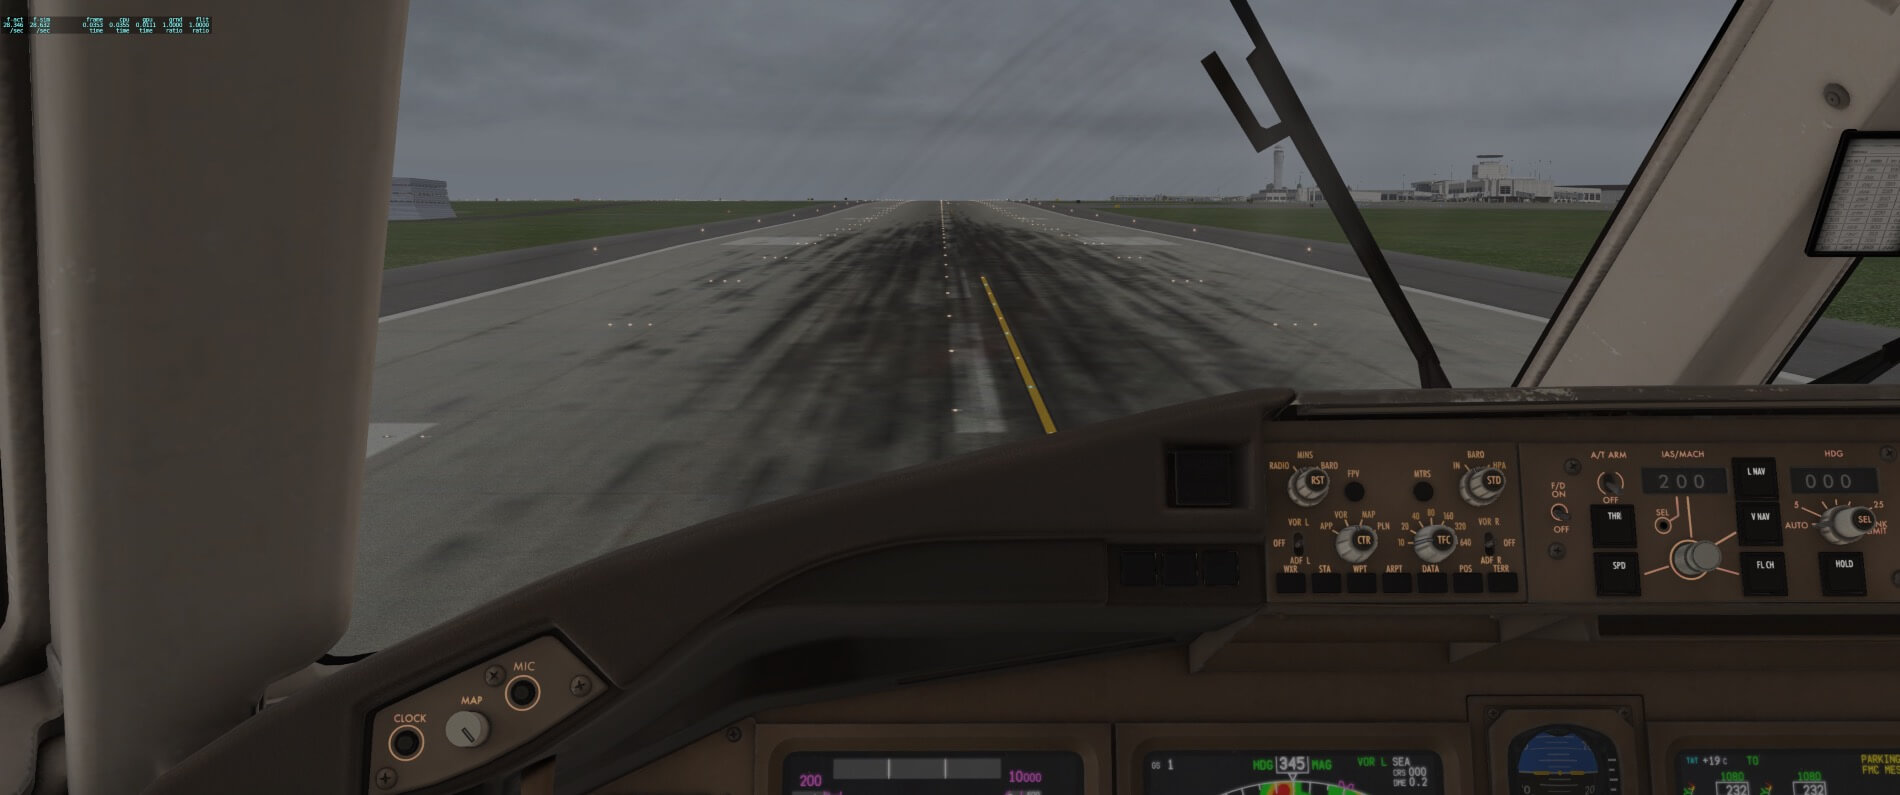

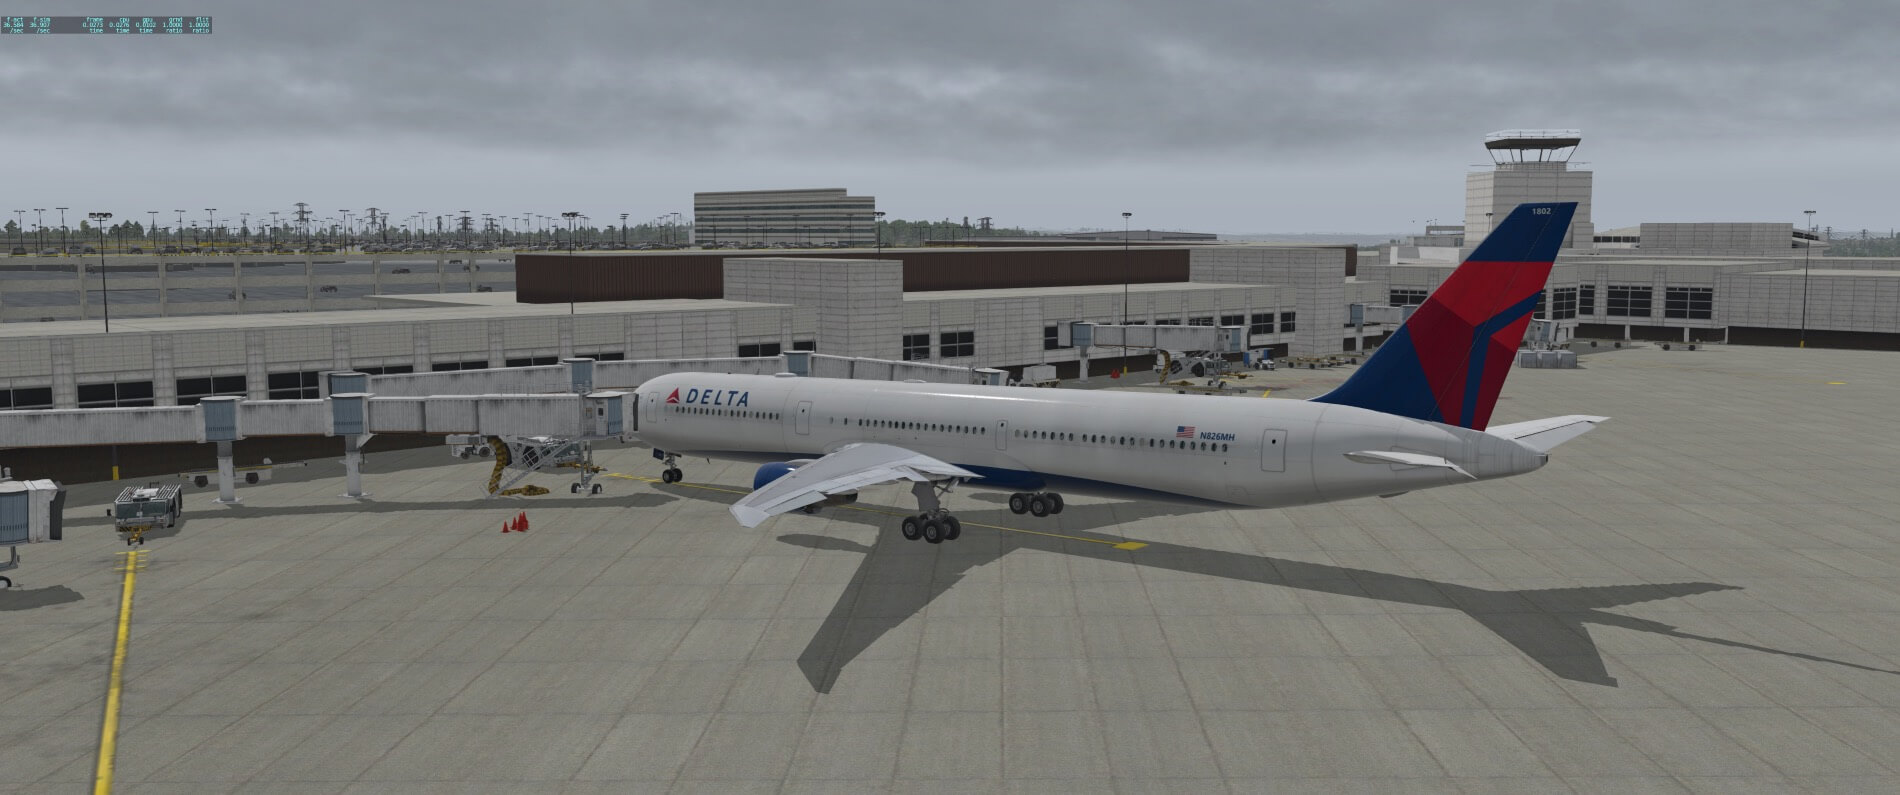

0 Comments