FlyingIron Lockheed P-38L Lightning
Introduction
Wikipedia has a large article on the P-38 Lightning which includes the following information.
The Lockheed P-38 Lightning is a World War II era American piston-engined fighter aircraft. Developed for the United States Army Air Corps, the P-38 had distinctive twin booms and a central nacelle containing the cockpit and armament. Allied propaganda claimed it had been nicknamed the fork-tailed devil (German: der Gabelschwanz-Teufel) by the Luftwaffe and “two planes, one pilot” by the Japanese.
Along with its use as a general fighter, the P-38 was utilised in various aerial combat roles including as a highly effective fighter-bomber, a night fighter, and as a long-range escort fighter when equipped with drop tanks. The P-38 was also used as a bomber-pathfinder, guiding streams of medium and heavy bombers; or even other P-38s, equipped with bombs, to their targets. Used in the aerial reconnaissance role, the P-38 accounted for 90 percent of the aerial film captured over Europe.
Unusual for a fighter of this time, the exhaust was muffled by the turbo-superchargers, making the P-38’s operation relatively quiet. The two turbo-superchargers also provided the P-38 with good high-altitude performance, making it one of the earliest Allied fighters capable of performing at such altitudes. It was extremely forgiving and could be mishandled in many ways, but the rate of roll in the early versions was too low for it to excel as a dogfighter. The P-38 was the only American fighter aircraft in large-scale production throughout American involvement in the war, from Pearl Harbor to Victory over Japan Day.


Lockheed designed the P-38 in response to a February 1937 specification from the United States Army Air Corps for a twin-engine, high-altitude “interceptor” having “the tactical mission of interception and attack of hostile aircraft at high altitude. The Lockheed team chose twin booms to accommodate the tail assembly, engines, and turbo-superchargers, with a central nacelle for the pilot and armament.
Clustering all the armament in the nose was unusual in U.S. aircraft, which typically used wing-mounted guns with trajectories set up to crisscross at one or more points in a convergence zone. Nose-mounted guns did not suffer from having their useful ranges limited by pattern convergence, meaning that good pilots could shoot much farther. A Lightning could reliably hit targets at any range up to 1,000yd (910m), whereas the wing guns of other fighters were optimised for a specific range.
The Lockheed design incorporated tricycle undercarriage and a bubble canopy, and featured two 1,000hp (750kW) turbo-supercharged 12-cylinder Allison V-1710 engines fitted with counter-rotating propellers to eliminate the effect of engine torque, with the turbochargers positioned behind the engines, the exhaust side of the units exposed along the dorsal surfaces of the booms.
The P-38 was the first American fighter to make extensive use of stainless steel and smooth, flush-riveted butt-jointed aluminium skin panels. It was also the first military aircraft to fly faster than 400mph (640km/h) in level flight.
After the Battle of Midway, the USAAF began redeploying fighter groups to Britain as part of Operation Bolero and Lightnings of the 1st Fighter Group were flown across the Atlantic via Iceland. The P-38 was used most extensively and successfully in the Pacific theatre, where it proved more suited, combining exceptional range with the reliability of two engines for long missions over water. The P-38 was used in a variety of roles, especially escorting bombers at altitudes of 18,000–25,000ft (5,500–7,600m). The P-38 was credited with destroying more Japanese aircraft than any other USAAF fighter.
The P-38L was the most numerous variant of the Lightning with 3,923 built. It entered service with the USAAF in June 1944, in time to support the Allied invasion of France on D-Day. The P-38L was the first Lightning fitted with zero-length rocket launchers. Seven high velocity aircraft rockets (HVARs) on pylons beneath each wing, and later, five rockets on each wing on “Christmas tree” launch racks which added 1,365lb (619kg) to the aircraft.
The P-38L also had strengthened stores pylons to allow carriage of 2,000lb (900kg) bombs or 300USgal (1,100l) drop tanks. A number of P-38Js and P-38Ls were field-modified as formation bombing “pathfinders” or “droopsnoots”, fitted with a Norden bombsight or an H2X radar system. Such pathfinders would lead a formation of medium and heavy bombers; or of other P-38s, each loaded with two 2,000lb (907kg) bombs; the entire formation releasing their ordinance when the pathfinder did.
The last P-38s in service with the United States Air Force were retired in 1949. A total of 100 late-model P-38L and F-5 Lightnings were acquired by Italy through an agreement dated April 1946. The Italian P-38s were phased out in 1956; none survived the scrapyard.
The majority of wartime Lightnings present in the continental U.S. at the end of the war were put up for sale for US$1,200 apiece; the rest were scrapped. P-38s in distant theatres of war were bulldozed into piles and abandoned or scrapped; very few avoided that fate. Wikipedia has a list of 26 surviving P-38s all over the world with 15 of these being P-38Ls.
Flying Iron describe the aircrafts key specifications as:
Crew: 1
Wing Span: 15.84m/52ft
Length: 11.53m/37.8ft
Height: 3.91m/12.8ft
Wing Area: 30.43m2/10.76ft2
Empty Weight: 12800 lbs/5806kg
Gross Weight: 17500 lbs/7938kg
Top Speed: 414 mph/666.26kph
Service Ceiling: 44,000 ft / 13km
Max Range: 2600 miles / 4185 km
Climb: Up to 4750 ft/min/24.1m/s
Powerplant:
2 × Allison V-1710-111 V-12 liquid-cooled turbo-supercharged piston engine, 1,600 hp (1,200 kW) WEP at 60 inHg (2.032 bar) and 3,000 rpm (counter-rotating)
Armament:
1 x 20mm Nose Cannon, 4 x .50 Cal Nose Guns + 4 Pylons for mounting various bomb & rocket configurations (up to 3000 lbs of bombs)
I have never flown in a P-38 nor have I sat in one. I am not a qualified pilot and use X-Plane for recreation. I write this review from that perspective and try to cover issues that interest me about the model.
Installation and Documentation
Download speeds vary with internet connection but I found this a straight forward process. Once downloaded the folder needs to be copied in to the users aircraft folder in X-Plane. I found when I first loaded the model my Mac did not recognise the developer so I clicked the “Cancel” button, opened “System Preferences – Security & Privacy – General” and clicked below the “Open Anyway” button. In the next popup window to open I clicked the middle Open button and loading continued. These steps only need to be completed once. When I loaded the aircraft the first time I found I was sharing the cockpit with the animated pilot and the propellors were both static and rotating! I reloaded the aircraft and all worked correctly and has done since.
An aircraft manual is included in the downloaded folder, which is a 43 page PDF. It includes an introduction and brief history, a cockpit familiarisation chapter with annotated cockpit screen shots. These are well laid out and detailed. The manual continues to cover aircraft systems including fuel, hydraulics, coolant and oil, propellors and electrical issues. These systems are explained in enough detail that the user can understand them and be aware of how they work, useful for failures, but not written in such a technical fashion that they become too complicated. Whilst these sections are interesting and very useful they are not essential reading for flying the model on a simple flight.
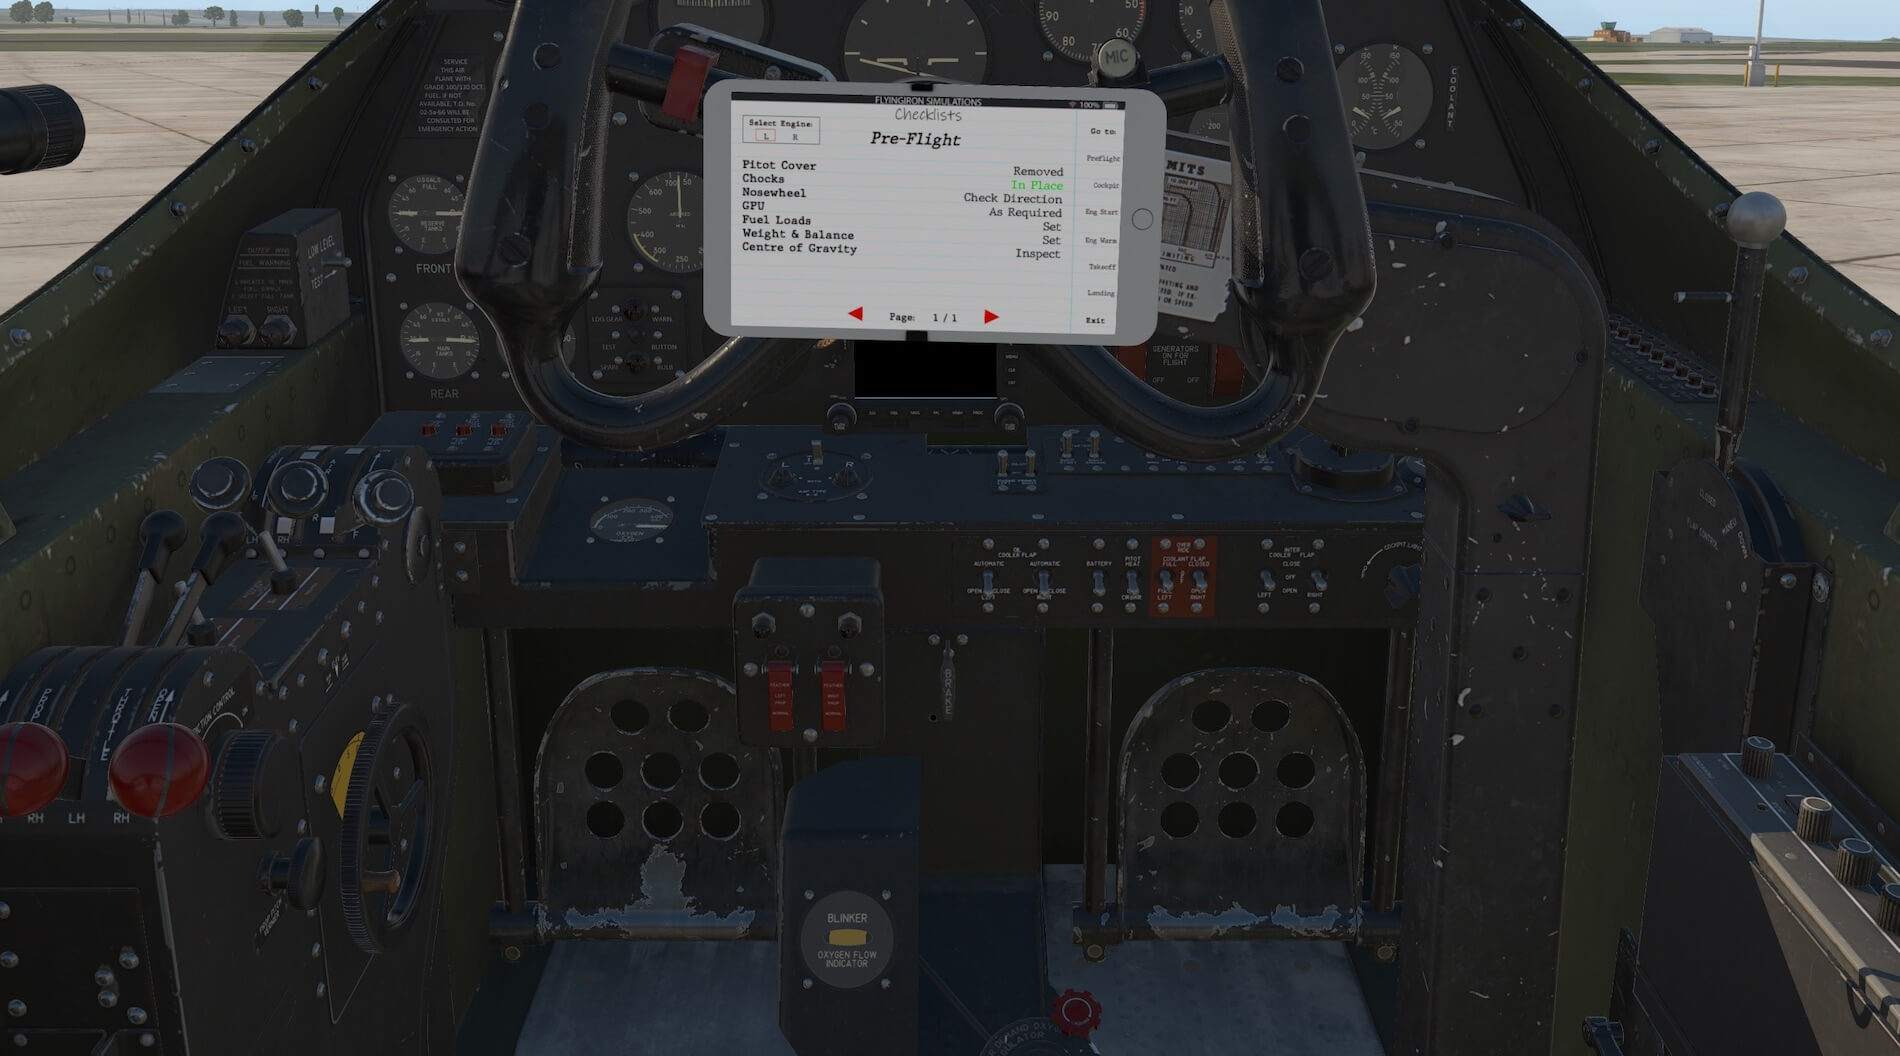
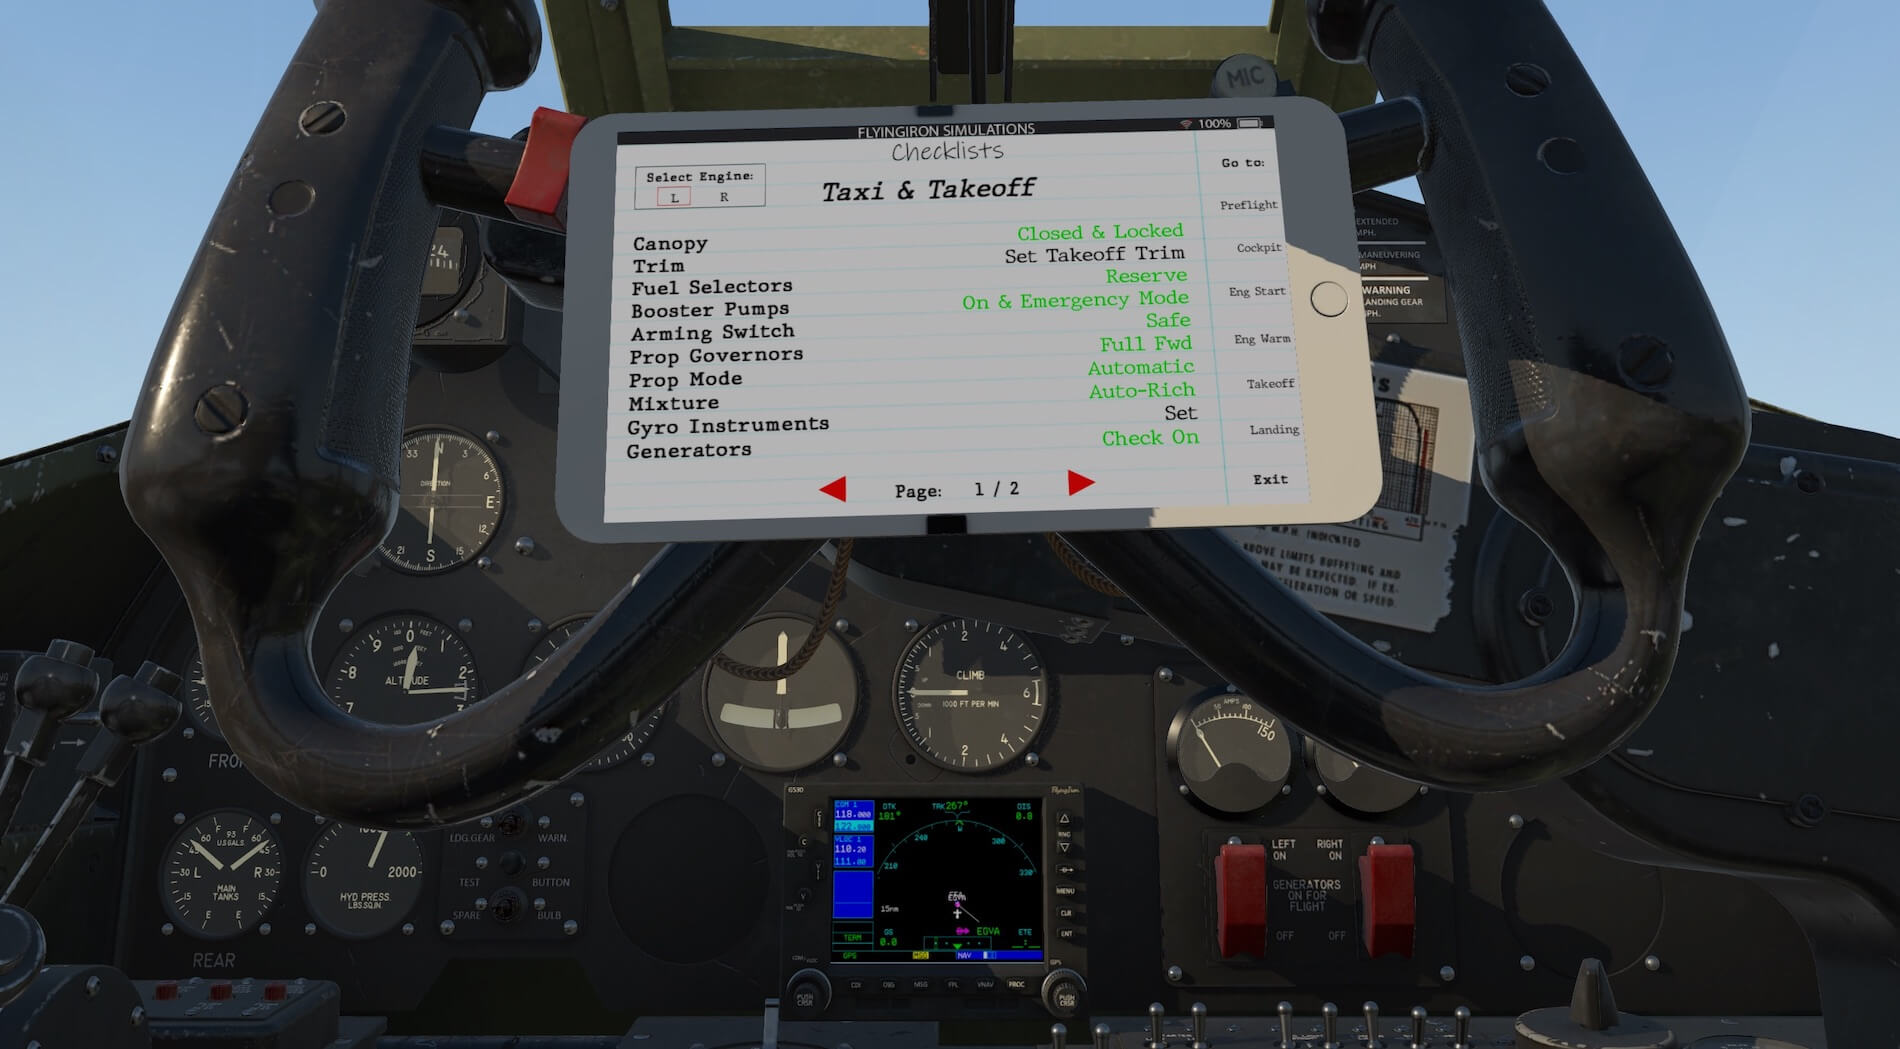
The manual then provides a series of checklists covering pre-flight, engine start, ground handling and take off. The middle part of this section then covers flight procedures including engine management, temperature and fluids management, oxygen, fuel management, stalls and dives. The checklists then continue covering engine shut down, landing and after landing.
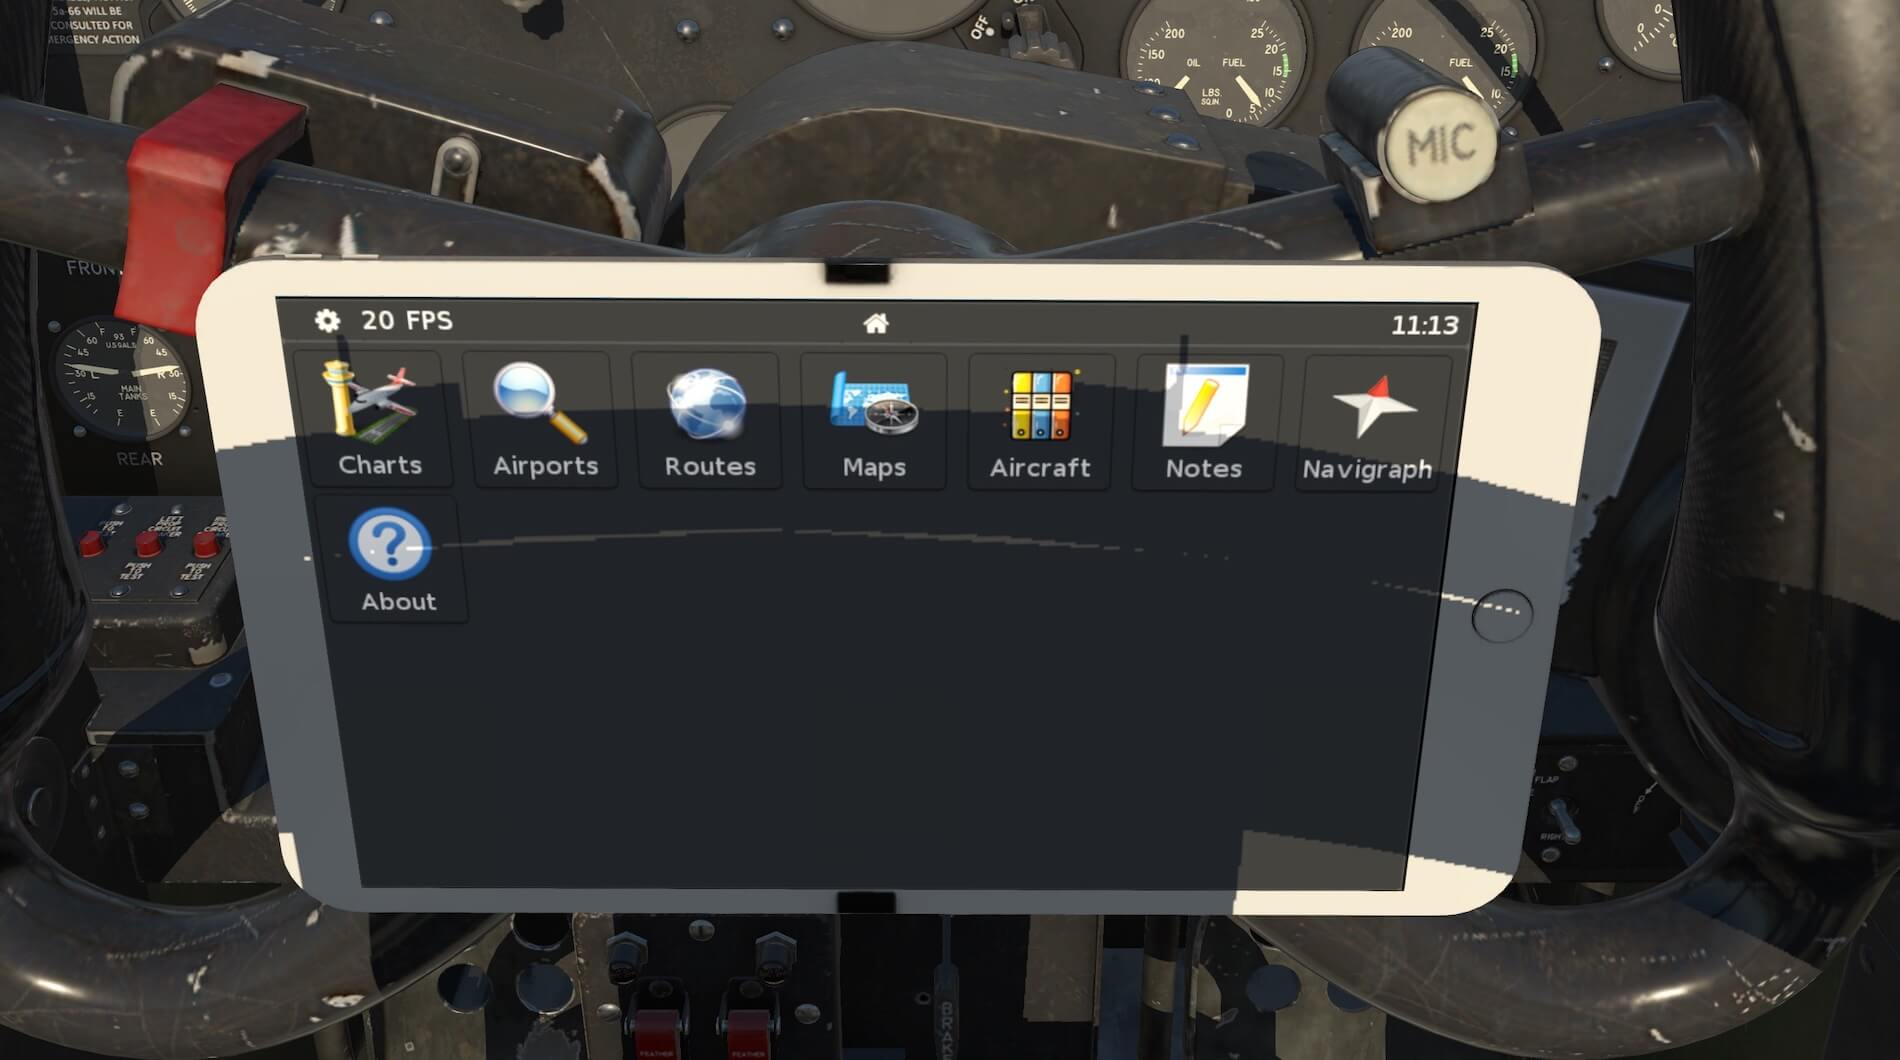
The next section covers the weapons and armament for the model and then a final section covers the systems the developers have put in place to help the user enjoy the model, via a User Interface Tab which can be toggled by clicking the centre of the on screen yoke, such as access to AviTab, flight set up, checklists, Garmin GPS, maps, ground services, EFIS, settings and the ability to set up custom training flights. Many sections have Quick Tips to help the pilot use the model successfully.
The documentation also helpfully includes known issues/missing features for this version and these are listed as:
- Some sounds are missing or are using placeholder sounds (canopy slide, energiser)
- Rockets are not native to X-plane and not included in this sim
- Static elements (chocks, GPU) not yet incorporated
- Compass adjustment control not implemented
- Circuit breakers not yet implemented
The manual is detailed, interesting and helpful and the systems covered and additional equipment supplied allows the the user to carry out more and more detailed and challenging flights providing a great experience for pilots of all abilities.
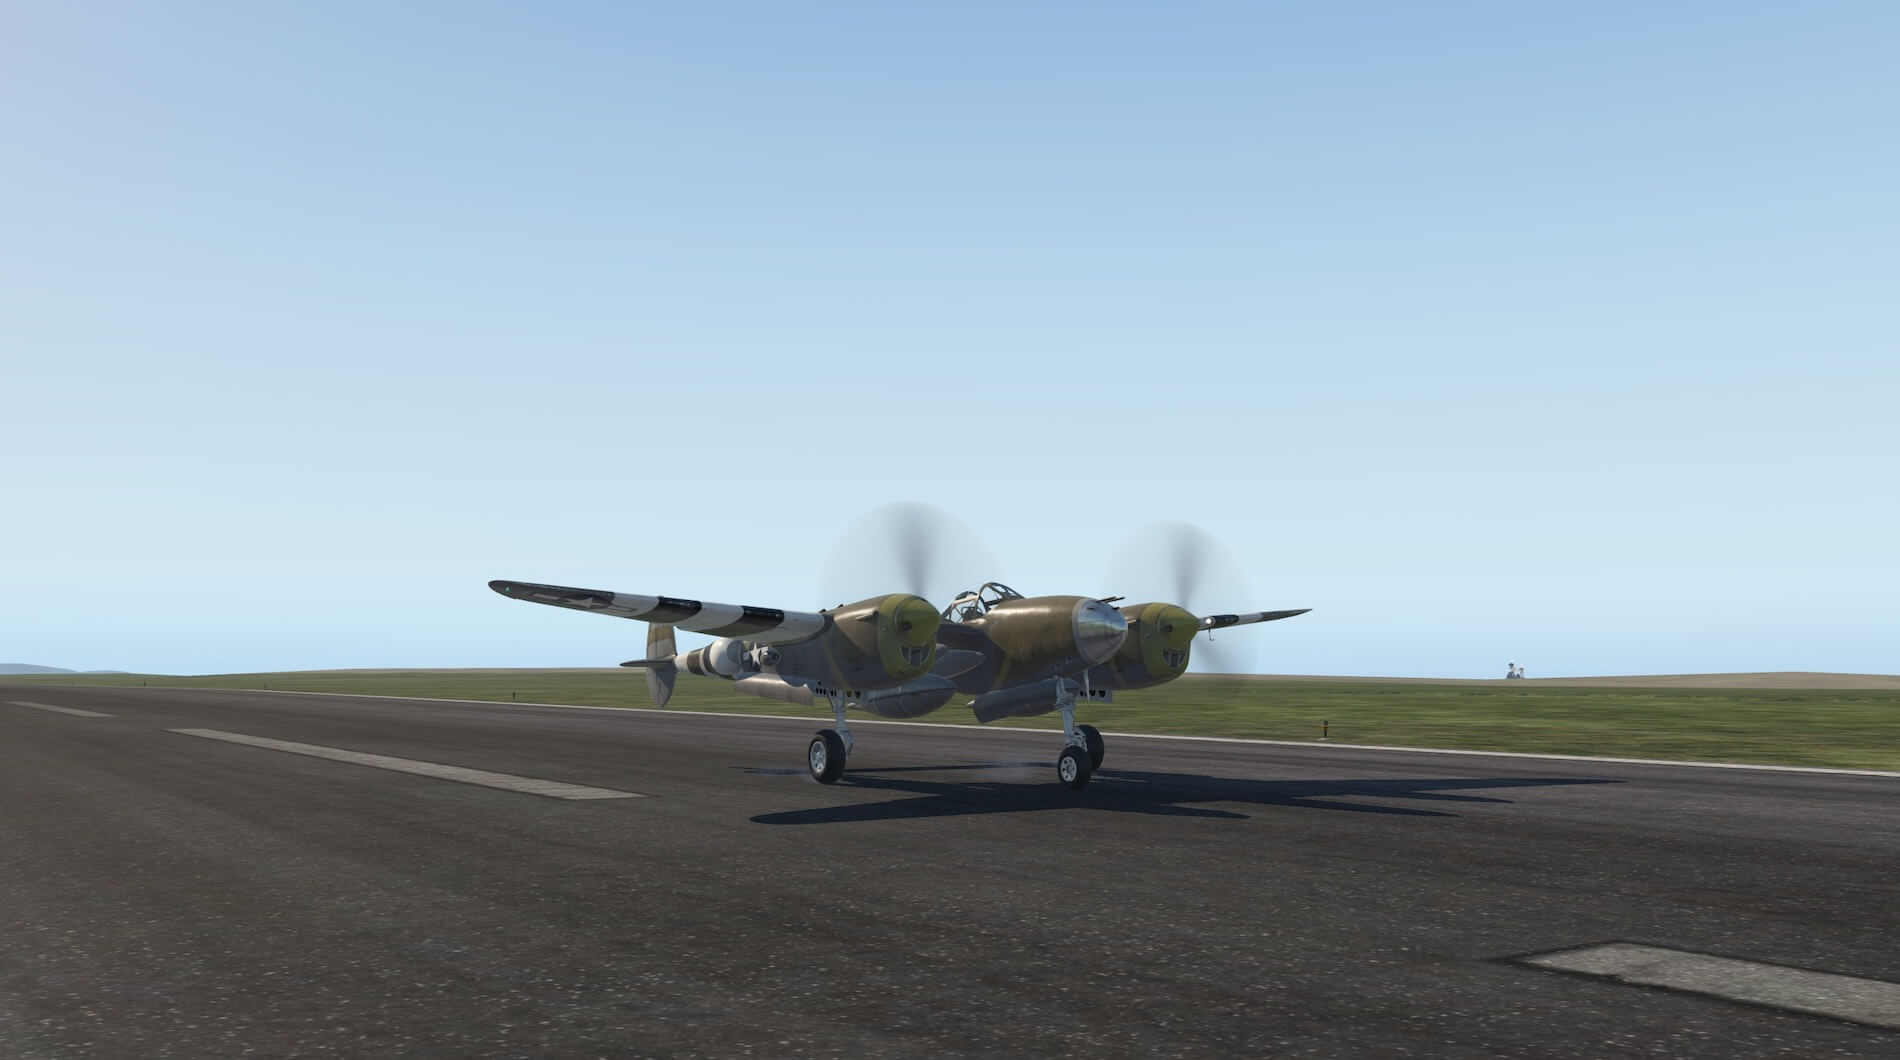
Exterior Modelling
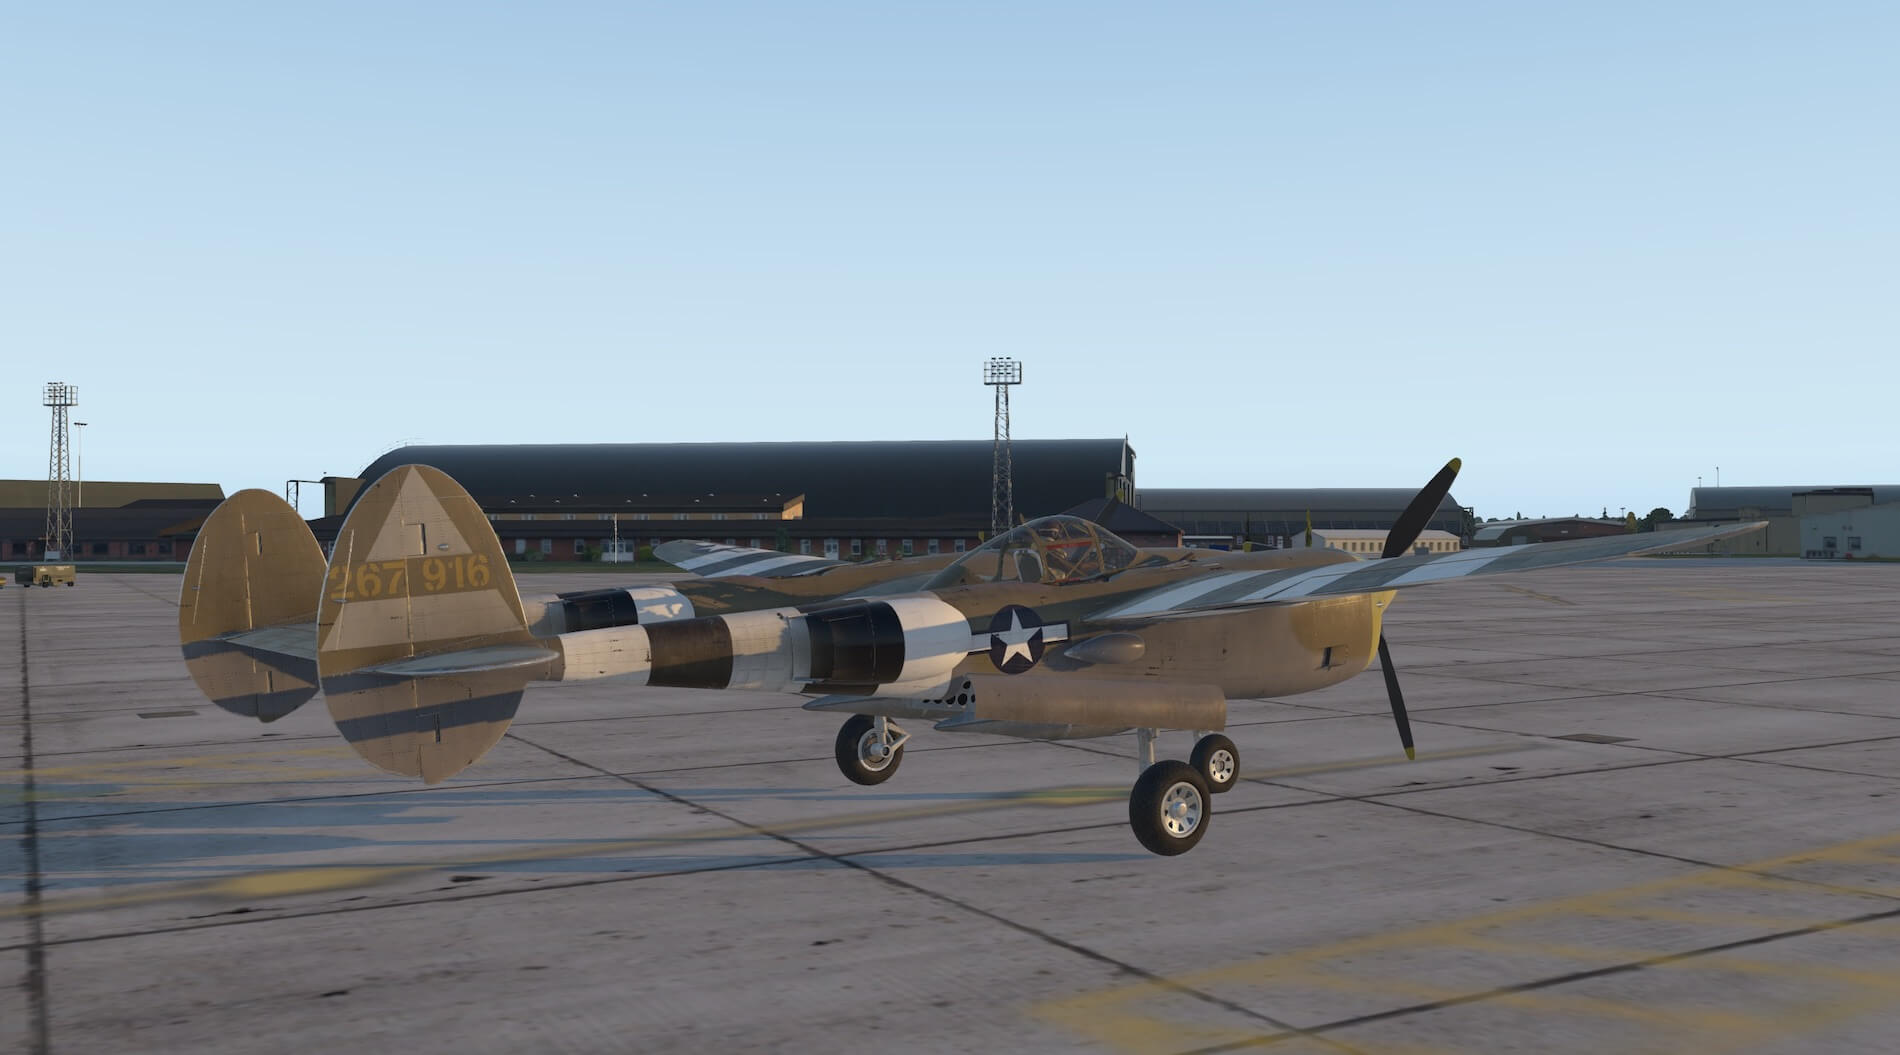
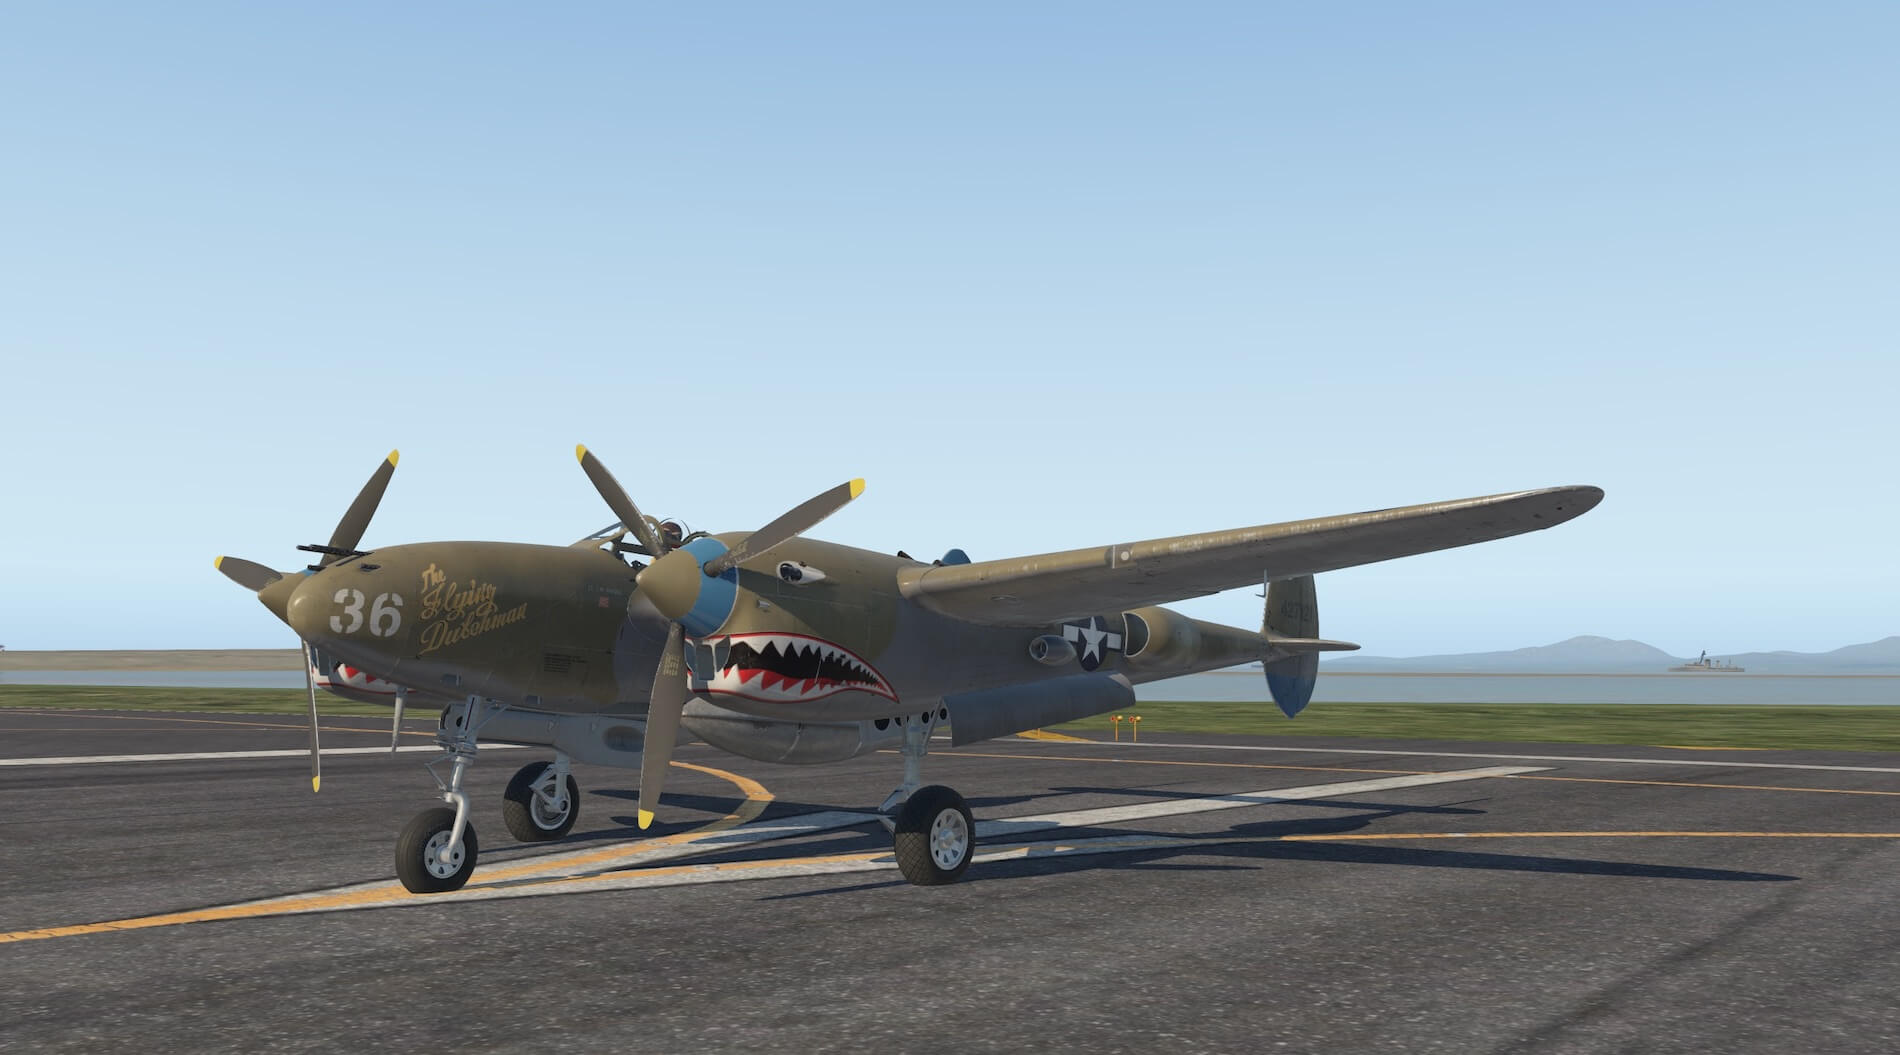
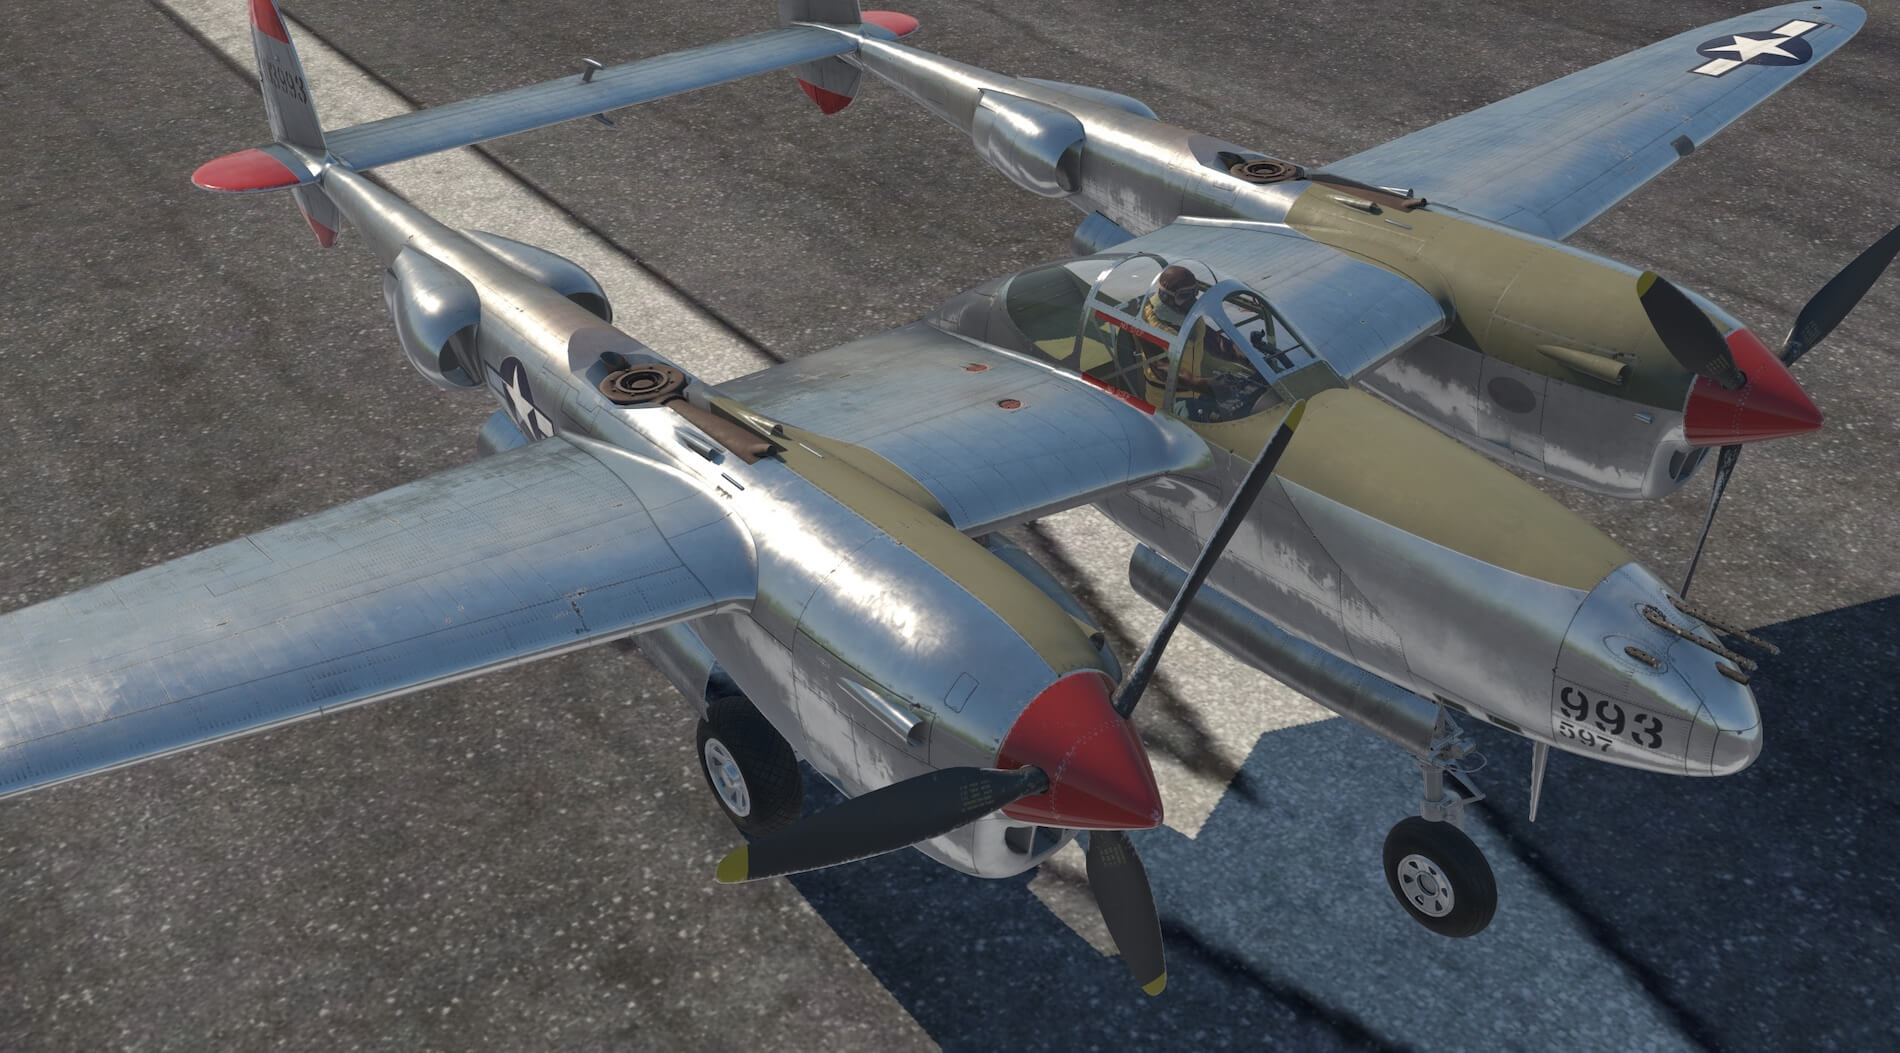
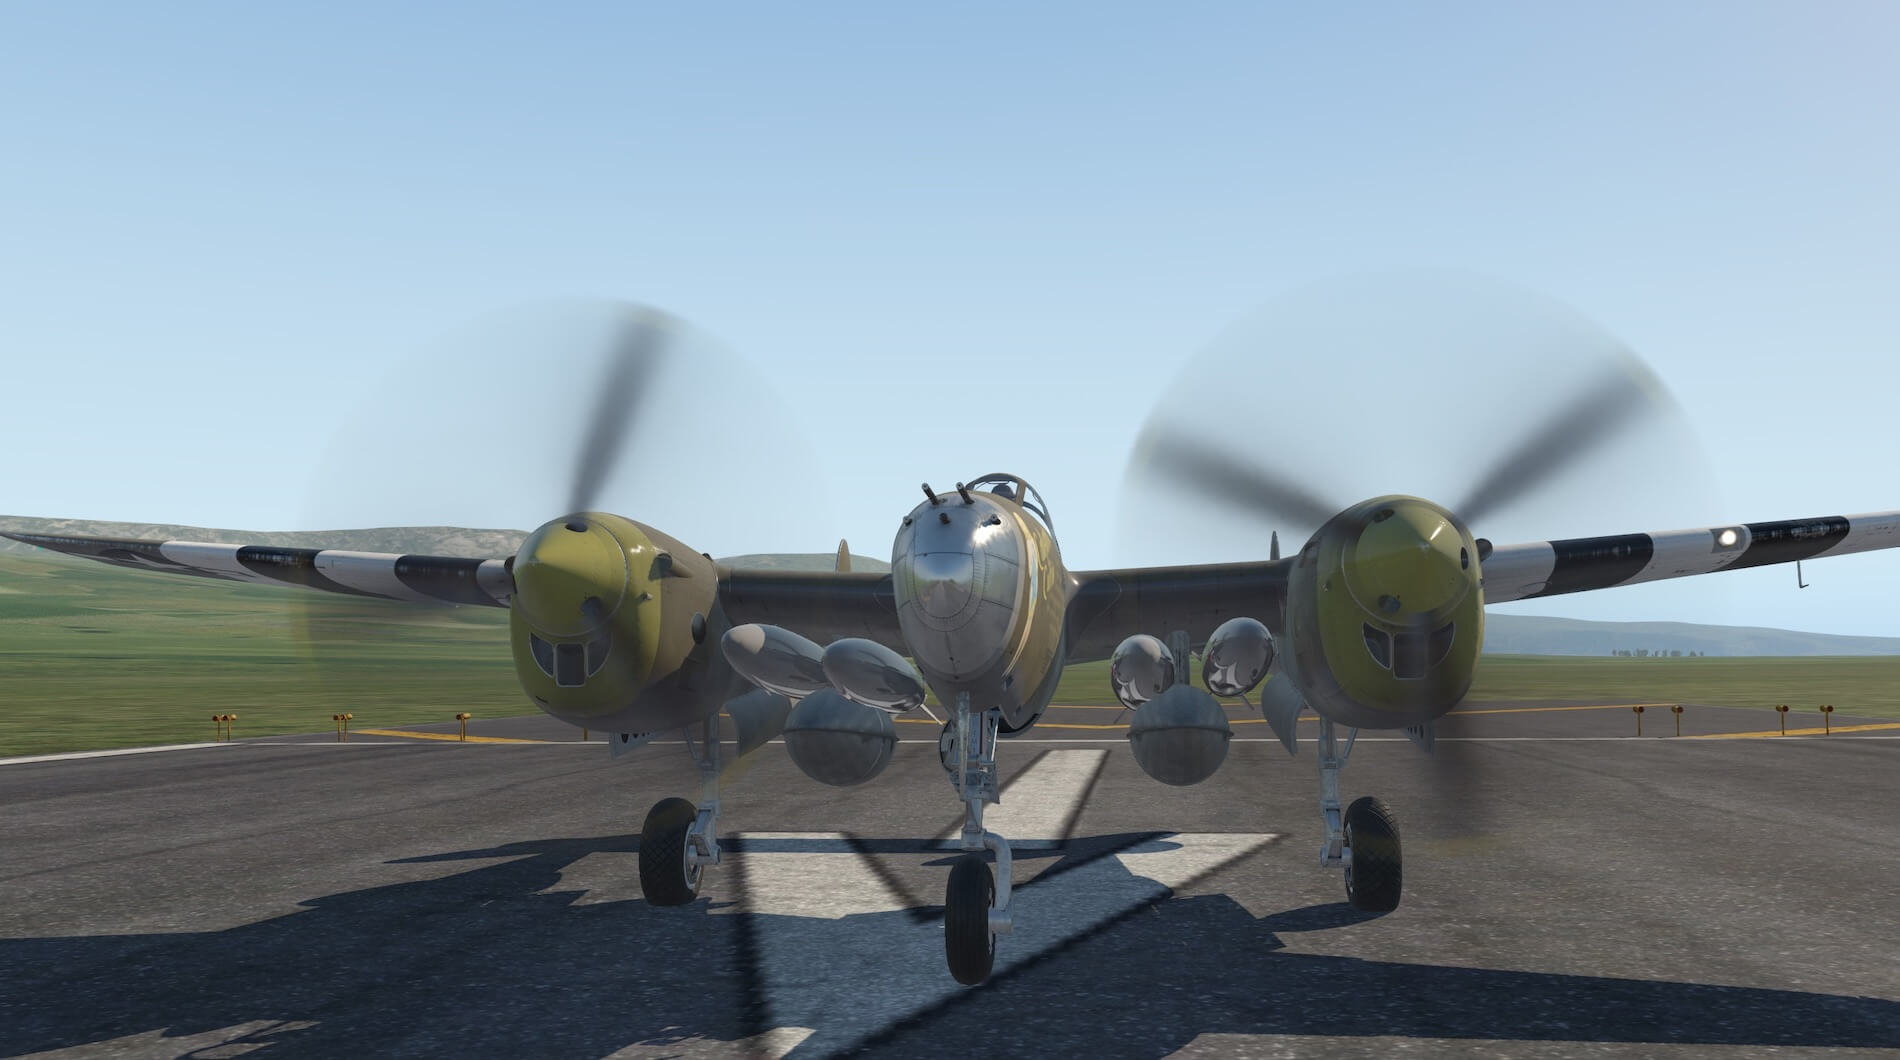
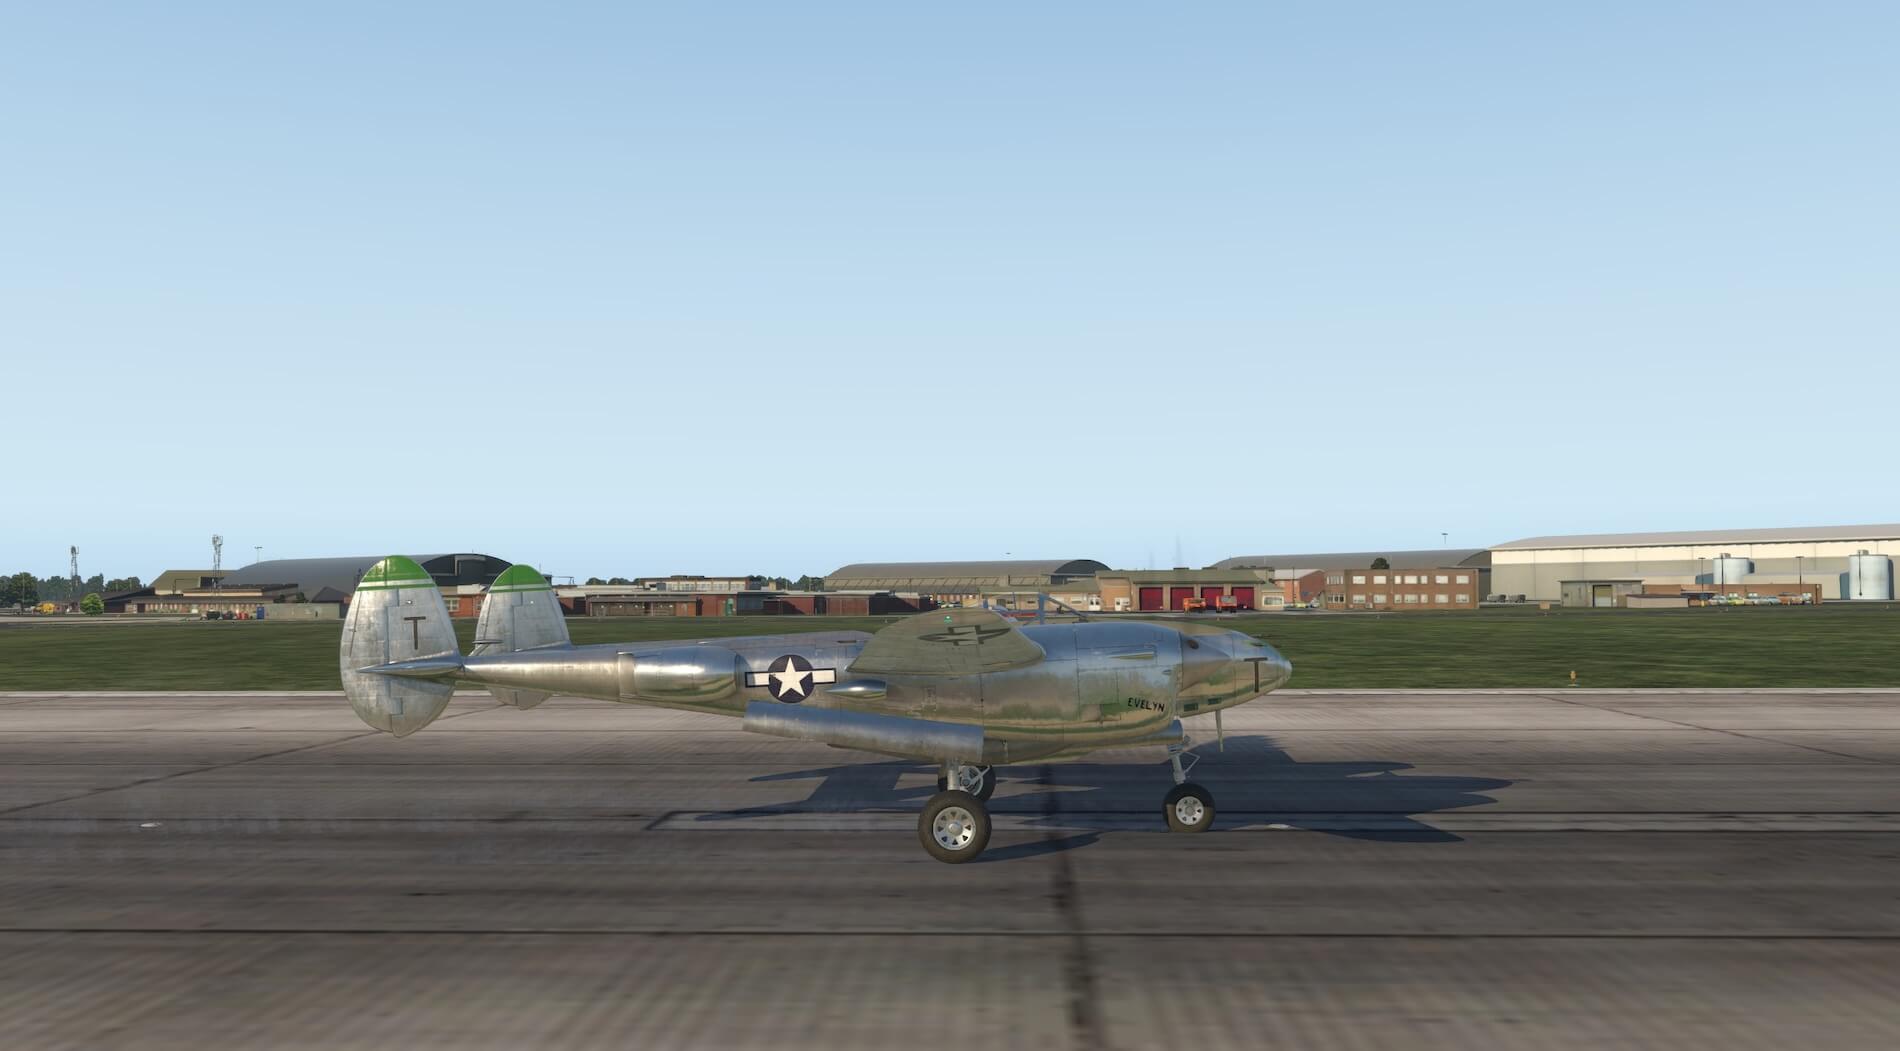
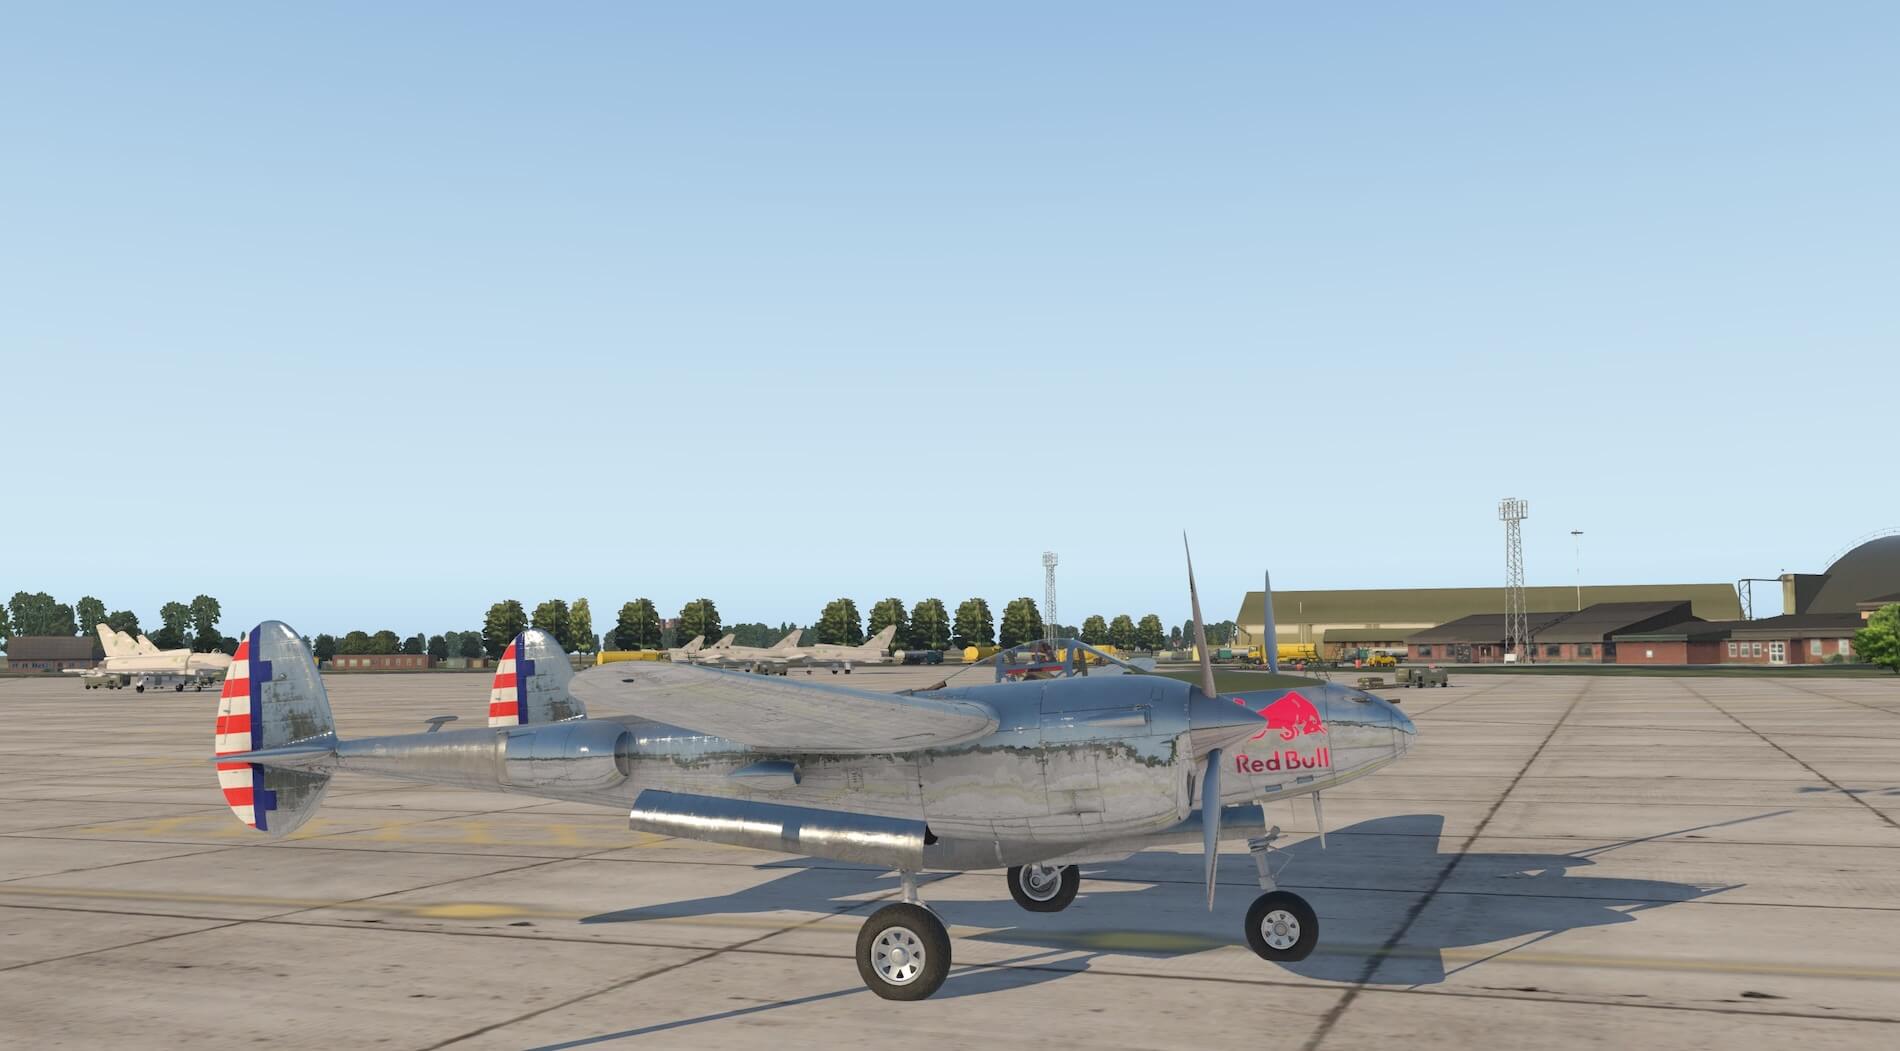
Approaching the aircraft from the front left the art, colours and modelling is clear and realistic. Colours are appropriate to the age and use of the aircraft. Wear marks are immediately visible. Moving closer the panels and rivets are well modelled, writing and signage are crisp and sharp and further wear marks become visible on such places as the edges of the propellor blades and air intakes.
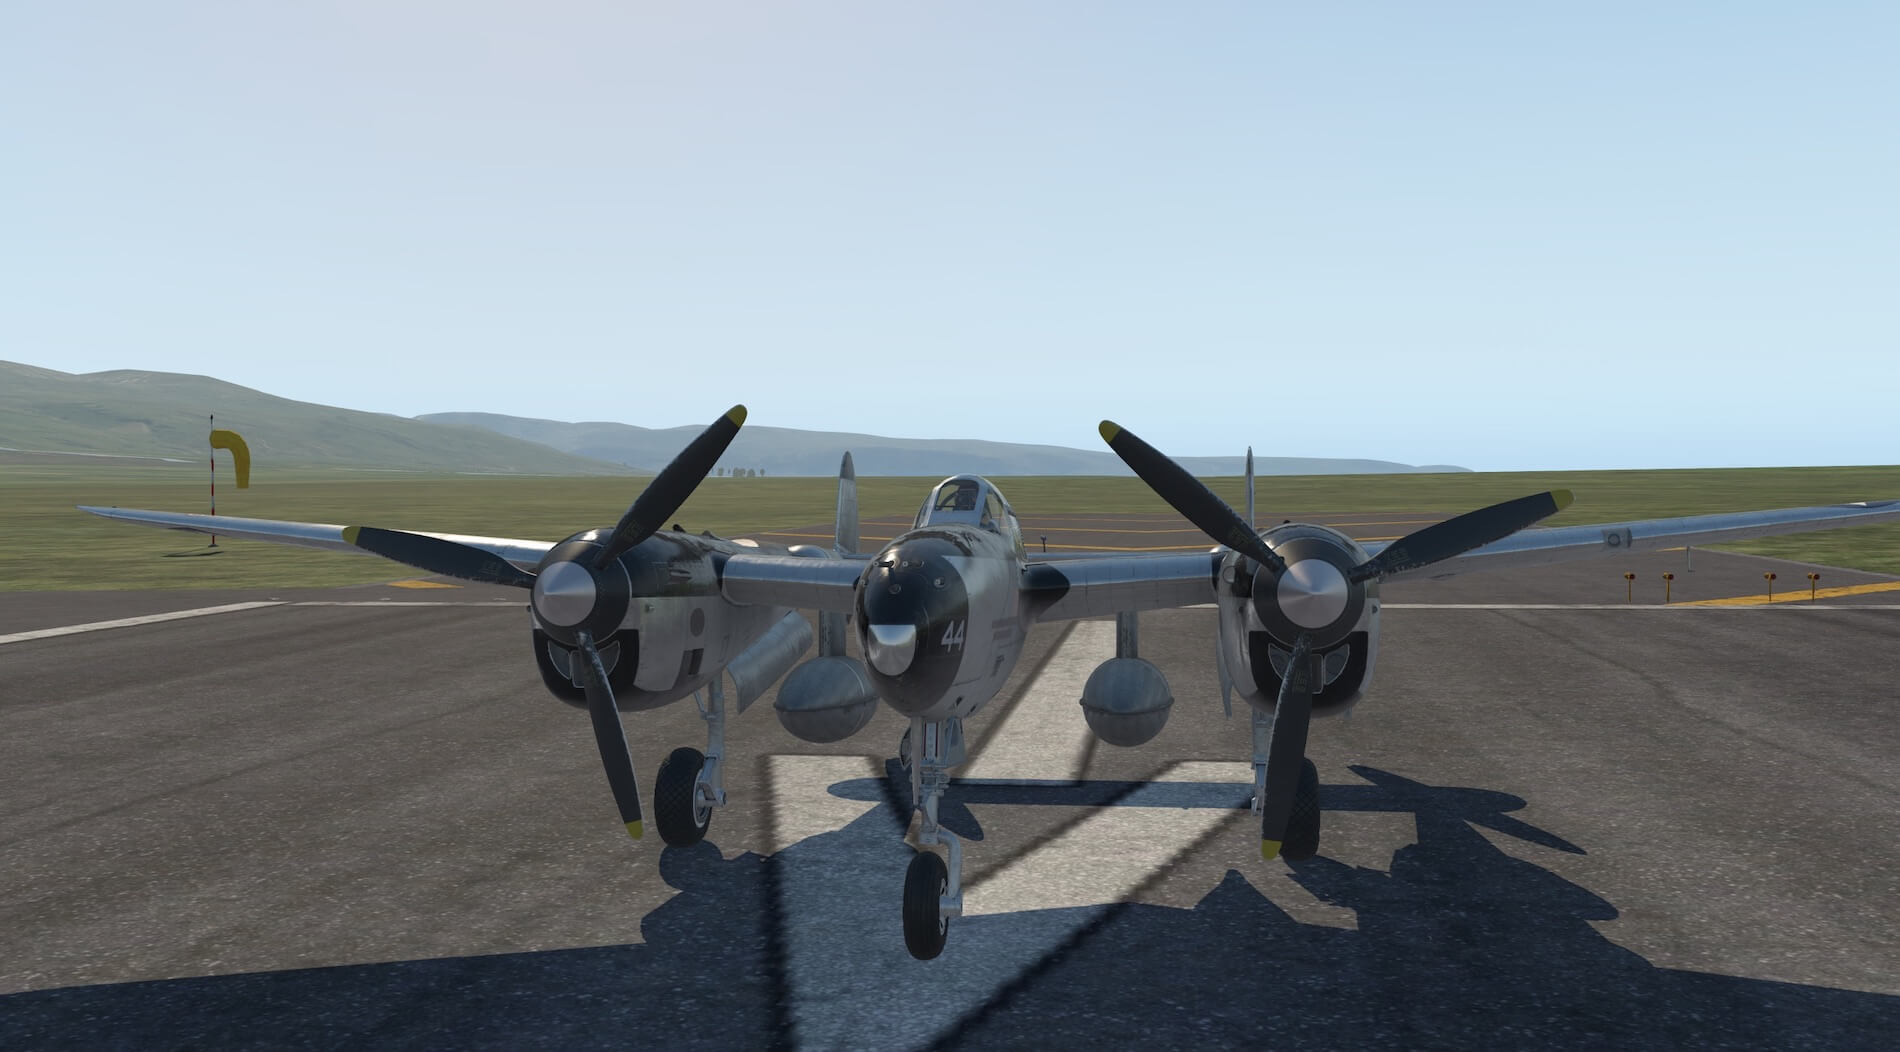
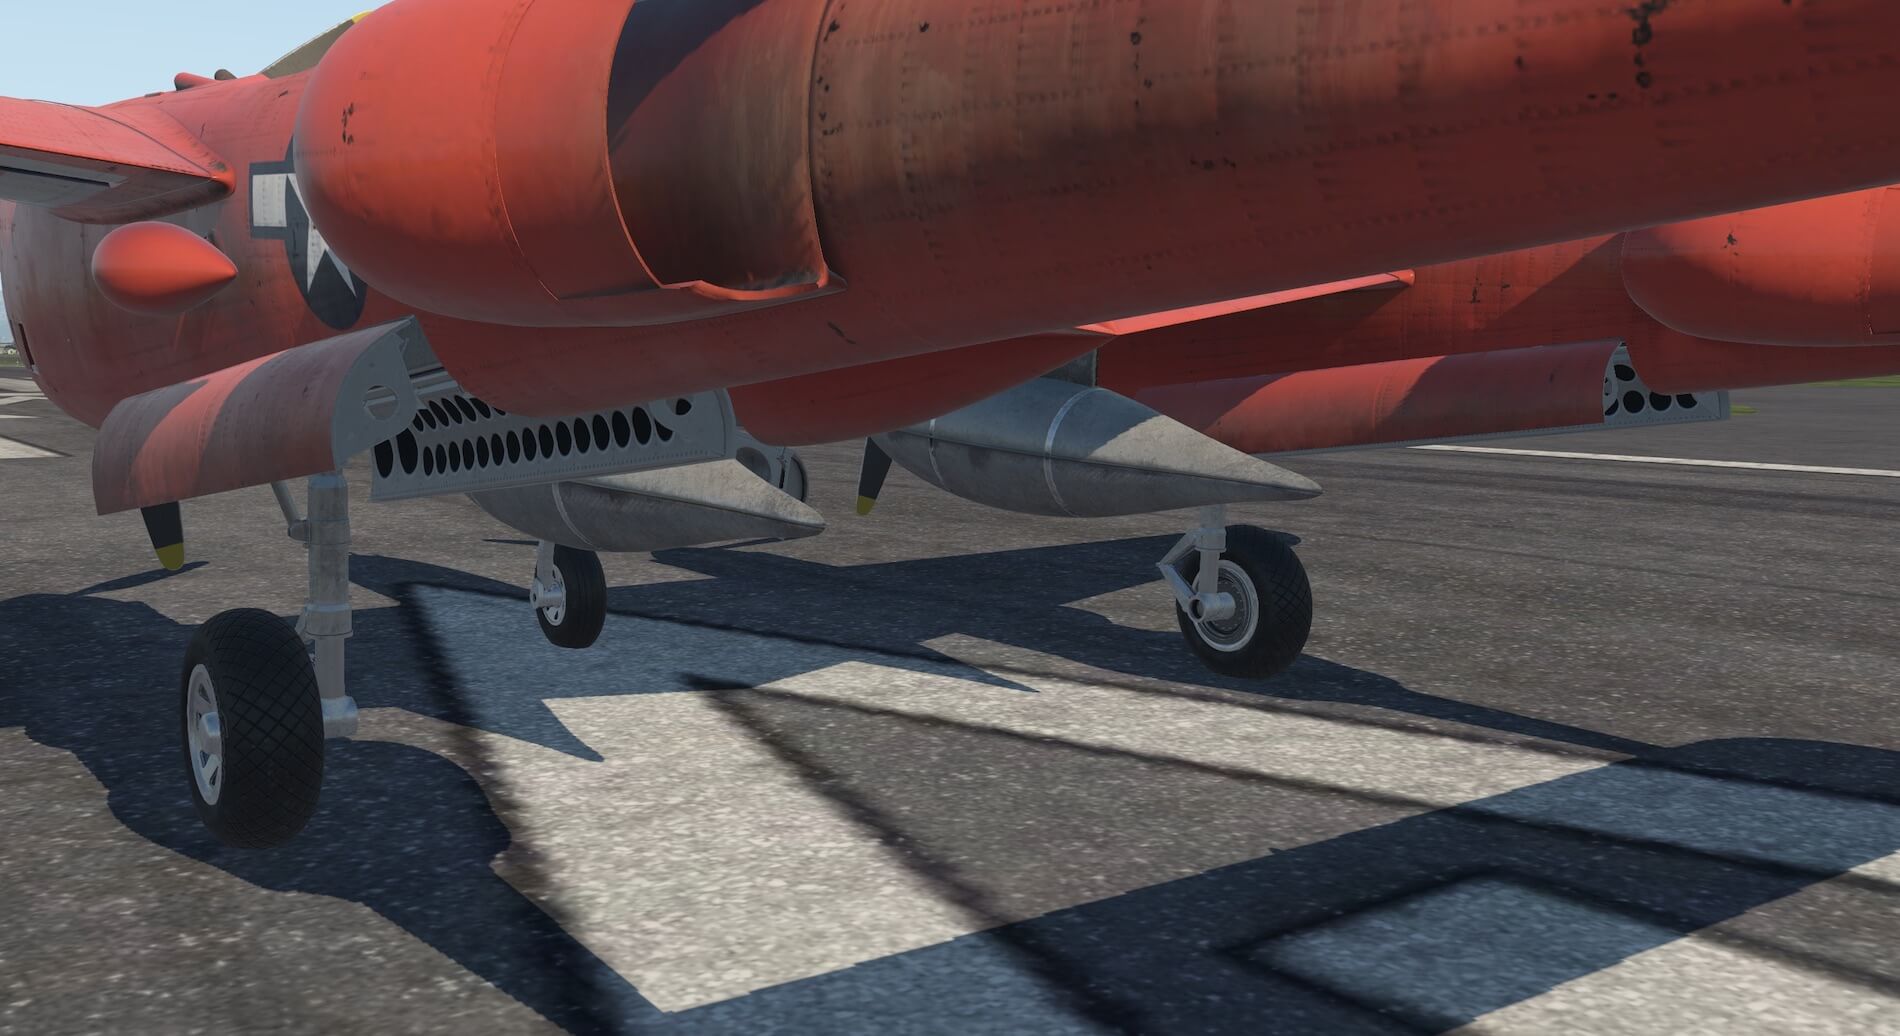
The undercarriage is created in detail with convincing struts and tyre patterns. Moving to the front of the aircraft the unique configuration and profile becomes clear. The propellors, external fuel tanks and engines look impressive and the nose guns and cockpit are very convincing and modelled in detail. The pilot figure viewed through the windscreen fits well with the age and character of the aircraft.


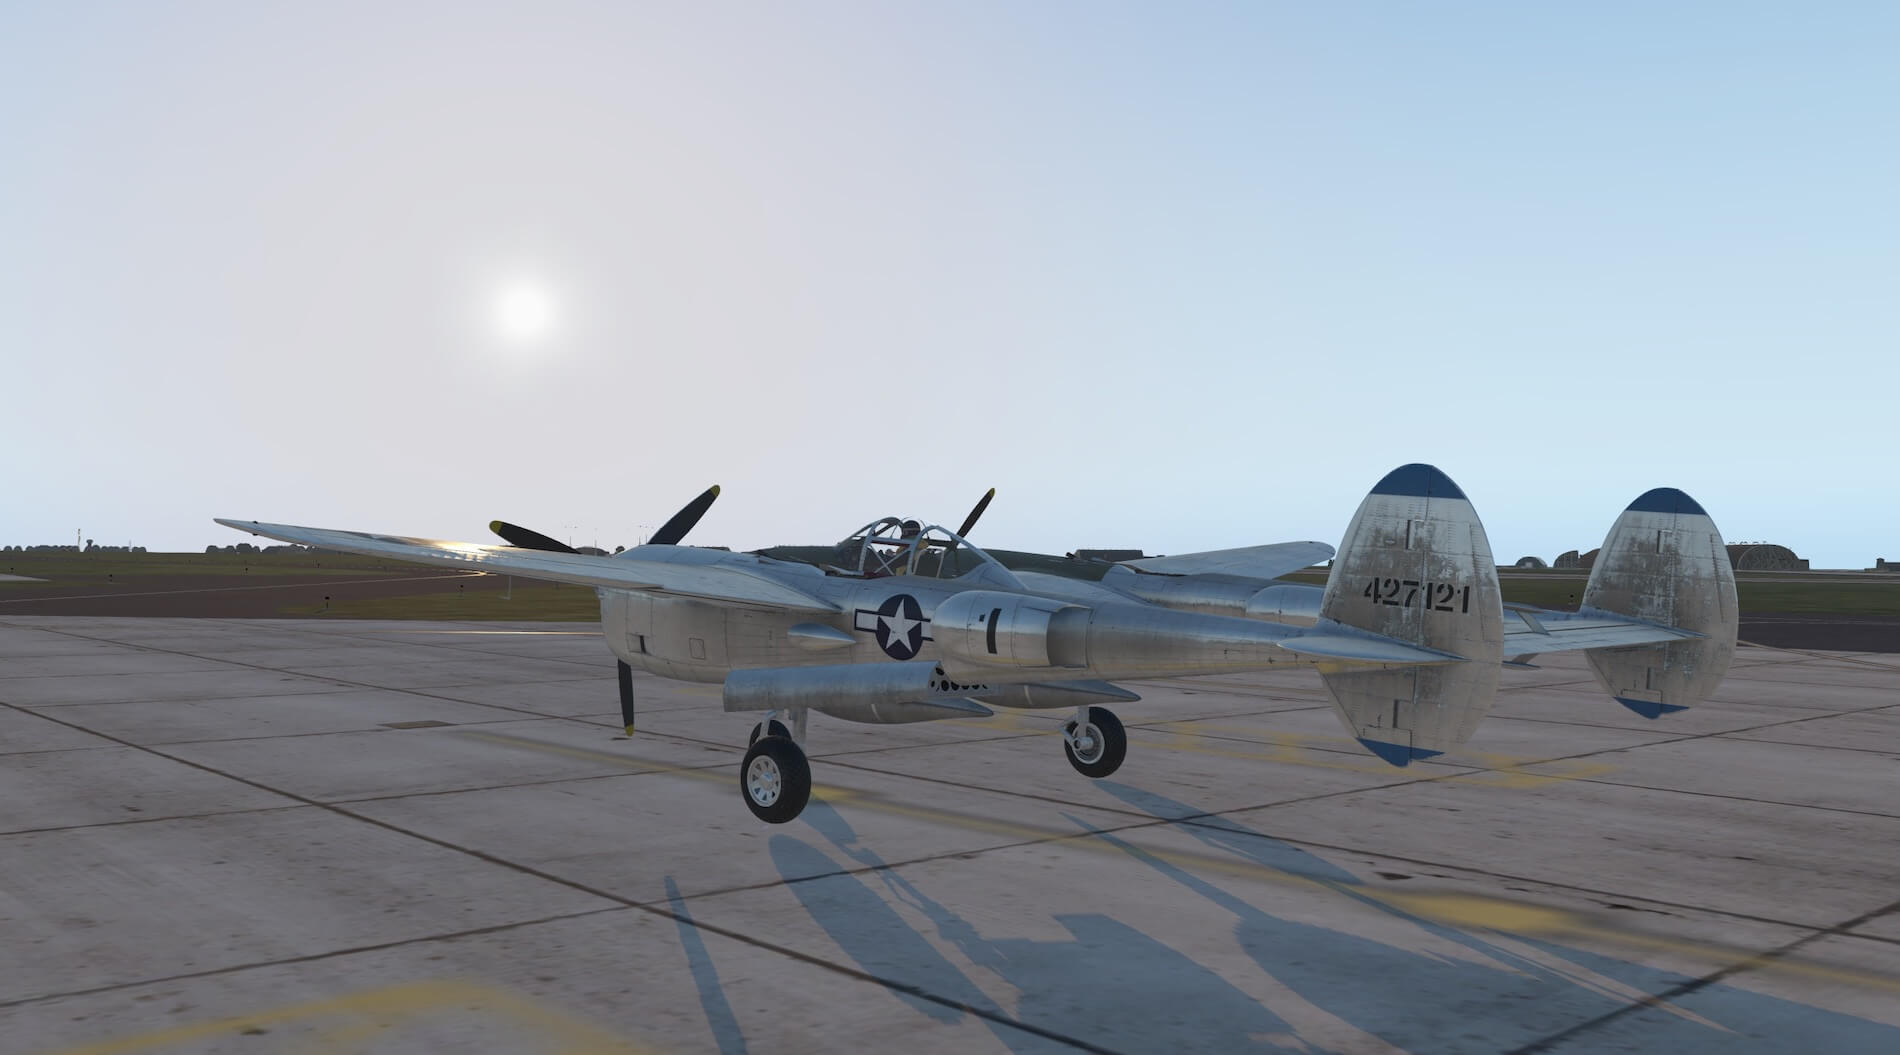
Moving to the front right of the aircraft and raising the view shows the flush panelling and control surfaces. The turbo charger units are visible on the dorsal edge of the twin booms and the engine radiator assemblies on the sides. Views of the cockpit show the raised nature of the pilot position with detail of the interior and clear signage. Light, shadow and reflections work well with the model. Moving to the left hand side the aircrafts tricycle undercarriage becomes more obvious and again the panelling is well produced and convincing.

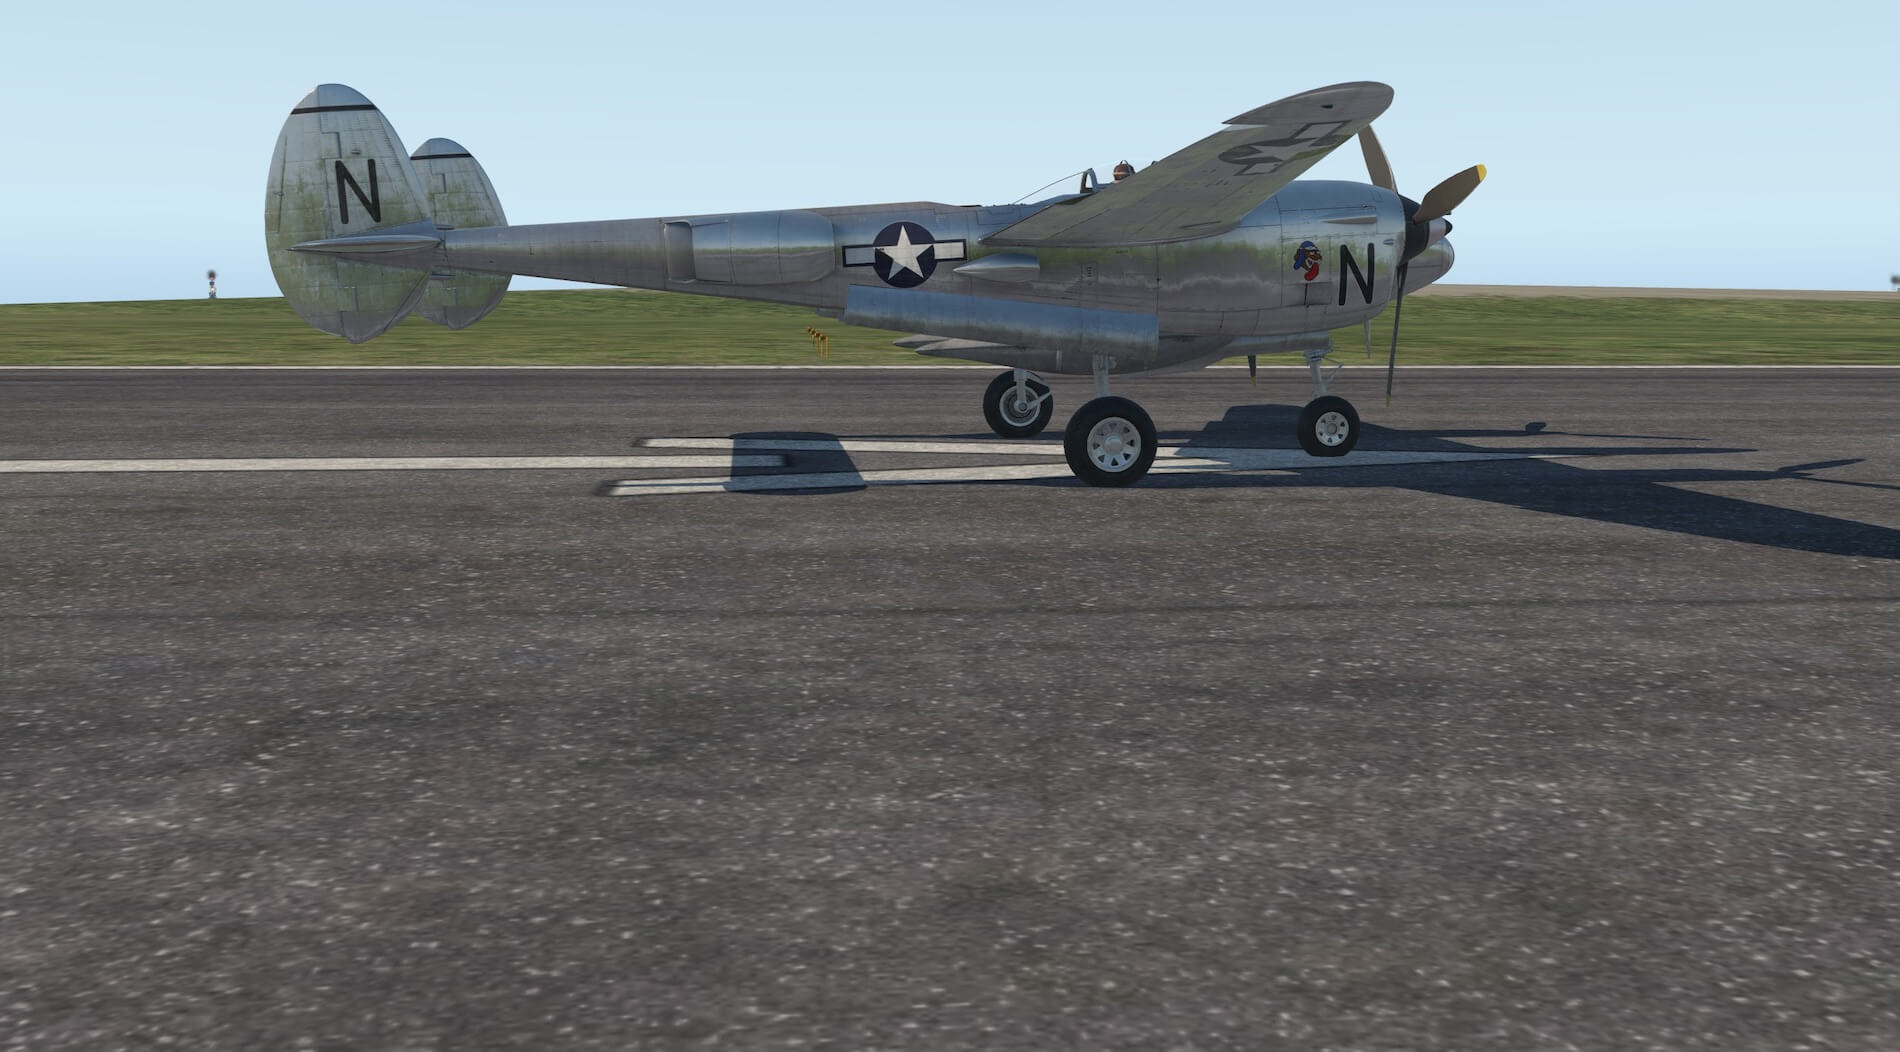
The rear view of the aircraft is more interesting than many others as it shows off the twin booms that are a key part of this design. The control surface movement is clear to see as well as different views of the engine radiators and the turbo charger cooling units. The fuel filler caps can be seen on the inner part of the wings. This view also emphasises the raised cockpit position giving the pilot great all round visibility.
It can also be seen that the aircraft has its own baggage compartment in the booms. Views from the rear left show the weathering effects produced behind the engine radiators and further detail of the undercarriage and the well modelled undercarriage doors. Moving closer shows the detail in the wheel well including hinges and pipe work.


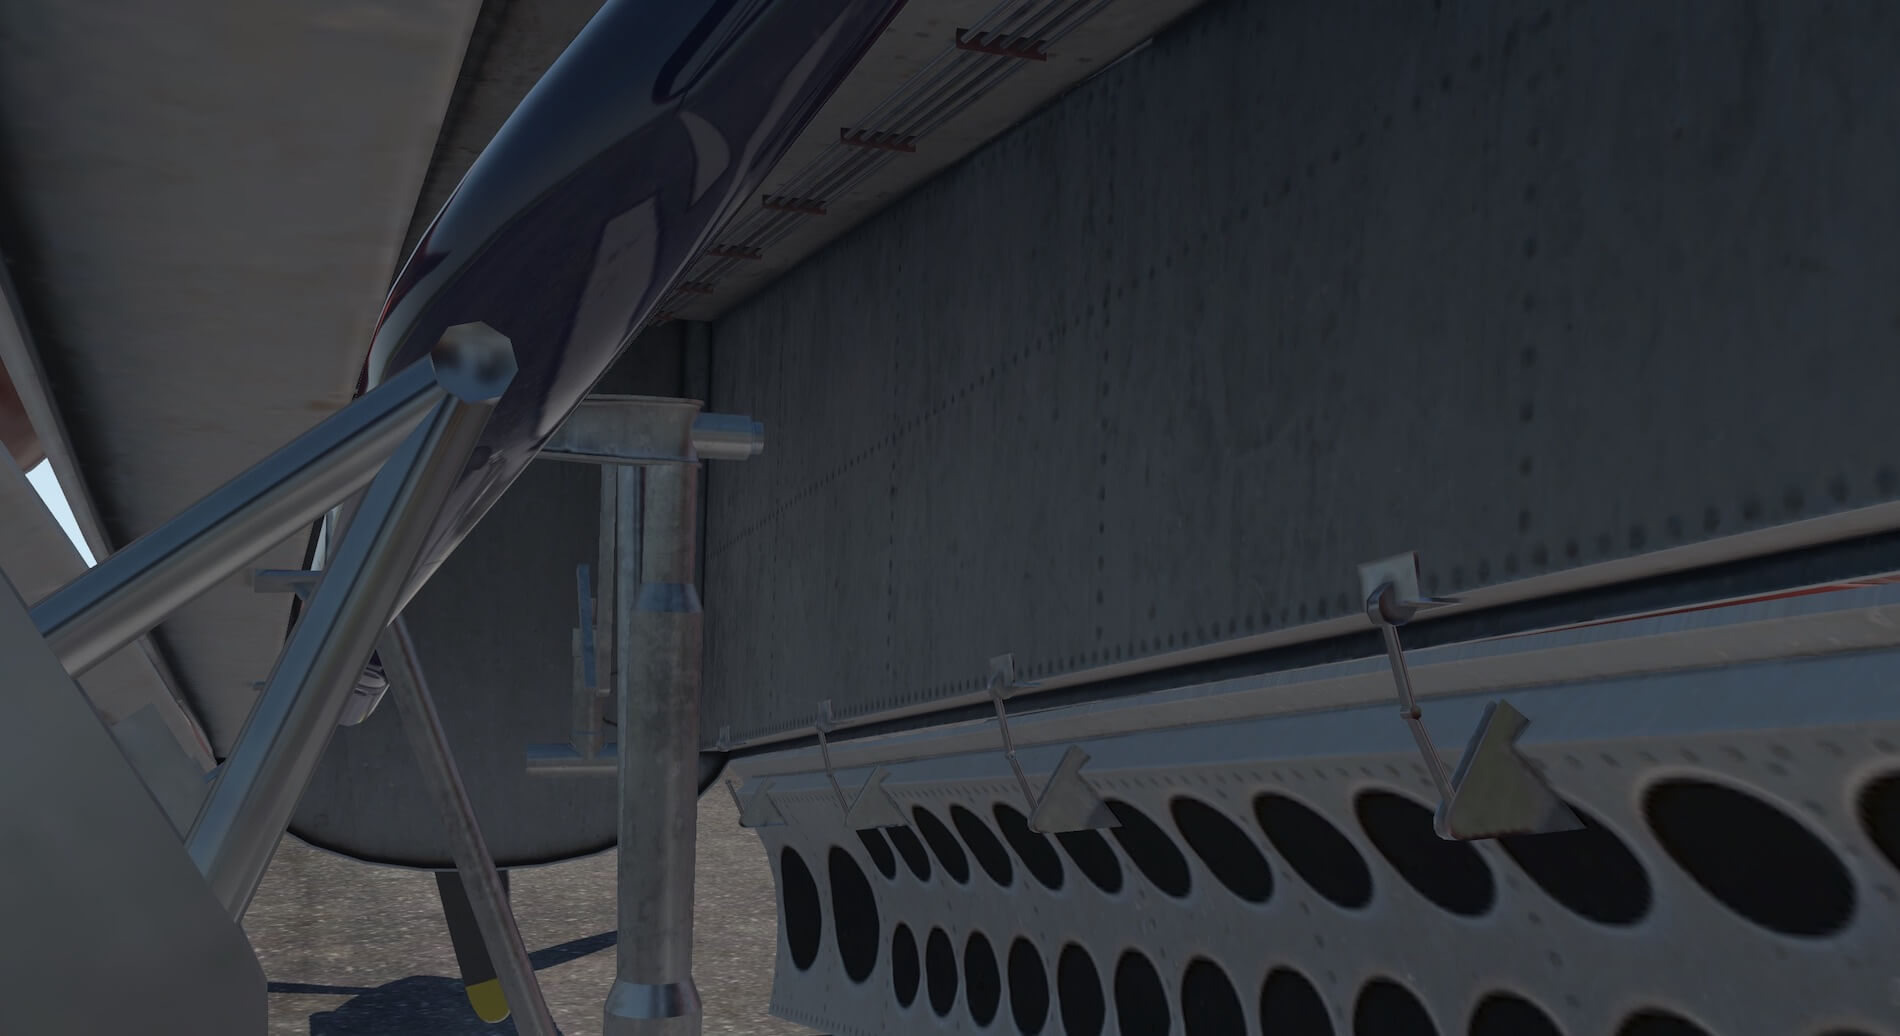
Moving to the left side of the aircraft a closer view of the underside of the wing shows how much detail the developers have produced with panelling and wear marks presented very realistically. Raising the view slightly above the wing again illustrates the elevated pilot position.


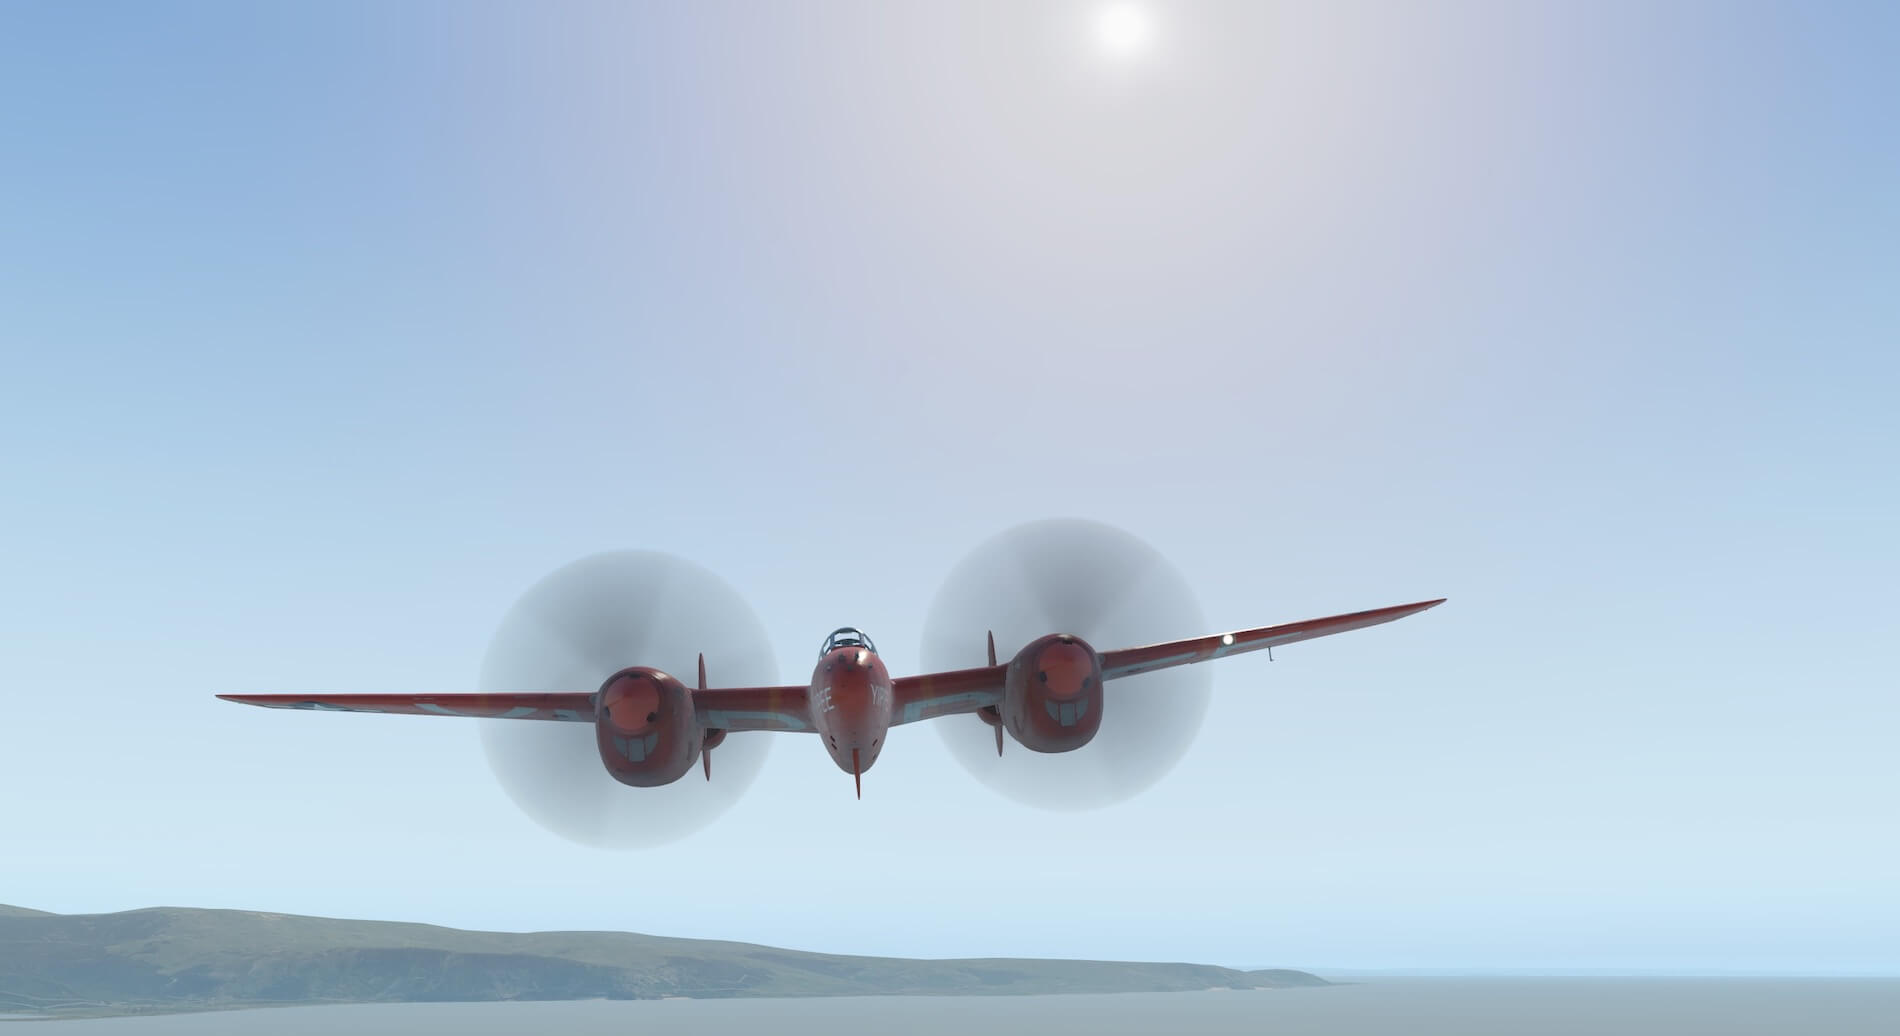
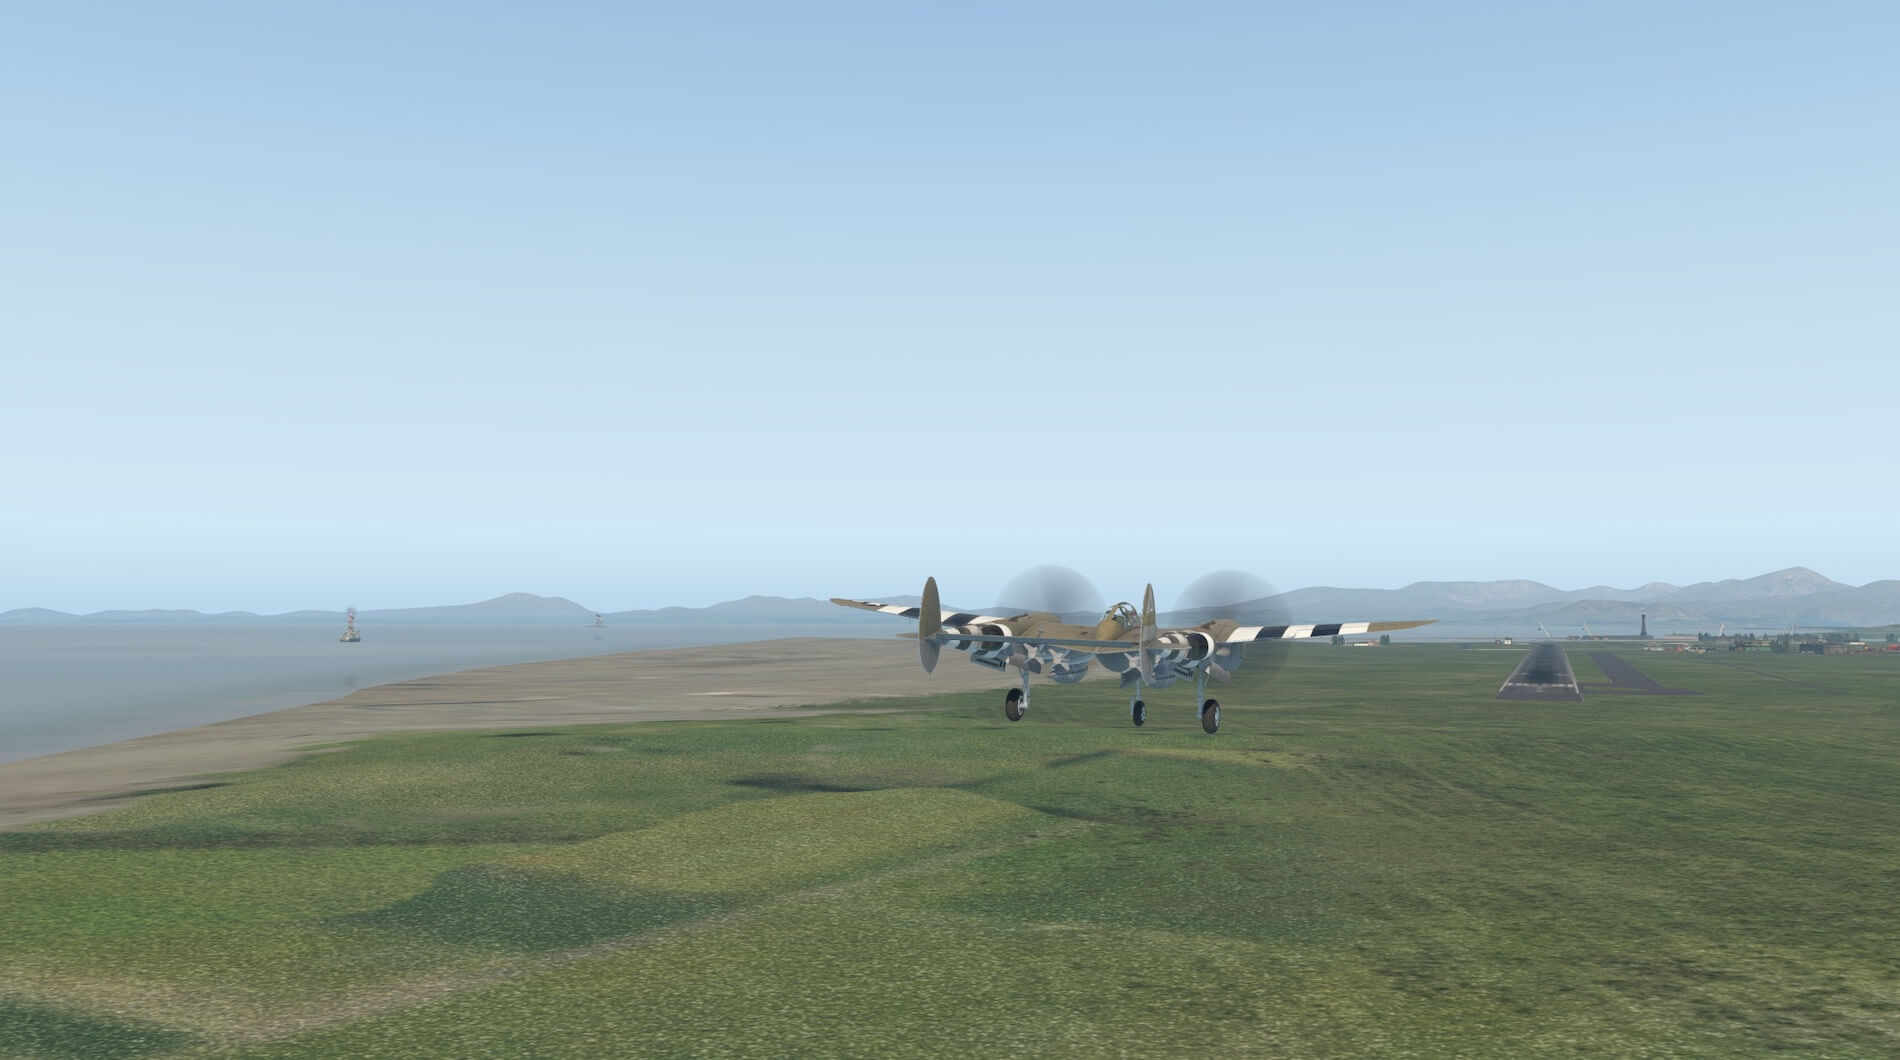
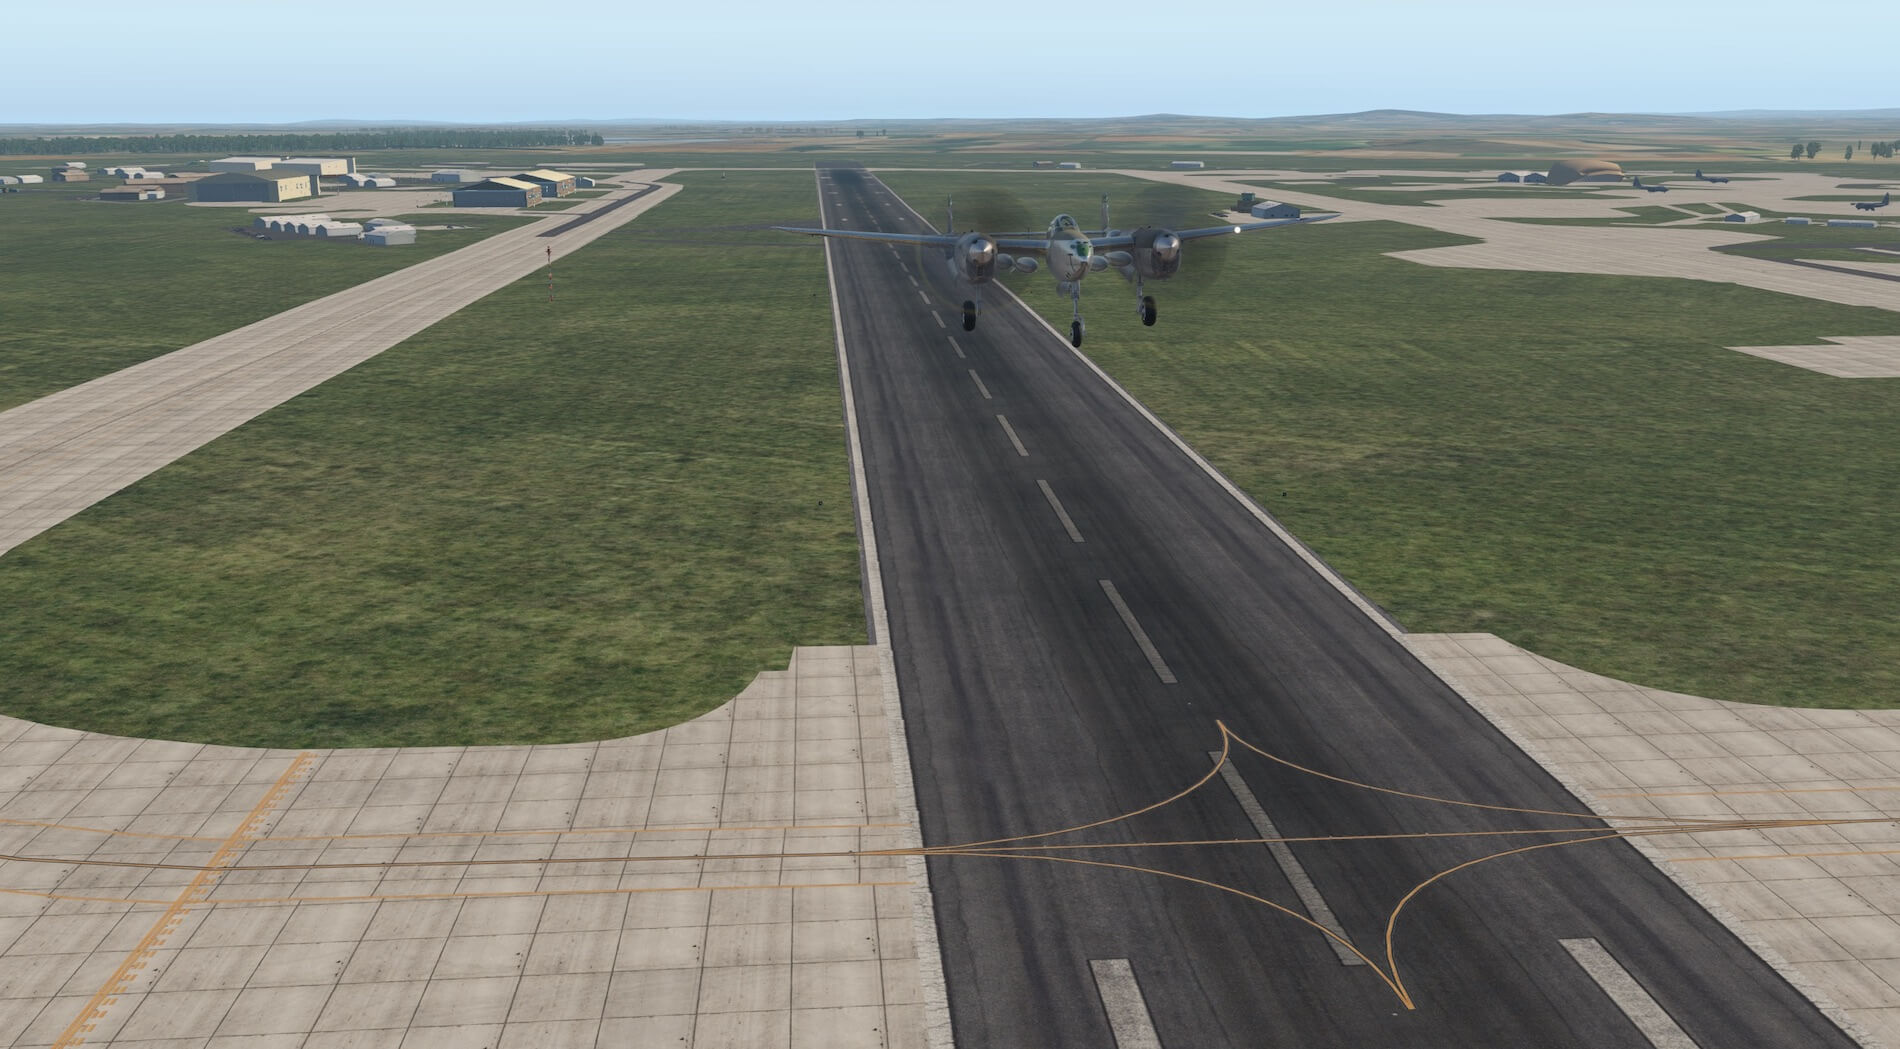
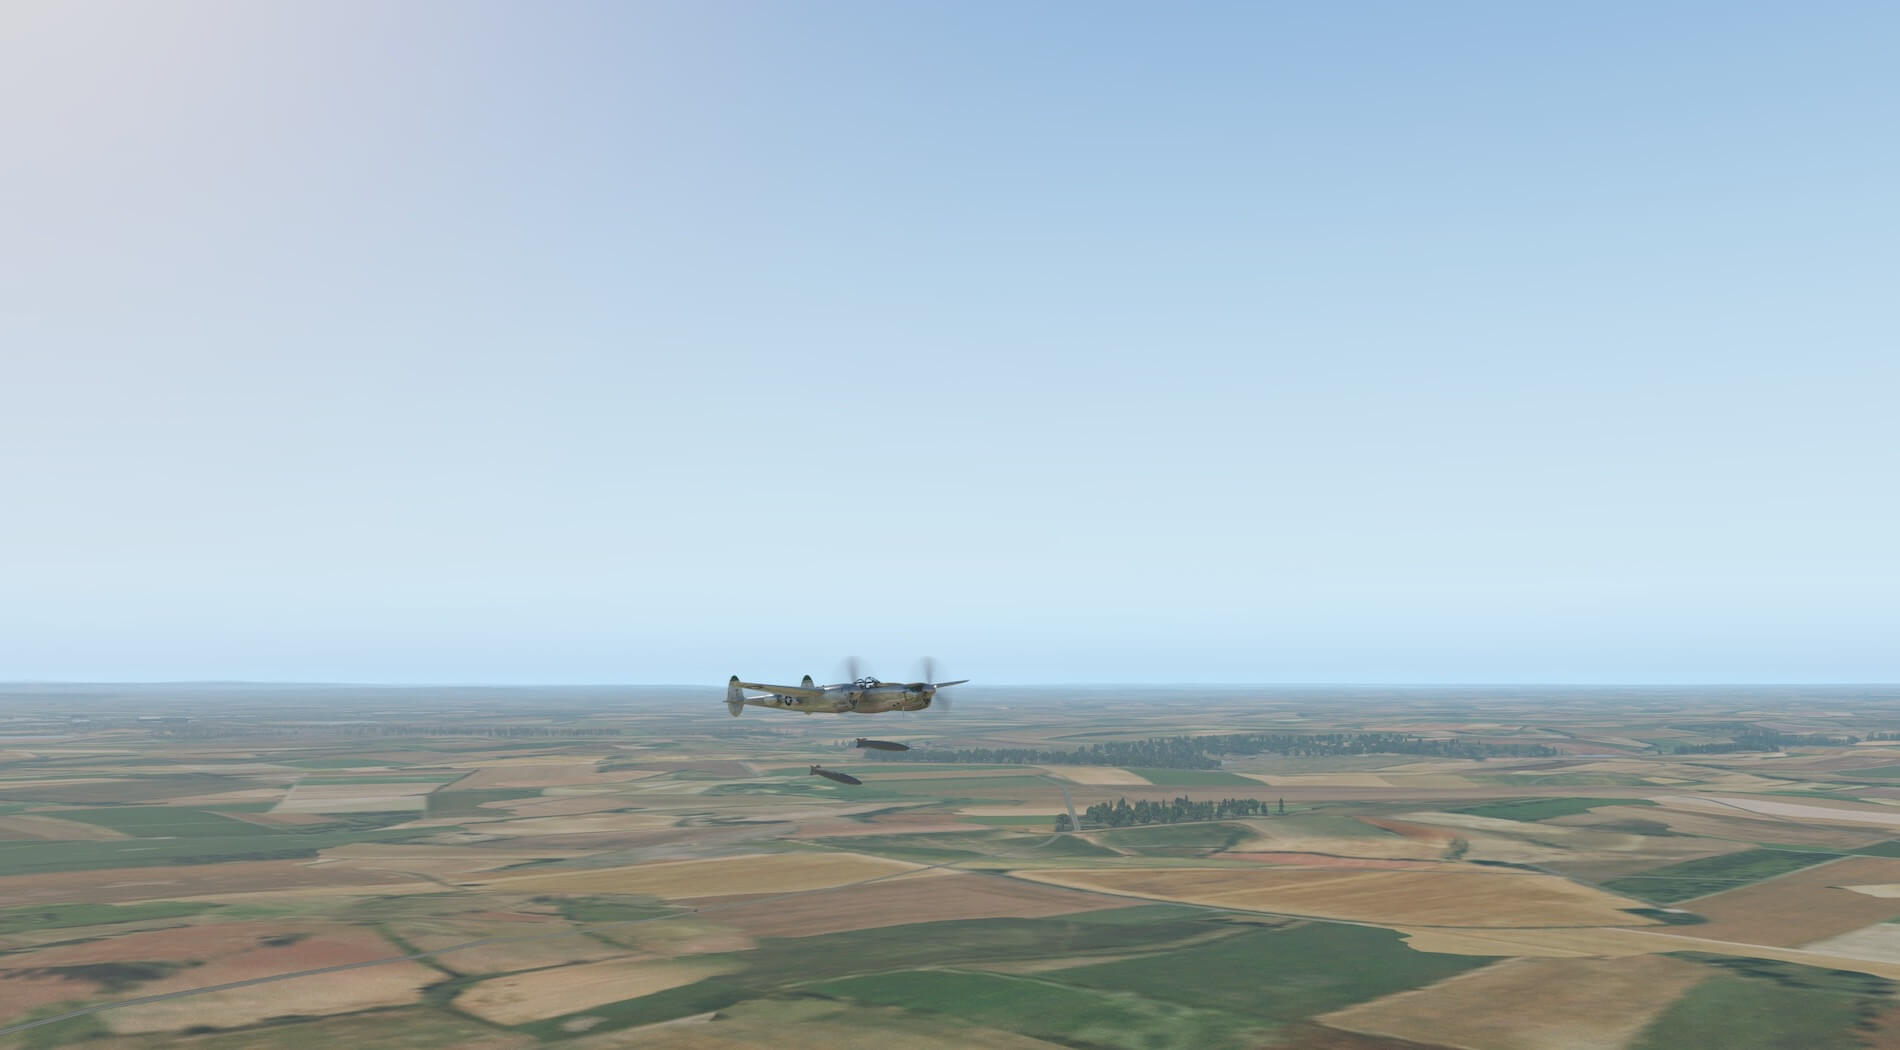
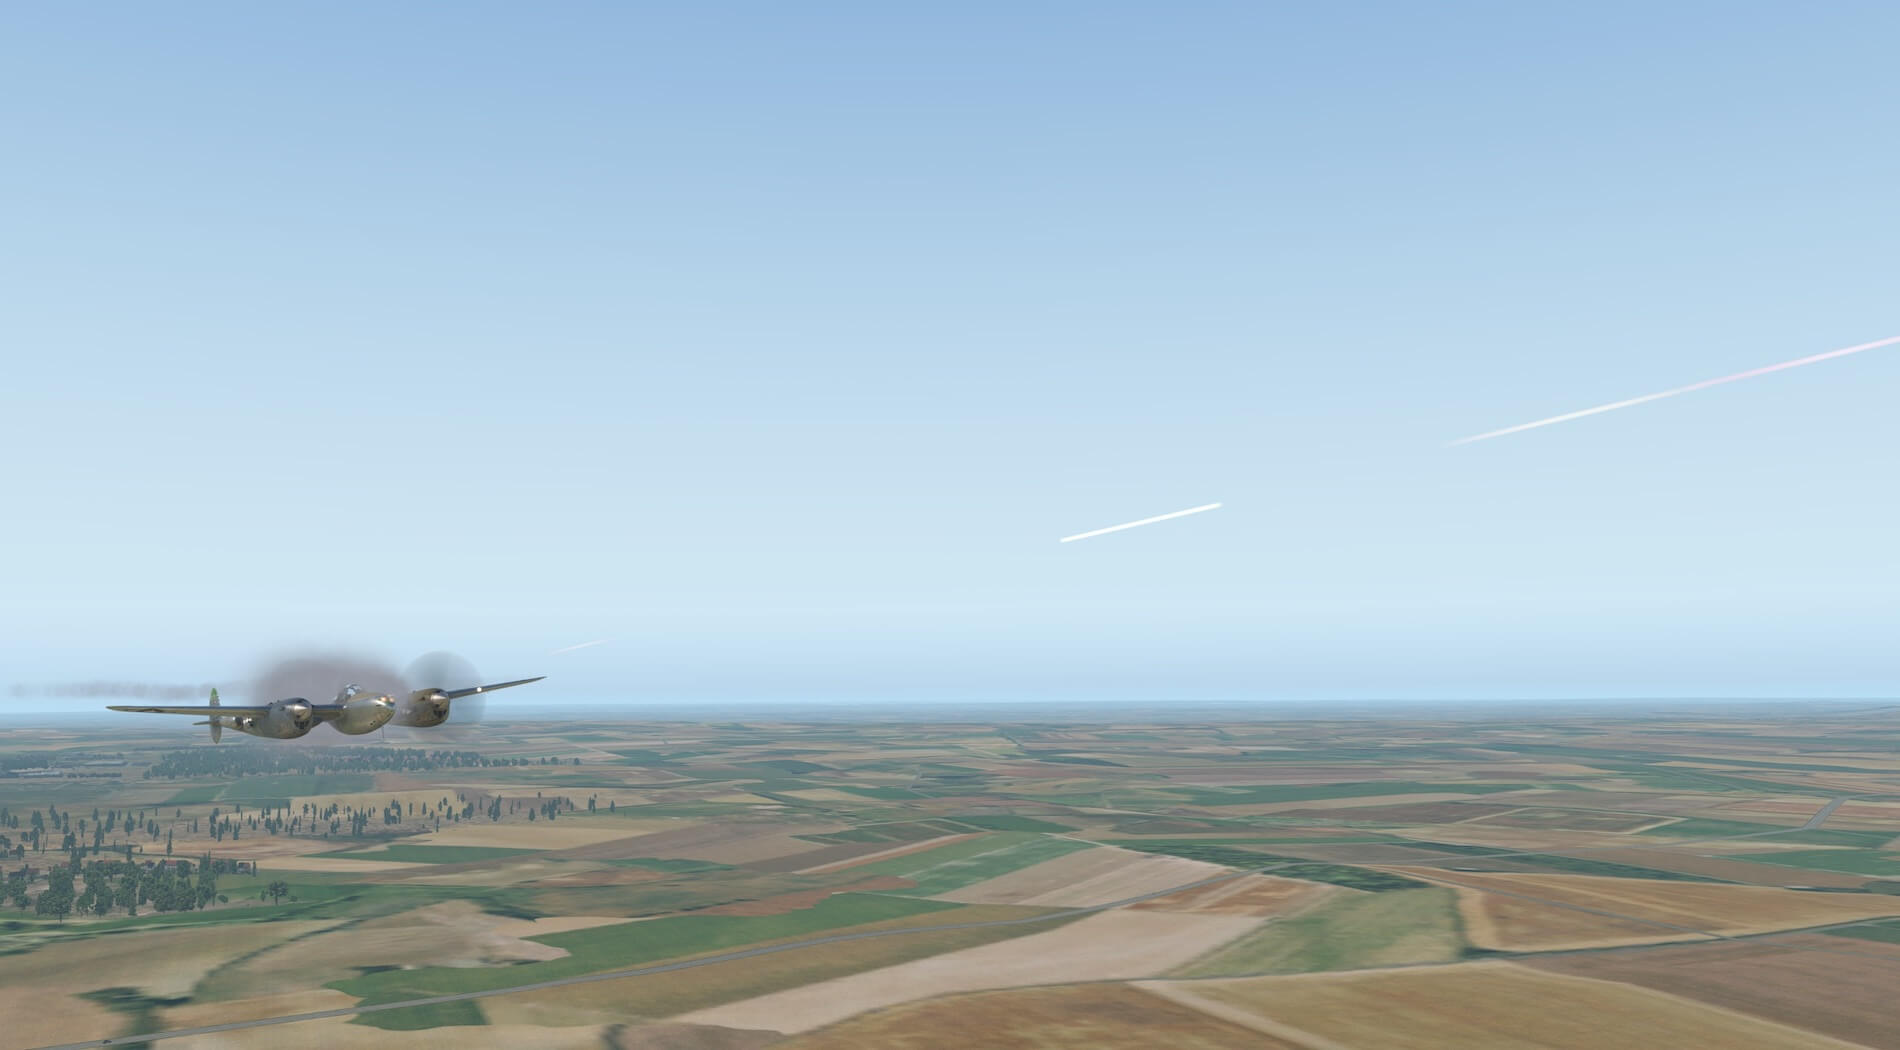
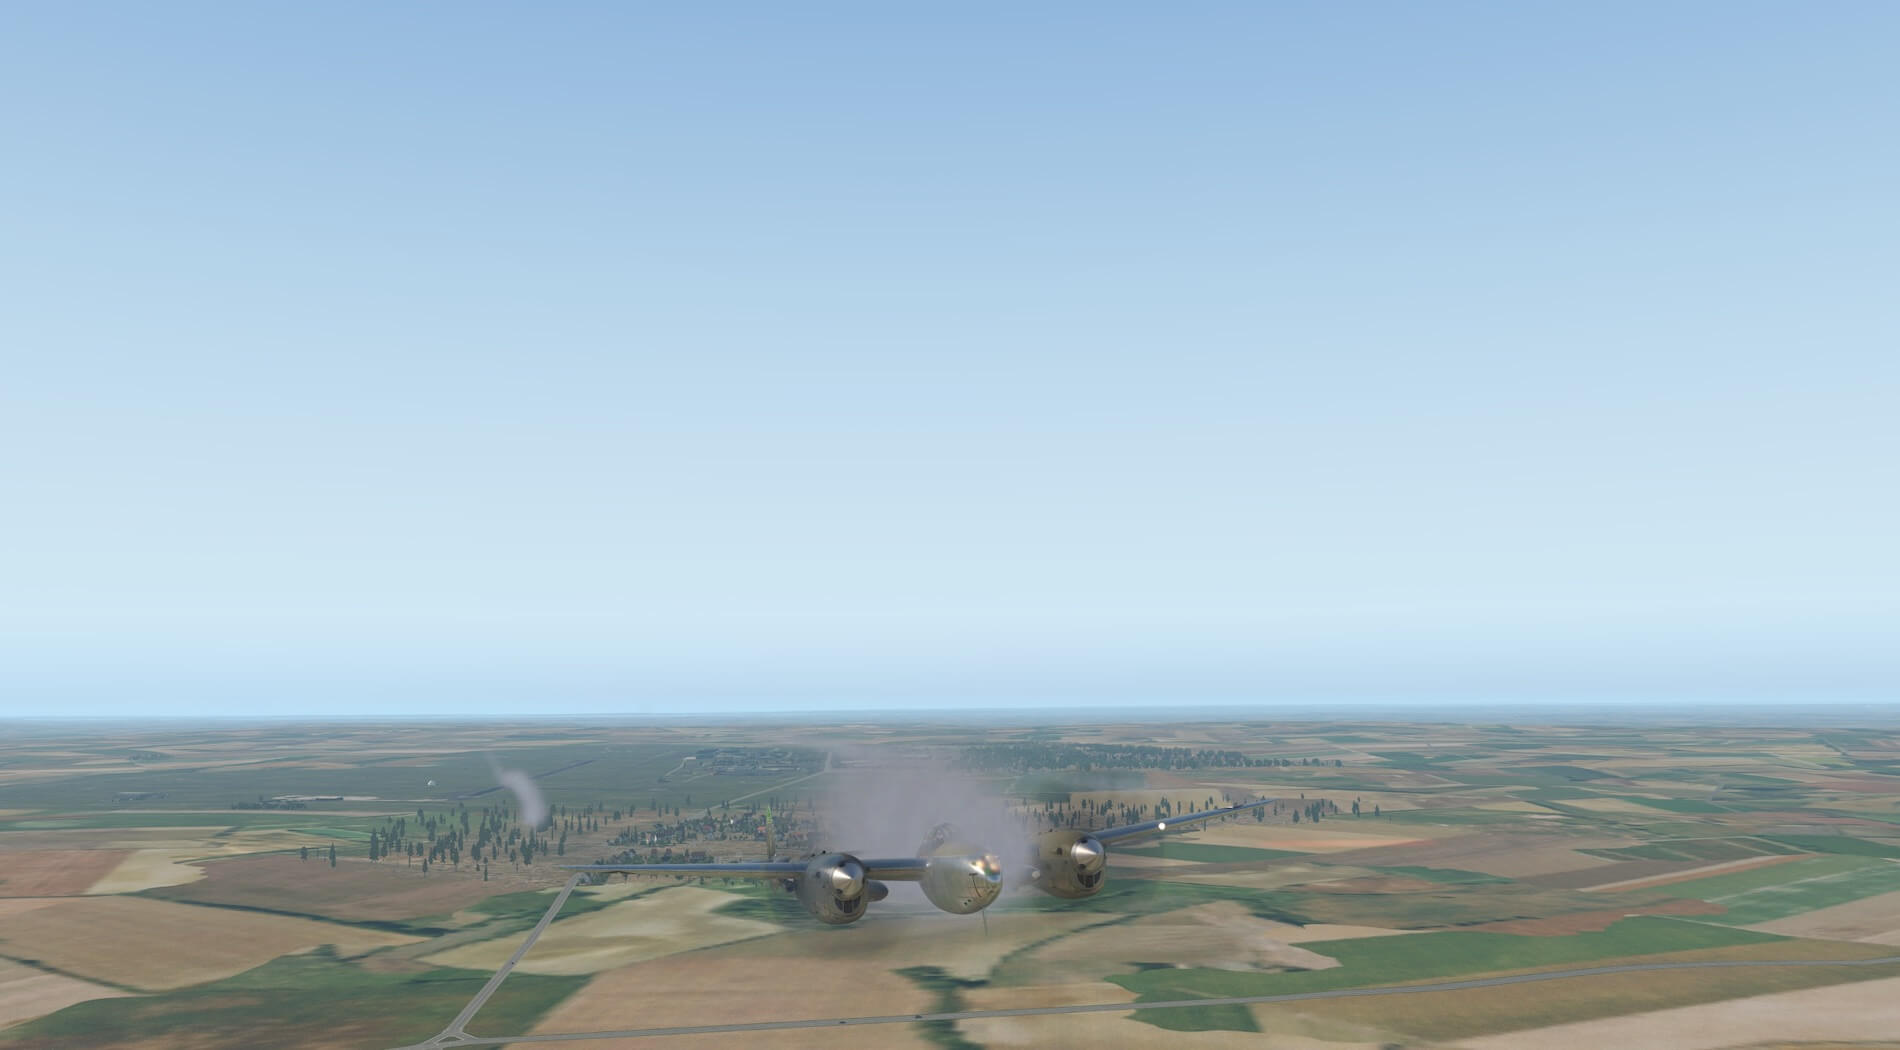
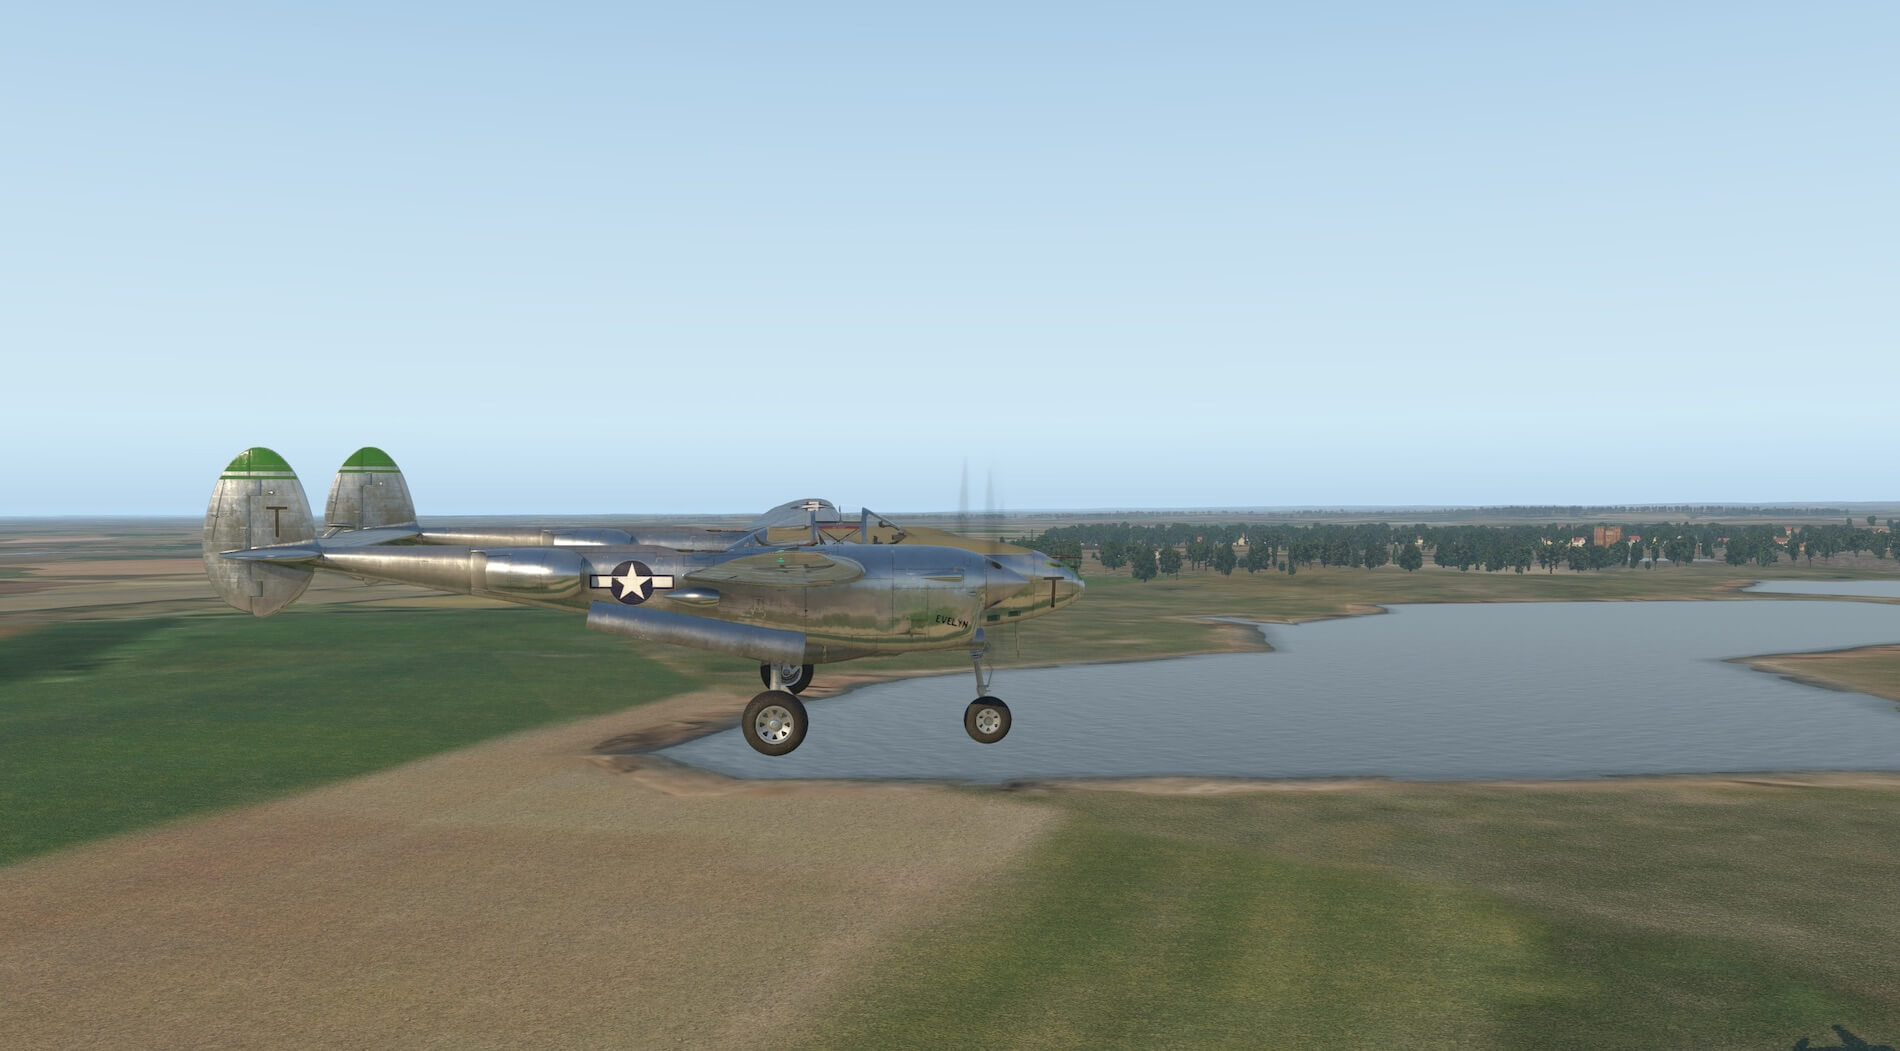
In flight the model maintains its detail and character. The propellor discs are very realistic and the aircraft looks great from all angles showing its distinctive profile more clearly once in the air.
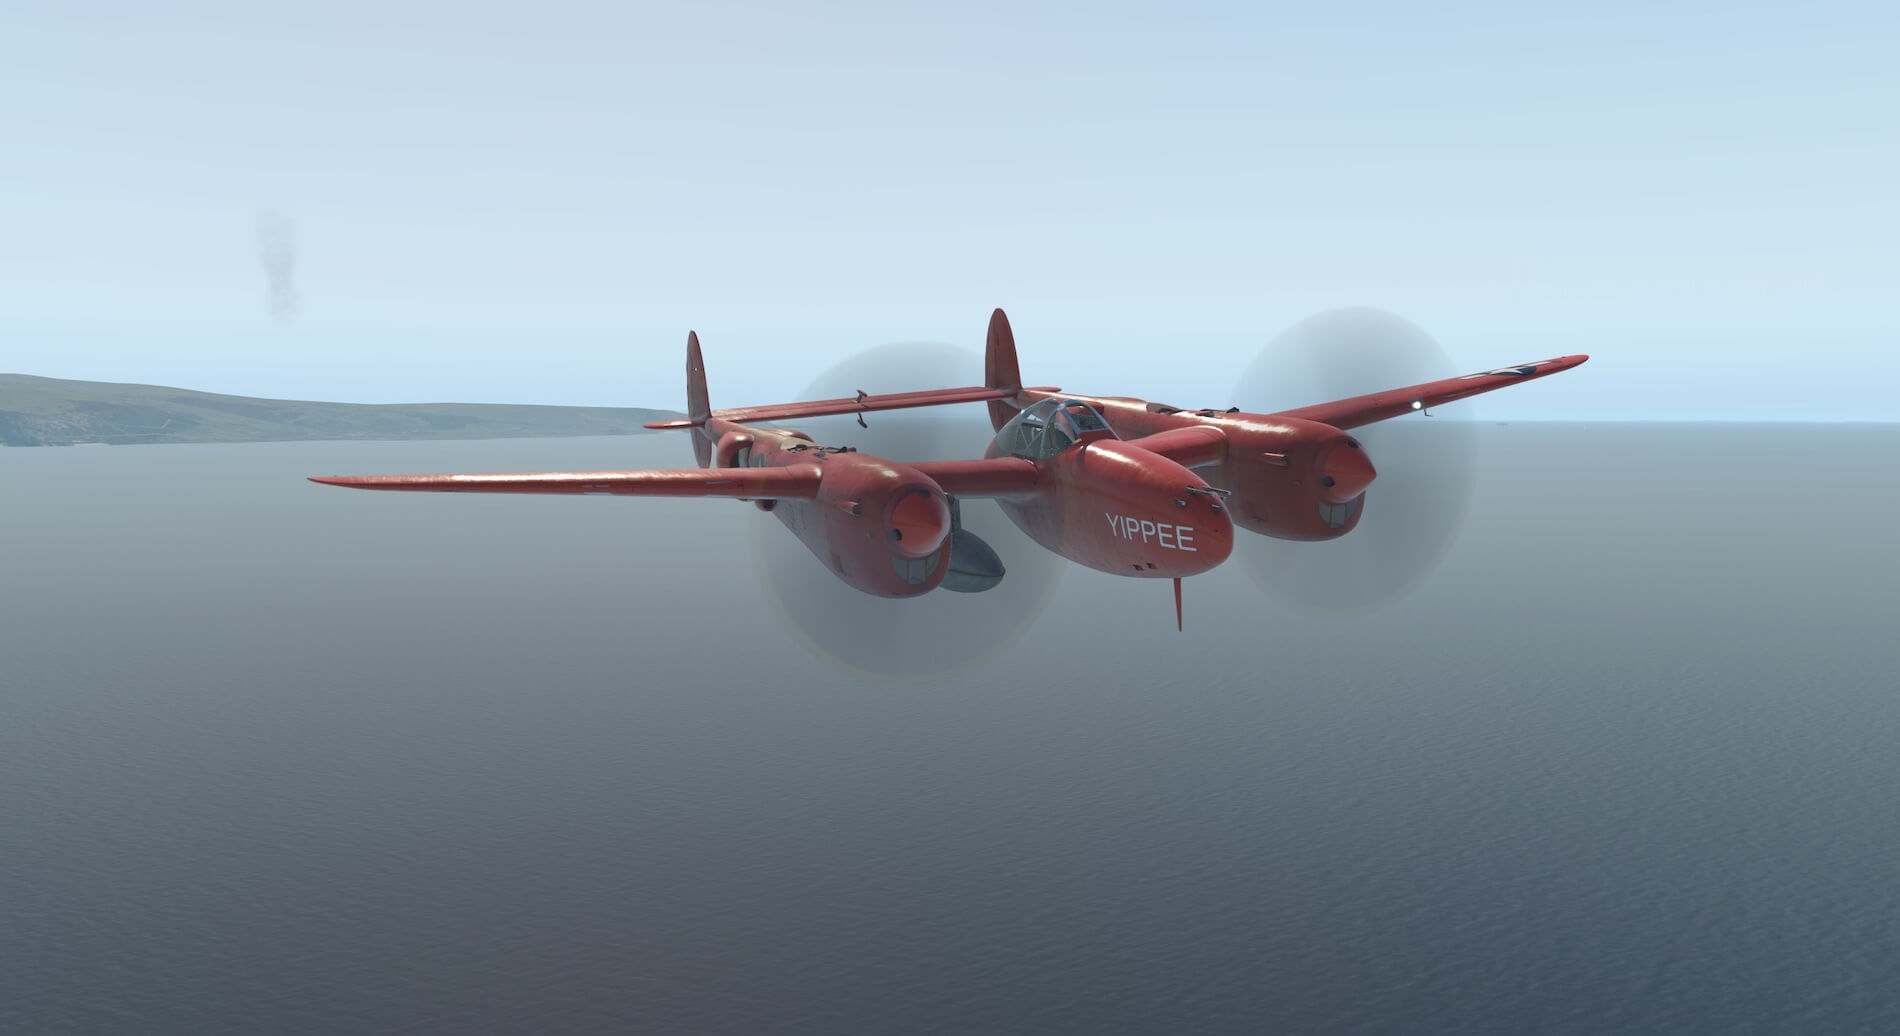


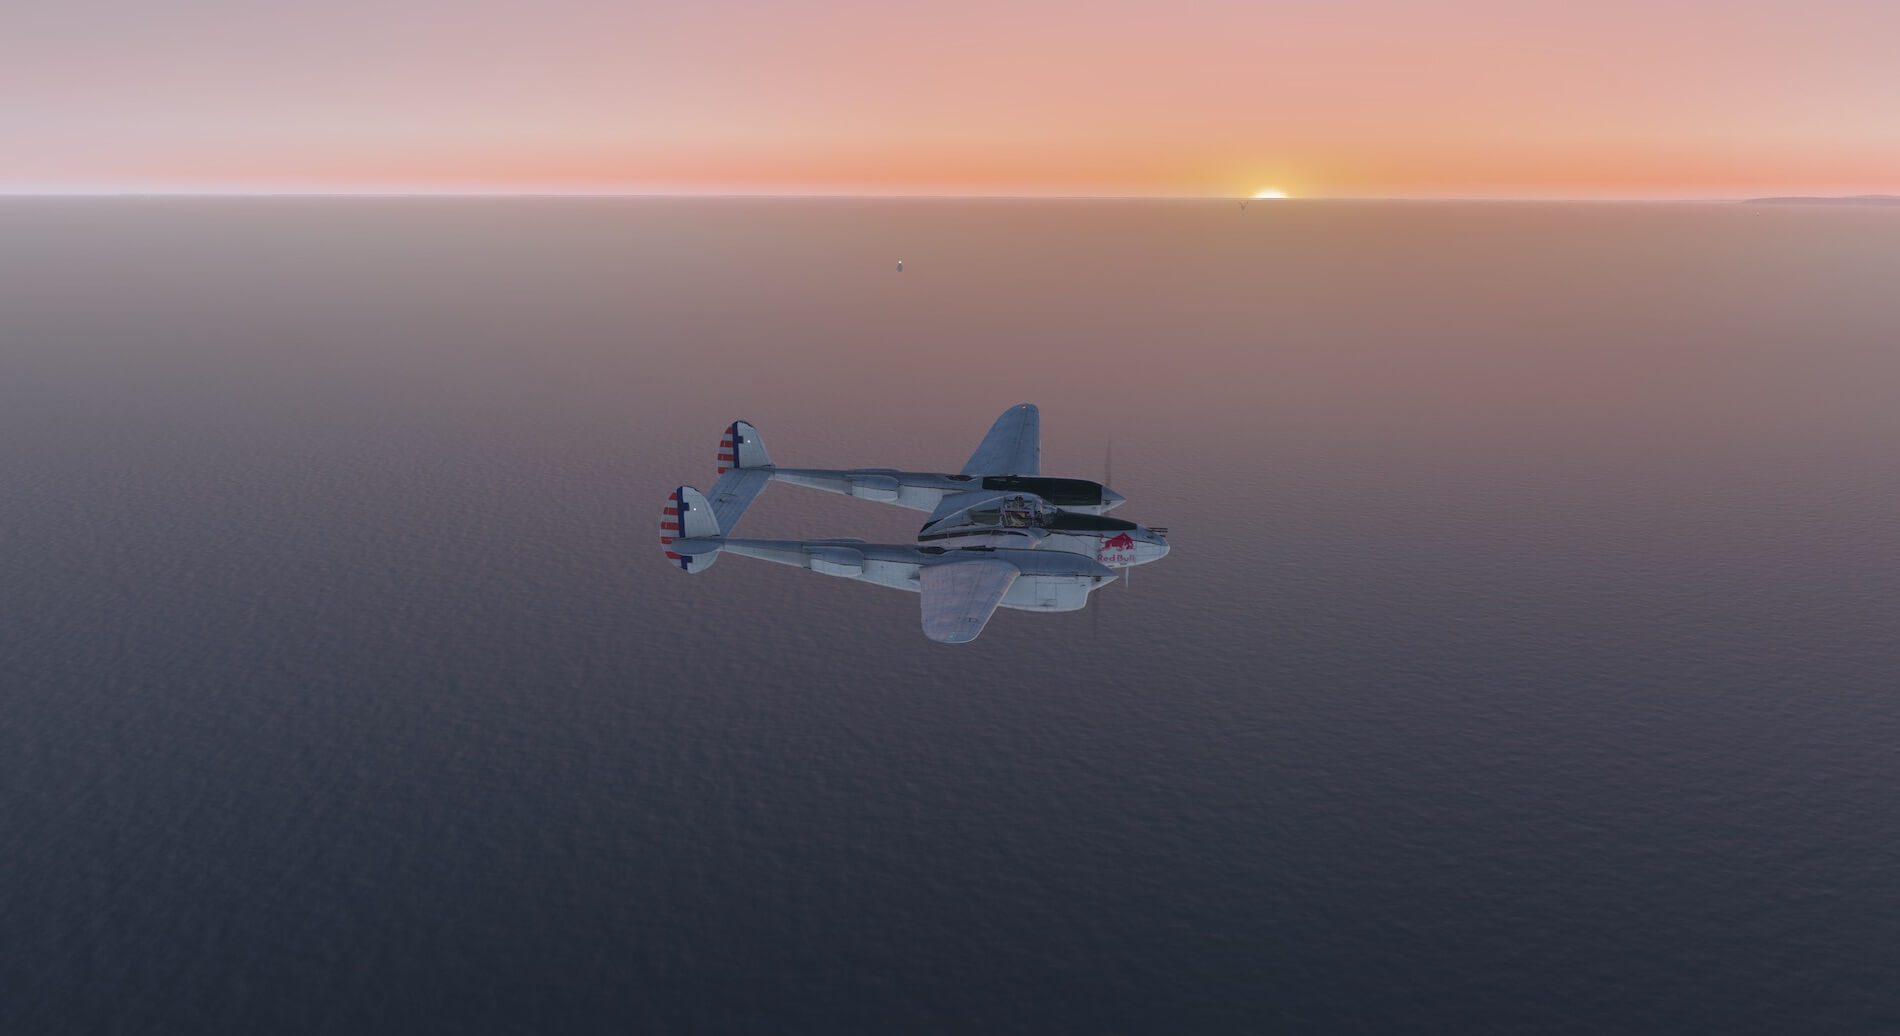
The Lightning also looks very good in low light and the sharpness of the presentation of the aircraft, including lighting, is maintained. Even with less light the colours and signage looks very good and are appropriate for this type and age of aircraft.


The exterior of the model is well produced when viewed from any direction. There is very clear attention to detail and the developers have ensured the specific features, such as the turbocharger cooling assemblies, are realistically created. The profile and configuration of the aircraft make it instantly recognisable and this model reproduces this to great effect with the colouring and weathering adding authenticity and character.
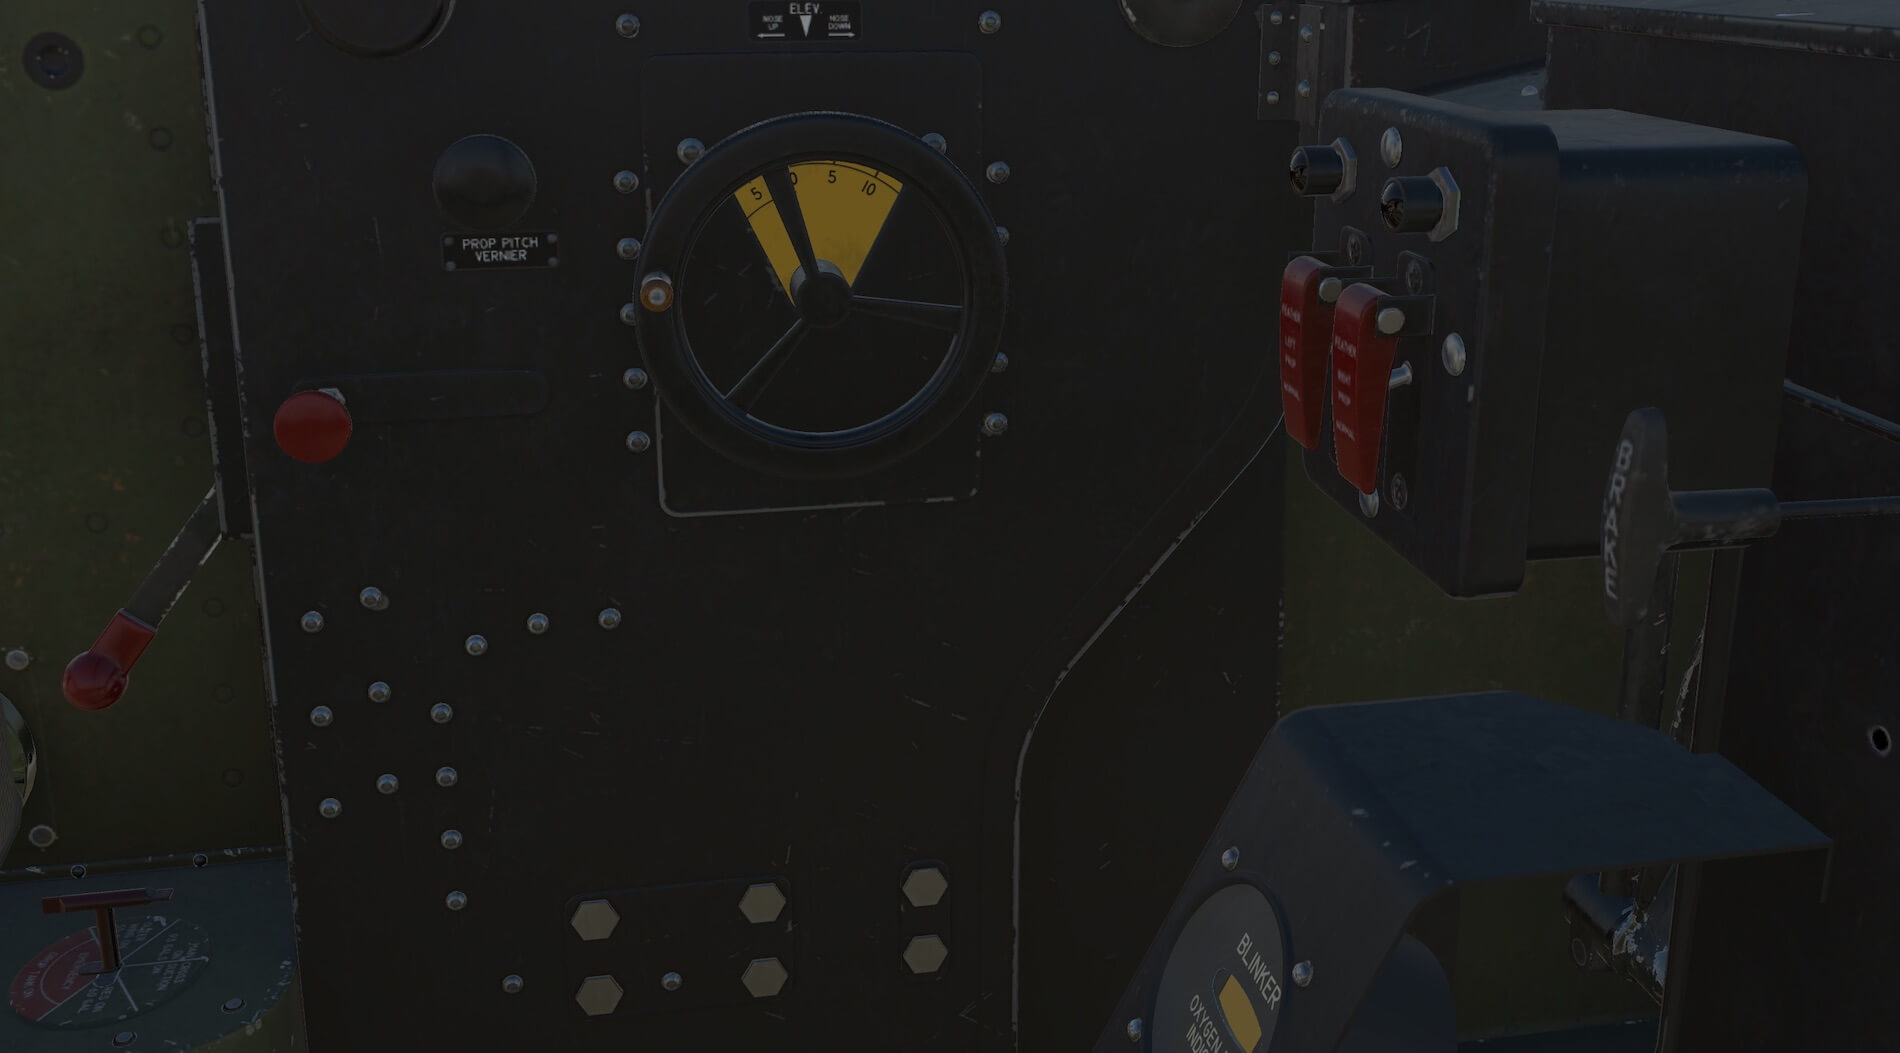
Interior Modelling
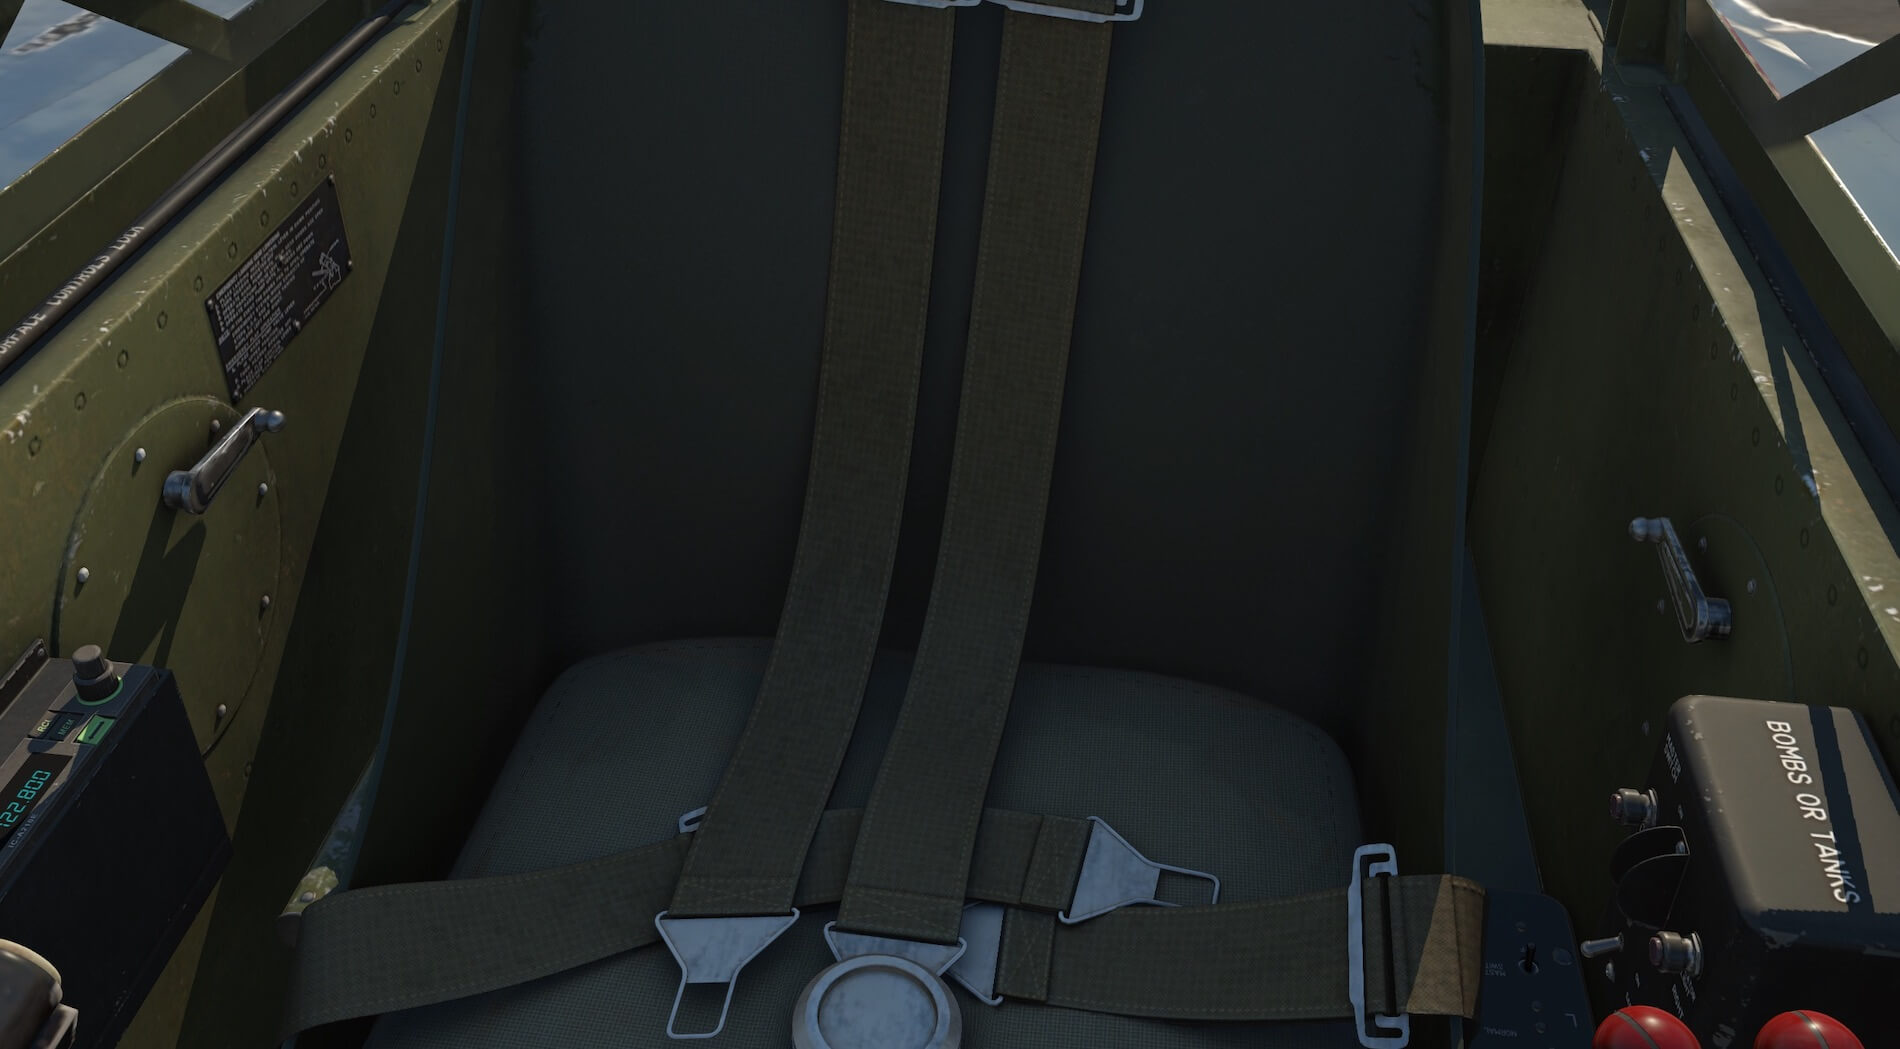
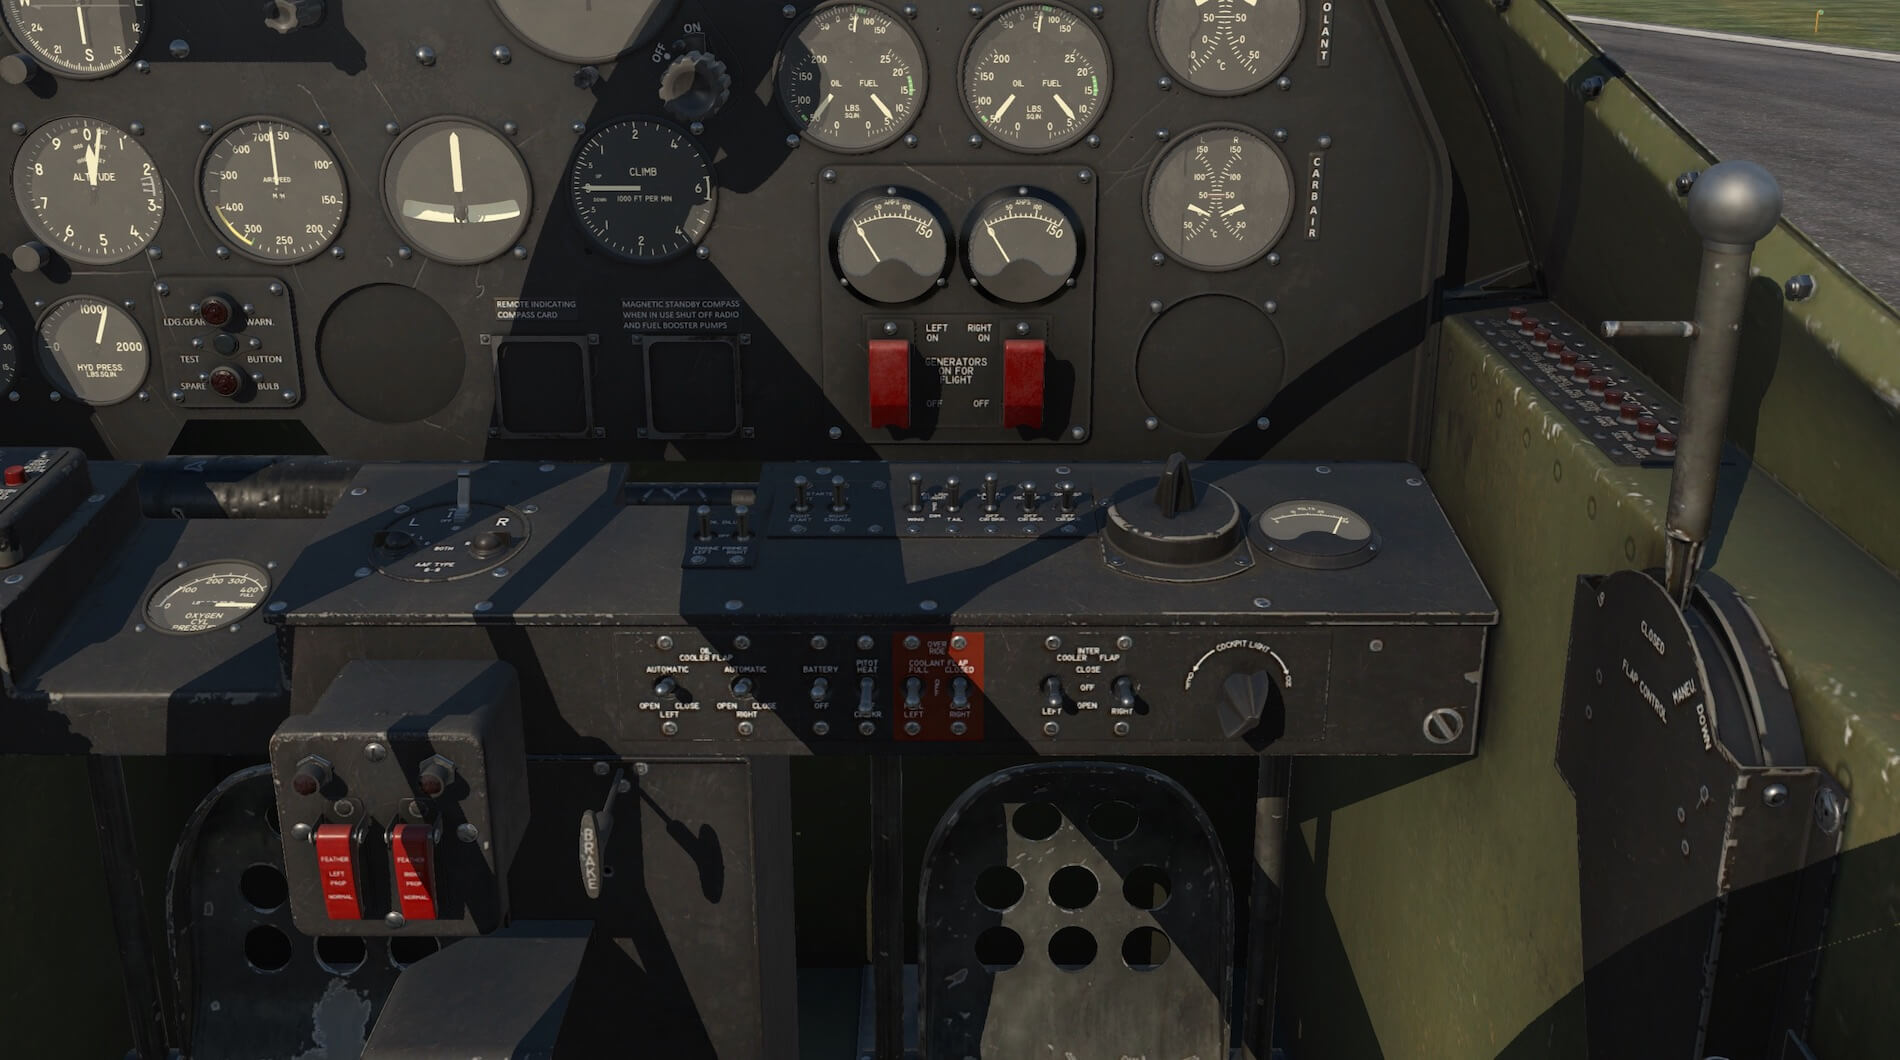
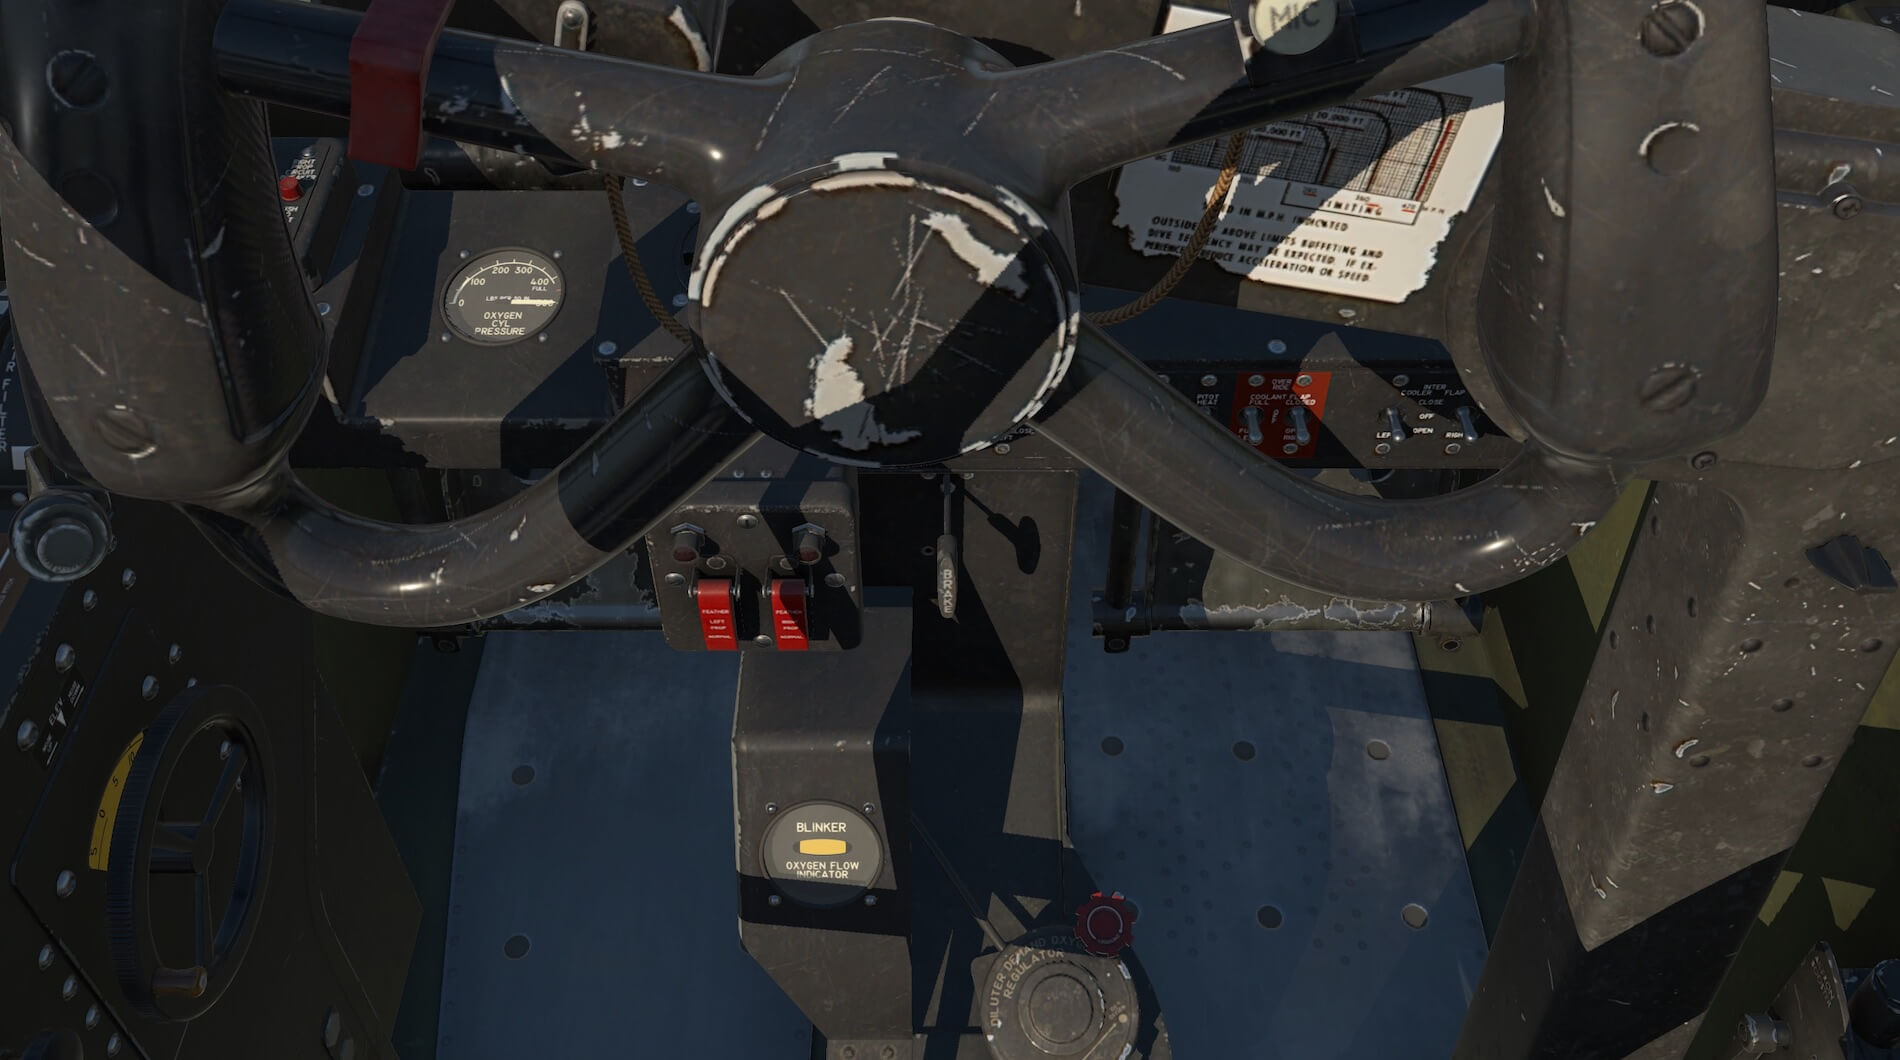
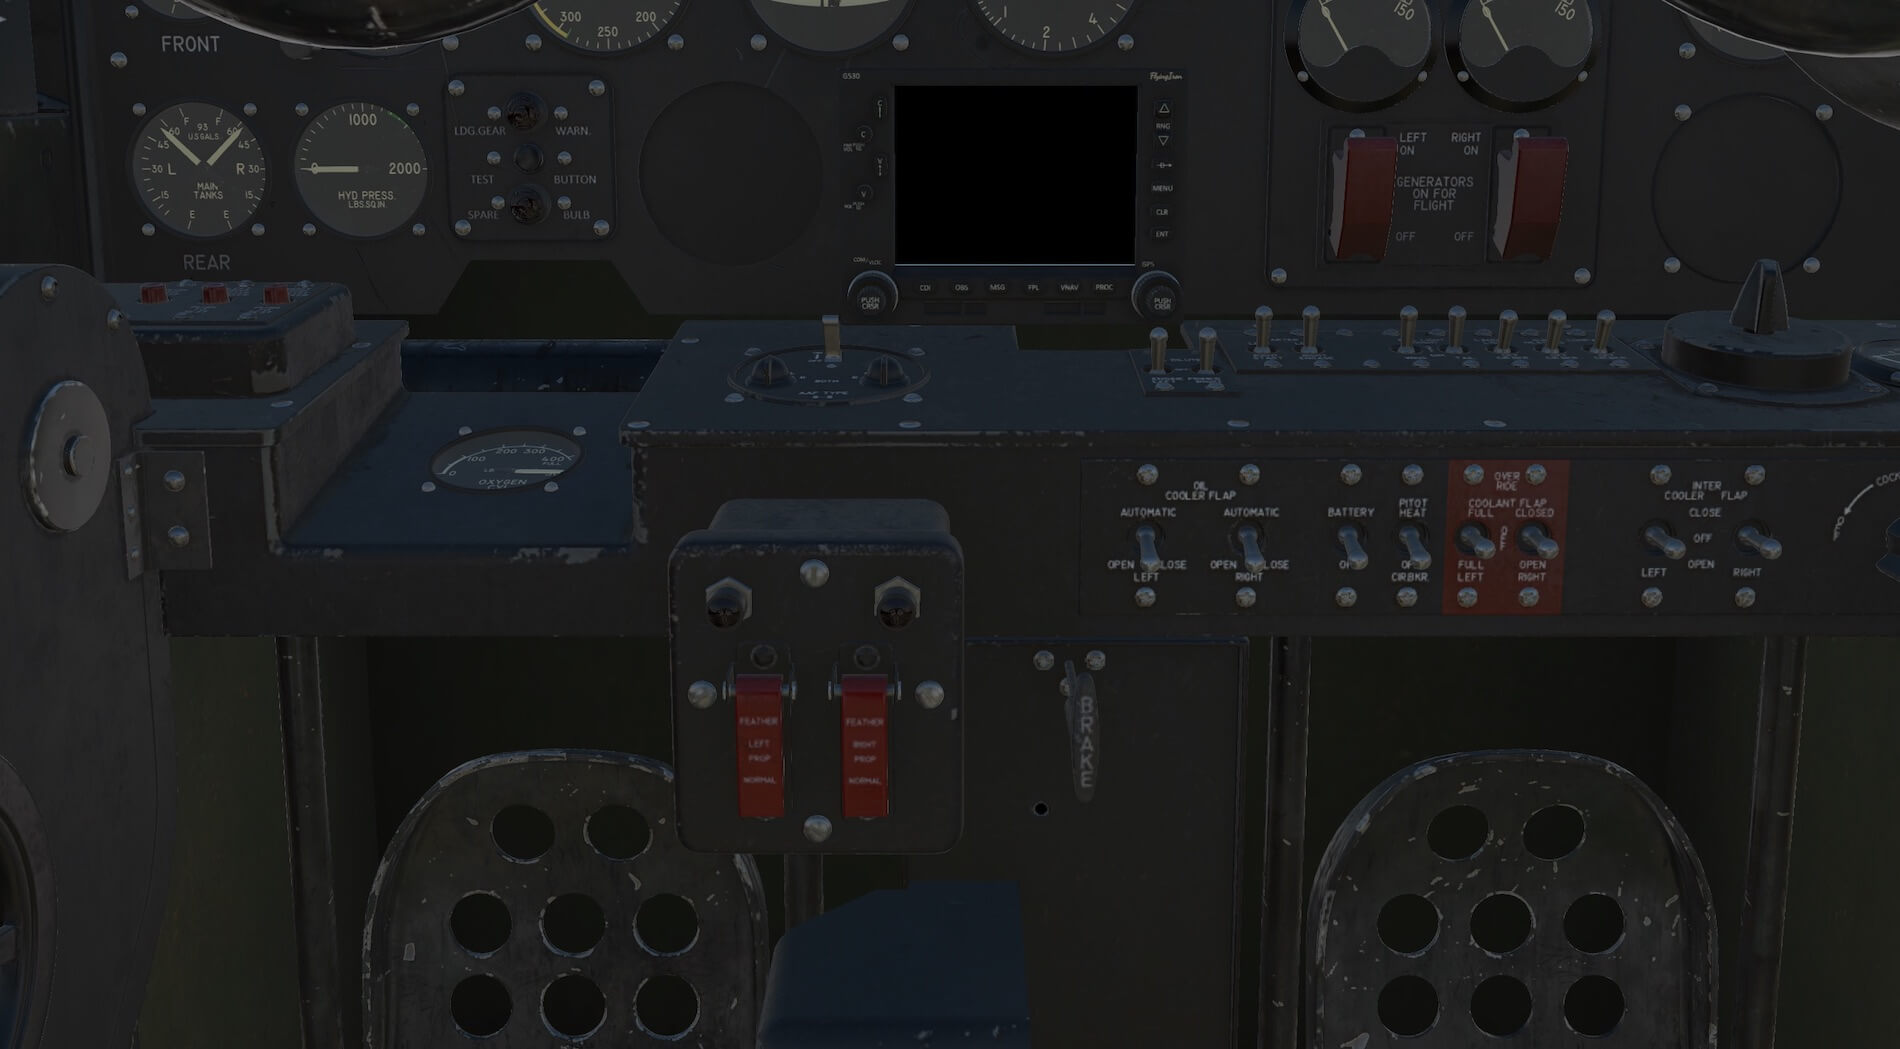
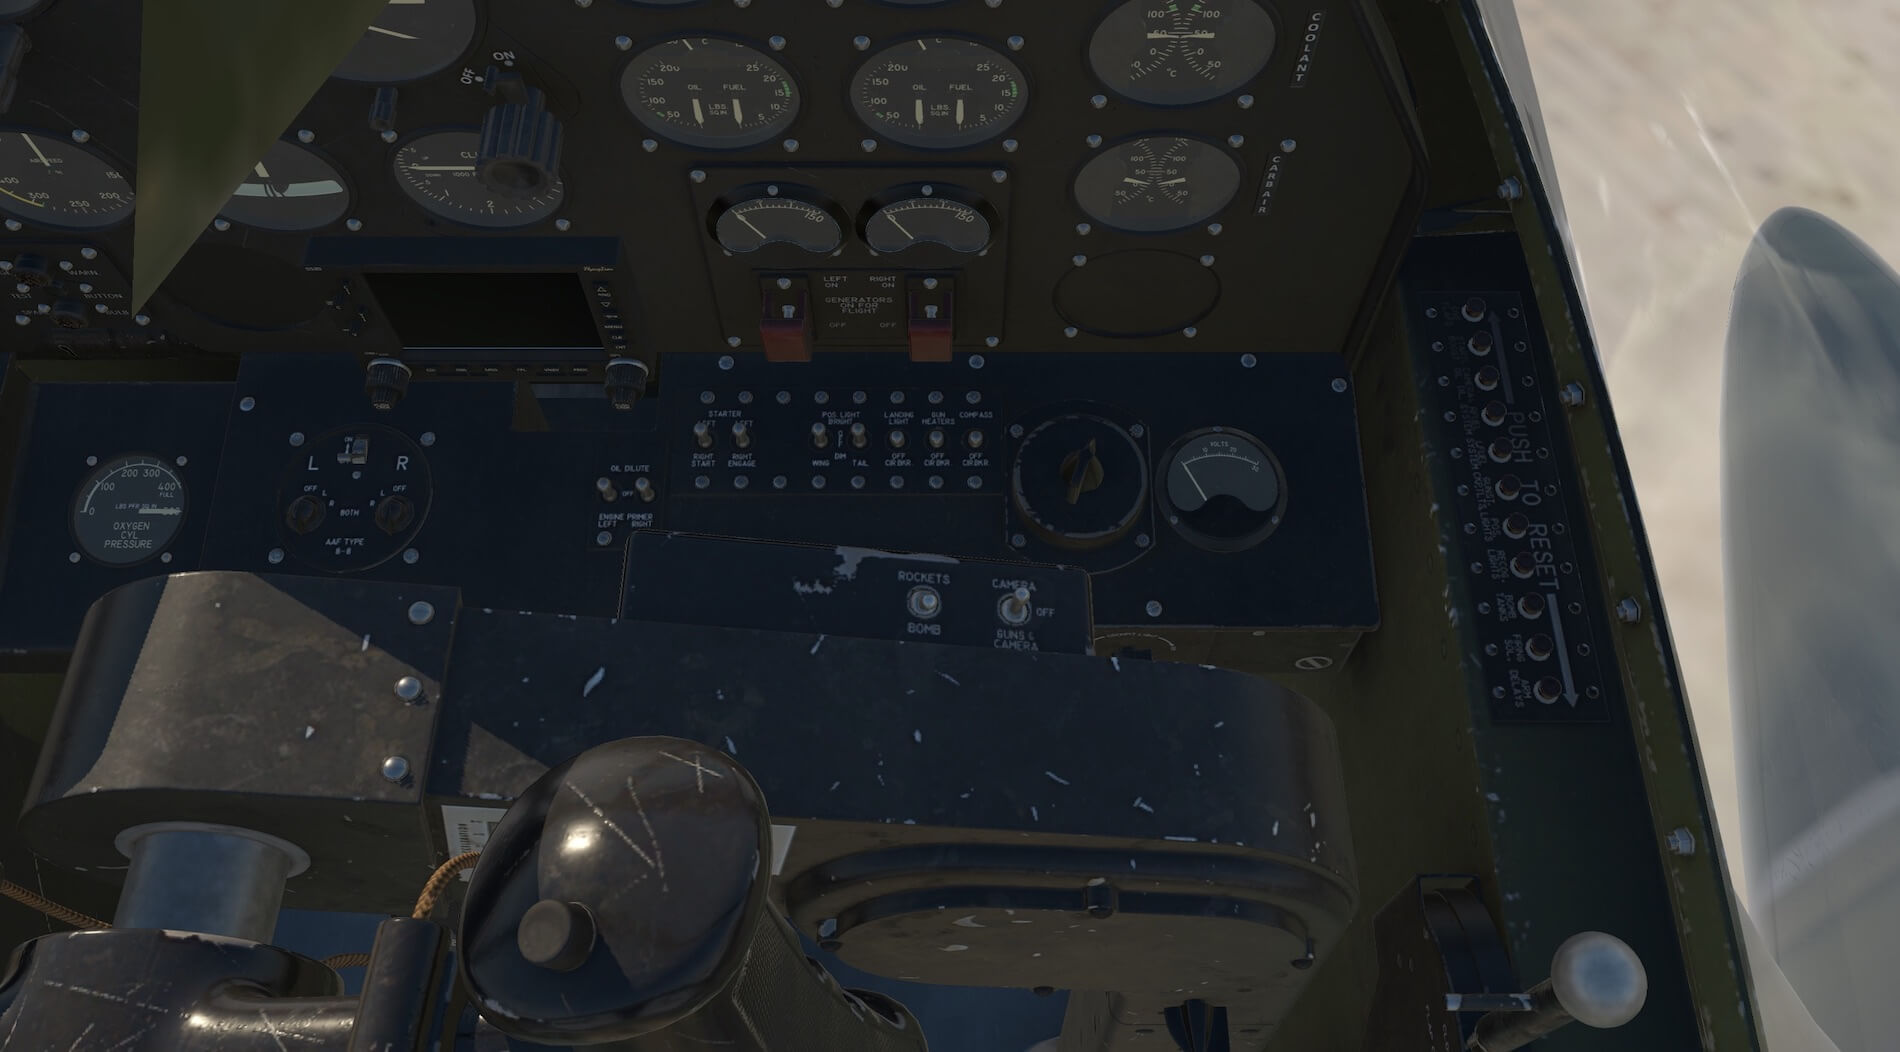
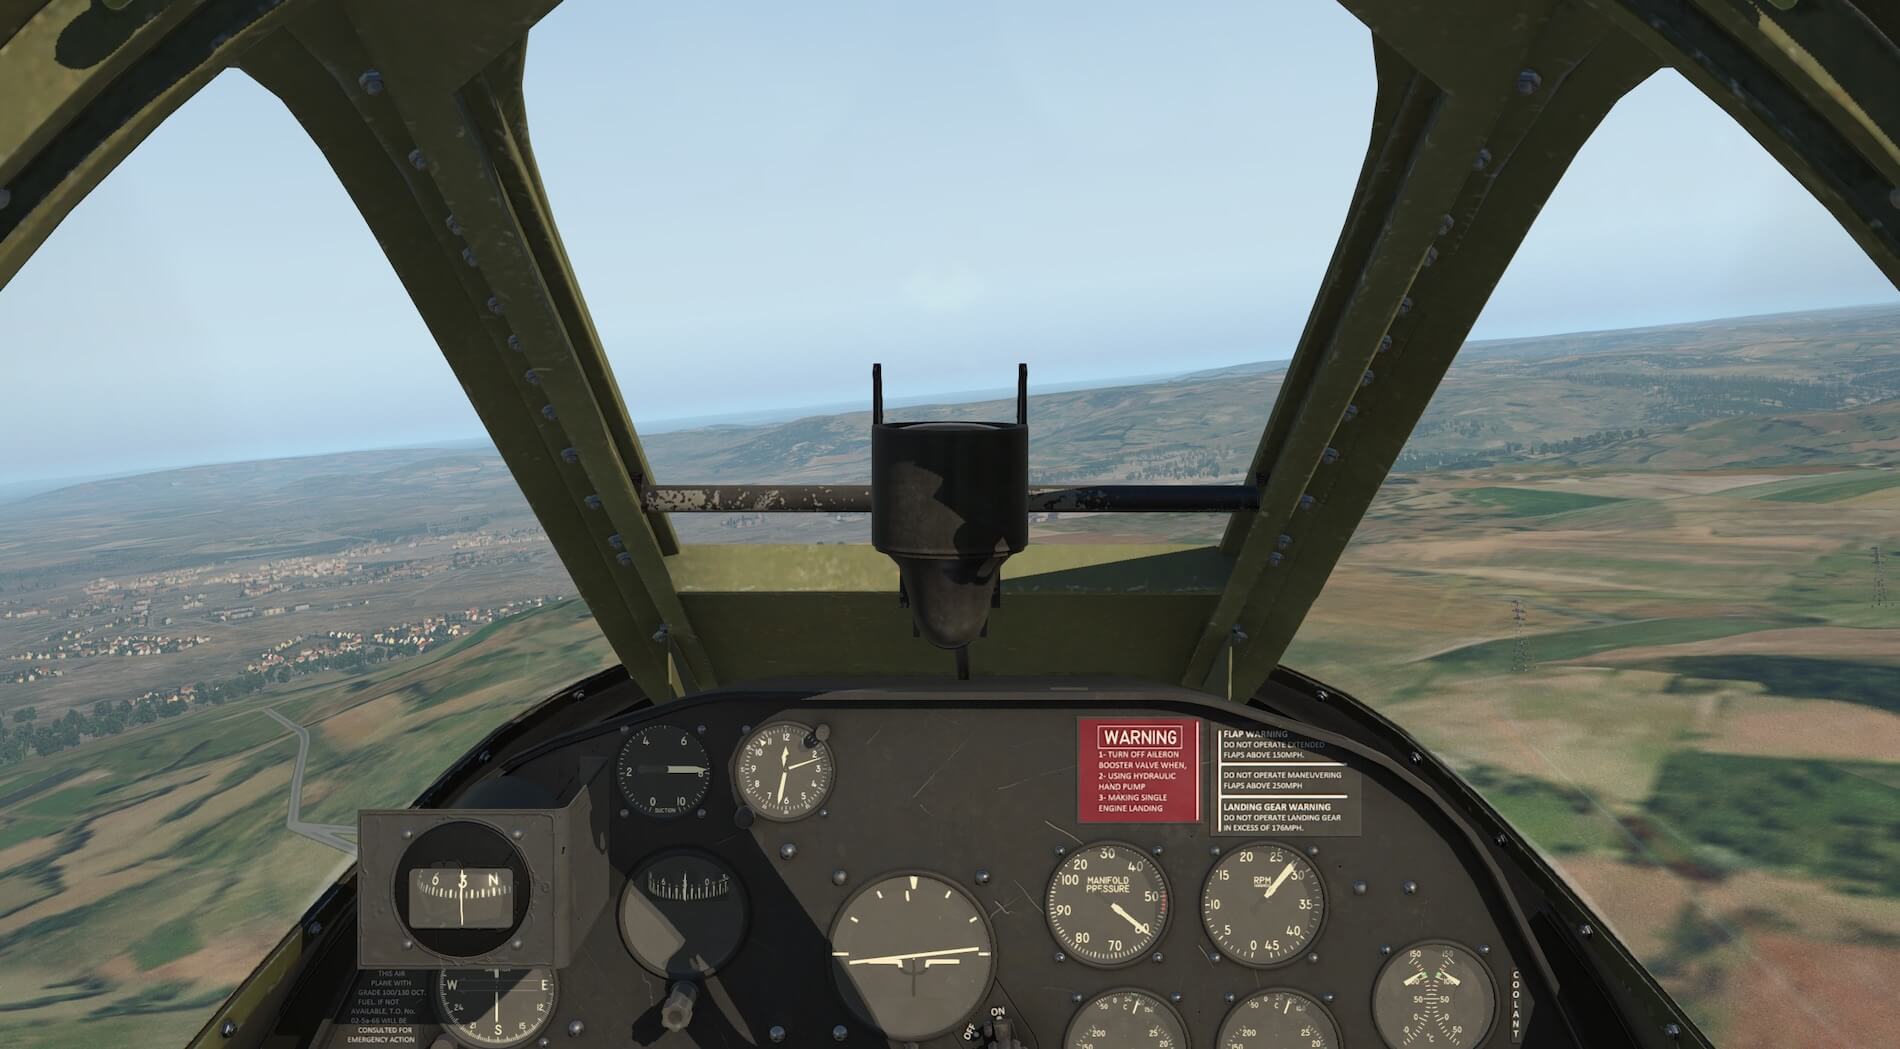
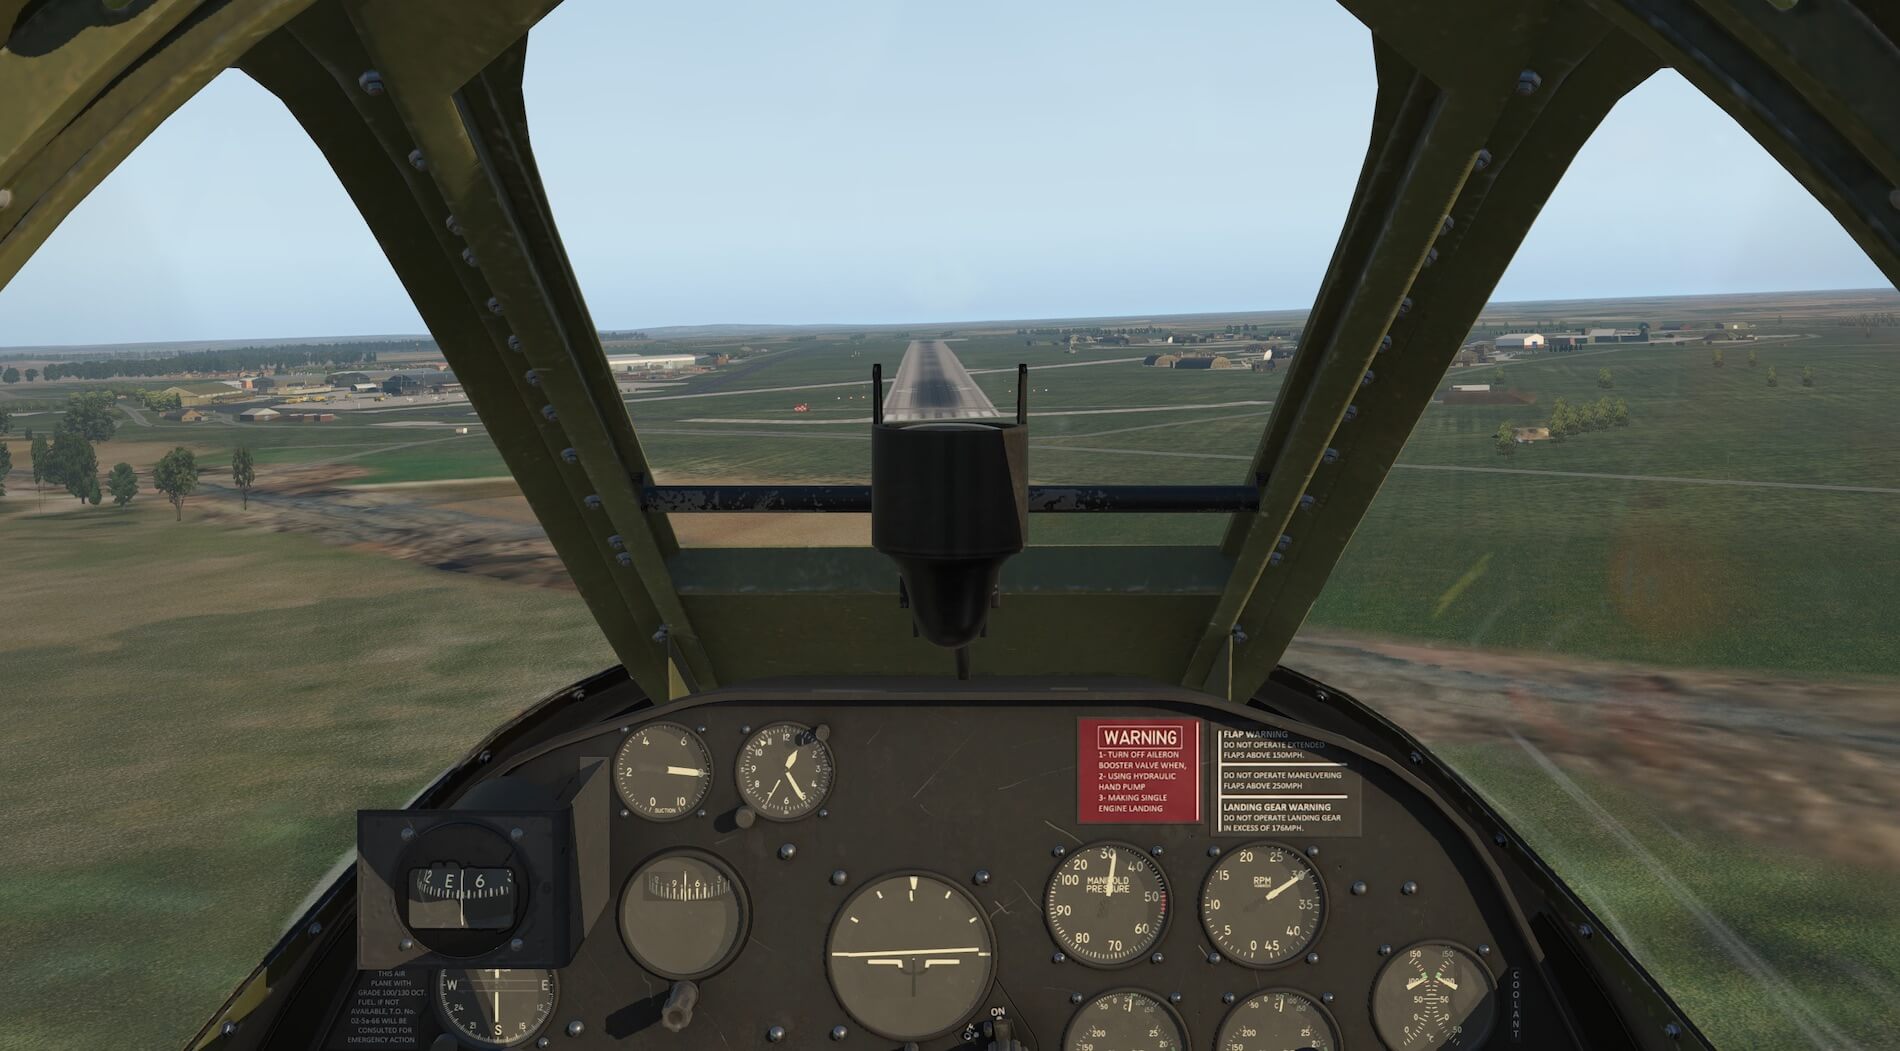
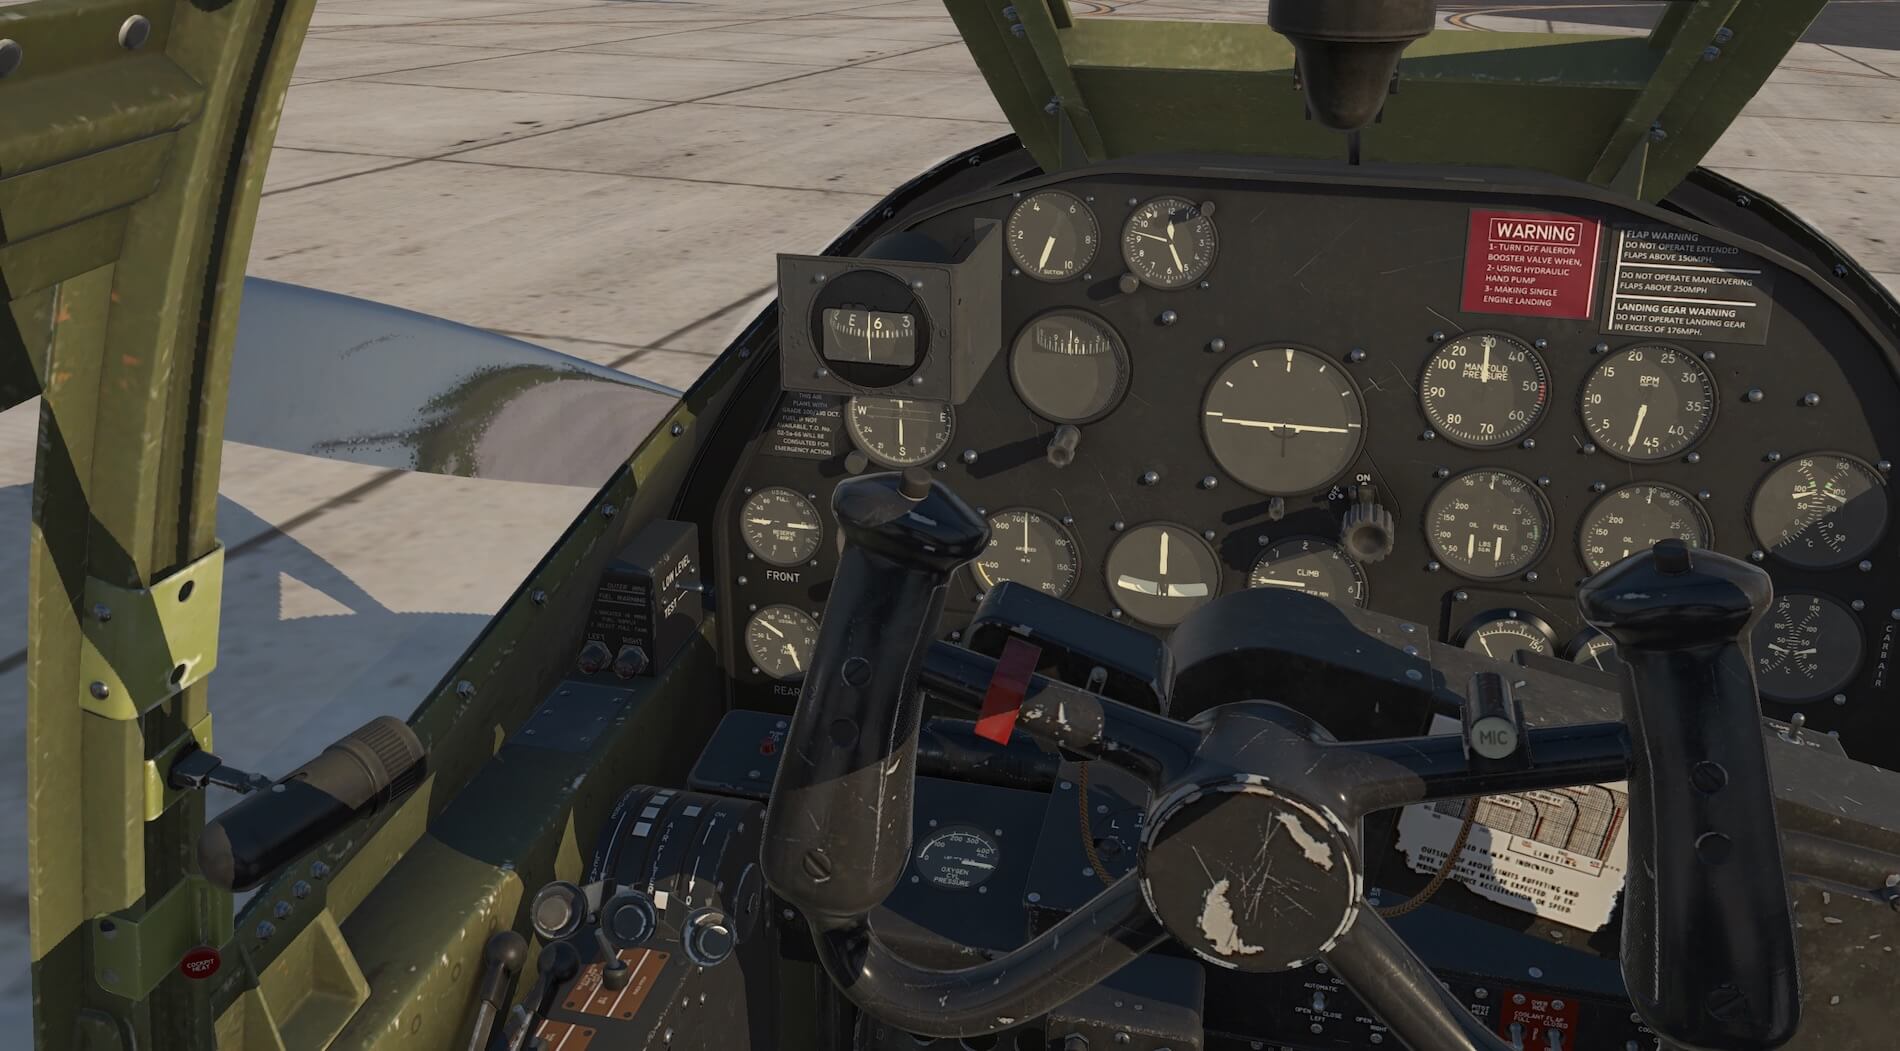
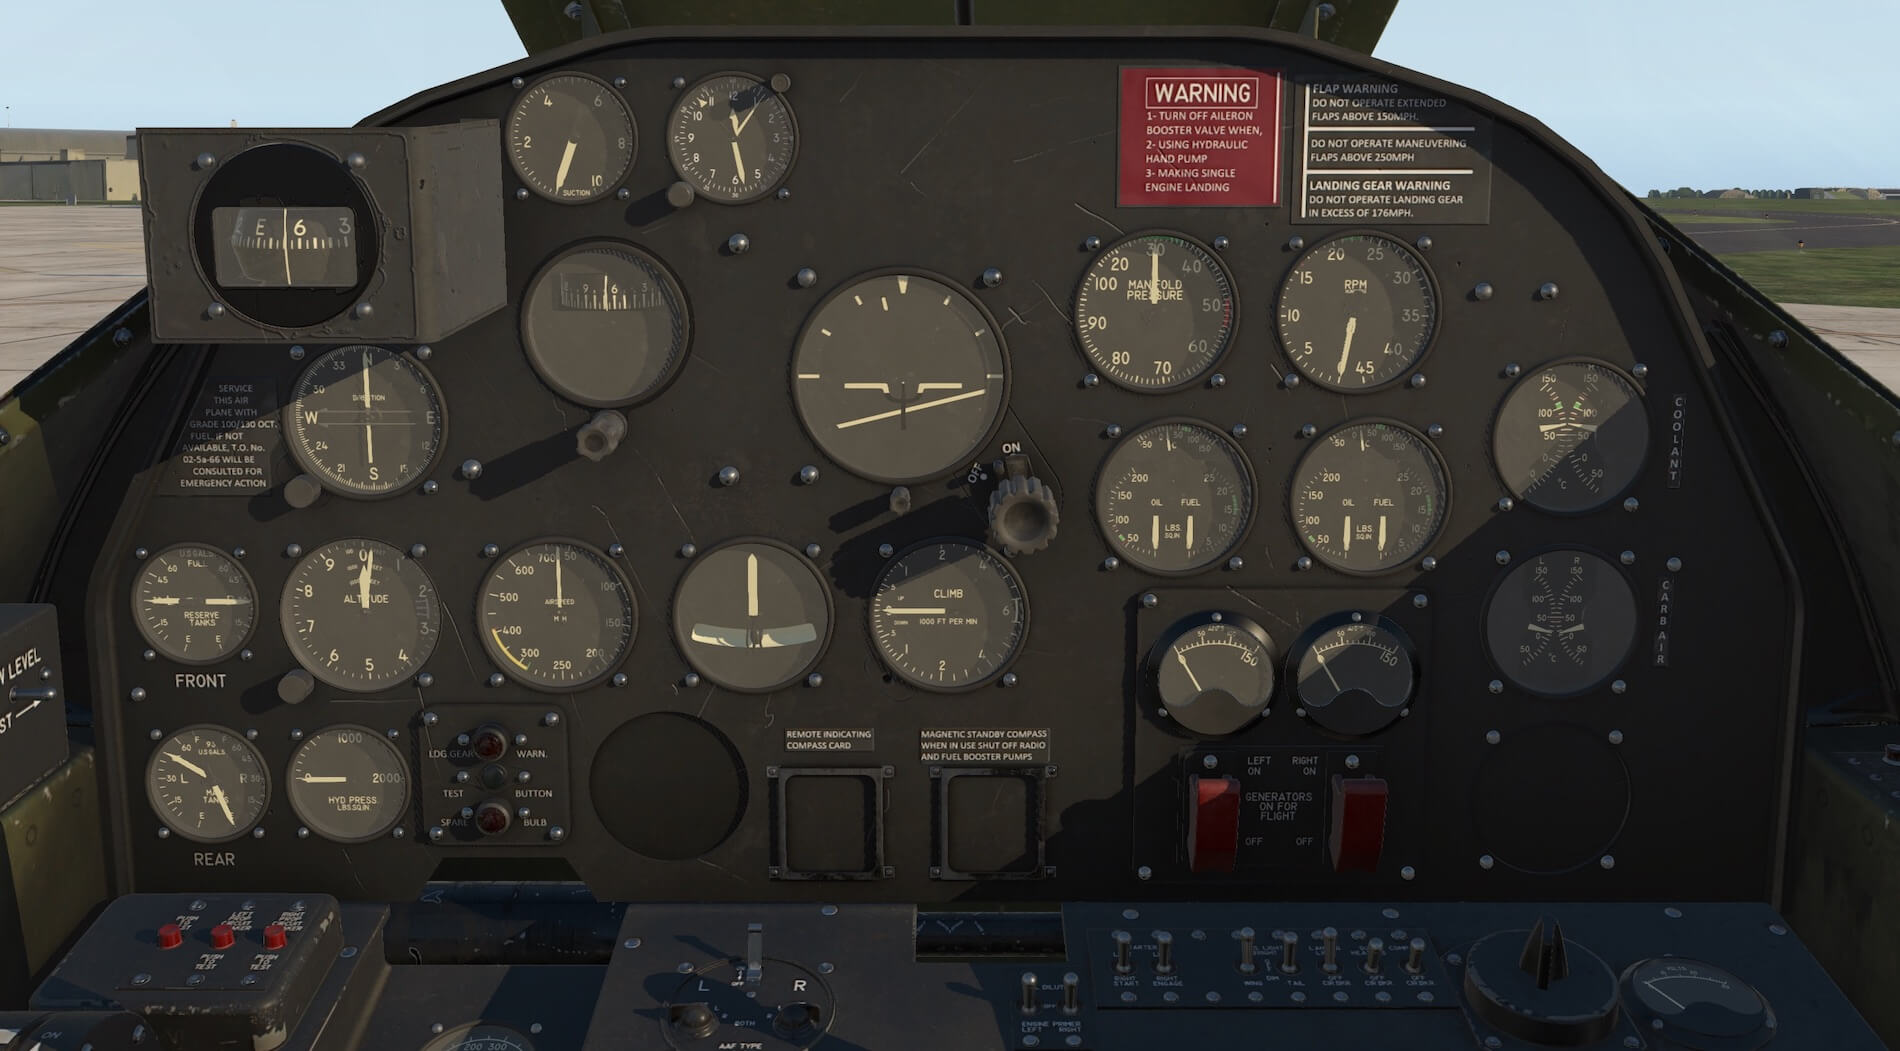
The interior of the cockpit is modelled to look used and aged. Weathering and wear marks really add character to the aircraft. The colours and textures are realistic and appropriate for an aircraft of this age. The instruments are clear and legible and the controls are created in detail. The fabric of the seat and webbing of the seat harness looks very authentic and the whole environment has the utilitarian look of a military aircraft, with modelled riveting and bolts and a bare metal floor. The yoke can be hidden by clicking on its base giving a clearer view of the instrument panel.


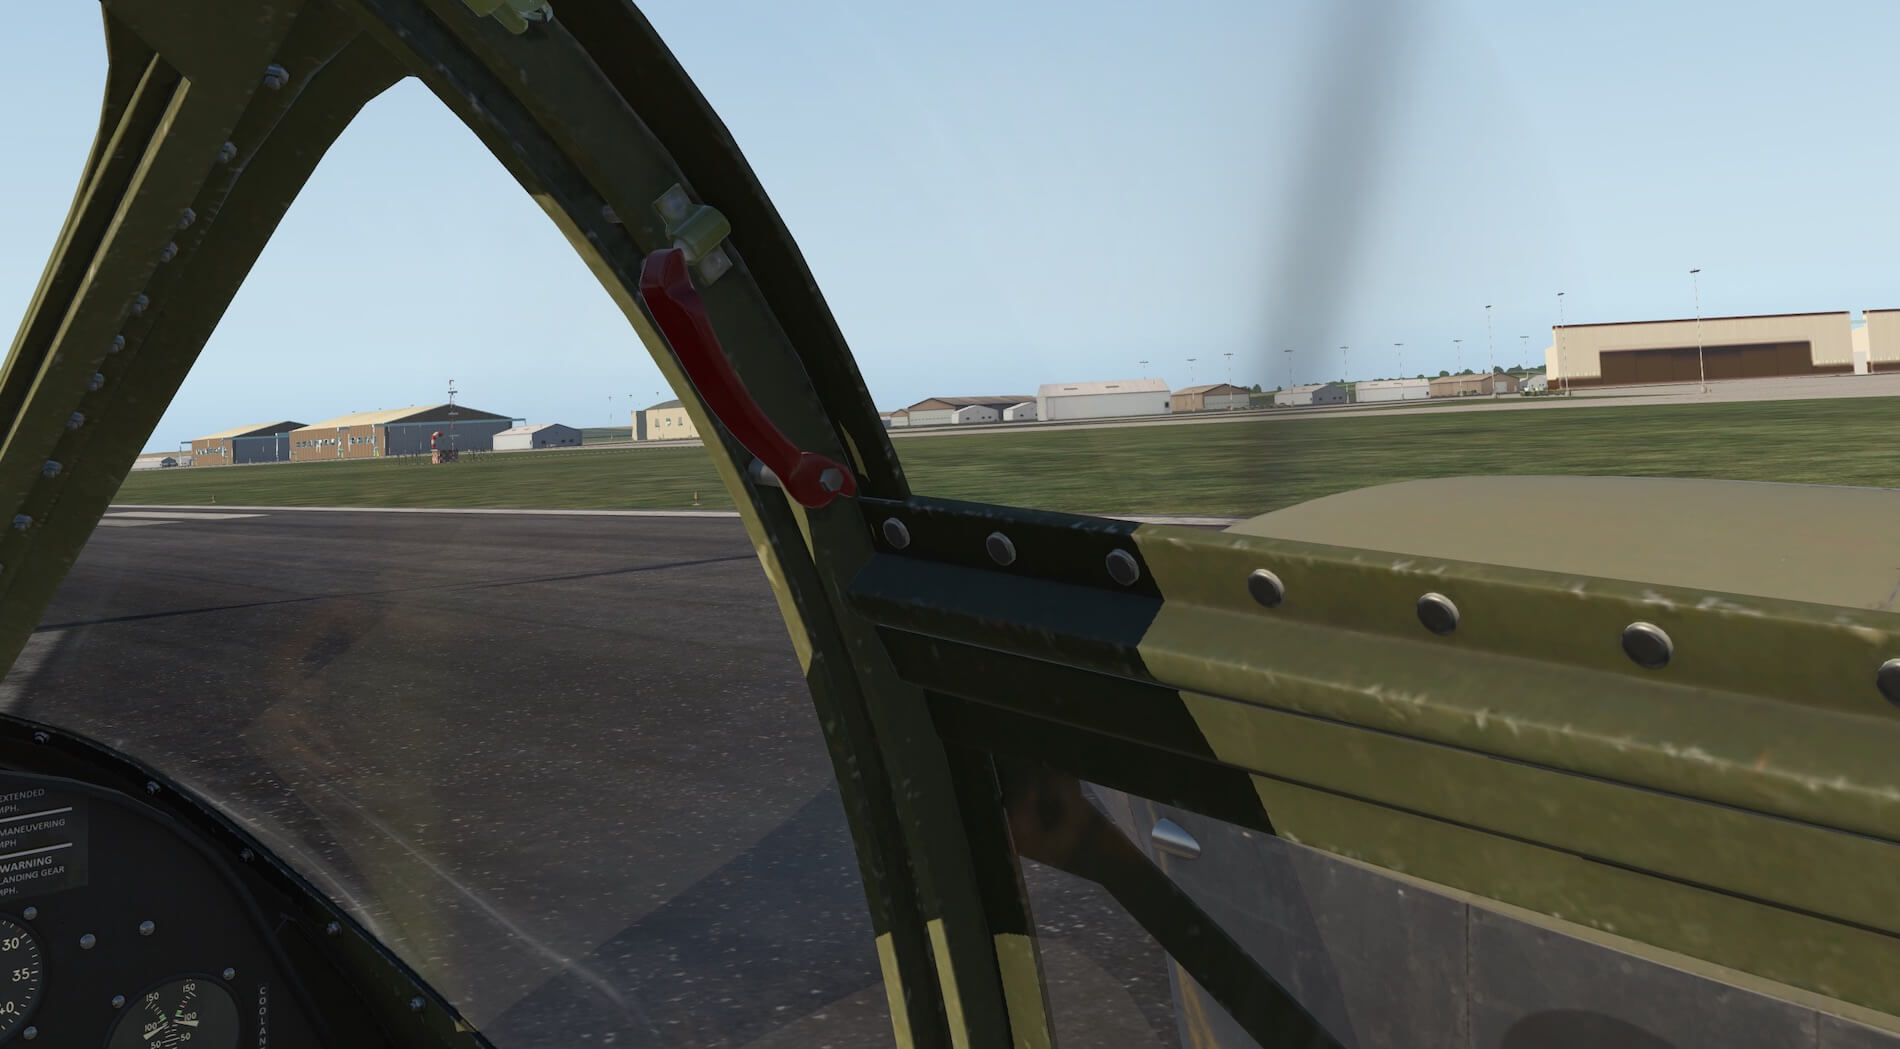
The canopy and side windows can be opened by a handle inside the cockpit and views through the glass are clear and realistic and the advantage of the elevated cockpit becomes clear with good all round visibility.


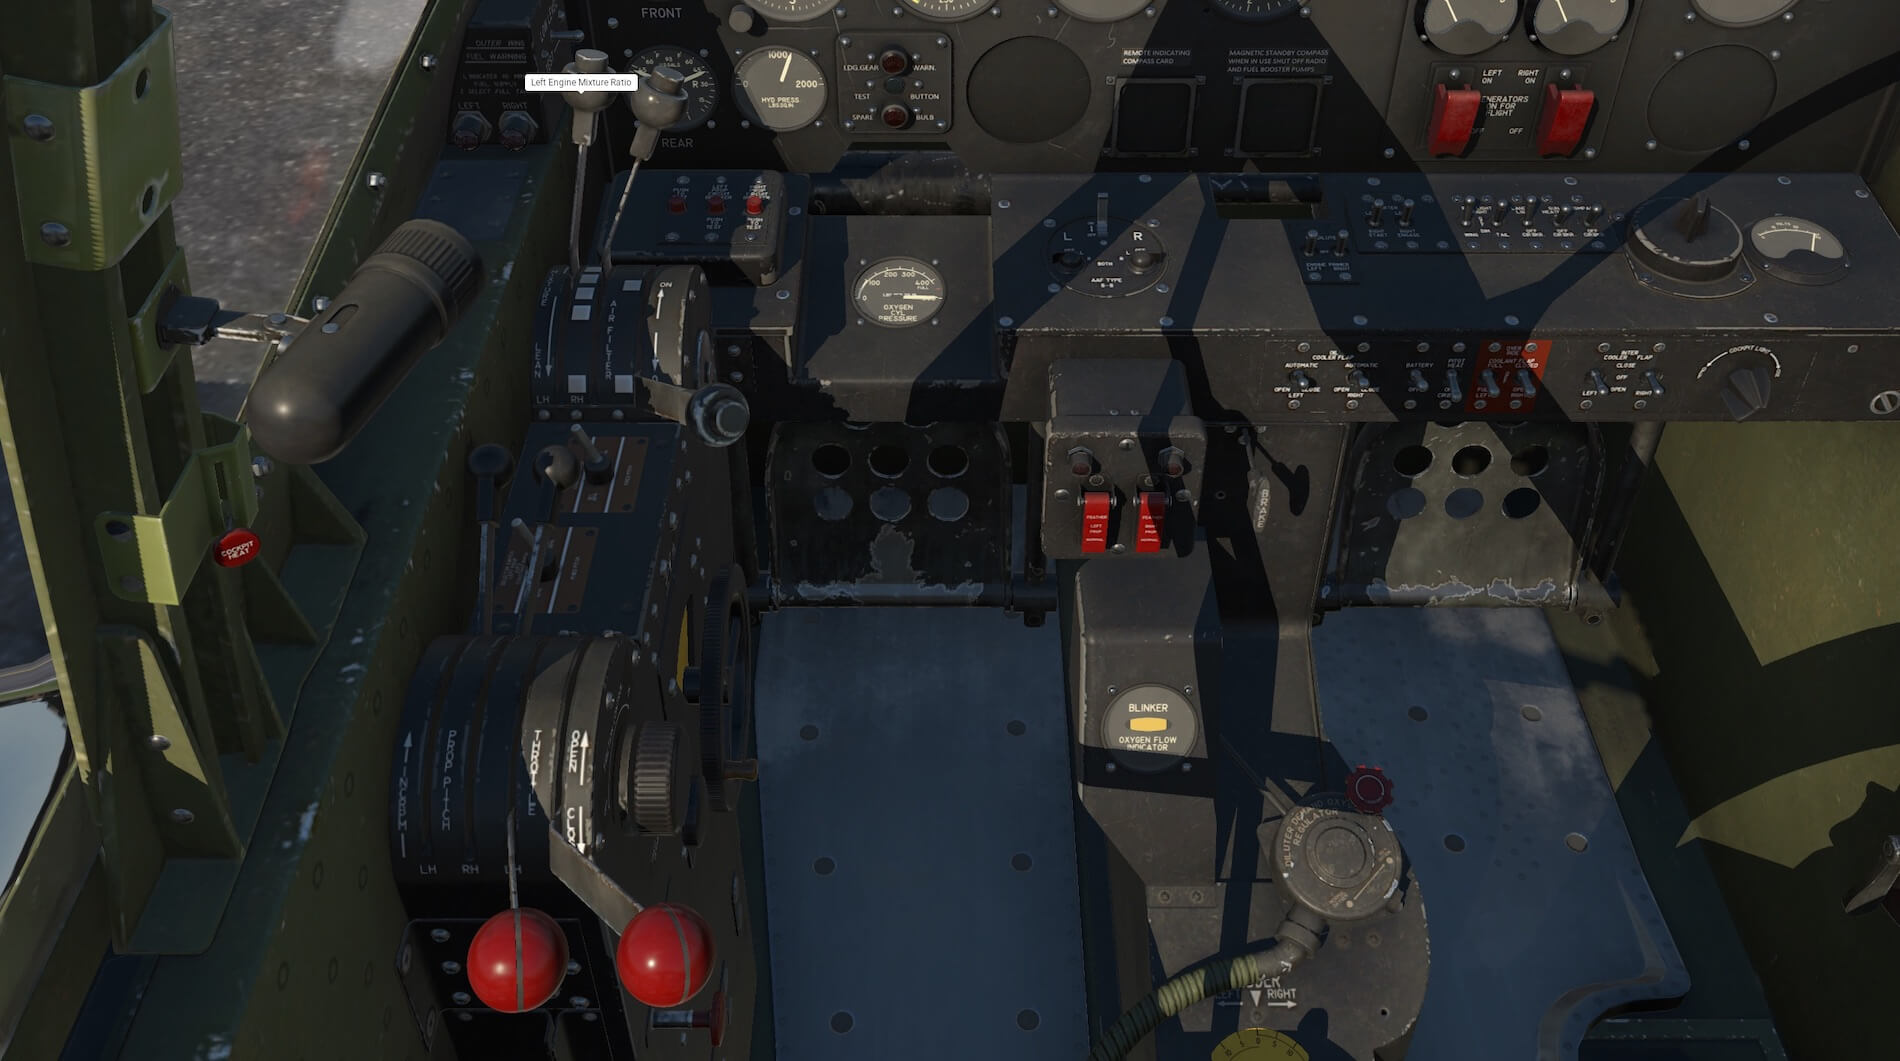
Where a lever or switch is modelled to work a hand symbol appears when the pointer is hovered over it and in the majority of cases a useful label appears to describe what the control is for. Light and shadow work well inside the aircraft and change according to the aircraft position and movement and the movement of the canopy. The interior of the aircraft has been created to a very high standard creating an immersive experience for the pilot and fully complimenting the standard of the aircraft exterior.
Sound
The sound package for the model is very impressive. Switches. levers and controls have their own appropriate sounds and the engine noise is very convincing, changing in volume and tone from within or without the aircraft. Systems have sounds attached such as the fuel booster pump when carrying out the engine start.
The turning of the engines by the energiser creates a different sound from when the engines are running and the engines can be clearly heard to “catch”as they start. The use of flaps and the movement of the undercarriage have their own particular sounds. This compliments the presentation of the model and adds to the realism.
Systems
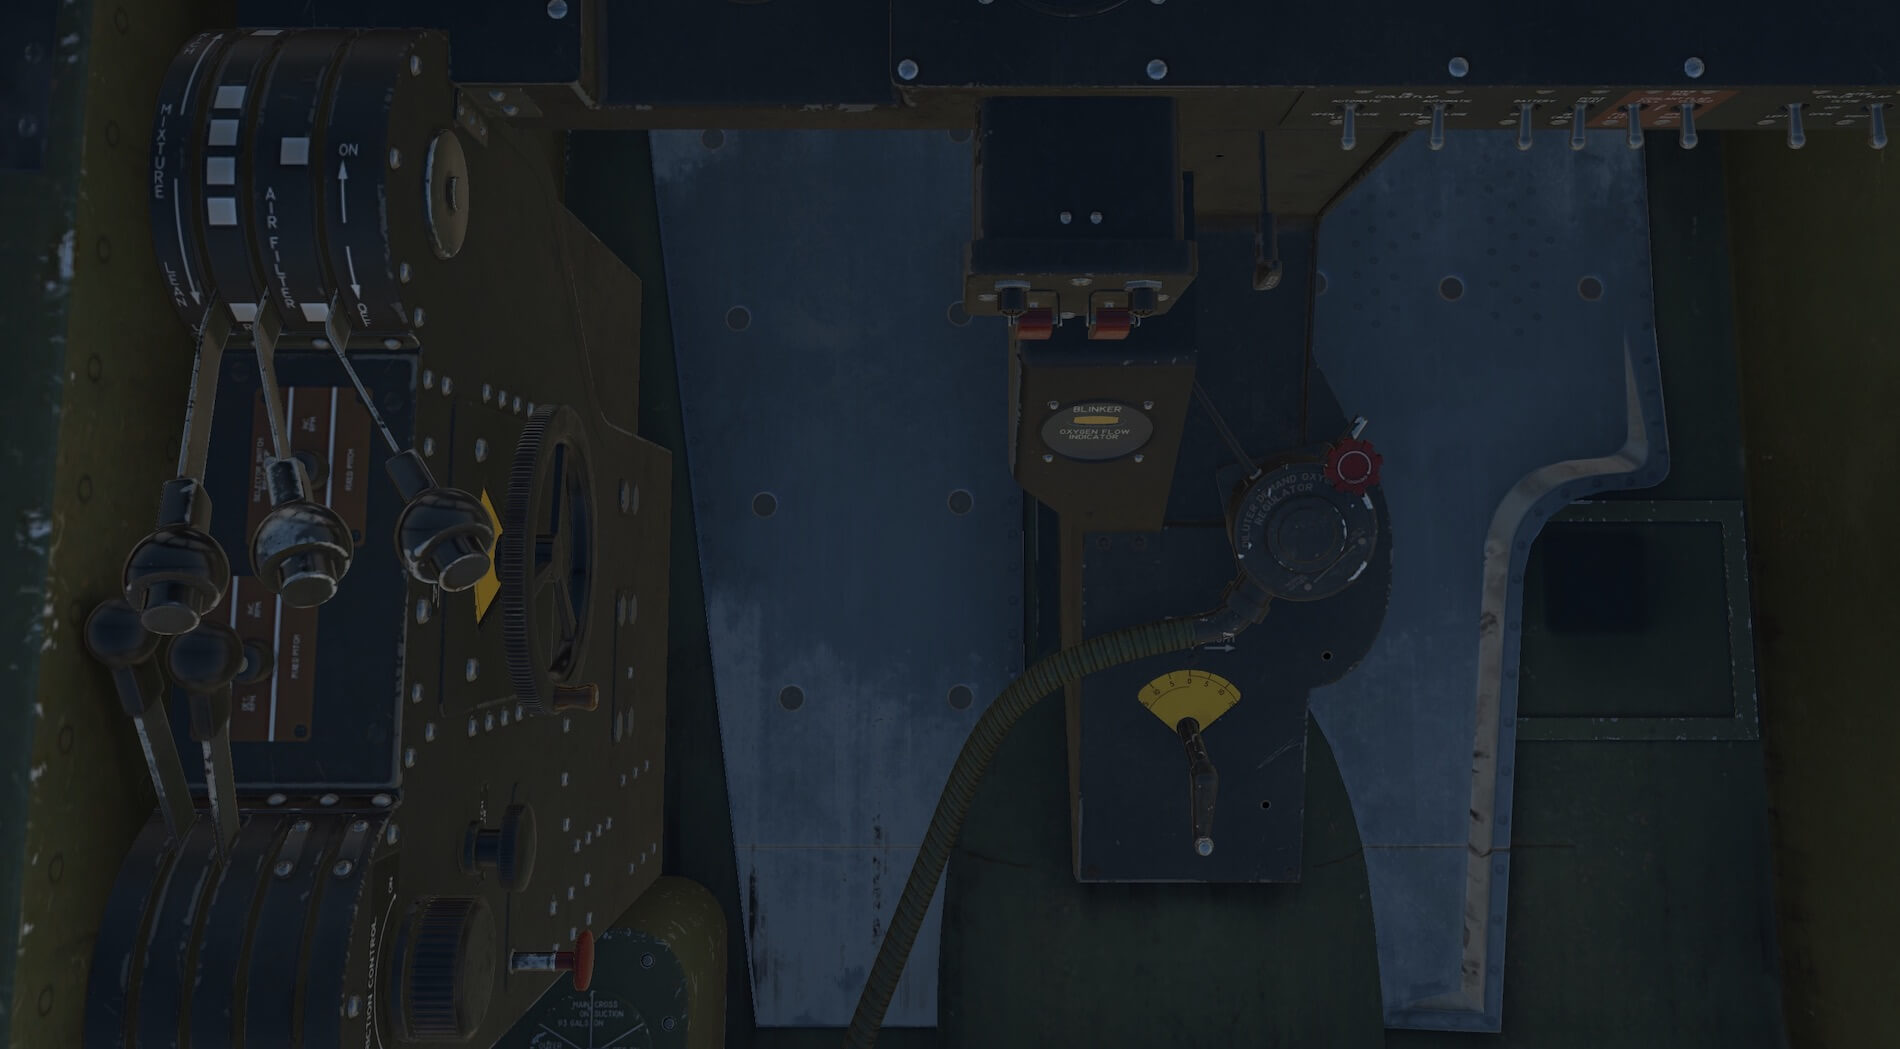
The Lightning has been modelled with working systems both for the aircraft itself and the simulation. As mentioned above these systems are outlined in the aircraft manual and I have used the manual to help me outline the various options here. The fuel system is modelled in accordance with the real aircraft and the pilot needs to control the tanks in use and fuel flow. Settings for the particular tank in use are made by the fuel selector switches for left and right wings. The pilot also controls the fuel pumps with the pump switch located behind the fuel selectors.

The model has systems to allow engine priming and oil dilution and the hydraulic system pressure gauges change appropriately when the system is being used, for example the lowering and raising of the undercarriage. The coolant system can be used automatically or set by the pilot with override switches to fully closed or open. The coolant dissipates heat via the radiators on the tail booms described when checking the exterior of the aircraft.
The oil temperatures are regulated in a similar fashion. The counter rotating propellors can be controlled by the pilot who sets the desired RPM via the propellor levers and a governor sets the pitch to create this. The propellors can also be controlled manually and can be feathered by the pilot.
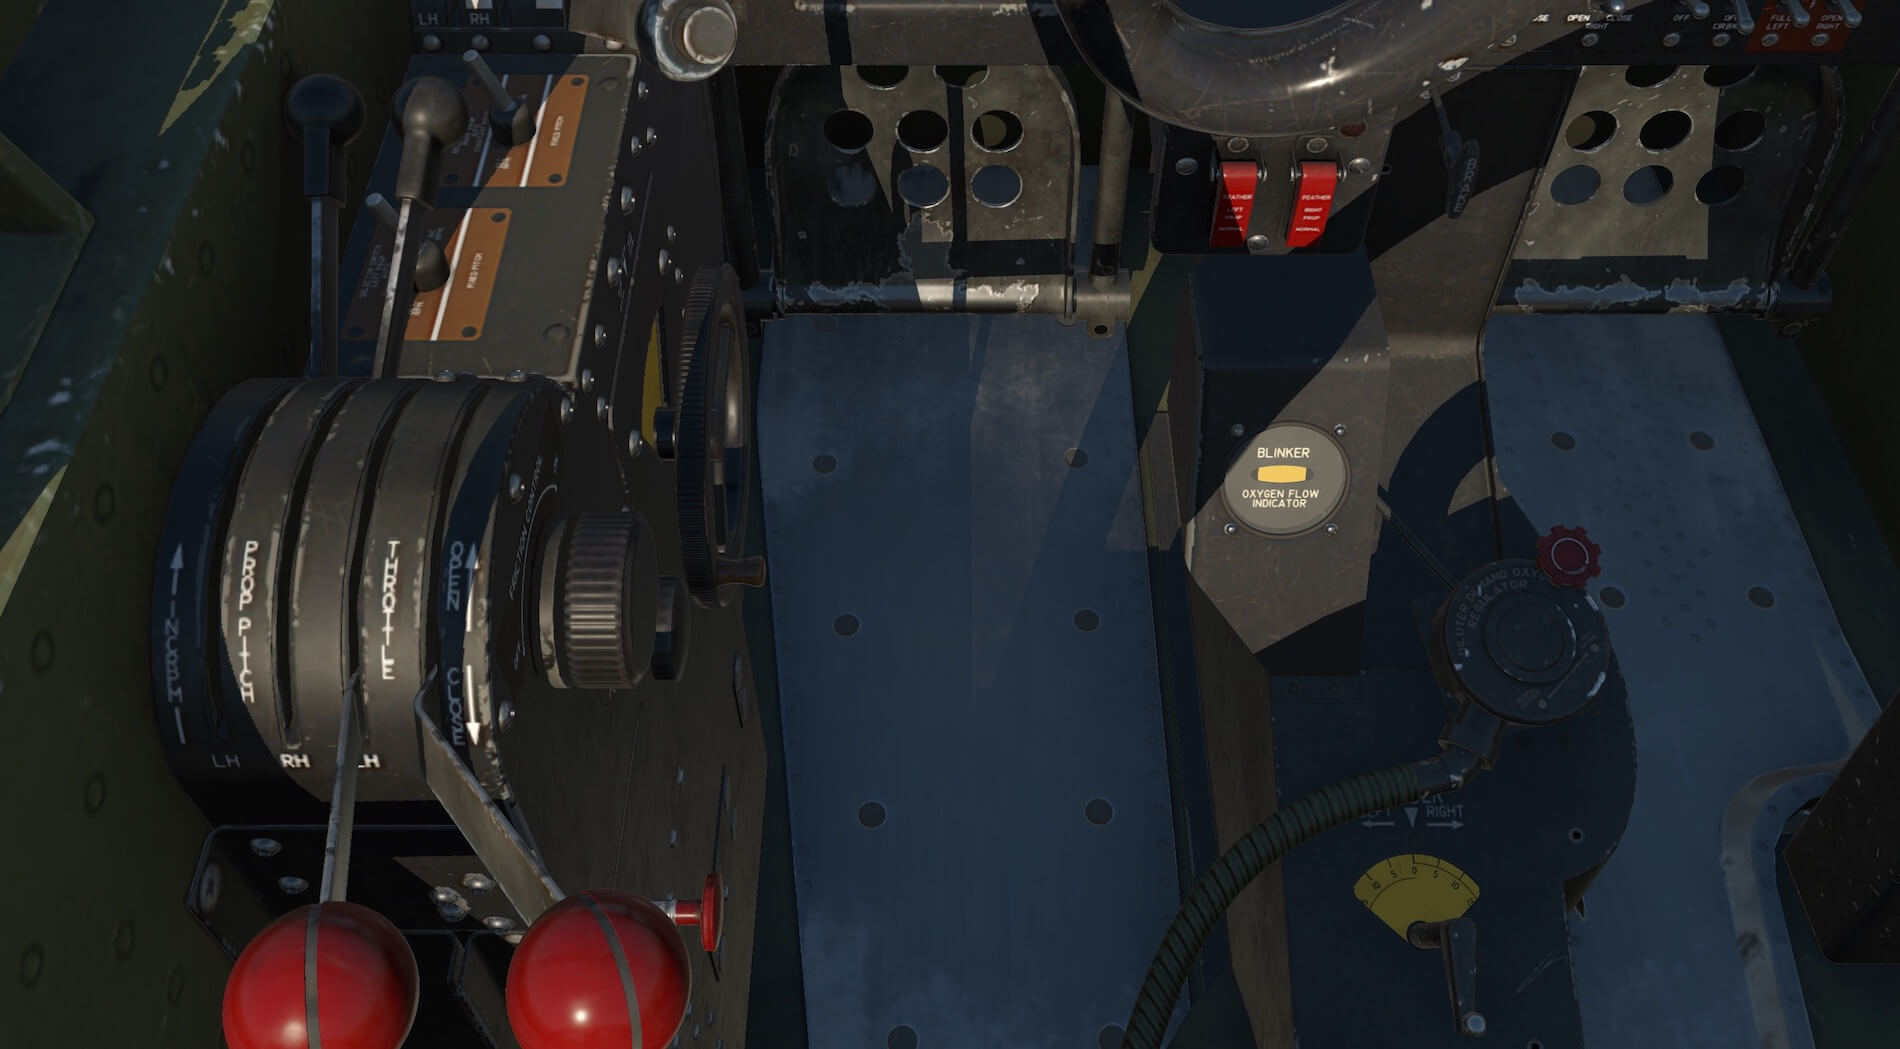
The electrical system is explained and modelled describing the use and positioning of the batteries and the importance of the generators. The user can use the system in a realistic fashion using switches and instrumentation. The oxygen system can also be switched on and off with a blinker instrument demonstrating oxygen flow.
Engine management systems are modelled, some automatic and others with possible pilot input. These include the superchargers, manifold pressure, intercoolers, carburettor and fuel mixture.
The aircraft has weapon and armament systems which can be used by the pilot. The equipment is:
1× Hispano M2(C) 20 mm cannon with 150 rounds
4× M2 Browning machine guns
Up to 4000lbs of bombs
2 x Drop Tanks
The use of all aspects of the weapons systems requires pilot input in terms of ensuring the correct settings are made prior to deployment. The manual guides the user through these steps with different actions required for each component.
In addition to these numerous modelled aircraft systems the developers have added further options via a tablet controller, the User Interface Tablet, that can be opened by clicking the centre of the yoke. This tablet then allows access to Avitab if the user has the plug in, a flight set up page to set weight, balance and centre of gravity as well as toggling the drop tanks, a checklists section for use with the aircraft, a maps section that opens the X-Plane map page, an instructors operation station to create training flights, a ground services menu which replaces the X-Plane ground services window and a settings page.

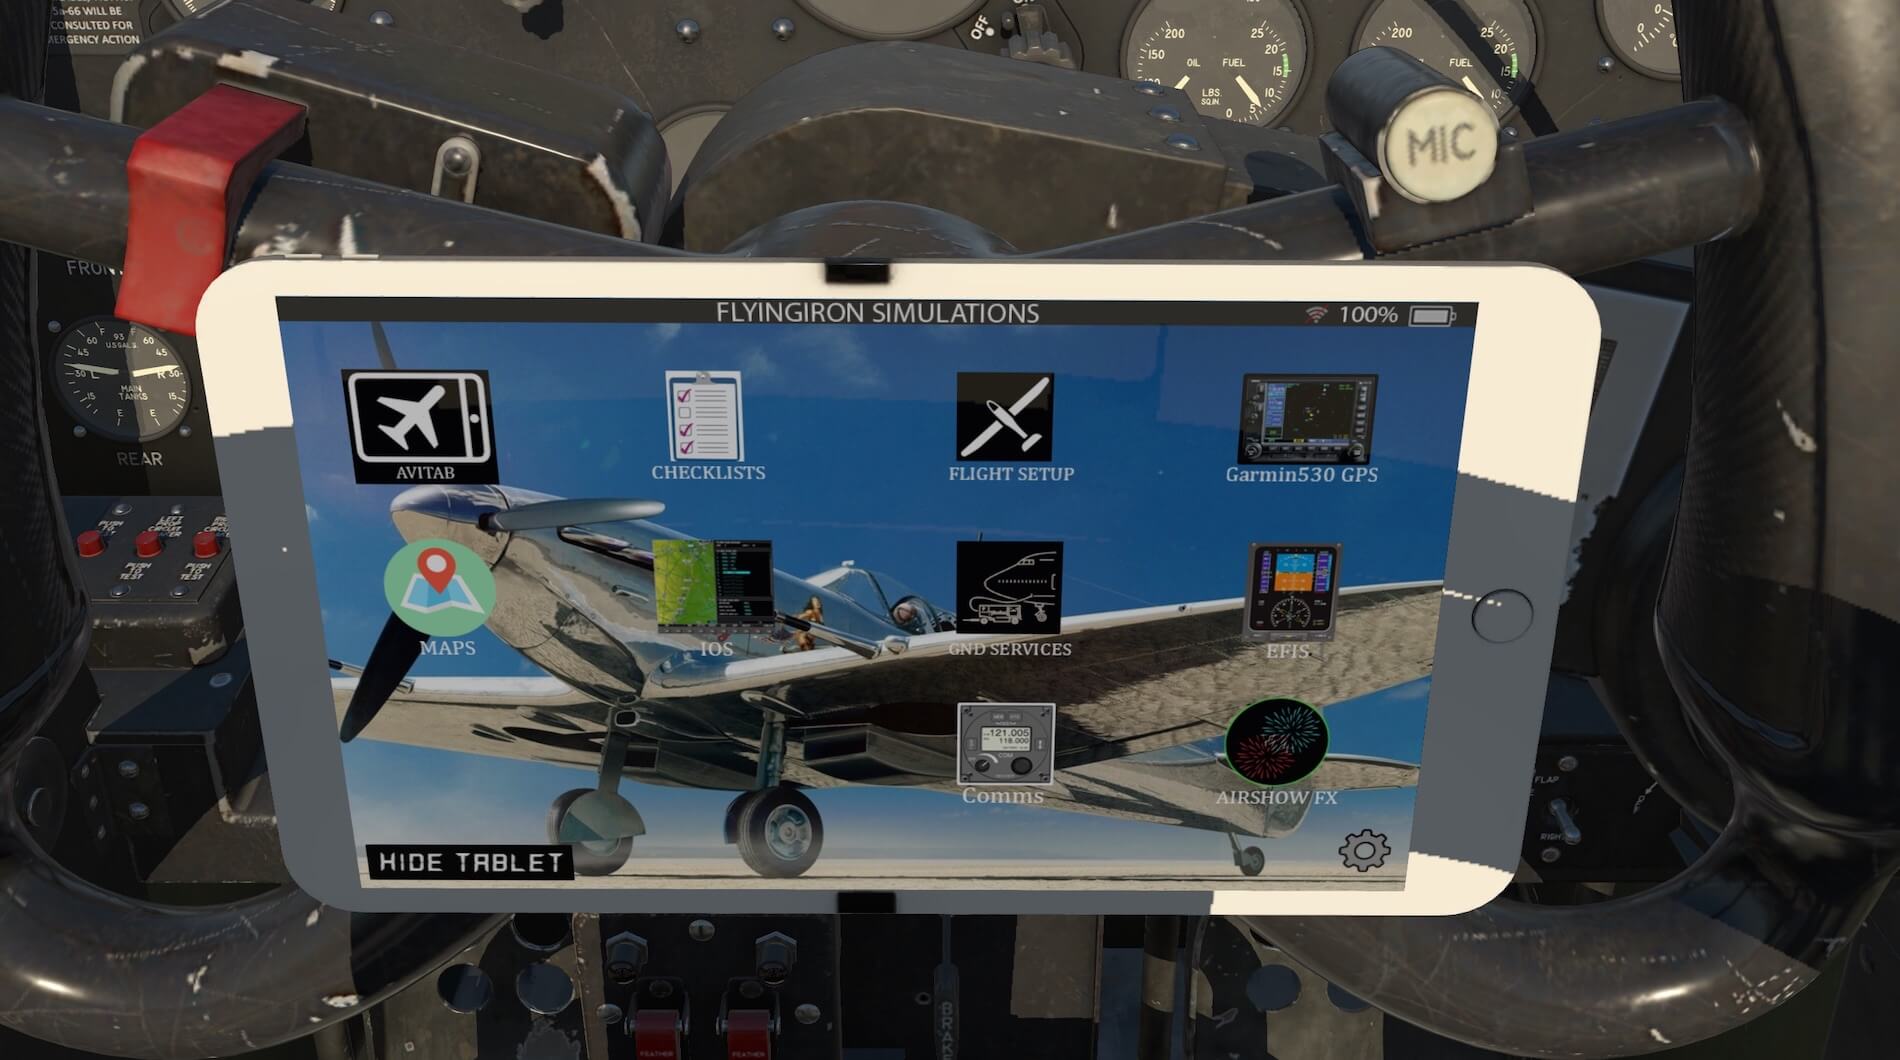


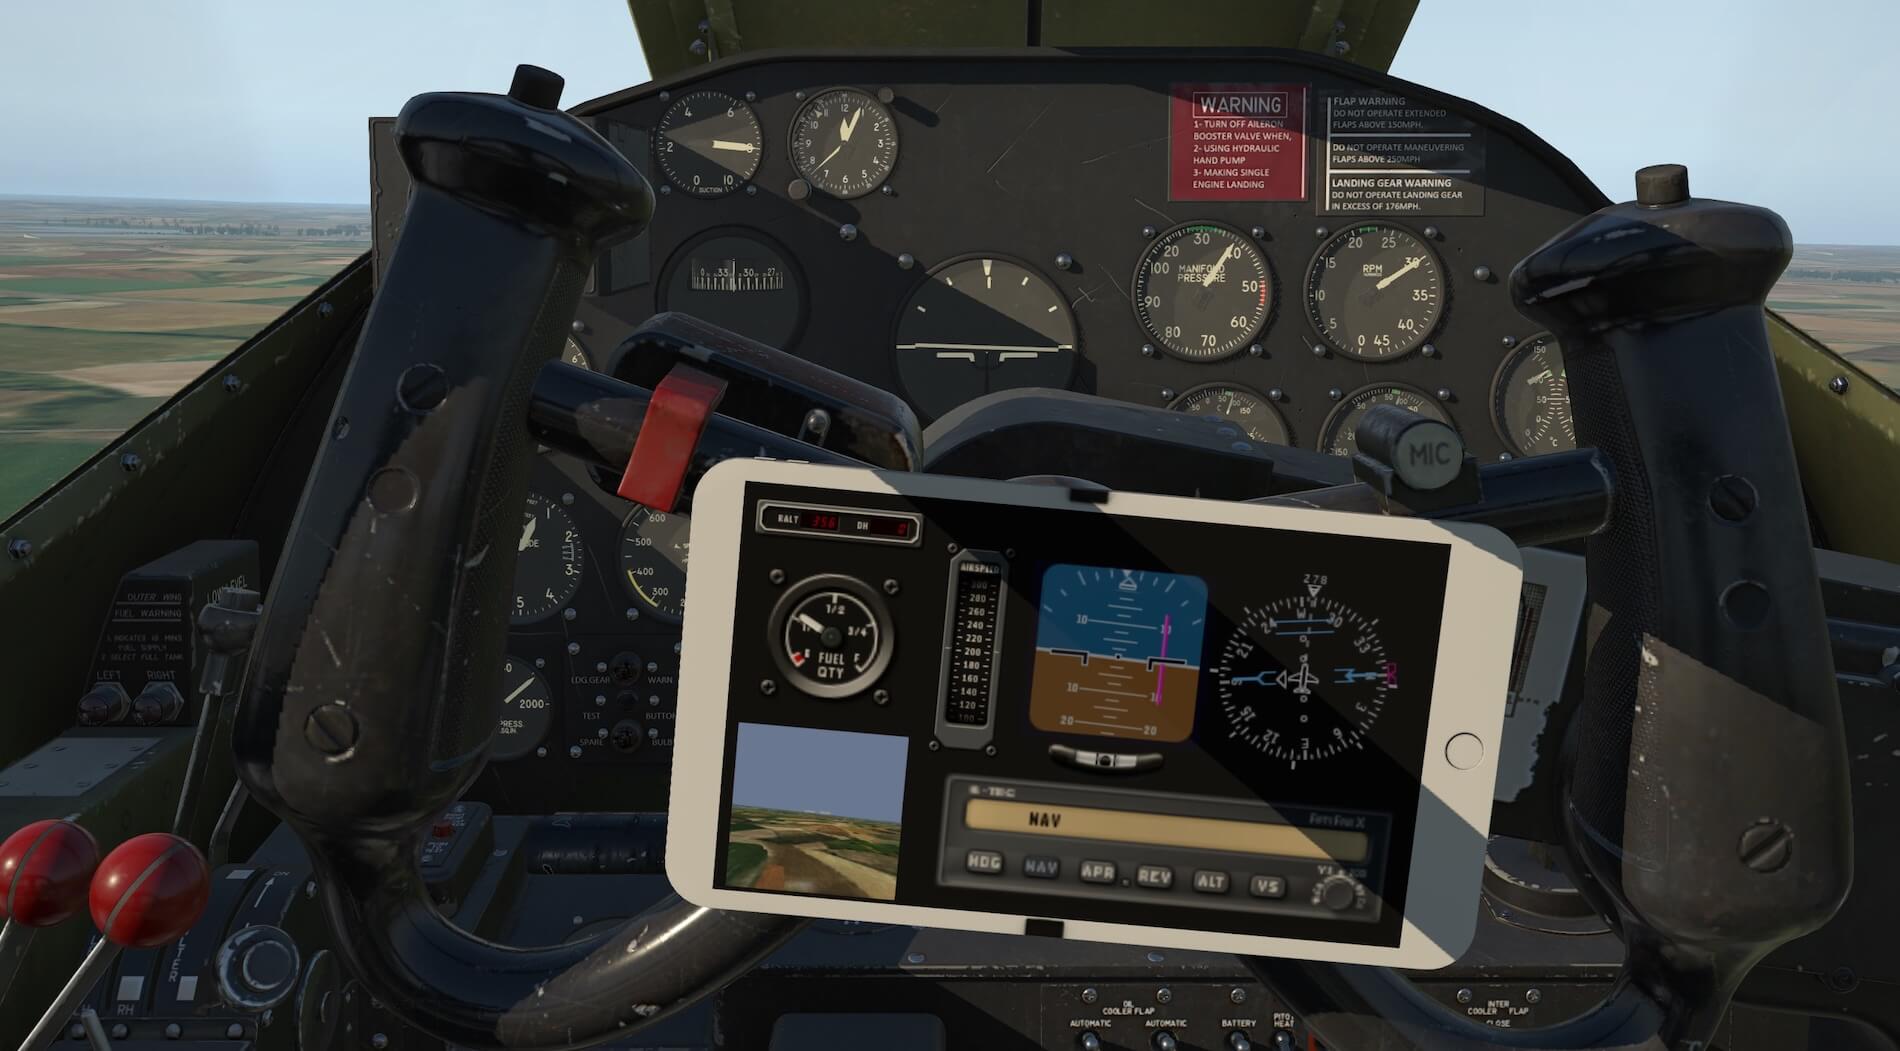
The tablet has an EFIS page, to allow the user to reference digital flight instruments and autopilot without them actually being displayed in the interior modelling. There is also an option to toggle on a Garmin GN530 GPS system. This appears in the cockpit below the instrument panel. Whilst this is not immediately in the pilot’s eye line it is available without spoiling the authenticity of the cockpit. The Comms icon and Airshow FX icon are non operative at the moment. (V 1.02)


The tablet is an ingenious method of making several systems and options available to the user to enhance the experience of the model and also allow the aircraft to be equipped with systems and options, not necessarily available in the original aircraft but useful to the pilot, without compromising the realistic look and feel of the aircraft.
Basic Flight Experience
The first flight I took was with a view to establishing if it was possible to simply load the aircraft and fly without carrying out procedures and checklists provided by the manual or the UI Tablet. I loaded the aircraft at the end of the runway, released the brakes, added flaps, increased power and took off. The aircraft has contra-rotating propellors and this certainly made a difference to the yaw effect whilst travelling down the runway.
Once airborne I was immediately impressed with the responsiveness of the model. The aircraft responded to slight inputs from the joy stick and was fun to fly. The cockpit gave great views all round.


I flew for a while to become accustomed to the aircraft and how it responded before heading to the airfield to land. I lined up with the runway and, once I had worked out a means of looking past the gunsight, completed a landing. I cannot claim it was perfect, and I needed to remember that whilst it was a warbird it had tricycle undercarriage, but the forgiving nature of the aircraft did allow me to land without crashing!


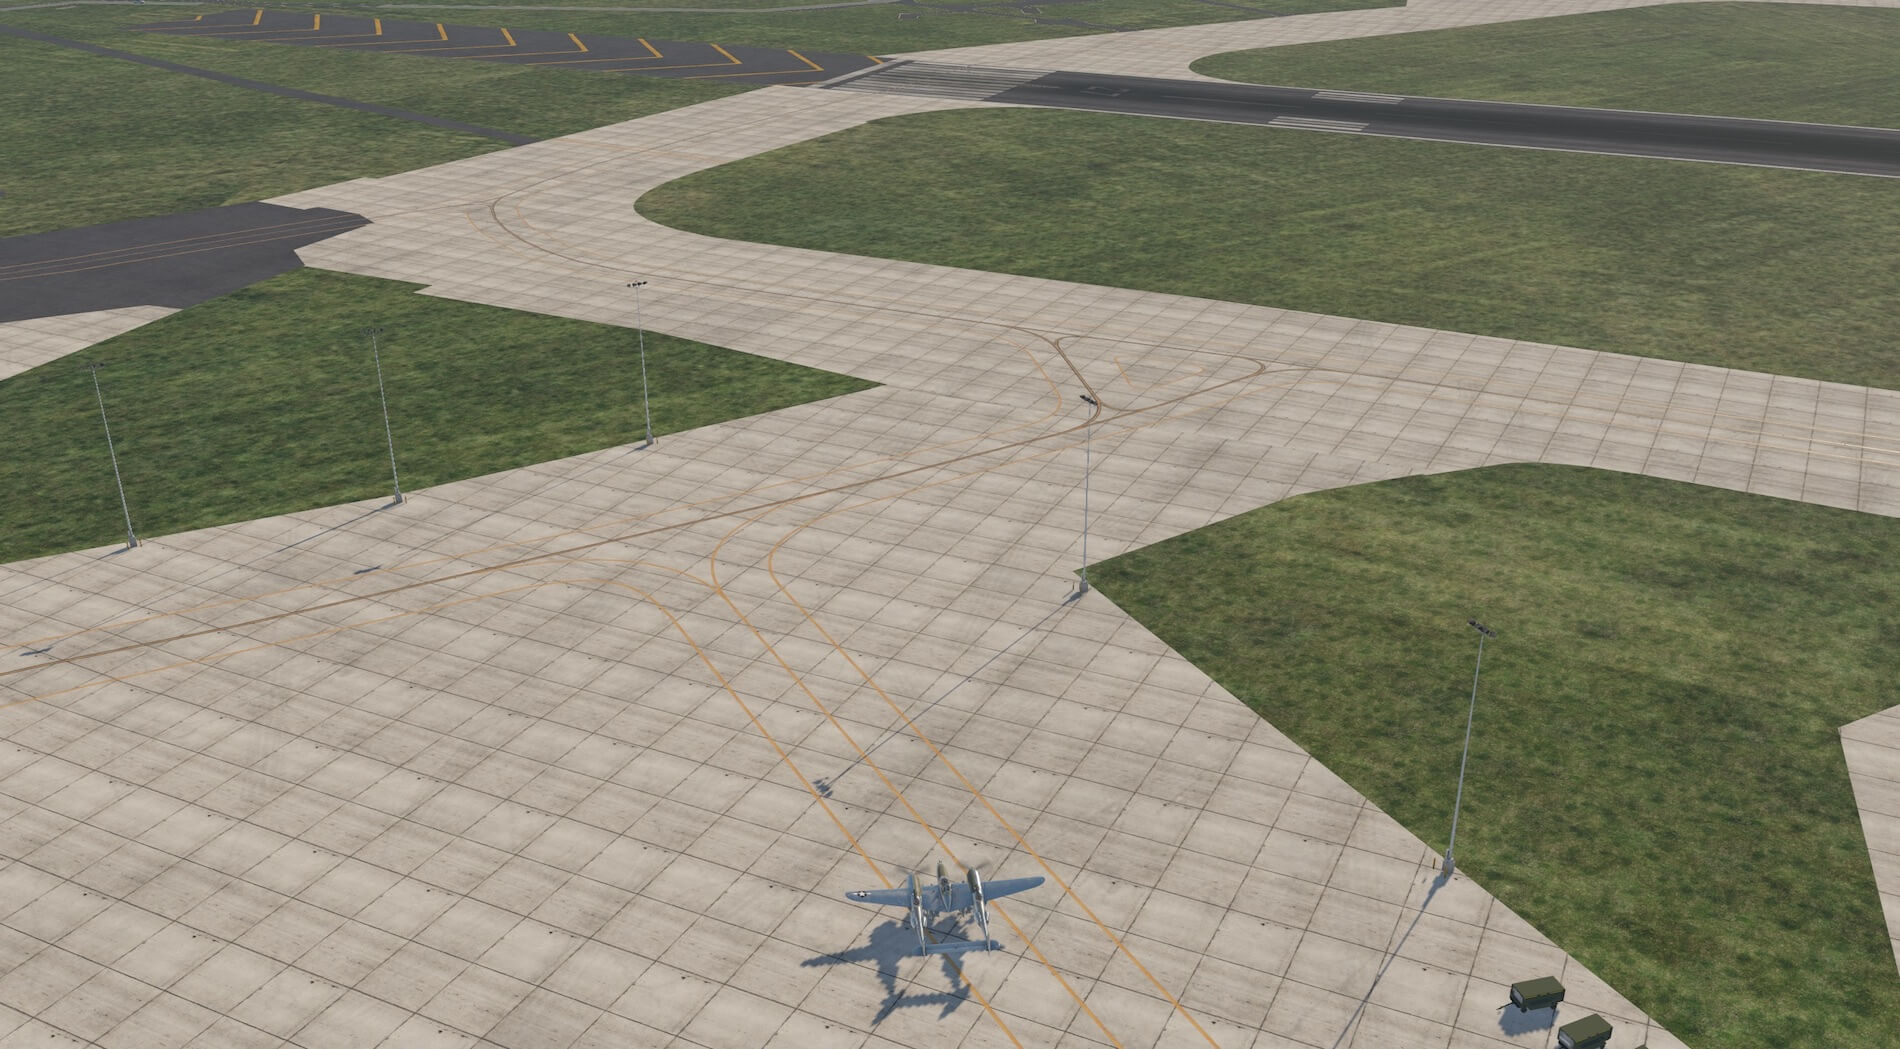
I then carried out a flight starting from cold and dark on the apron, using the options and systems provided by the model. I decided to use the Garmin GN530 for the flight as I did not have a map of the route and I could also test the autopilot. I started on the ramp with engines off. I opened the user interface tablet and started the preflight check list using the the flight set up icon on the tablet to set fuel loads, weight and balance and centre of gravity. I then returned to the checklist to complete the cockpit checks.
I used the manual to assist me in finding the switches and controls I was not already familiar with and also found the checklists in the manual itself included some additional information as to why certain settings are made, which was useful and interesting. I was able to check the canopy and flight controls, set trim levels and prepare weapons and throttle easily. The controls are labelled and move smoothly and realistically.
I used the levers to the left of the cockpit to set the fuel pumps and tanks, propellors and mixture, I used the control panel to adjust the clock and altimeter, set the gun switch on the yoke and then used the controls to the right of the cockpit to set flaps and aileron boost.


The next process on the checklist was engine start. The manual warns this is a challenging process and needs persistence. This is certainly true. The actions need to be taken in the correct order and to the right levels otherwise incidents such as engine fires can take place. I did cause an engine fire and followed the instructions to move the mixture lever back to idle to extinguish the fire. This worked and I am glad to say that I was then able to initiate the process again. The interactive checklist is very useful.
Those actions that affect the process are in red and only turn green when done correctly. Other actions are in black and these either do not cause an effect to the process to be completed or are not modelled. The left and right engines can be checked separately. The manual was also very useful in helping find switches and controls but it did not take long to become familiar with those that were used regularly. It took me some time to start both engines but having experienced it once I think I may be closer to the correct technique. Its worth noting that some switches, such as the battery, is universal but others such as the fuel booster pumps require actions for both left and right engines.
The contra-rotating propellors were clearly evident during engine start as the propellors move slower during the energiser phase and can be seen to be moving opposite direction. I moved on to the engine warm up checklist and this involved waiting for oil temperatures to reach the required level and ensuring engine RPM was set correctly. The whole engine start process is modelled to demonstrate the difficulties with starting these engines. The challenges are definitely achieved but it makes success more satisfying. This stage can be missed out if the aircraft is loaded with engines running.


I used the user interface tablet to open the GN530 and loaded a route. I intended to use this in conjunction with the EFIS autopilot once airborne. There is no checklist for taxiing so I released the brake and the aircraft moved forward. It was responsive and easy to control on the ground with no yaw effect due to the set up of the propellors. Views from the cockpit were very good and therefore directing the aircraft was straight forward. I taxied to the end of the runway ready to complete the take off check list.
I completed the takeoff checklist ensuring, fuel and propellor settings were correct. This also involved checking intercooler, dive and wing flaps were in the correct position.


The manual gives advice on engine management and does require a balance between propellor RPM, Manifold Pressure and Mixture. I tried to bind controls on my joystick to control prop RPM and to control mixture but was unable to do so completely, nor did the default keyboard keys adjust mixture so this had to be done through the cockpit controls. The manual gives further advice on take off technique which I followed and took off successfully and retracted the undercarriage.

During the flight I concentrated on the advice given in the manual about engine and fluid temperatures and also tried to maintain the best airspeed. I used the GN530 to give track and route guidance and briefly used the autopilot to maintain altitude whilst I was looking elsewhere in the cockpit.and this worked well as did vertical speed, although it did not display on the autopilot. I did find some issues with the EFIS app in the UI tablet. The instruments were not so crisp and clear as the rest in the main aircraft and therefore not so easy to read. I had the GN530 switched on which the handbook states switches on the aircraft GPS.
I tried to use the autopilot to keep me on the route entered in to the GN530 but when I pressed the NAV button the aircraft flew a very different track. The handbook for the autopilot stated that the HDG button causes the aircraft to follow the bearing set by the heading bug. I could find no heading bug in the cockpit instrumentation but did find one in the HSI in the EFIS app. The heading bug was set to the course the aircraft was flying whether in HDG or NAV mode. There is no way to alter the heading bug in EFIS and therefore the autopilot will not follow GPS and can only follow one bearing in HDG mode.
I am sure this can be resolved by the developers and it should be remembered these are additional instruments added to assist and not those in the original aircraft, all of which worked very well. The aircraft was good to fly and responsive to control inputs. Engine management takes some considerable practice and I did create several engine fires before refining the technique. It became easier with practice and once I instinctively knew where the various controls were positioned. The manual’s guidance is good and once I was able to follow it the aircraft flew exceptionally well.
I followed the guidance to carry out the release of the bombs on the aircraft and this worked very well. The aircraft performance improved once the weight of the bombs had been released. The guns are controlled by having the armament master switch to on and the guns/camera switch on the yoke to guns. This also switches on the the gun sight although this was not visible and the manual states that the brightness cannot be adjusted at the moment. The guns fire realistically and be aware that the pilots vision is obscured by smoke when firing.


On arrival at my destination I referred to the landing checklist. I set the fuel selector to the correct tank, switched on the fuel booster pumps to emergency mode, set the RPM to 2600, this did vary during the landing process, ensured the mixture was set to auto rich, lowered the undercarriage and flaps and approached the landing. I landed successfully and taxied to the ramp, although I feel I could make a better landing with more practice.
On reaching the ramp I followed the guidance in the manual for shutting down the engines. I revved the engines at 1600RPM as this cleans impurities off the spark plugs, set the RPM to 1200, moved the mixture levers to idle cut off and the engines stopped immediately. I then turned off all switches and the fuel selectors.
The flight illustrated that this is a challenging aircraft to fly as the developers have made engine management very realistic. Whilst a short flight is possible without reference to checklists and manuals longer, more involved flights do require reference to documents to achieve the correct settings. Once these processes are understood the aircraft is great to fly. It is a solid platform with great visibility.
The extra systems provided can be used if required but the model flies well using its traditional equipment. The addition of details such as guns and bombs adds to the fun of the model. A great experience which causes the user to learn details about the aircraft when flying it properly.

Summary
This is a very realistic model with lots of character and the presentation and detail really show off the unique profile. The model is responsive and forgiving to fly and needs far more gentle control inputs than I thought at first. The use of the engines both in start up and flight has been made very realistic and can be a challenge. It is worth practicing and persevering, I am no expert and I acquired the technique after a while.

Once accomplished it is a great feeling to have learned the true nature of flying the aircraft. The additional systems supplied are useful and although they need some refinement they do add to the use of the aircraft and do not compromise the original instrumentation. A great experience which immerses the user in a world war two utilitarian environment but provides interesting challenges and experiences.
More information can be found at the dedicated X-Plane.Org store page or check out the FlyingIron Simulations dedicated webpage. As of this writing – November 5th 2020 – the package cost you at ther X-Plane.Org store only 40 USD.
Feel free to contact me if you’ve got additional questions related to this impression. You can reach me via email Angelique.van.Campen@gmail.com or to Angelique@X-Plained.com.
With Greetings,
Andy Clarke
| Add-on: | Payware FlyingIron Simulations |
|---|---|
| Publisher | Developer: | X-Plane.Org | FlyingIron Simulations |
| Description: | Realistic rendition of the P-38L Lightning |
| Software Source / Size: | Download / Approximately 2.88GB (unzipped) |
| Reviewed by: | Andy Clarke |
| Published: | November 6th 2020 |
| Hardware specifications: | - iMac Intel i5 27" - 3.5 GHz Intel Core i5 - AMD Radeon R9 M290X 2048 MB - 16 GB 1600 MHz DDR3 RAM - Logitech Force 3D Pro |
| Software specifications: | - macOS Big Sur 11.x - X-Plane 11.5x (64 Bit) Private Use - A variety of freeware and payware airports |
0 Comments