Aircraft Review | Republic P-47N Thunderbolt
Introduction
Information from Wikipedia states that The Republic P-47 Thunderbolt was a World War II era fighter aircraft produced by the United States from 1941 through 1945. Its primary armament was eight .50-caliber machine guns and in the fighter-bomber ground-attack role it could carry five-inch rockets or a bomb load of 2,500 pounds (1,103kg).
When fully loaded the P-47 weighed up to eight tons (tonnes) making it one of the heaviest fighters of the war. The P-47 was designed around the powerful Pratt & Whitney R-2800 Double Wasp engine. The Thunderbolt was effective as a short-to-medium range escort fighter in high-altitude air-to-air combat and ground attack in both the World War II European and Pacific theatres.
The P-47 was one of the main United States Army Air Forces (USAAF) fighters of World War II, and served with Allied air forces including France, Britain, and Russia. Mexican and Brazilian squadrons fighting alongside the U.S. also flew the P-47. The armoured cockpit was relatively roomy and comfortable and the bubble canopy introduced on the P-47D offered good visibility. A present-day U.S. ground-attack aircraft, the Fairchild Republic A-10 Thunderbolt II, takes its name from the P-47.
The P-47 Thunderbolt was a design of Georgian immigrant Alexander Kartveli. The United States Army Air Corps (USAAC) backed the project and gave it the designation XP-47. In the spring of 1940, Republic and the USAAC concluded that the XP-47 was inferior to Luftwaffe fighters. Republic tried to improve the design, proposing the XP-47A but this failed. Kartveli then designed a much larger fighter, which was offered to the USAAC in June 1940.
The Air Corps ordered a prototype in September as the XP-47B. The XP-47A, which had little in common with the new design, was abandoned. The XP-47B was of all-metal construction (except for the fabric-covered tail control surfaces) with elliptical wings, with a straight leading edge that was slightly swept back.
The air-conditioned cockpit was roomy and the pilot’s seat was comfortable—”like a lounge chair”, as one pilot later put it. The canopy doors hinged upward. Main and auxiliary self-sealing fuel tanks were placed under the cockpit, giving a total fuel capacity of 305 U.S. gal (1,155 L).
Production changes gradually addressed the problems with P-47B and the USAAF decided that the P-47 was worthwhile, quickly following the initial order for P-47Bs with another order for 602 more examples of an improved P-47C. By the end of 1942, P-47Cs were sent to England for combat operations. As the P-47 Thunderbolt worked up to operational status, it gained a nickname: the “Jug” (because its profile was similar to that of a common milk jug of the time).
Refinements of the Thunderbolt continued, leading to the P-47D, which was the most produced version with 12,558 built. The “D” model actually consisted of a series of evolving production blocks, the last of which were visibly different from the first. All the P-47s produced to this point had a “razorback” canopy configuration with a tall fuselage spine behind the pilot, which resulted in poor visibility to the rear. However, the British then came up with a much better solution, devising an all-round vision “bubble canopy” for the Hawker Typhoon.
USAAF officials liked the bubble canopy, and quickly adapted it to American fighters, including the P-51 and the Thunderbolt. The first P-47 with a bubble canopy was redesignated XP-47K. The bubble-top P-47s were nicknamed “Superbolts” by combat pilots in the field. The XP-47J began as a November 1942 request to Republic for a high-performance version of the Thunderbolt using a lighter airframe and an uprated engine with water injection and fan cooling.
The P-47M was a more conservative attempt to come up with a higher-performance (“Sprint”) version of the Thunderbolt, designed to chase V-1 flying bombs, done, in part, by reducing armament from eight machine guns to six. With increases in fuel capacity as the type was refined, the range of escort missions over Europe steadily increased until the P-47 was able to accompany bombers in raids all the way into Germany.
On the way back from the raids, pilots shot up ground targets of opportunity, and also used belly shackles to carry bombs on short-range missions, which led to the realisation that the P-47 could perform a dual-function on escort missions as a fighter-bomber. Even with its complicated turbosupercharger system, its sturdy airframe and tough radial engine could absorb a lot of damage and still return home.
The P-47N was the last Thunderbolt variant to be produced. It was designed as an escort fighter for the Boeing B-29 Superfortress bombers flying raids on the Japanese home islands. Increased internal fuel capacity and drop tanks had done much to extend the Thunderbolt’s range during its evolution, and the only other way to expand the fuel capacity was to put fuel tanks into the wings.
Thus, a new wing was designed with two 50 U.S. gallon (190 l) fuel tanks. The redesign proved successful in extending the range to about 2,000 mi (3,200 km), and the squared-off wingtips improved the roll rate. The P-47N entered mass production and a total of 1,816 were built. The very last Thunderbolt to be built rolled off the production line in October 1945. The Thunderbolt ended the war with 3,752 air-to-air kills claimed in over 746,000 sorties of all types, at the cost of 3,499 P-47s to all causes in combat.
P-47s were operated by several Allied air arms during World War II. The RAF adapted their Thunderbolts for ground attack, a task for which the type was well suited. Once the Thunderbolts were cleared for use in 1944, they were used against the Japanese in Burma by 16 RAF squadrons of the South East Asia Command from India.
Operations with army support (operating as “cab ranks” to be called in when needed), attacks on enemy airfields and lines of communication, and escort sorties. They proved devastating in tandem with Spitfires.
Due to continued postwar service with U.S. military and foreign operators, a number of P-47s have survived to the present day, and a few are still flying. Operators used the aircraft in air forces across the world both during the war and post war. These included: Bolivia, Brazil, Chile, China, Columbia, Cuba, Dominican Republic, Ecuador, France, Italy, Mexico, Nicaragua, Peru, Poland, Portugal, Soviet Union, Turkey, United Kingdom, United States, Venezuela and Yugoslavia.
Specifications:
Power Plant: One 2,800 HP Pratt & Whitney R-2800-77 Double Wasp eighteen-cylinder radial air-cooled engine.
[table “” not found /]
[table “” not found /]
Installation and Documentation
Download speeds vary with internet connection but the process is straight forward to download the single file and place it in the user’s aircraft folder. The download page also contains a useful link to support forums for the model. The folder contains sixteen items including the User Manual PDF. The manual is described as a work in progress and will therefore be updated where necessary. The PDF has a link to the work in progress manual and to further places to obtain support, including an email address for the developers. Whilst the User Manual is described as a work in progress it does contain substantial and useful information.
The twenty four page document starts with a link to use for updates, hot fixes and further information. The manual then moves to the foreword for the document. The foreword outlines that the manual is not intended to cover all aspects of the aircraft or basic flight instruments but it is intended to; “explain the particular quirks of this aircraft and simulation, and how to get the most out of our simulation.”
The developers strongly recommend that the user also reads and refers to the Pilots Handbook for the P-47N and provide a link through which to obtain a free copy from the internet. This download is straight forward and provides a full copy of the document. The manual then provides a brief history of the aircraft before moving on cockpit familiarisation. This is provided by annotated diagrams lifted from the original pilots handbook, adding character to the document.
The next section covers engine start up and explains that the procedure has been modelled as accurately as possible and the user should not be disheartened if the process does not work perfectly every time. This advice is followed by explanations of some of the peculiarities of the systems and then a standard start-up checklist and a take off checklist. The manual then covers the use of the autopilot, navigation with the homing adapter, fuel systems, flight operations and limits and engine management.
I am always intrigued as how developers enable users to maximise the benefits of X-Plane systems whilst trying to maintain the authenticity of the aircraft. This time the developers have used the facia of the original VHF radio to incorporate buttons for different tasks so one push button opens a Garmin 430 GPS and another button toggles external fuel tanks. The GPS not only allows for navigation under the standard X-Plane Garmin 430 but also for a more practical way of tuning the radios than the original preset channel system.
Sections follow that cover weapons, which should not be edited through the X-Plane weapons selection menu, and the tail warning radar and explains its limitations in that it can be switched on and tested in the simulation and will pick up ground clutter but will not detect aircraft. This may be an update provided in further releases. The final sections are custom failures, pilot checklists and a version history.
Whilst a work in progress the provision of helpful cockpit diagrams, particular equipment descriptions and checklists make this a useful and valuable document for users of any experience. When used in conjunction with the pilots handbook this is even more useful.
Exterior Modelling
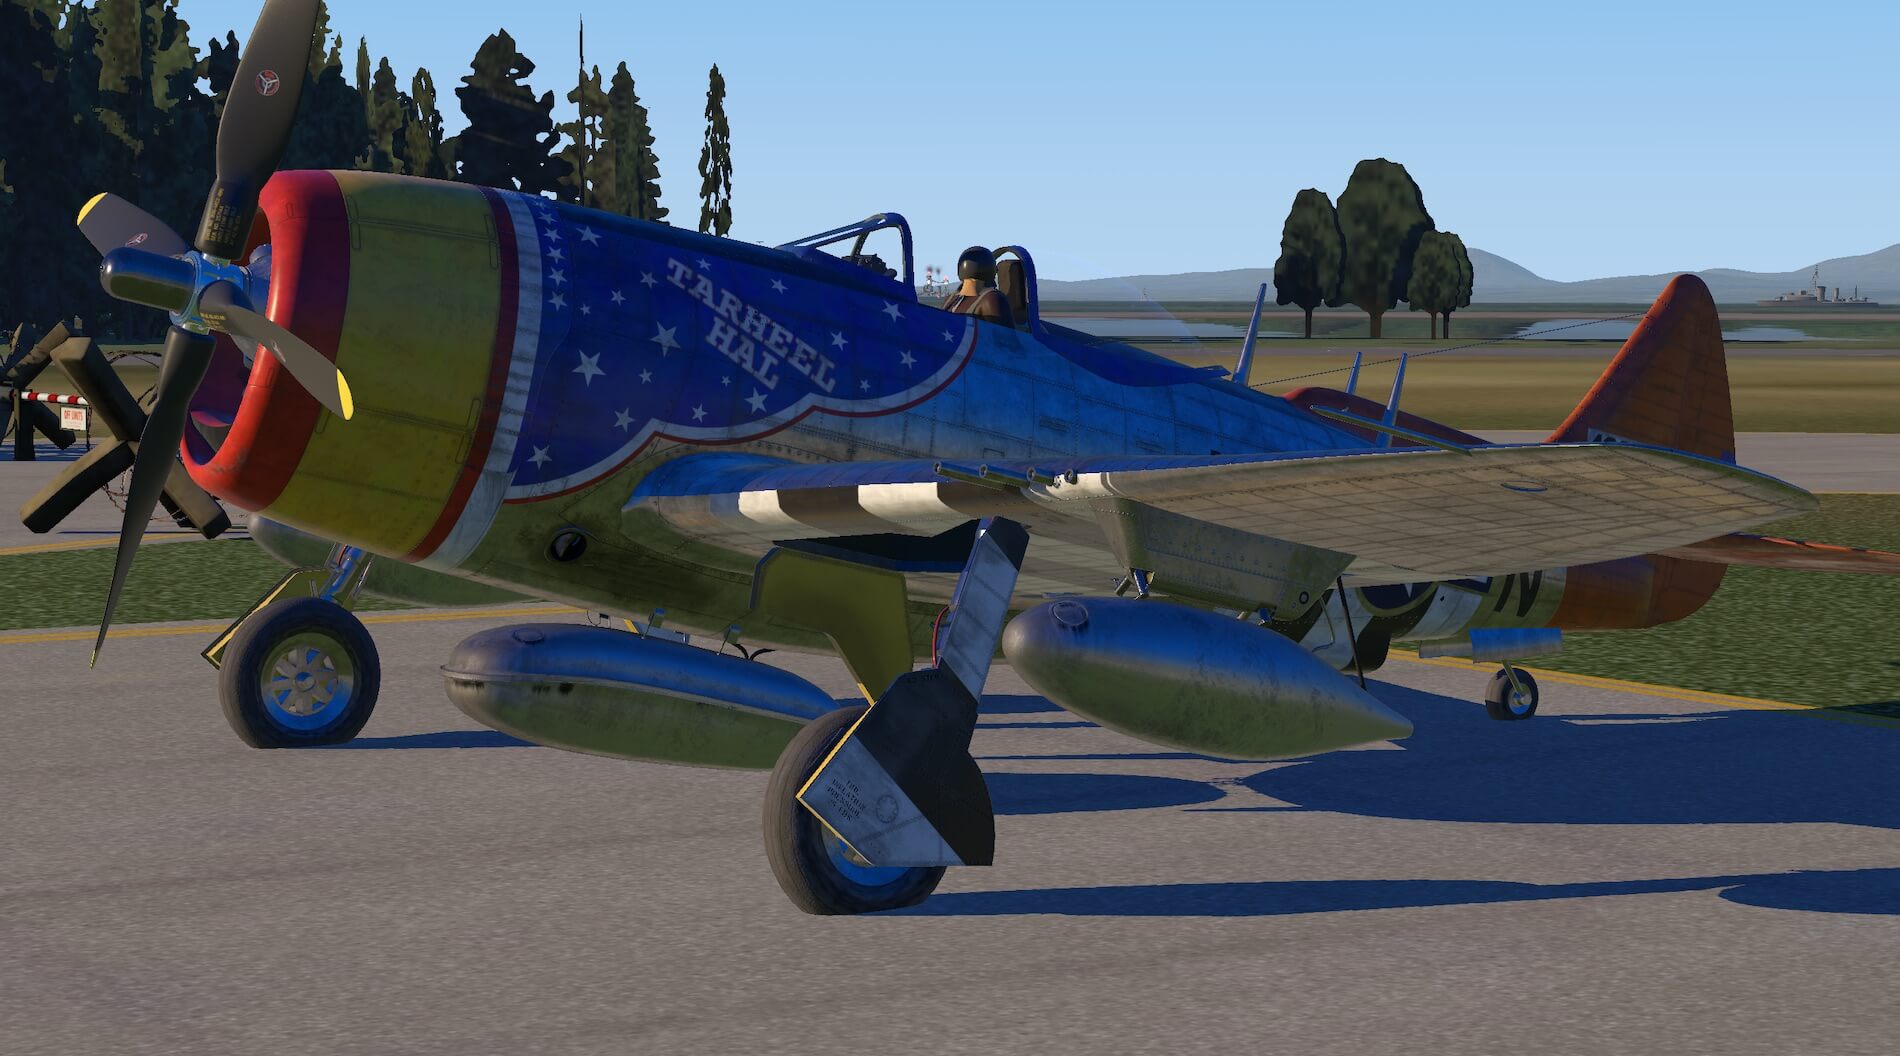
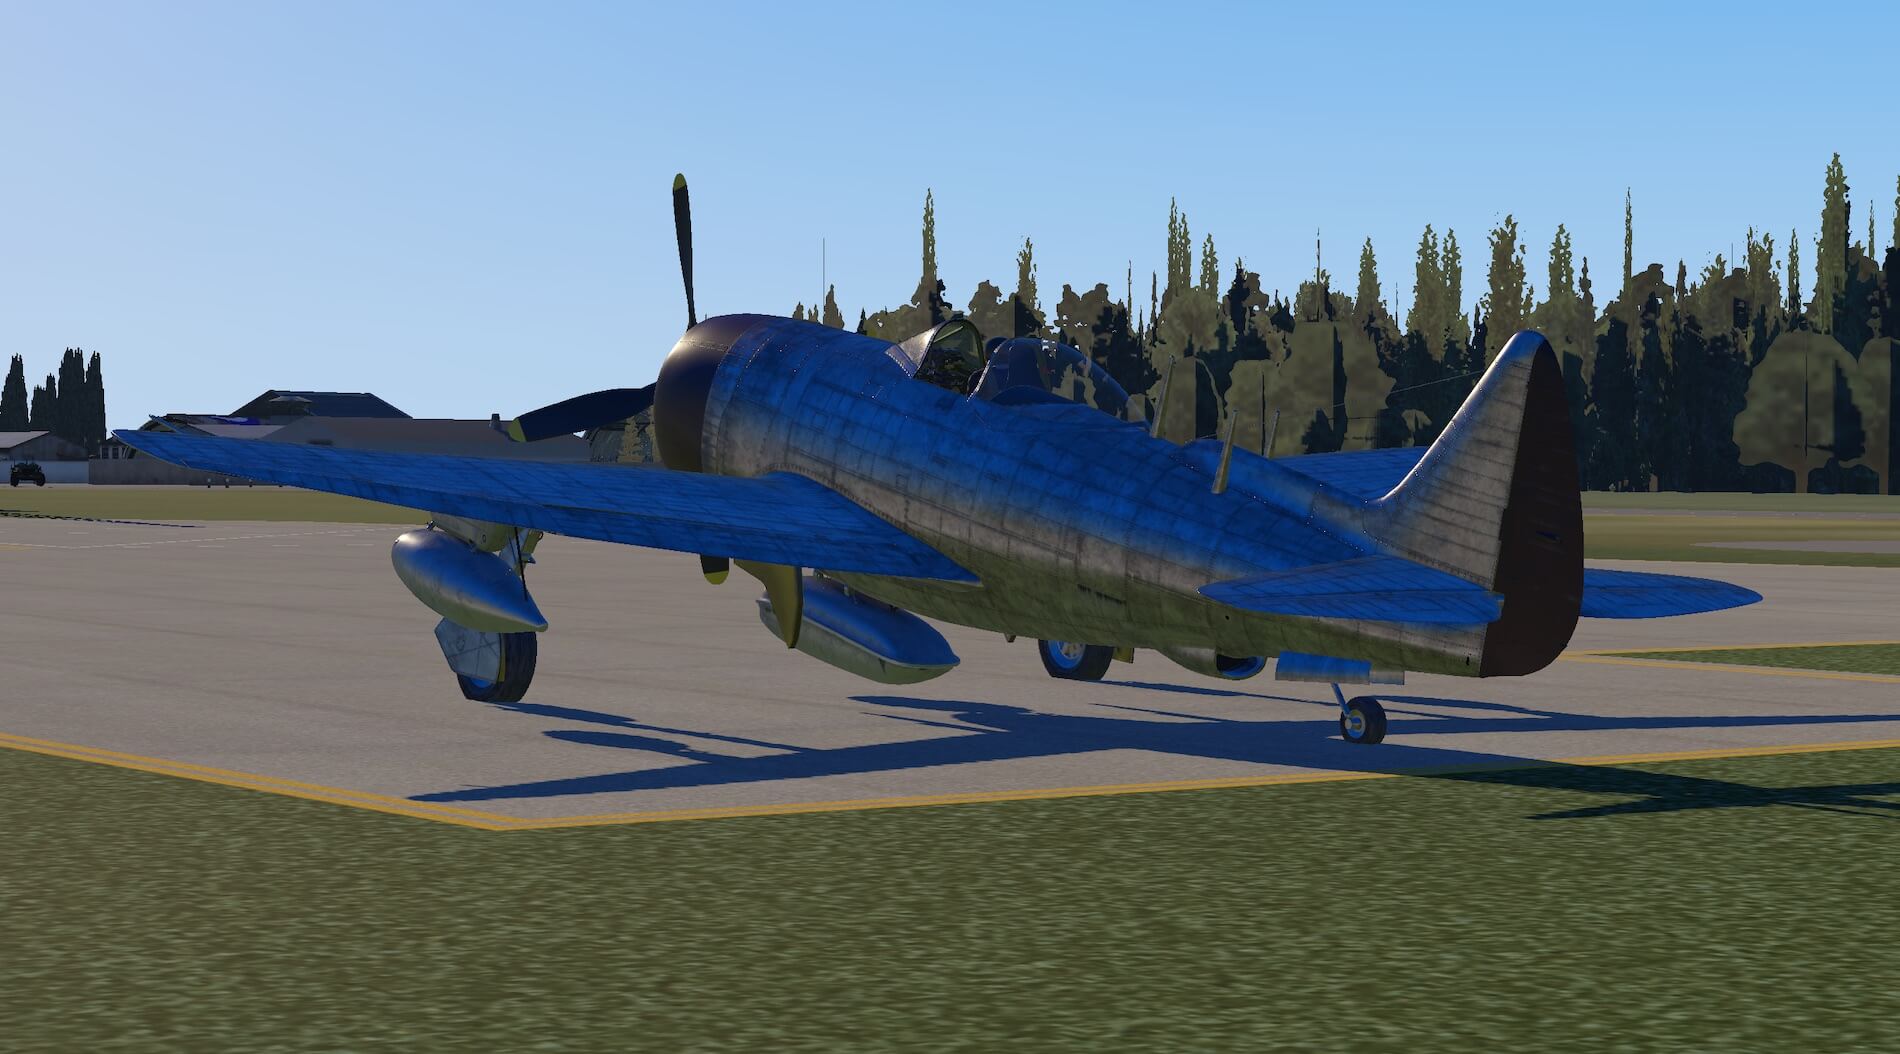
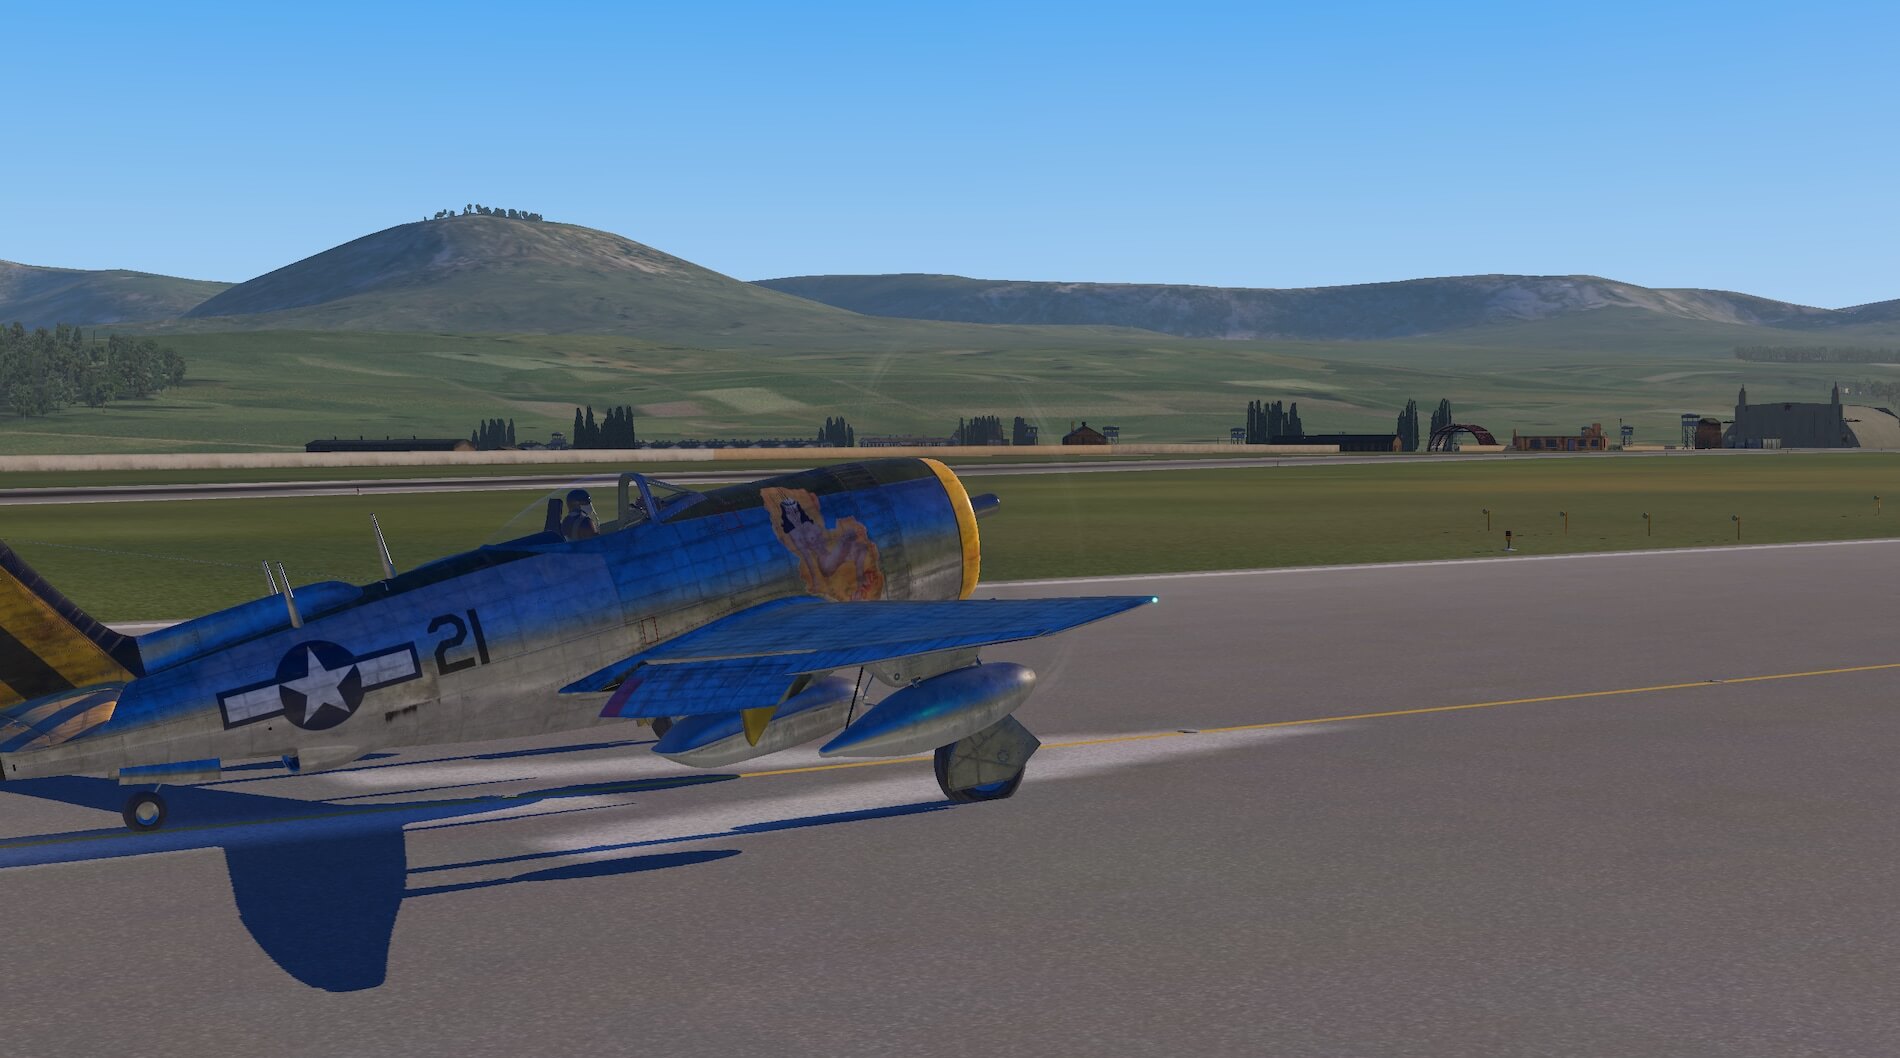
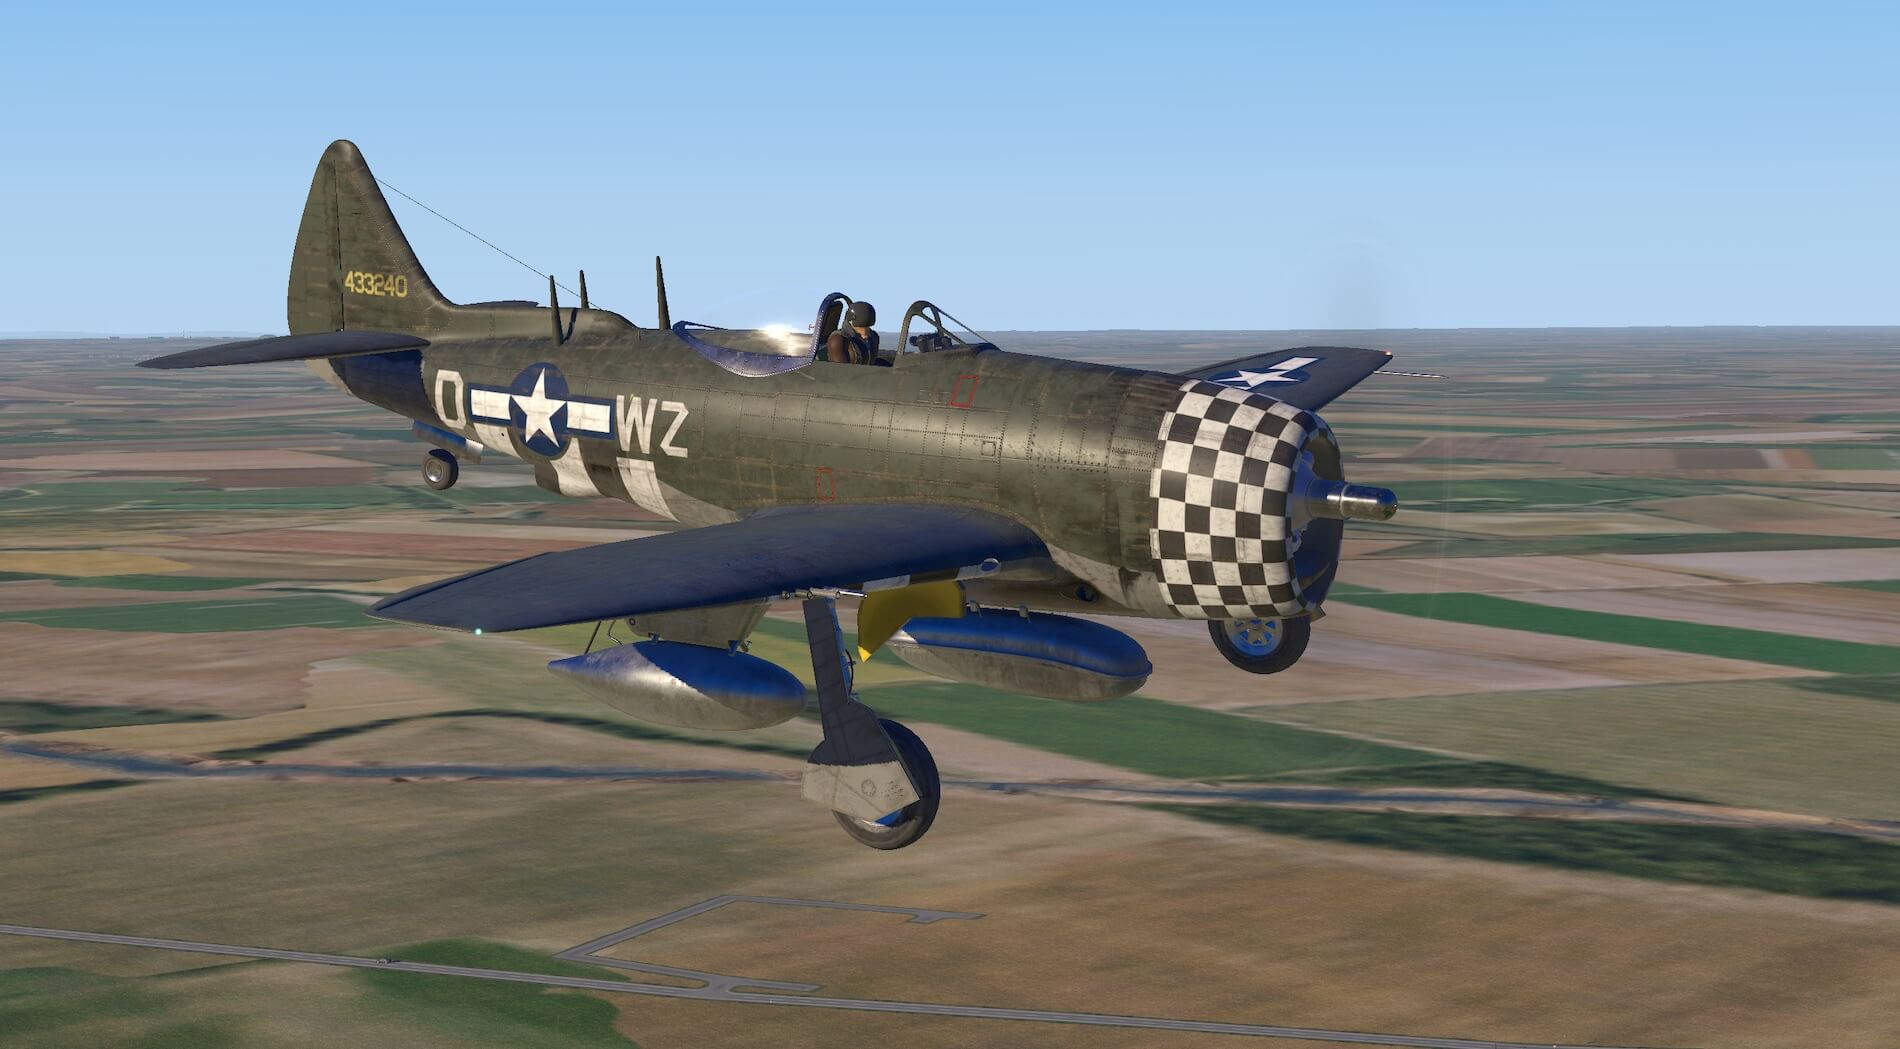
Approaching the aircraft from the front left the tones of the livery and bare metal immediately create the impression of a work horse aircraft, with weathering and wear marks very apparent and each panel clearly modelled. The model also reacts well with light and shadow creating a very realistic first impression. Moving closer everything is modelled in detail. The gun ports are very realistic and the undercarriage, tyres, and piping is all produced to a high standard.
Writing and signage is legible and the detail remains clear at all levels of zoom. The weathering and wear marks are evident everywhere and the bare metal has its own worn effect. The pilot model is in a full visored helmet, with little detail, and I did find this surprising because of the era of the aircraft but given the realism of everything else this is a minor issue.
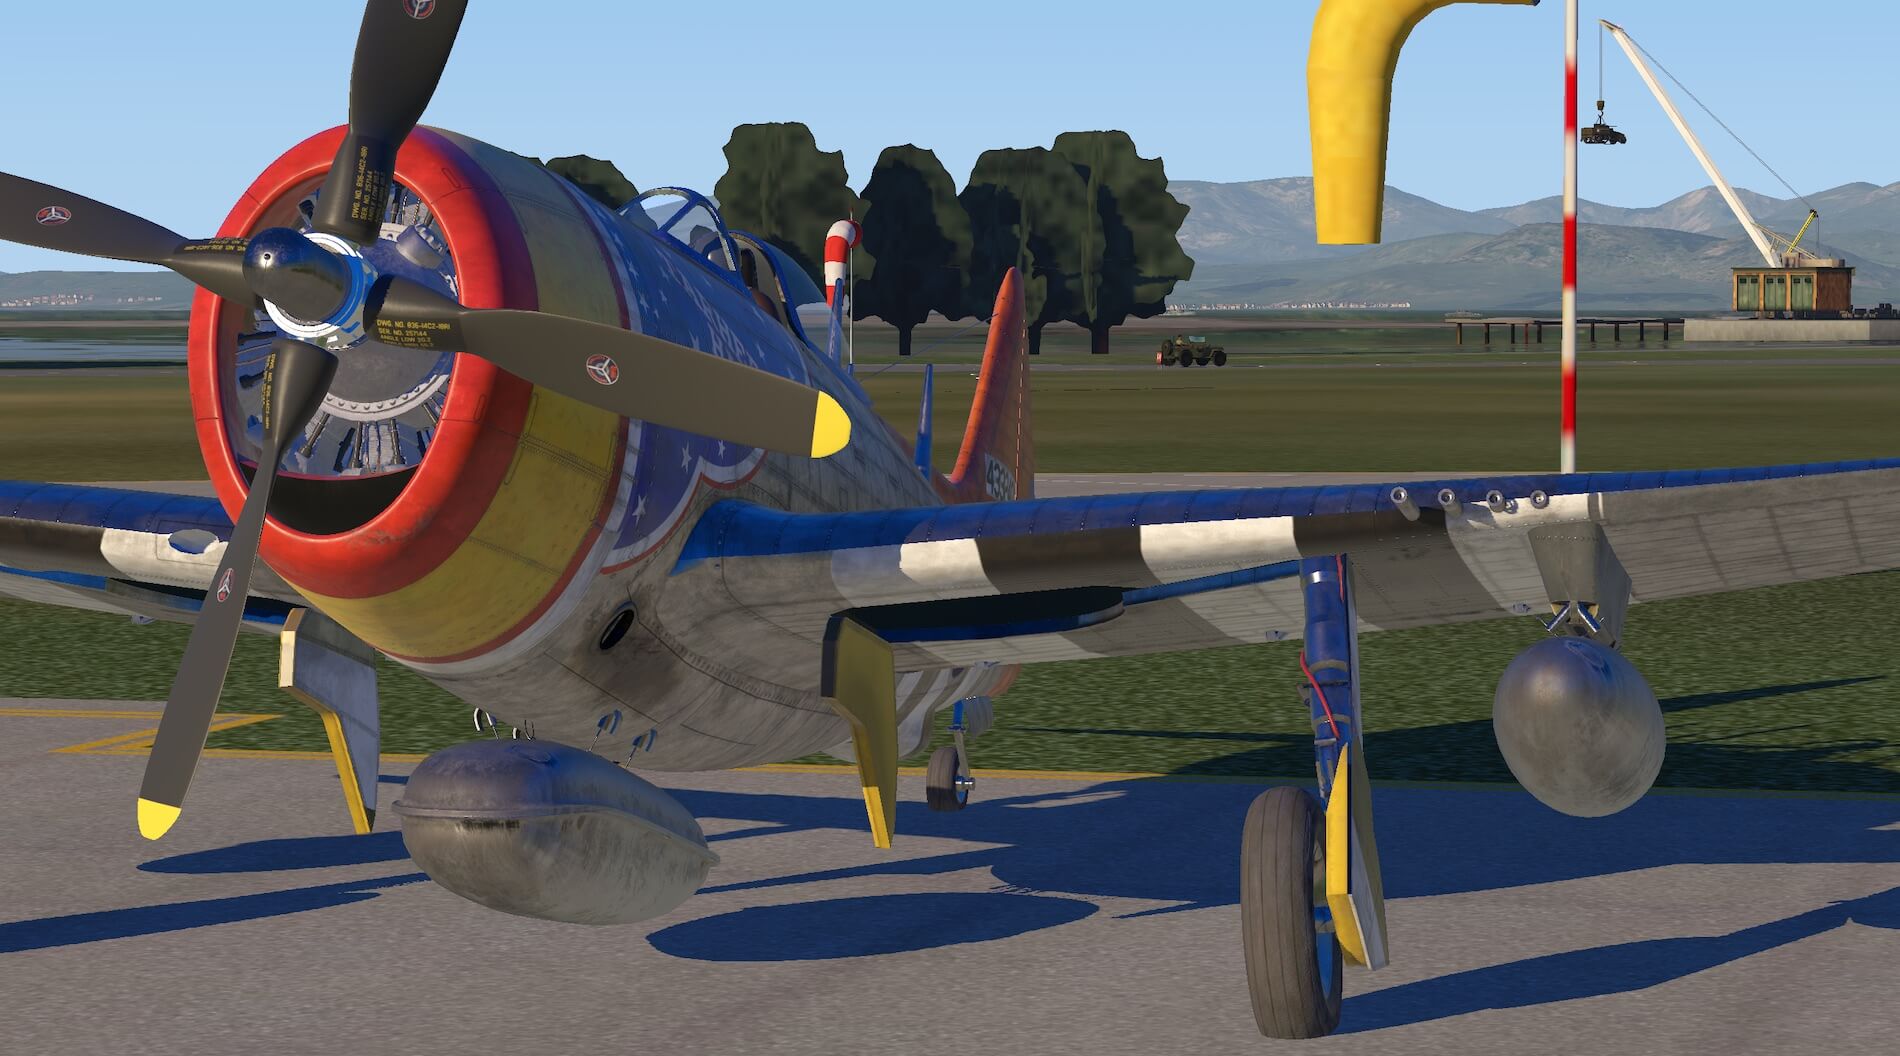
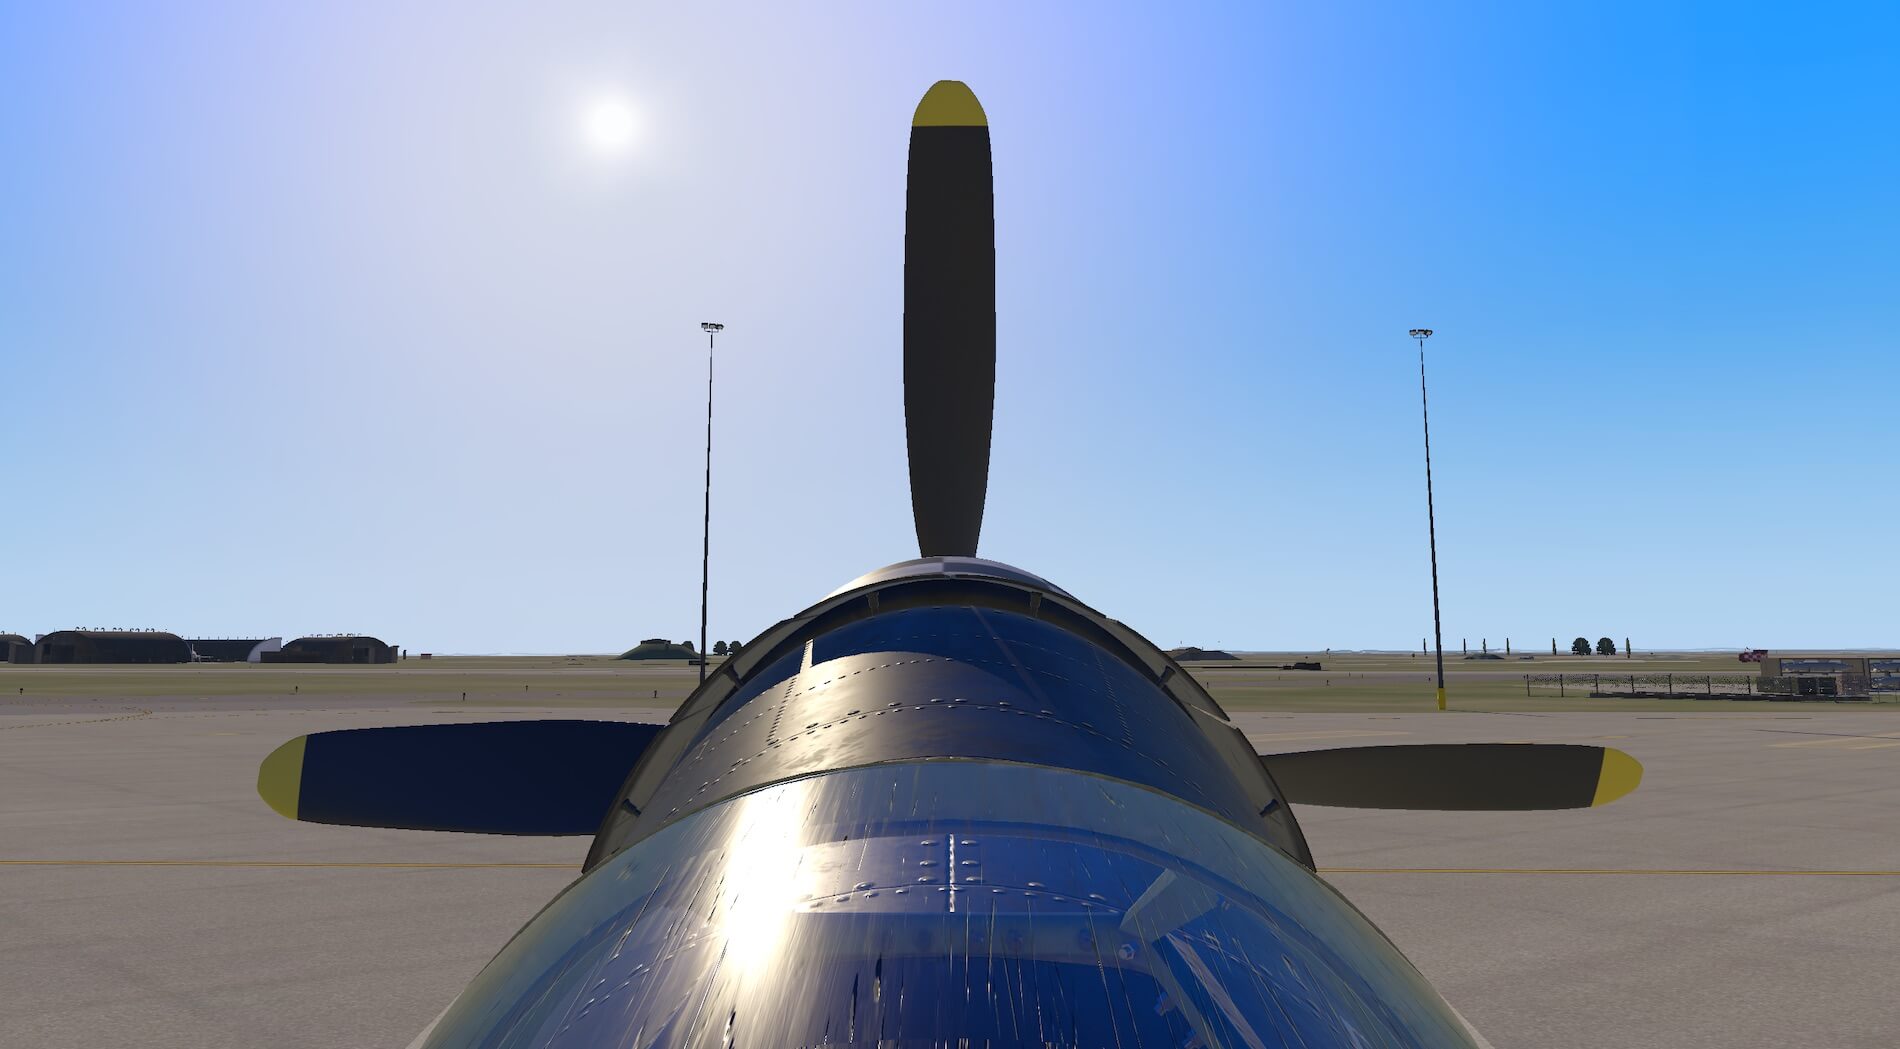
Moving across the front of the aircraft that beast of an engine is clearly visible past the detailed and well modelled propellor and the size of this aircraft becomes more apparent. The colours and detail remain at a high standard with cylinders and pipework modelled clearly and the labelling of the propellors all totally legible. Bare metal, especially the propellor hub, reacts very well with light and shadow and reflects the surrounding scenery.
When viewed from the front a slightly above the pilot figure looks more convincing with a realistic leather jacket and even the default colour scheme creates a utilitarian aircraft. The size of the cockpit and the sliding canopy is more obvious from this angle.
Moving to the front left of the aircraft more weathering and panel work becomes evident and the colour, art work and detail remain very well modelled. The pilot figure looks more convincing from this angle. The wheel wells are dark with no detail but the metal edges of the recesses are very well modelled and the inside of the undercarriage doors have their own weathering.
The weight of the aircraft is evident on the tyres and the cockpit glass reacts with the light and scenery as expected. The solid and robust character of the aircraft starts become apparent. When viewed from the left side the panel work and detail become even more convincing. Rivets are individually modelled and the continued use of very good weathering and wear effects really do make this model a military work horse.
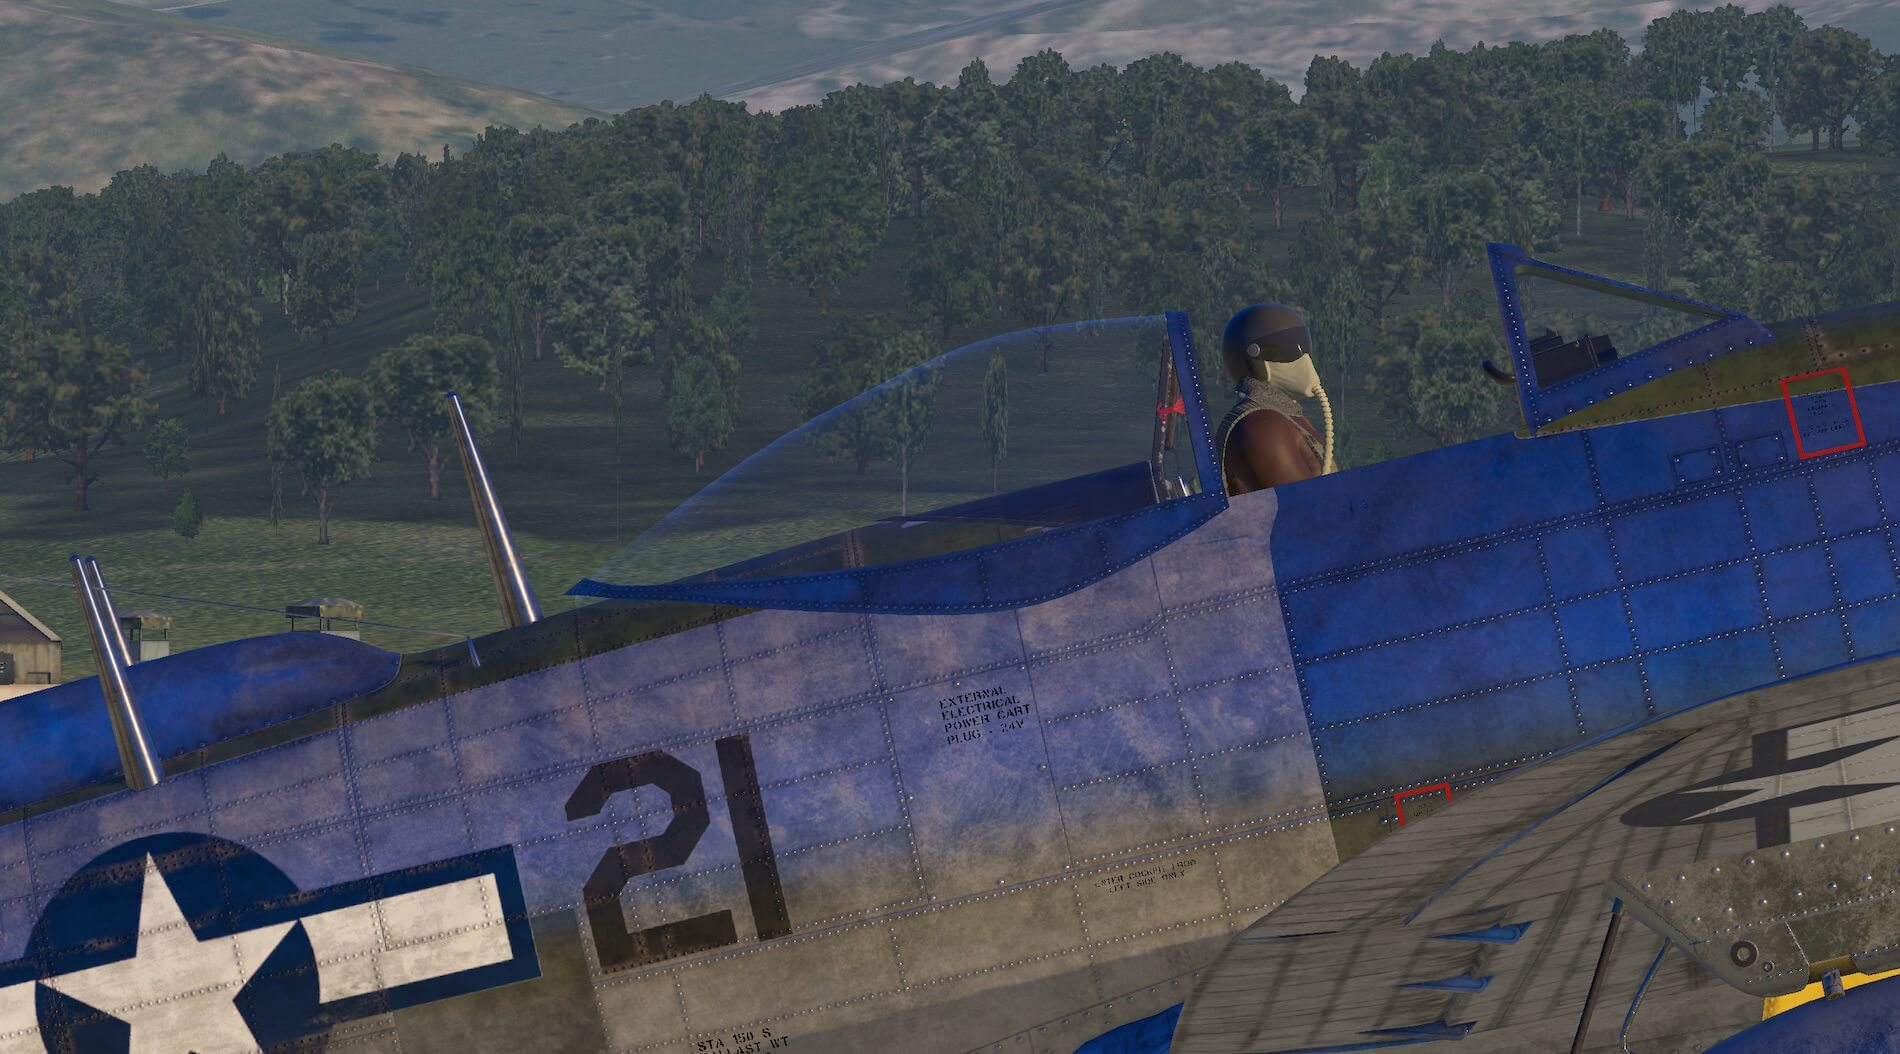
Control surfaces and mechanisms are modelled in detail and all signage and lettering remains legible and appropriate. The cockpit and canopy are also modelled to a high standard as are radio aerials and wires. Viewed from slightly higher the wing profile is clear and the detail, on the inside of the open cockpit, starts to become more evident and those panels are carefully modelled. The jug shape becomes more apparent.
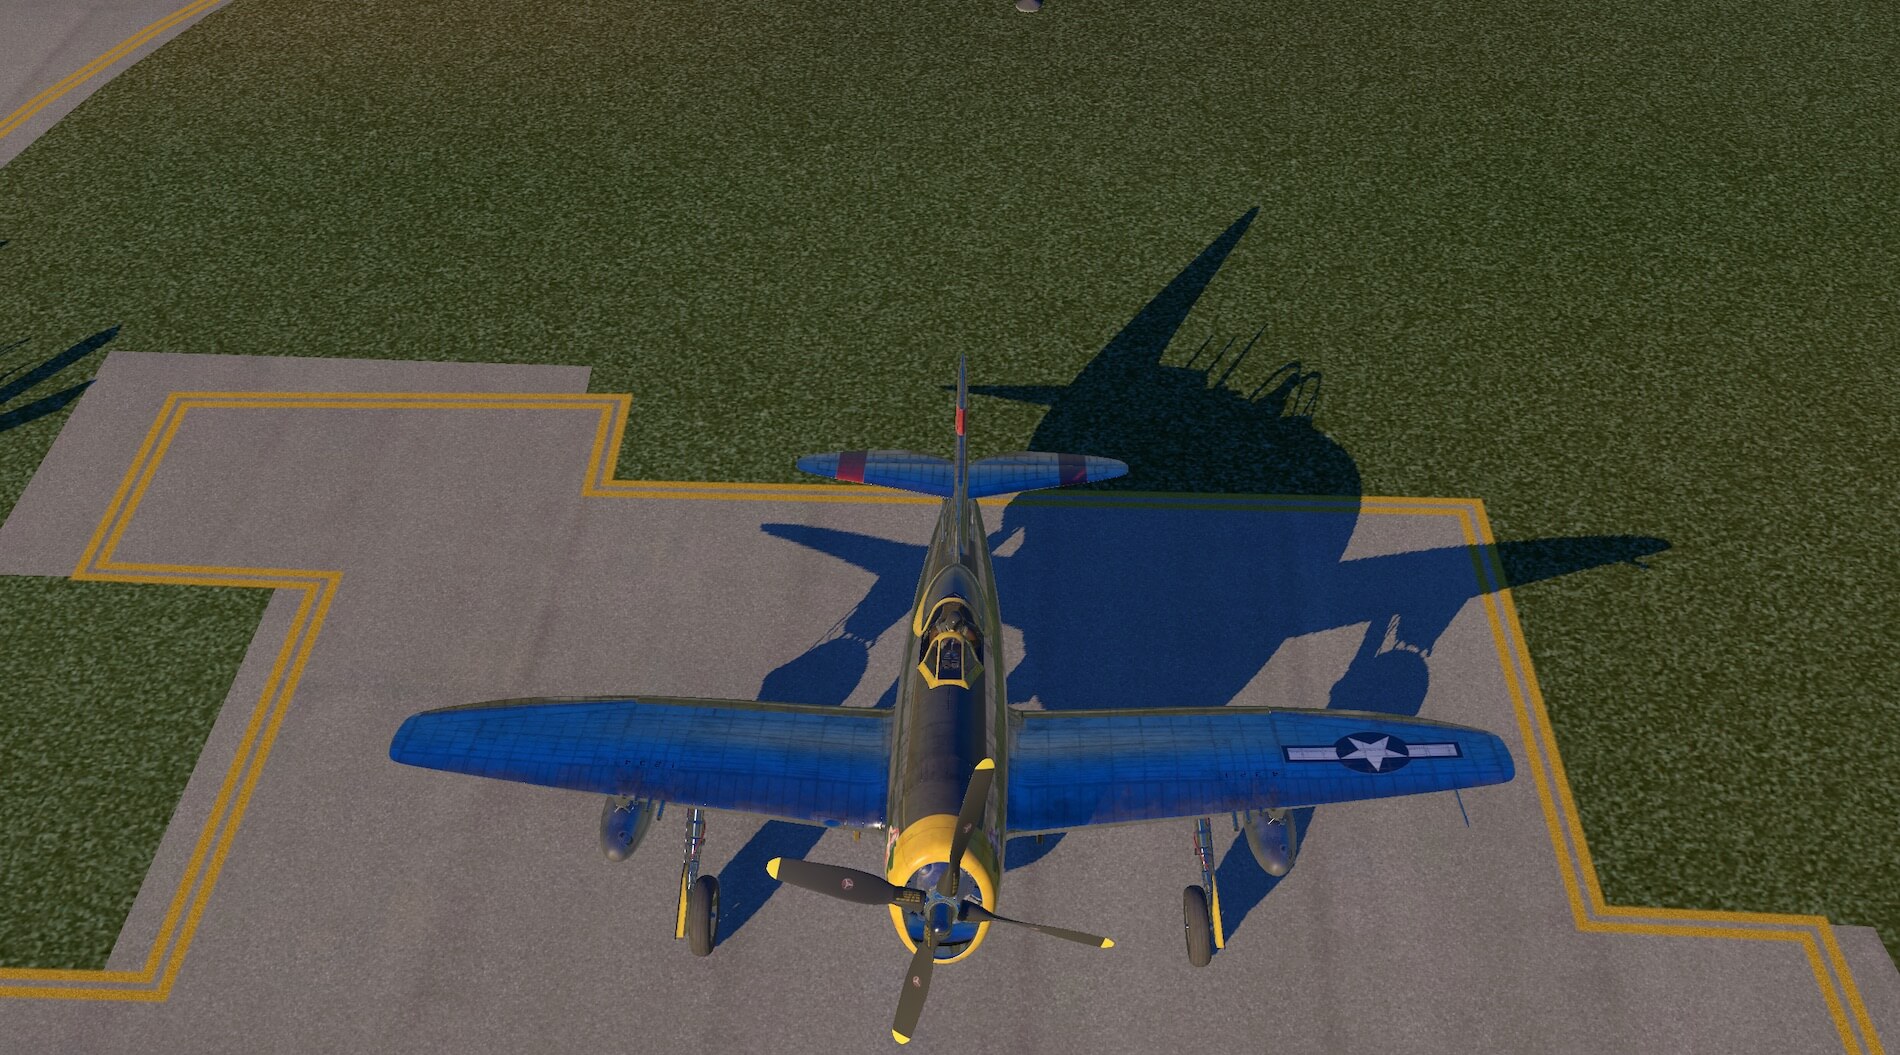
When the aircraft is viewed from the rear left quarter on the walk around the aerials are more visible and the panel and rivet detail is very evident. The livery and colours remain realistic and the model interacts very well with light and shadow. The view from the rear and slightly above (a little flexibility provided by X-Plane views menu, as opposed to a pilot walking around) the profile of the aircraft is clear with the shortened wings on the P-47N.
Control surfaces are visible and move appropriately with a convincing amount of weathering marking them out from the rest of the aircraft. Viewing the aircraft from the rear left allows the user to see the size of this aircraft, especially one used in the role for which it was designed. Colours and light maintain their integrity and detail remains high with reflection and light changes even affecting the aerial wire.
Moving further around the aircraft and approaching the rear of the left wing ready to enter the aircraft the detail remains impressive. The class on the canopy again looks very realistic and the signage and labelling on the side of the aircraft is all clearly legible. Livery and markings maintain their integrity and the closer view of the cockpit hints at the detail to come once inside.
Looking under the aircraft to the the tank underneath connections and fixings are detailed and convincing. Having completed a ground check and walk round of the aircraft the model is impressive from all angles. The detail and modelling is of a very high quality and the Thunderbolt has real presence when viewed from the outside.
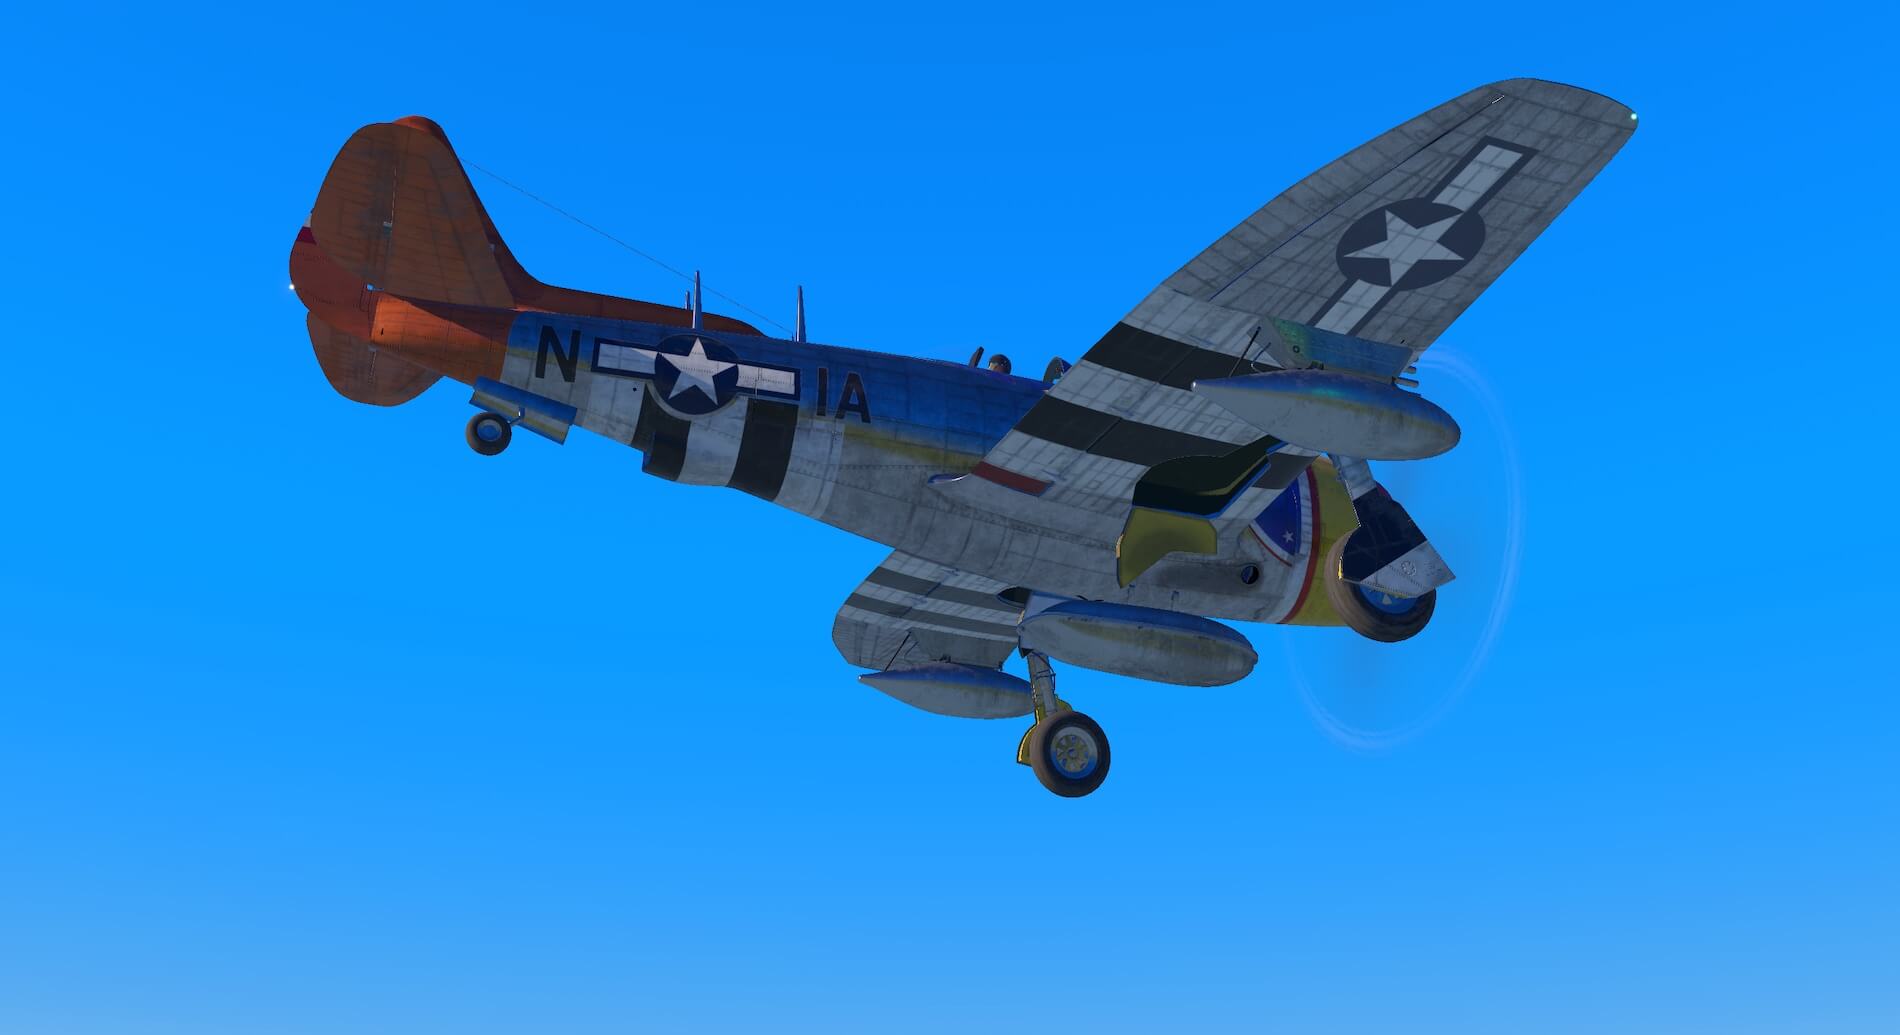
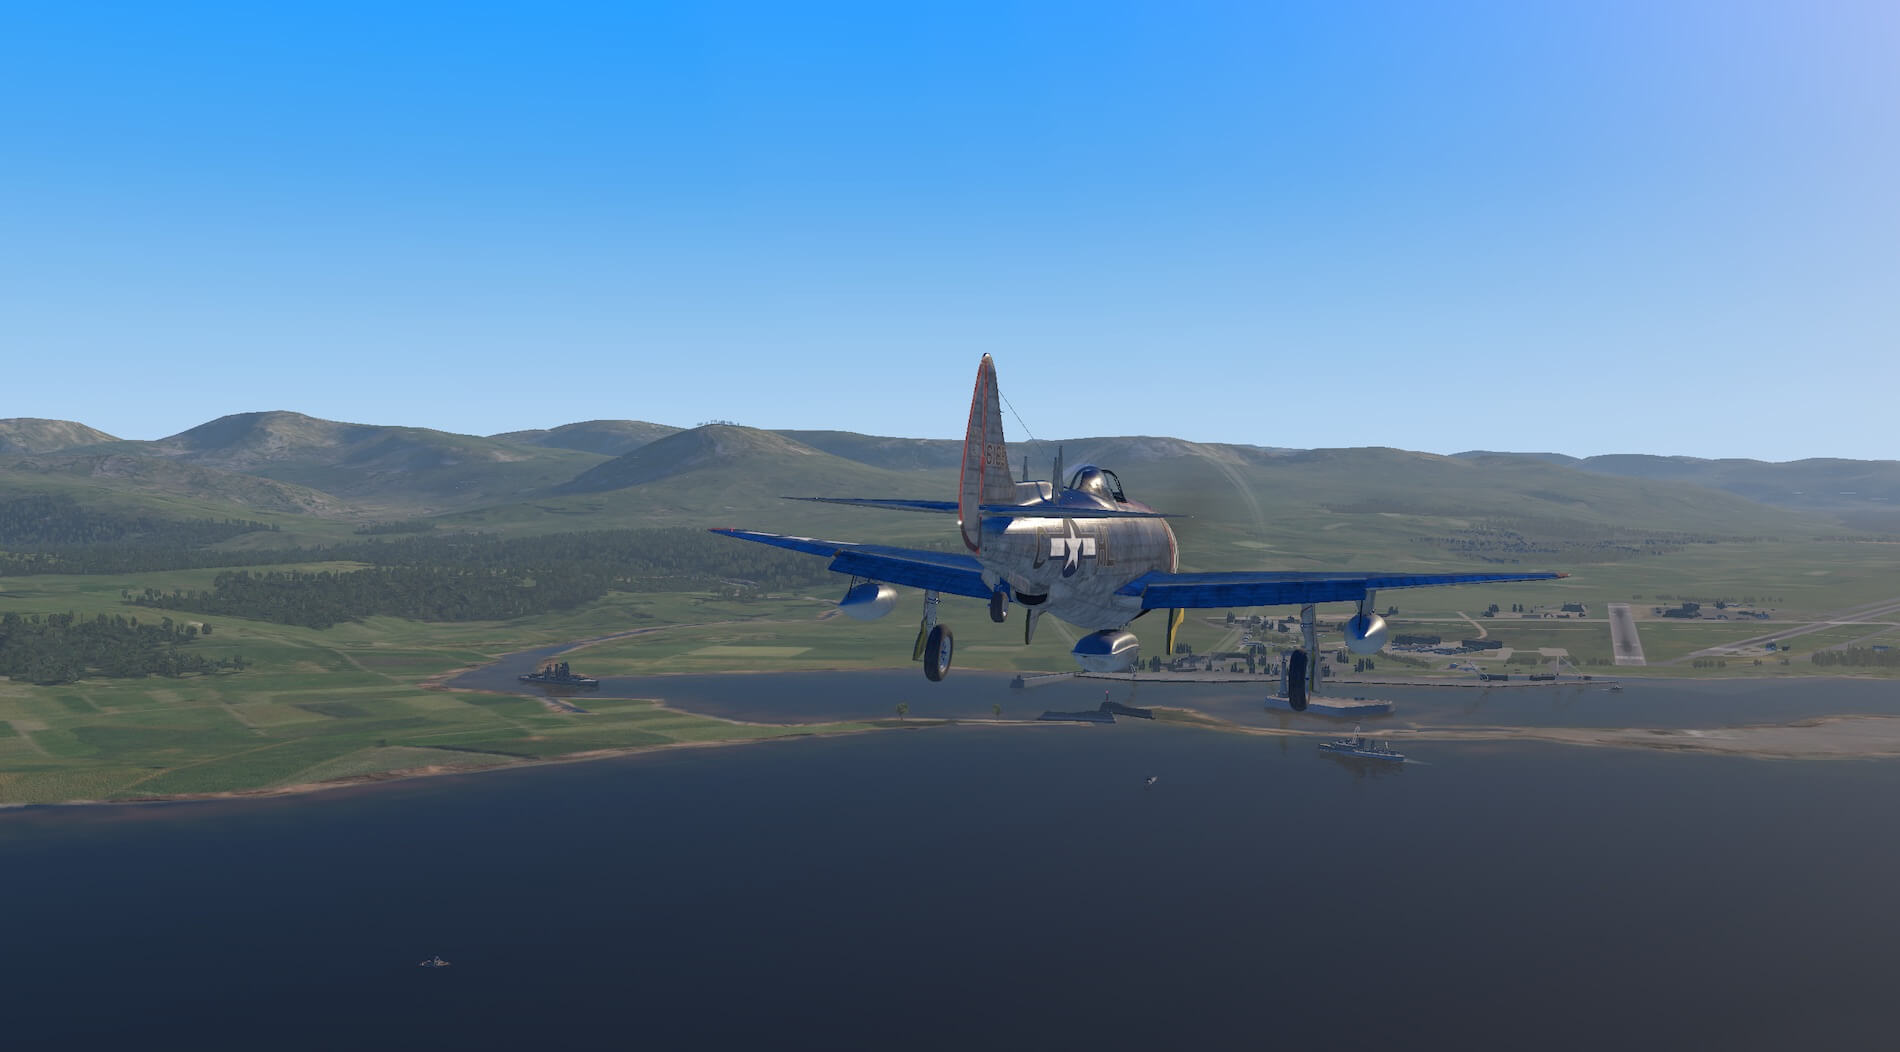
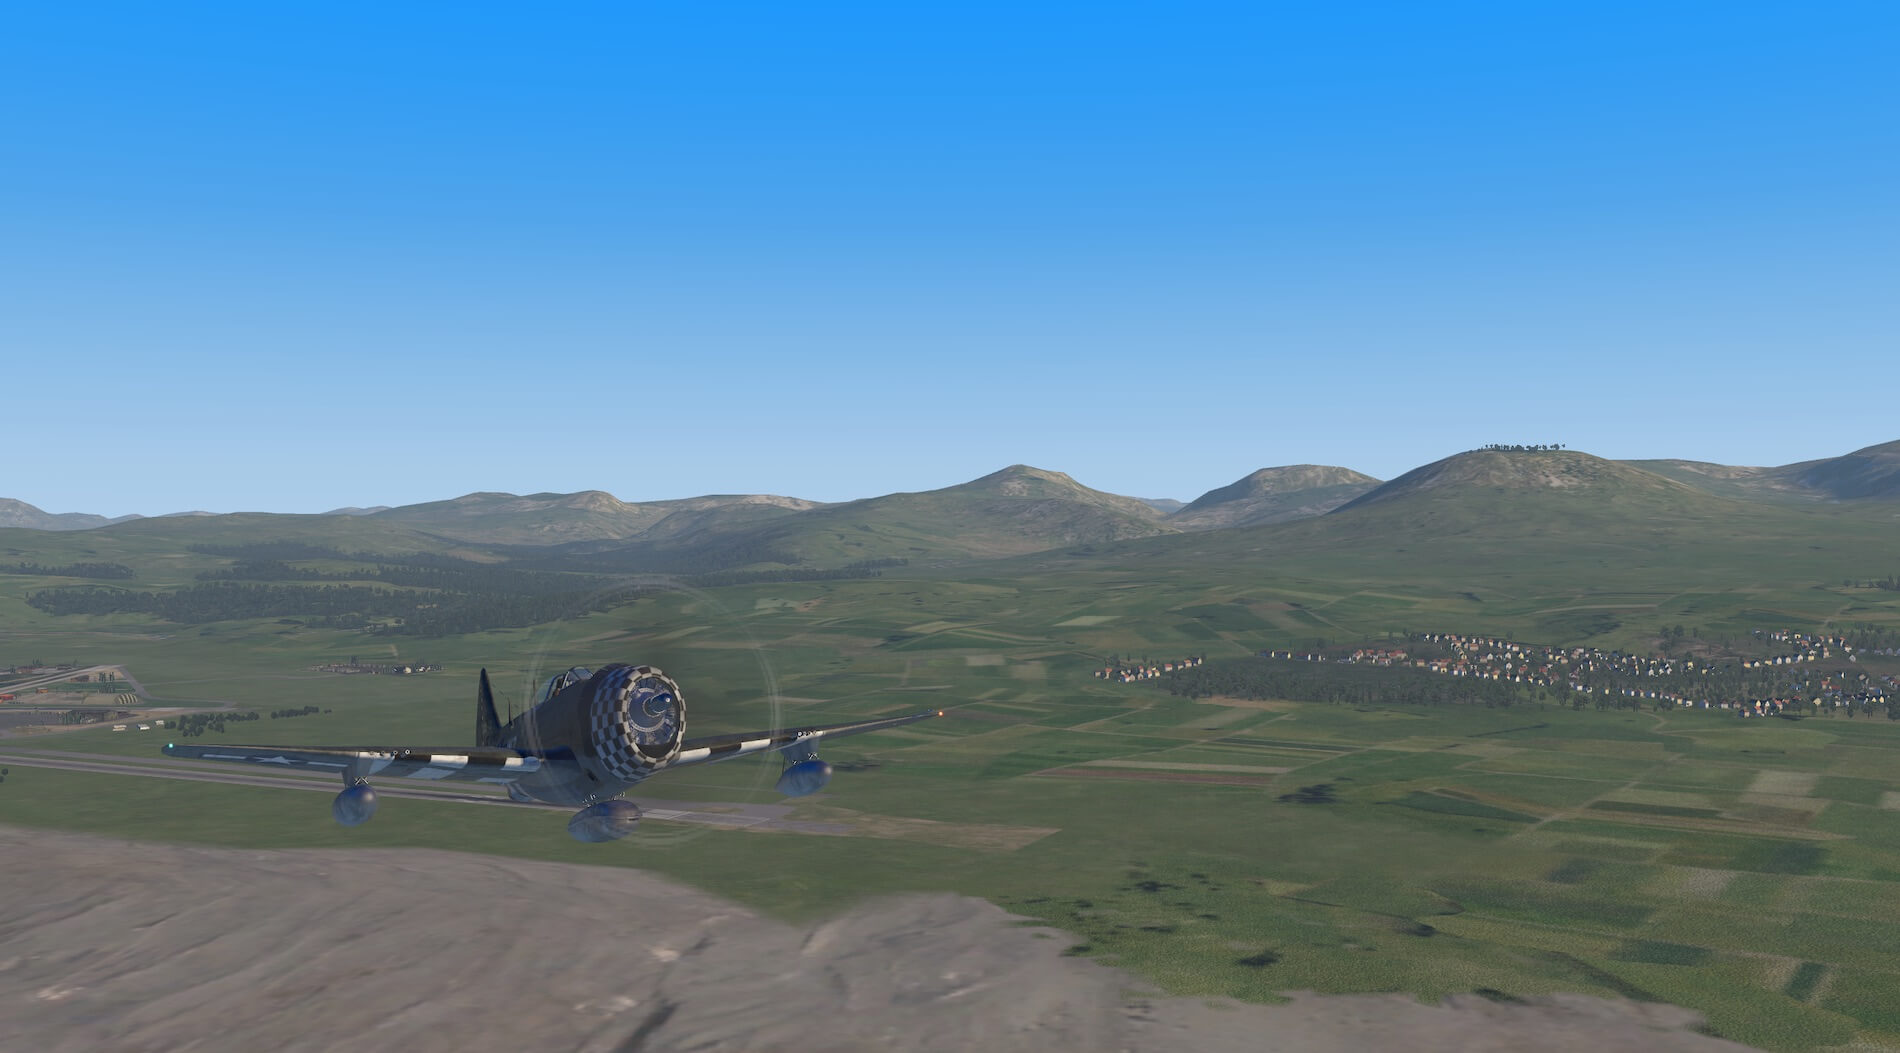
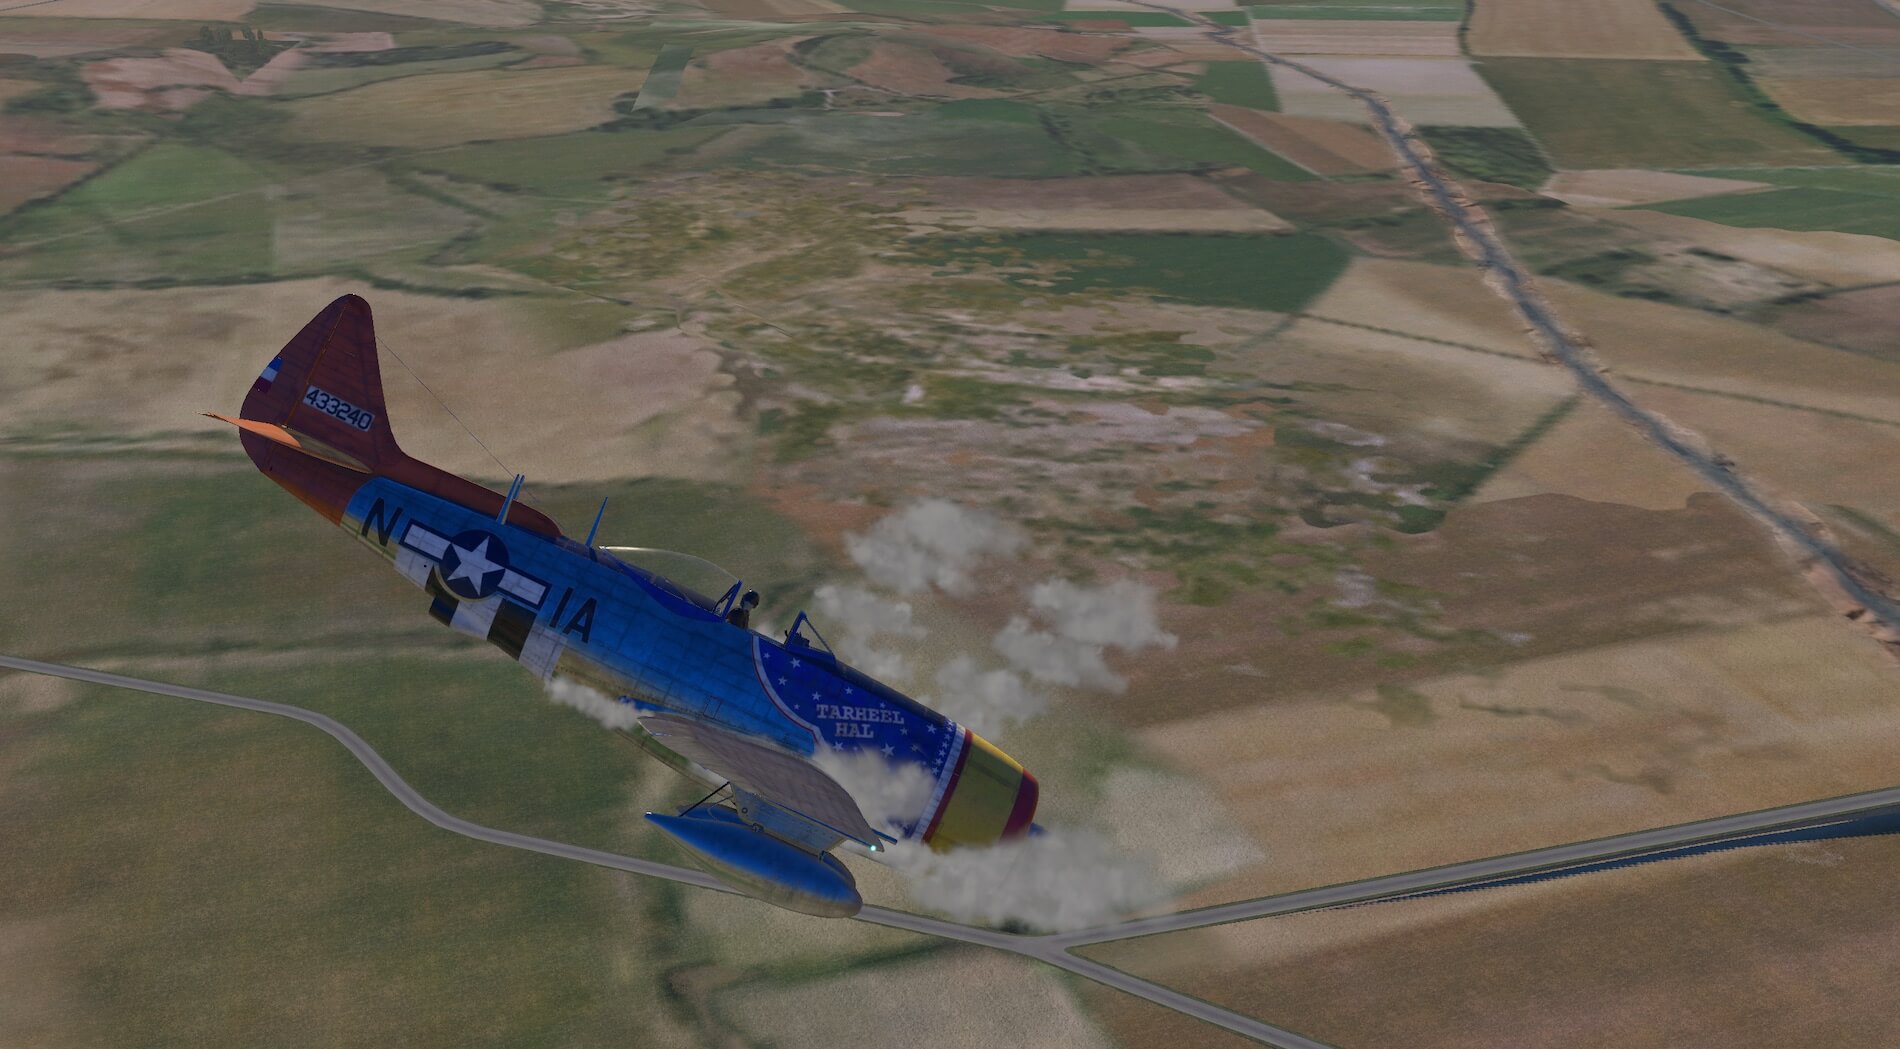
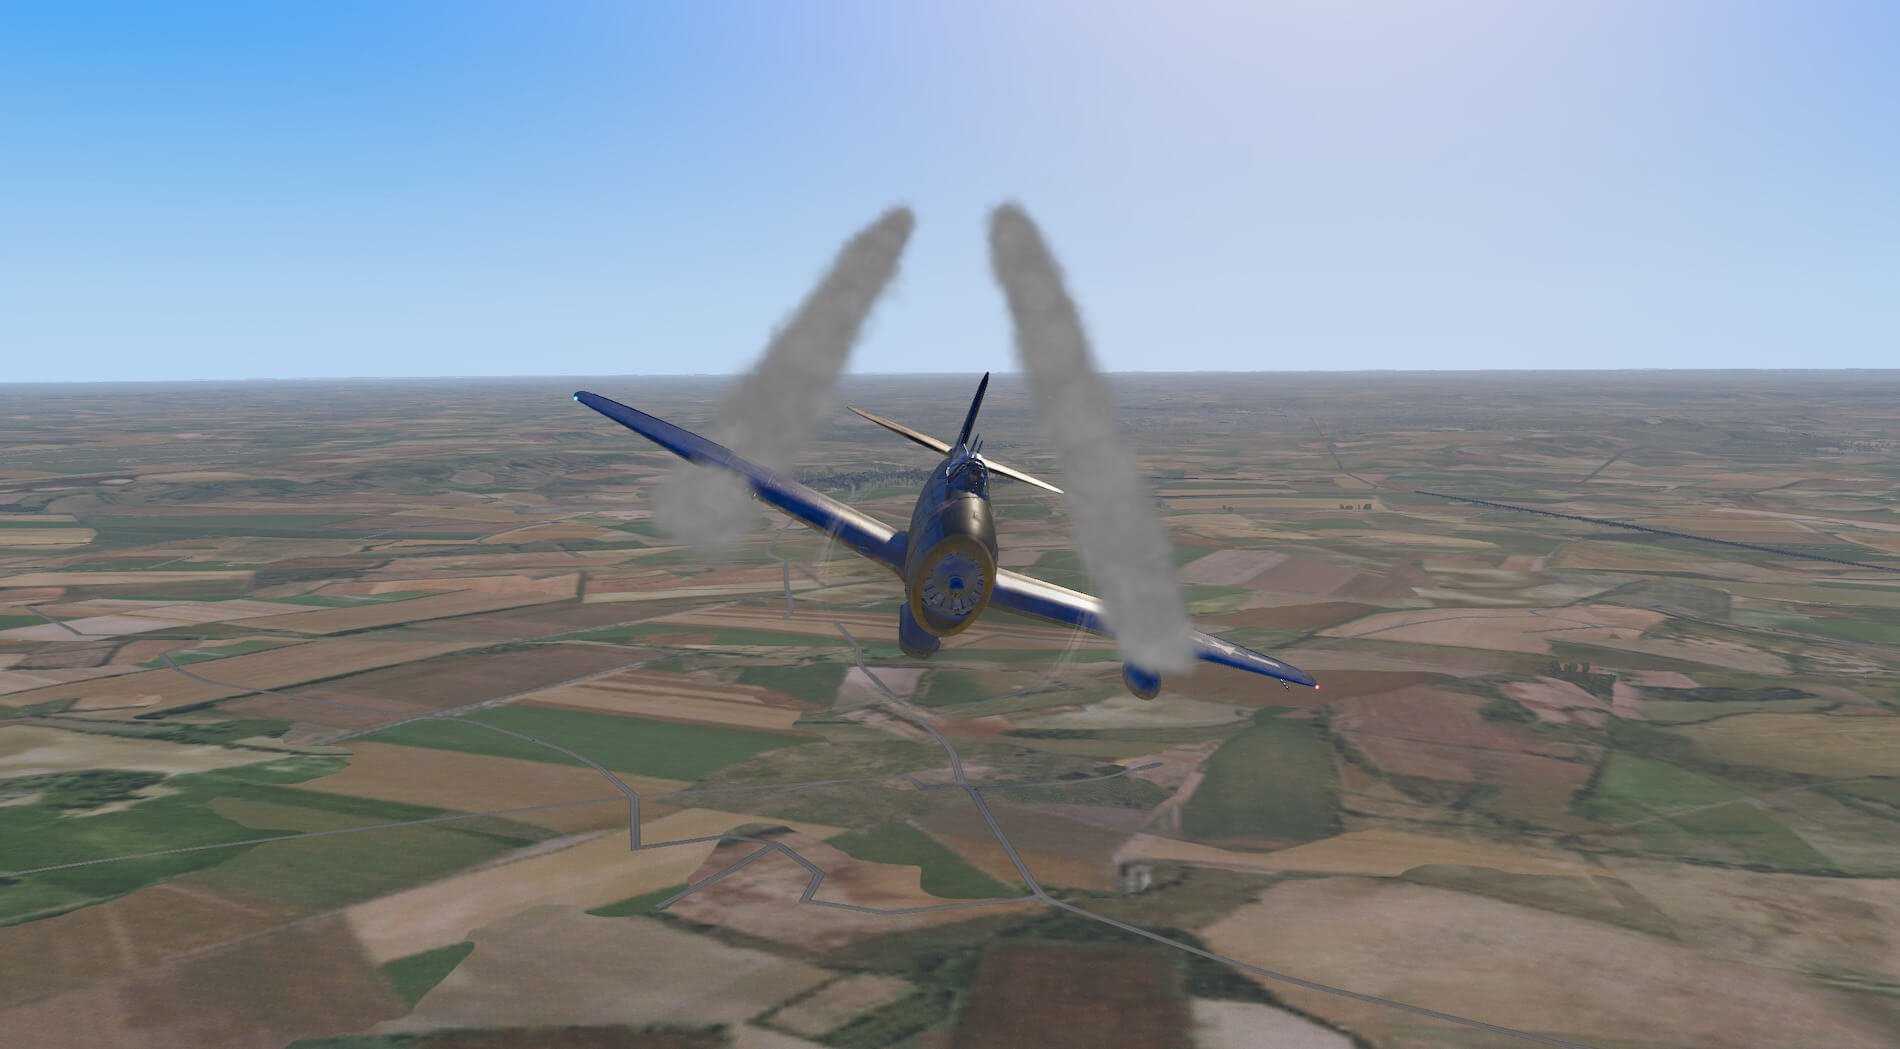
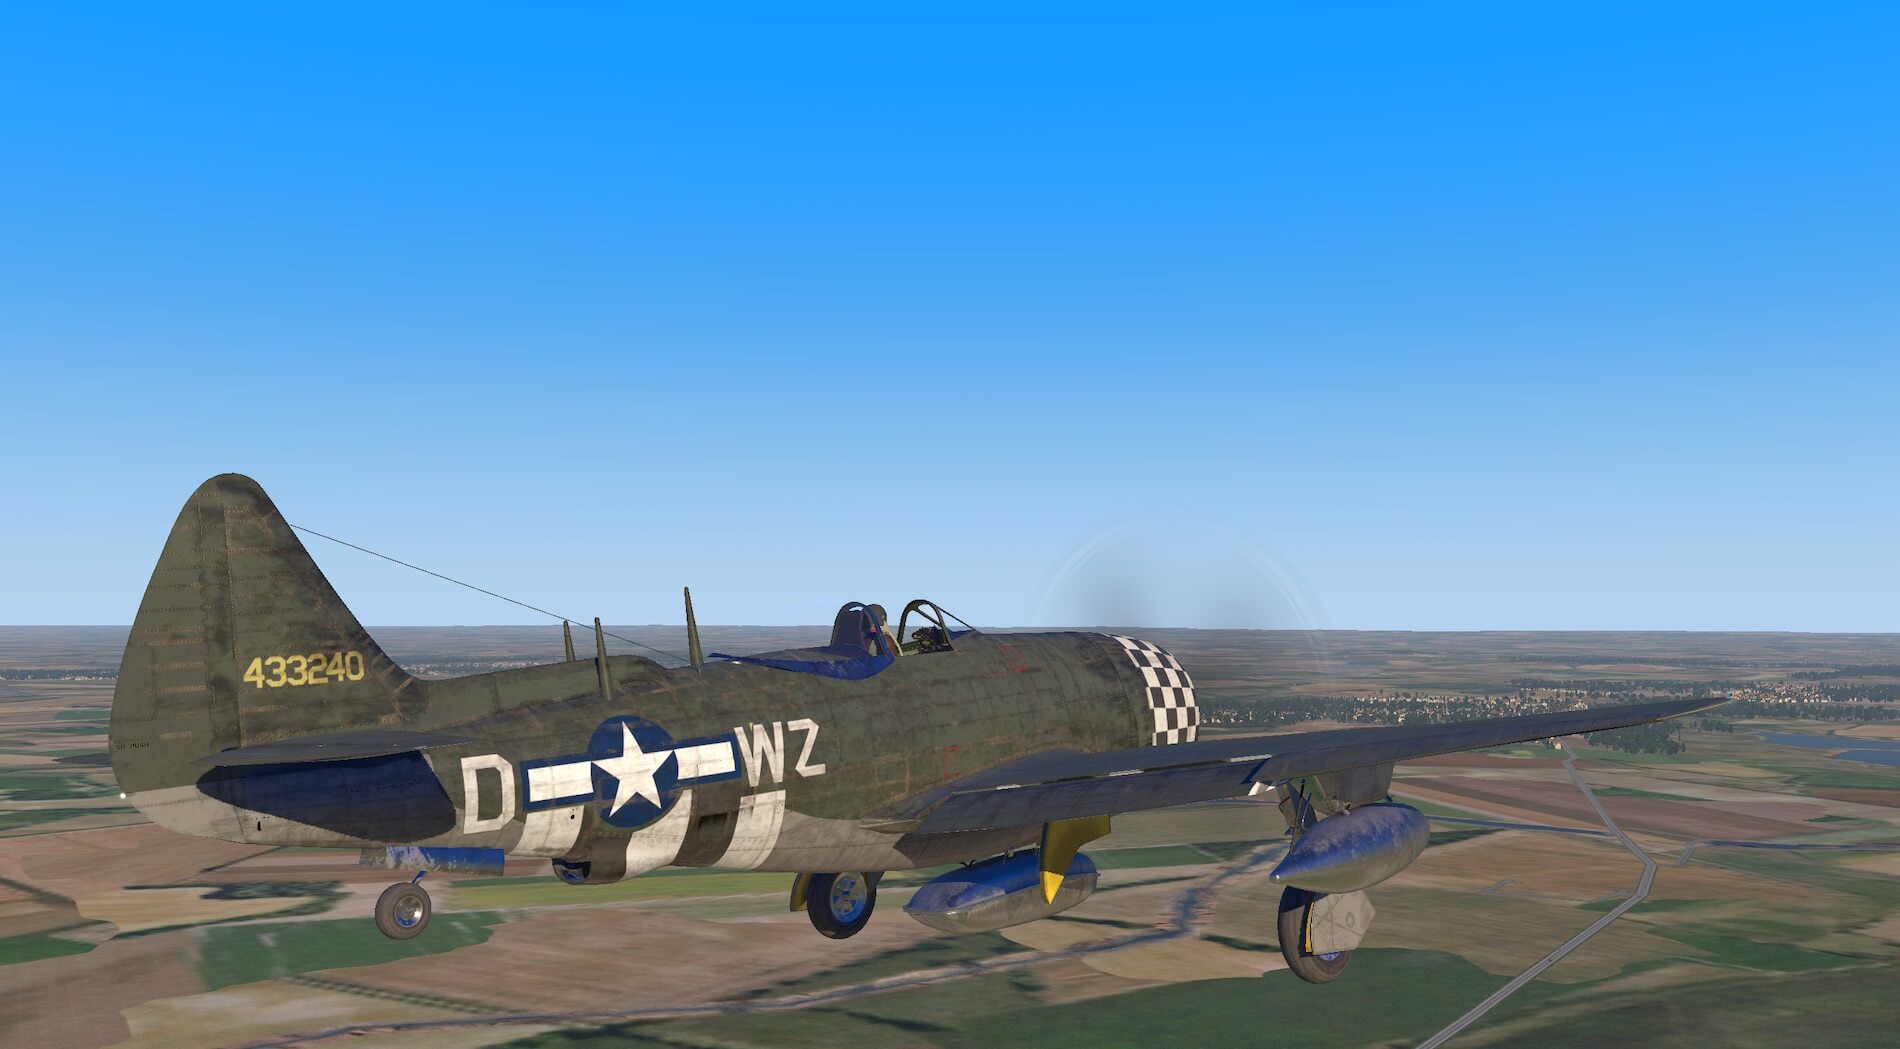
Views in flight show the detail remains impressive with panelling, colour and wear marks just as well modelled underneath. The aircraft reacts well with surrounding scenery and looks impressive in all surroundings. The undercarriage doors stand out when closed and the gear itself looks good when open. The model is highly impressive however it is viewed from the outside.
Interior Modelling
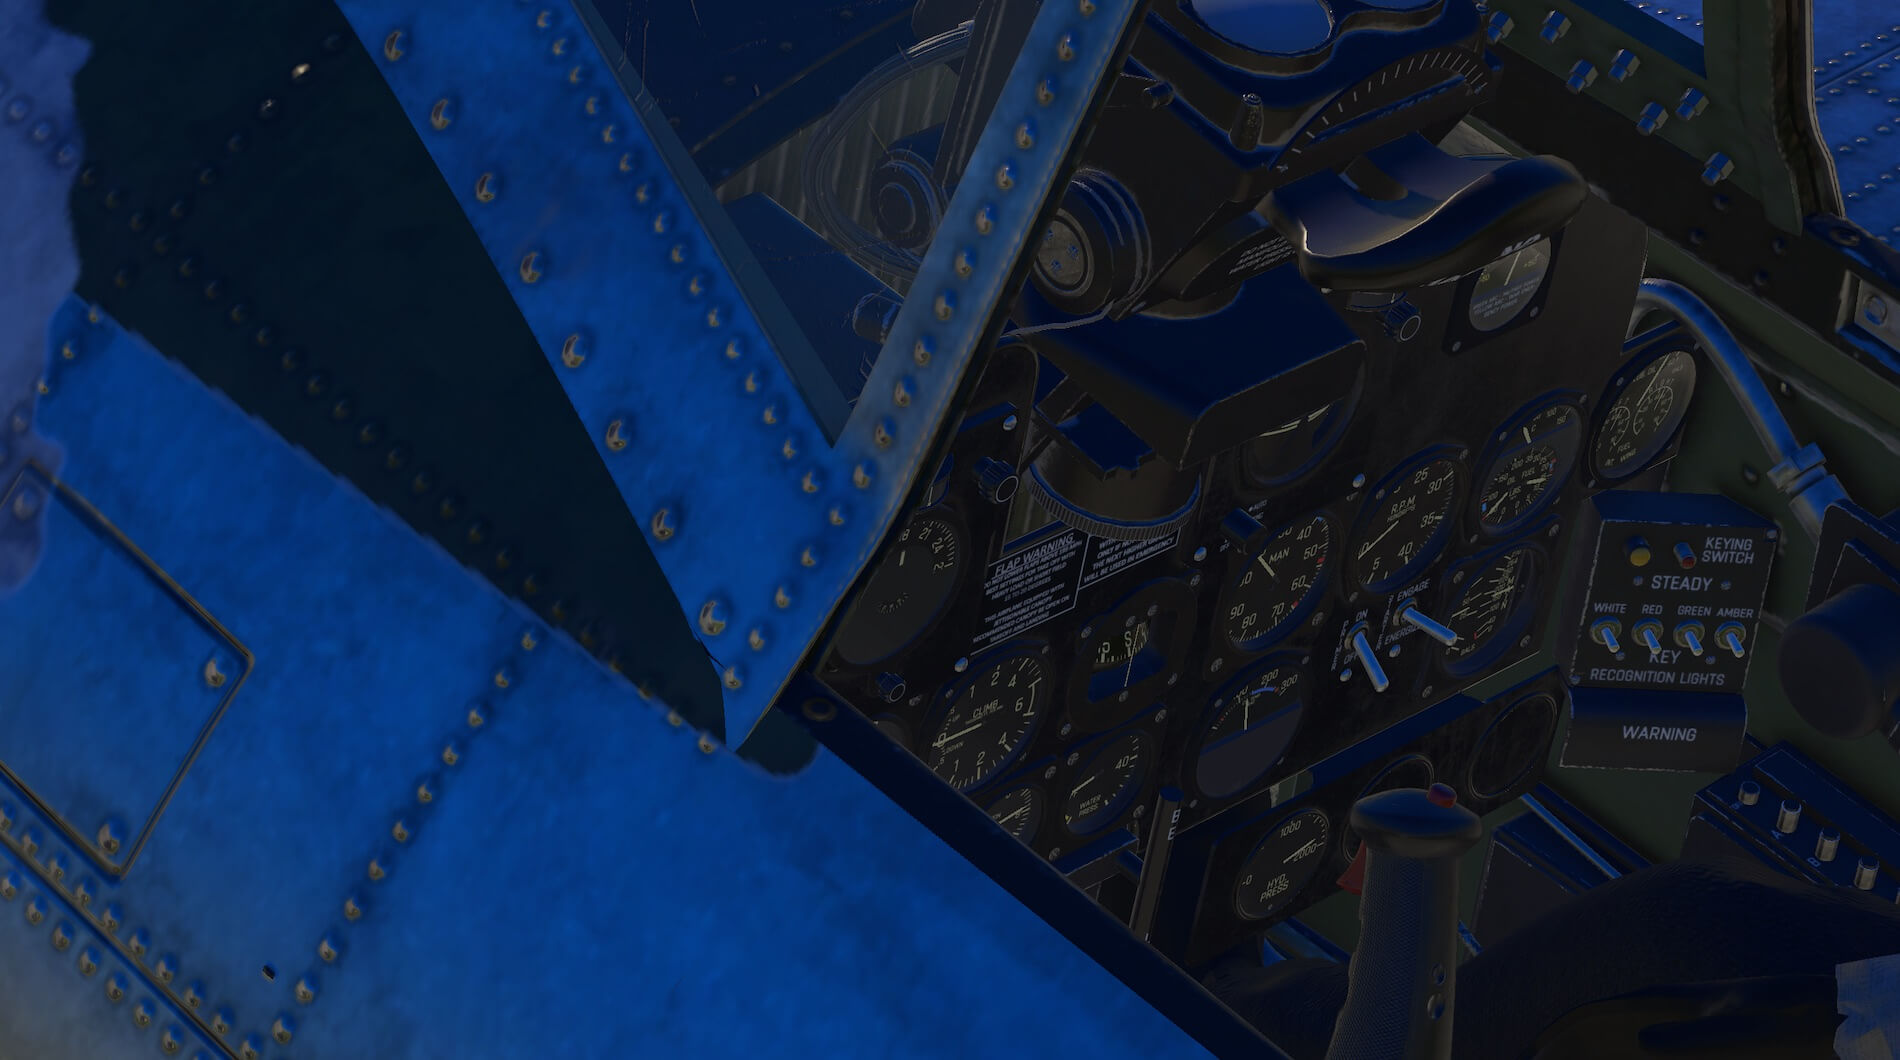
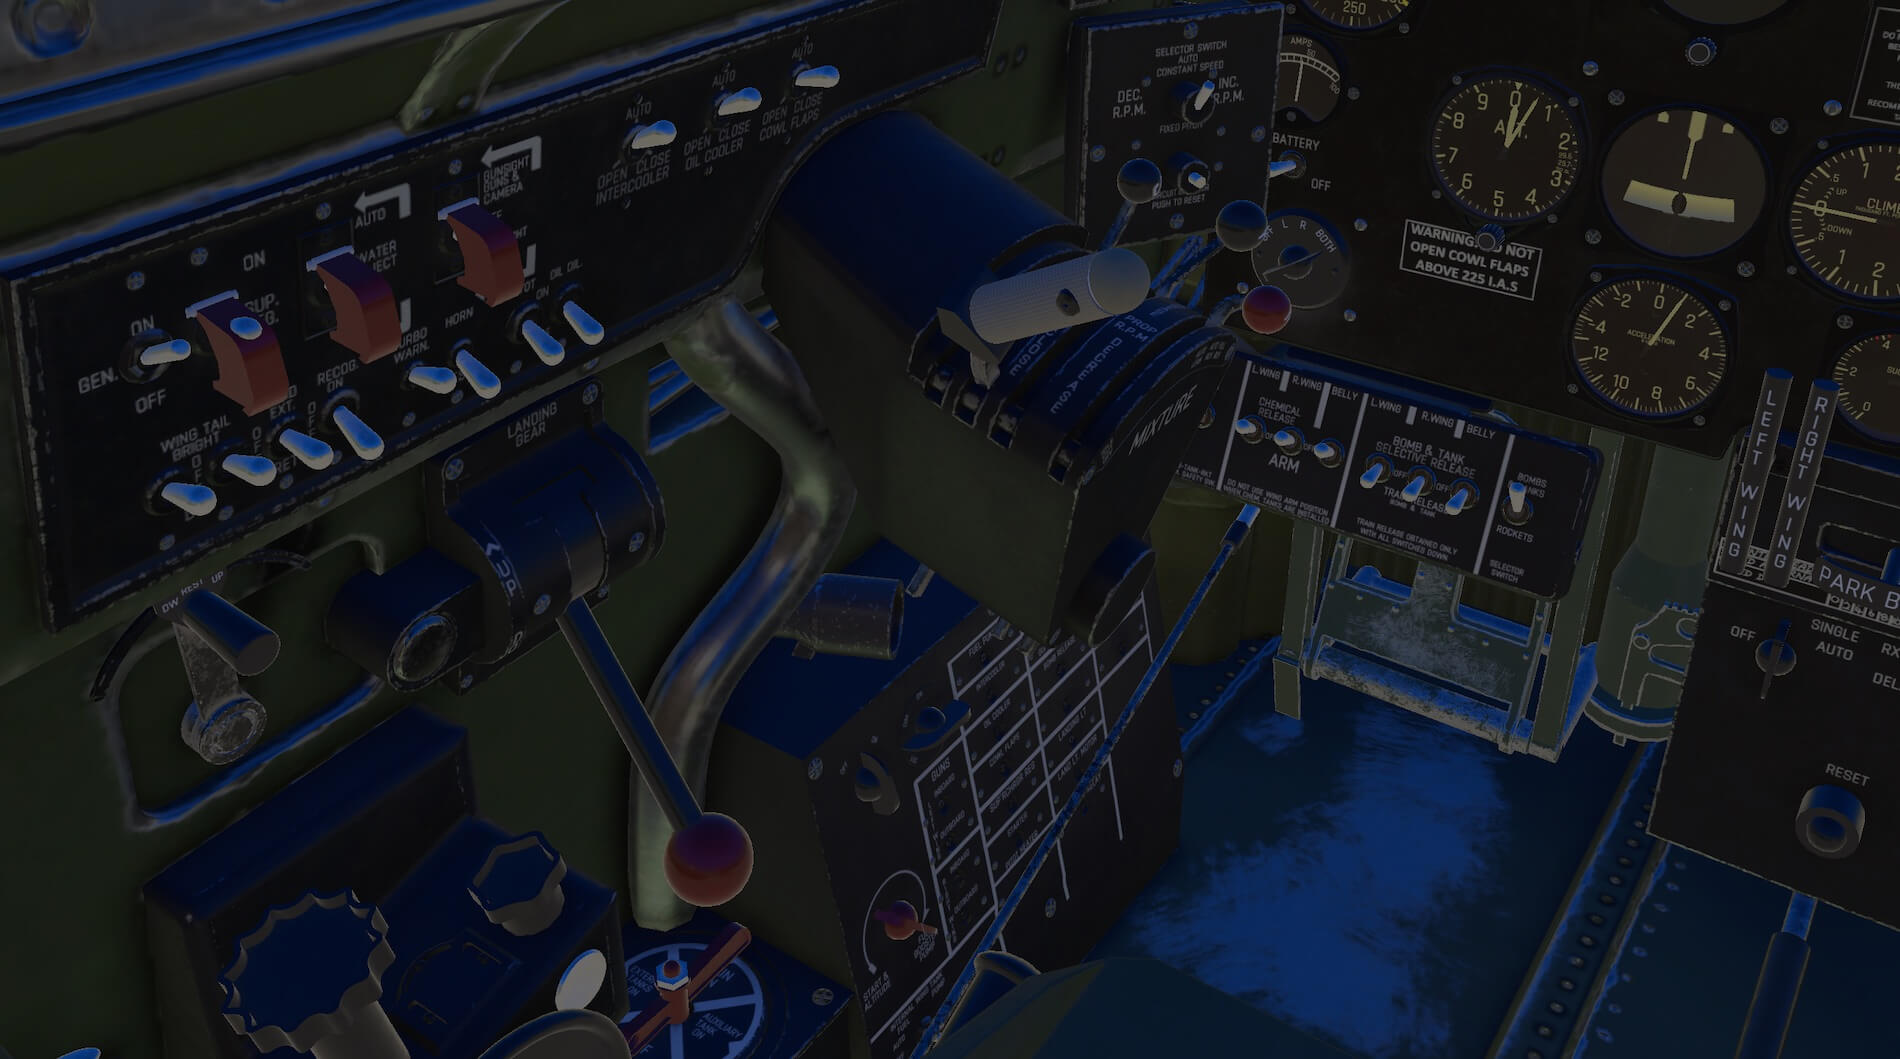
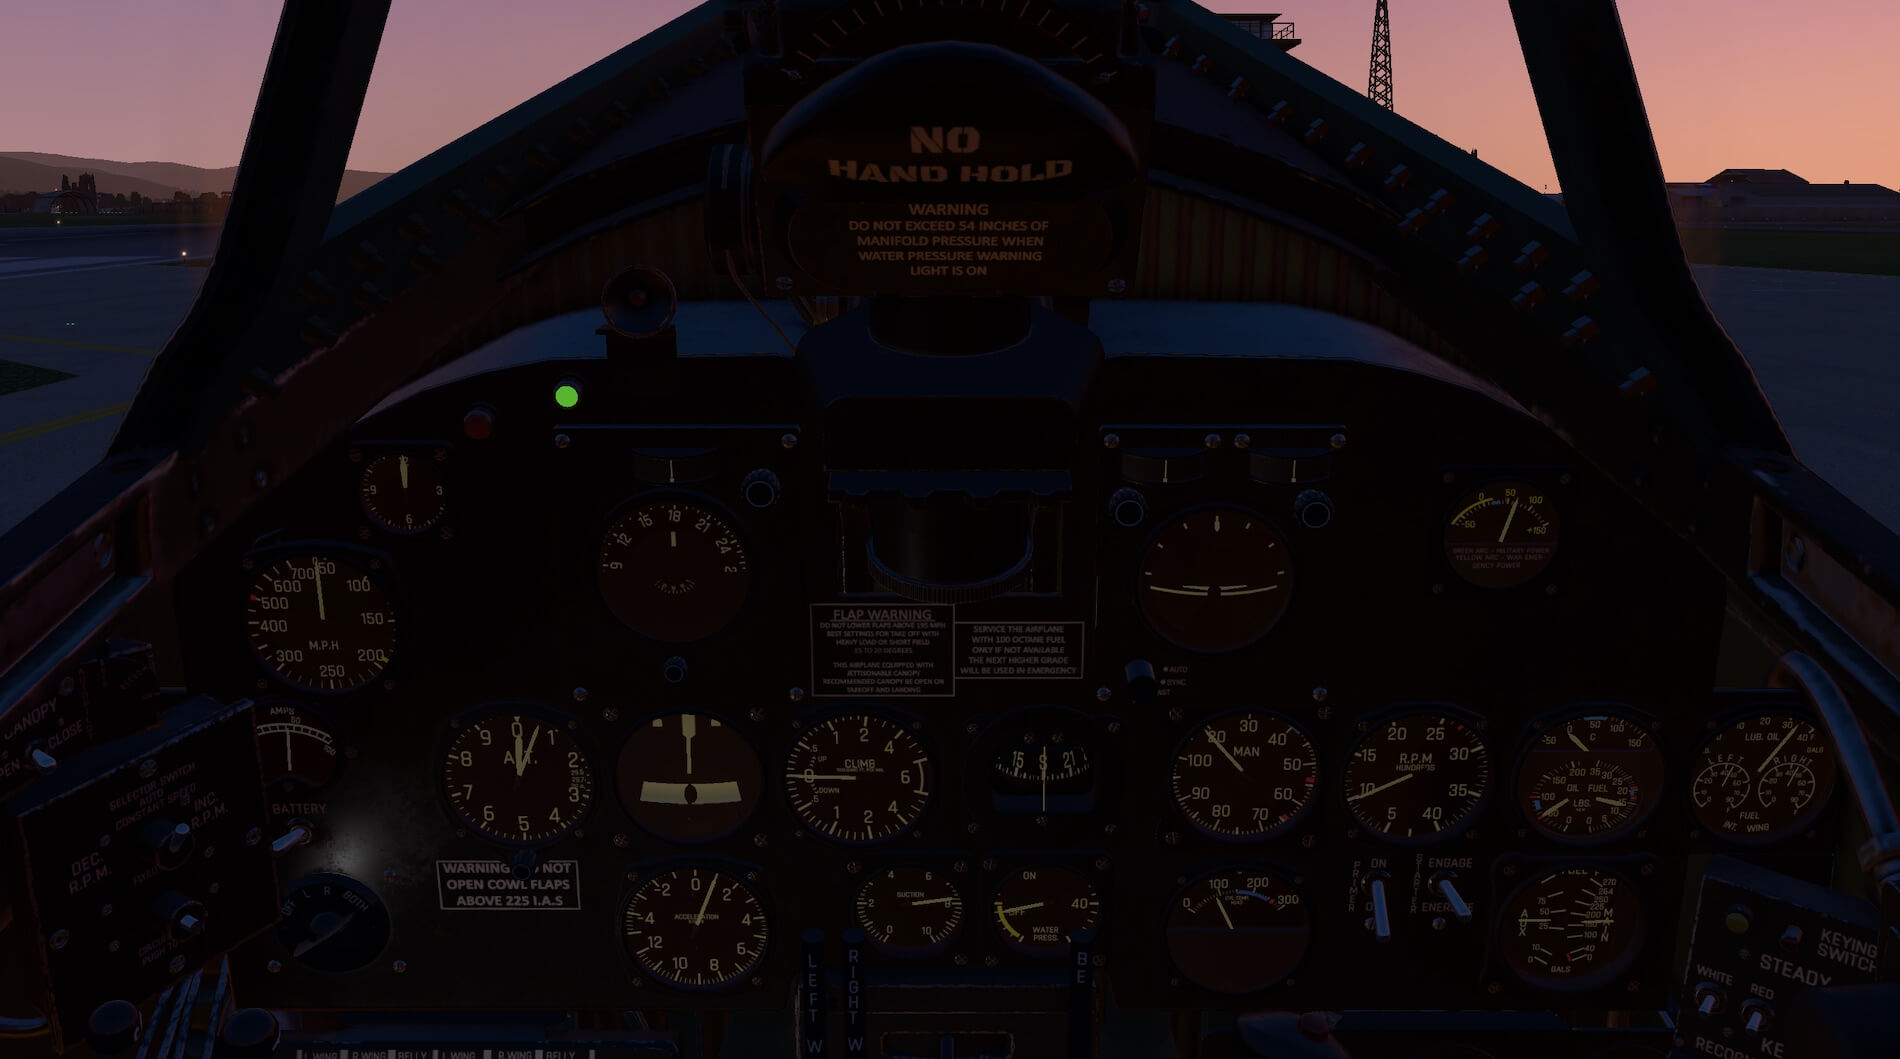
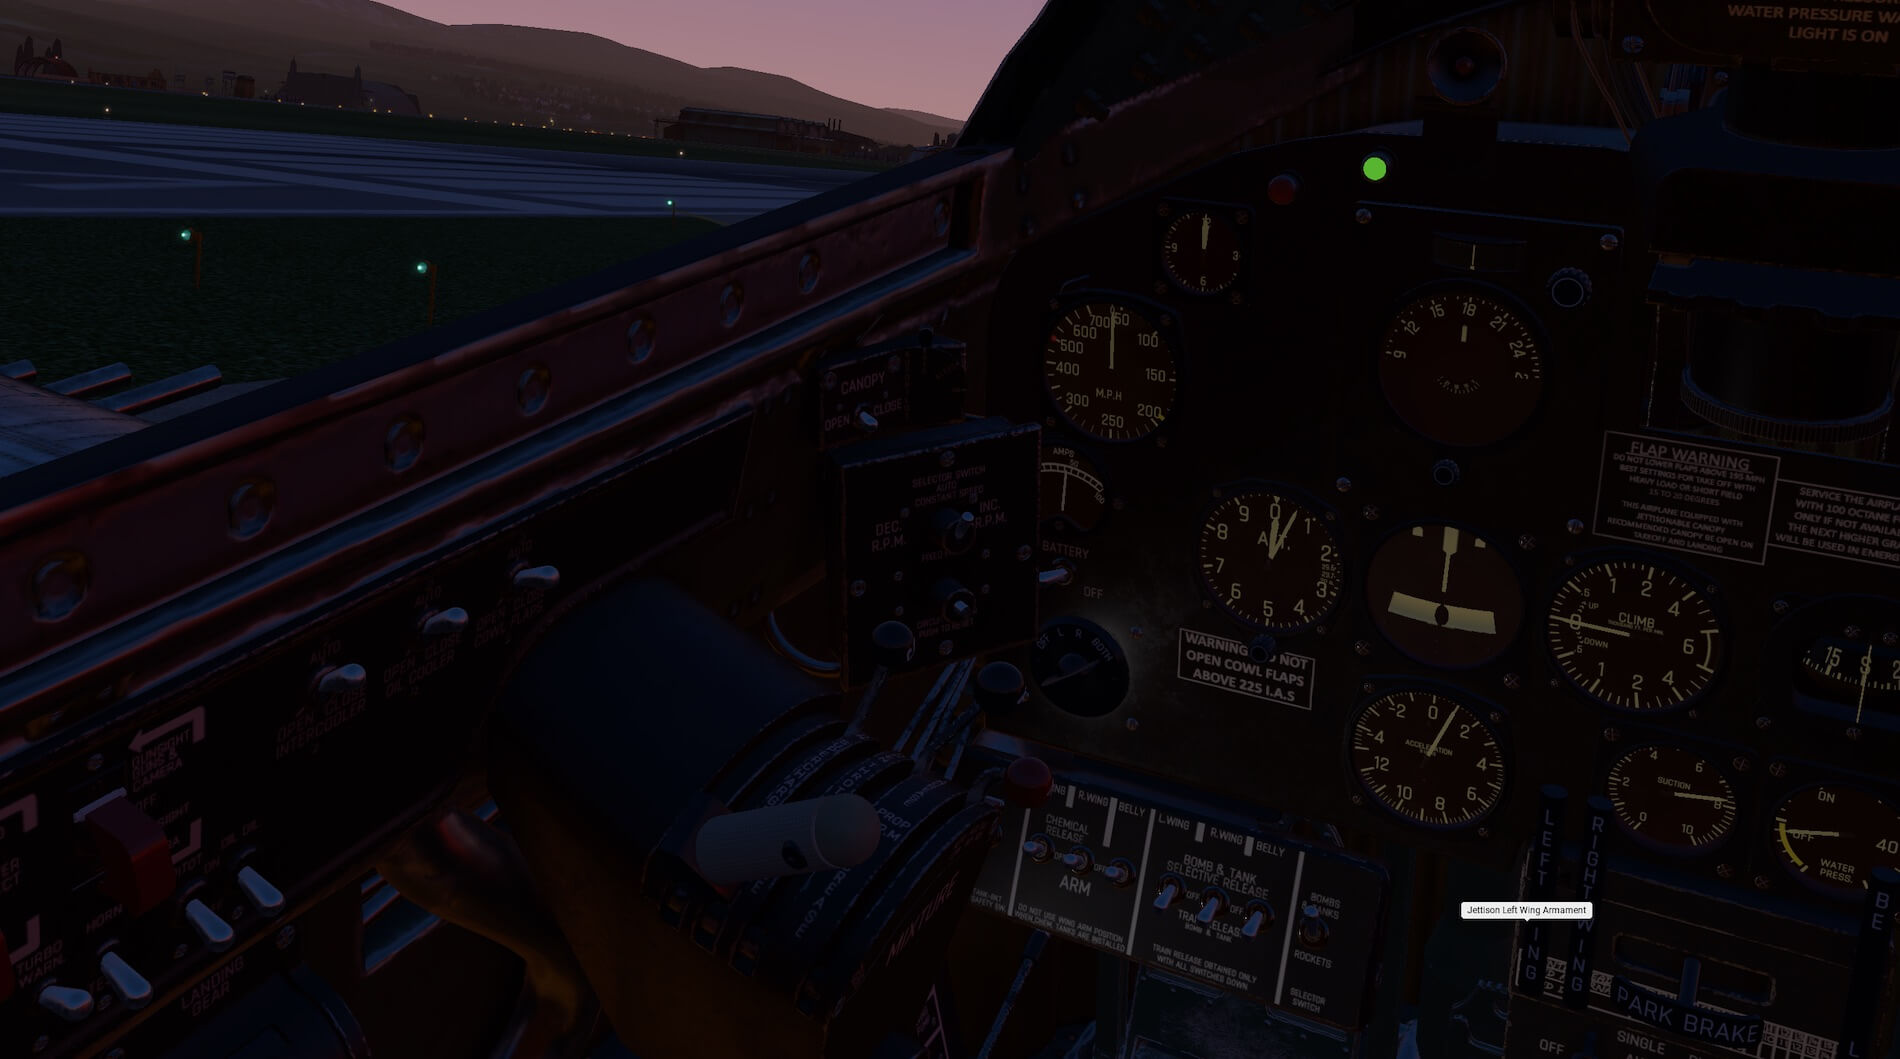
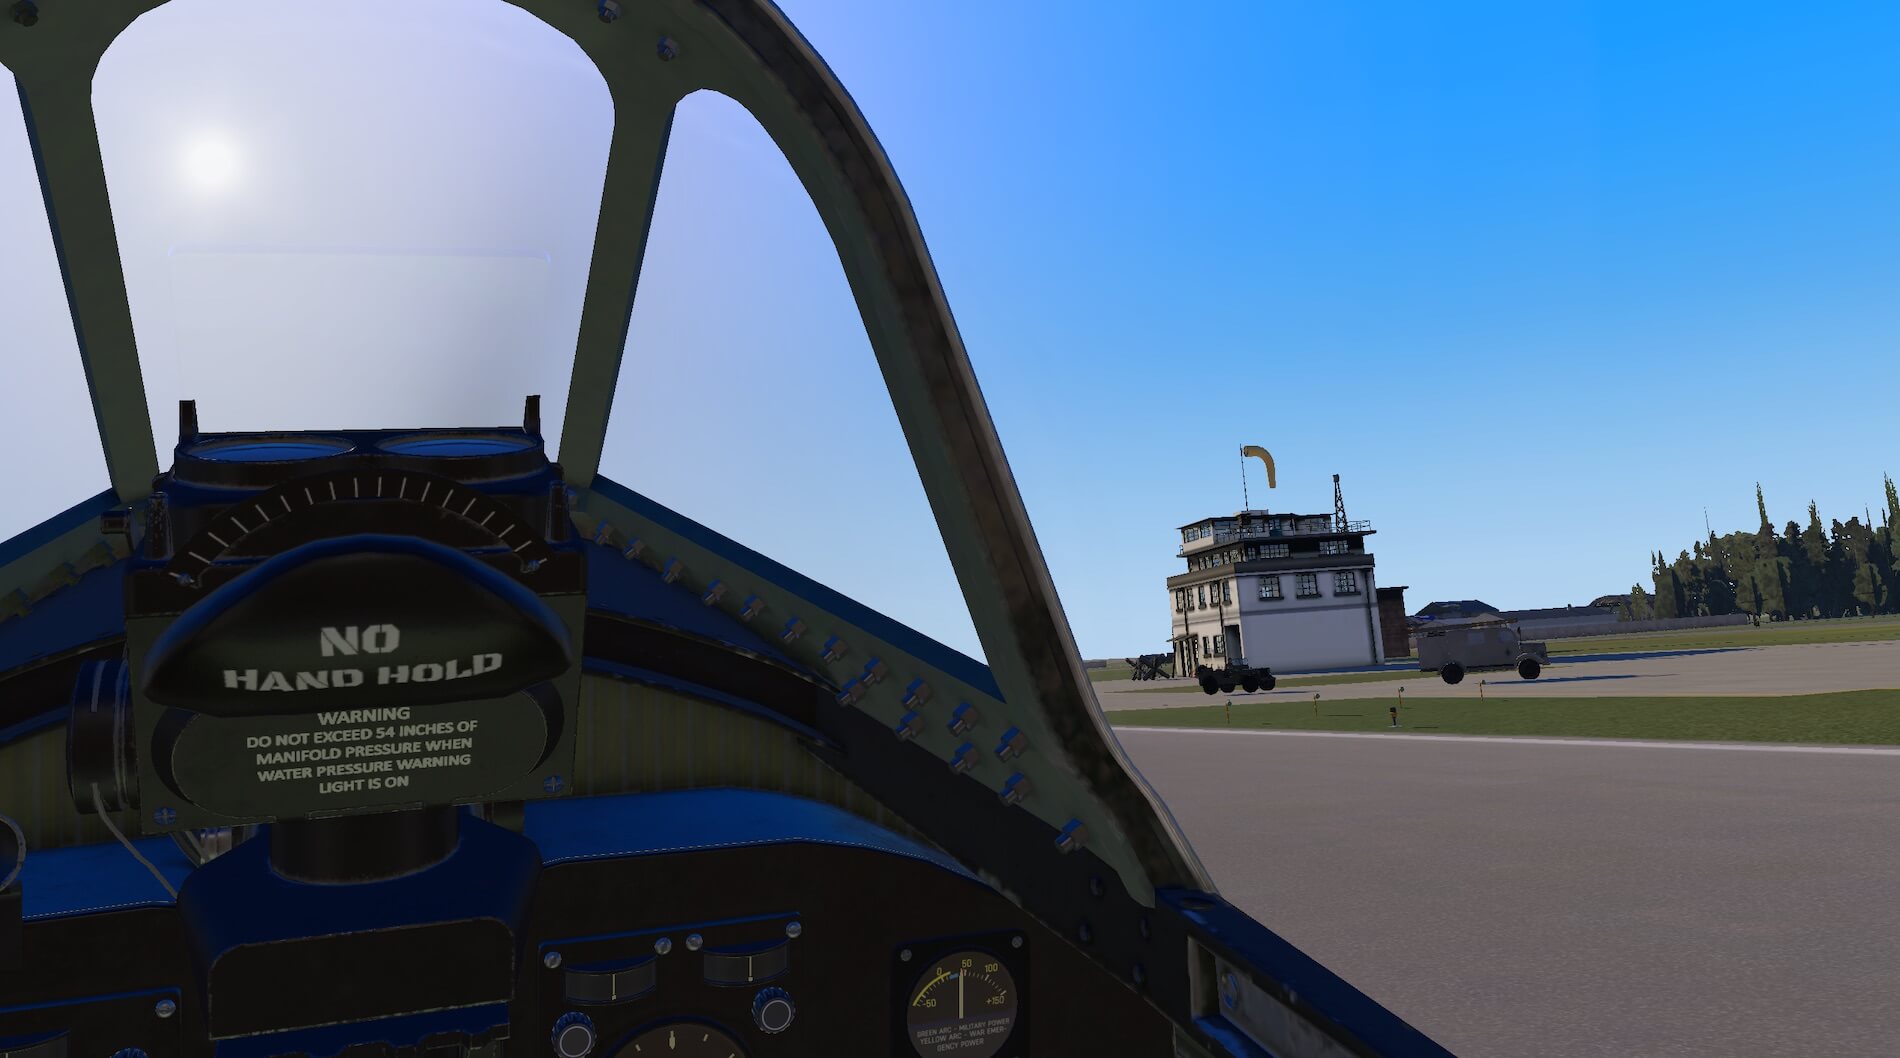
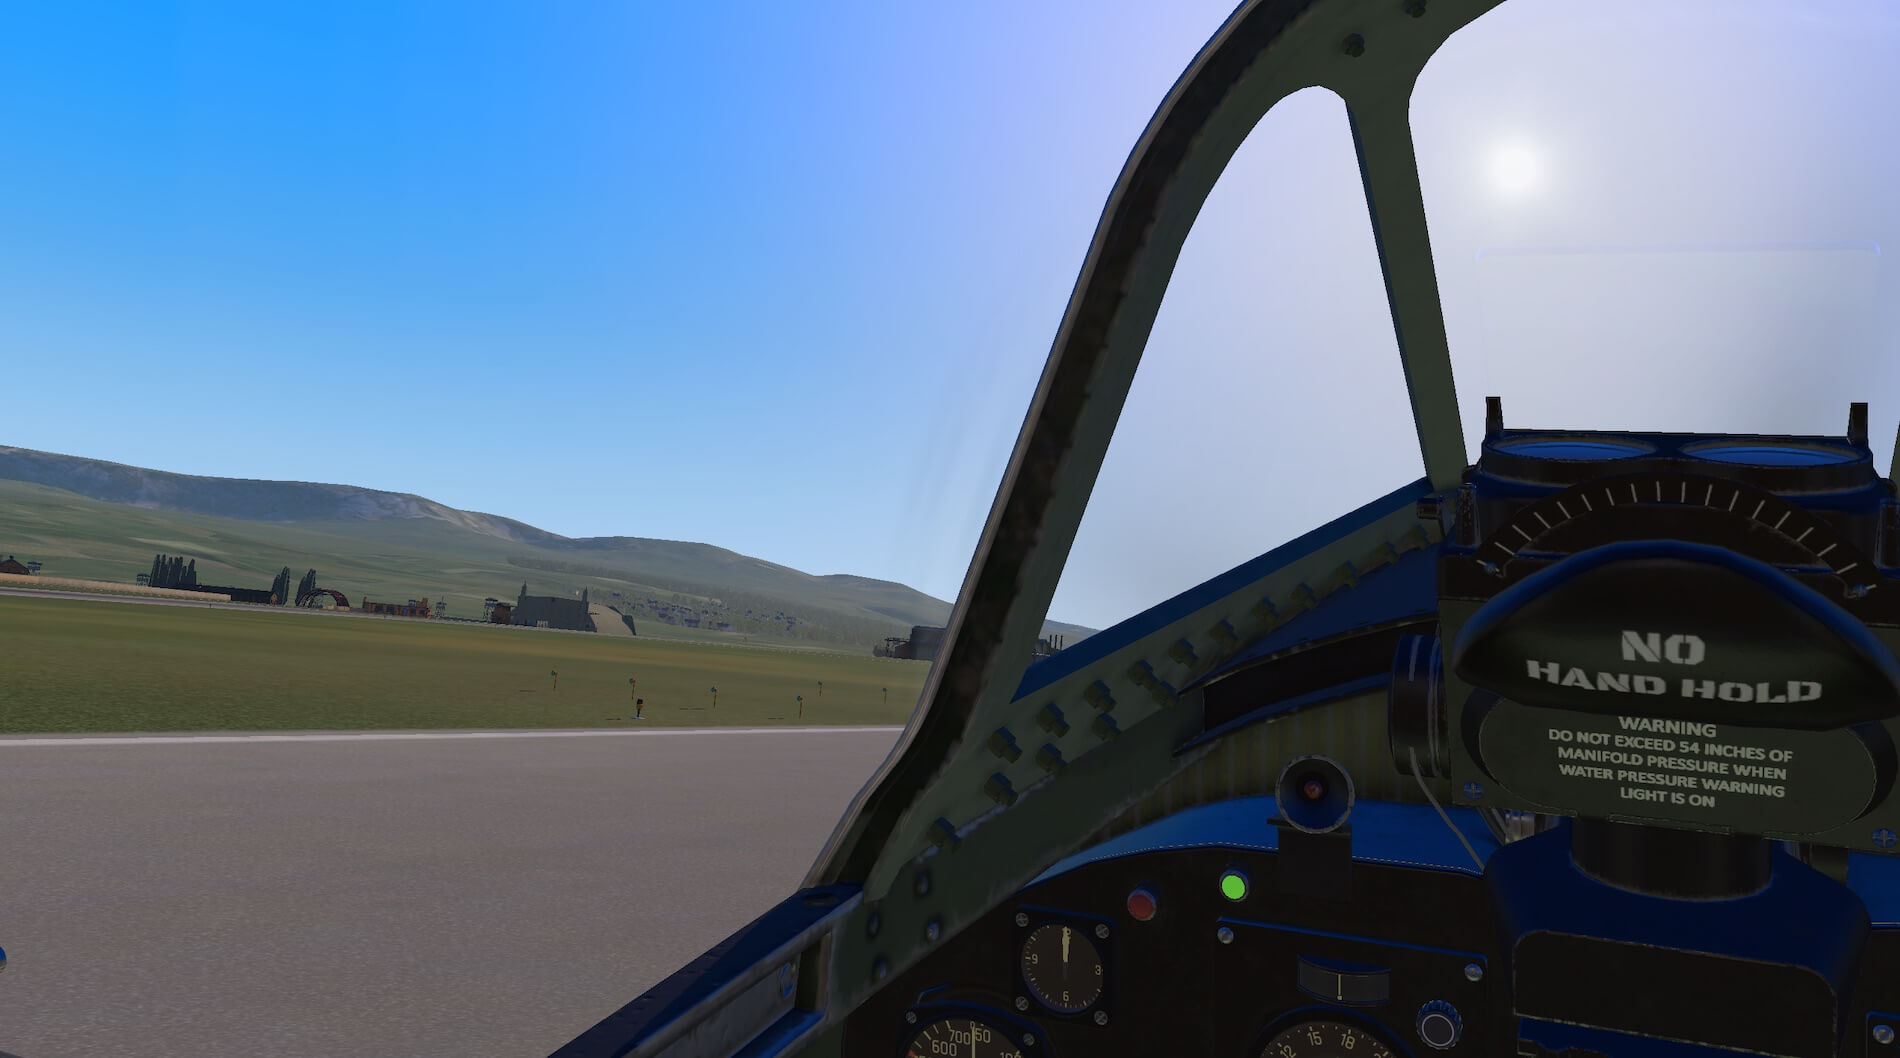
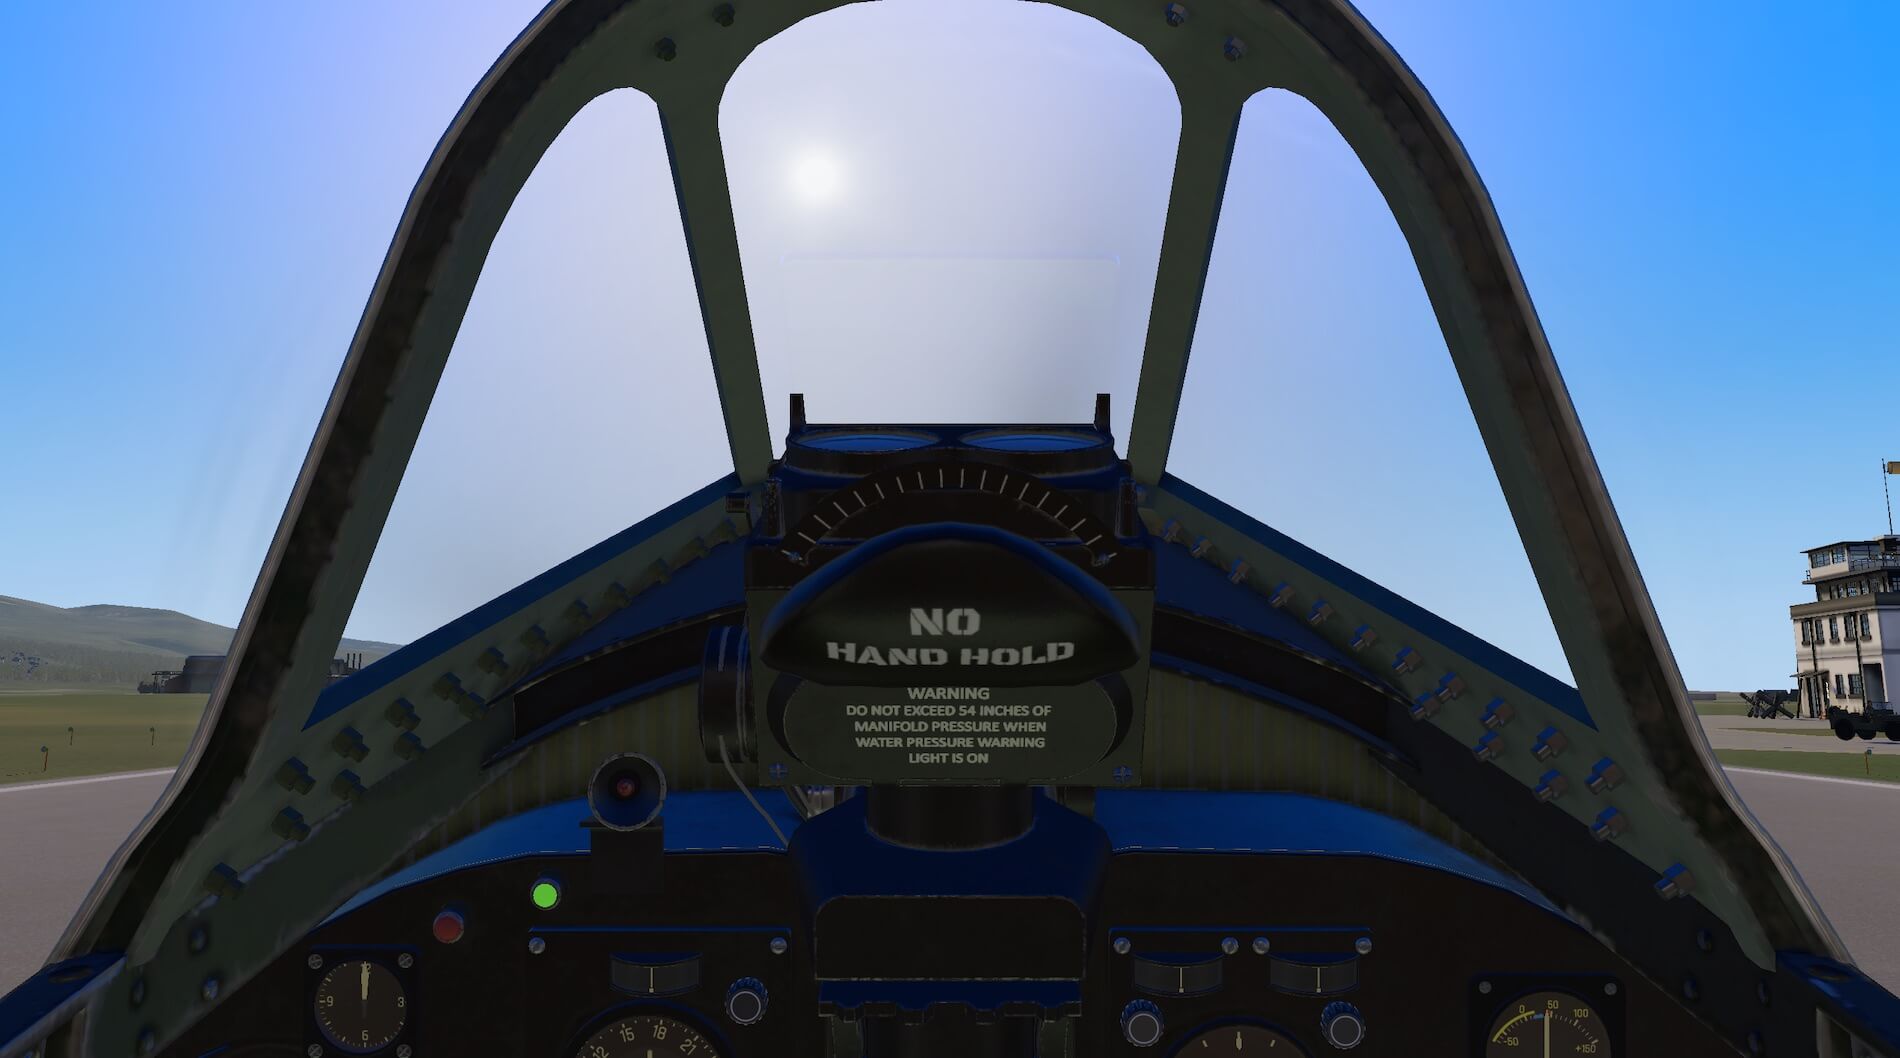
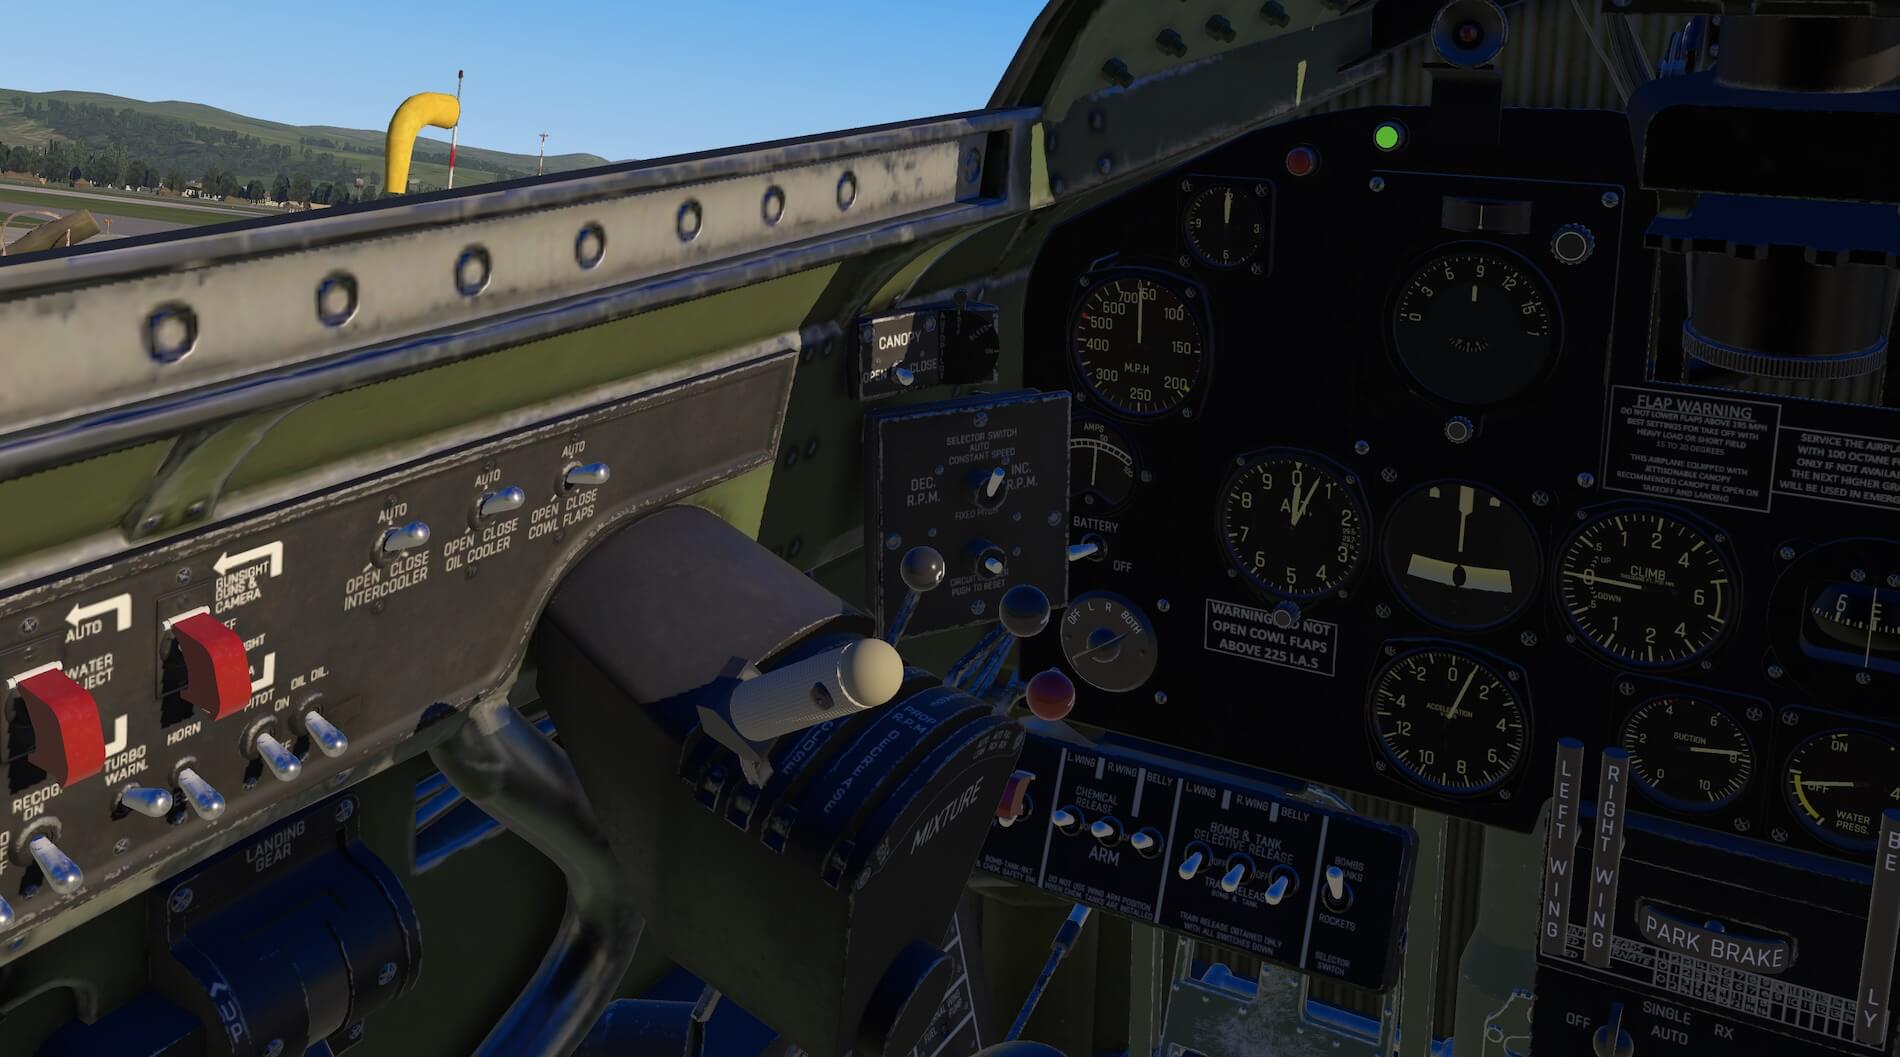
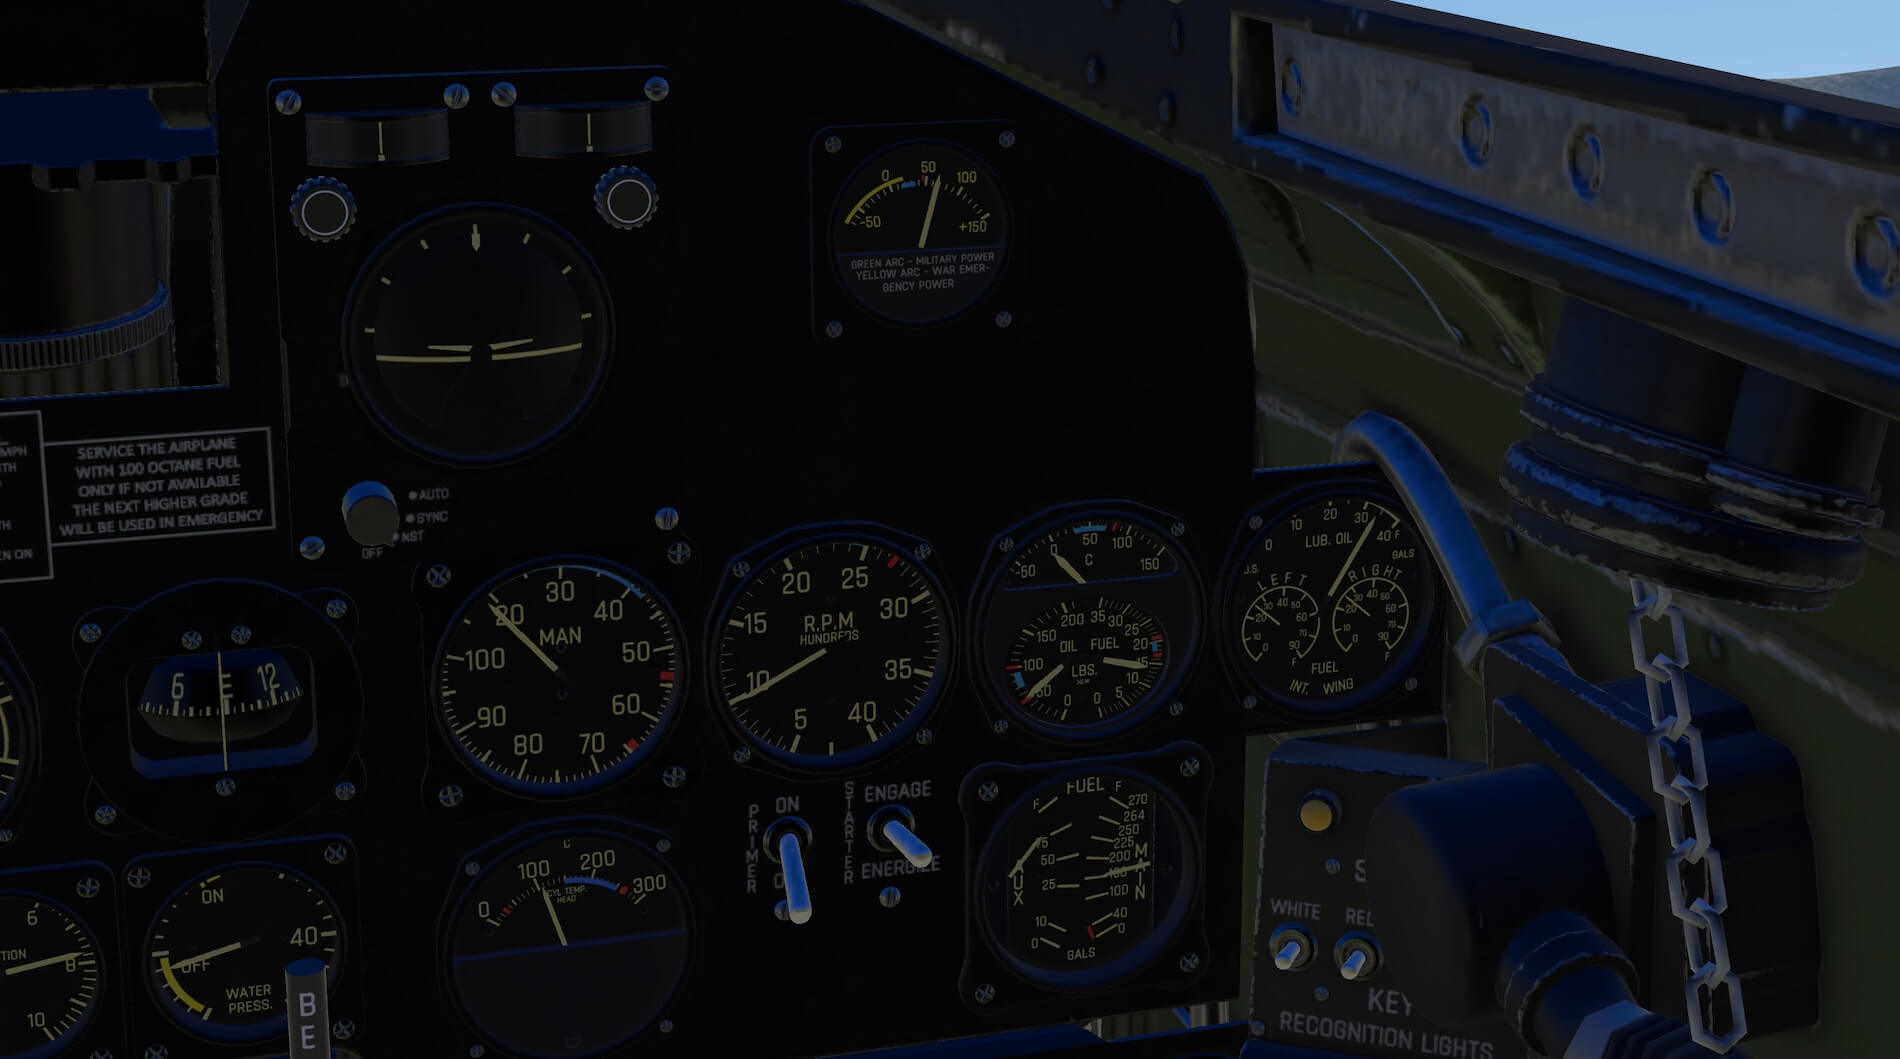
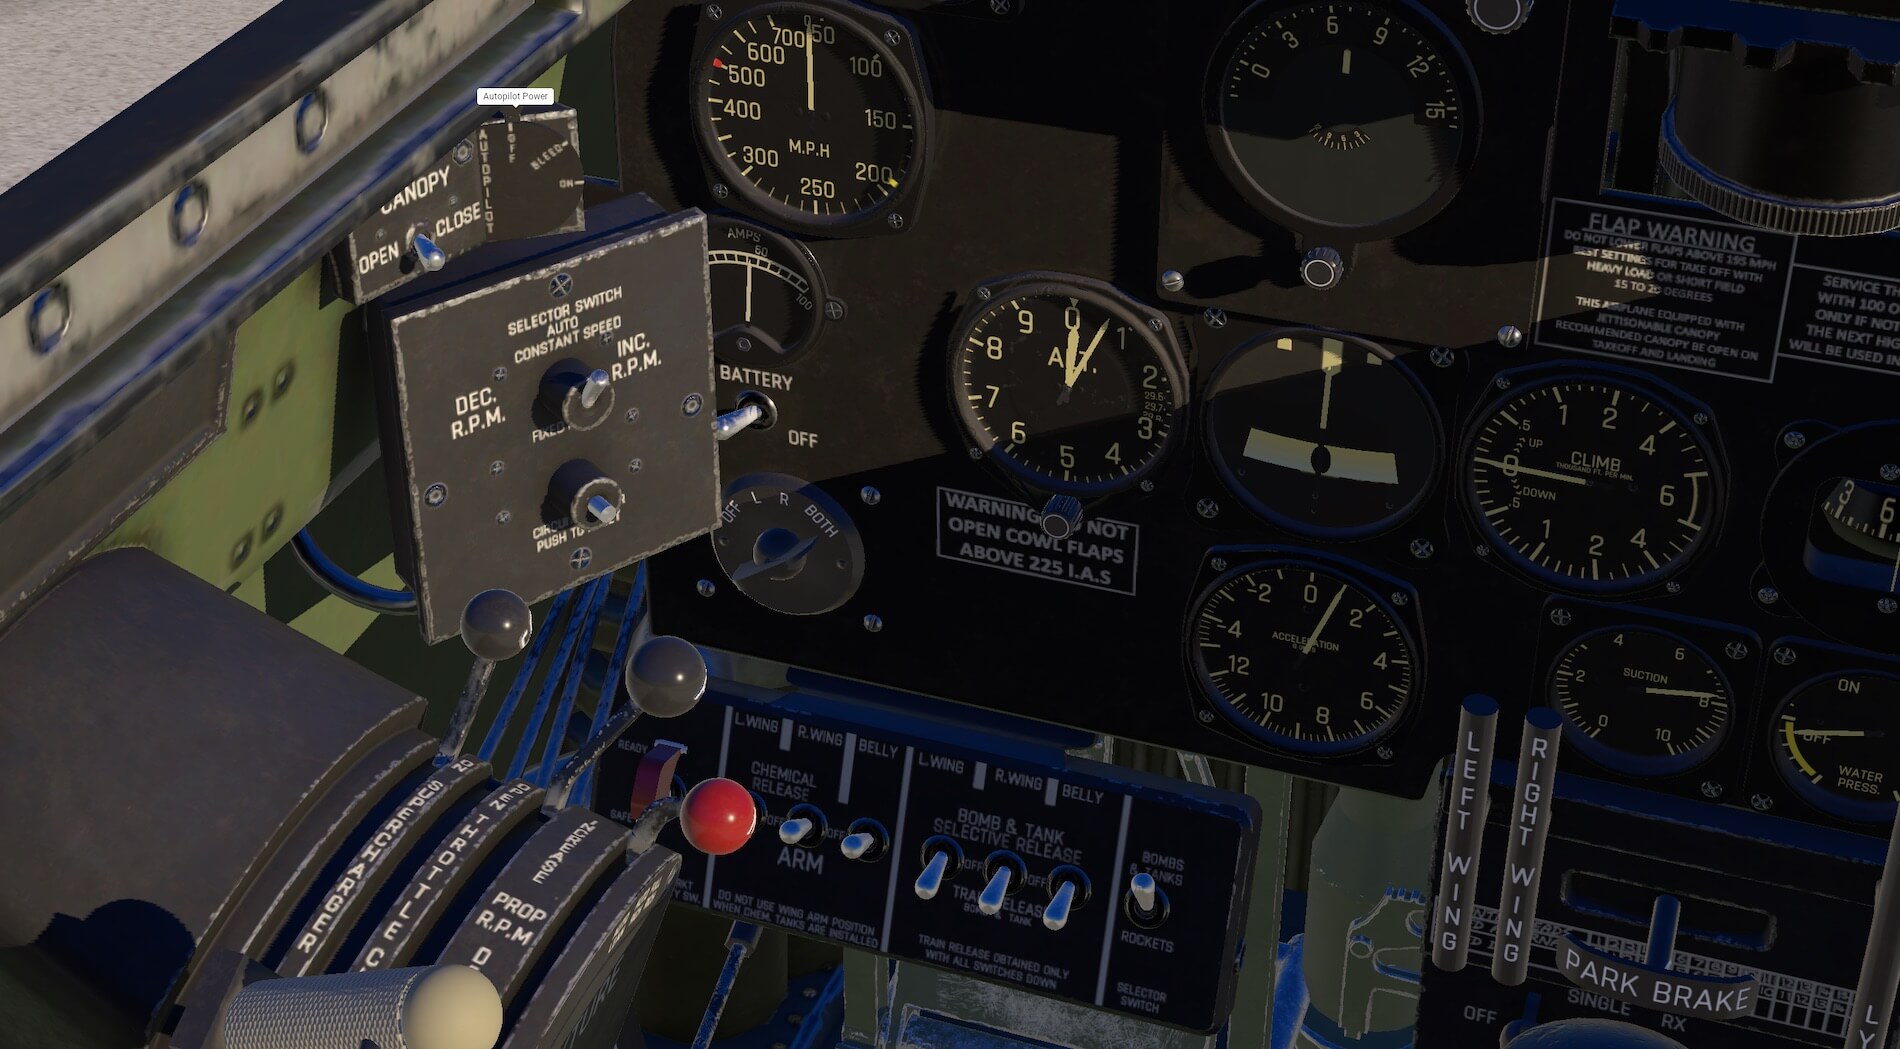
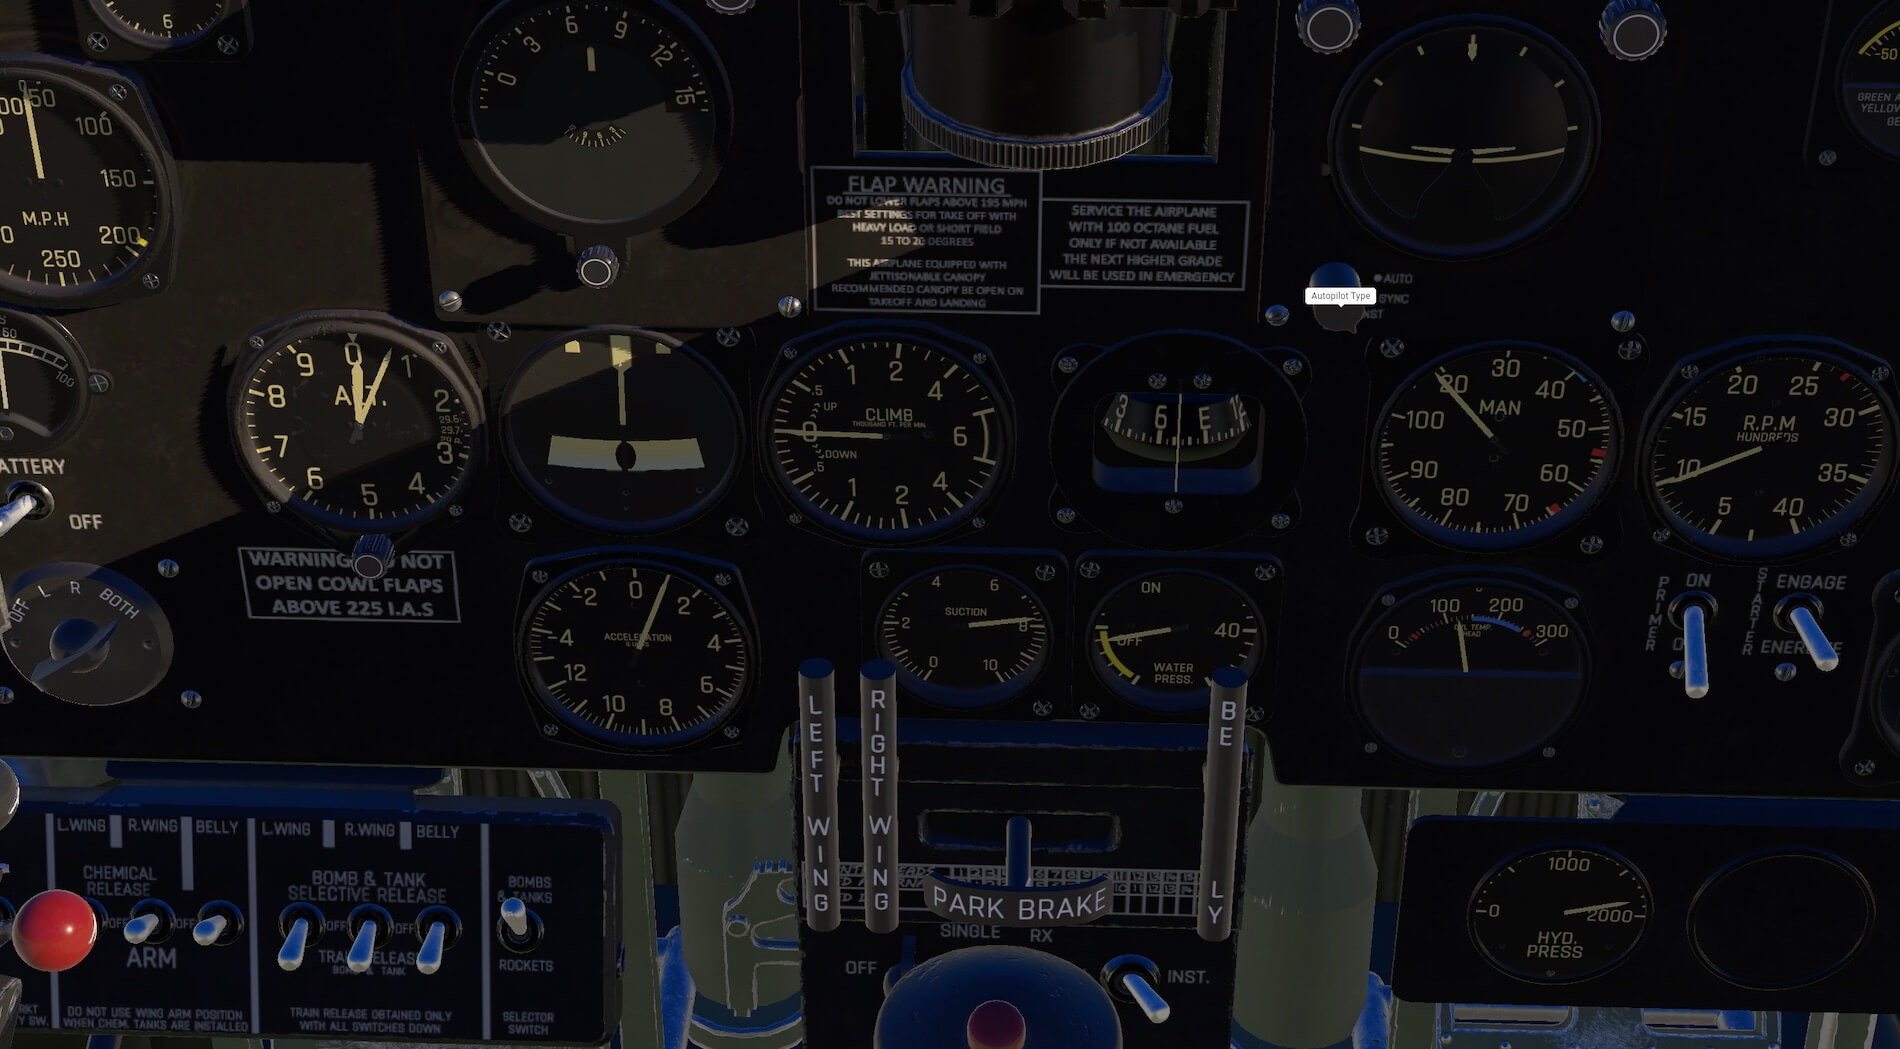
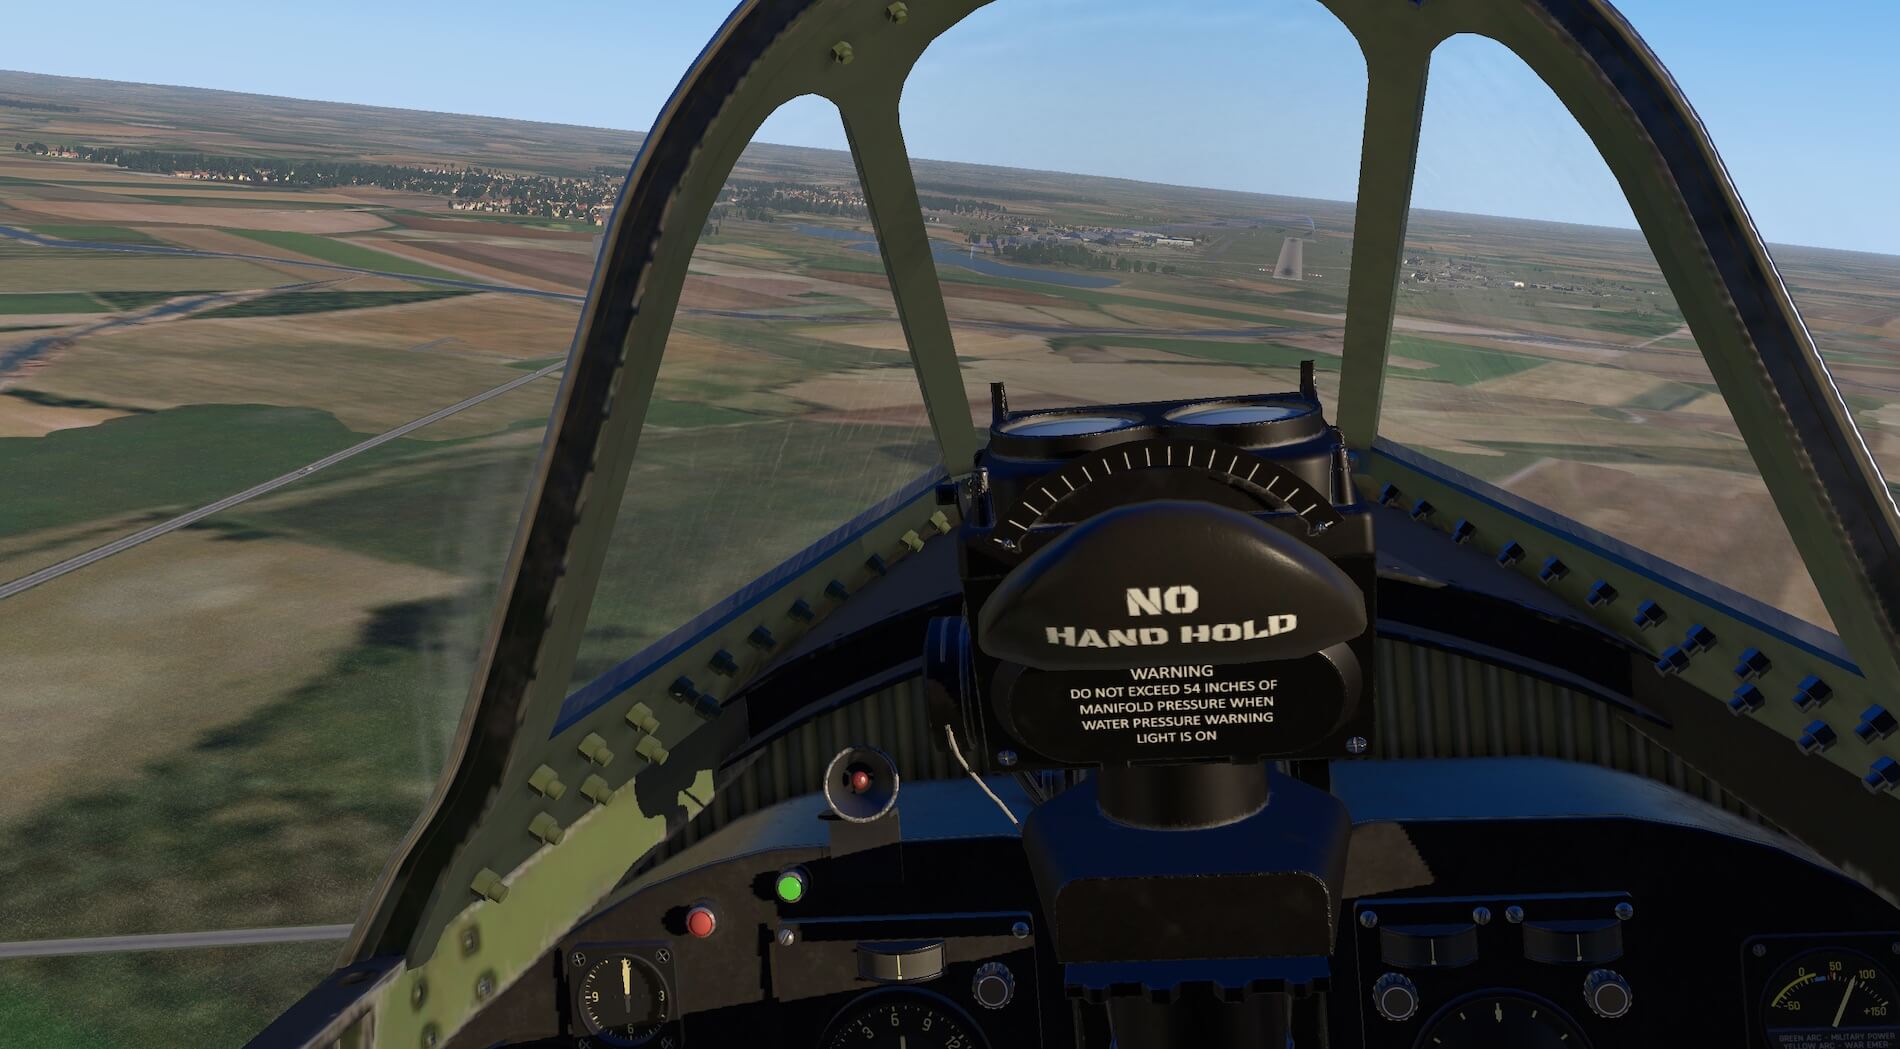
Standing on the port wing about to enter the cockpit the detail provided is immediately apparent and after climbing in to the pilots seat the limited view forward in this ‘tail dragger’ is obvious. An initial look at the instrument panel shows everything modelled in detail with clear dials, buttons and levers and all labelling and text legible and clear.
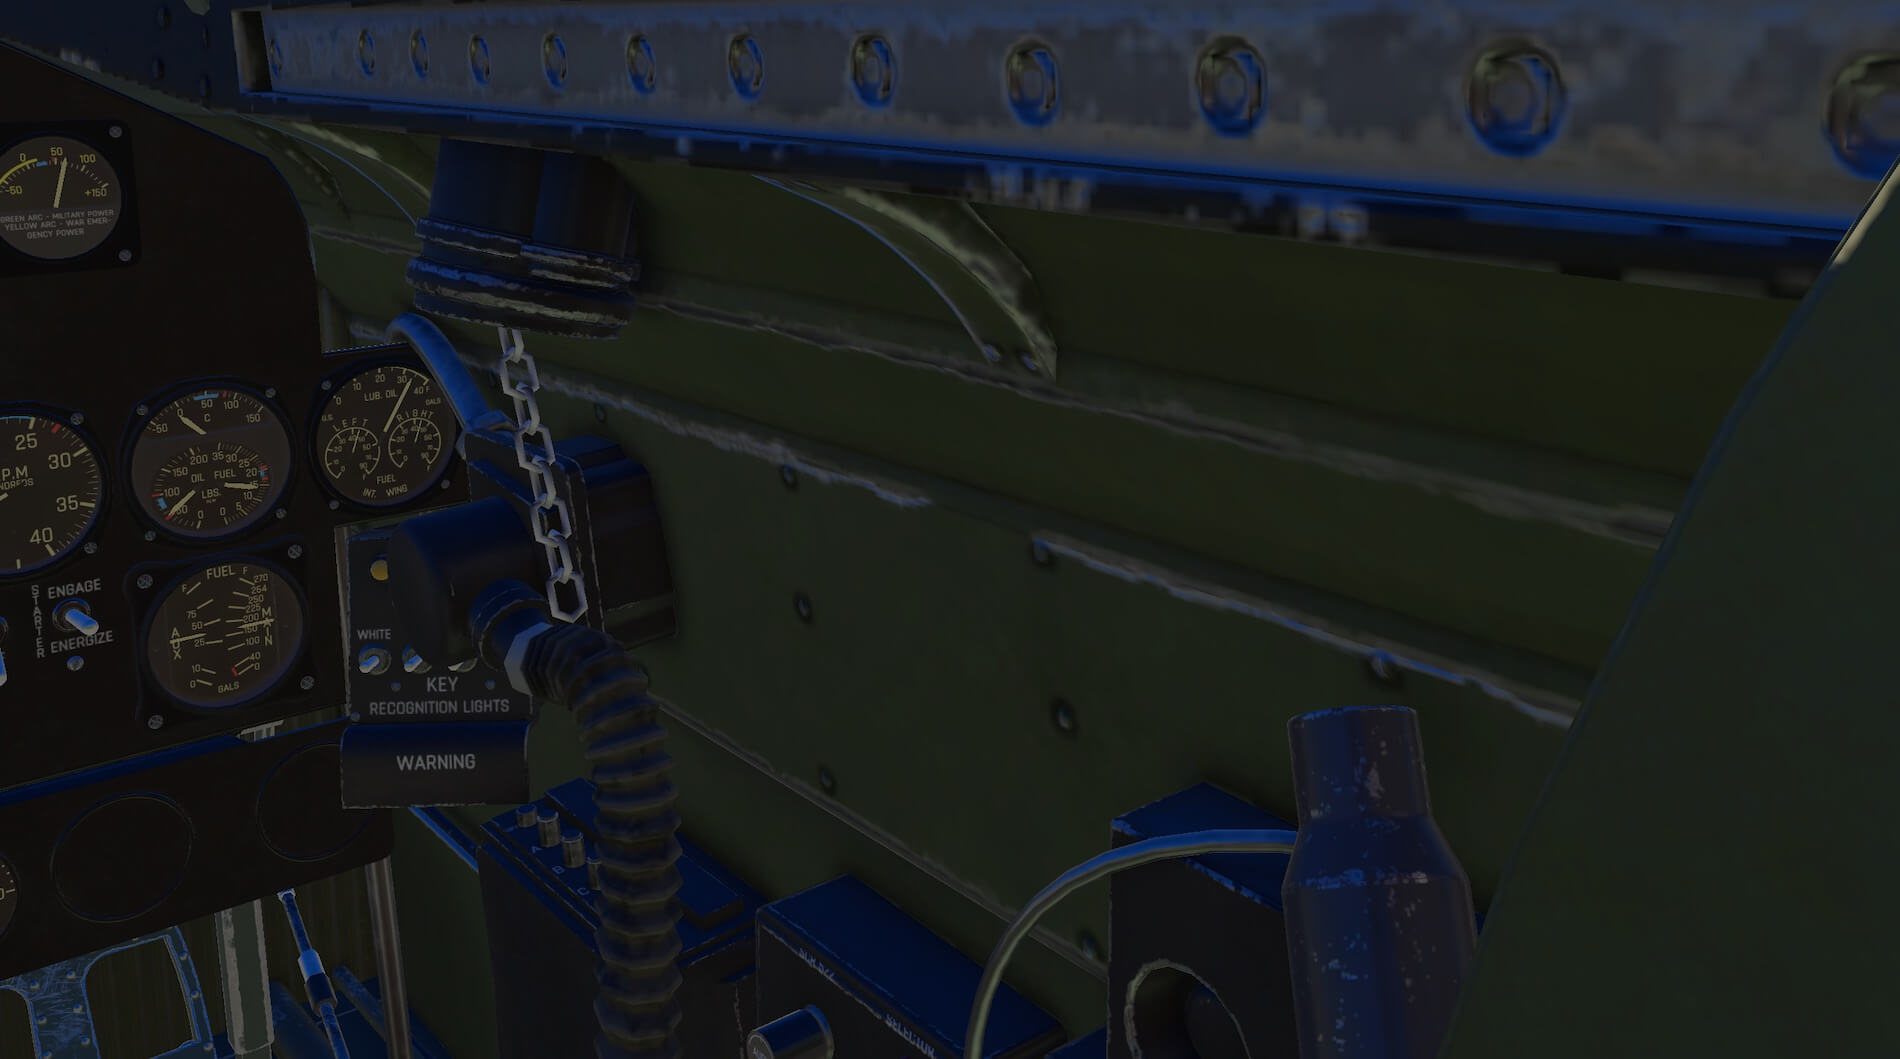
The wear marks in this well used aircraft continue inside with foot marks and and paint chips modelled throughout. Bolts, rivets and panels are all created in a manner than produces a real character and atmosphere to the aircraft as a utilitarian, military work horse. Switches and buttons are annotated when the mouse is hovered over them and the movement options demonstrated.
These notes along with the annotated diagrams in the model manual and pilots handbook make the cockpit accessible to pilots of all levels of experience. The cockpit is full of usable and modelled equipment along with the more common flight instruments. In line with its military, war time role there are few creature comforts, apart from the arm chair seat, and piping, wiring and surfaces are exposed and visible as would be the case in the real aircraft.
Colours remain realistic and lights are vivd and bright. Most equipment is modelled to work although I did find it useful to use the facility in X-Plane to programme the keyboard and joystick to carry out some tasks so save looking down in to the cockpit.
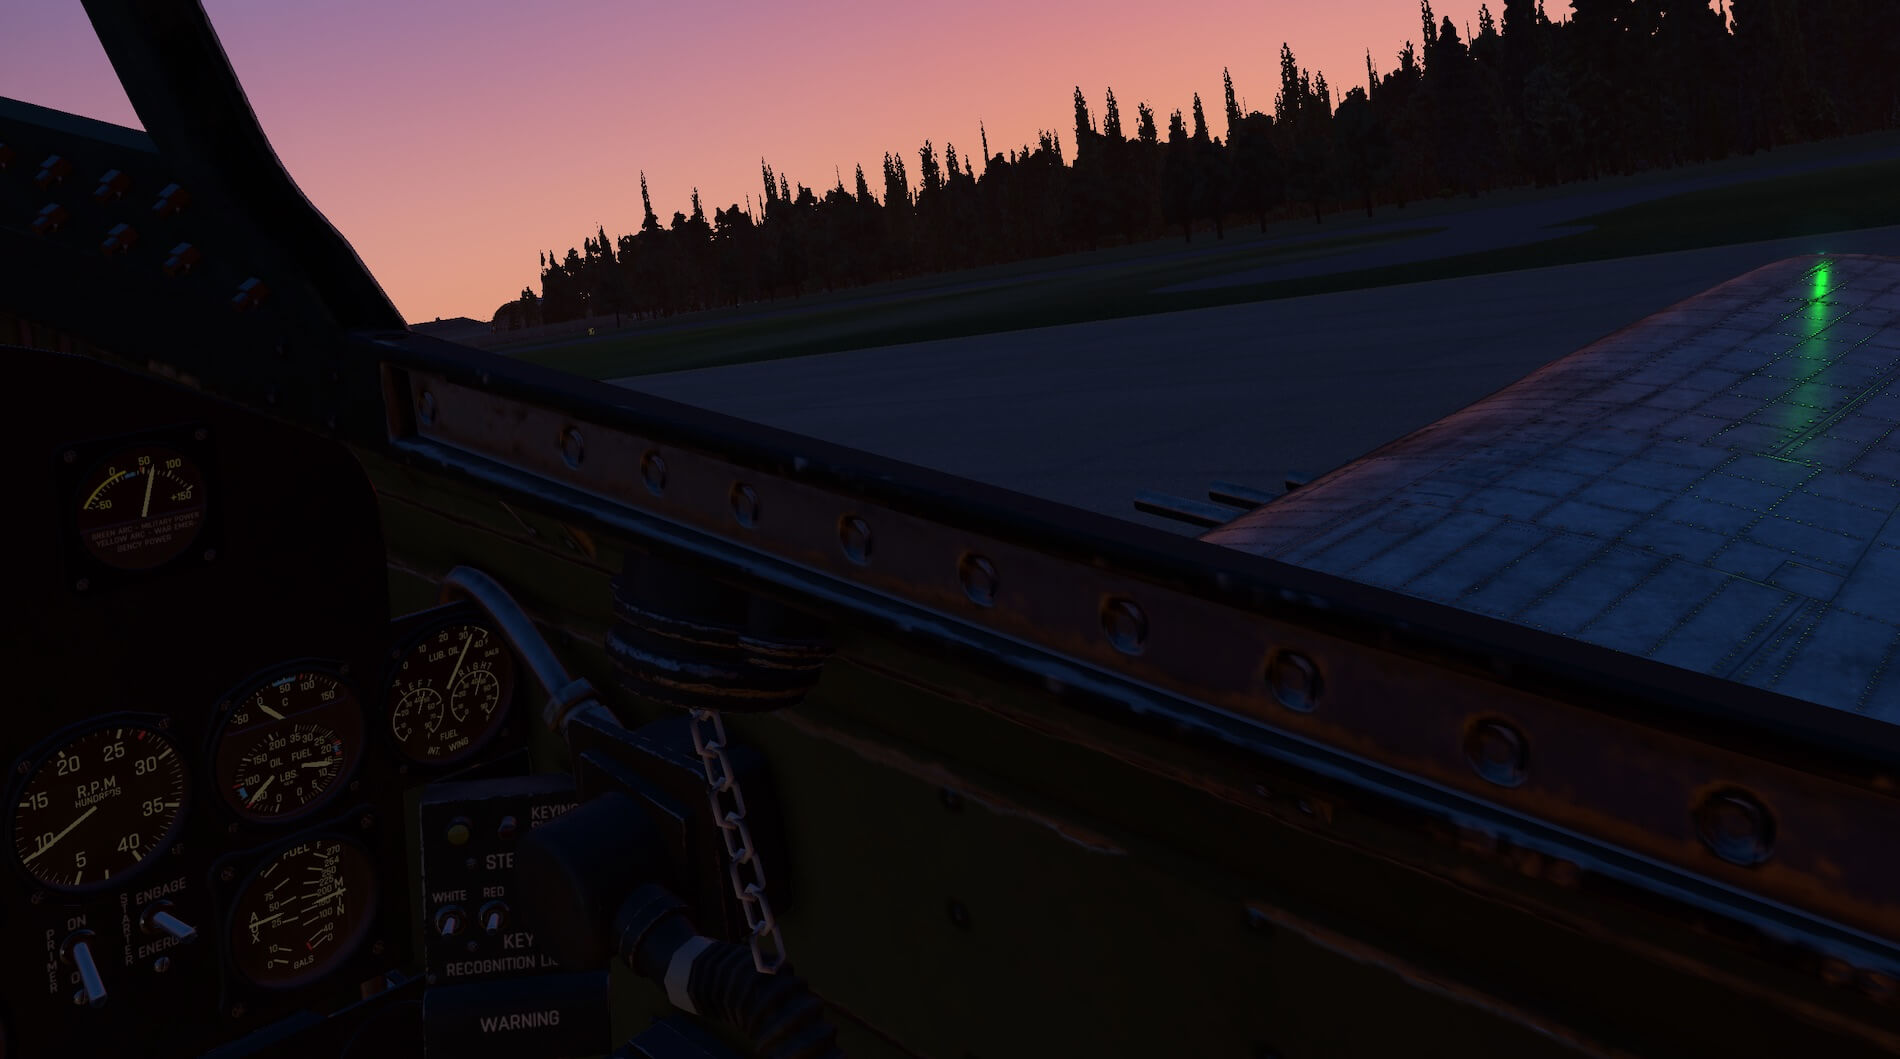
The textures and fabrics are modelled to a high level adding to the user experience and once the light fades the cockpit lighting makes all instrumentation clear and easy to view. The cockpit glass is impressive from the inside and reflects and reacts with light as would be expected both in day light and when it is darker. A very immersive cockpit that really has the feel of a war time aircraft.
Sound
Sitting in the aircraft with the aircraft simply loaded for a flight the engine noise is throaty and deep as would be expected from the size of engine that this aircraft is equipped with. Engine sounds change with use of the throttle and also dependent on whether the canopy is open and closed or the view is within or outside the aircraft.
Wind noise is apparent during flight as are the control surface noises for flaps, undercarriage, canopy and the power to the brakes. The sounds are varied and realistic. Switches have their own sounds within the cockpit, confirming any action taken, and the ratchet switches sound very convincing. The ground noise also adds to the experience within the aircraft. Engine start up is accompanied by numerous sounds as the pilot is required to use the primer and energiser before engaging the starter.
Basic Flight Experience
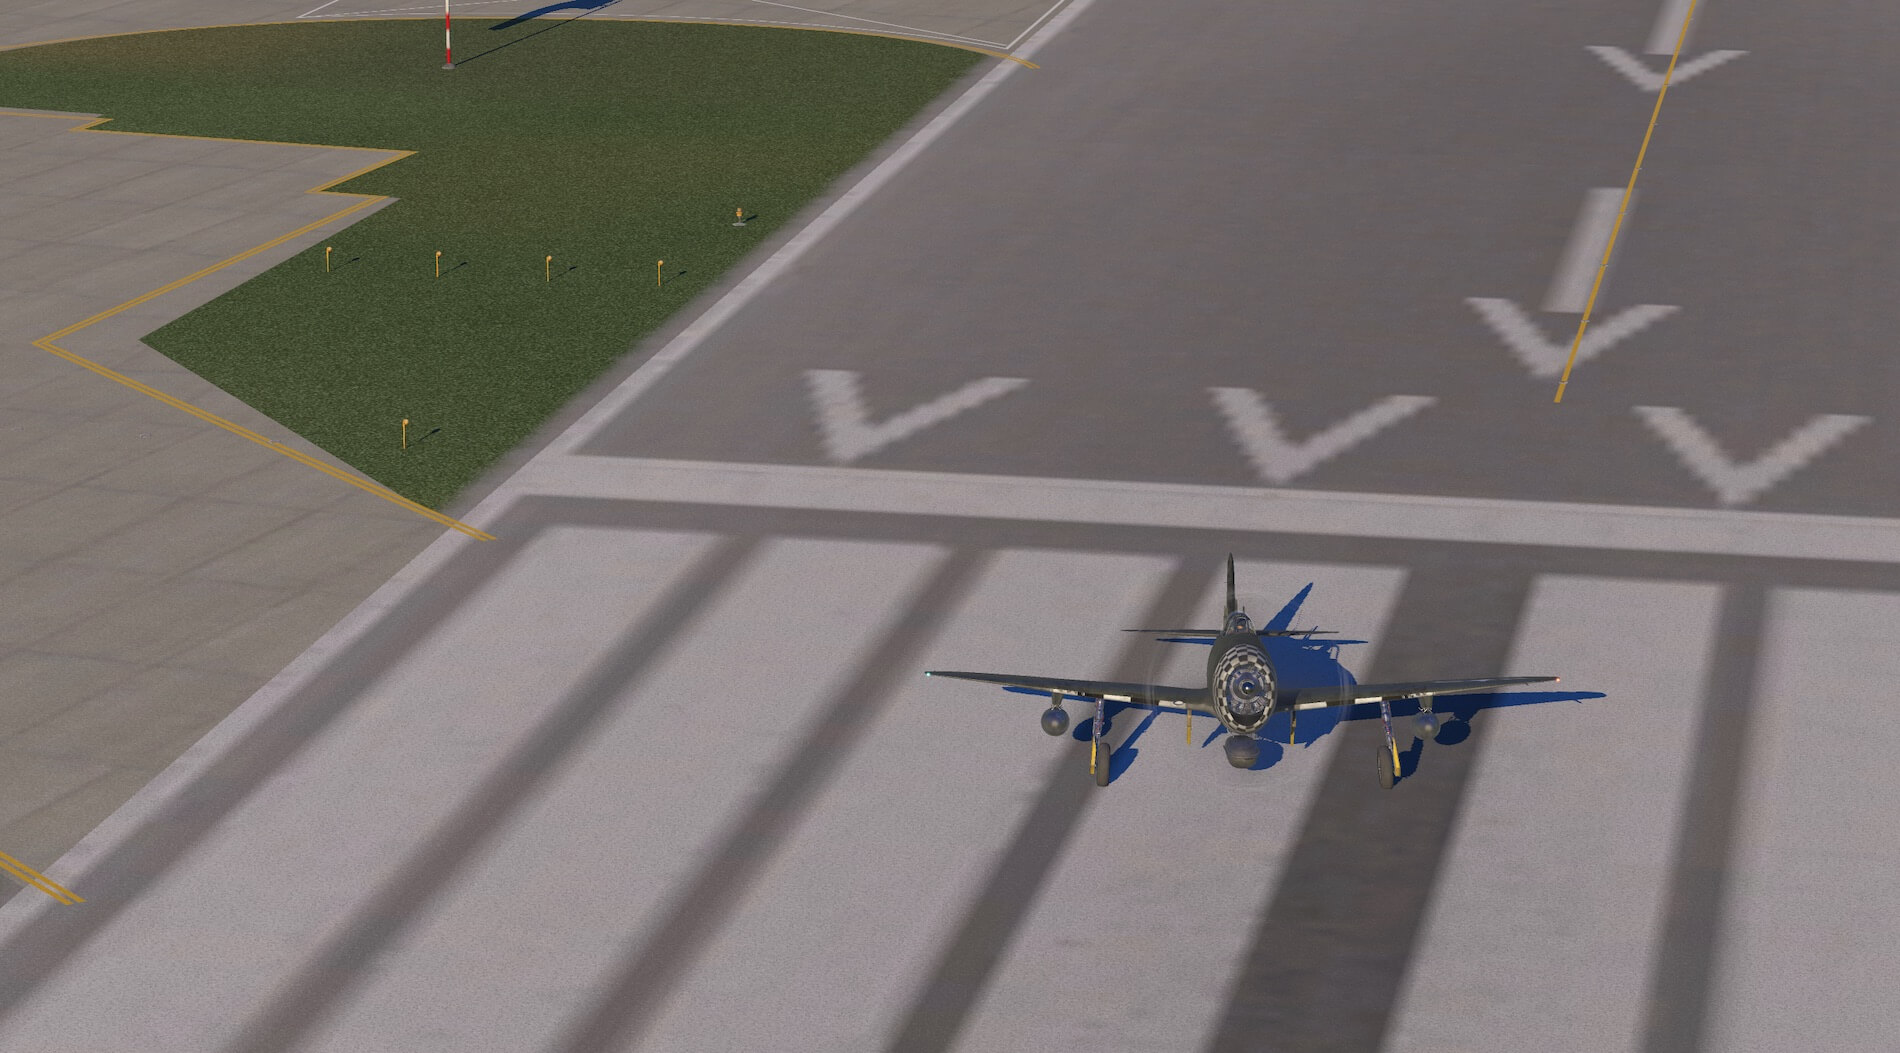
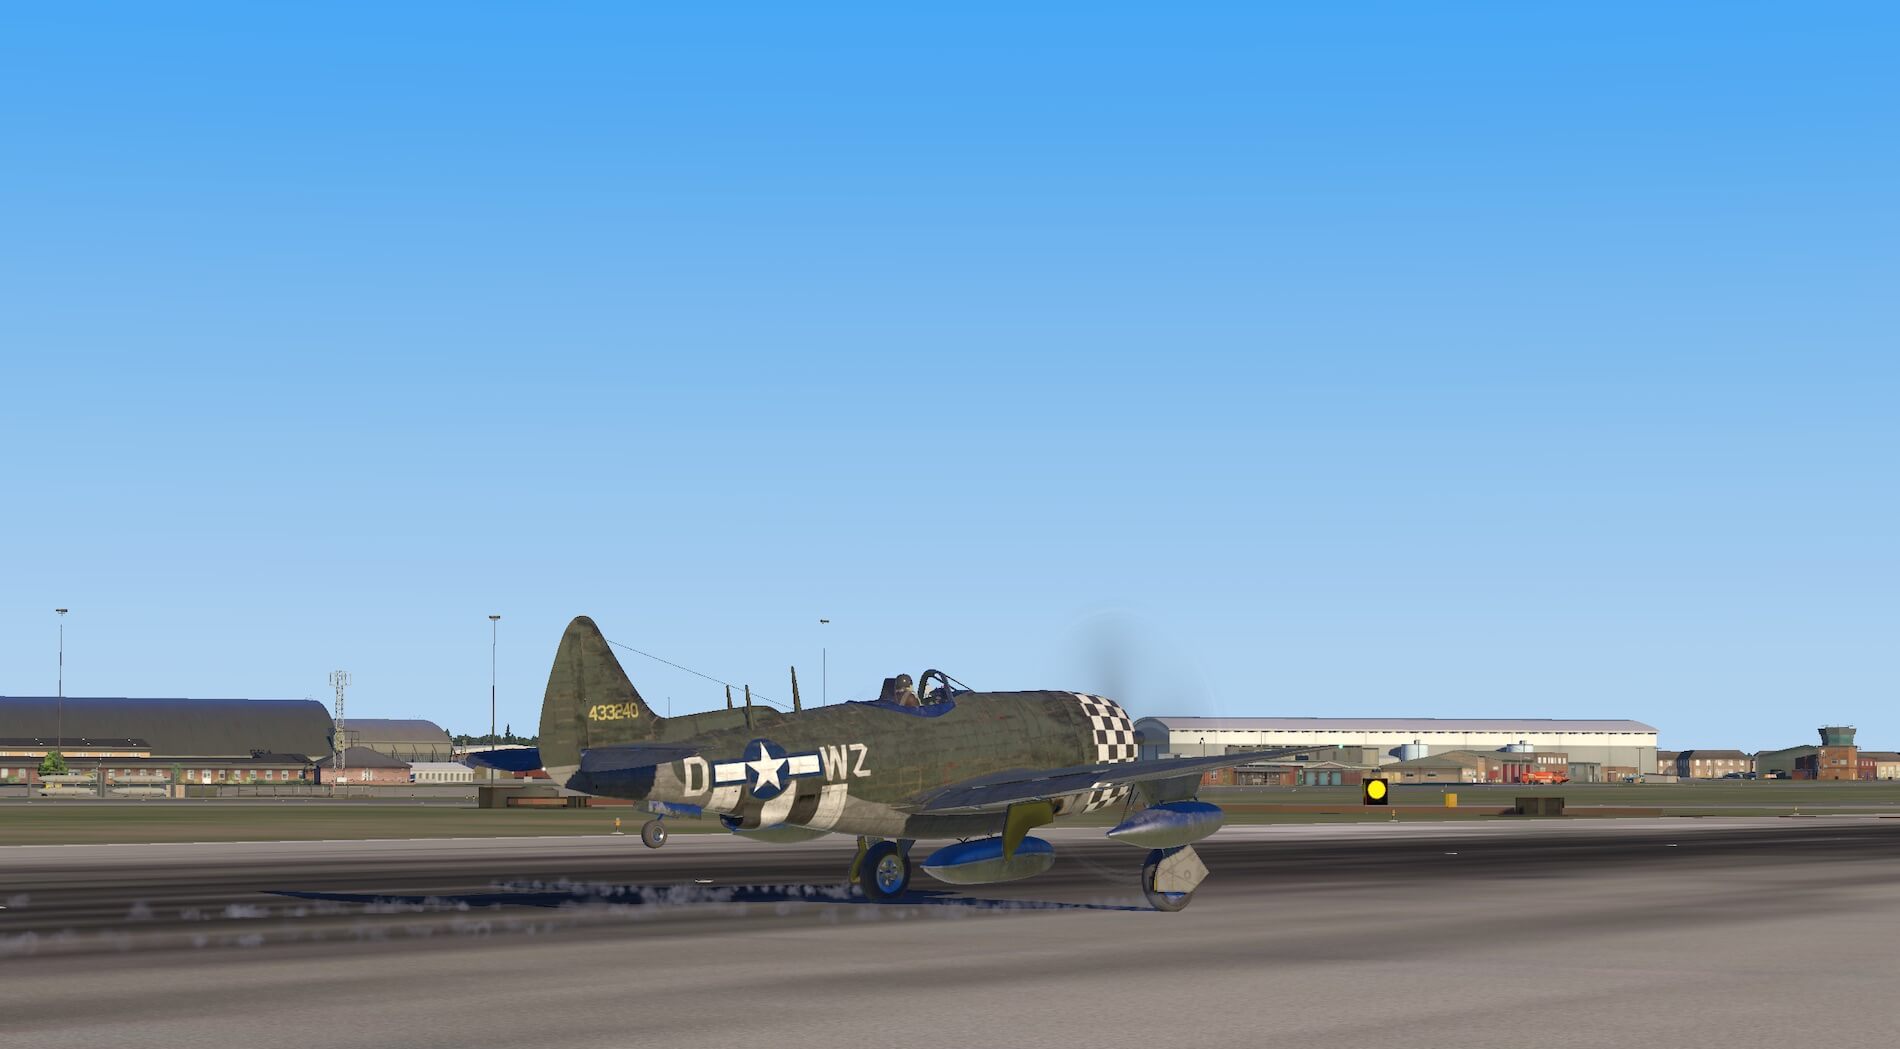
The aircraft can be loaded at the end of the run way with engines running and simply flown with little or no reference to handbooks or manuals. Sitting on the runway the engine sits ahead so the only way to keep the aircraft safe is to check both sides and keep the runway edges straight in relation to the aircraft. An outside view shows the flaps working as expected. The fact that the joystick and keyboard can be configured as a separate setting is really useful as WW2 aircraft have different requirements from more modern X-Plane aircraft, and the settings are best set by the individual user.
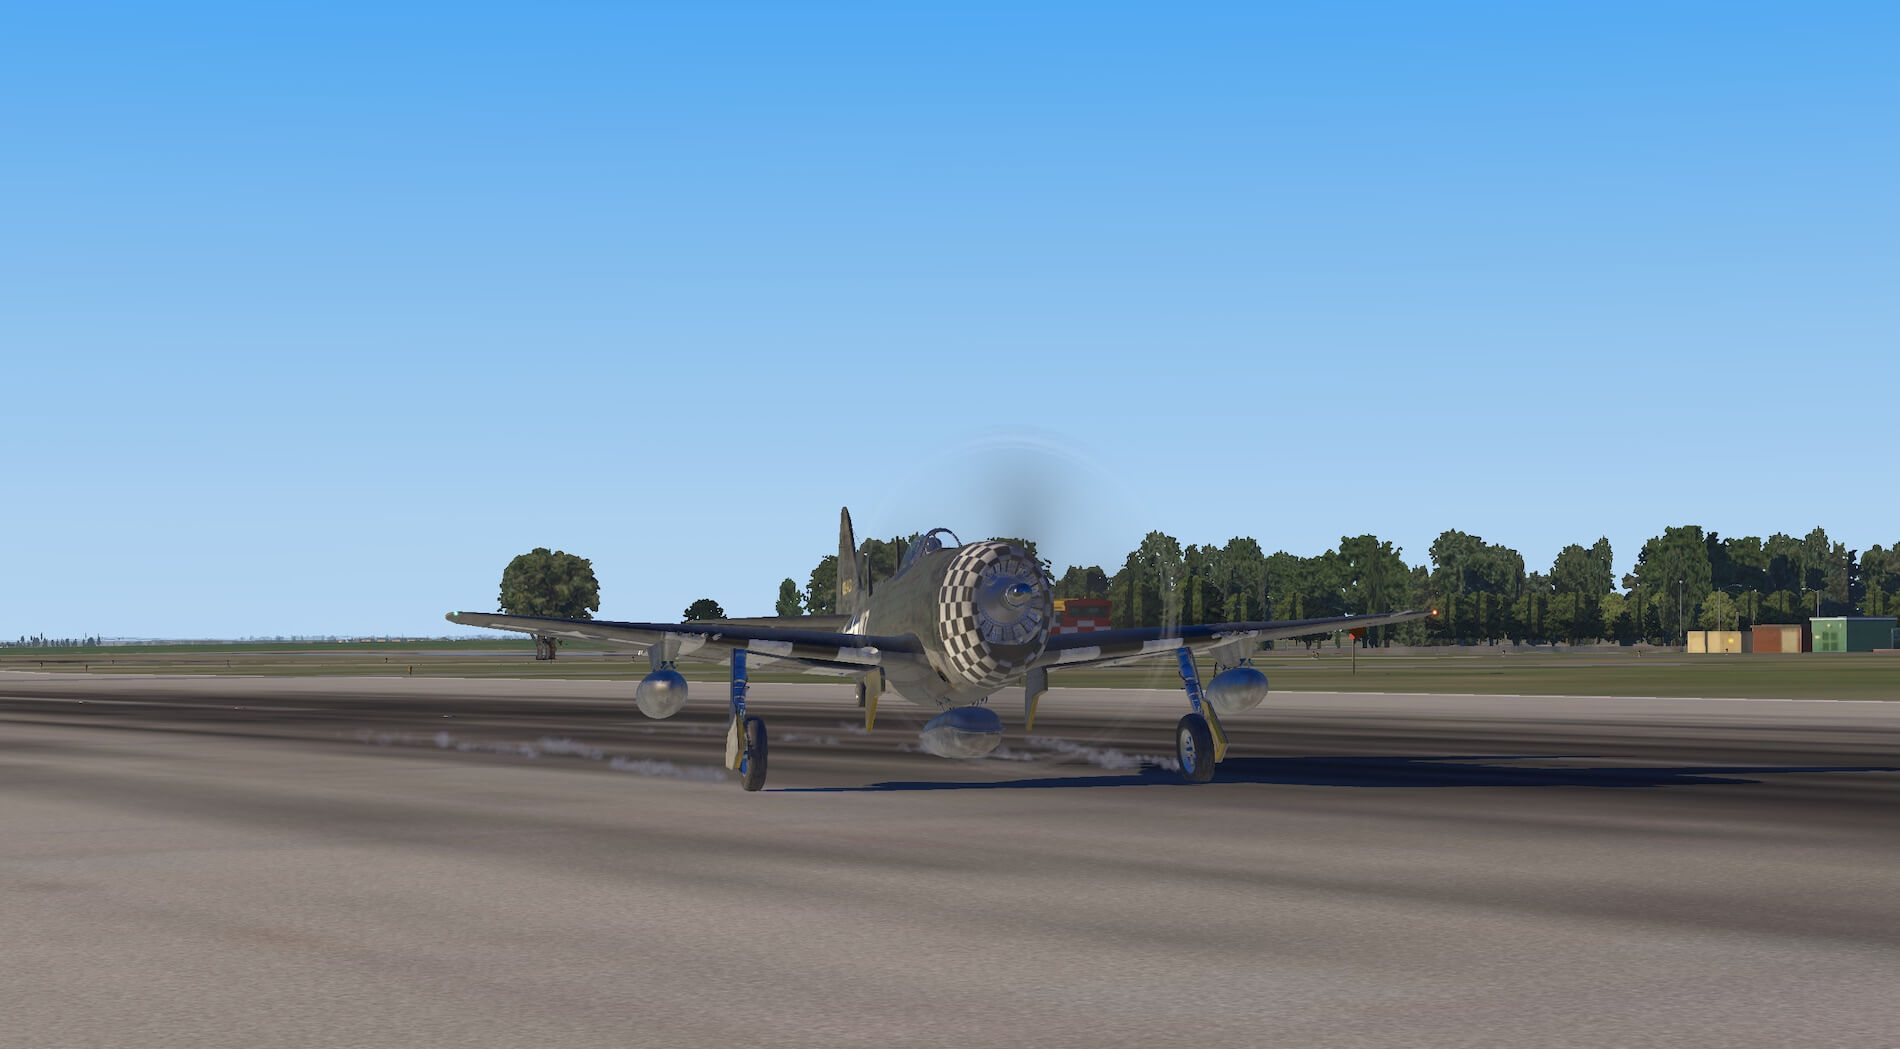
The aircraft responds really well to throttle and joystick inputs although the challenge of staying straight down the runway is ever present. Keep the balance between the view and preserving the propellor in mind and keep the aircraft straight and level along the runway. Despite its size the aircraft wants to fly and left the ground very easily.
Once in the air the aircraft was an impressively stable platform and is responsive and somewhat forgiving. The glass cockpit creates realistic reflections and changes of light. The model is fun to fly with power and speed always available and a great view from the cockpit.
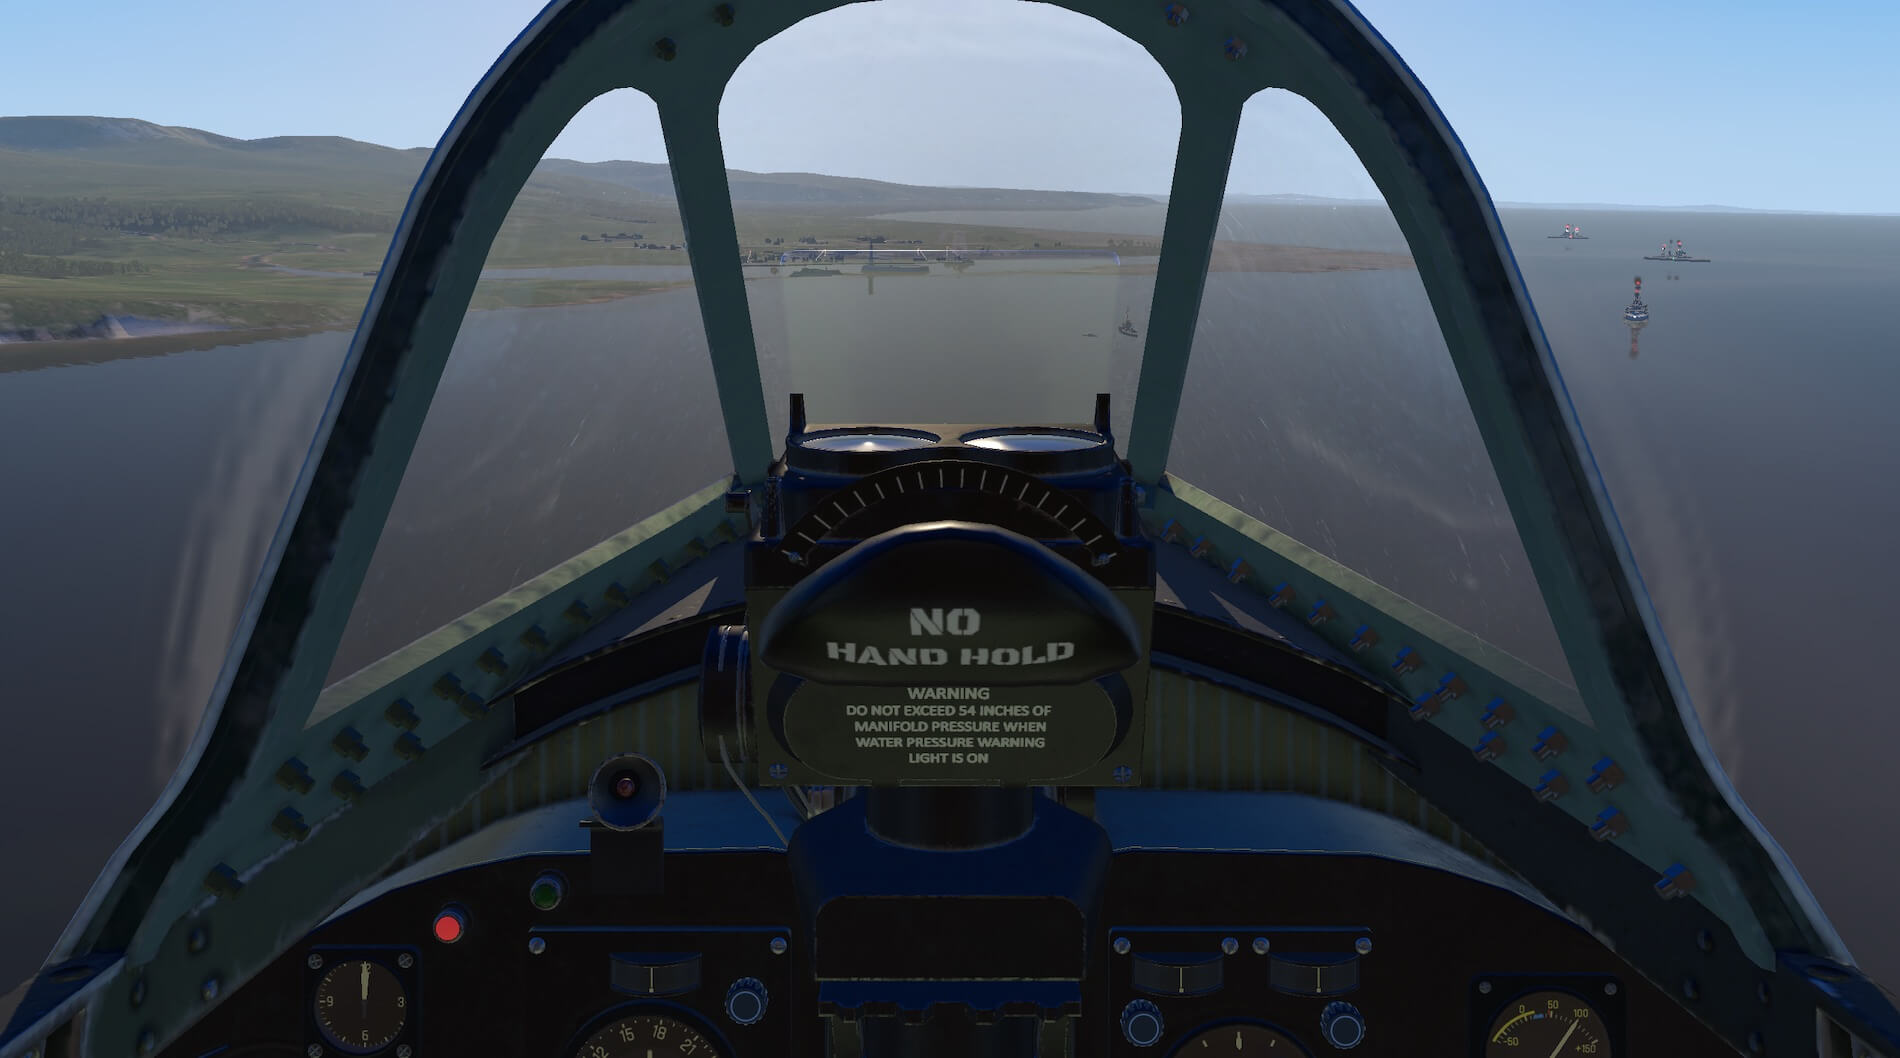
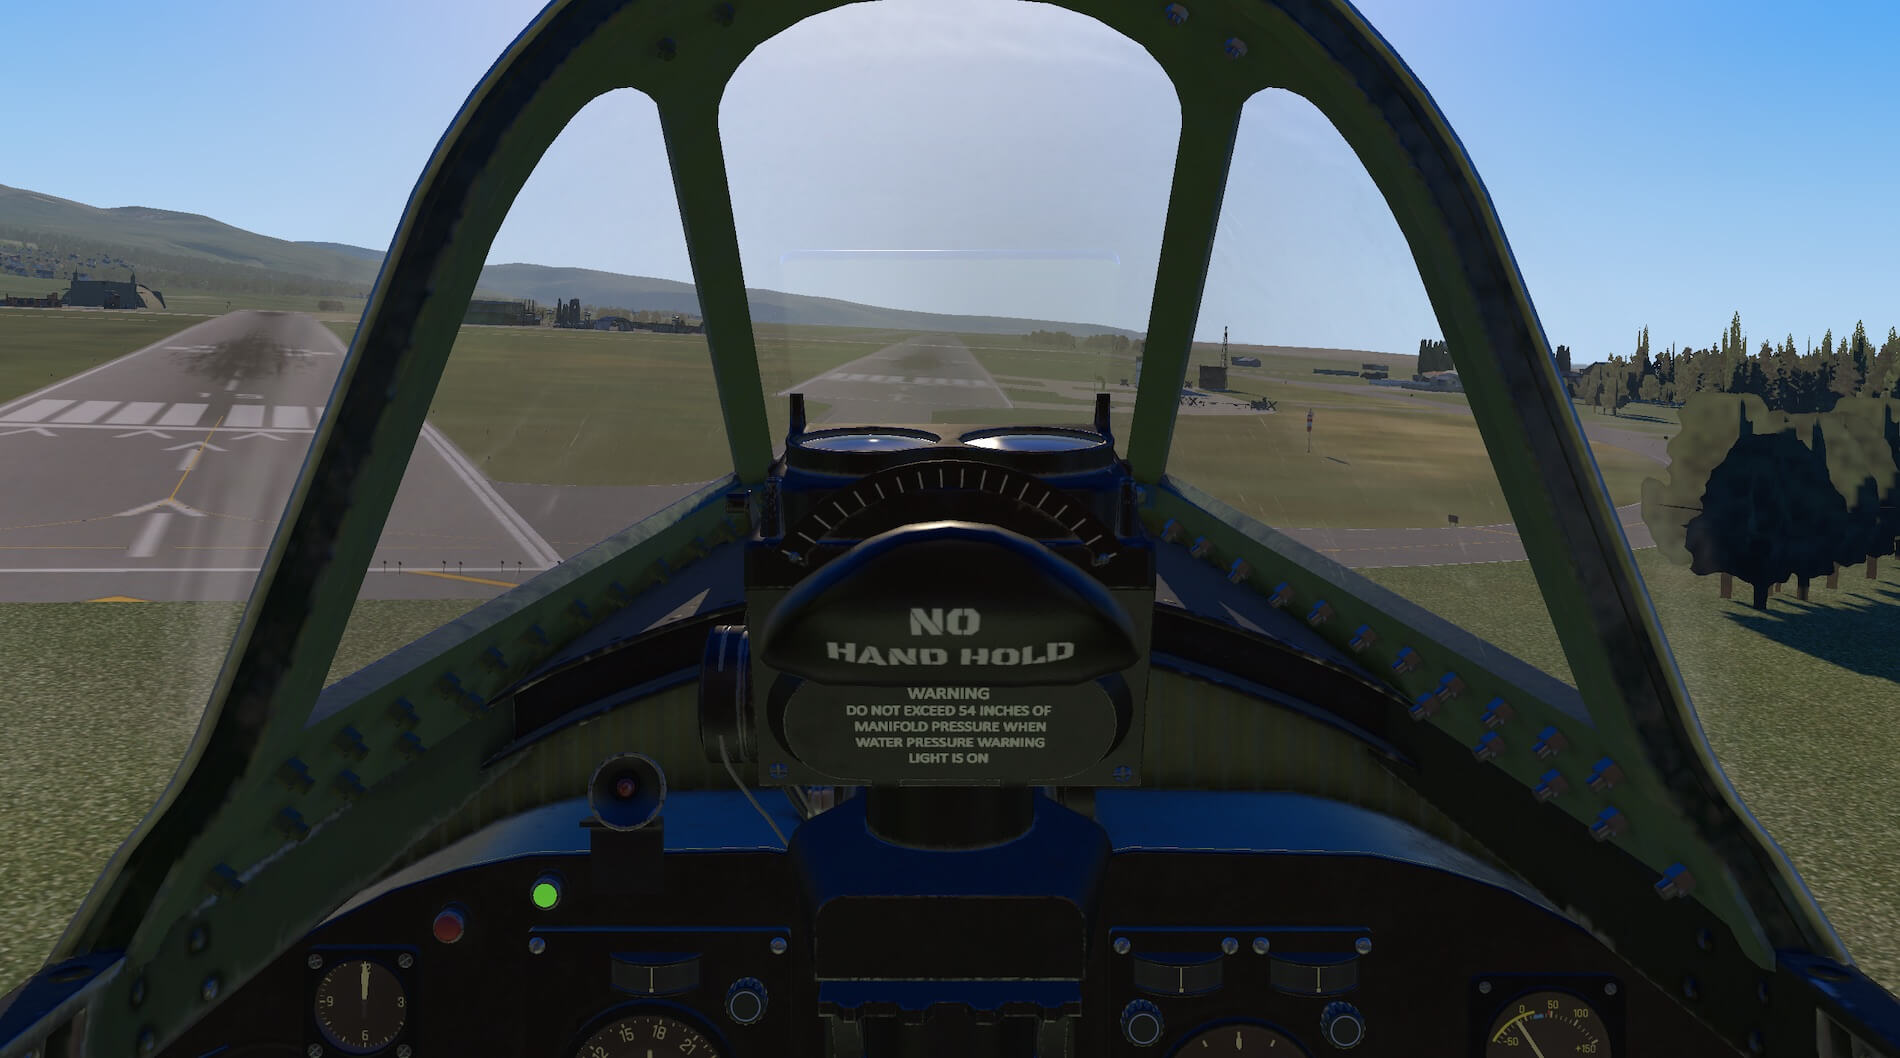
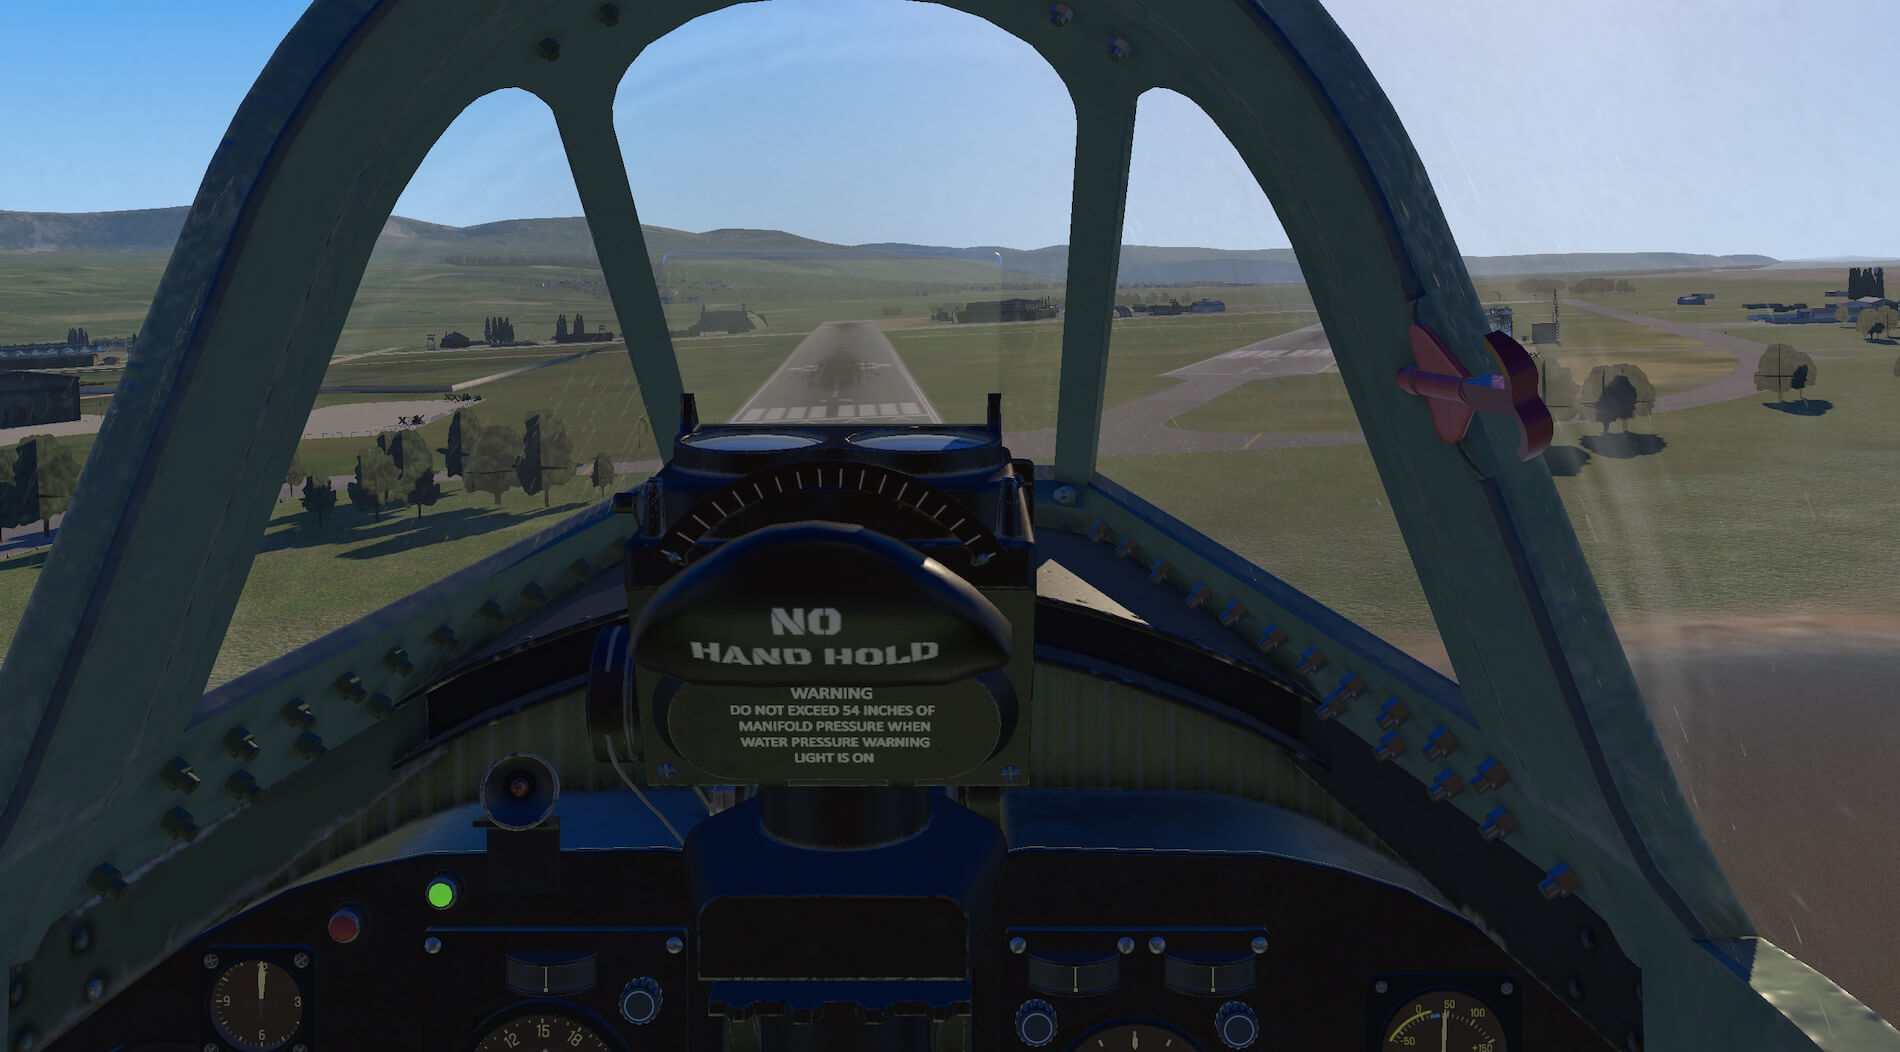
My usual challenge is landing and this was no exception. The approach is interesting as lining up with the runway at the correct altitude is tricky with a big engine in front of the canopy. It is easy to place the aircraft at the wrong attitude in order to achieve a good view and subsequently approach too low.
This is by no means a criticism of the model, but more a comment on my abilities and illustration that this is realistically modelled and created the difficulties facing the pilots of ‘tail dragger’ aircraft. It certainly increases the respect for all of those who flew such aircraft in difficult conditions with minimal training! This model is fun to simply load and fly, especially if you do not want to land correctly, as it is powerful, agile and responsive and a stable platform from which to view X-Plane scenery.
My next stage was to fly using the manual and checklists provided, starting in the cold and dark condition. I used the manual provided with the model for this although, as explained by the developers, even more information could be taken from the downloaded Pilots Handbook. The manual is useful as it relates to what to expect from the model and explains those issues programmed in to the model’s behaviour such as the fact that the start procedure is modelled to be realistic so there will not be a perfect start every time and if the battery is left on too long battery drain will take place.
Having completed the ground check for the aircraft I entered the cockpit and referred to the start up check list. There is a real feel of authenticity in using the original pilots handbook instrument diagrams and notes and the list includes actions that may not be too familiar with the modern pilot with priming, oil dilution and setting the gyros all part of the process.
These diagrams are annotated photographs of the real thing and this allows the user to see how well the developers have replicated the real aircraft in their modelling. I found the first run through the start up check list took some time and I had to visit various parts of the manual to locate switches and dials. Once I had been through this once, and had become accustomed to switch and instrument locations, I became better at the procedure.
There is a flow to the check list with switches in the sequence being quite close to each other. The manual explained that engine start was not easy to perfect and I found this after my first few attempts and having run the battery low on power in trying to start the engine. The model does not come with ground power so if the pilot does manage to drain the battery the flight has to be reloaded and started again.
The developers mention in the manual that ground power may be provided in future updates and I think this would be a great addition for users such as me who need several attempts before success. The check list process is a good experience as the signage and dials remains legible at all levels of zoom allowing the user to identify instruments quite easily, once looking in the right place.
Taxiing the aircraft is challenging with the long engine cowling filling vision to the front. The checklist mentions keeping the cockpit open at this stage and I am sure this was necessary to proceed safely. On entering the runway I went through the take off check list. This was shorter than the start up check list but still contains processes definitely from the era of the aircraft.
The manual warns of a strong roll/yaw effect and I experienced this whilst ensuring propellor revs and manifold pressure were correct. Again I found the ability to programme the joystick for this aircraft very useful and set buttons to control yaw trim has this has to be addressed quickly after take off.
There was a real sense of power as the throttle was increased and once I was more accustomed to dealing with the yaw, and using the artificial horizon to stay level, as I was looking up at the sky with no visual references, the take off went smoothly and the aircraft became very stable.
After take off the next pages of the manual cover the use of the autopilot and I learnt to use this next. The manual explains that using the autopilot is not simply a matter of pressing a switch. The power to the autopilot has to be managed in a way that allows the gyros to warm up and stabilise and the autopilot mode has to be selected. Once active the autopilot is described by the developers as an ‘Attitude Hold’ autopilot system and it does not have the full capabilities of a modern autopilot.
I initially had issues engaging the autopilot and I asked the developers for help via the X-Plane forum. Their response was prompt, thorough and helpful and through their advice I was able to use the autopilot correctly and the fault was likely to be a corrupted file rather than any issue with the model. Once I engaged the autopilot the aircraft maintained the attitude it was in and responded smoothly to adjustments to the AP control knobs.
It remained a smooth and stable platform and allowed me to have good look around the cockpit whilst it guided the aircraft. The radio within the cockpit is modelled but as mentioned the preset keys have different uses. The C and D presets allow the external fuel tanks to be toggled on/off and the GPS unit to be displayed as pop out. This is a clever use of cockpit equipment and although the real aircraft would not be equipped with a GPS unit it allows tuning of the radios and the navigation of routes in X-Plane.
Combining the use of flight planning and the GPS the user can set a route as the pilots would have done using the maps and charts of the time, and then fly the route using the autopilot to change course and altitude or indeed by flying manually.
The aircraft is also equipped with a Homing Adapter. In order to work with X-Plane the equipment has been modelled to work with the ADF frequency range and can be tuned on the equipment itself or via the map system in X-Plane. There are no needles or dials in the cockpit instead the system is designed to give a steady hum when the aircraft is on course and morse signals to instruct the pilot to fly left or right of the present course.
Once tuned in to the desired ADF frequency the equipment works very well and the volume of the morse signal can be altered on the unit. I soon became accustomed to which signal meant which direction although the constant hum for the correct track was not apparent but as any deviation led to a turn left or right signal it was easy to stay on course. Certainly this system along with the compass was a great aid to navigation.
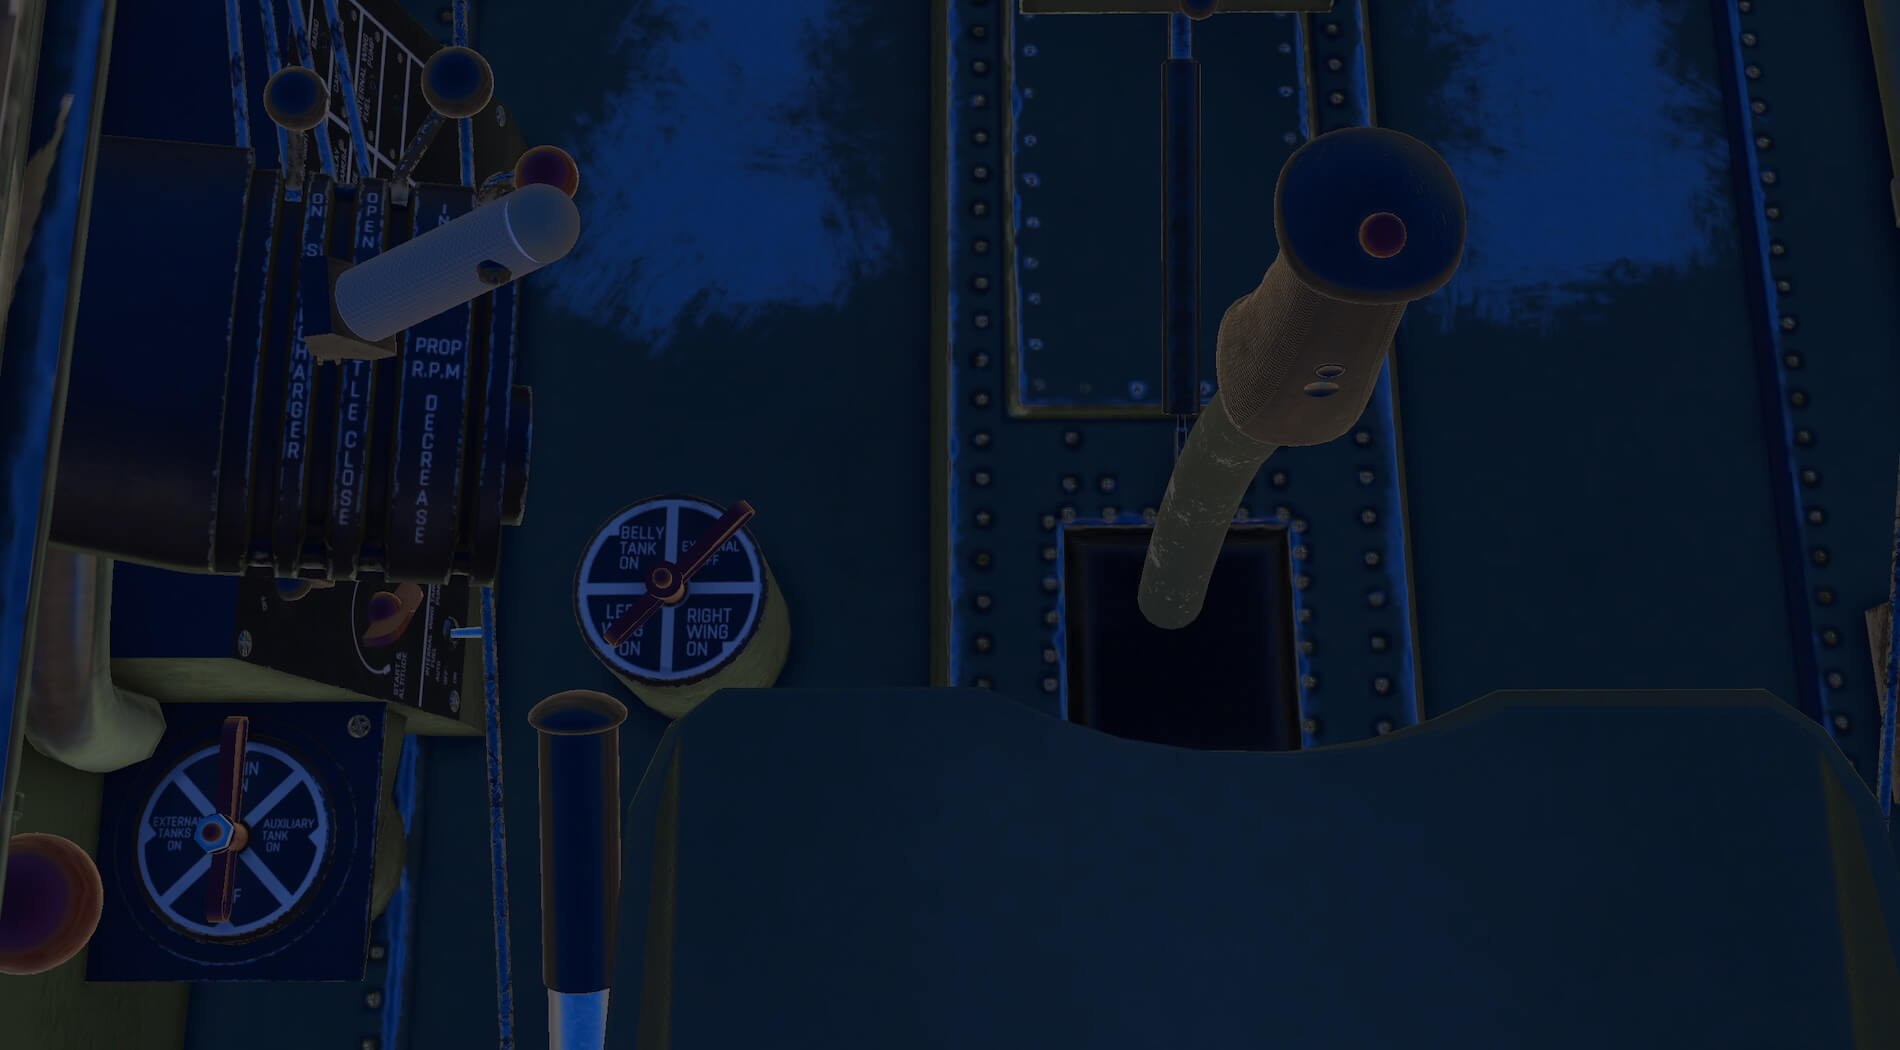
The manual then discussed fuel systems and how to balance fuel use across the tanks of the aircraft, this is all modelled and is controlled by equipment to left of the pilot in the cockpit. The manual contains guidance as to which sequence to set the combinations of tanks and the duration of each setting before moving to the next. A very realistic part of the flight for those who aim to fly correctly and this is augmented by notes on flight operations and limits and engine management.
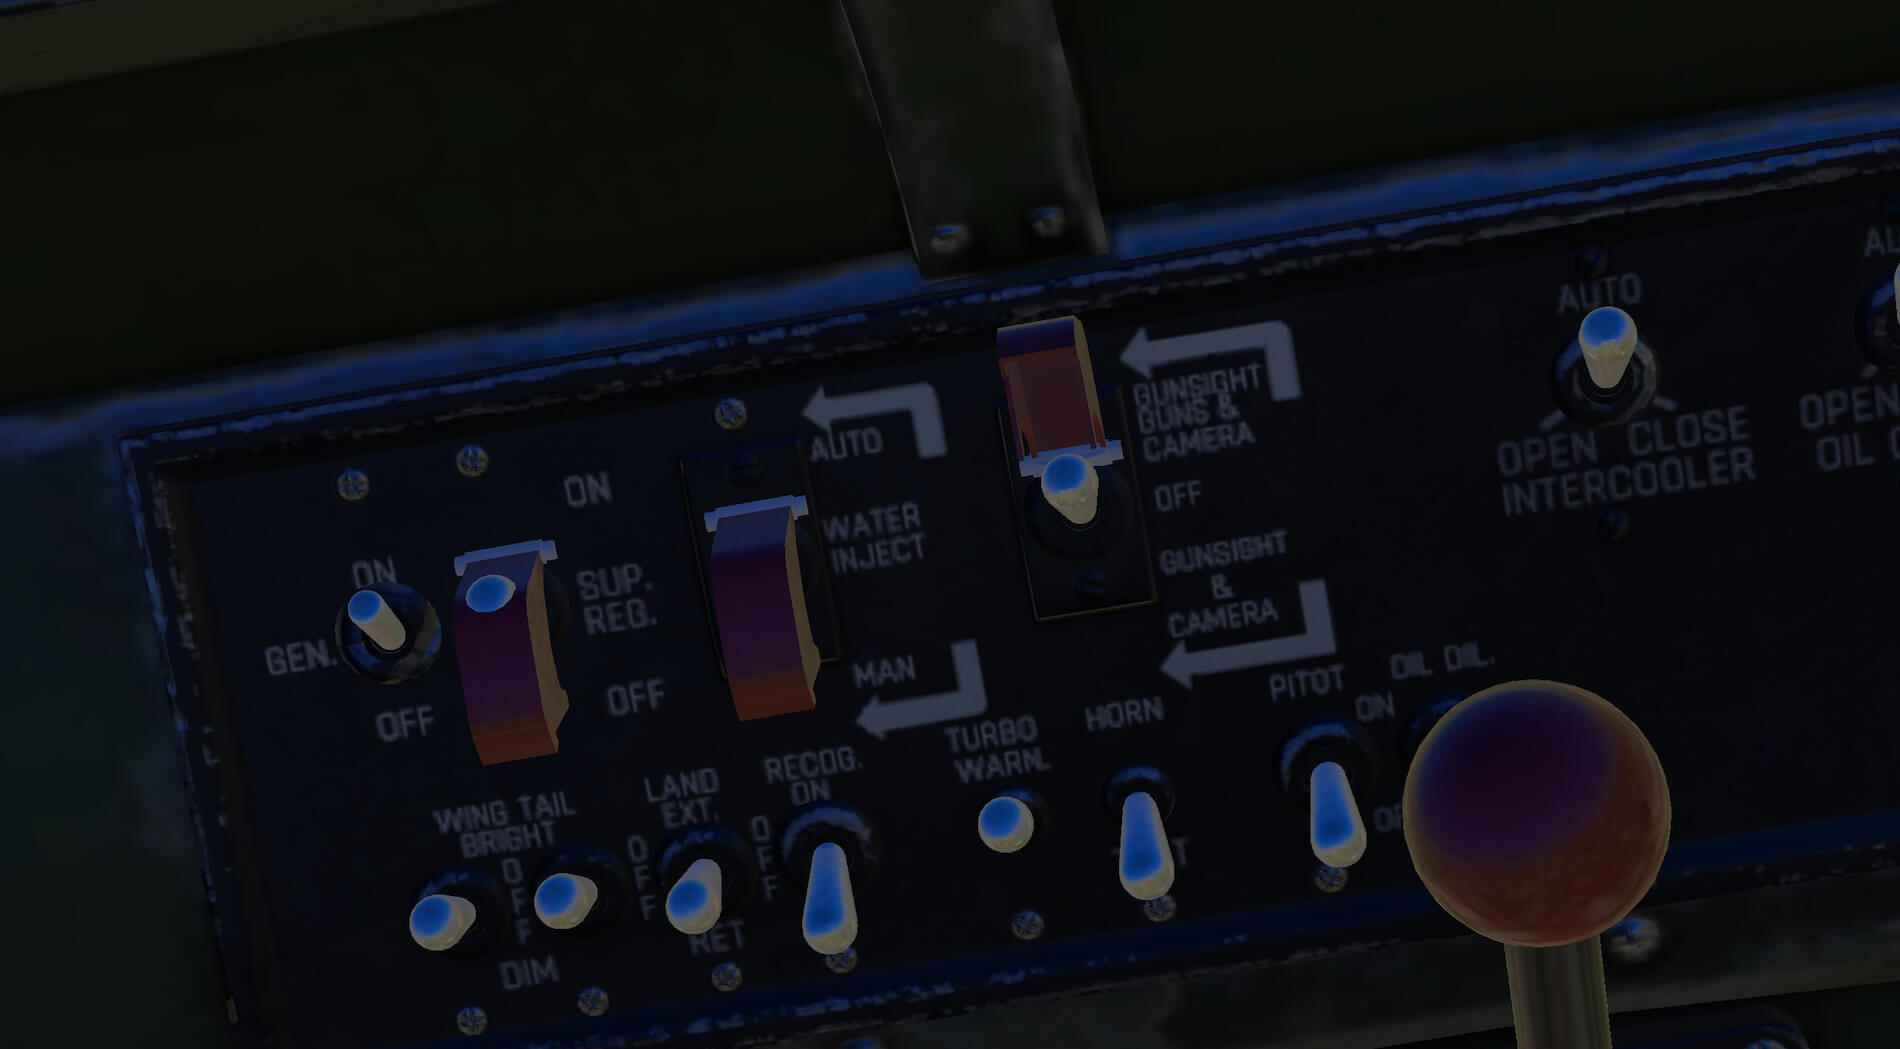
The manual then discusses landing but before I attempted this I decided to move to the section on weapons and test their use. The aircraft is equipped with machine guns and at present the weapon load can’t be edited. The use of the guns requires a button or key to be preset to the “Fire Guns” command. The manual provides very straight forward instructions and the process of arming the guns was easy to follow involving lifting the safety cover and setting the switch to sight and camera, the safety mode, or sight, camera and guns.
As long as your fire button is programmed to “fire guns” then the weapons are fired. The effects and sounds provided for weapon firing are convincing and impressive and the gunsight through the windscreen is clear and practical to use.
I also tested the tail warning radar provided with the model although, as mentioned earlier, this does not yet detect aircraft. The equipment is in an awkward place, to the right and rear of the pilots seat, again no criticism of the model, its how it is in the real aircraft, but they are not easy to operate once in flight. The switches are realistic and operate smoothly. The unit can be powered up and the unit checked. Once switched on I could hear the signal for ground clutter and this is convincing though not intrusive.
I then flew the aircraft towards my destination, having had an interesting and enjoyable flight, and I had to overcome my landing challenge. The manual itself does not provide a landing checklist but does provide guidance for landing lifted from the original handbook. This gives advice on speeds and landing techniques.
The aircraft remains stable but does respond to changes in engine power and can deviate from the approach if power is altered too quickly. Maintaining the correct speed without changing throttle settings too much is challenging but realistic and I needed several attempts to create a gentle landing and not blow a tyre. This does not detract from the model but is line with the real aircraft.
Once landed the engine appeared if front of me and I reverted to the technique of watching the runway edges to keep straight. It does feel like a quick landing, especially as applying the brakes would mean possibly tipping the aircraft on its nose or at least damaging the propellor. The aircraft did slow down and I was able to taxi to the apron.
The handbook has no shut down check list but I reversed the engine start procedure and stopped the engine. A great aircraft to fly, it is stable when flown correctly but less forgiving than some if given the wrong inputs, as would be expected from a large and powerful military fighter aircraft. The developers have created a great flight model which keeps the user thinking especially when carrying out manoeuvres and landings.
The manual allows the user to take the experience further still by providing correct engine management advice around the super charger and water injection and also providing custom failures for the aircraft to make the model true to an aircraft of this type and check lists to be used prior to engine start. The downloaded pilots handbook gives more detail about every aspect of the aircraft and consists of 111 pages. The document is illustrated and explains how different systems work. This gives the user even more opportunity to extend the experience of flying this model closer to the real thing.
Summary
This a highly detailed model and possesses real war time character with a choice of liveries which all carry appropriate wear weathering marks. The aircraft looks great whether viewed from inside or outside and with much of the equipment modelled to use as the real thing or cleverly adapted to integrate original systems with X-Plane.
It is fun to fly when simply loaded and flown and the interest is extended to working guns. Navigation is assisted by the clever inclusion of a Garmin GPS pop out. The user can immerse themselves in flying the aircraft correctly through guidance from the models own manual and the downloaded original pilots handbook.
The developers have taken the trouble to include original systems such as a basic autopilot, homing system and tail radar. Flying the aircraft correctly, according to the manuals, is both interesting and challenging. The aircraft is stable but reacts realistically to over exuberant inputs and controls.
A quality model that will suit the casual flier, and those who want to follow real life processes as closely as possible, and immerse the user in the challenges and character of an aircraft of its period.
The review is based on Thunderbolt product version 1.3. More information about the historical fighter and buying details can be found at the dedicated X-Plane.Org web page.
Feel free to contact me if you’ve got additional questions related to this impression. You can reach me via email Angelique.van.Campen@gmail.com or to Angelique@X-Plained.com.
With Greetings,
Andy Clarke
| Add-on: | Payware FlyingIron P-47N |
|---|---|
| Publisher | Developer: | X-Plane.Org | FlyingIron |
| Description: | Realistic rendition of Republic P-47N Thunderbolt |
| Software Source / Size: | Download / Approximately 1.55GB (unzipped) |
| Reviewed by: | Andy Clarke |
| Published: | December 17th 2018 |
| Hardware specifications: | - iMac Intel i5 27" - 3.5 GHz Intel Core i5 - AMD Radeon R9 M290X 2048 MB - 16 GB 1600 MHz DDR3 RAM - Logitech Force 3D Pro |
| Software specifications: | - macOS Big Sur 11.x - X-Plane 11.5x (64 Bit) Private Use - A variety of freeware and payware airports |
1 Comment
Submit a Comment
You must be logged in to post a comment.
































Thanks Andy – awesome review on a historical aircraft!