Granada Airport by LOGO Projects
Introduction
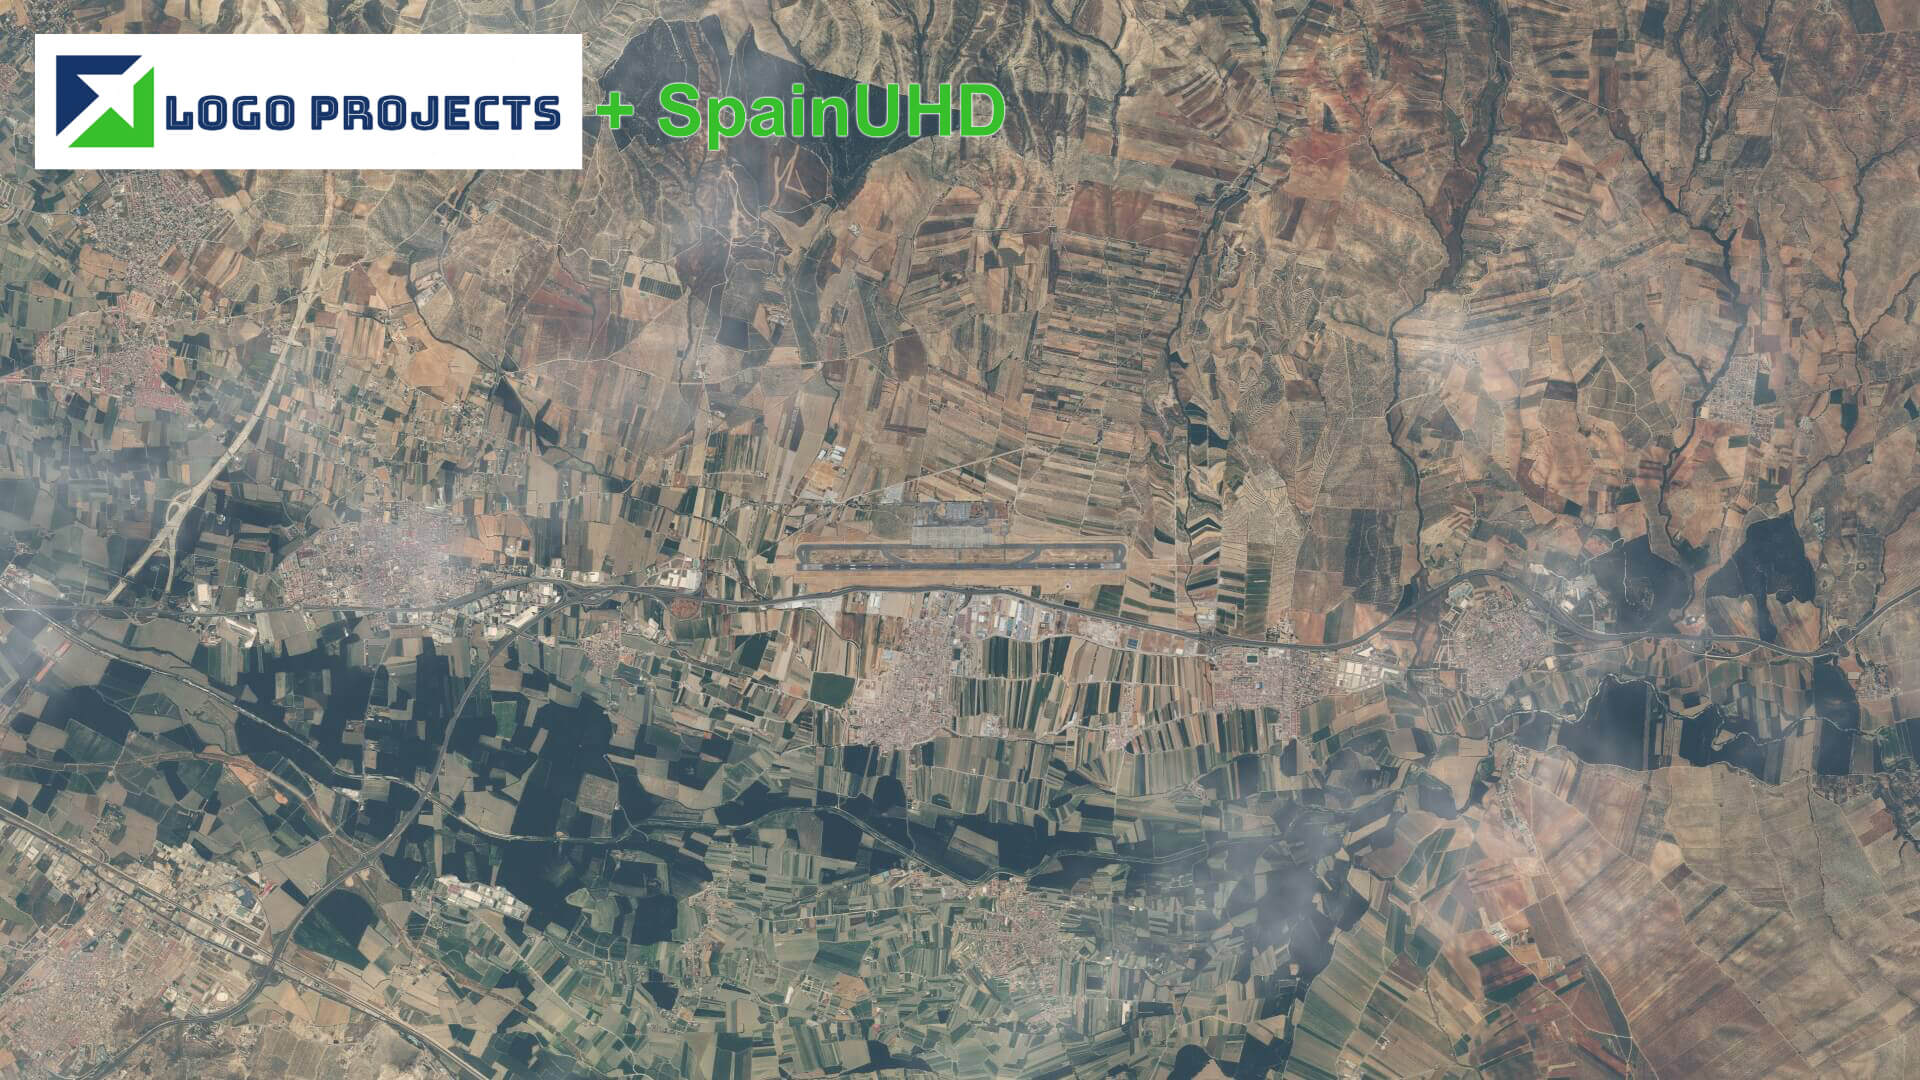
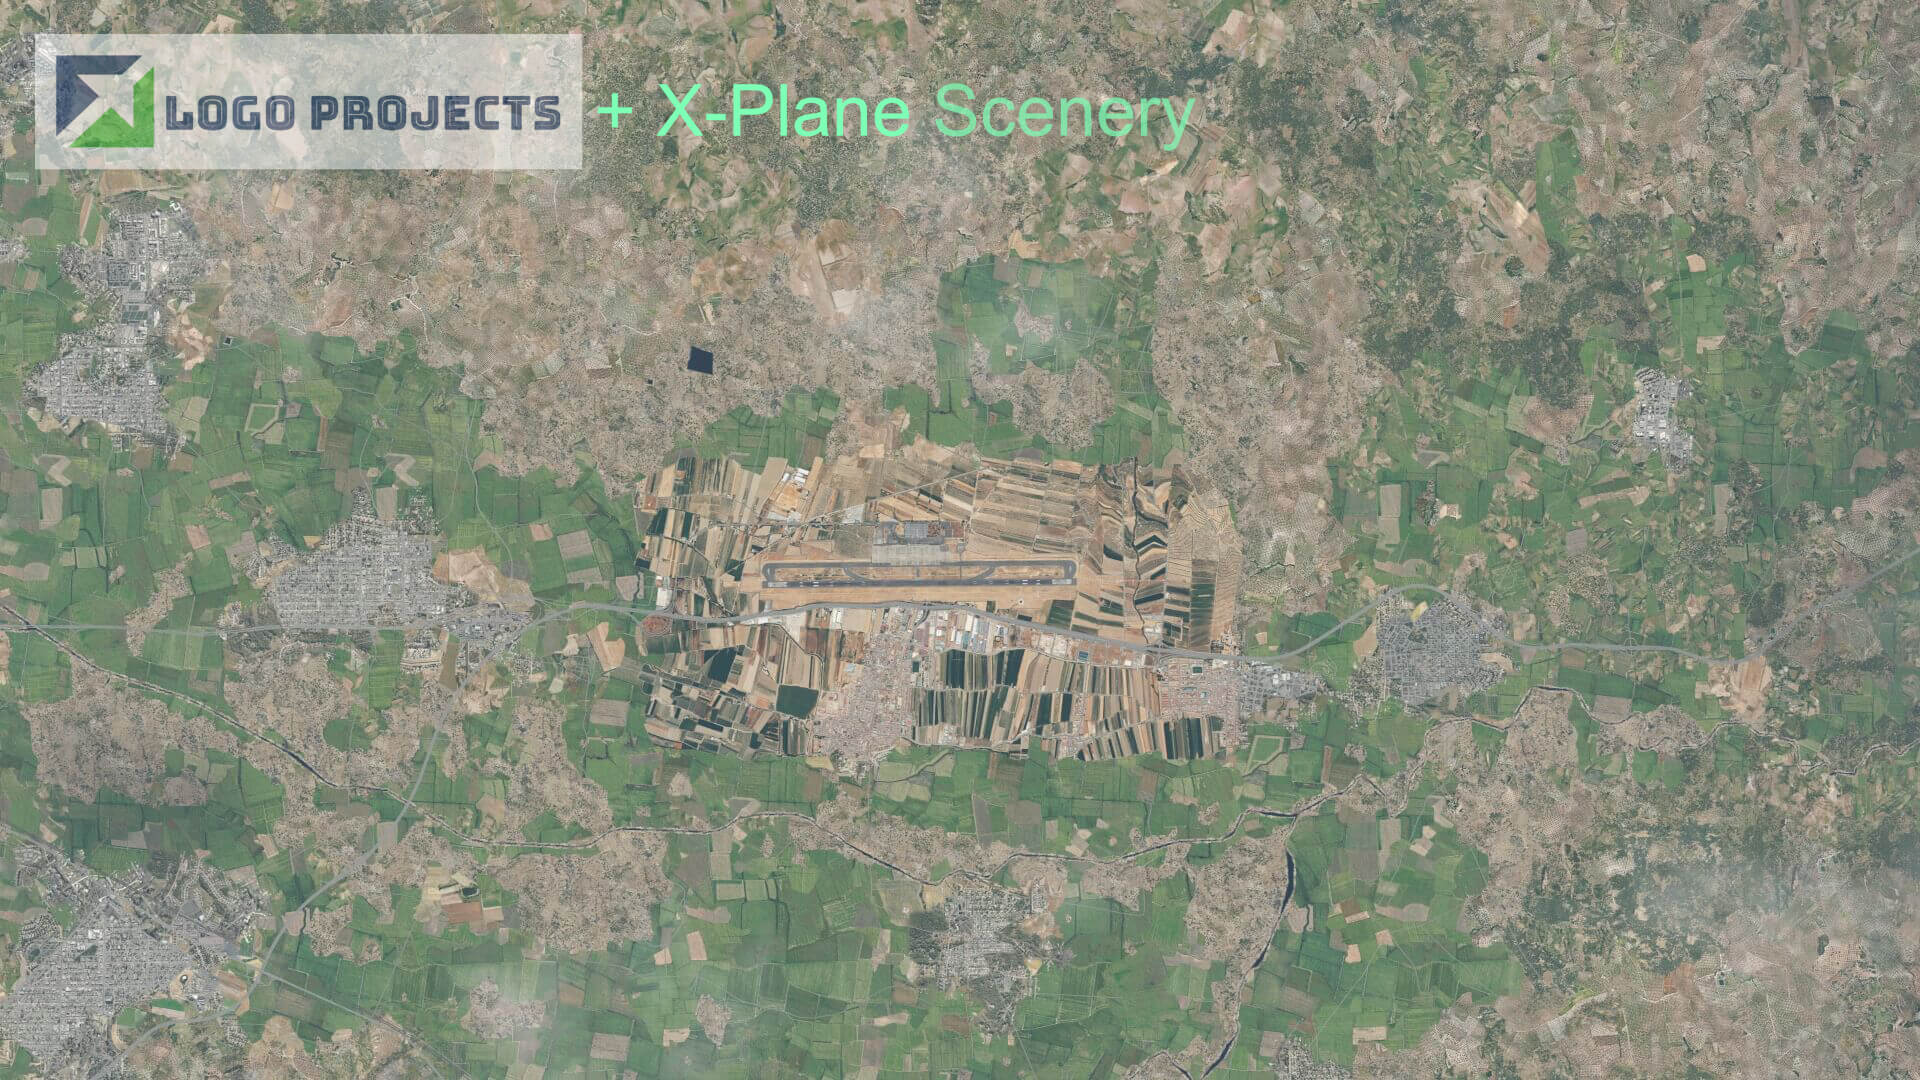
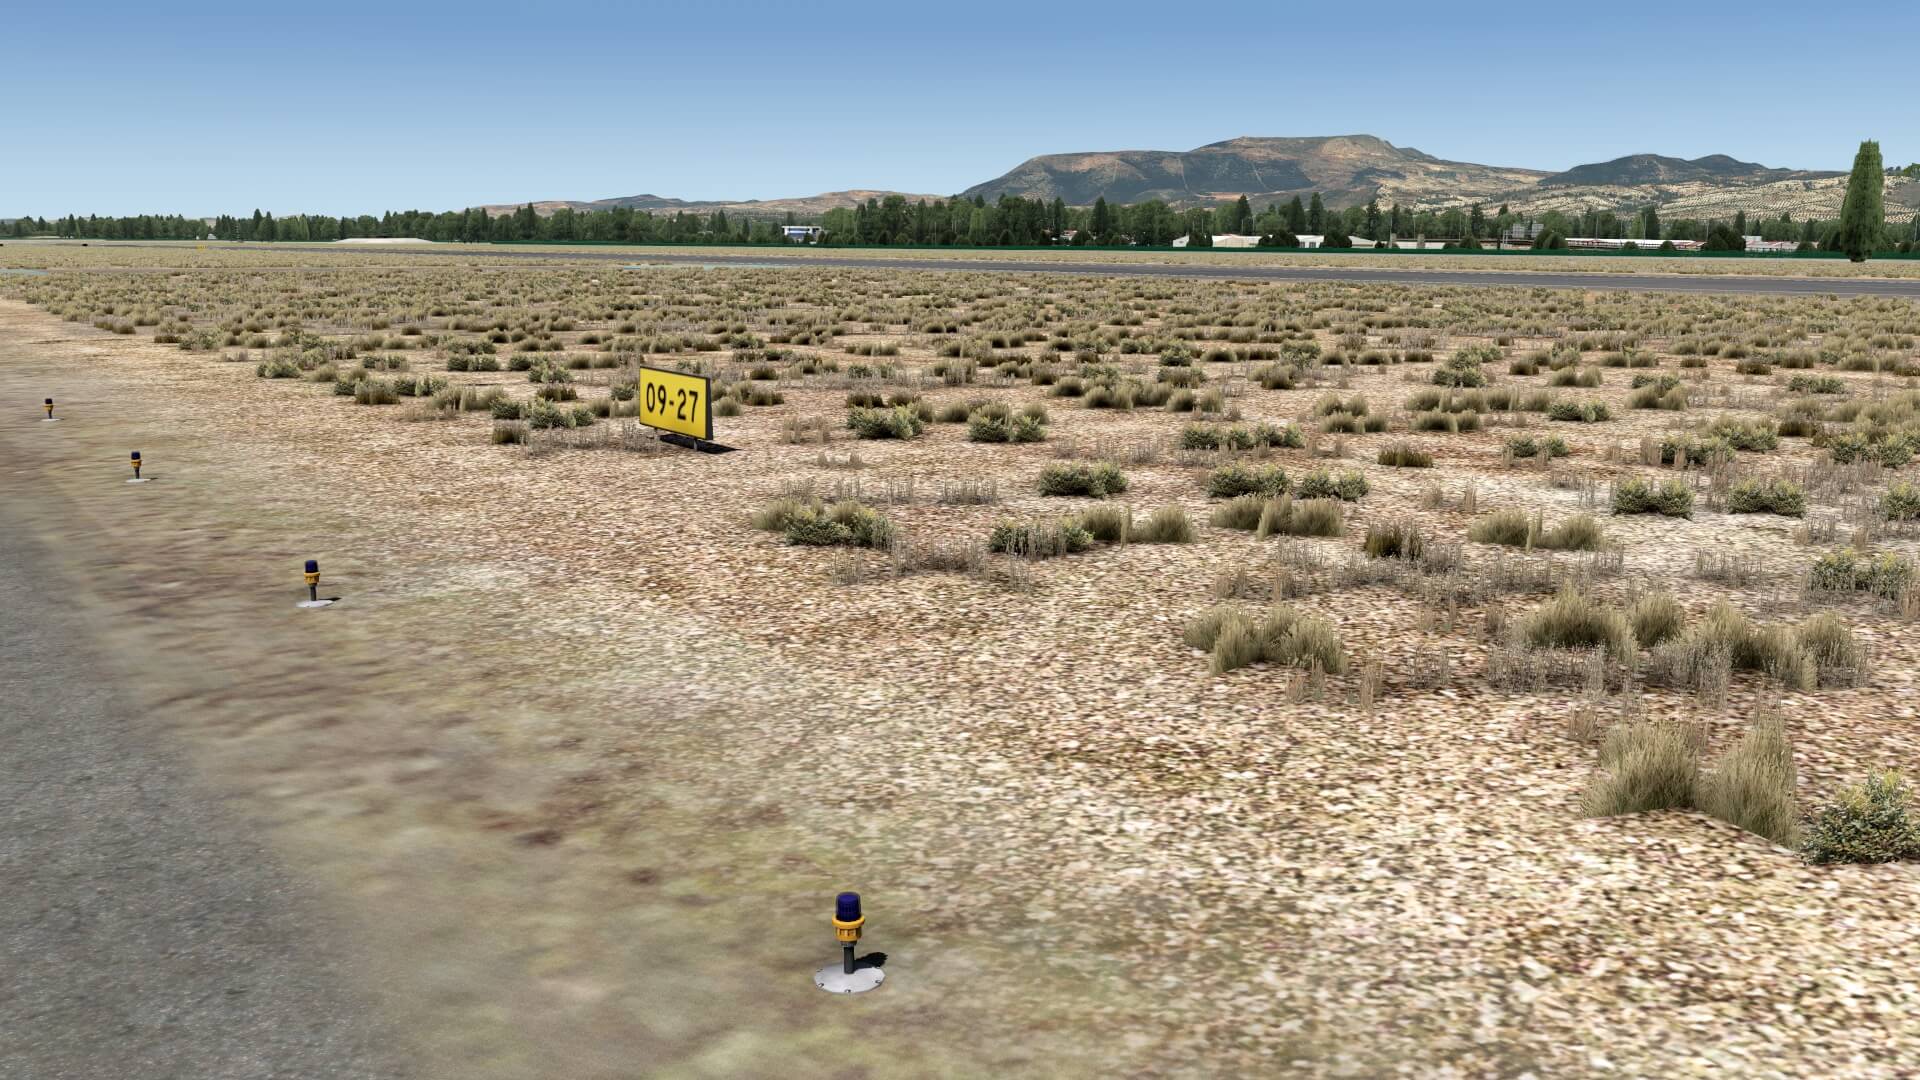
Although Granada International Airport isn’t a big or complex to model airport, I must admit that the LOGO Projects team did a very nice job. Add to this, as they suggest in the included Spanish/English manual, ortho ground textures from Spain UHD, and you will have the perfect scenery match for a small to medium size airport near the Sierra Nevada National Park. Don’t believe me that this is the perfect match? Ok, check out the following compiled screenshots.
Not many words are needed when you see the second screenshot, right? It’s gorgeous, it’s the perfect blending of a modeled airport with the SpainUDH ortho textures. I think it’s time to explore the modeled Granada Airport, ready?
A Couple of Words
The Real LEGR
Federico García Lorca Granada-Jaén Airport also known as Granada International Airport with ICAO code LEGR, is the airport serving the province and city of Granada, in Spain, although it has Jaén in its name. The airport is located near to Chauchina and Santa Fe, about 9.4 miles (15 km) west of Granada and 62.5 miles (100 km) south of Jaén. Construction of the airport began in 1970 and it opened as Aeropuerto de Granada in 1972. On June 13, 2006 it was officially named after the poet Federico García Lorca, born near Granada. (Source Wikipedia)
Documentation and Installation
The LOGO Granada XP package comes, as previously said, with 2 manuals; an English and Spanish version, but these manual are a bit limited since they don’t offer any charts of arrival and departure information nor that they offer links to official charts. Not really a problem for me since this official Spanish AIP link offers you all the charts you need to fly under IFR rules to and from LEGR.
Either installation is easy, but it depends if you would like to use the SpainUHD ortho scenery packages or not. When you prefer to use the modeled Granada Airport without SpainUHD ortho textures, then after you’ve unzipped the package from your X-Plane.Org account, you need to install both unzipped folders – LEGR – Granada XP Airport and LEGR – Granada XP Mesh – and install them in the X-Plane Custom Scenery folder.
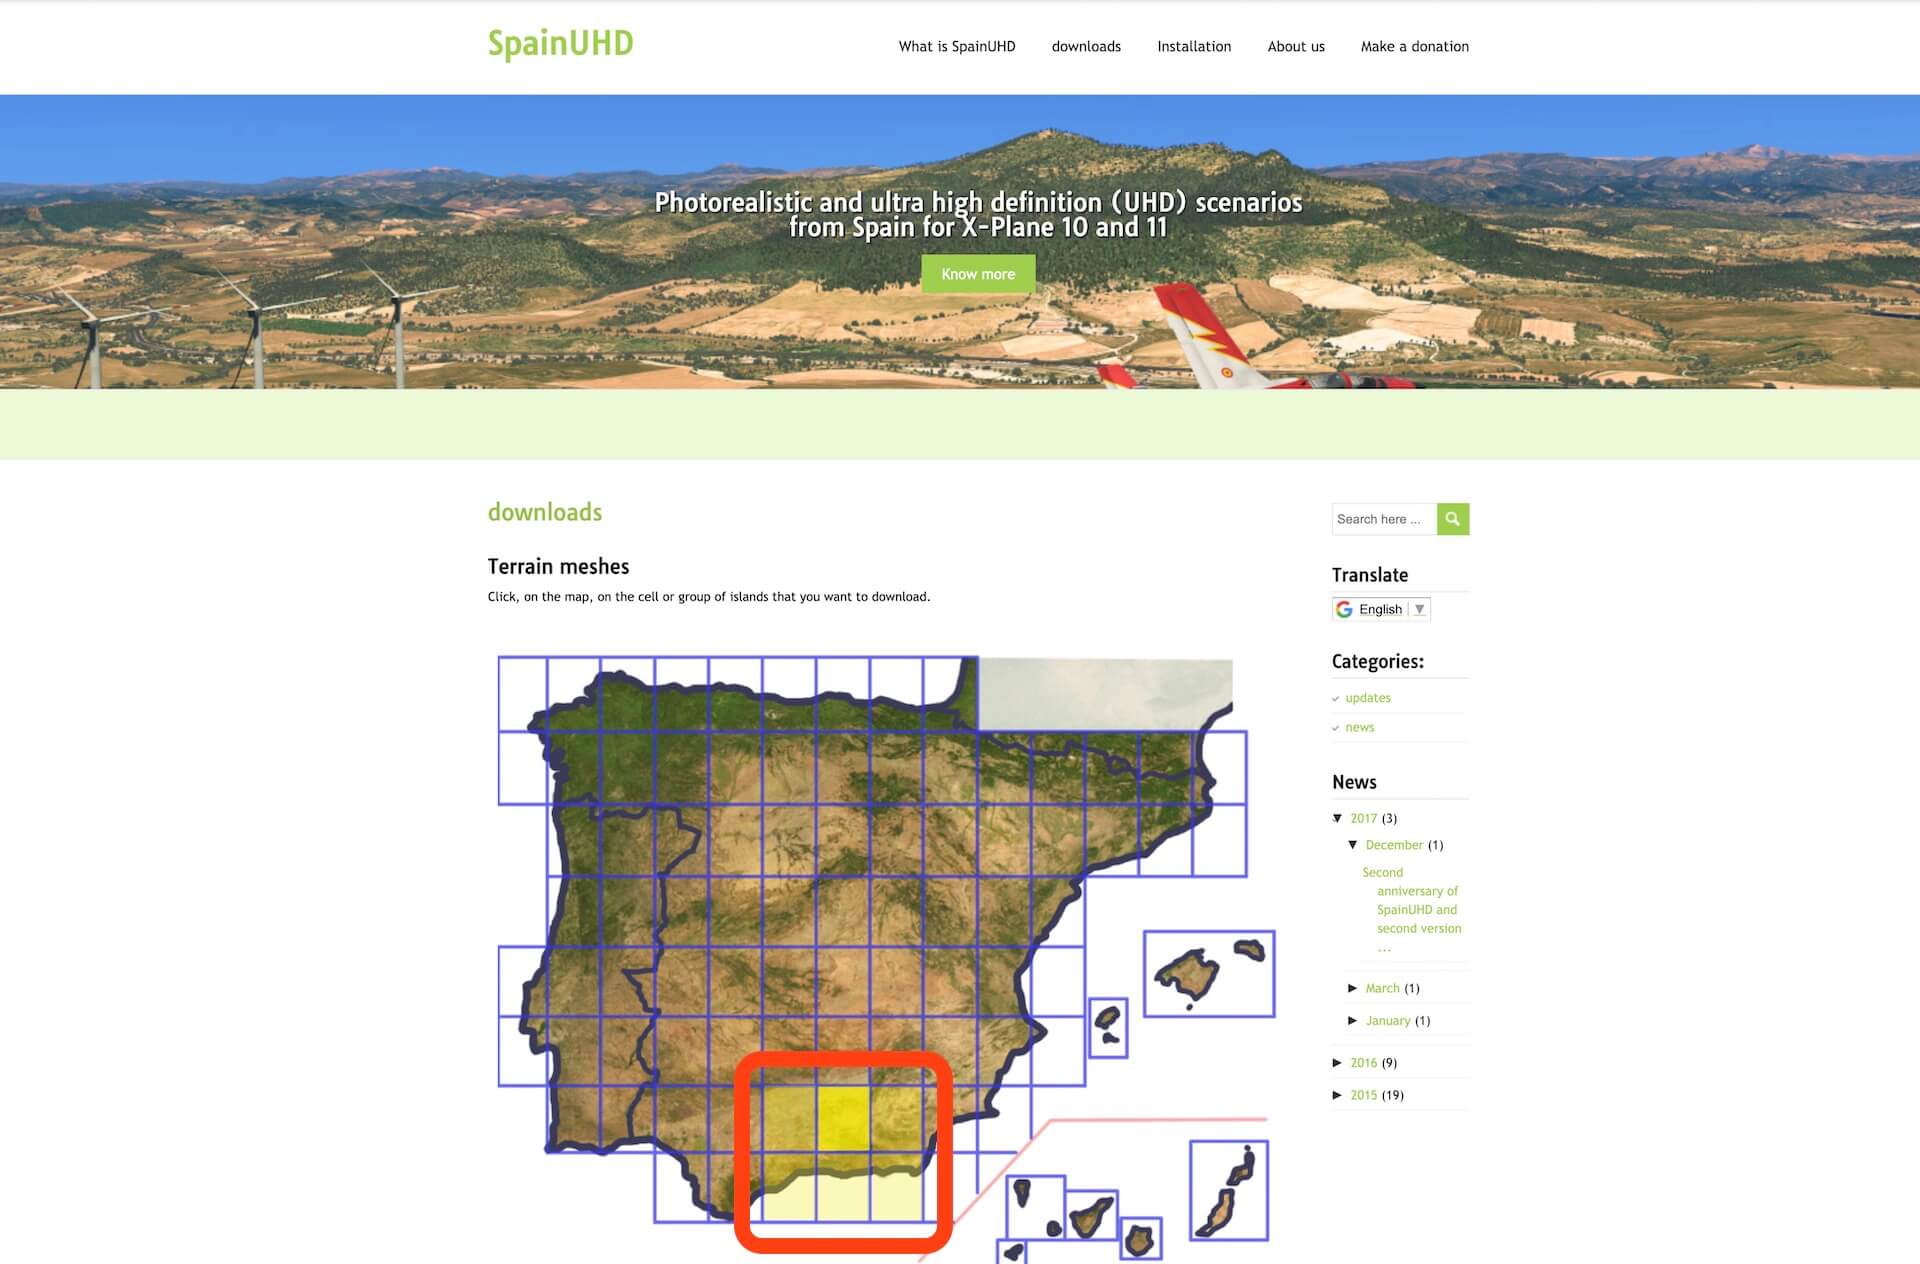
But on the other hand, I recommend that you take a moment and download from SpainUHD the required ortho packages to complete the Spanish feeling. In the LOGO Projects Granada manual is stated that you need at least SpainUHD ortho cell +37 -004, but I would suggest that you add also the cells +37 -005 and +37 -003 as well as the packages +36 -005, +6 -004 and +36 -005.
The reason that I suggest these additional SpainUHD packages too is that you cover then the area from Malaga Airport till and including Almeria Airport in the south of Spain. Important to highlight is that when you install SpainUHD +37 -004 or all suggested SpainUHD packages, that you only need to install from the LOGO Project the package LEGR – Granada XP Airport and not the mesh folder since this is already included in the SpainUHD package.
Real Traffic
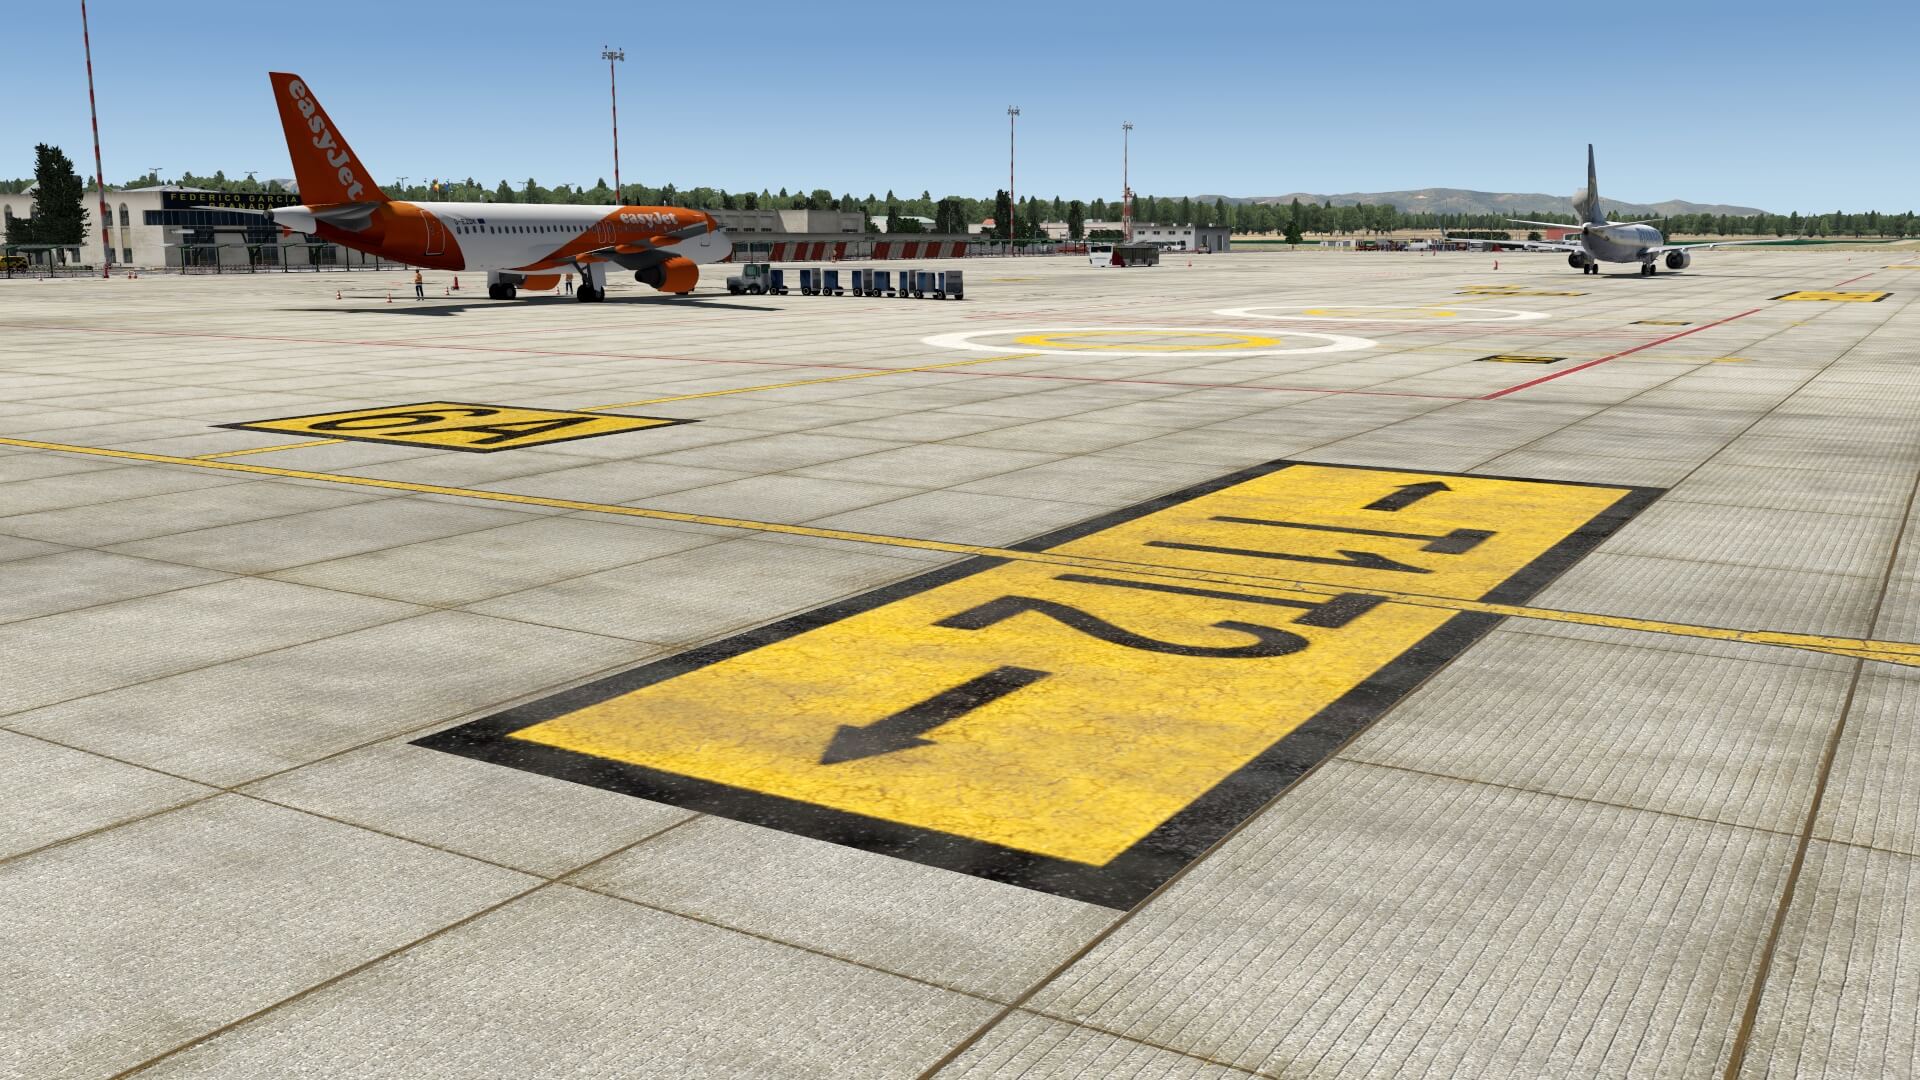
Adding real aviation traffic gives you the feeling you’re not alone, right? So adding this could be done by adding WT3 (World Traffic 3.x) or Just Flight Traffic Global (JF TG). As of this writing I’m still using JF TG since this review is written on macOS Big Sur. The first time I used JF TG with the modeled Granada Airport I found myself a bit lonely on the airport. The modeled airport comes with one static Airbus EasyJet A320, but I didn’t see any other AI aircraft from JF TG. While writing this review – April 2021 – the amount of daily flights is due to COVID-19 limited which is caused by the worldwide COVID-19 flight reductions and this is also applicable to LEGR. But I’d seen on a day at a certain time some JF TG aircraft at the apron, so at the end it seems OK what I’ve seen while reviewing this airport.
LEGR Impression
Security Area
In one word … very nice or when I’m allowed to use a couple of words; eye for tiny details, but I also noticed a couple of things that aren’t fully correct or need in my humble opinion some corrections. That said, I’m still happy with what I see and how it’s made.
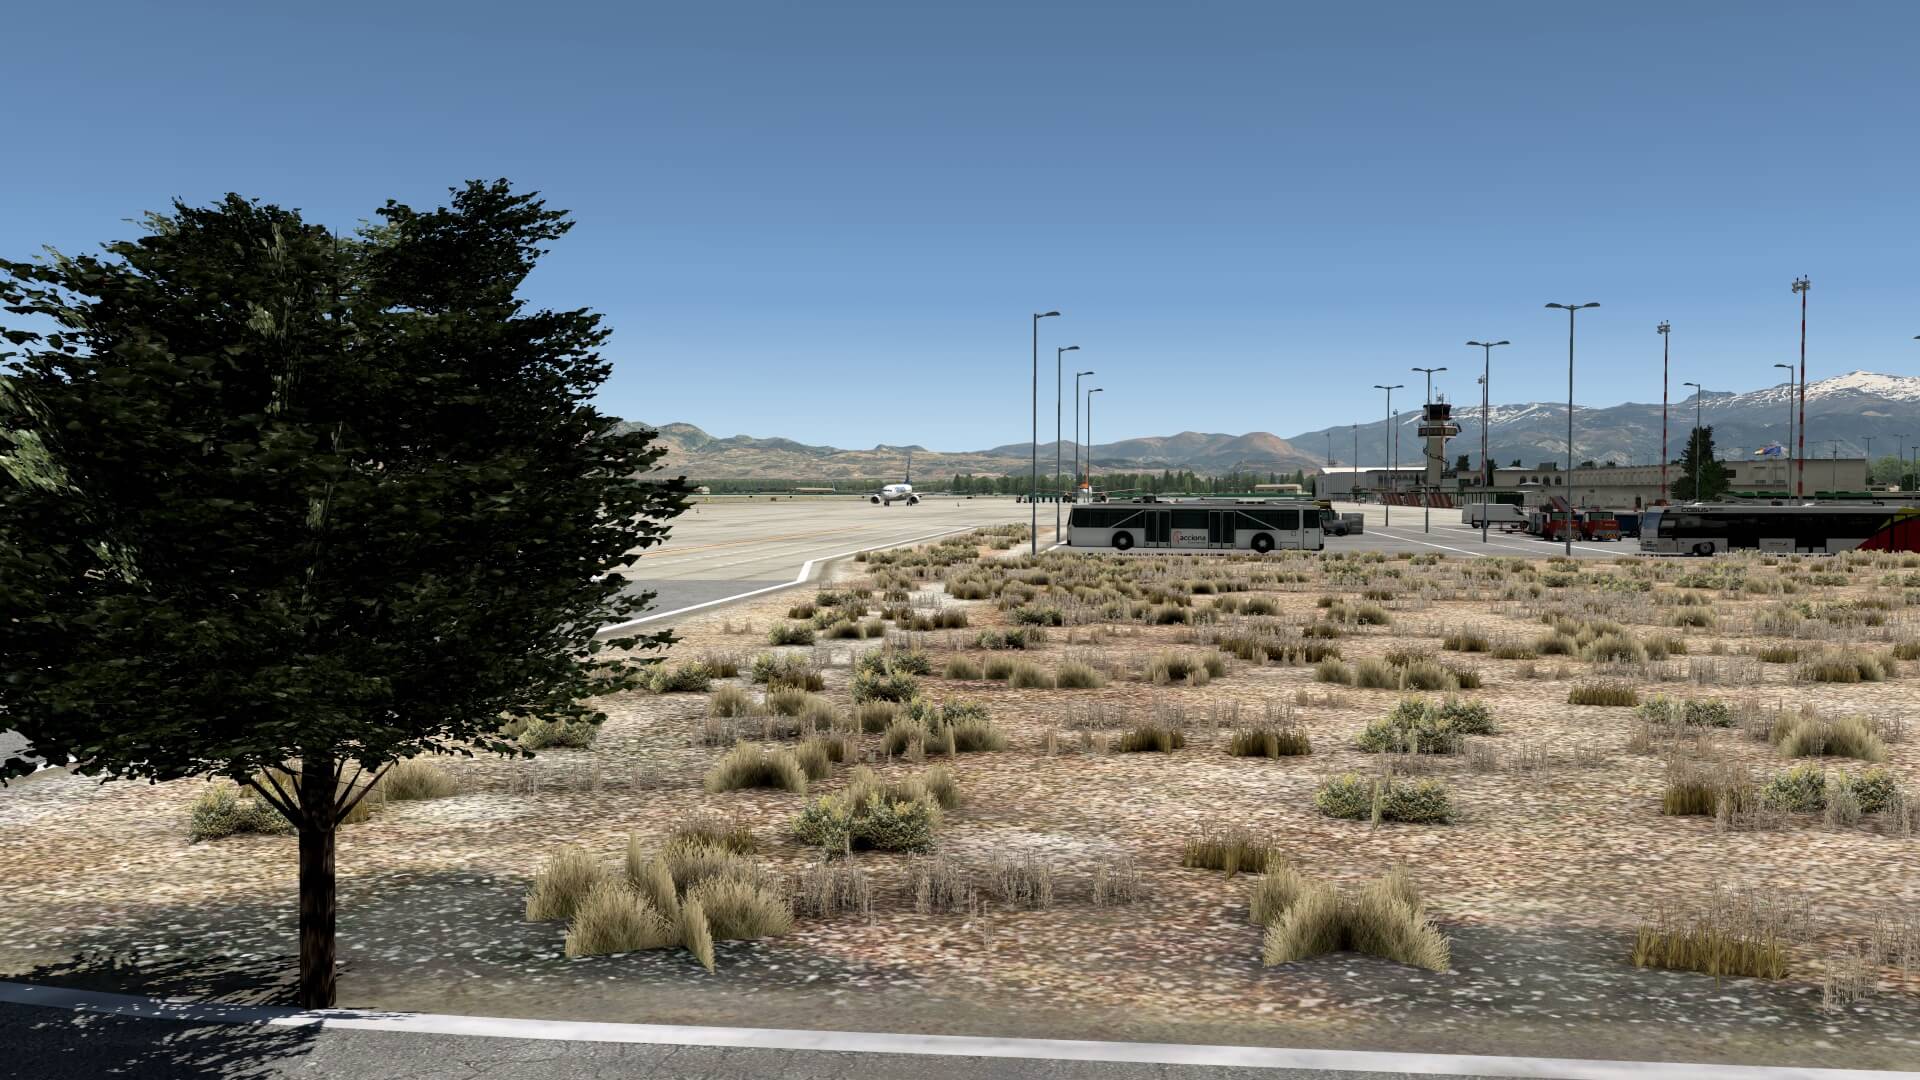
Knowing that the airport is modeled by one person, I’m impressed when walking around at the security side of the airport. Although LEGR has no large terminal building or buildings nor jetways or other complex constructions, it does offer a very nice, but above all, a very realistic apron with razor sharp ground apron textures which is also the case for the taxiways and runway.
If the used ground textures or building textures are all photo real I’m not sure about since it could be that these textures are created by the developer himself. A good artist can create or paint textures that look as real. Add to this the grass areas and signs, and I’m a happy simmer. By the way, what I really like about the apron and the signs is that it is all weathered. It doesn’t look new at all. It looks as real as it gets, in particular when I compare it with real photos.
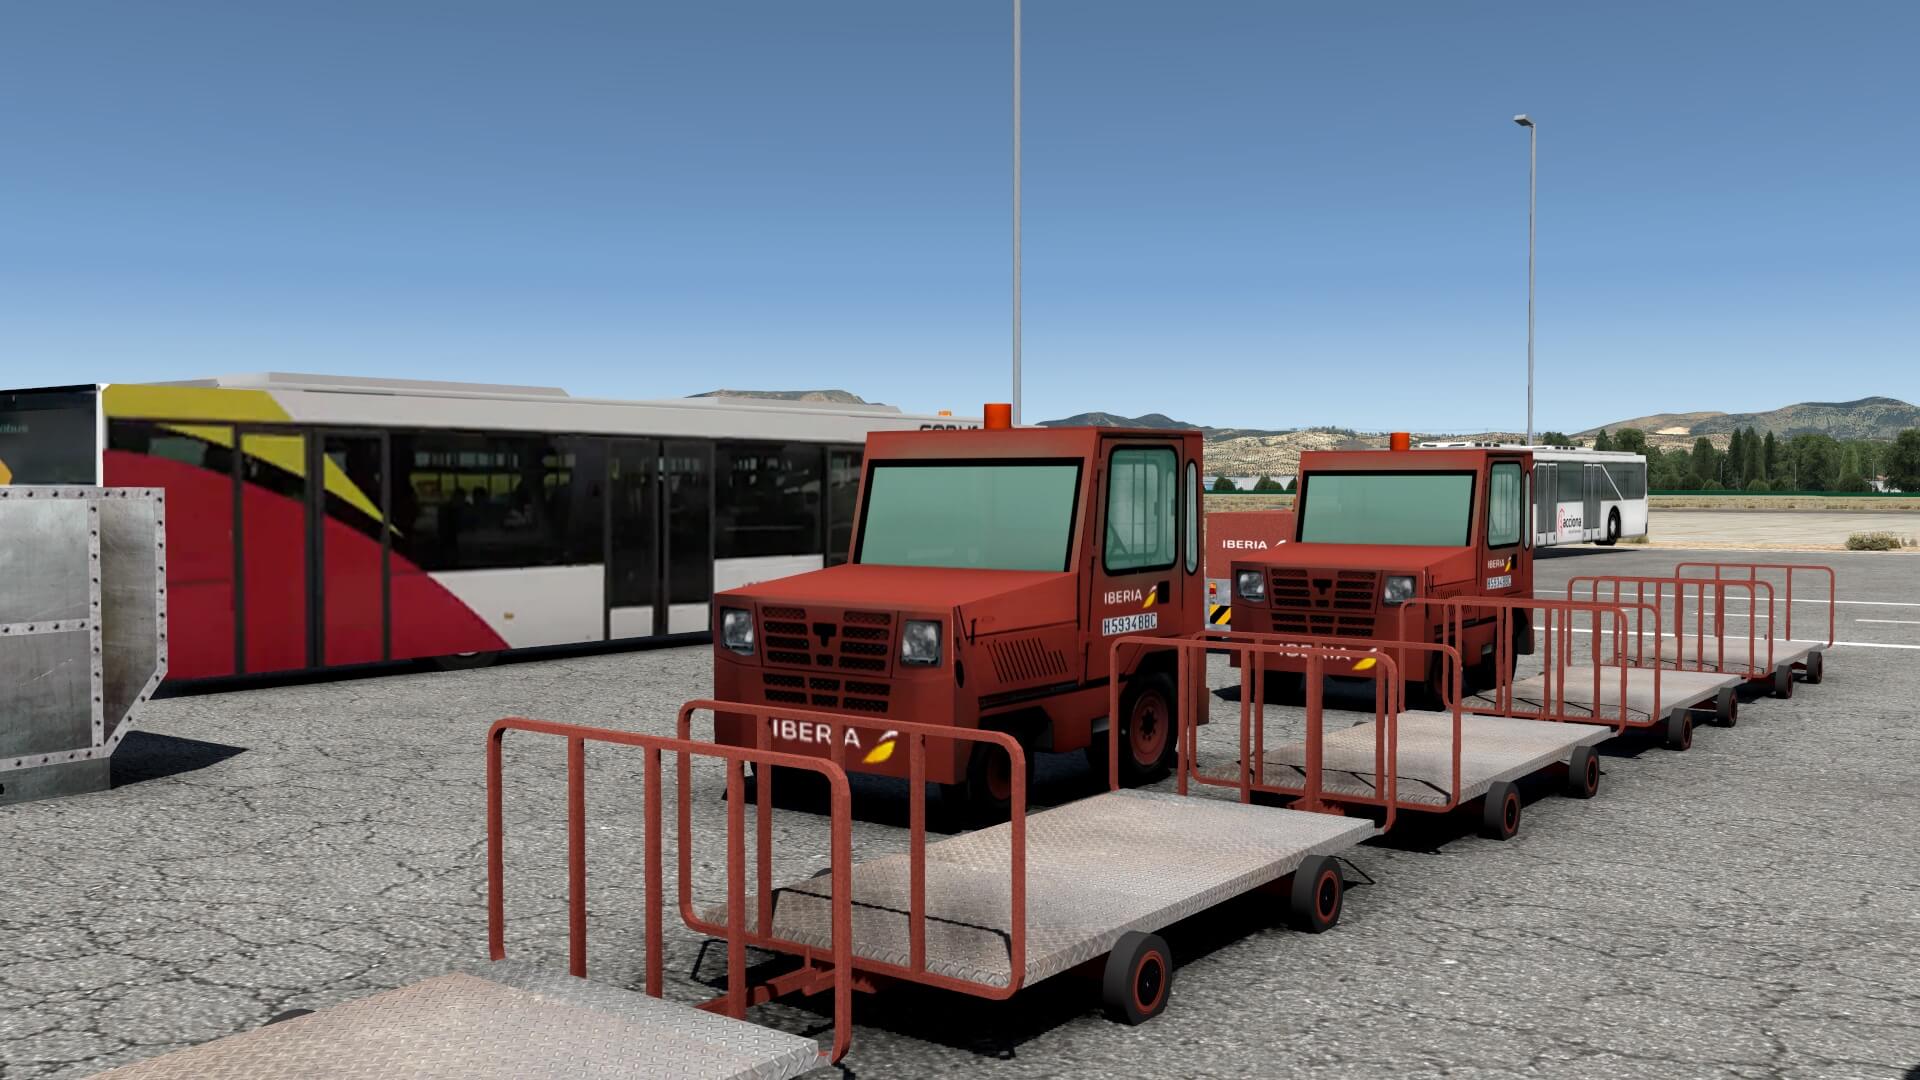
But there’s more when looking around at or nearby the apron. You find a couple of objects at the apron, mostly portable fire extinguishers, but that’s it basically. I don’t see any passenger stairs or hardly other baggage carts etc. Oh yes, there are well modeled dark red/brown Iberia baggage carts, but they are all nicely parked outside the apron. Perhaps a bit more ground equipment including passenger stairs also parked at the apron with a future update?
I did ask Juanjo, the developer, also about the relatively empty apron, but he was quite clear in his answer. In real – yes, he travelled to LEGR himself although living in Barcelona – the apron is kept more or less clean. Clean means that the airport authority tries to put all the ground equipment not in the middle of the apron. This could be for many reason which I don’t know, but as long as there’s a logical explanation, I can live with it.
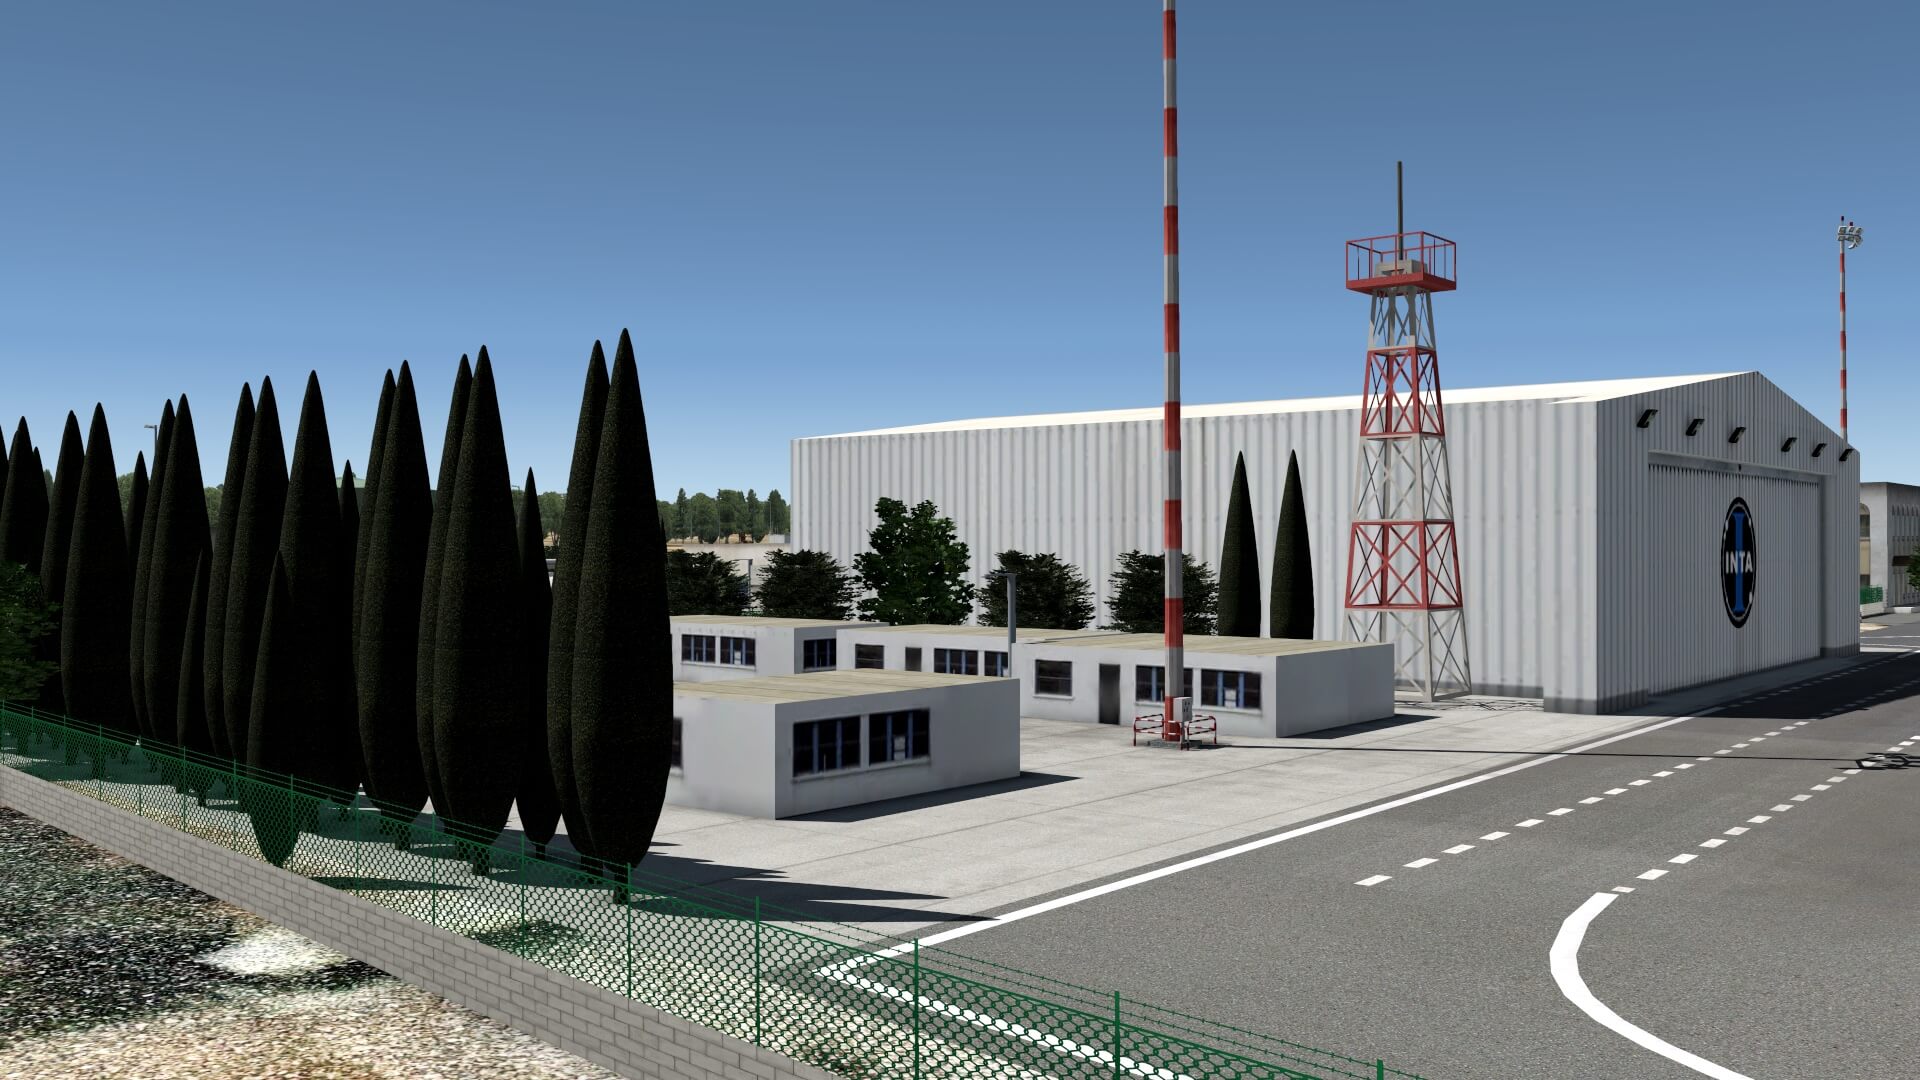
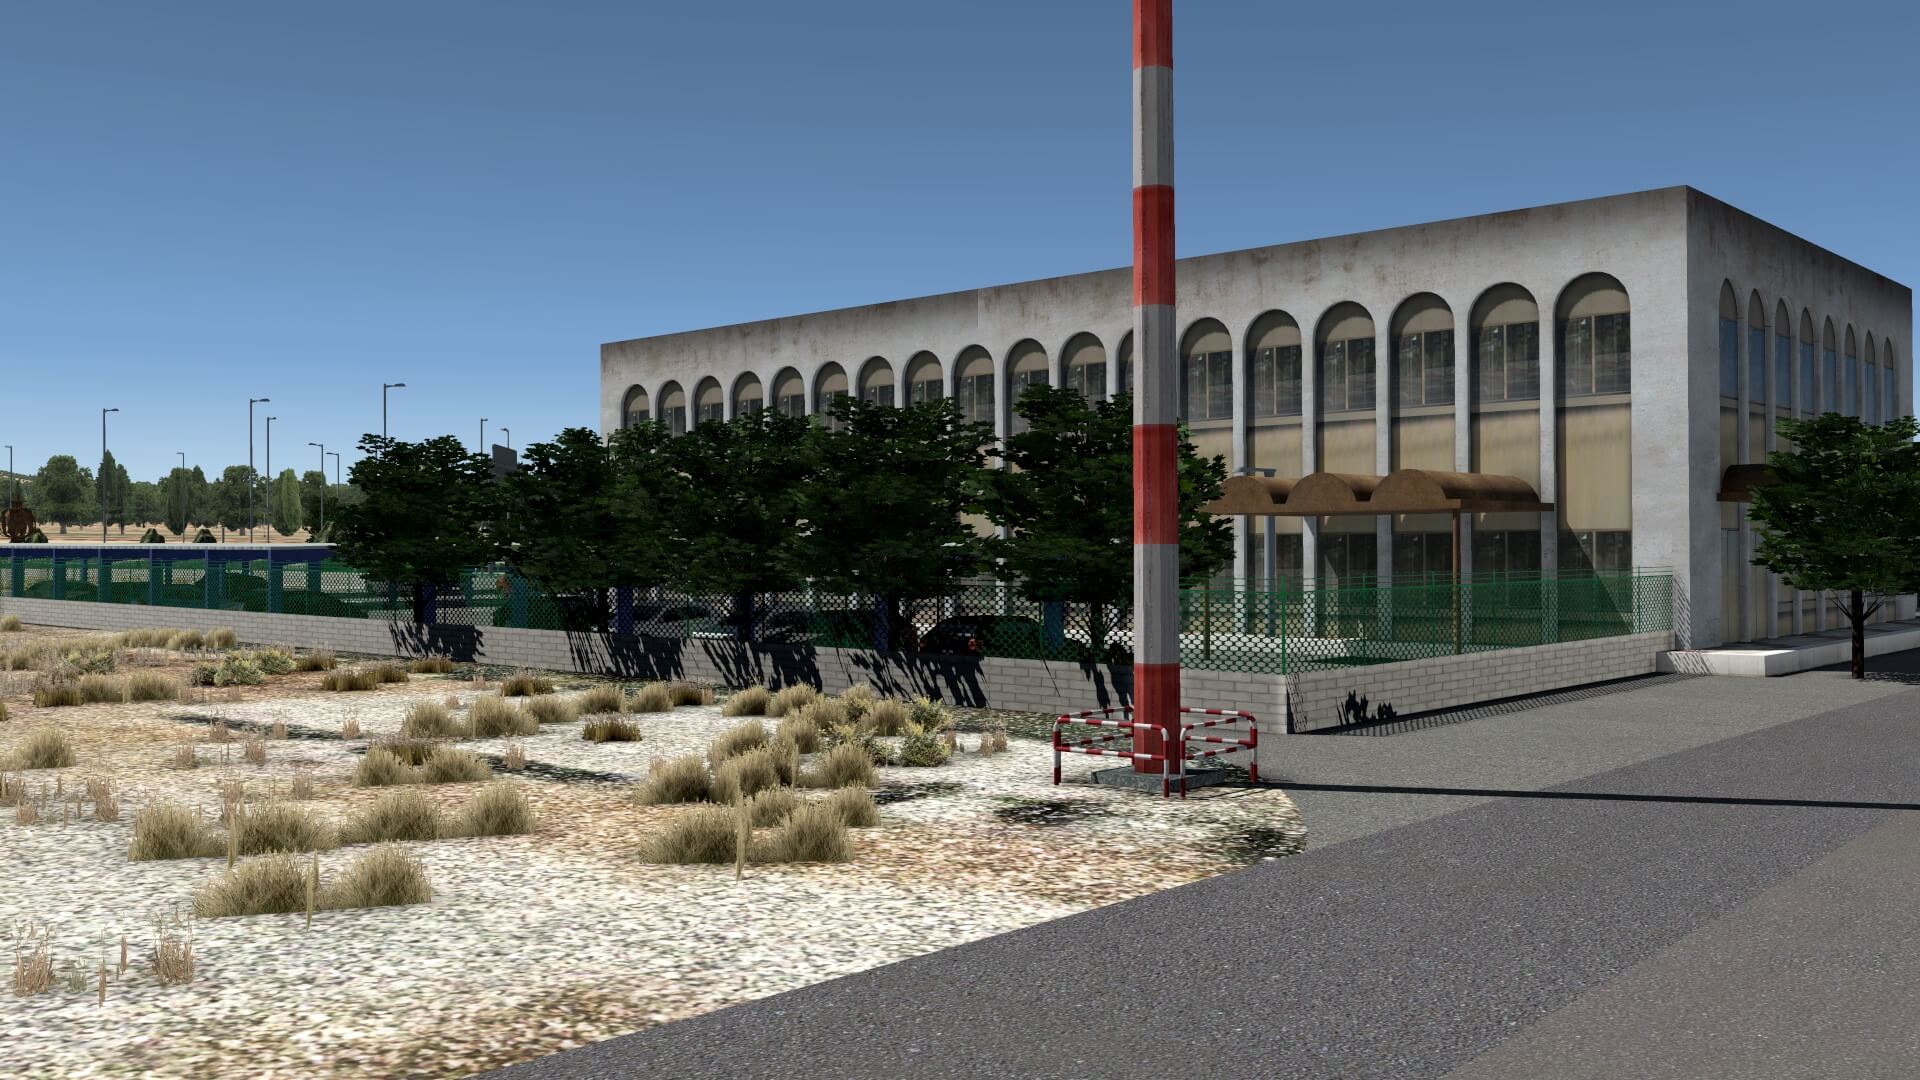
Besides that, the apron is situated between the only available taxiway and all the buildings. All buildings are handmade so dedicated developed and I can’t say anything else, they look nice, very nice. Starting from the GA (General Aviation) side with parked static GA aircraft, I see a hangar belonging to INTA, next is a building I think that will be a hotel with own car parking. The building is a bit weathered and several concrete roof repairs are visible. Well done!
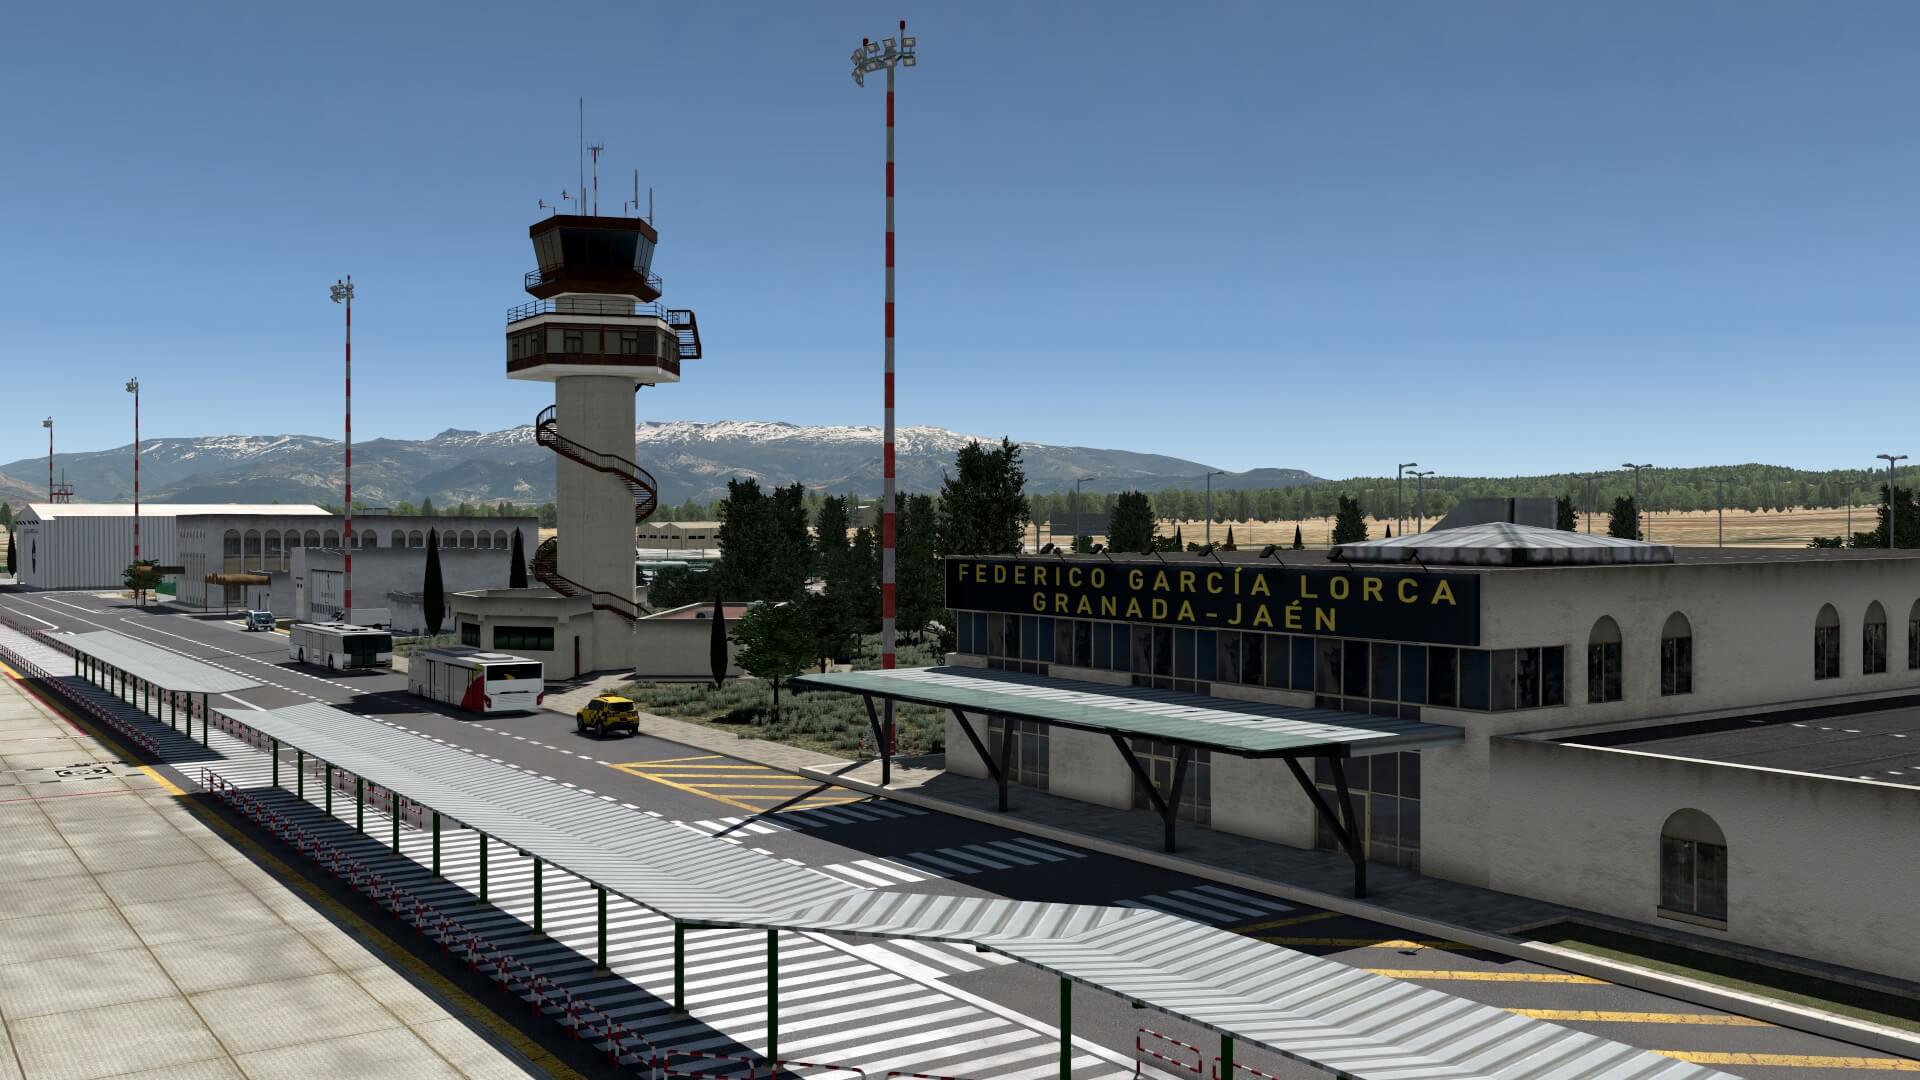
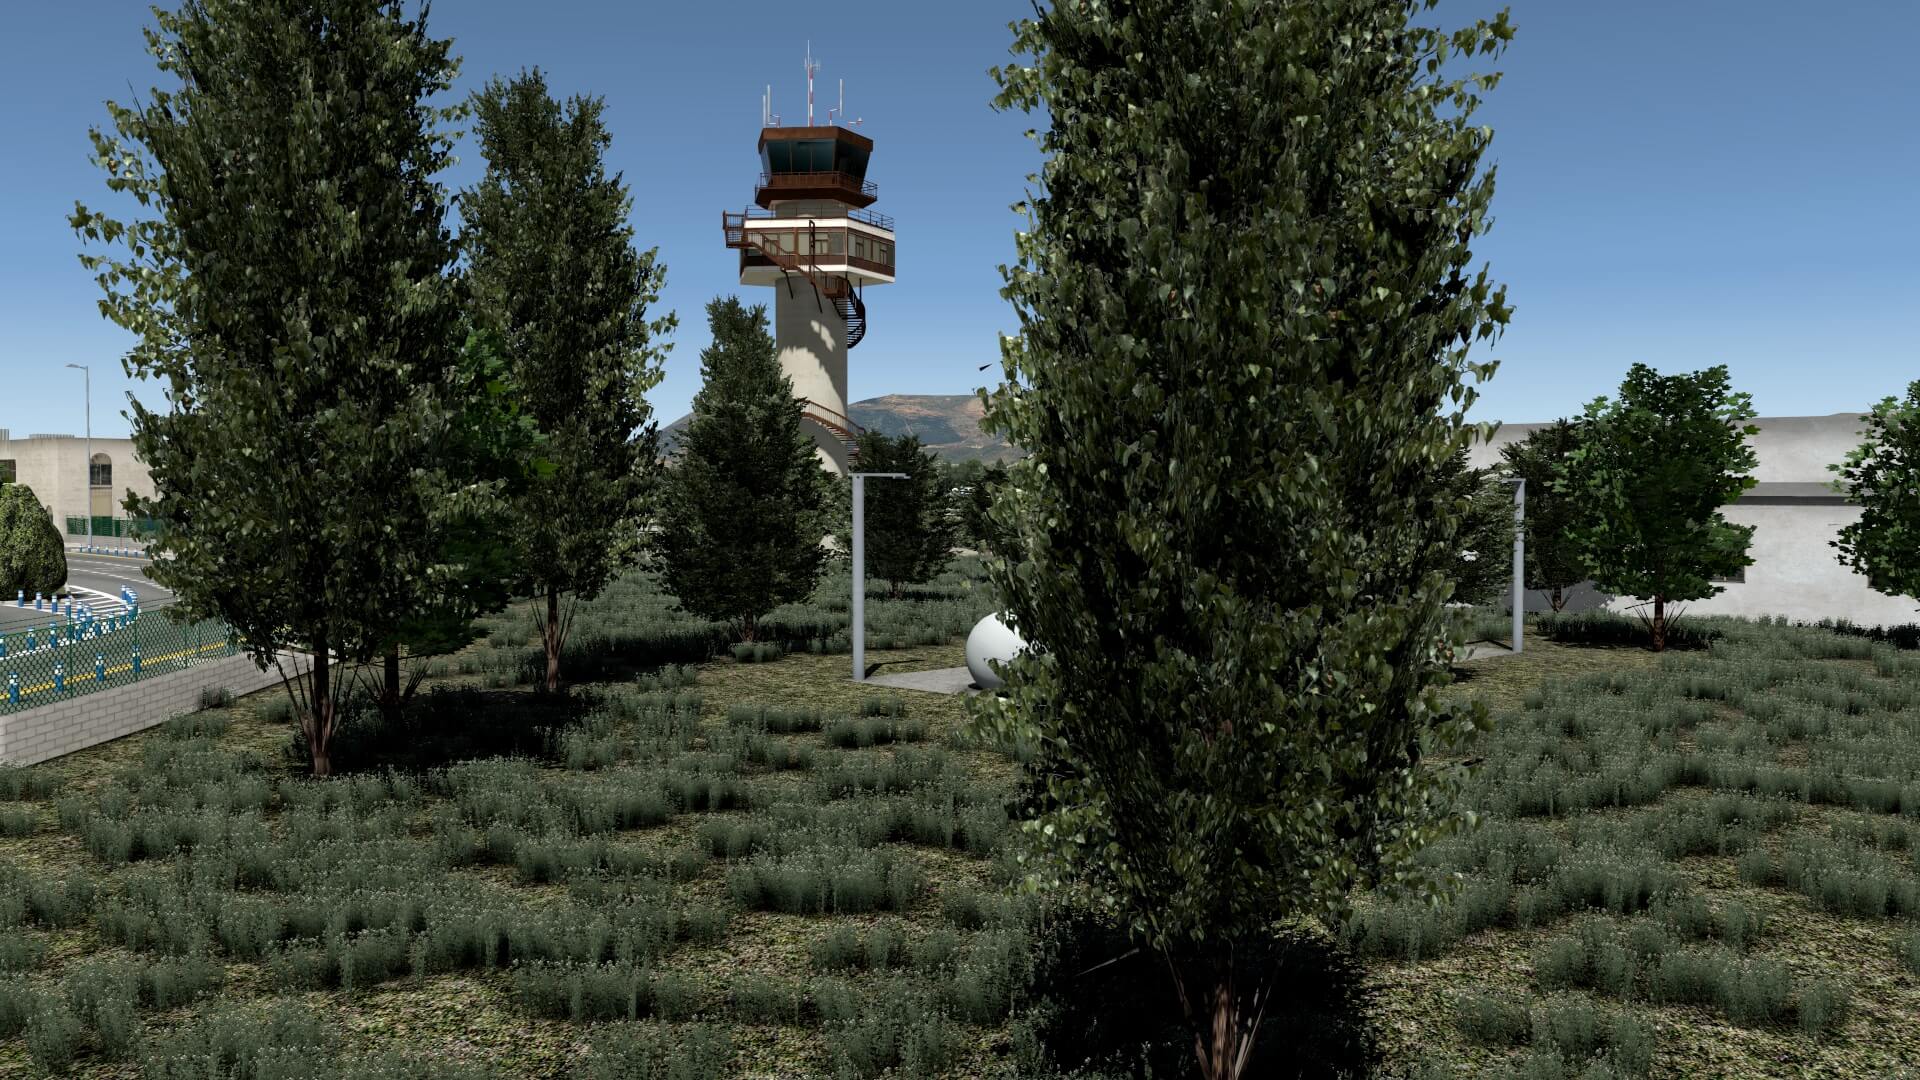
Then there’s the Guardia Civil or police hangar. Then there’s the control tower. It looks like that it’s a bit rusty and lots of weathering is implemented. Besides that the control tower is well modeled, it looks great and the developer has put a lot of time and effort into it. One thing that surprises me is the stair that runs around the construction to the top. You can clearly see that the stair is made with rusty textures. And yes, believe me, I checked the modeled control tower with real photos and it very well done.
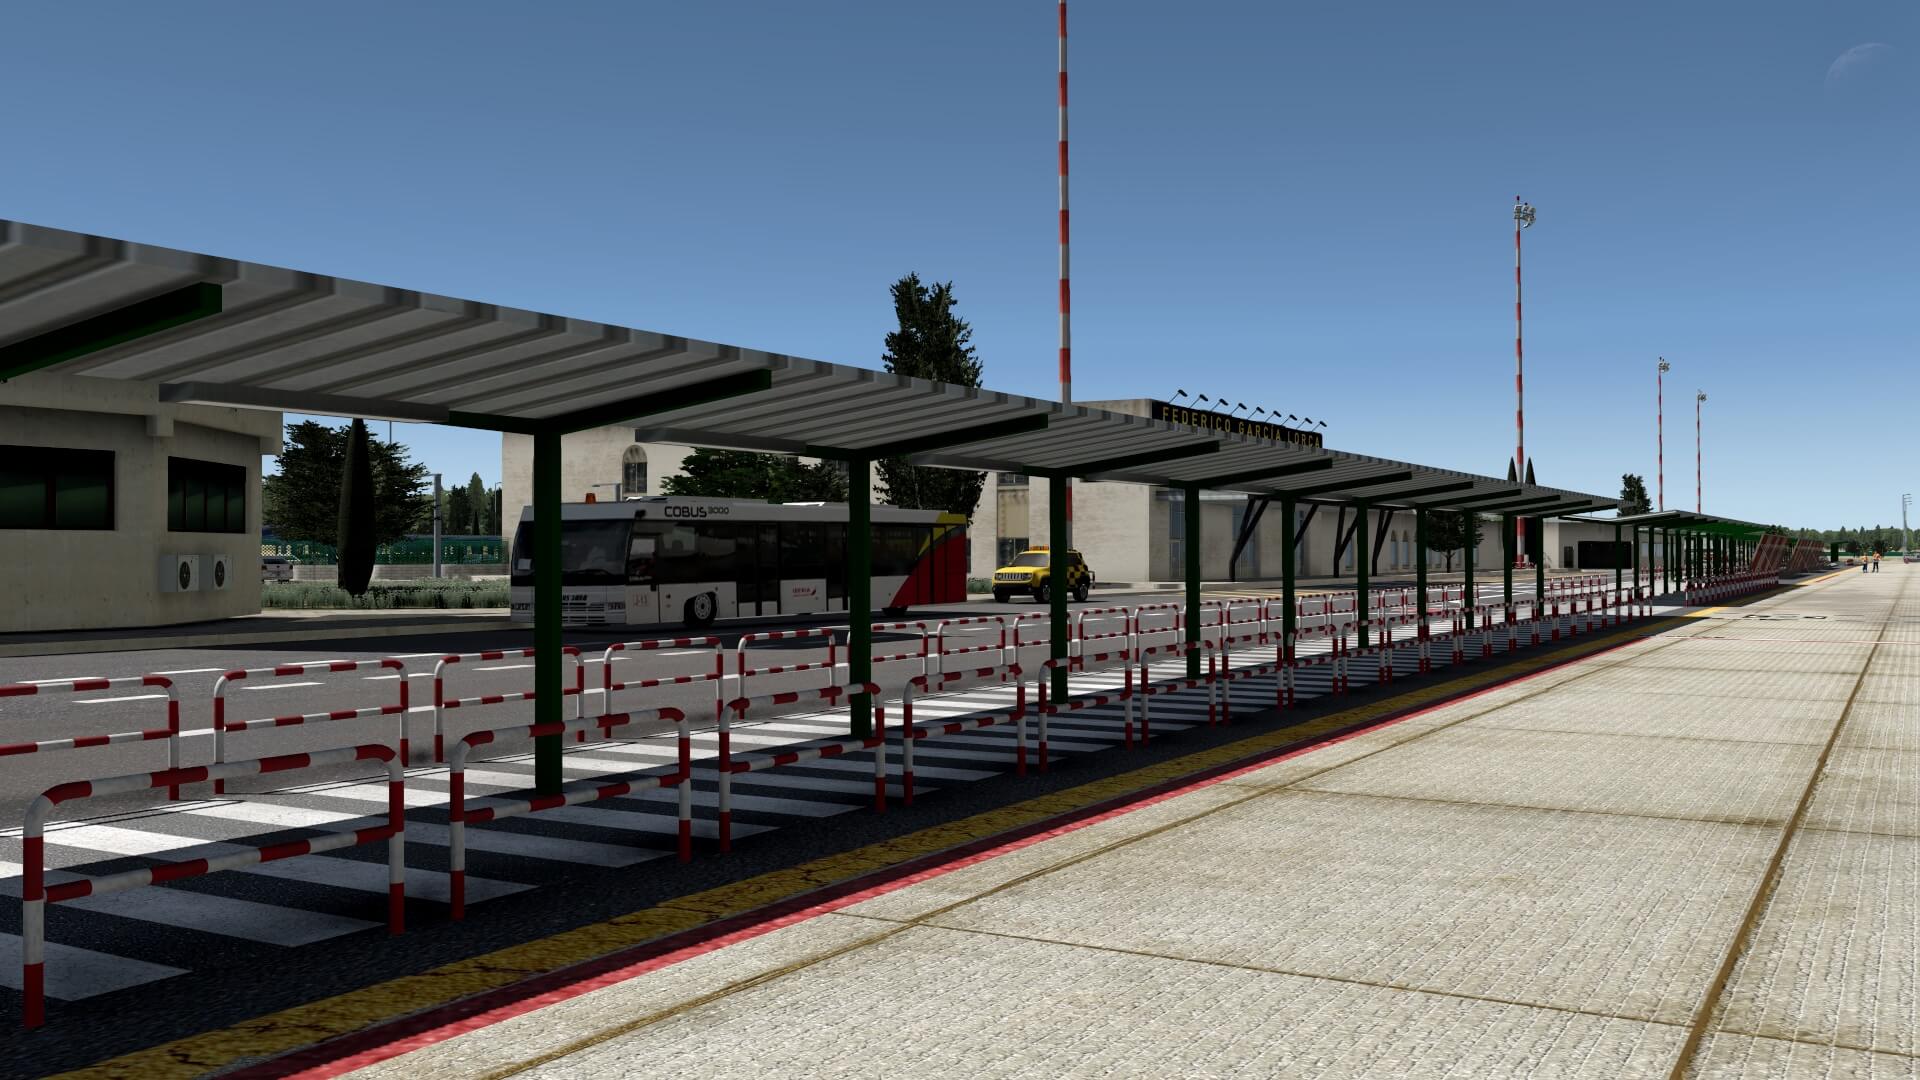
In front of the control tower I spot a parked passenger bus, model type Cobus 3000. It could be me, but it looks to me that the bus is a bit too angular shaped or is it perhaps the reality? Learned something! In the following screenshot you see the modeled LOGO Projects Cobus 3000 with a inset photo of a real Cobus 3000 and as you can see for yourself, it’s in real also an angular modelled bus. Perhaps one small remark; it is not possible to made the bus textures a bit sharper? Right now they are a bit blurry!
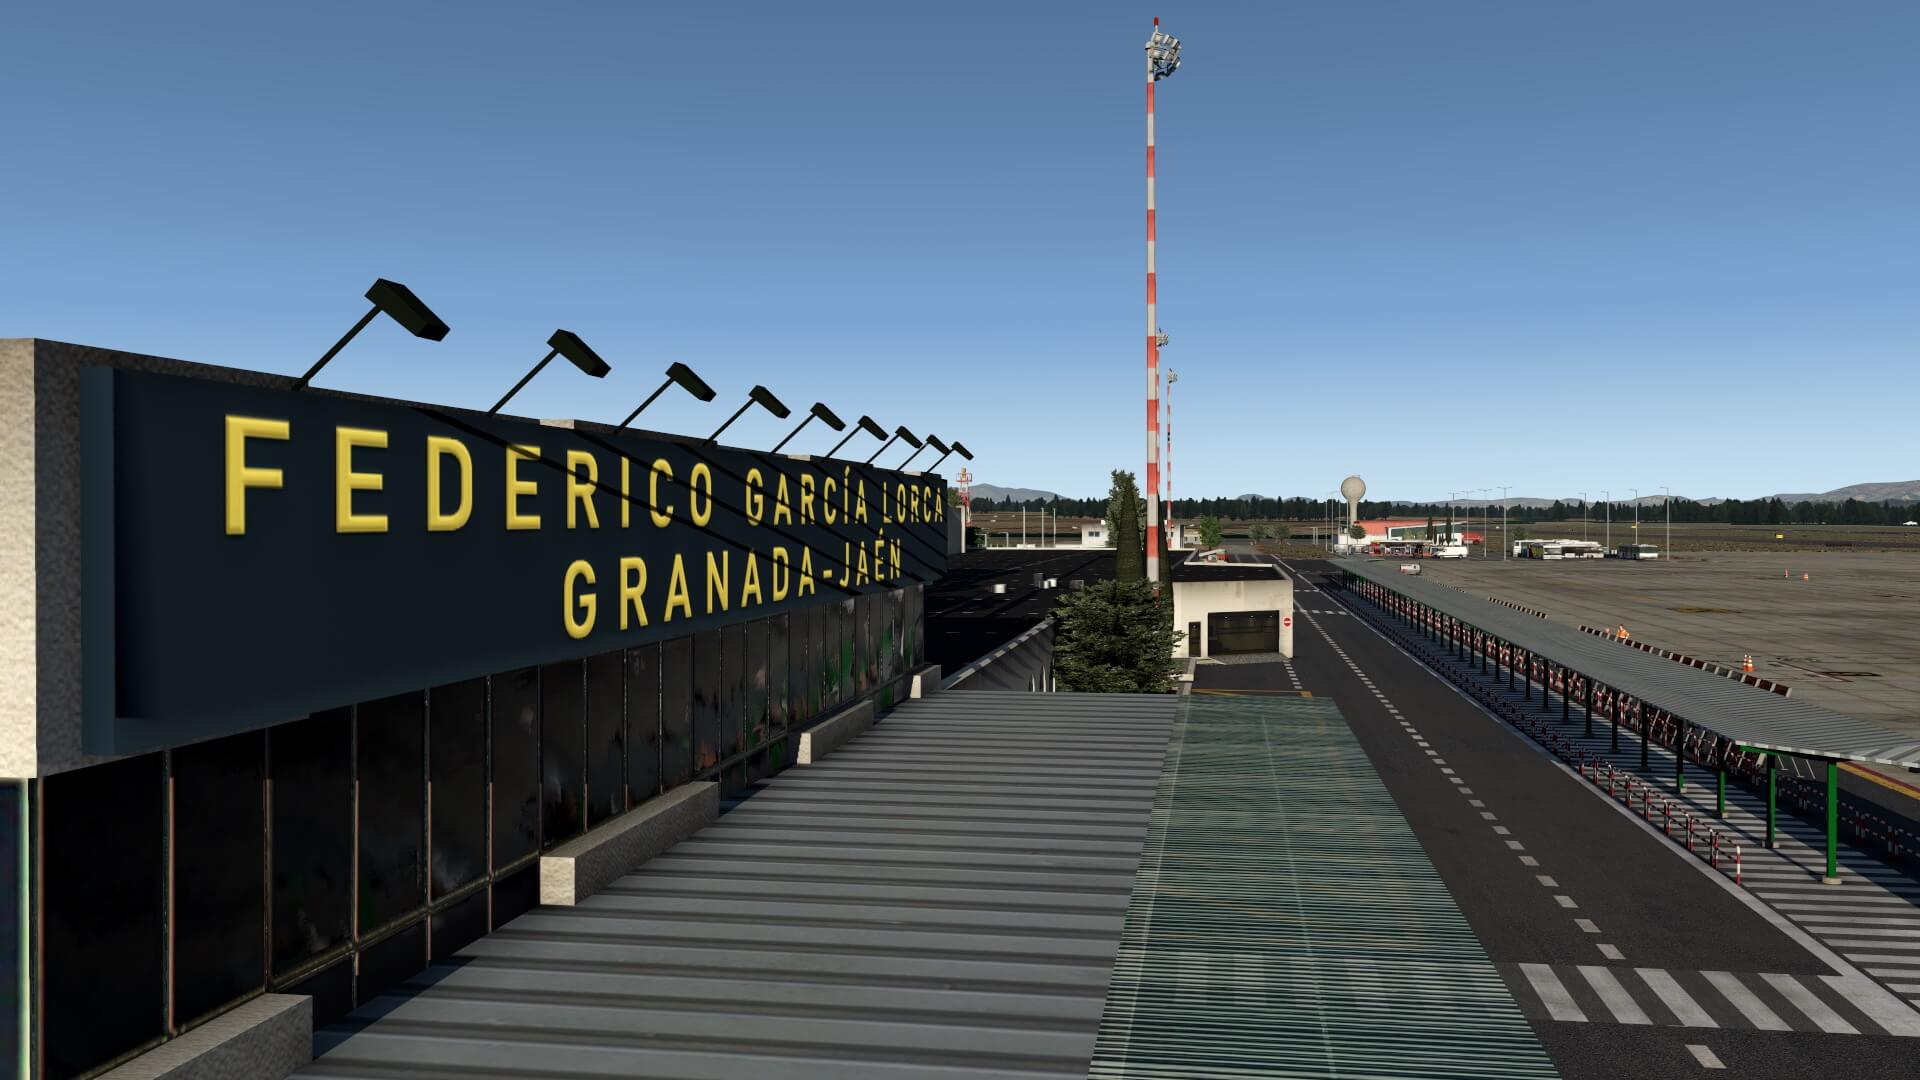
And then there’s the terminal building. I could say “just a building” but in reality the developer has put a lot of time and effort into the creation of this terminal building to give it a as real as possible realistic look and feel. It looks to me when comparing it with real photos, that the small and tiny details of the building aren’t forgotten and that the walls and roof are not completely but gentle covered with a kind of weathering.
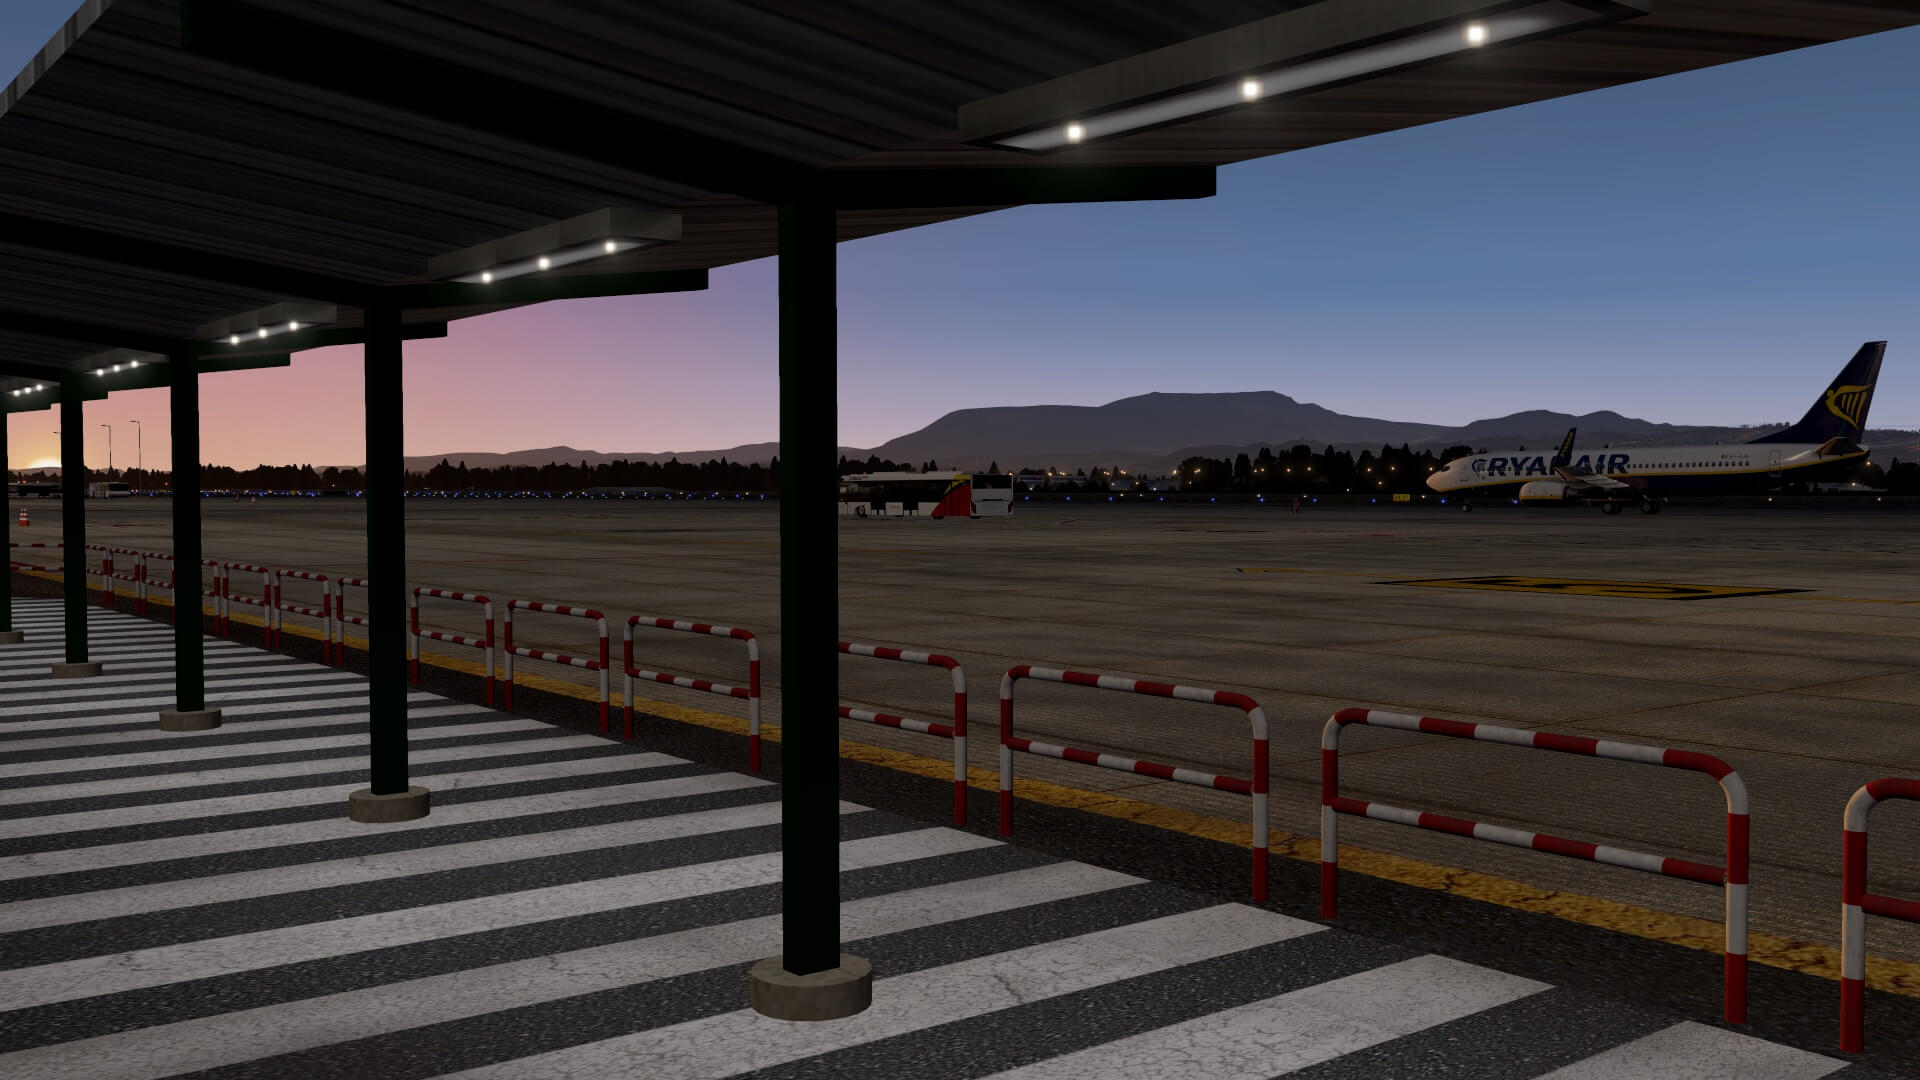
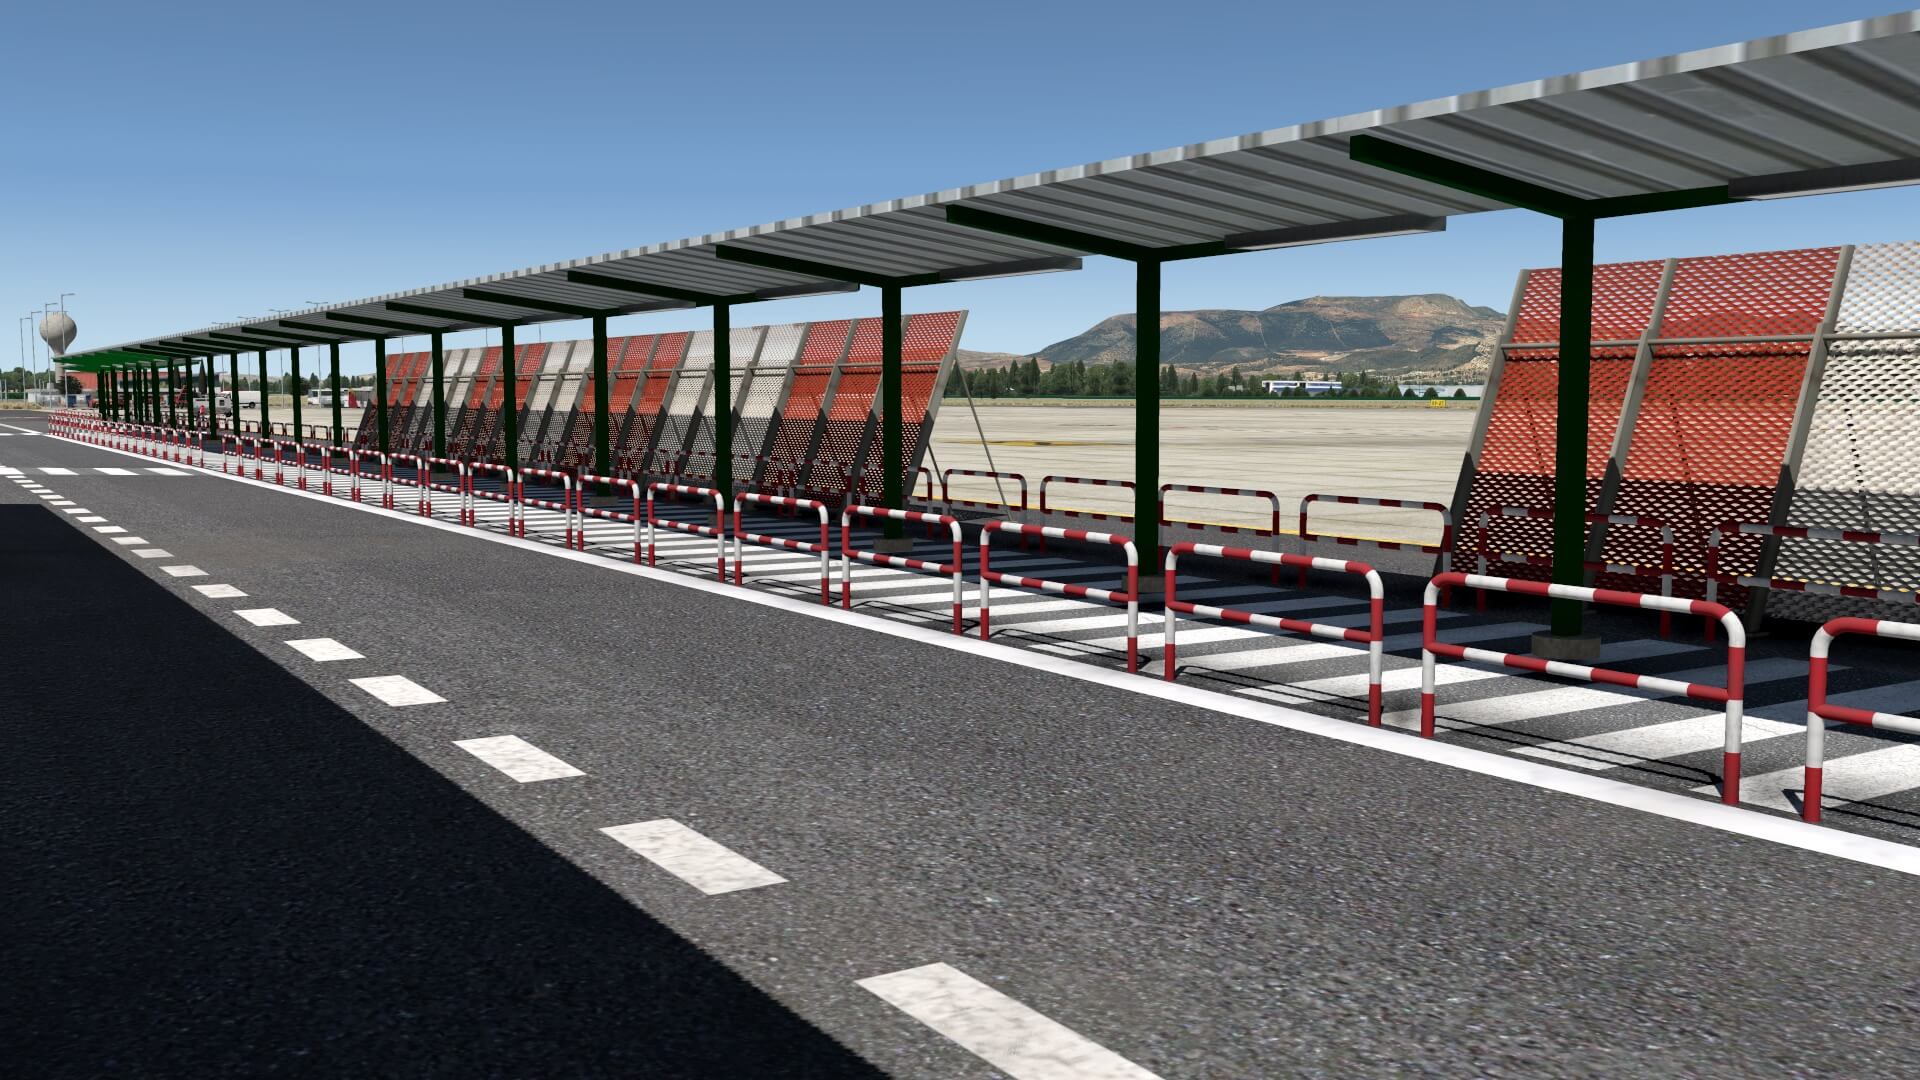
When you exit the building at the security side, you cross the road, and wait under the roof construction where you’re picked up by the bus and brought to your aircraft. Although this looks like a simple construction like this is done with a lot of effort and the outcome looks nice. And worth to mention is the evening lights that are modeled under the roof for waiting passenger.
When I continue my walk, I pass the baggage area and worth to mention is that the baggage signs are razor sharp and again, how basic the baggage building looks like, it reflects the reality and also with some slight weathering implemented. Along side the baggage building and also found at other places are LD6 belly containers with LOGO Projects labels. Personally I would remove the LOGO Projects labels on the containers, but that’s a bit me.
The end of the apron seems to be used to park all the static ground equipment like buses, GPUs (Ground Power Units), portable fire extinguishers, additional LD6 containers, baggage carts, baggage belts, trucks, but what I personally miss unless I’m wrong, are movable stairs for the passengers to set on-board or go from the aircraft and I also spot a couple of passenger buses that are slightly floating above the ground. I though I’d seen that also with the GPU at the apron. I double check these floating buses with the used mesh, but in both cases, using the mesh by SpainUHD or from LOGO Projects itself, the buses keep on floating. Worth if this can be solved.
I’ve almost reached the end of the airport where I spot the fire department with some firetrucks, with their own housing and a water tower. All modeled with eye for all those tiny details. When I look around from my fire department position over the airport swiping from left to right and back, I’m happy to see how well it is blending with the SpainUHD ortho package. Yes yes, I know, I mentioned this before, but that was during my sky overview. While standing at the airport I do see the surrounding area including the mountain range and I can’t say anything else then that it’s all well balanced.
Public Area
In the previous section I talked about security area, but what do you all see when you approach the airport by car?
Since the modeled airport comes with a large area of objects and textures that perfectly blend with the SpainUHD ground textures and mesh, it’s difficult to say “from here or here you reach the airport public area, but to make it myself and you a bit easier, when you spot the Benzoil tankstation you’re near the airport. Along the road and also at the airport, you see lots of different trees, all part of the included objects. Just to make this clear; the modeled LOGO Projects airport doesn’t need additional libraries. Every object you see is a part of the airport package.
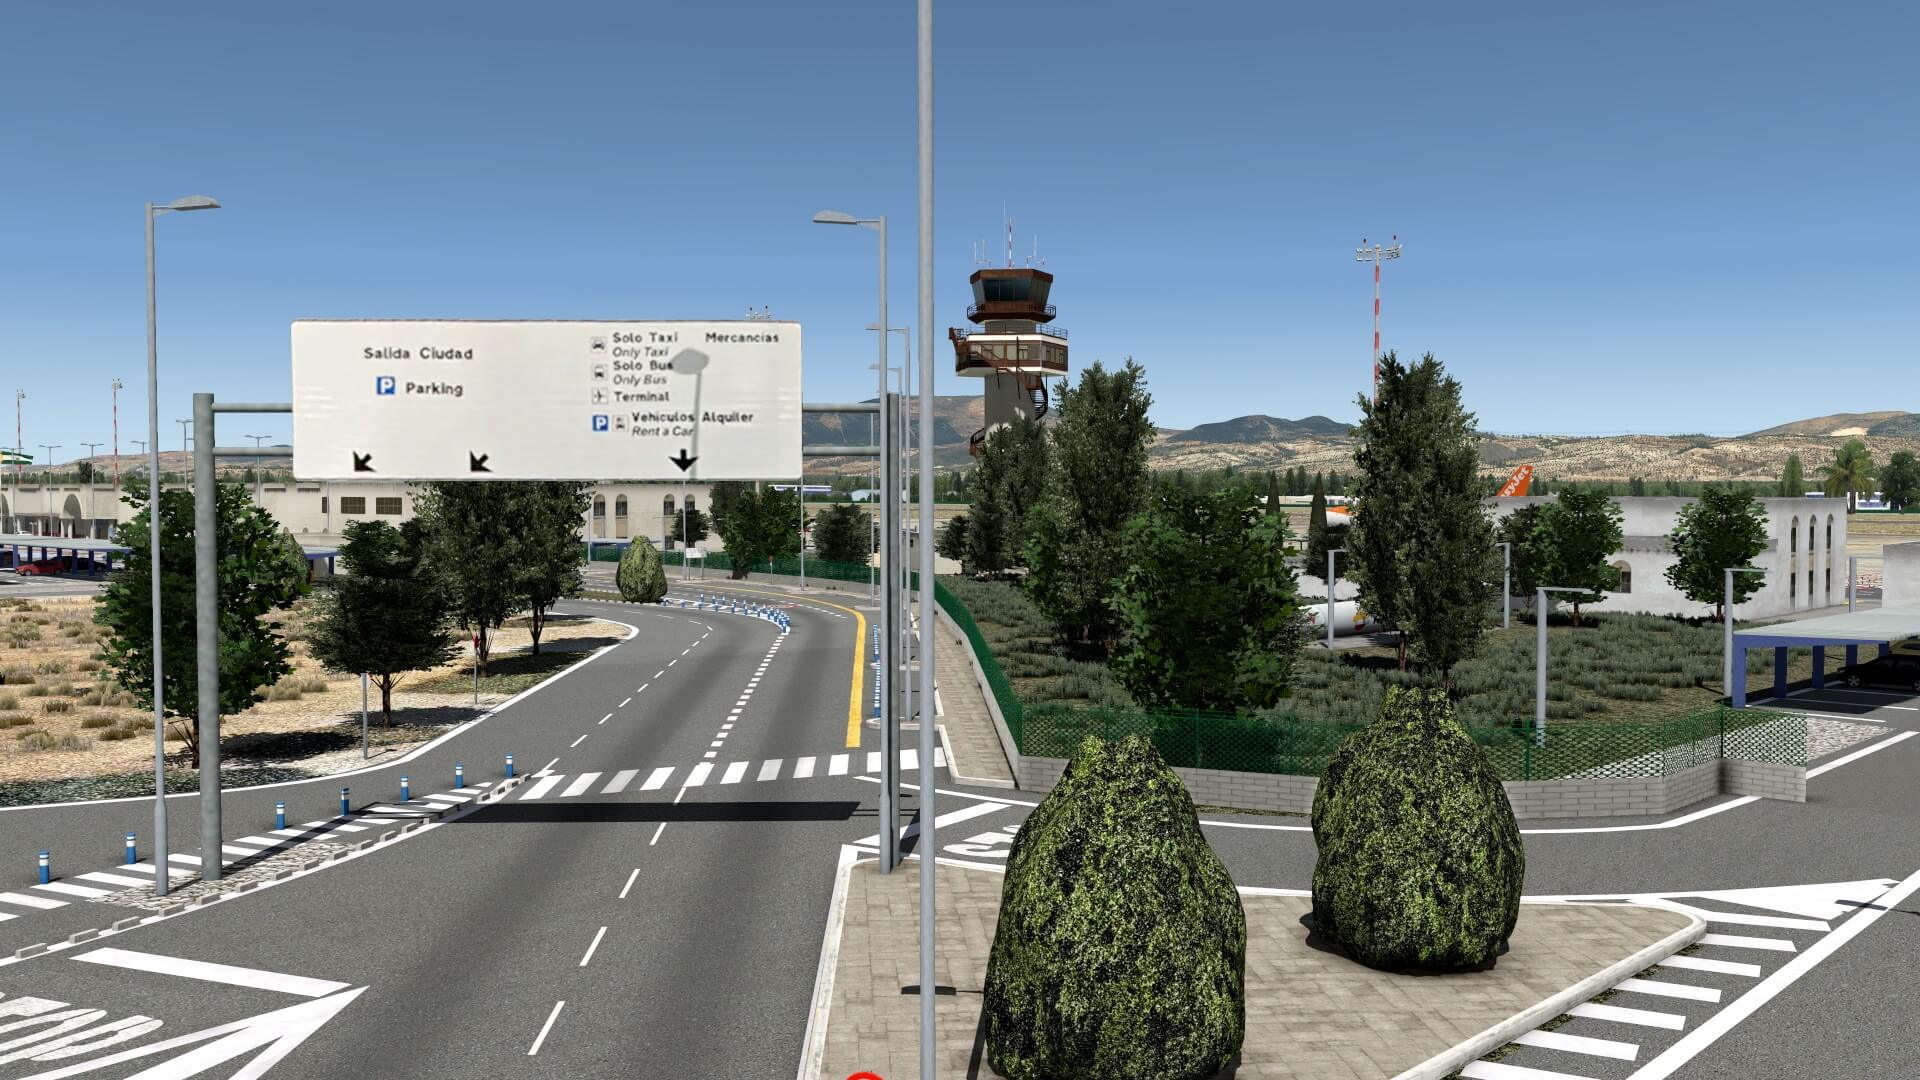
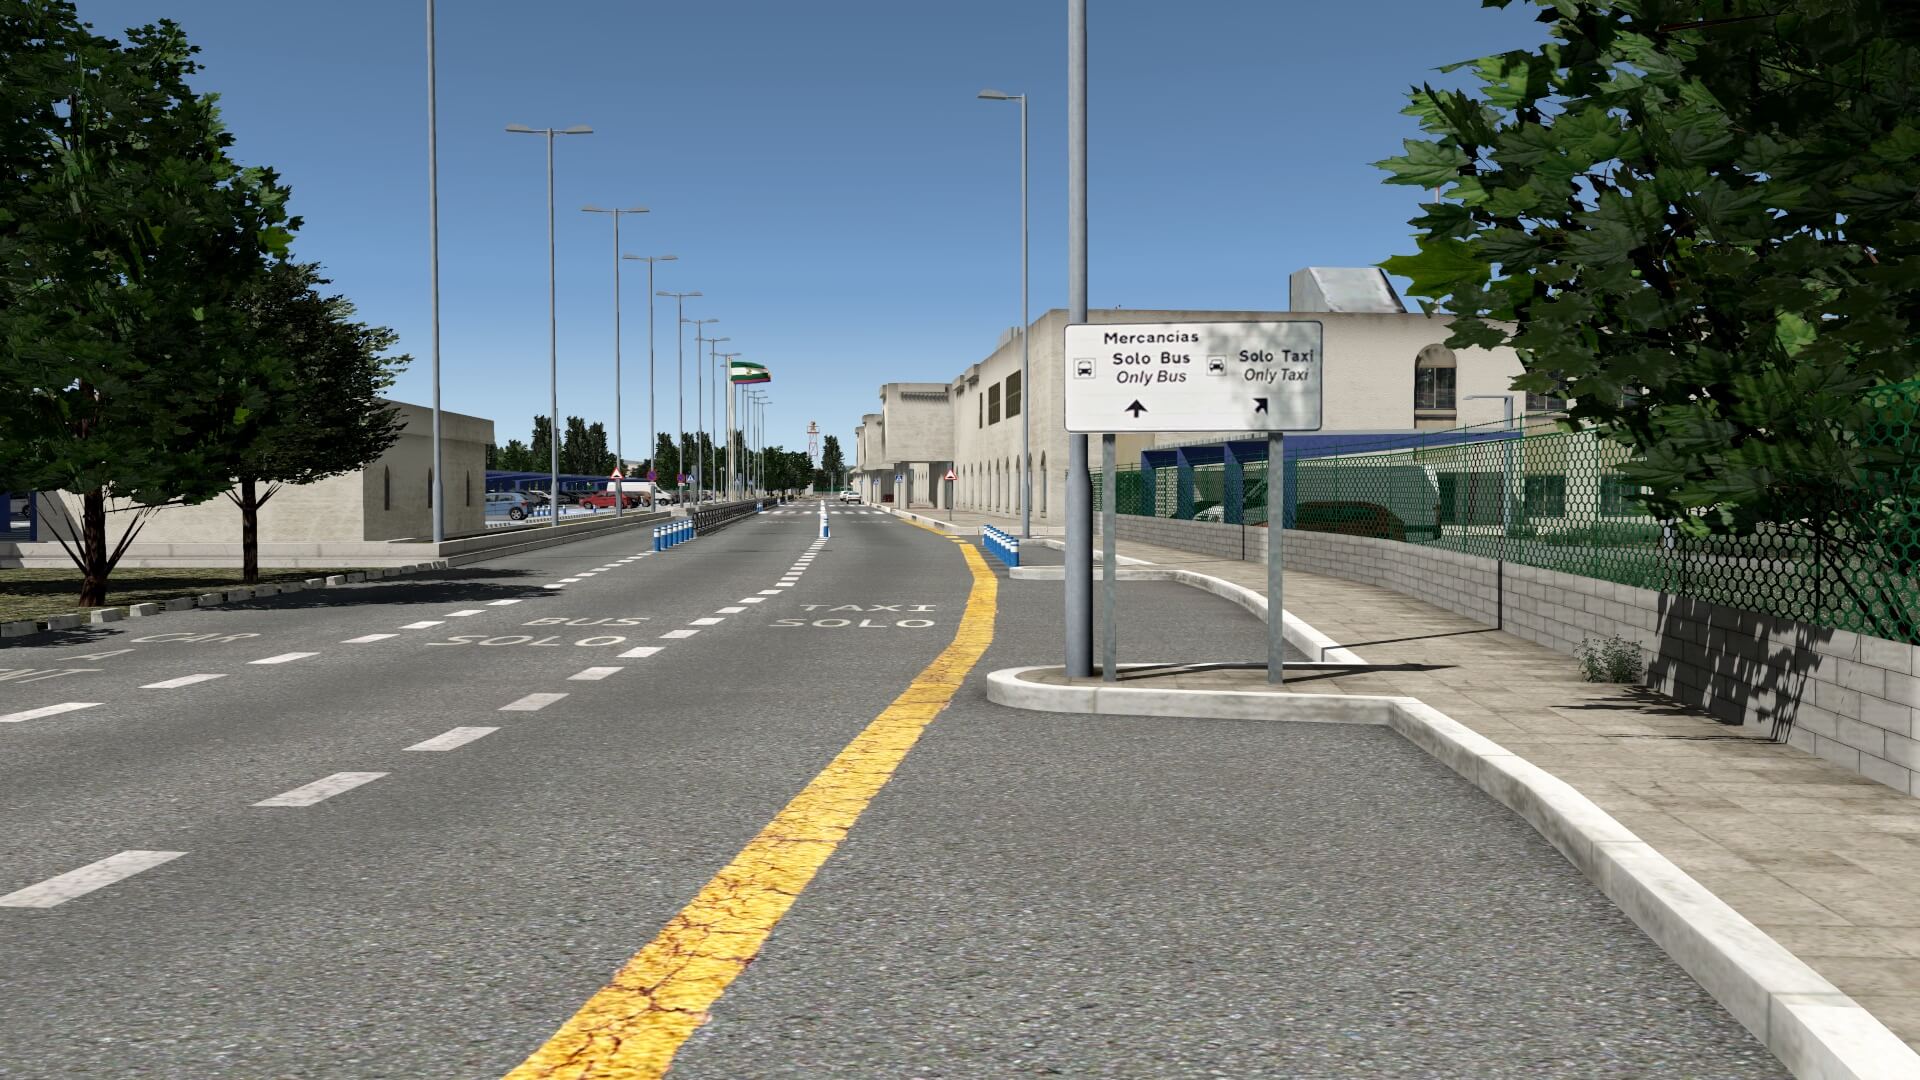
At a certain point nearby the airport the road splits and while passing a sign tells me that I’ve entered the airport surroundings or scenery. Yes yes, I see the control tower ahead of me while driving along and I can either go to the left and park my car under the roof constructions that protect my car from the Spanish sun or continue to drive straight on to the terminal arrivals and departures. Hold on, actually you can also turn right to the what I mentioned is a hotel with several parking places. Hopefully with an update the sign that hangs above the road can have slightly sharper textures. I can read what’s written on it, but compared to other signs, these are slightly blurry. I know, you can’t have it all!
I think I know why this high situated road sign near the Y crossing is slightly blurry and other signs long the roads aren’t. I think this has to do that making photos of lower positioned signs is much easier to make a photo of it while, something above the road, is perhaps difficult to shoot.
Anyway, that’s not so important. I’m right now more impressed about the overall accuracy in how every thing is modeled. And that everything are all the objects that can be found in this public area and besides that, the accuracy how it’s all modeled and grouped together. And yes, some simmers will say “not so difficult with such a small airport” which is partly correct. On the other hand, it’s also the developer himself who needs to have the patient and time and will to modeled something nice and that’s also worth being payware, which is in my opinion the case with this airport.
What else?
There’s not so much more except for the modeled industrial area at the other side of the airport, along the local road A-92. But hold on, north of the airport lies a small village Chaucina. No no, for those who think they will see Granada from the airport, no, that isn’t possible. Granada lies way too far to the East. So back to the industrial area along road A-92.
Besides that new and ortho ground textures are implemented in the package, Chaucina was already in the default scenery and not much is changed in the LEGR package. I think – I haven’t tested this option – but not sure that when you add SimHeaven EuropeX to your Custom Scenery folder would for sure change the Chaucina houses and will give them a more Spanish look and feel.
Due to the overall modeling, there’s no need to worry about the overall FPS (Frames Per Second). Of course, it all depends on your X-Plane rendering settings, your PC or Mac and your monitor size, but under normal conditions LOGO Project LEGR shouldn’t give you a hard time.
My Conclusion
For some reason I had a lot of fun exploring this small to medium size Spanish airport. I think it had to do that I knew that only one person modeled it, living in Barcelona, Spain. And that he put a lot of time and effort in the creation of this airport. And yes, it’s not a large airport, but even this small one has it’s own charme. Combine this with the freeware SpainUHD ortho textures, and you’re ready to explore Spain in general. And for those simmers who like to fly under VFR rules, it’s even more fun making a stop at the modeled LOGO Projects Granada.
The overall modeled airport with surrounding area and ortho textures is worth to arrive at or depart from since the developer put a lot of time into it and to give it a realistic look and feel. And yes, it was worth my time to explore and review it. Besides a couple of small remarks like slightly blurry signs, I also noticed that the parked passenger buses at their parked area are slightly with their wheels from the ground, so they are floating. But what I said before, the overall is very nice and worth it. So at the end there are a couple of small issues and hopefully Juanjo will find some time to check these out and solve it and offers an update for this.
More information can be found at the dedicated X-Plane.Org store page. As of this writing, LOGO Project Granada XP cost you only 25.95 USD. Perhaps a bit overpriced keeping the complexity of the modeled airport in mind.
And last but not least, I would like to thank Juanjo who modeled Granada XP and helped me answering several questions.
Feel free to contact me if you’ve got additional questions related to this impression. You can reach me via email Angelique.van.Campen@gmail.com or to Angelique@X-Plained.com.
With Greetings,
Angelique van Campen
| Add-on: | Payware LOGO Projects Granada Airport |
|---|---|
| Publisher | Developer: | X-Plane.Org | LOGO Projects |
| Description: | Realistic rendition of the airport of Granada |
| Software Source / Size: | Download / Approximately 1.03GB (unzipped) |
| Reviewed by: | Angelique van Campen |
| Published: | April 5th 2021 |
| Hardware specifications: | - iMac Pro - Intel 3GHz Intel Xeon W / 4.5Ghz - Radeon Pro Vega 64 16368 MB - 64 GB 2666 MHz DDR4 - 1 internal shared 1TB SSD (Big Sur 11.x) - 1 internal shared 1TB SSD (Bootcamp Windows 10) - 1 external 2TB LaCie Rugged Pro SSD (Big Sur 11.x) - Saitek Pro Flight System X-52 Pro and X-56 Rhino - Honeycomb Alpha Flight Controls - Honeycomb Bravo Throttle Quadrant |
| Software specifications: | - macOS Big Sur (10.15.x) - X-Plane 11.5x |














0 Comments