A Passionate Real World Aquila Pilot
It couldn’t be better: a passionate actual Aquila pilot who has developed his own X-Plane version. On the question of excellent 3D modelling skills and instrument programming, I need to figure that out in this impression. It could be a perfect combination for developing an aircraft for X-Plane.
According to Joey’s website ‘The Picus X Aquila you are going to fly in X-Plane is developed by a passionate real world Aquila pilot. All 3D models, textures and functions are custom crafted with love for this great airplane. In-depth modelling of many details, based on comprehensive original technical manuals as well as testing and fine tuning by real world Aquila pilots from all over the world aim on providing an ultra realistic experience for you.
Did you know the term PICUS means Pilot in Command Under Supervision? Your Flight Instructor alights the plane, guiding you from the ground. Being a PICUS the first time is one of the most joyful and exciting moments in pilot life. When will you become a PICUS?’
Knowing all of this, I’m curious to check it out myself and see if it’s really as beautiful as described. One thing I can’t confirm is whether the flight characteristics are close to the real Aquila. This is because my frozen PPL is only for a Cessna 152 and C172, and therefore I don’t have any experience with the Aquila models.
Hold on, models?
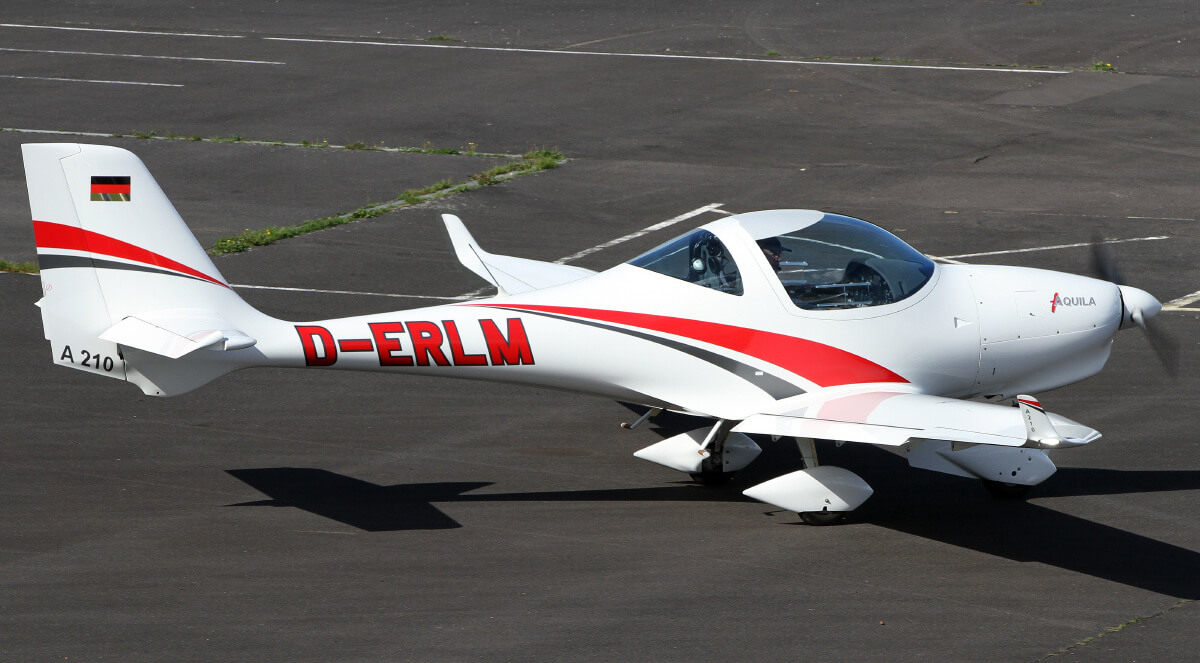
Yes, in real life you have the Aquila 210 and A211G model types and so this is naturally reflected in X-Plane. The difference between the A210 and A211G is the replacement of traditional instruments with the Garmin G500. Curious … I bet you are!
What’s included and what’s not?
What’s not included is easy to answer. I didn’t miss anything, OK perhaps one thing. The option to switch between aircraft liveries on-the-fly. So, since you are aware of this now, what’s actually included in this combined Aquila A21x package?
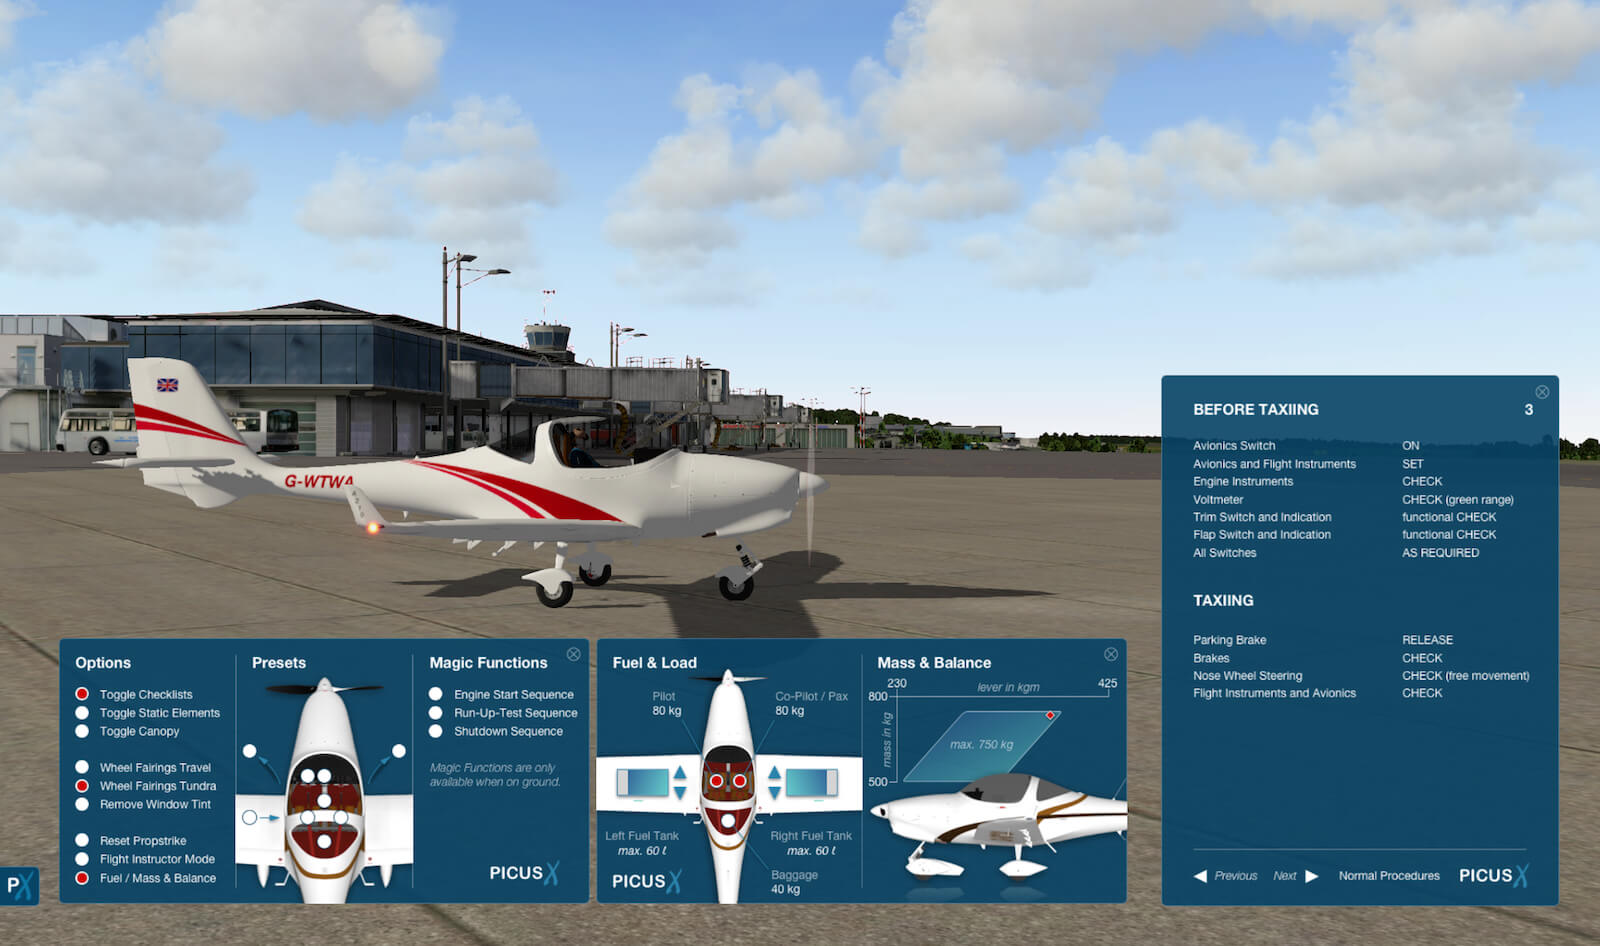
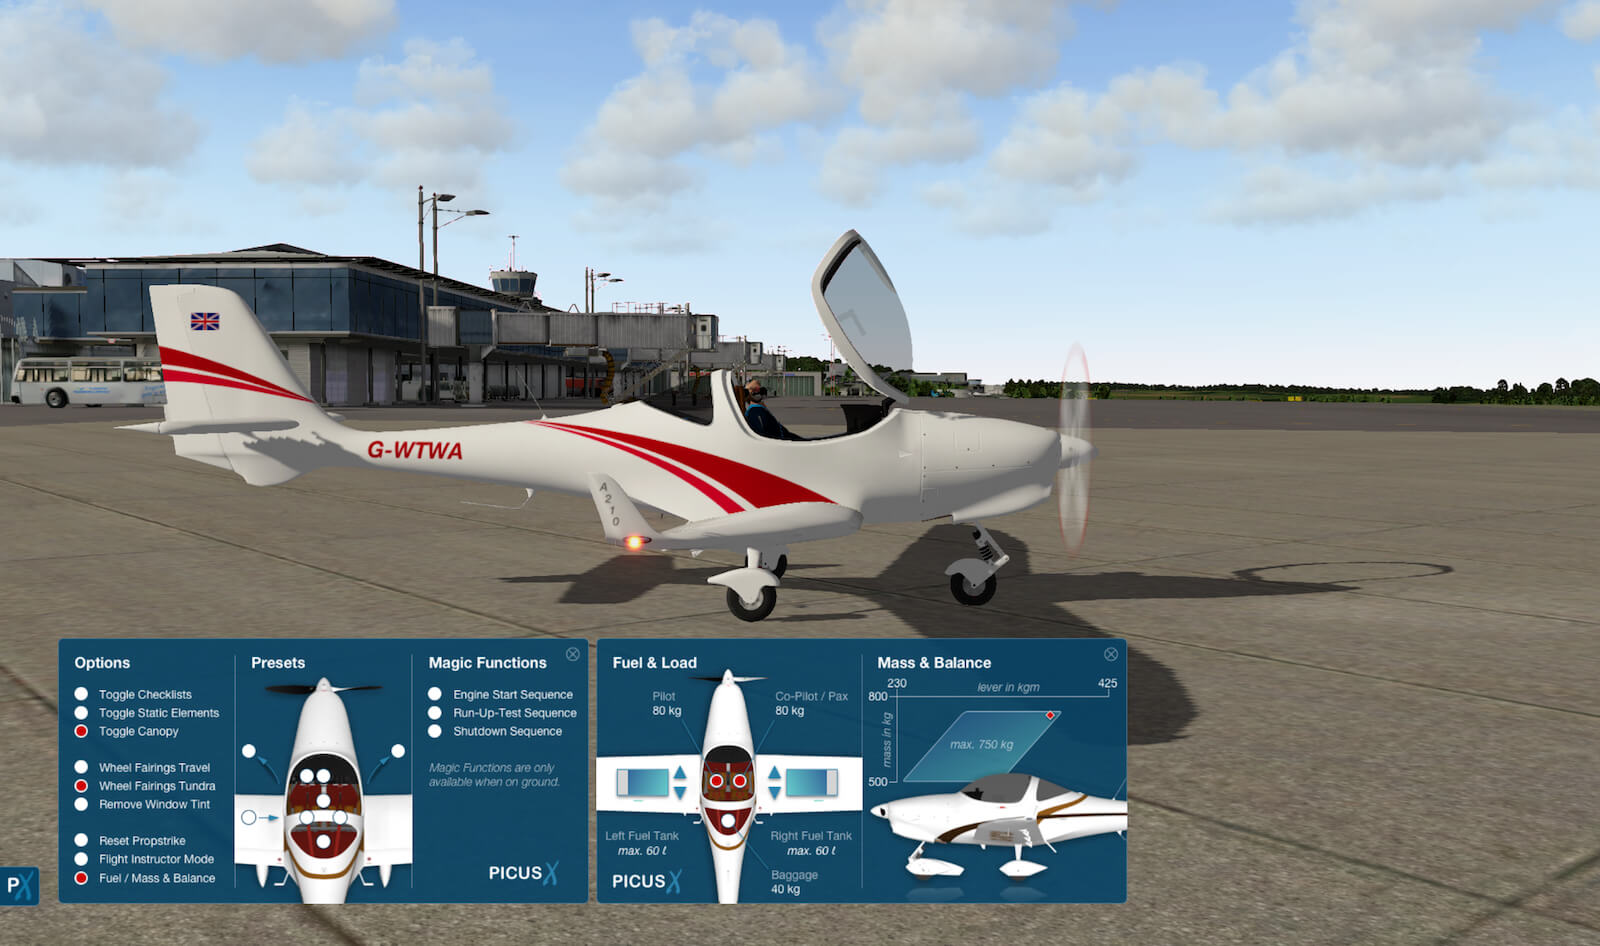
You get two Aquila aircraft, the A210 and the A211G, as well as several liveries and a complete popup system that’s divided into three sections: ‘Options’, ‘Presets’ and ‘Magic Functions’. The easiest one is the ‘Presets’ that allows you control preset views. The ‘Options’ section enables you to toggle between items, e.g. a non-interactive checklist, static ground elements and the opening/closing of the canopy. Since you can use the Aquila on paved and grass runways, it would make sense to be able to select between different wheel fairings and so you can. Further on – very important – a fuel and balance (Weight and Balance) window and, in case you really made a mess of landing, a prop strike repair option. The Flight Instruction option places you in the right-hand seat, but with a cold and dark aircraft it doesn’t seem to do anything more, so that’s what we have to find out later.
And finally, the ‘Magic Functions’ section. It’s not as magical as it sounds. It allows you to activate an auto engine start, run-up test and shutdown sequence. That’s it basically, but nothing to complain about so far.
But is this all? No, the Aquila package comes with a bunch of interesting Adobe Acrobat manuals like:
– Aquila A210 POH
– Aquila A210 Technical Handbook
– Picus X A210 Emergency Procedures
– Picus X A210 EULA
– Picus X A210 Normal Procedures
I think it may be obvious what the contents are in the normal and emergency procedures manuals as well as the EULA, but what do you expect to find out from the POH and technical handbook? The POH is partly based on real Aquila information as well as what the modelled aircraft can offer. That said, both the old fashioned and Garmin G500 instrument panels are explained, as well as the other cockpit controls. Last but not least, performance tables and operating limitations are included. The Technical Handbook is more related to X-Plane settings, computer requirements, SASL plugin and the effect of possible external plugin conflicts. In other words, assuming for the moment that the Garmin G500 is fully simulated, you won’t find any official manual for this Garmin unit in the package. Perhaps there’s a good reason for this, and therefore you can find below the link to the official Garmin G500 Pilot’s Guide (https://static.garmin.com/pumac/190-01102-02_E.pdf). Also worth downloading is the Cockpit Reference Guide (https://static.garmin.com/pumac/190-00601-03_G.pdf). If you would like to see more material related to the Garmin G500/G600, then you should check this Garmin link (https://support.garmin.com/support/manuals/manuals.htm?partNo=010-0G500-00).
Or perhaps you don’t like to read manuals, then this Garmin link (https://www8.garmin.com/support/download_details.jsp?id=4867#Instruct) could be an interesting option – namely a G500/G600 series trainer. Unfortunately, this free software is only for Windows computers and not for Mac or Linux. In the case of Mac users, you either need a bootcamp Windows partition or Windows via Parallels Desktop.
AQUILA Aviation GmbH – Flugzeuge mit Leiderschaft
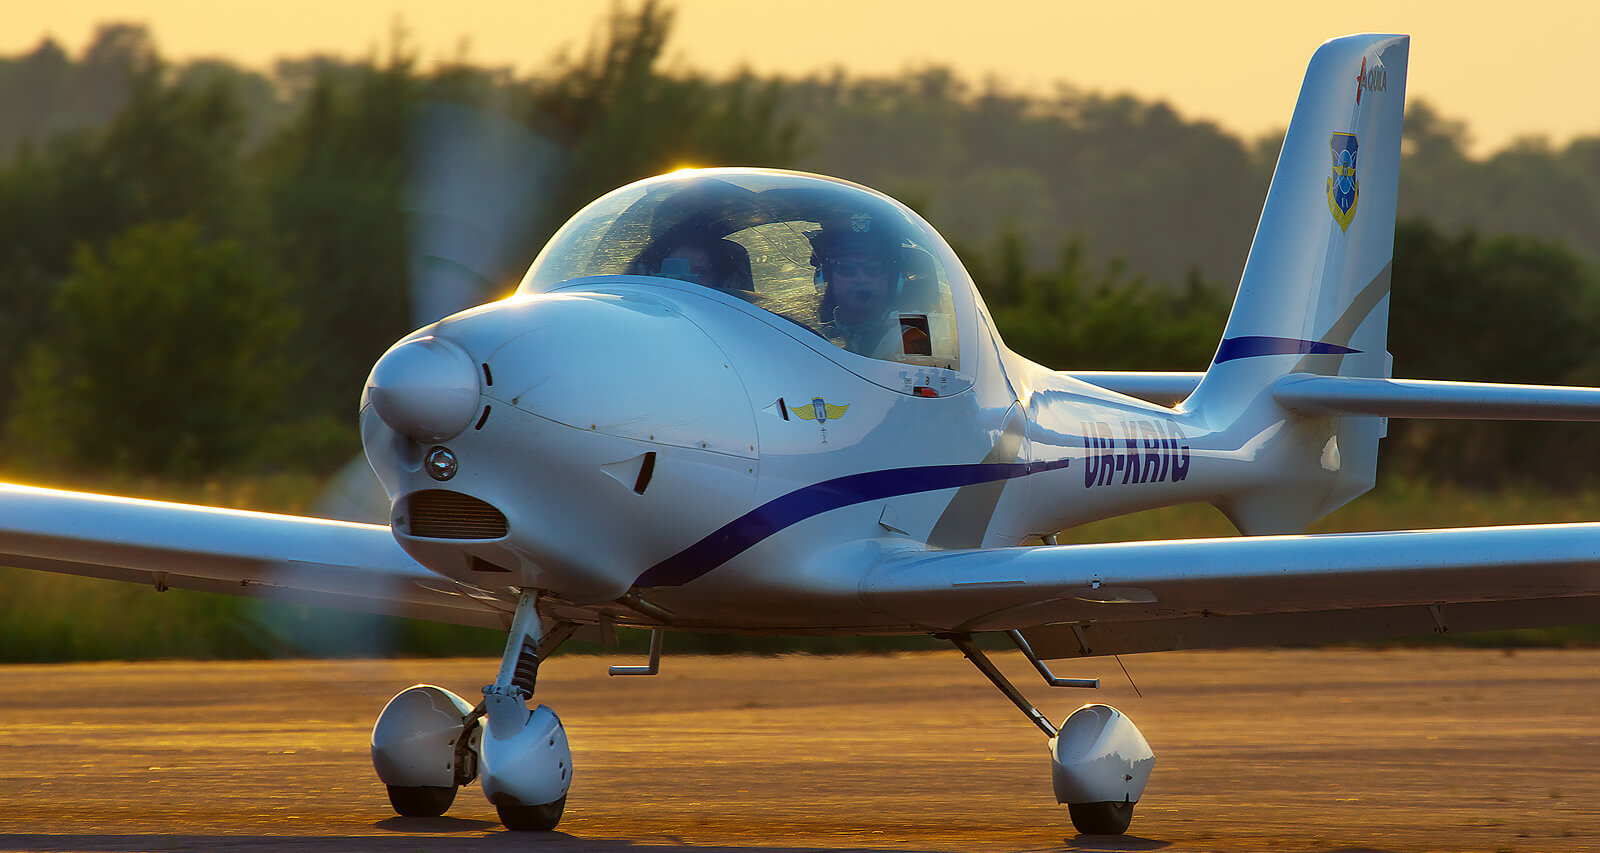
Some words about the real Aquila A210/A211G aircraft. The modelled X-Plane versions are based on real aircraft build in Germany. It’s a relatively new company that was founded in 1995 with the development of the Aquila A210. It took up to the year 2002 before they delivered their first Aquila aircraft and a year later the A210 production line started. And so the success story of the Aquila aircraft models began. Currently, AQUILA Aviation designs and produces the A211 model that comes in different flavours namely:
– Aquila A211 with analogue primary and engine instruments,
– Aquila A211G with the Garmin G500 (PFRD) and analogue engine instruments.
– Aquila A211GX with all digital instruments as well as the G500.
If you would like to find out about all the differences between these models and which inner fabrics are available? Then you should check out this Aquila link (https://www.aquila-aero.com/fileadmin/images/inhalt/gemeinsam/a210/Buch_Daten_Web.pdf) or – of course – you can decide to configure your real Aquila at AQUILA Aviation. Have fun!
First Impressions
External Look and Feel
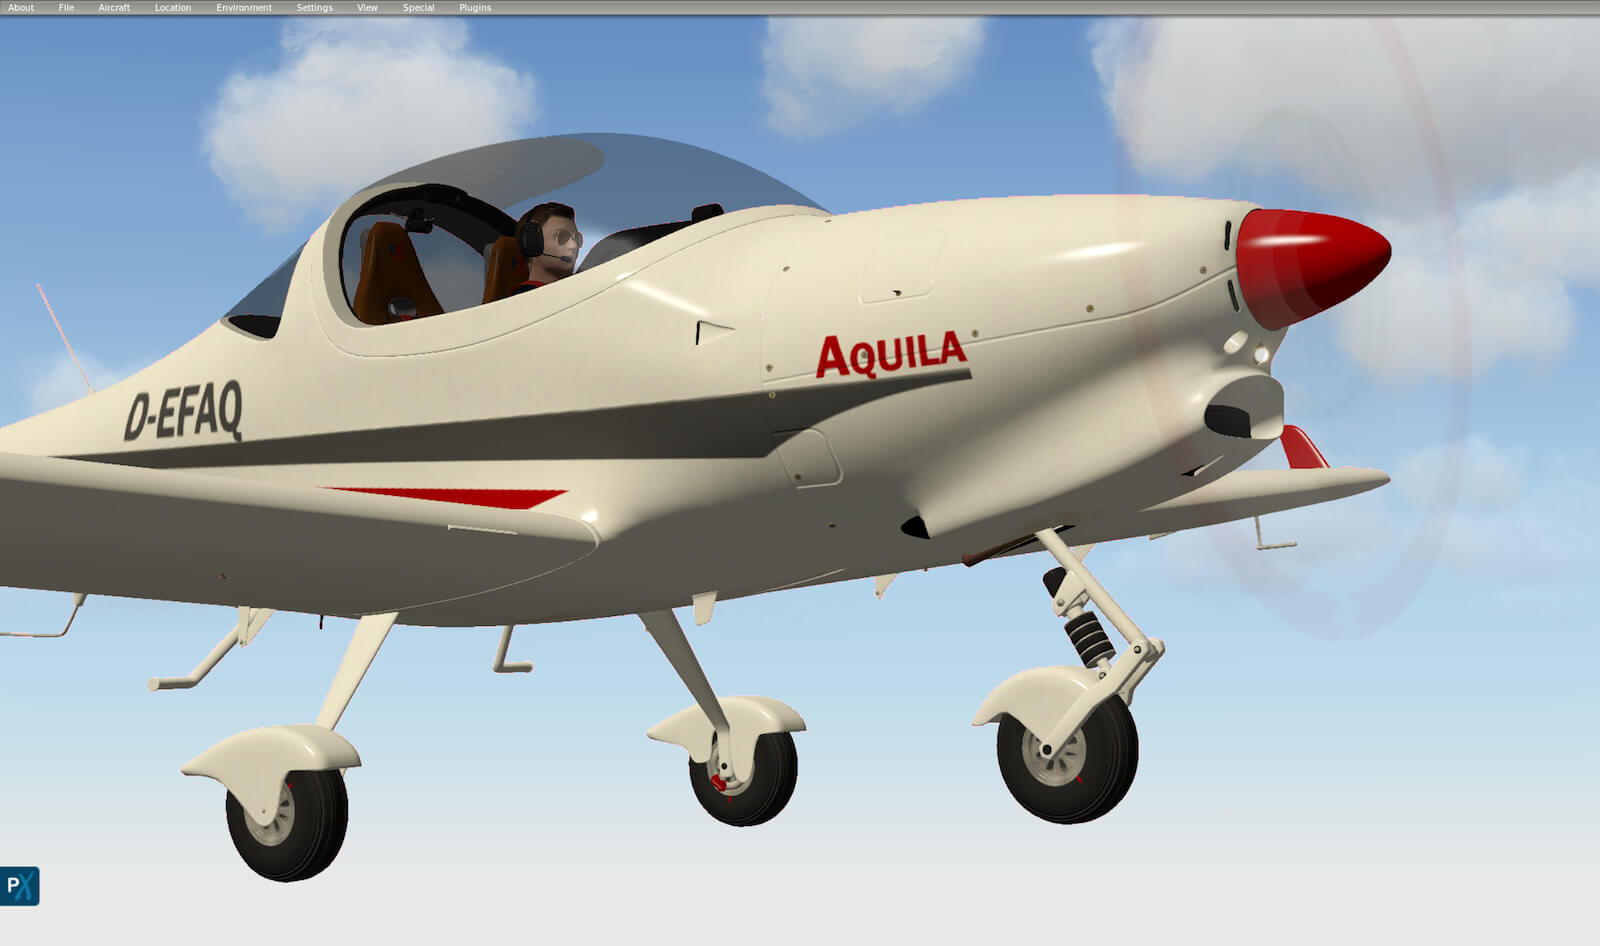
At first sight you could get the impression that the external 3D modelling isn’t that close to the real thing, but further inspection reveals that the real Aquila is in fact very smooth. Hardly any rivets or screws are visible except those used for the engine cowling and there are a couple of screws that hold the wheel fairings. Remember that in real life the Aquila is completely made of glass-fibre and carbon-fibre reinforced plastic, sometimes also known as GFRP and CFRP.
As a result you won’t find any rivets or screws that hold fuselage and other aircraft parts together since it’s basically a one-piece construction, except for the attachment of the horizontal and vertical stabilizers and wings. So as I mentioned earlier, to begin with it looks weird to see nothing on the external skin, but that is the reality.
Internal Look and Feel
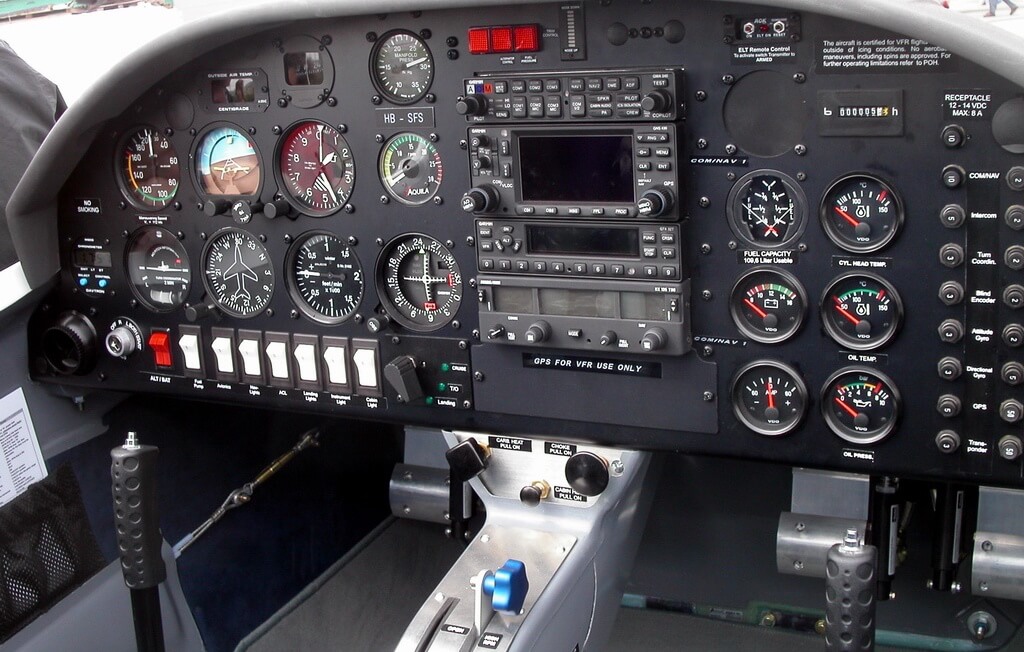
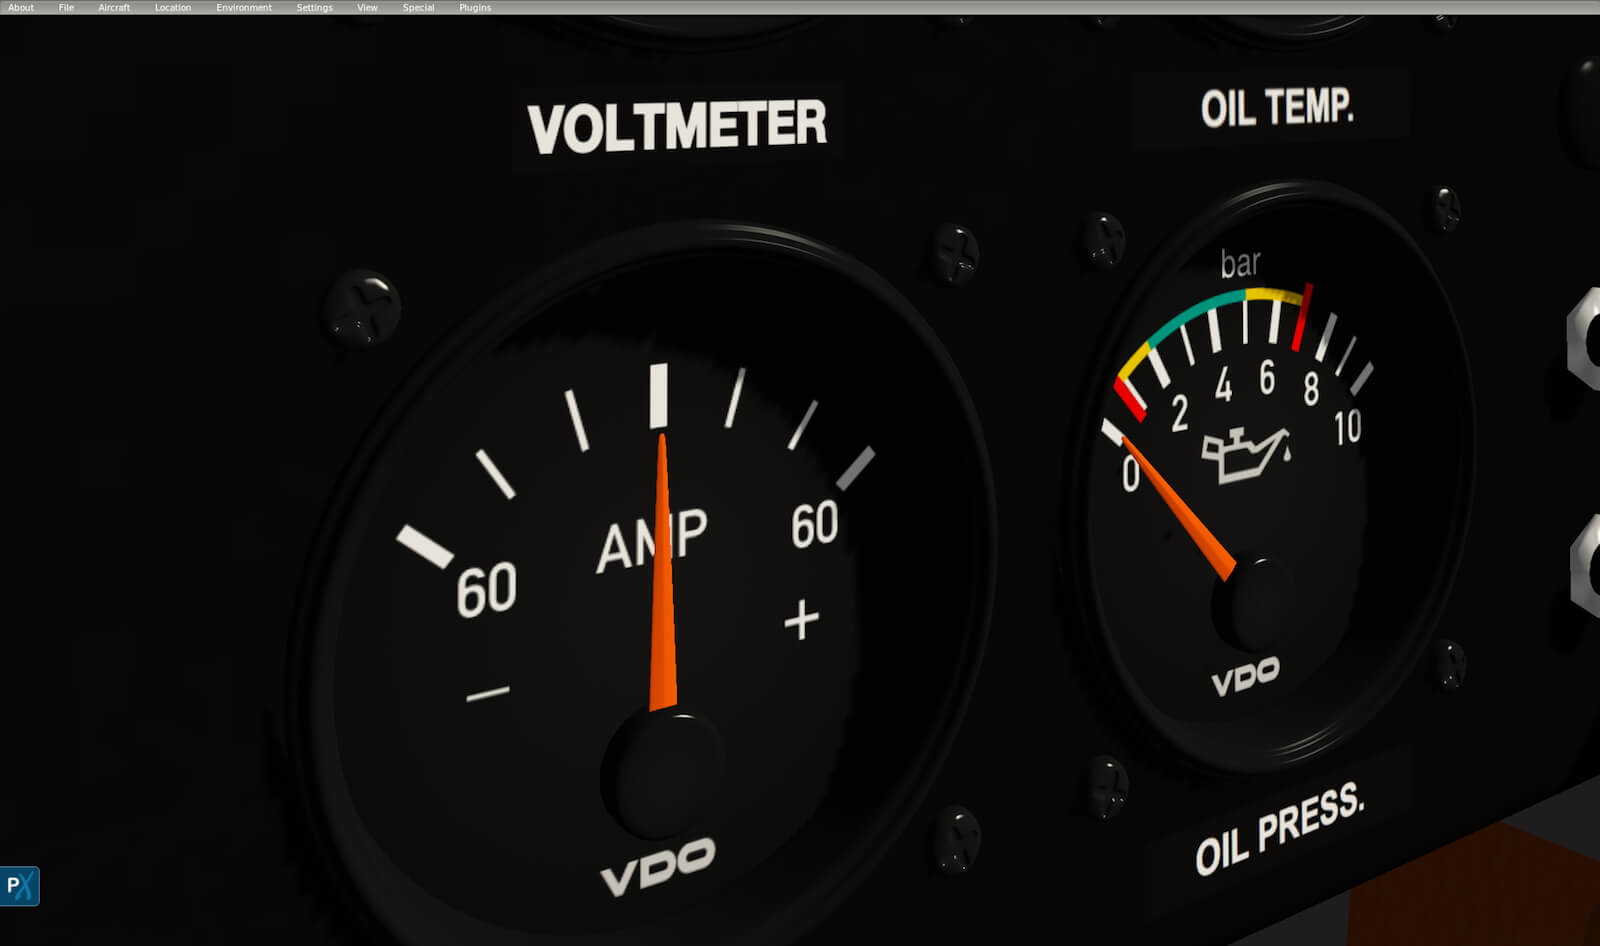
This is more or less the same for the interior, and I must say that I prefer the Garmin G500 A211G model, to the A210 with the analogue instruments. I don’t know why, but a first glance at the analogue instrument panel gives me a little cartoonish feel and in particular the horizon. And what I have touched on before: it’s all so new – no scratches, no dirty spots, no weathered look, nothing. Even the instrument screws are brand new. However, you have to bear in mind that most A210/A211 models, or perhaps all, are privately owned and therefore the owner would naturally try to keep the aircraft as new looking as possible. That makes sense, but that doesn’t mean some weathering should not be applied. Surprisingly, that cartoonish look and feel disappears when you zoom in on the panel and instruments. It’s great 3D modelling, and this is not only applicable to the indicators, switches, knobs, but also to the simple 3D screws. But zoomed in or not, I do miss the ‘used’ or weathered look and in my humble opinion this should be applied in the next patch. When you play a little bit with the external lighting, in such a way that the sunlight glides over the instrument panel, then that cartoonish look becomes less apparent, which is good news.
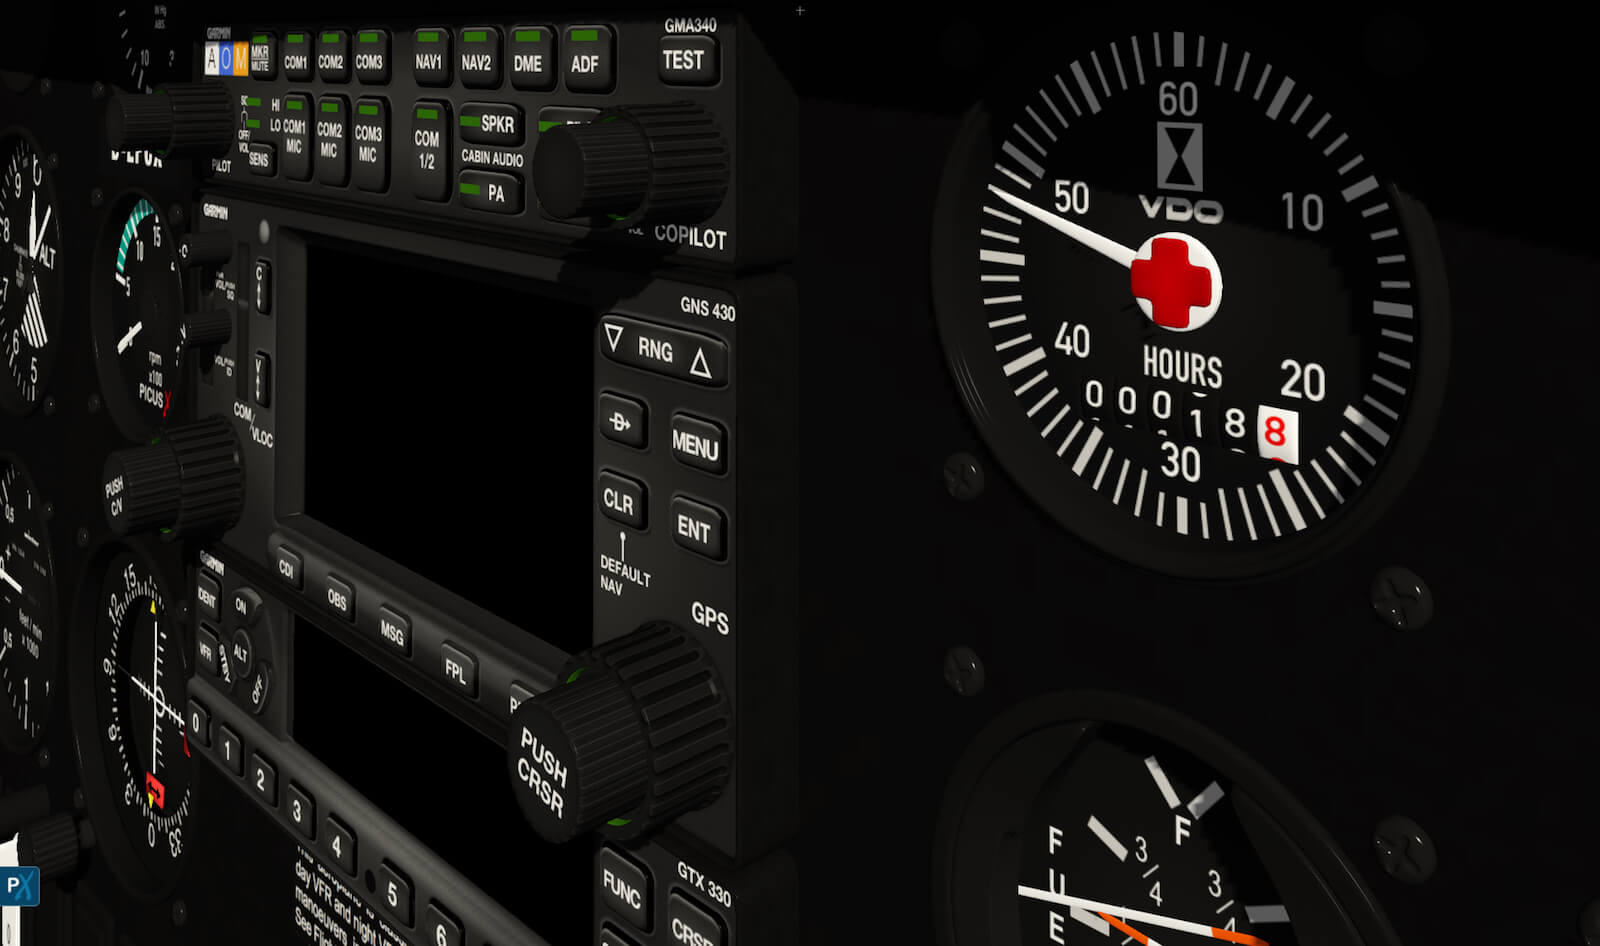
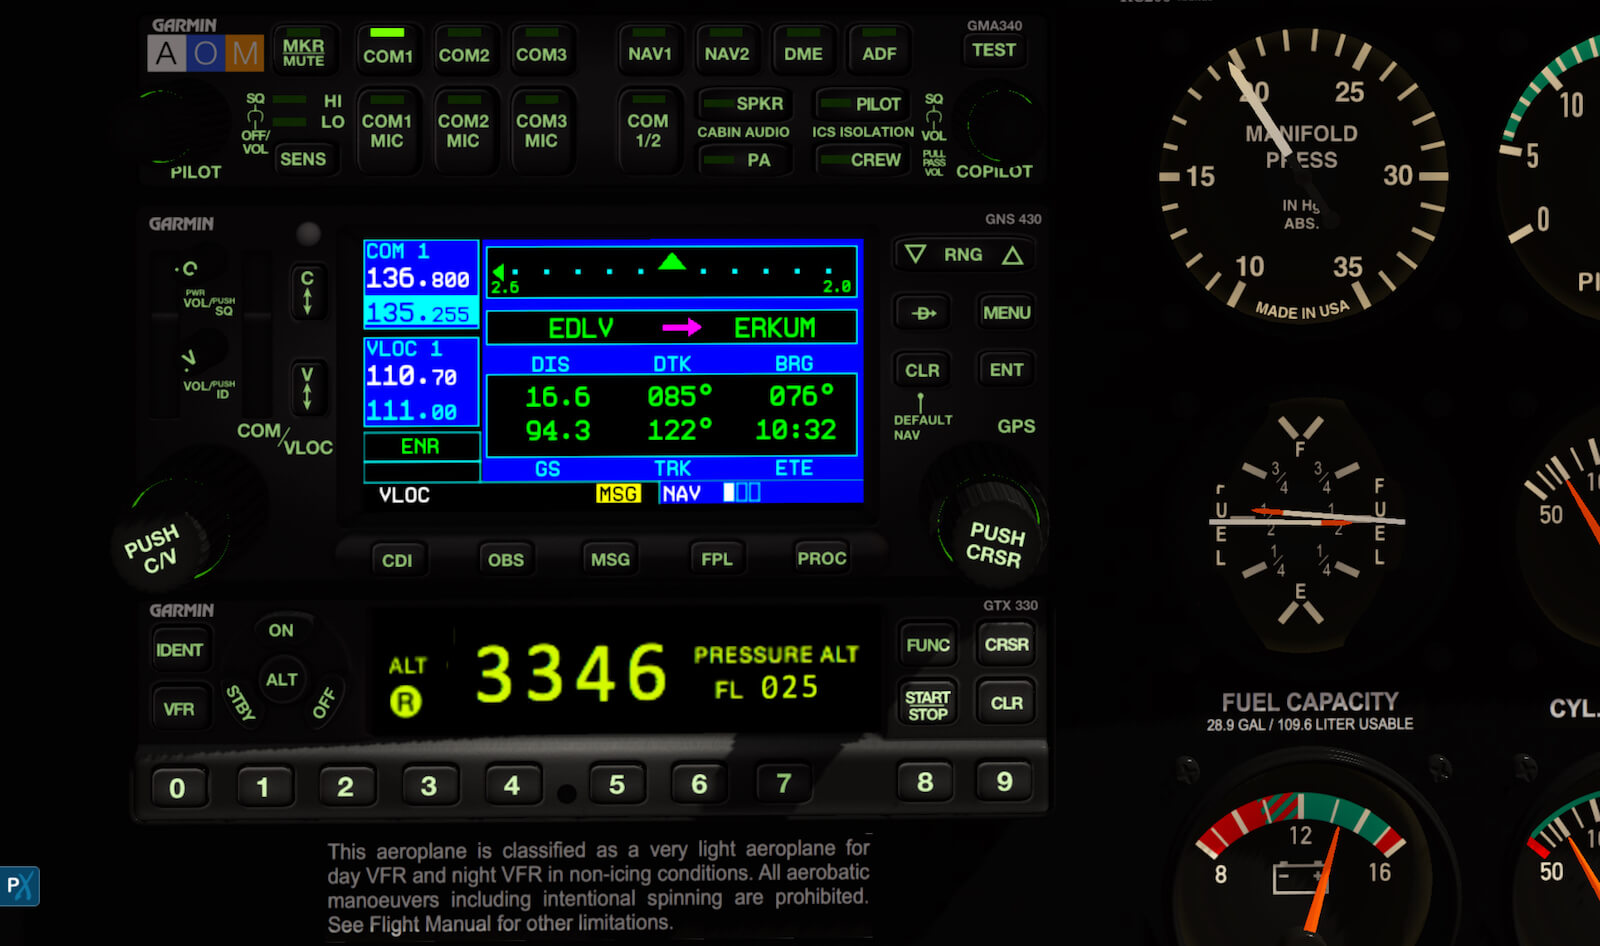
Although the analogue instrumentation of the A210 is complete, you have still got some modern radio and navigation equipment and, of course, the default Garmin GNS 430. Altogether, a basic panel, but modelled with great precision with a careful eye for all those tiny details. The 3D cockpit itself is OK although once again there is the same issue … no weathered look. Even the floor carpet doesn’t have a dirty mark.
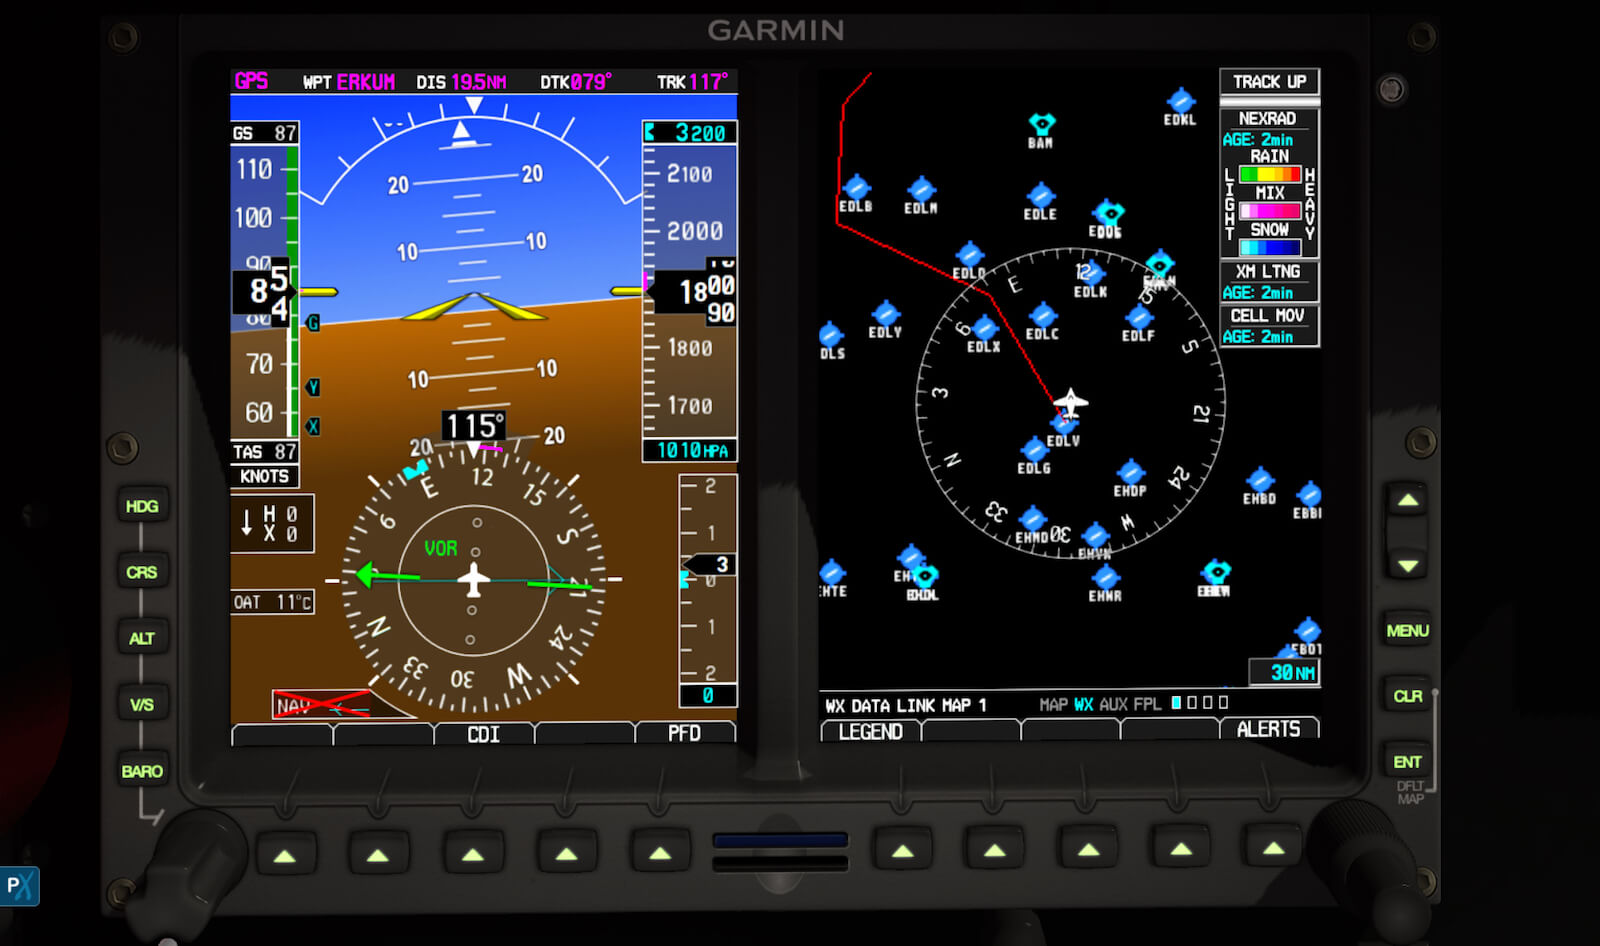
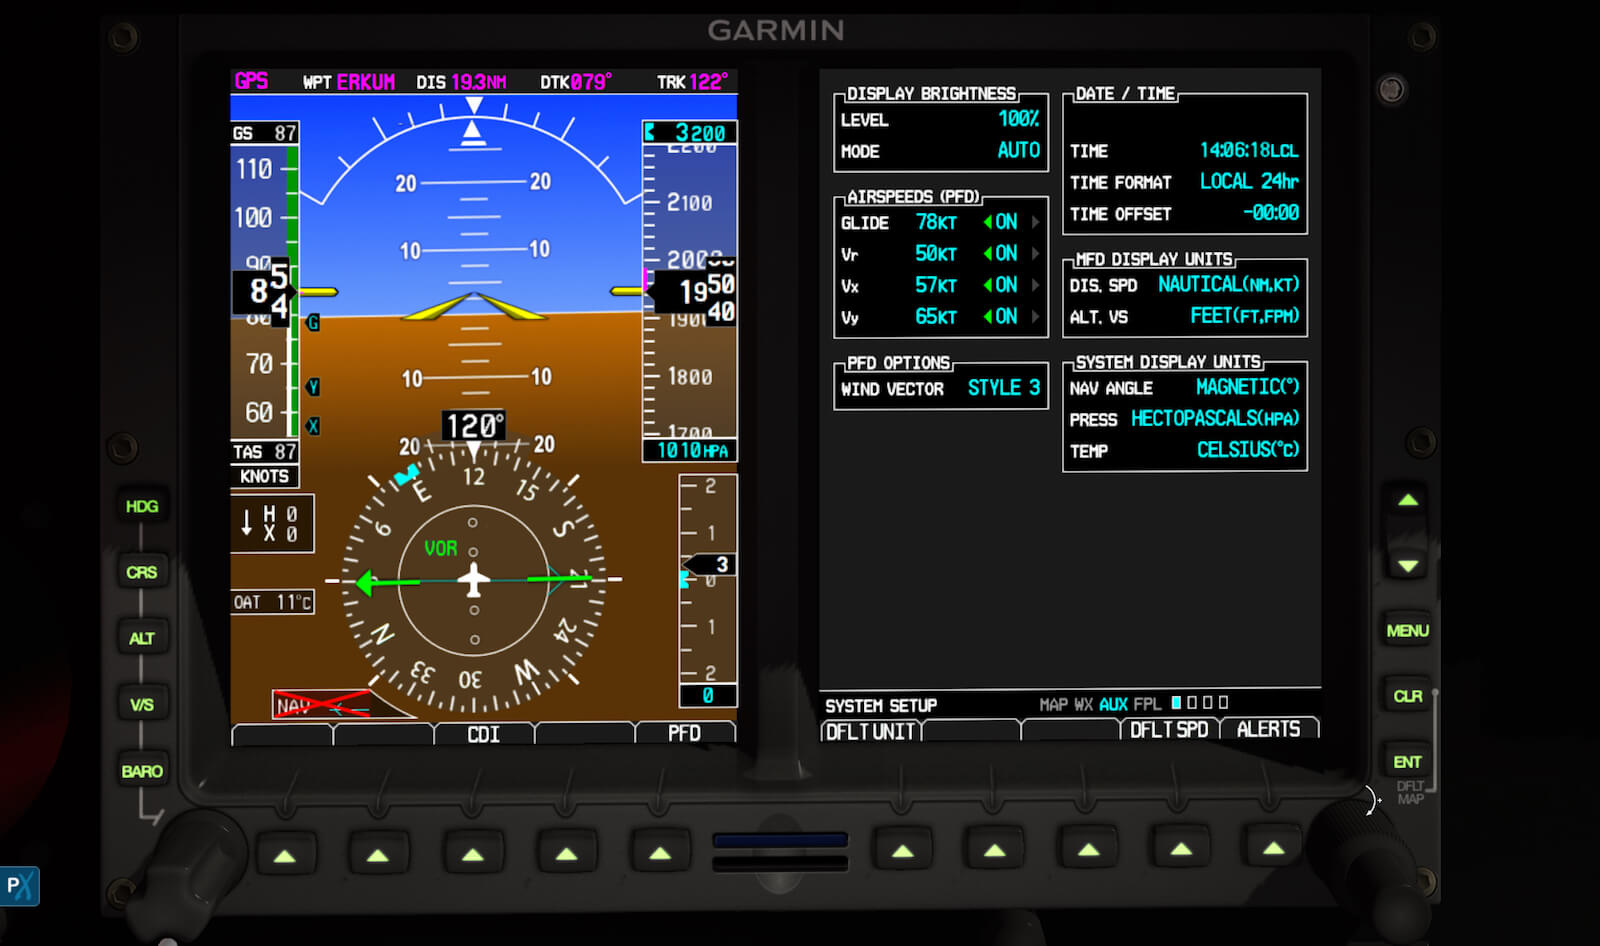
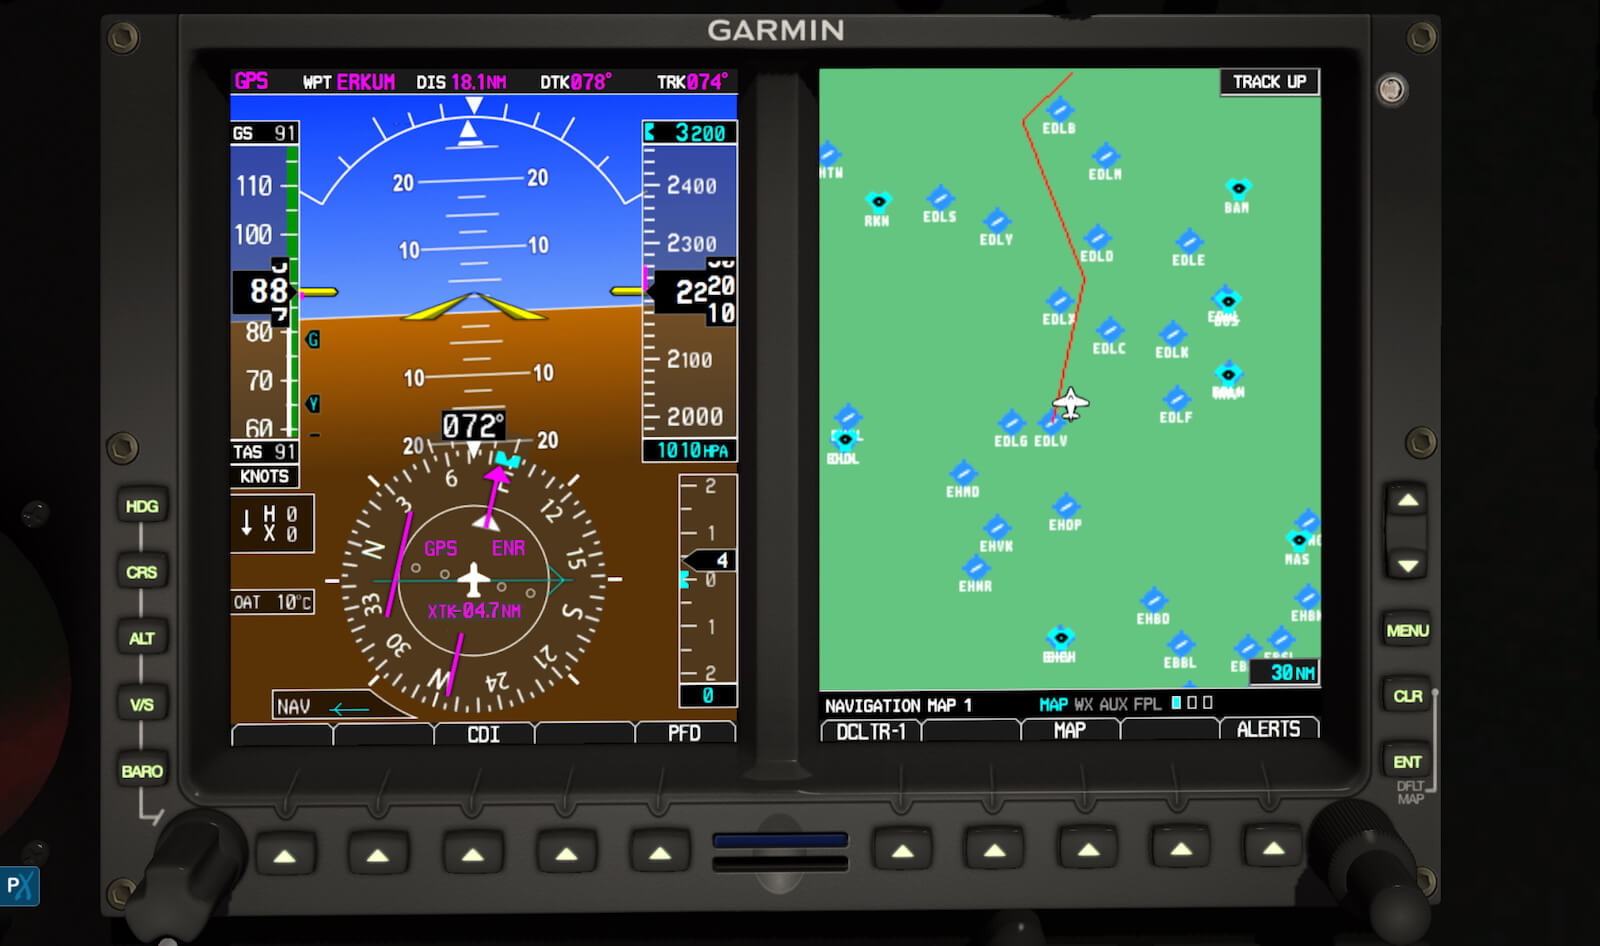
Turning to the A211G, it isn’t very different except of course for the replacement of a lot of flight instruments with the Garmin G500. Perfectly readable, razor sharp indication and fitted as it should be, and exactly as it is on the real panel. More information about how to use the G500 can be found in the POH manual, and when you mastered this then try the Garmin links provided for the official G500 description and operation.
The aircraft package doesn’t provide any flight plan or small tutorial. Although it’s an easy to go aircraft, I still imagine that there are simmers out there who would like to see a brief tutorial – for example on how to create and enter a flight plan. The default Garmin GNS 430 is a suburb instrument, but handling and entering a flight plan is not always easy.
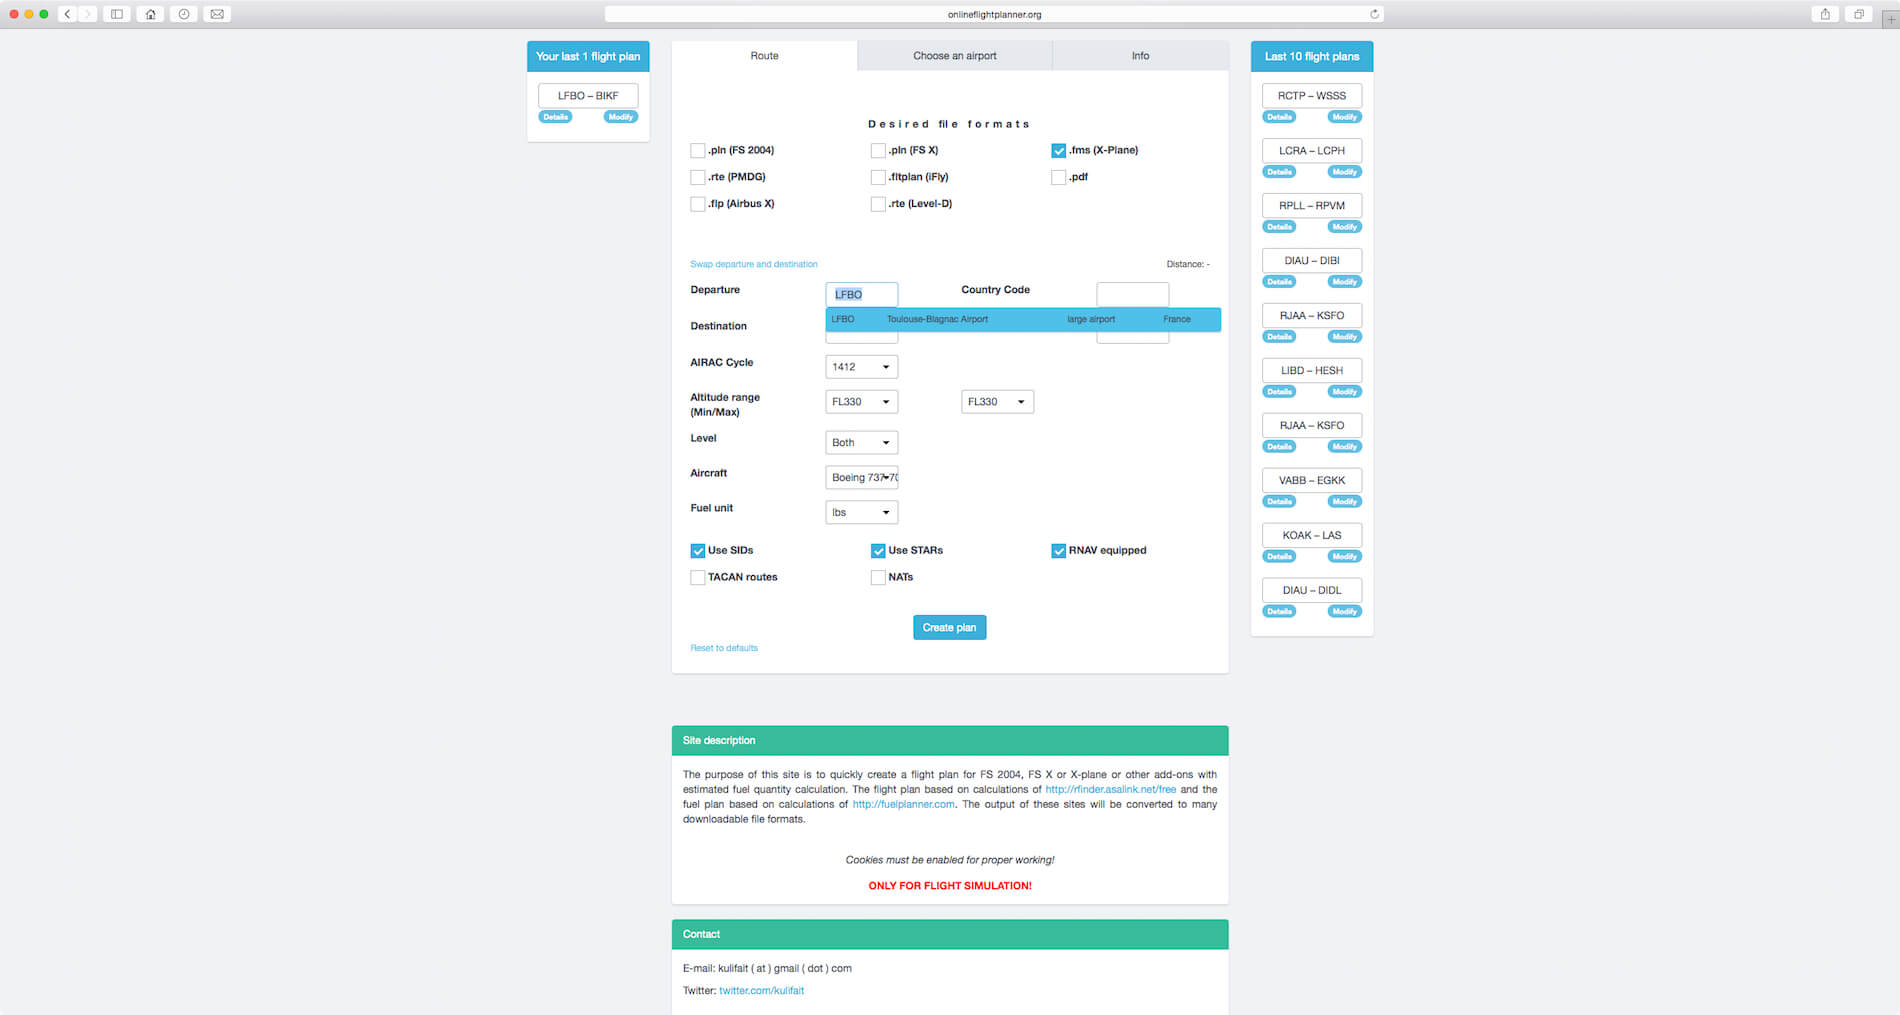
If you want you can use Online Flight Planner (https://onlineflightplanner.org) to create a flight plan. This website uses the same database as RouteFinder, but with several export options, one of which is ‘X-Plane fms’ and that’s the format you need to load a flight plan into the default X-Plane GNS 430/530.
An example of creating a flight plan with Online Flight Planner.
Copy the created fms file into the X-Plane root folder – Output/FMS plans. With the fms file in this folder, you’re able to load the flight plan into the Garmin GNS 430. Oops, that is easier said than done. Let me help you out with loading a ready to use flight plan. Once you have selected the aircraft and powered it up, click the flight plan button till you have got the empty ‘ACTIVE FLIGHT PLAN’ page. Next click once on the right-hand inner knob.
If you have ‘mouse scroll’ active, place the mouse symbol on the right-hand side of the inner knob and rotate the middle mouse wheel one click. In both cases, the previous page is replaced by a ‘FLIGHT PLAN CATALOG’. Nice, but still no ‘fms’ file has been highlighted or activated. So, click next on the right-hand knob. This will highlight the top listed ‘fms’ flight plan. When the page only shows one flight plan, then this is most likely yours. When you have more flight plans installed, then click as many times as needed on the right-hand outer ring of the knob. Once your flight plan is highlighted, click the ENT (enter) pushbutton. Your GNS 430 goes back to the overview page and shows you the loaded flight plan waypoints. For a graphical map you need to check out the G500 MFD (Multi Function Display).
Pre-flight Check and …..
I think it’s time to do a quick walk-around check, cockpit pre-flight check and off I go.
Walk-around
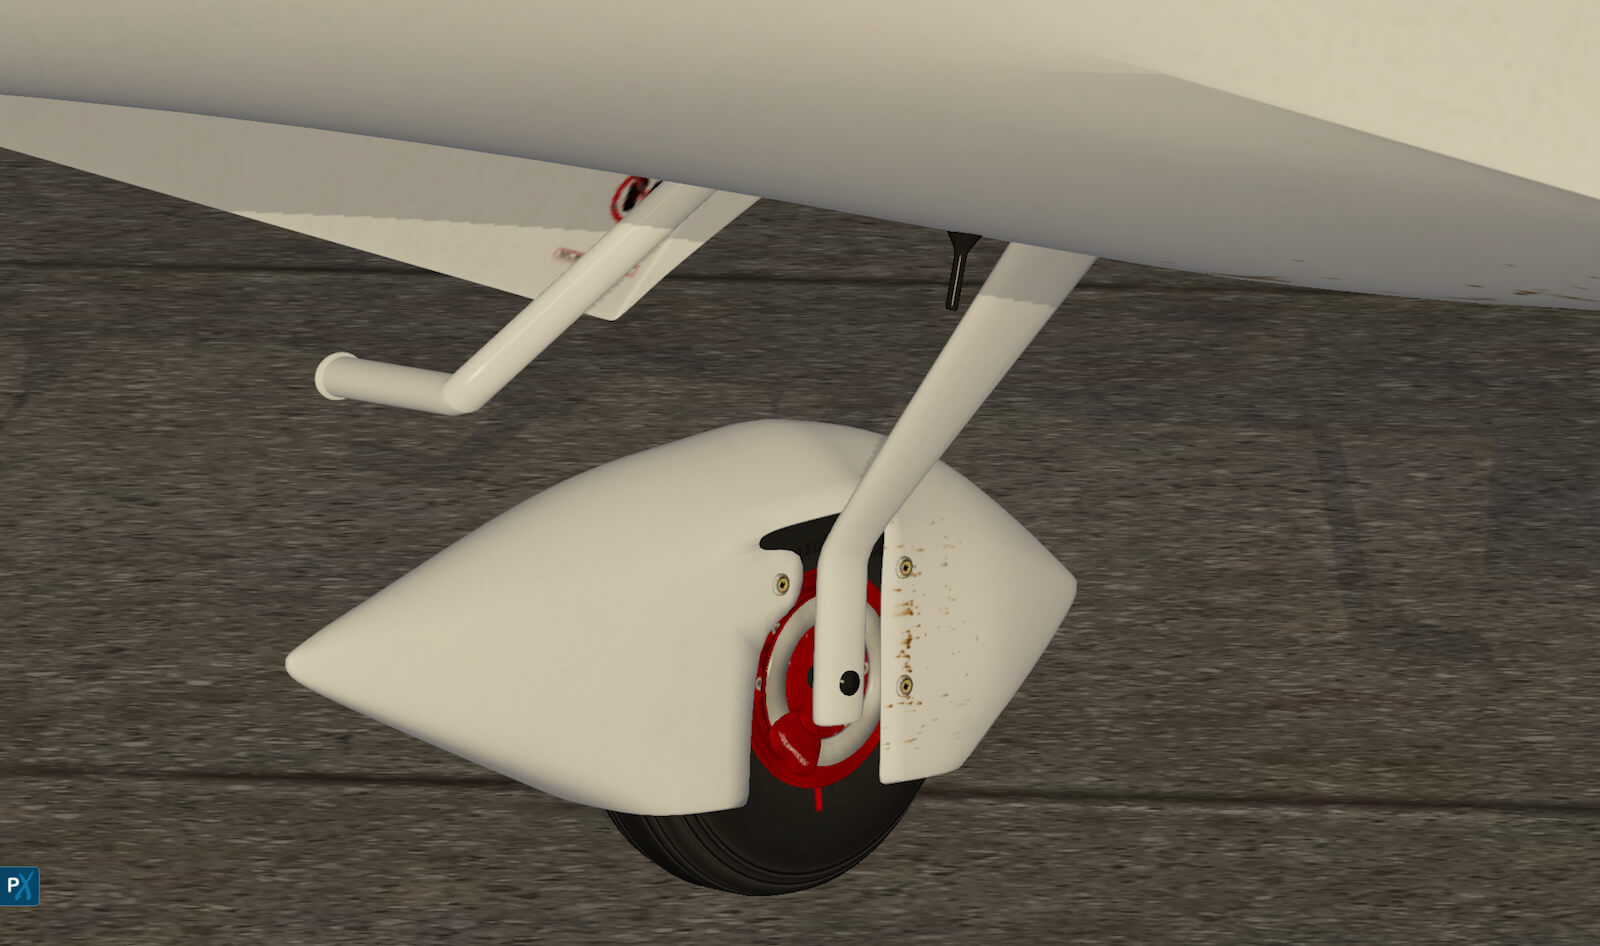
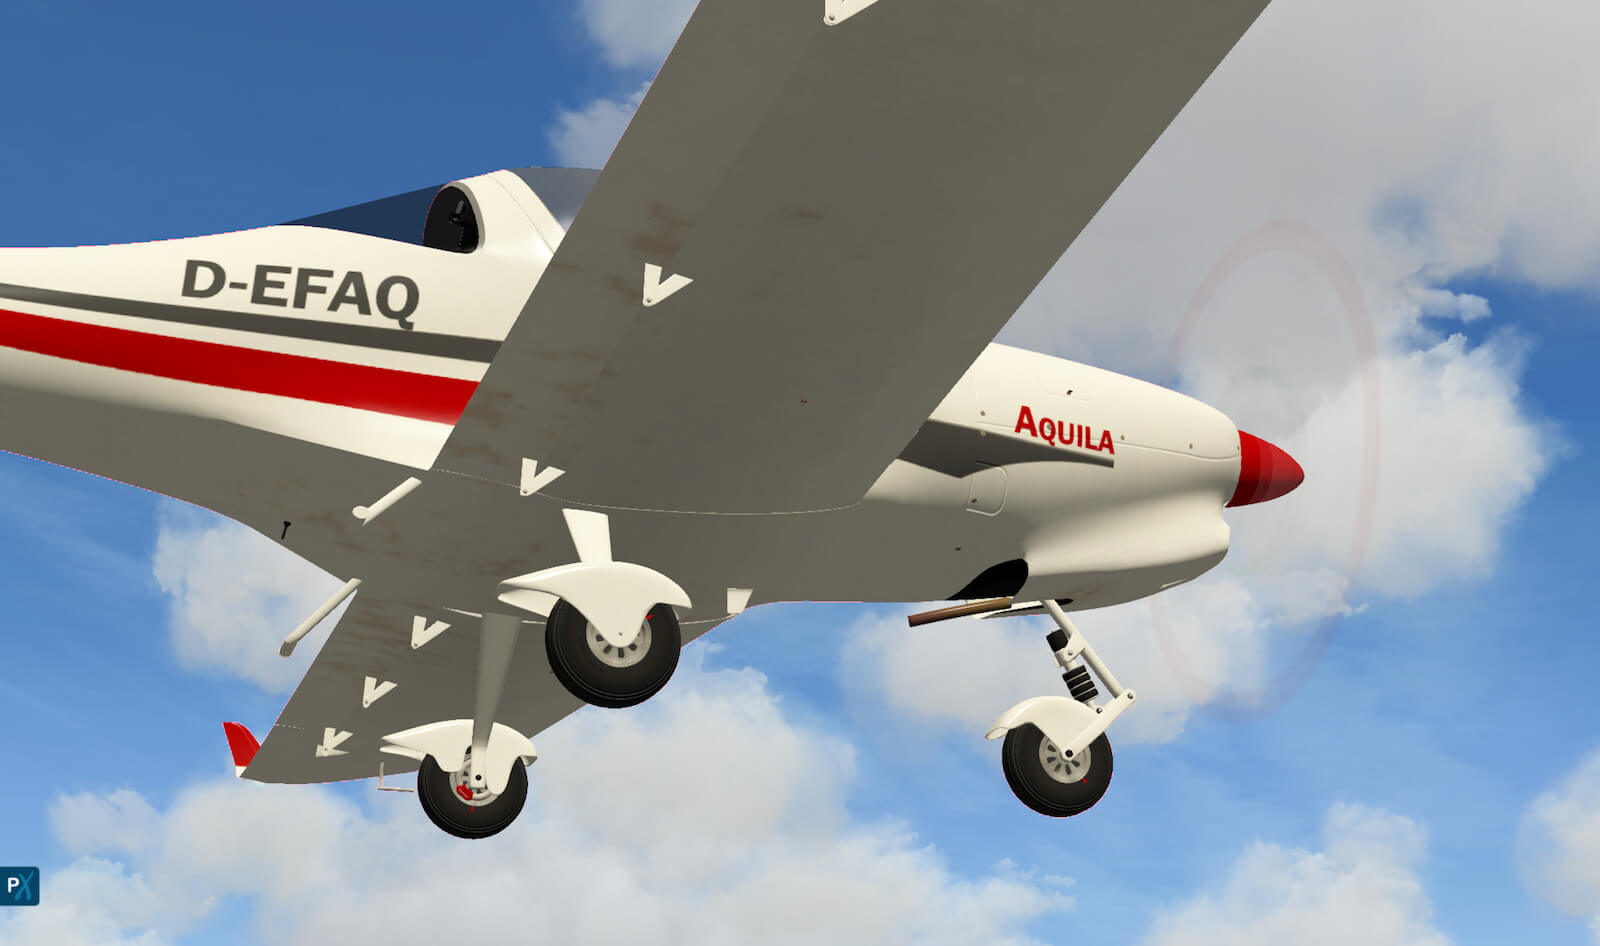
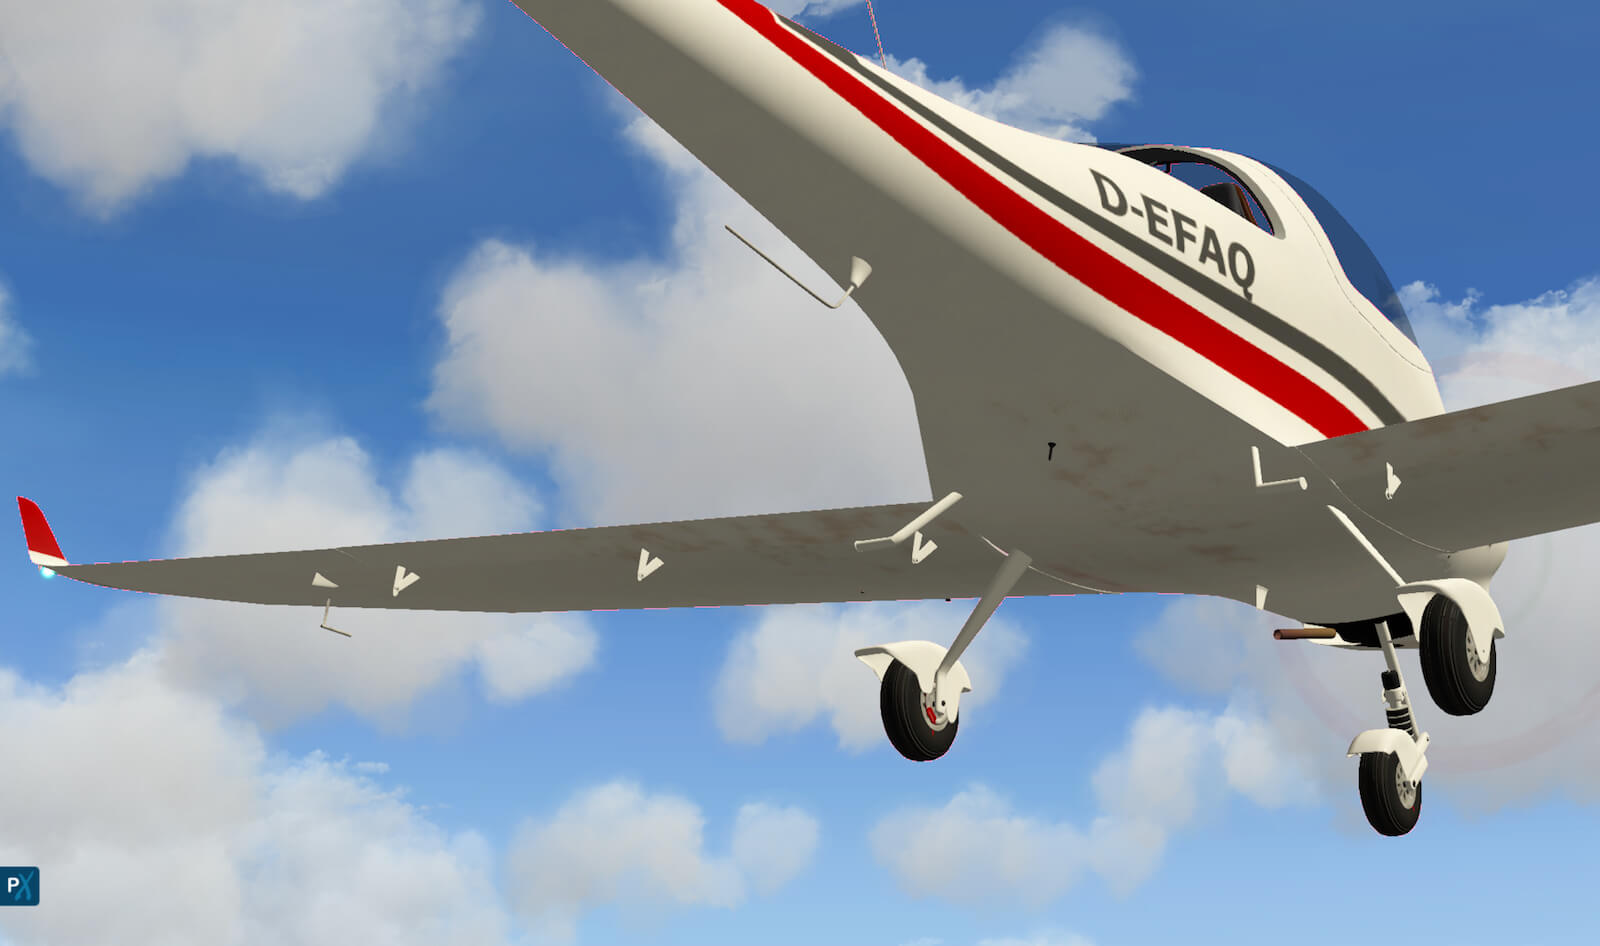
The quick walk-around check won’t take much time. I’ve highlighted already a couple of Aquila items and issues. By the way, it seems it depends on the livery selected as to whether or not you spot some dirt on the wheel fairings. When I go for the A210 model and choose the Swiss Flying Club, I notice nice and realistic dirty stripes on the wheel fairings but, when I change to the ‘white’ livery, they have gone. OK, you could say ‘this is just the paint package’ but why not also include these dirty wheel fairing stripes on this as well. However, I’m not an aircraft painter, so perhaps my observation isn’t right. As a final point, this is also the case with the A211G model.
Some words about the ‘used’ look.
I would imagine that these aircraft are kept as long as possible looking brand new, but I sincerely hope that at least the propeller and hub can get some weathered look with a next update. These look brand new, no paint missing or whatever. Even the propeller is brand new which isn’t really realistic. OK, it could actually be a brand new propeller but then still. With the first flight you’ll find mosquitoes on both the propeller blades and hub.
Not really an issue, but the engine cowling panels I see aren’t simulated so you can’t open and/or close them. A problem …. not at all …. just to let you know. The wing tip with fence is very nicely modelled as well as the navigation/strobe light unit. The presence of a real photo of the navigation/strobe unit is clearly visible and makes it even better. While walking back from the wing tip to the fuselage, I need to have a closer look to the main wheel assembly. Although simple and straightforward (read realistic), it’s surprising that I can even figure out that the brake assembly is from ‘Eringer’. It’s razor sharp; well done!
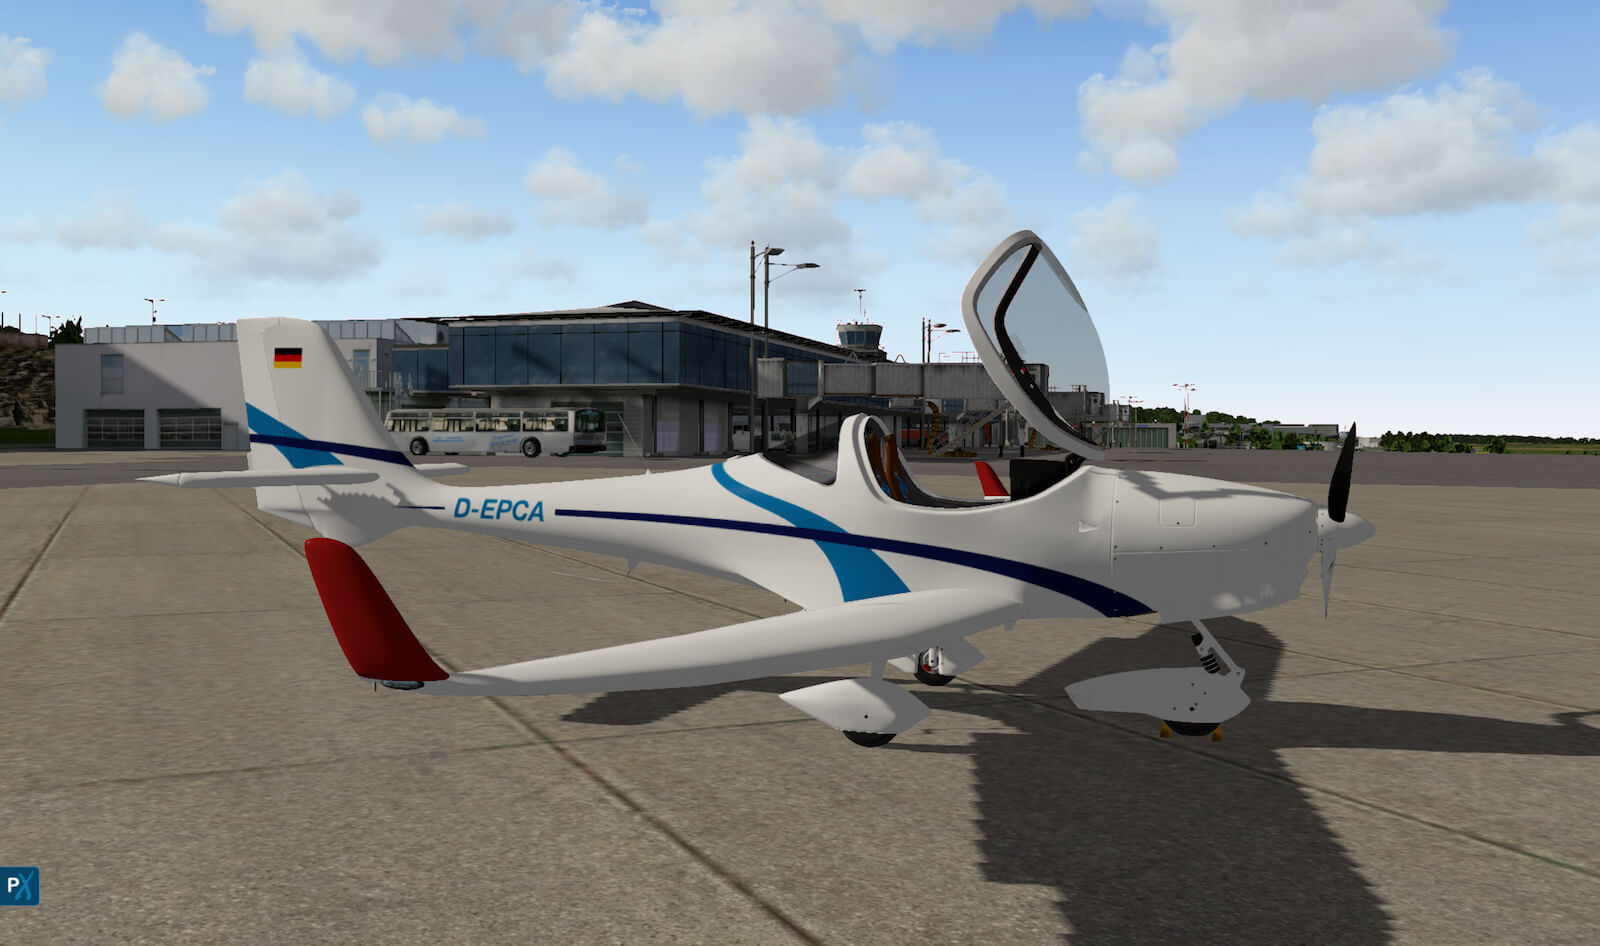
Checking the tail isn’t difficult, but when I do so I have to correct myself a little bit: I notice the presence of some dirty stripes or perhaps weathering on the bottom side of the elevator and horizontal stabilizer. Something I didn’t expect! With all X-Plane models I’ve seen, opening/closing the canopy can only be done from the inside. However, for the Aquila’s canopy you can also use that Px icon on the left side of the screen and select from the ‘Options – toggle canopy’. When you move the mouse pointer to the red canopy handle on the left-hand side, you get the impression this can open it as well, but unfortunately that isn’t the case. On the other hand, closing an opened canopy is carried out either via the popup window or by clicking the red handle with your mouse. And, before I forget it, a very nice modelled canopy.
Cockpit pre-flight check
I could do it all from memory, but even for me and probably you too, it is better to put the checklist in position and follow the steps. It’s very easy and before you know it, you’re ready to start the engine. When you’ve reached the section for loading the amount of fuel, passenger (only one next of you) and baggage, you can see the effect on the actual C.G. (Center of Gravity). Not only handy, but realistic too – although in reality you don’t have such a beautiful tool. On page one of the checklist there’s also a note to check the circuit breakers, but don’t worry about them. These aren’t simulated yet; perhaps they will be with an update! By the time you’ve reached page three your engine will be running and that means taxiing is your the next step.
Taxi, Climb, Cruise, Approach and Landing
Not surprisingly, taxiing the Aquila isn’t a problem at all, but you need to use the brakes otherwise the A210/A211G moves on by itself. In addition, there is no rumbling sound included when going over the taxi middle line. Before turning on to the runway, I give the A210/A211G a hold and go over my checklist once again. As mentioned, it isn’t a difficult or complex checklist, and the aircraft does not have a sophisticated instrument panel, although the A211G with the Garmin G500 does need a little more attention than the analogue A210 version. Although I’m familiar with the left turning tendency with single engine propeller aircraft, it feels with the Aquila models quite strong. The moment you’ve released the parking brake, the Aquila starts right away taxing by itself, ok …. I find it not normal, but perhaps this is normal for the Aquila. Next, the Aquila – throttle handle still in idle – pulls straight away to the left. I can imagine that with higher power settings this would happen like during the takeoff run, but not really expected from a parked position.
During the takeoff run I’m a little surprised by the engine sound level. I expected more noise, but for some reason it’s relatively quiet and that seems odd to me since the engine is just in front. Perhaps it’s me or maybe I had the engine sound level set too low within X-Plane. I’ll check it again during the next flight. Climbing out is easy, no gear retraction; however, don’t forget to raise the flaps. As neither the Aquila A210 nor the A211G comes with an Auto Pilot, you need to control the aircraft constantly by yourself and if needed you should use the trim, but that is something I am sure you would expect. When trimming for pitch, you’ll normally never know in these type of aircraft what the trim position is and how far you’re out from the centre. In the Aquila you would have spotted the green LED trim indicator next to the MANIFOLD PRESS indicator. But this is the only available trim, although assigning ROLL (AILERON) trim to X-Plane will also work, but this would not be realistic because the real Aquila doesn’t have aileron trim.
While cruising I think it’s time to do some special performances like slow flights with and without flaps, steep turns, as well as pre-stall and then letting the Aquila go into a stall. The latter test demonstrates that the Aquila is a very easy aircraft when it reaches an actual stall. The aircraft drops slowly away, but without changing anything to the power setting, the aircraft doesn’t fall away into a possible spin. It could be that the Aquila is such a stable aircraft that it is difficult to get into a stall. Since I have no real experience, it’s difficult to say. As discussed, slow flights are easy, but before you know you’ve reached the pre-stall warning. Nothing to worry about, as long as you bear this in mind. As I have no real flight experience with the Aquila, it’s hard to confirm that it flies like the real thing, but what I do know is that the developer is an active Aquila pilot. With this in mind, it is reasonable to expect that what he has modelled has ended up close to the real Aquila flight characteristics.
I tried using the ‘Flight Instructor Mode’ during my test flight, via the Px icon section ‘Options’, but I’m not sure what it does or means. You’re repositioned to the right-hand seat, but that was that. Does something happen or should something occur? Let me check this out in the POH. I expected something else but this option is ‘sets your view to the right seat, have the 3D student pilot on the left seat’. So nothing special!
By the way, and even I was surprised, there is no engine fuel mixture lever. Weird, but not so strange since ‘the Rotax 912 engine handles mixture regulation with a build in pressure membrane, the so called High Altitude Compensator (H.A.C. kit)‘. Ah, something learned, and according to the manual this function is properly modelled and that’s good news.
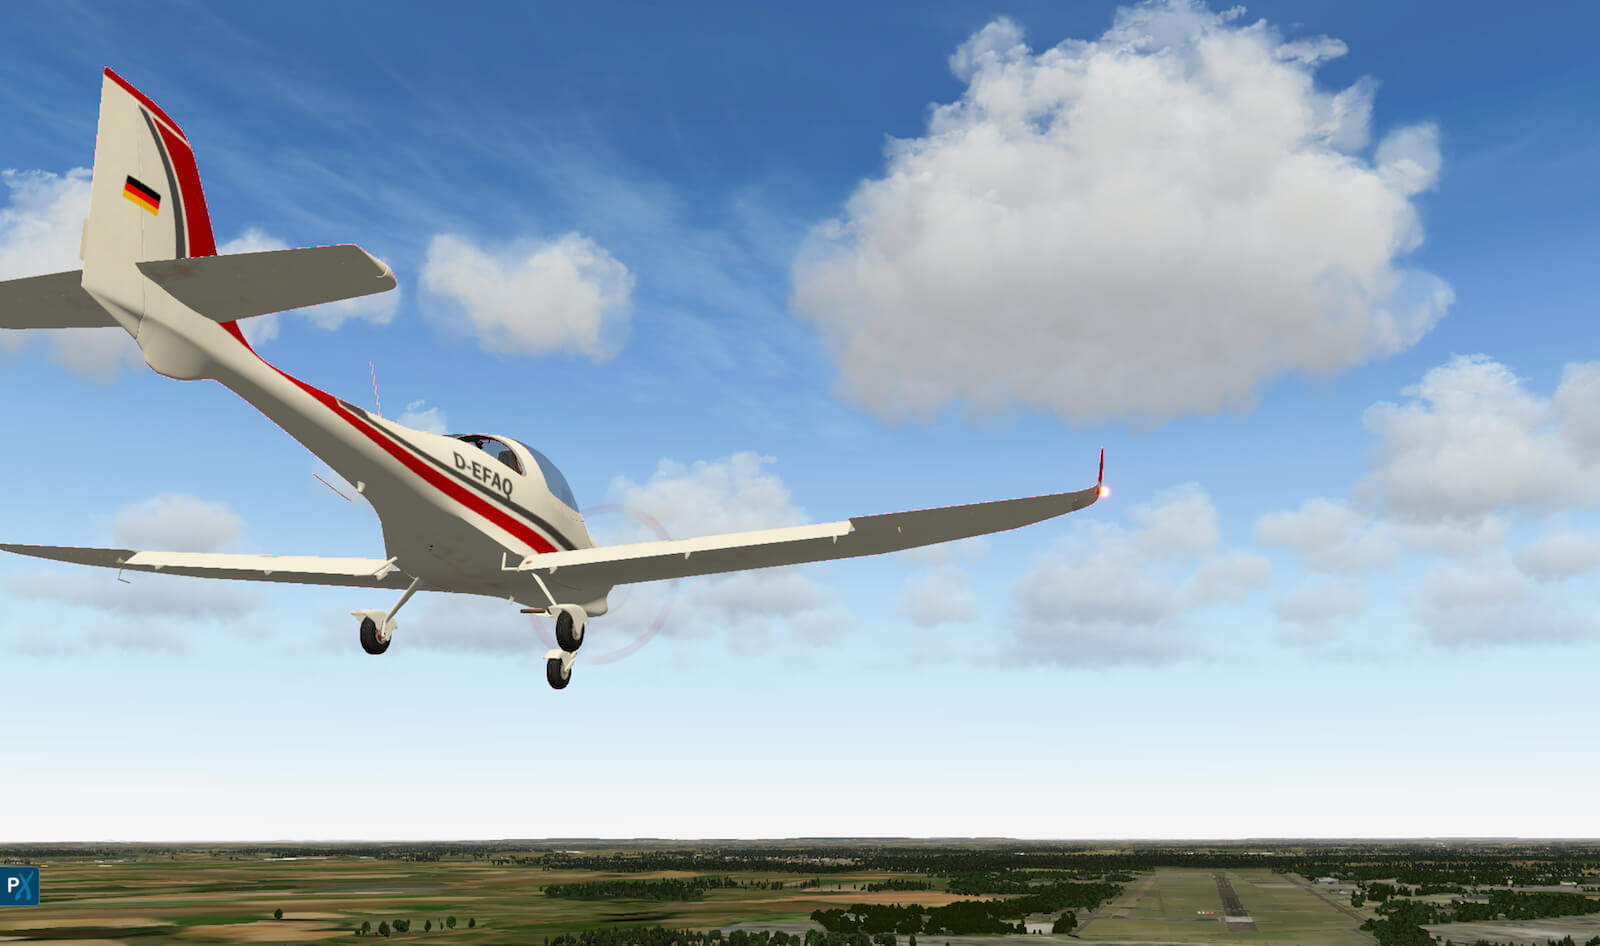
After having flown for some while, it’s now time to return to my airport and see how that works out. Planning an approach without the presence of the Garmin G500, and therefore without the visual map, is really not difficult. You can do it on a VFR basis or, if you decide on using the Garmin GNS430, you either enter a local VOR/DME or VORTAC frequency, and even better when the airport has an ILS beacon. Sorry, no NDB or ADF option available. You enter the frequency via the GNS 430 and the output will be visible on the OBS indicator. Using the trim makes it an easy-to-handle aircraft and this is also applicable for the approach and landing, but watch out with the landing. When your aircraft touches ground with less than 5 degrees negative pitch, a propeller strike will be the result and that causes damage! But with X-Plane – no worries! There’s no need to repair and replace the propeller. You can reset the damaged propeller via the Px icon section: ‘Options – Reset propstrike’.
But how does the aircraft behave from a Frames Per Seconds (FPS) point of view?
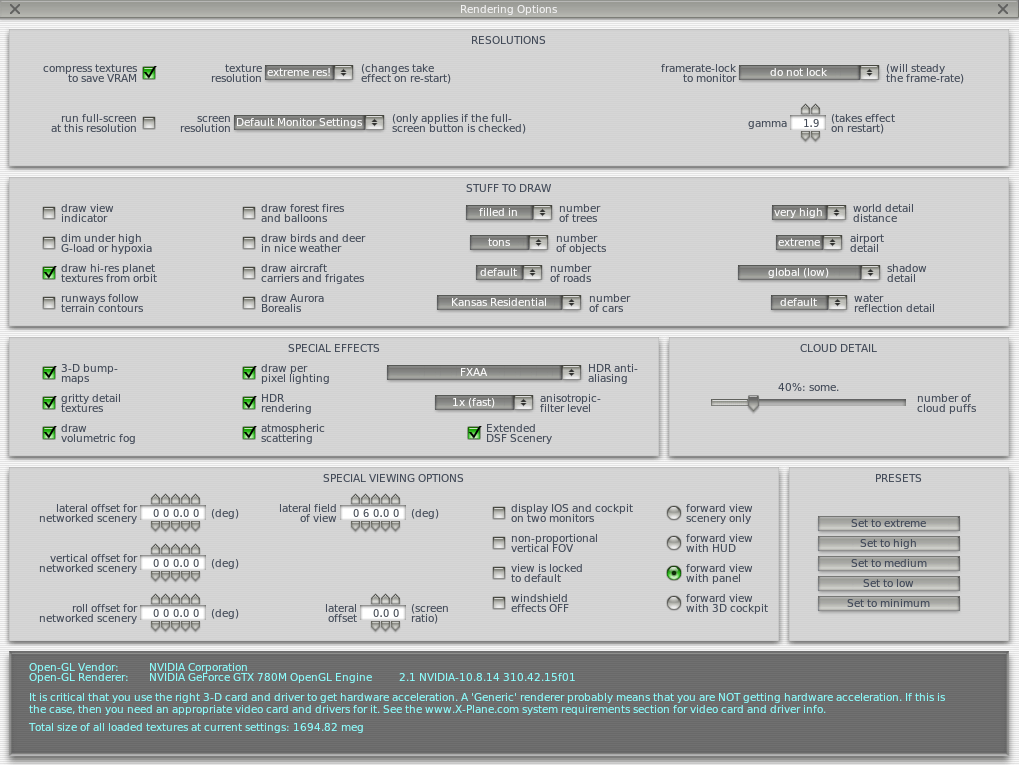
Quite good for both models, but what does quite good really mean? What are your computer or Mac specifications, what’s the screen resolution, what are the rendering options, are you flying from a freeware or payware add-on airport, and if so what’s the impact of that airport on your ground and flight operations?
Compared to other GA aircraft of a similar size, I find these Aquila models quite frame rate reducing. Taking off from Zurich in Switzerland with no add-on airport or whatsoever installed, flying towards the mountains climbing out to 3000 feet, gives me 19.90 fps. Although the movements inside and externally are smooth, I had expected higher frames. These measurements are with SkyMAXX Pro 3.x active, but even when I disable SkyMAXX and Gizmo, the frames still remain lower than expected. Or is it perhaps my iMac that can’t handle it anymore … no, that couldn’t be the problem!
After reducing the clouds to ten percent, minimum setting, and no longer using SkyMAXX Pro, then the frame rates do increase although I had expected more. Does this mean you’ll get problems? Not necessarily. As mentioned above, it depends on many hardware, software and setting issues.
And last but not least, evening cockpit lighting.
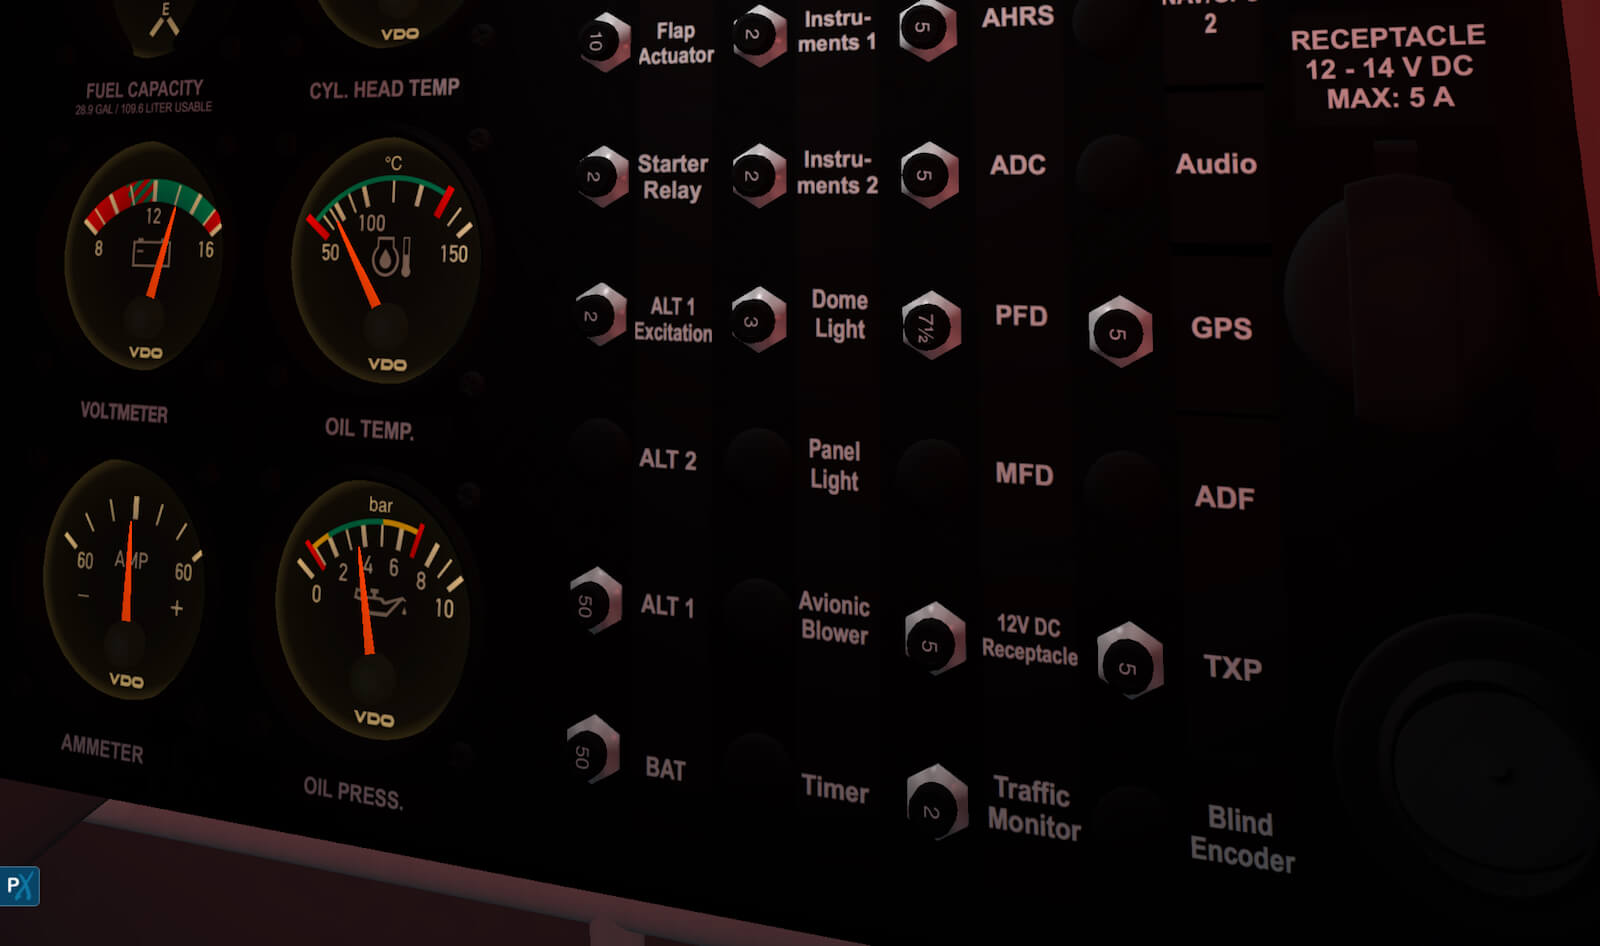
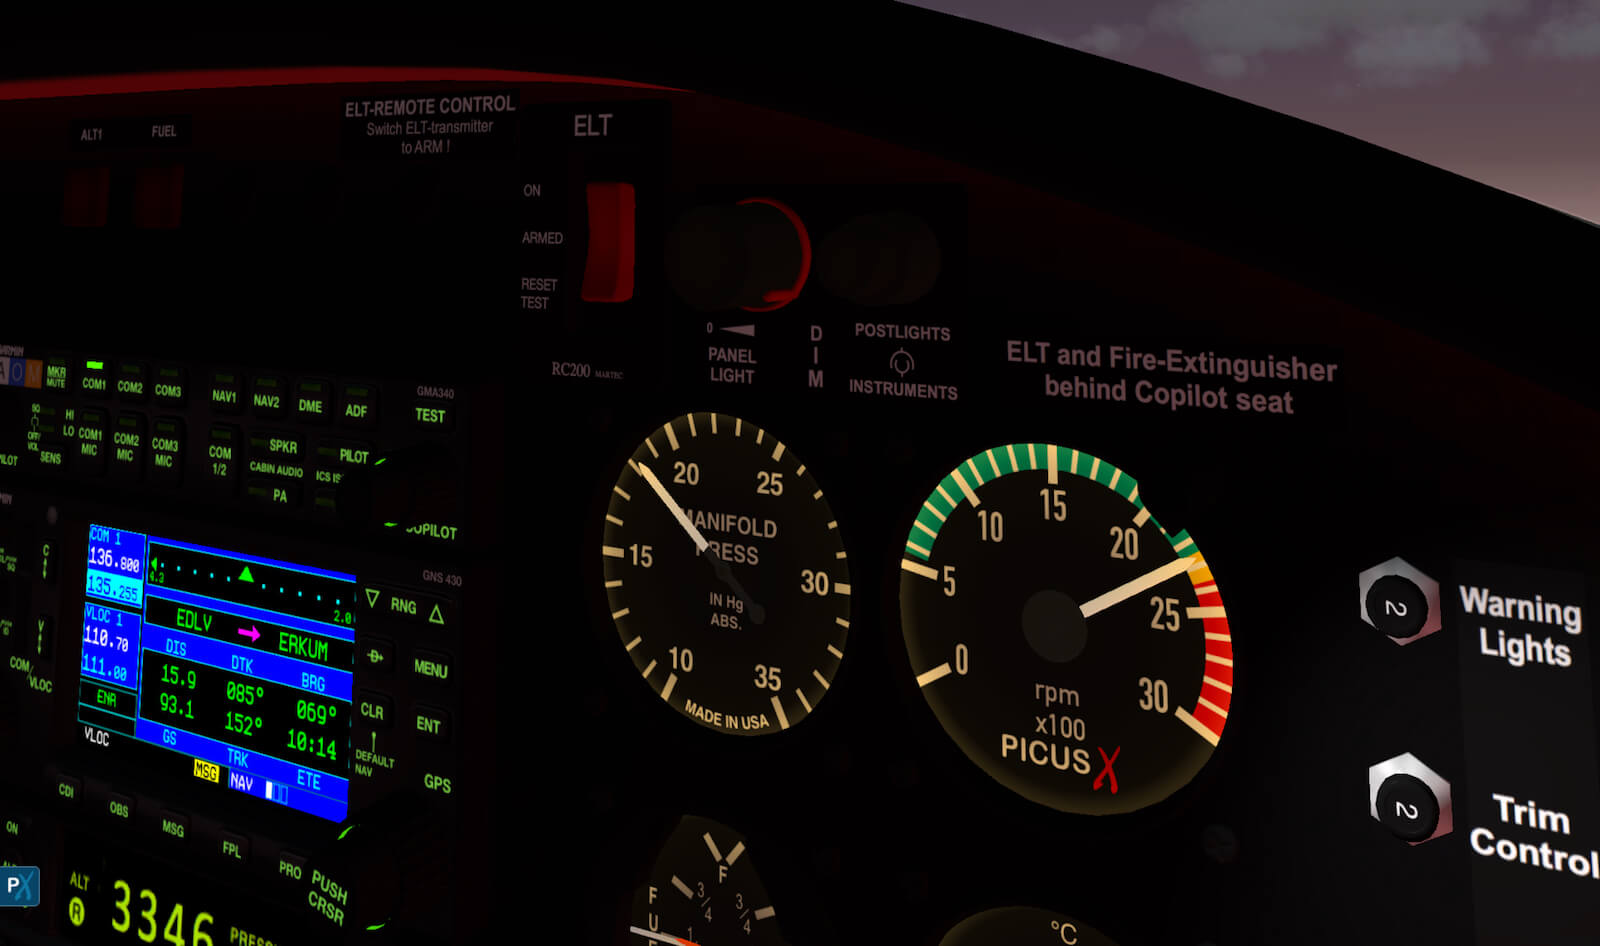
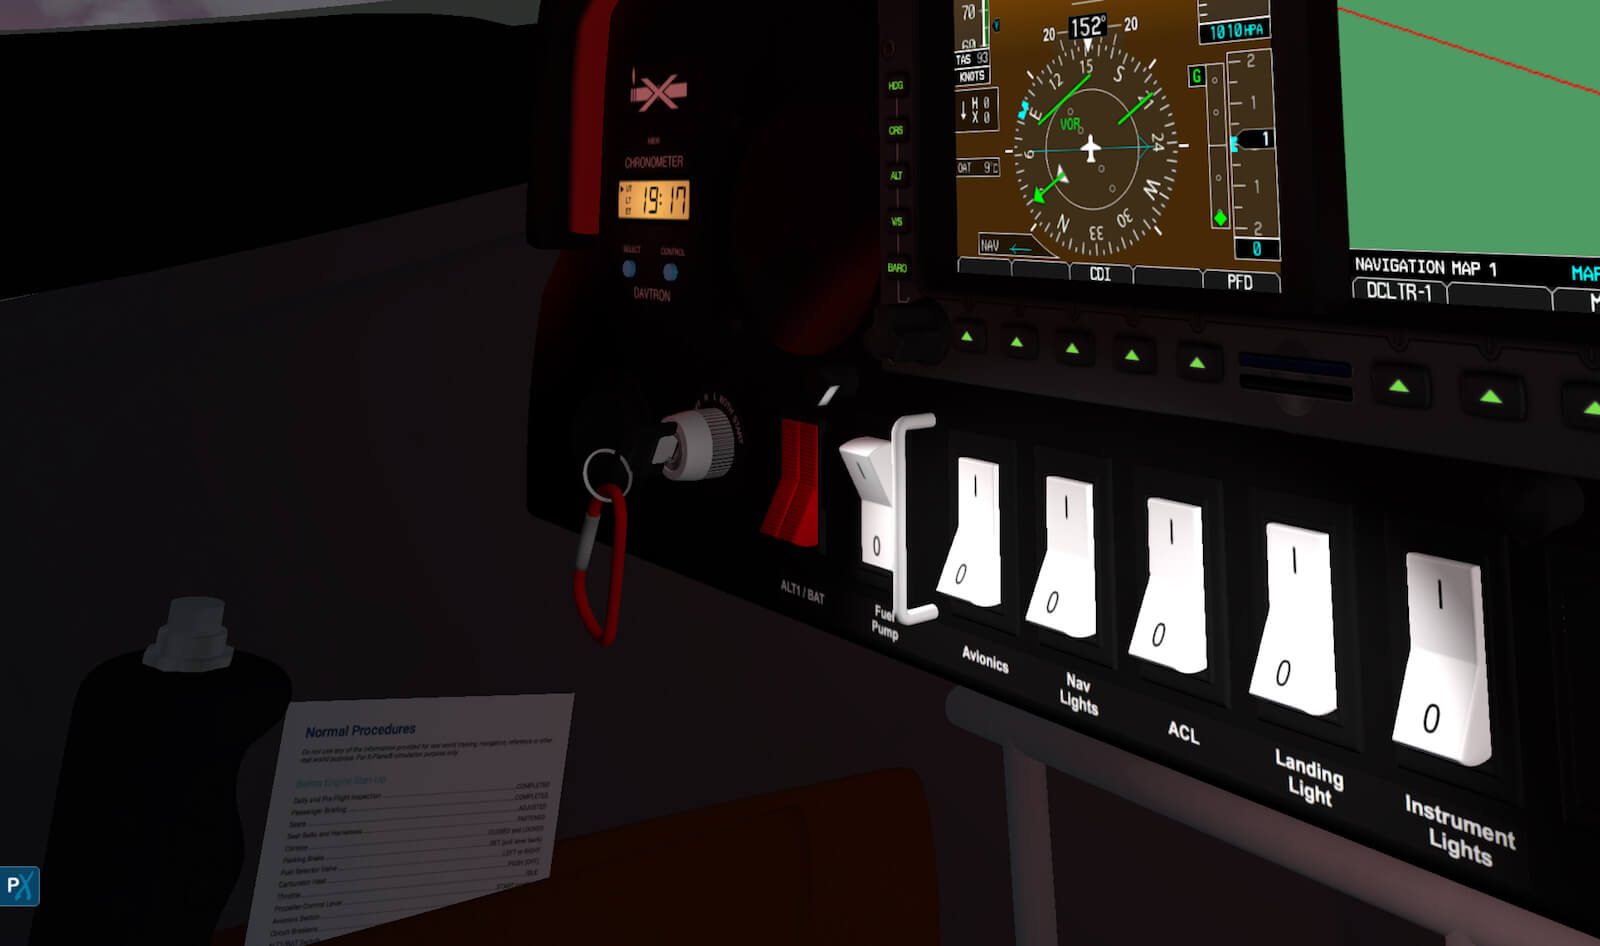
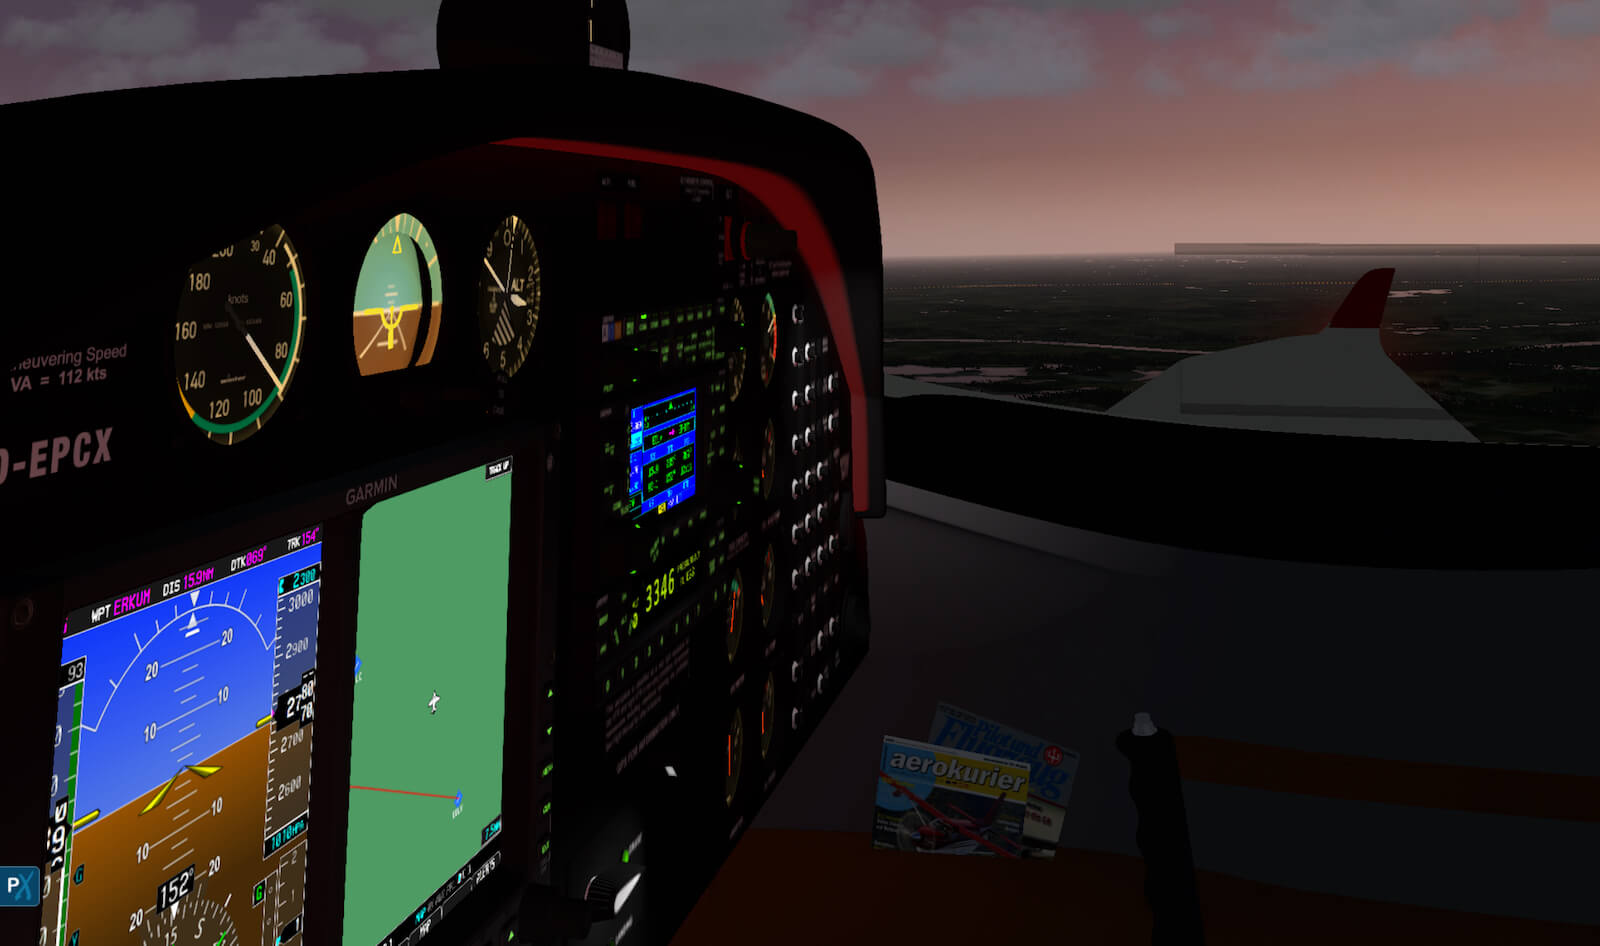
The cockpit or panel instrument lighting is controlled via several rheostats and an ‘instrument light’ switch. The overall result looks good although I haven’t figured out where the white panel light is coming from. For sure I missed the right spot! The indicators integral lighting is gentle, and the red illuminated light strip at the lower side of the glareshield is very nice and gives the familiar red cockpit look. All are controlled by one switch located on the lower left-hand side panel. With this switch it is all out or ON provided the rheostats are in a certain position.
Curious, check out the following screenshots.
Summary
Anything forgotten or have I covered everything?
It’s never enough and as usual I could say more, but I think that this impression should give you a good idea of what to expect. The Aquila package comes with two aircraft configurations, the A210 with analogue instruments and the A211G that offers a PFD/MFD Garmin G500 as well. The Aquila models don’t feature an Auto Pilot so you need to use trim, but that works flawlessly.
Each model comes with a couple of liveries and I found at least one user-painted livery from my colleague Heinz Flichtbeil who has provided a livery for the A210/A211G with aircraft registration D-EFAQ (https://forum.aerosoft.com/index.php?/files/file/3676-livery-d-efaq-n8141l-for-picusx-aquila-a210-a211g/). Besides this user created livery, here’s the complete list of stock liveries.
For the Picus X Aquila A210:
– Default (D-EPCA)
– Classic Red (G-WTWA)
– Modern Yellow (OO-NKA)
– Swiss Flying Club (HB-SFP)
– White (paint file)
Picus X Aquila A211G:
– Default (D-EPCX)
– American (N211PX)
– Classic Blue (OE-AKX)
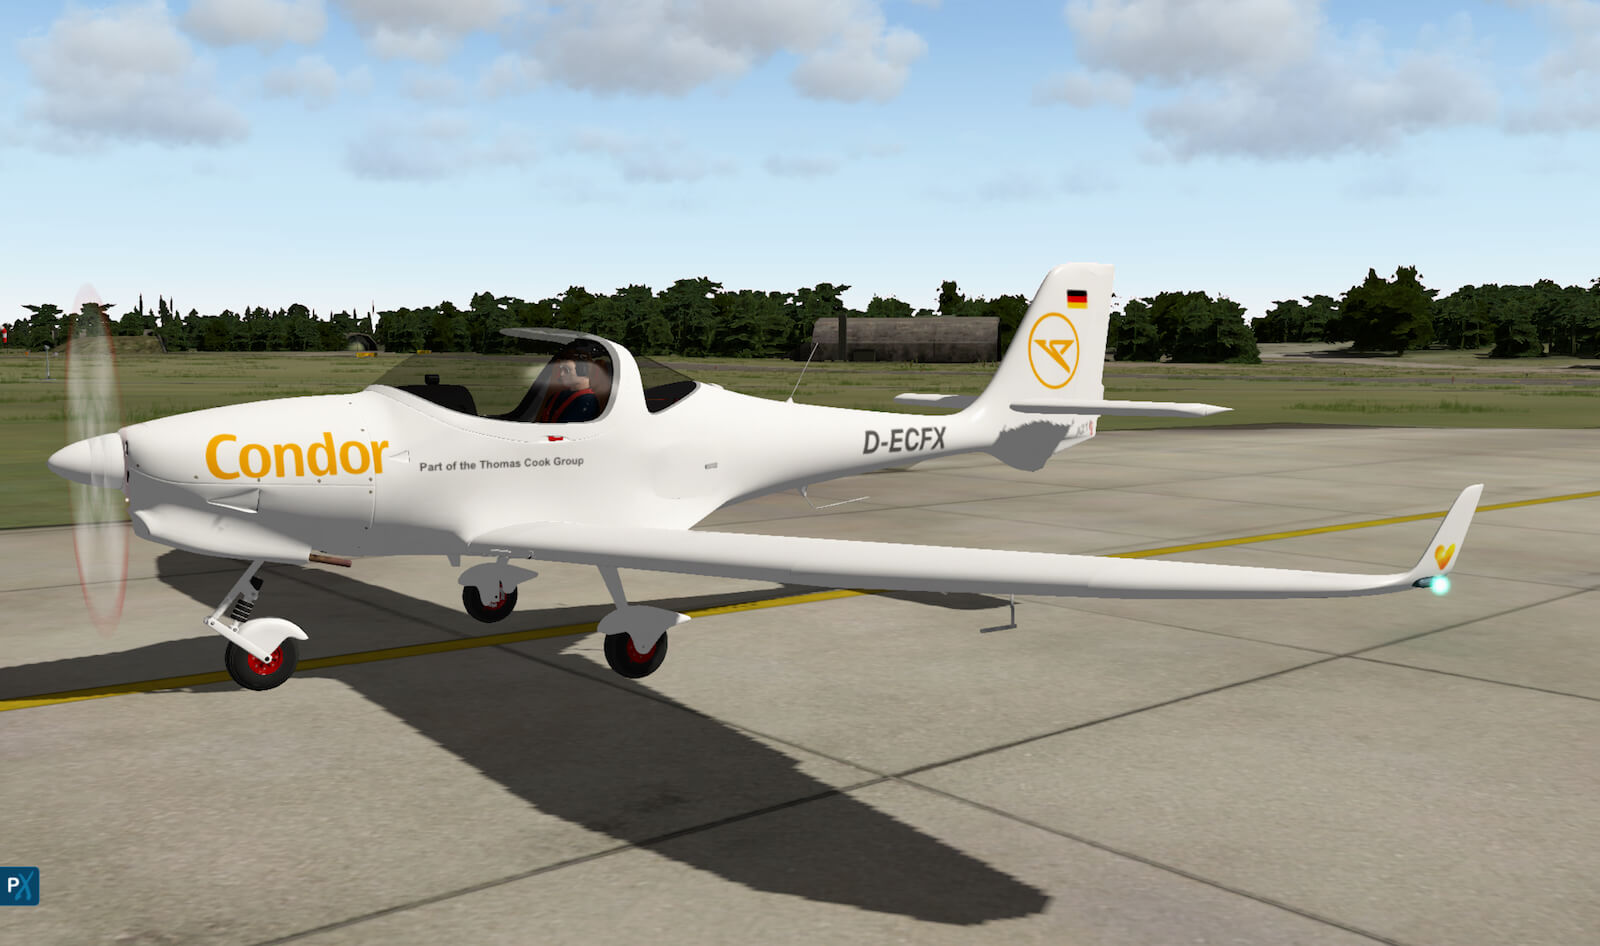
– Condor (D-ECFX)
– KLM Aeroclub (PH-KLX)
– Modern Red (F-GZGX)
– White (paint file)
One last item that I would like to highlight before I forget it, is the “static aircraft registration” as can be found at the instrument panel. Irrespective of the aircraft livery and thus the painted registration, the panel always shows on both Aquila models “D-EPCX”. For those who want to correct this “aircraft registration issue”, locate in the root of the A210 and A211G folder file Picus-X-Aquila-A210_cockpit.png or Picus-X-Aquila-A211G_cockpit.png. Hold on, the only problem is that it’s in the root of either aircraft type and therefore this file is always used irrespective of the selected livery. Perhaps with the next update an on-the-fly livery and registration change will be possible.
How does it look and how does it fly?
Flying performance is difficult for me to test as I’ve no real life Aquila A210/A211G experience, but it feels OK,
although I’m not 100 percent sure about the way the stall behaviour is modelled. The models look OK, but more weathering inside and outside would give a more realistic look and feel in my opinion.
Is it worth buying it?
As there’s a lot of competition between this kind of GA aircraft, it’s a matter of whether you like the Aquila or not. Flight characteristics are very important, but with basic cockpit layouts it’s also a matter how realistic the 3D modelling is done. In respect to the 3D modelling and the look and feel I would like to see the previously mentioned improvements incorporated and yes, I know it’s how I feel about it. Remember it’s just a suggestion!
More information about the Aquila A210/A211G models can be found at the dedicated X-Plane.Org web page.
Anything else?
Feel free to contact me if you’ve got additional questions related to this impression. You can reach me via email Angelique.van.Campen@gmail.com.
With Greetings,
Angelique van Campen
| Add-on: | Payware Picus X Aquila |
|---|---|
| Publisher | Developer: | X-Plane.Org | Picus Aquila |
| Description: | Realistic rendition of the Picus X Aquila |
| Software Source / Size: | Download / Approximately 655MB (unzipped) |
| Reviewed by: | Angelique van Campen |
| Published: | January 13th 2016 |
| Hardware specifications: | - iMac 27″ 3.5Ghz Late 2013 - Intel i7 3.5Ghz / 3.9Ghz during Boost Mode - NVIDIA GeForce GTX 780M 4096 MB - 32 GB 1600 MHz DDR3 - 1 internal 1TB SSD (El Capitan 10.11.4) - 3 external 1TB SSDs - Saitek Pro Flight System |
| Software specifications: | - El Capitan (10.11.4) | Yosemite (10.10.5) | Mavericks (10.9.5) - Windows 10 Professional - X-Plane 10.45c | X-Plane 10.45m |





















0 Comments