Stick and Rudder Studios X-Camera 2
X-Camera … Have you heard of it?
Does the recently launched plugin X–Camera justify a review? Although it’s freeware, a better description might be ‘donation ware’. To keep X-Camera alive and making further developments possible, it is probably a good idea to consider a small donation. How small?…. that’s of course entirely up to you!
OK, back to X-Camera.
Yes, I had come across it before, but for some reason I thought … ah, I don’t need it. But was that really the reason or was it more that I didn’t know how to use it? Once in a while I see on X-Plane.Org comments from confused simmers who do not know how to use X-Camera, are unclear what to do with it, or what can it do for them, and many of those type of questions.
I had the same thoughts initially, but let me make it quite clear … it can do a lot for you!
Probably the best place to start is to highlight what this plugin from Stick and Rudder Studios, the developer of X-Camera, is all about. According to Mark Ellis ‘Our newest plugin for X-Plane 9 and 10 is a replacement camera system that lets you define multiple view categories and multiple views within those categories that are associated with specific aircraft.’
‘These categories and views are unique to each aircraft allowing a high degree of customization. The position of the camera in each view can be controlled using keyboard commands or the X-Camera control panel. After you have defined and configured all the views they can be saved to an aircraft specific CSV file in the current aircraft directory. X-Camera also supports the creation of camera transition effects that can be used to create a series of panned views that can be executed in sequence. This is a great feature for making flight videos or setting up pre-flight inspections or fly-by scenes.‘
It offers TrackIR, HeadShake support and some other features like smooth transition, walk mode, linear transitions, unique camera attributes and a great deal more. Perhaps this all sounds a bit intimidating after you’ve installed the X-Camera plugin and as a result don’t really know what to do next or where to begin. However, once you understand the X-Camera Control Panel, a world of possibilities open up and external and/or internal aircraft, cockpit and cabin views are presented to you. I say ‘presented’… you have to create them yourself, but that’s very easy once you know how.
Where, how, what? … X-Camera
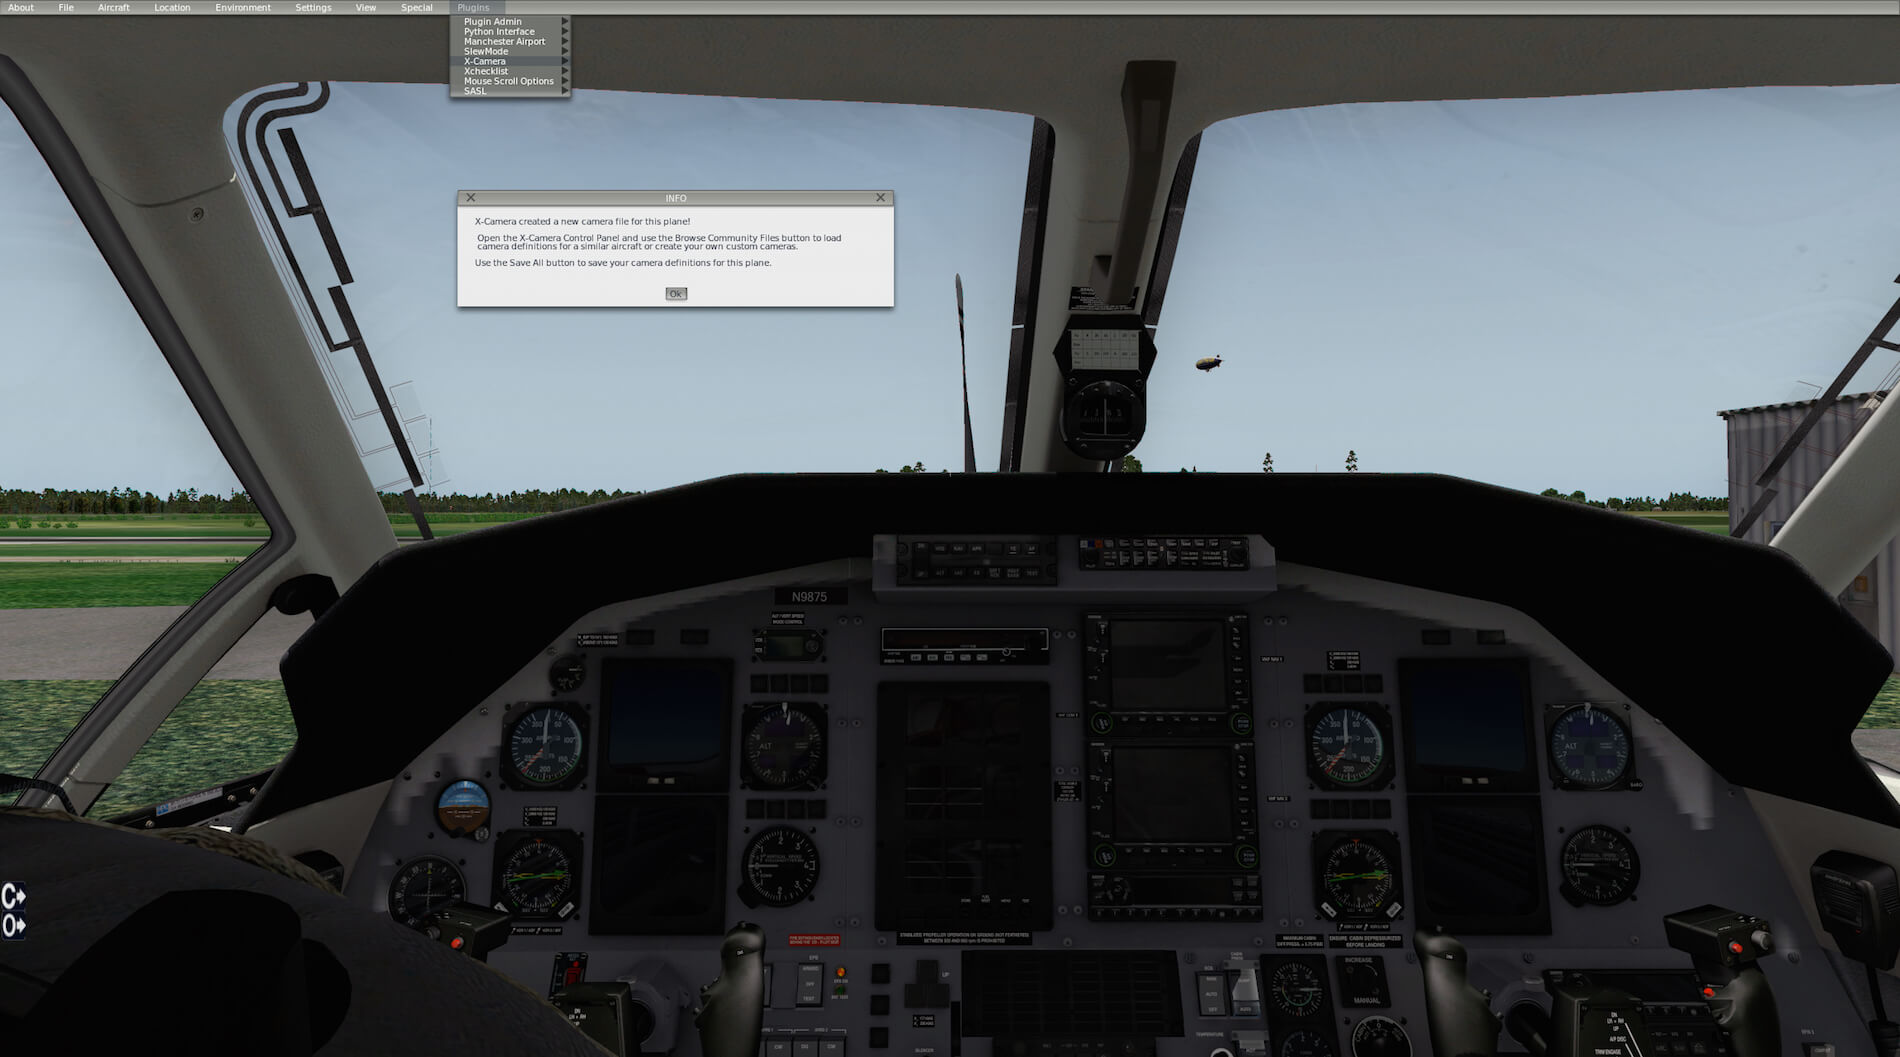
Where can you get the X-Camera plugin from Stick and Rudder Studios? Just follow this dedicated X-Camera web page link and scroll to the bottom of the page. In the last paragraph you’ll find the following sentence … ‘You can download the free version of X-Camera here or you can check out the full manual here. All features are available in the download but you need to register your copy if you want to save the setting for the advanced animation features. You can register your copy of X-Camera 1.1 here‘. If you decide not to register the product, you can’t save any new categories and/or camera views. Since registration is free, but donation is highly appreciated, you should – no, you must – register your X-Camera product. An email will then be sent to you with a license.txt file attached. Place this text file in the same directory as the X-Camera plugin and the next time you start up the X-Camera control panel, you’ll notice that it’s registered.
But before starting testing and playing around, I strongly suggest you to check the following two X-Camera tutorial YouTube videos. They are without doubt worth viewing and all that you need to know is indeed explained. These tutorials are divided into part 1, part 2 and part 3 (X-Camera 2.0 features). Take some time to check them out and after this you’re ready to make your own categories and/or camera views. If you want to see how it works with well-known aircraft, perhaps it’s also worth having a look at this X-Camera sample videos page.
Believe it or not, these external and 3D cockpit smooth views you see are the result of X-Camera. And although this might look rather complicated or the result of a lot of creation time, believe me, it really is straight forward.
And then?
One thing you need to keep in mind is the deactivation of the default X-Plane camera system. Of course, you can always disable X-Camera via the plugin popup window, or enable it when you feel comfortable with it. That said, when X-Camera is enabled, the X-Plane default viewing system is disabled and vice versa.
This is one of those typical add-on plugins that initially gives you the feeling: ‘what shall I do with it’, ‘is it worth the time and effort to figure out how it works’, ‘what is it going to do for me’ and other such thoughts. But trust me, otherwise I wouldn’t have taken the trouble to write about it … it’s worth the add-on! Not because it’s freeware or preferably donation ware; no, because it’s a great add-on in its own right and especially for those who want to make movies. The smooth changes between different views are gorgeous to the eye.
What else can I say?
Just download it, check the tutorial videos before trying or, if you have a tablet, start X-Plane, open the X-Camera plugin and follow the step-by-step tutorial part 1 via your tablet. Oh yes, and although I’ve mentioned this before, don’t forget to register your X-Camera copy!
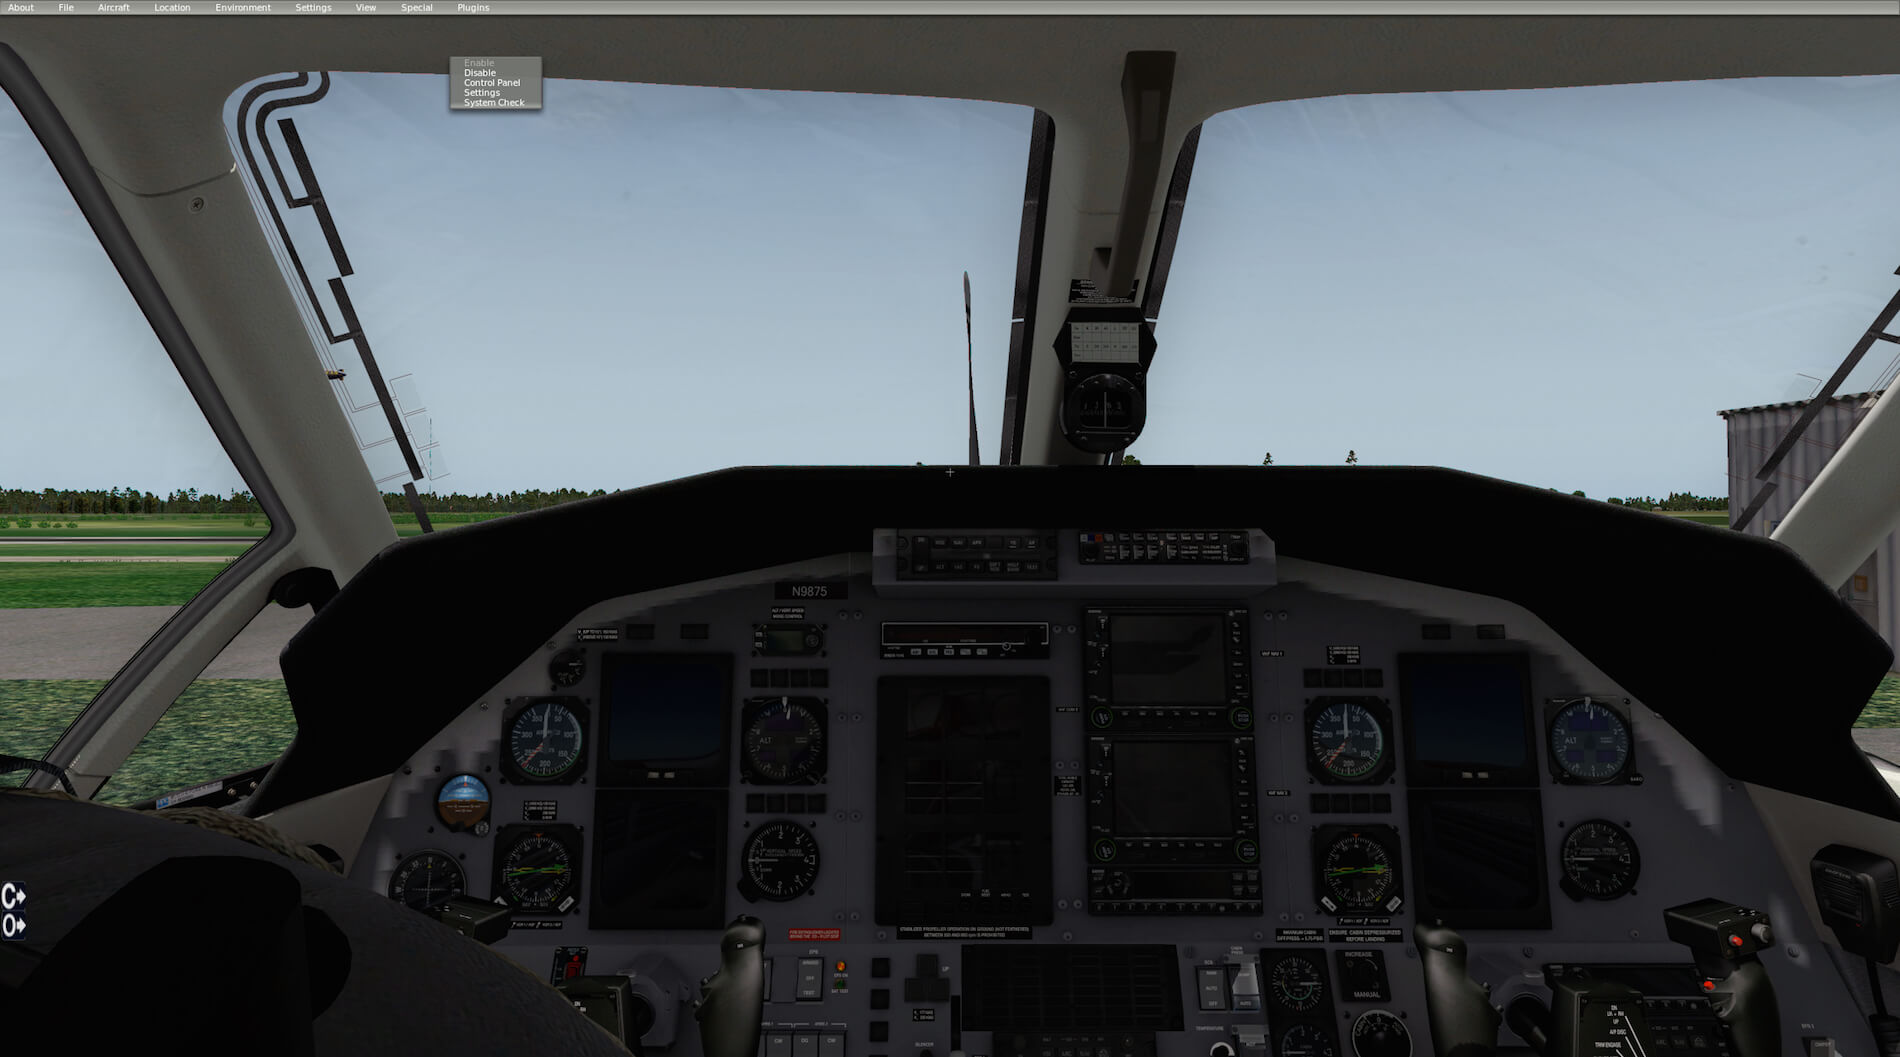
After you’ve downloaded the X-Camera package from the link given above, unzipped it, and installed the license.txt file into the root of this plugin folder, you then merely copy and paste the complete contents into the X-Plane Resources/Plugins folder. When in X-Plane, select the aircraft of your choice and from the Plugins menu choose ‘X-Camera’. The popup menu shows you ‘Enable’, ‘Disable’, ‘Control Panel’ and ‘Settings’. The Settings option allows you to select the different pan speeds. Check the plugin is enabled by clicking the ‘Enabled’ option. When enabling the plugin, the popup window will automatically disappear and therefore click the X-Plane Plugins menu again, followed by X-Camera. One important thing to mention: don’t change the name of the downloaded unzipped X-Camera package. If you do after you have put the license.txt file in the X-Camera folder, when starting the plugin, the control panel will show ‘NOT REGISTERED’ instead of the expected ‘REGISTERED’. So leave the name of the unzipped package as it is: ‘X-Camera’.

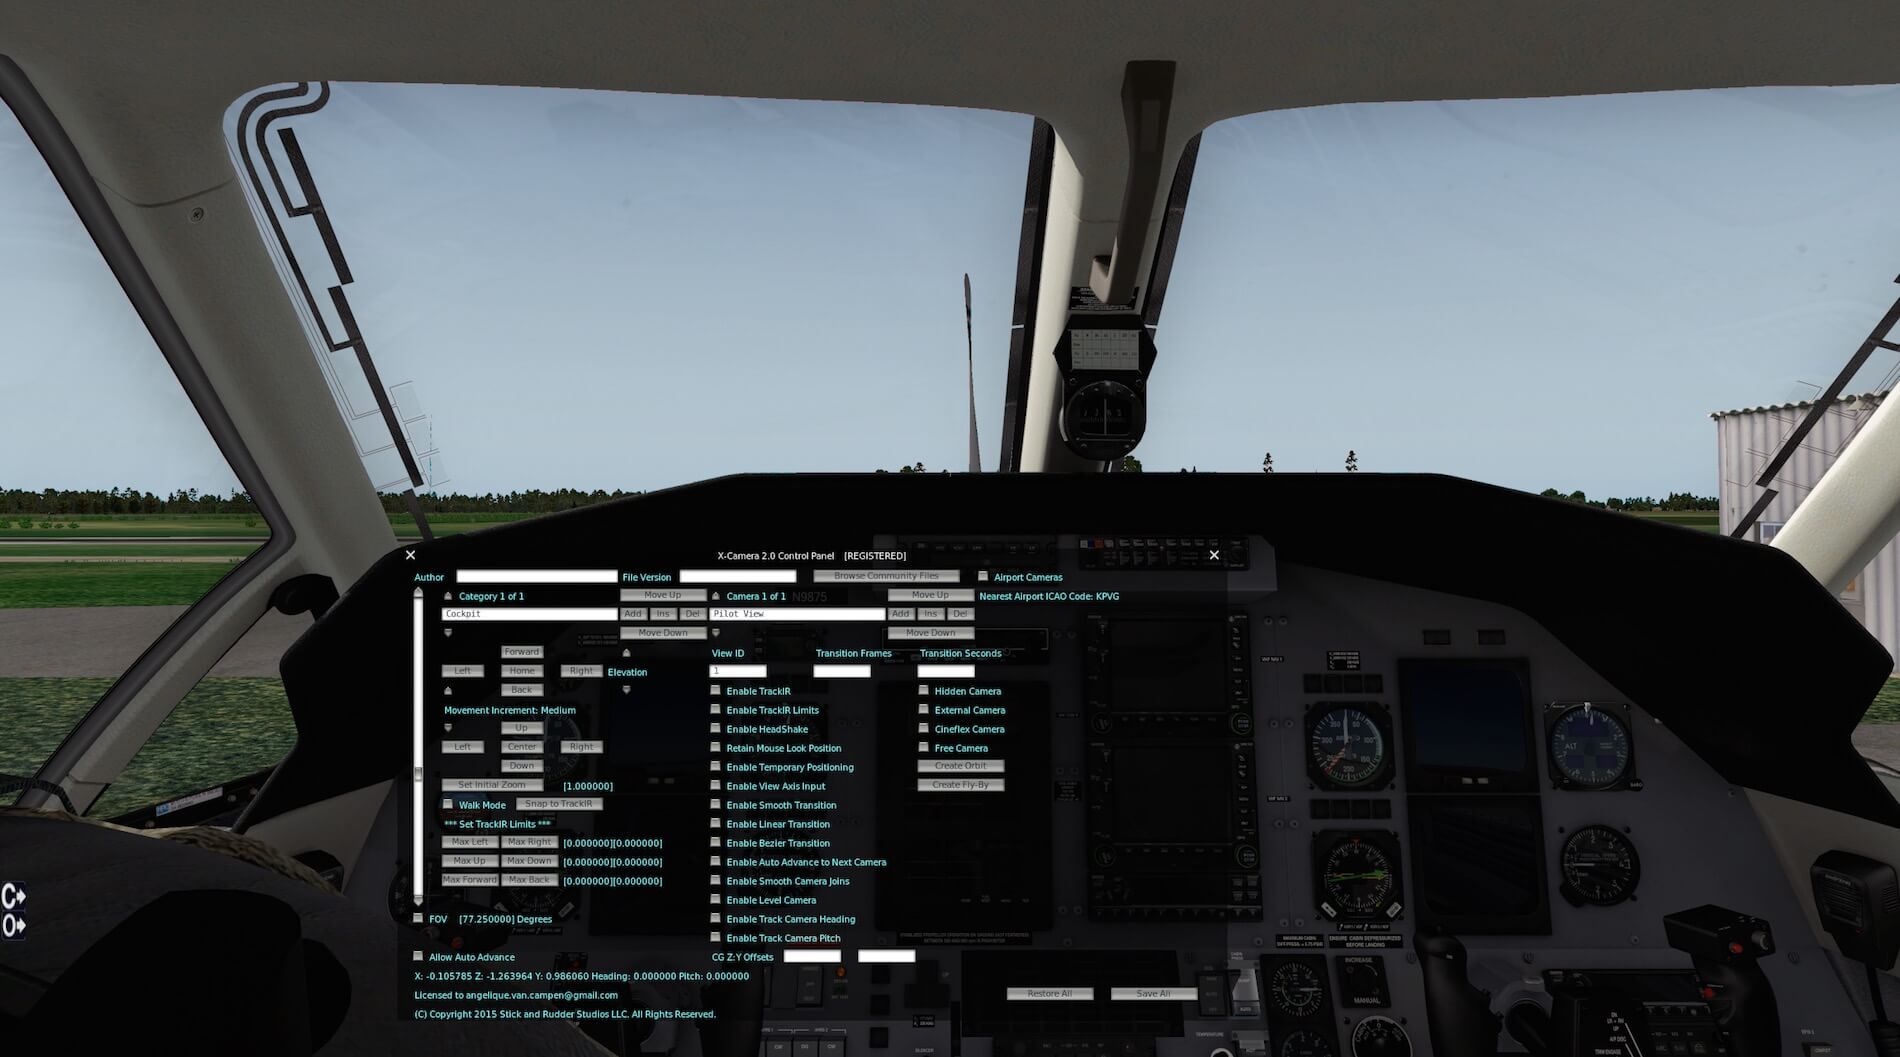
At this point, I could start explaining how to handle and how to use and save a category and/or camera view or both. In addition, I could tell you what all the enable/disable options mean, but really there is no need for that. Everything can be found in the user guide or, even better, in the tutorial videos, although it must be said that the tutorial videos don’t replace the well-written and documented user guide.
Summary
While writing this X-Camera impression, I just got an email from Mark to say that X-Camera version 2.0 is now final. But what does this mean and what has been added? Oops, there are a lot of changes. Does this create registration difficulties for people running with version 1.1? Yes, you need to re-register for a version 2.0 license file which is valid up til land including version 3.0. Just download the latest version and paste the license.txt file you received with the earlier version into the new X-Camera package.
Ok, the ‘short’ change log can be found below, while the full list of alterations is located in the updated user guide.
– Bug fix camera properly restored when X-Camera was disabled
– Added support for zoom transitions for external cameras
– Added HeadShake toggle command
– Added System Check for test compatibility with other plugins
– Added mini control panel
– Added a hidden camera option for use with multi-camera animations
– Added ability to browse and import community aircraft files
– Added author and version data to aircraft camera files
– Added mouse move capability
– Added ability to adjust mouse smoothing
– Added a ‘very large’ fourth movement range
– Added Orbit and Fly-By animation generators
– Added Walk Mode toggle command
– Category increase to 20
– Added an ability to specify transitions in seconds
– Added an ability to generate airport cameras from scenery files
– Added support for Airport cameras
– Minimum FOV can be set to 15 degrees
– Added Bezier Curve transitions
– Added an ability to see linked transitions while the control panel is open
– Added the ability to insert cameras and categories before the current camera or category
– Enhanced camera settings
– Added support for external cameras
– Added support for a Cineflex camera
– Added support for a free camera
Was it worth the try and putting pen to paper?
Absolutely and hopefully even more improvements or new features will be added to it in the future. And don’t forget to check the X-Plane forum for user-created aircraft configuration files. These will save you a lot of time making your own X-Camera files, and you can always modify them yourself to suit your own personal preferences. You can get a copy of X-Camera via our download server via this link.
Feel free to contact me if you’ve got additional questions related to this impression. You can reach me via email Angelique.van.Campen@gmail.com.
With Greetings,
Angelique van Campen
| Add-on: | Freeware Stick and Rudder Studios X-Camera 2.0 |
|---|---|
| Publisher | Developer: | X-Plane.Org | Stick and Rudder Studios |
| Description: | Replacement camera system for multiple view categories and multiple views |
| Software Source / Size: | Download / Approximately 5.6MB (unzipped) |
| Reviewed by: | Angelique van Campen |
| Published: | April 11th 2015 |
| Hardware specifications: | - iMac 27″ 3.5Ghz Late 2013 - Intel i7 3.5Ghz / 3.9Ghz during Boost Mode - NVIDIA GeForce GTX 780M 4096 MB - 32 GB 1600 MHz DDR3 - 1 internal 1TB SSD (El Capitan 10.11.4) - 3 external 1TB SSDs - Saitek Pro Flight System |
| Software specifications: | - El Capitan (10.11.4) | Yosemite (10.10.5) | Mavericks (10.9.5) - Windows 10 Professional - X-Plane 10.45c | X-Plane 10.45m |
0 Comments