The what ….. The Staggerwing
Flight Preparations
Today is my day … test flying the Alabeo Staggerwing for X-Plane 10.51 and perhaps also with X-Plane 11. According to Alabeo, the Staggerwing is only compatible with X-Plane 10.51 and not with X-Plane 11, but that doesn’t mean you can’t use it. It‘s a matter of trying it out, it’s a matter of seeing and believing. Perhaps the Staggerwing version 3.2 performs well with X-Plane 11, but for sure it won’t benefit of all X-Plane 11 features.
It doesn’t seem too complicated, but I decided to follow a different route to test this latest Alabeo aircraft. The Staggerwing looks weird and perhaps it flies differently than any other GA aircraft. So join me during my walk-around inspection, the basic cockpit check and finally, you can join me on one of my Staggerwing flights.
The real Beechcraft Model 17 Staggerwing is an American biplane with an atypical negative stagger (the lower wing is further forward than the upper wing) that first flew in 1932.
The Model 17’s unusual negative stagger wing configuration (the upper wing staggered behind the lower) and unique shape maximized pilot visibility while negligibly reducing interference between the wings. The fabric-covered fuselage was faired with wood formers and stringers over a welded steel tube frame. Construction was complex and took many man-hours to complete. The Staggerwing’s retractable conventional landing gear, uncommon at that time, combined with careful streamlining, light weight, and a powerful radial engine helped it perform well.
In the mid-1930s, Beech undertook a major redesign of the aircraft to create the Model D17 Staggerwing. The D17 featured a lengthened fuselage that improved the aircraft’s handling characteristics by increasing control leverage and the ailerons were relocated to the upper wings, eliminating interference with the flaps. Braking was improved with a foot-operated brake linked to the rudder pedals.
Sales began slowly. The first Staggerwing’s high price tag (between 14,000 and 17,000 USD, depending on engine size) scared off potential buyers in an already depressed civil aircraft market. Only 18 Model 17s were sold during 1933, the first year of production, but sales steadily increased. Each Staggerwing was custom-built by hand. The luxurious cabin, trimmed in leather and mohair, held up to five passengers. Eventually, the Staggerwing captured a substantial share of the passenger aircraft market. By the start of World War II, Beechcraft had sold more than 424 Model 17s. (Courtesy Wikipedia)
More about the Beechcraft Staggerwing can be found at Wikipedia or check out the Staggerwing Restoration blogspot. And finally, check out this 10 minute long YouTube movie of an aerobatic Staggerwing flight.
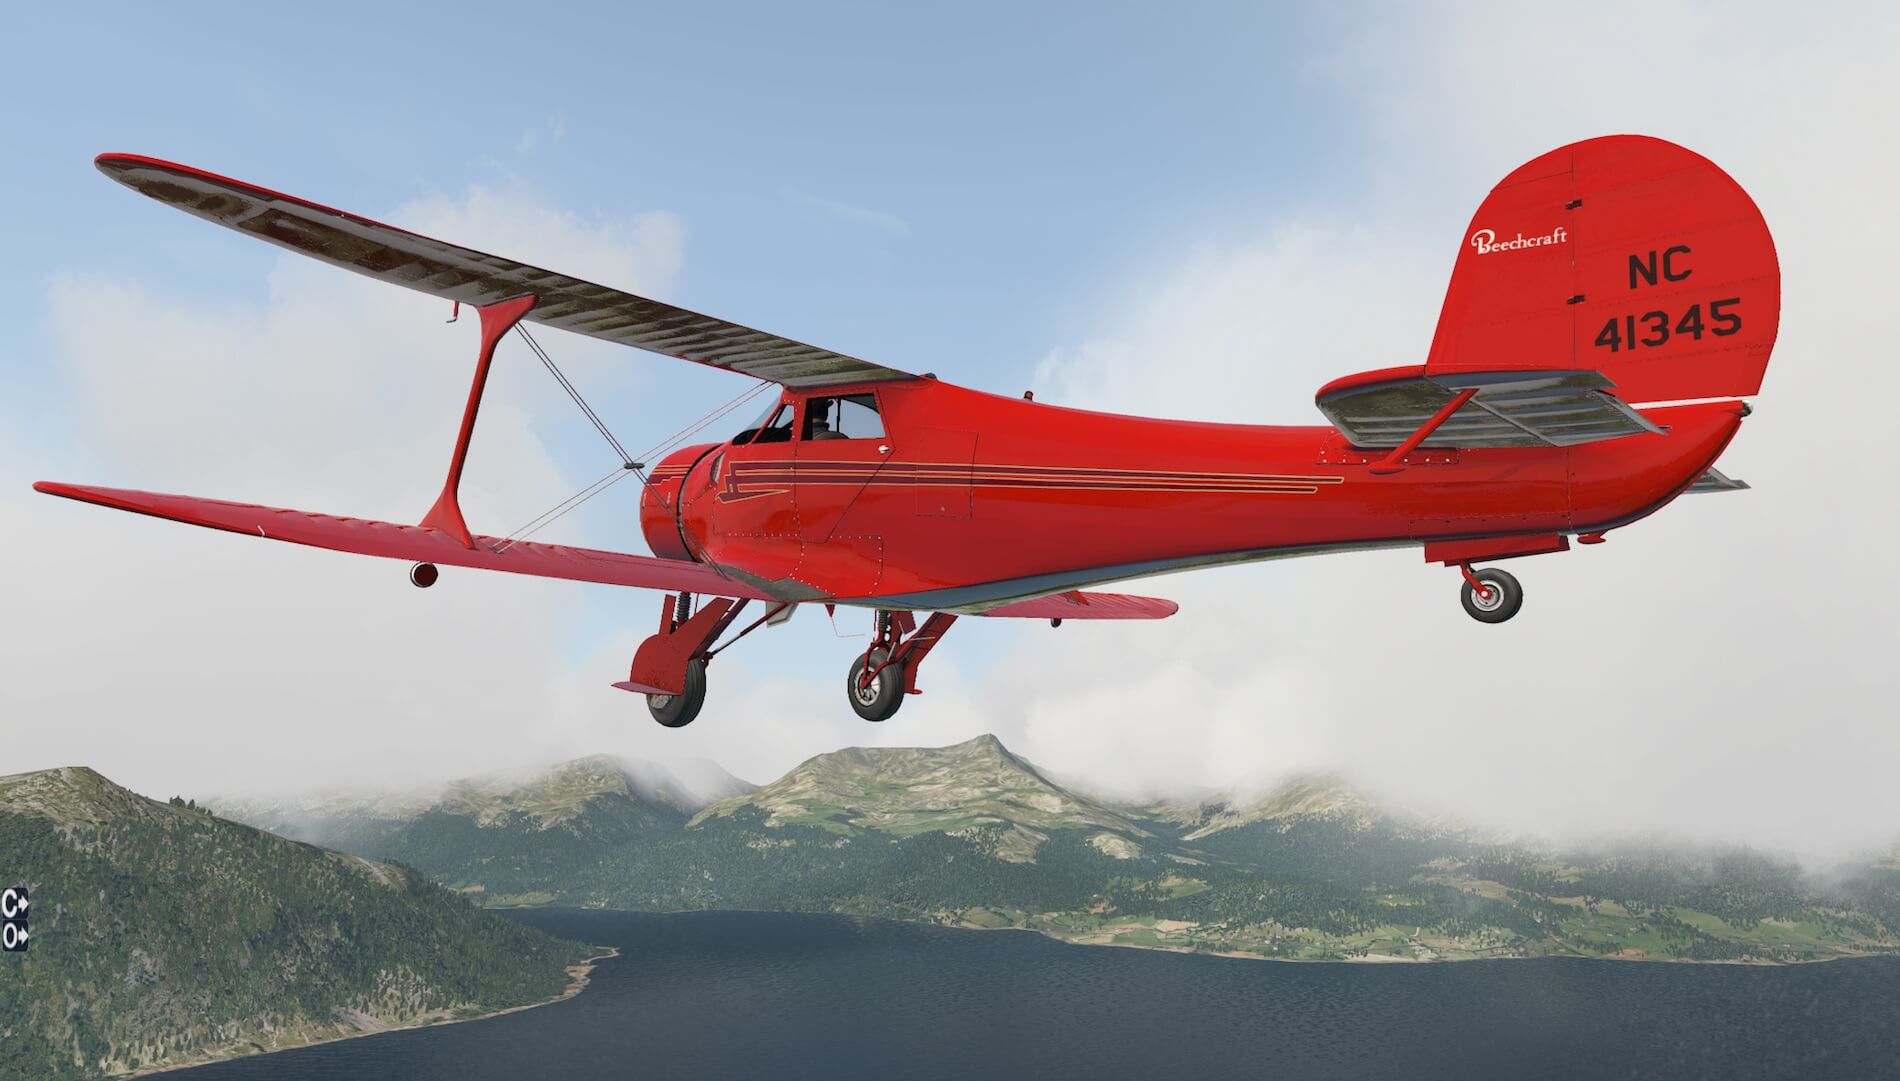
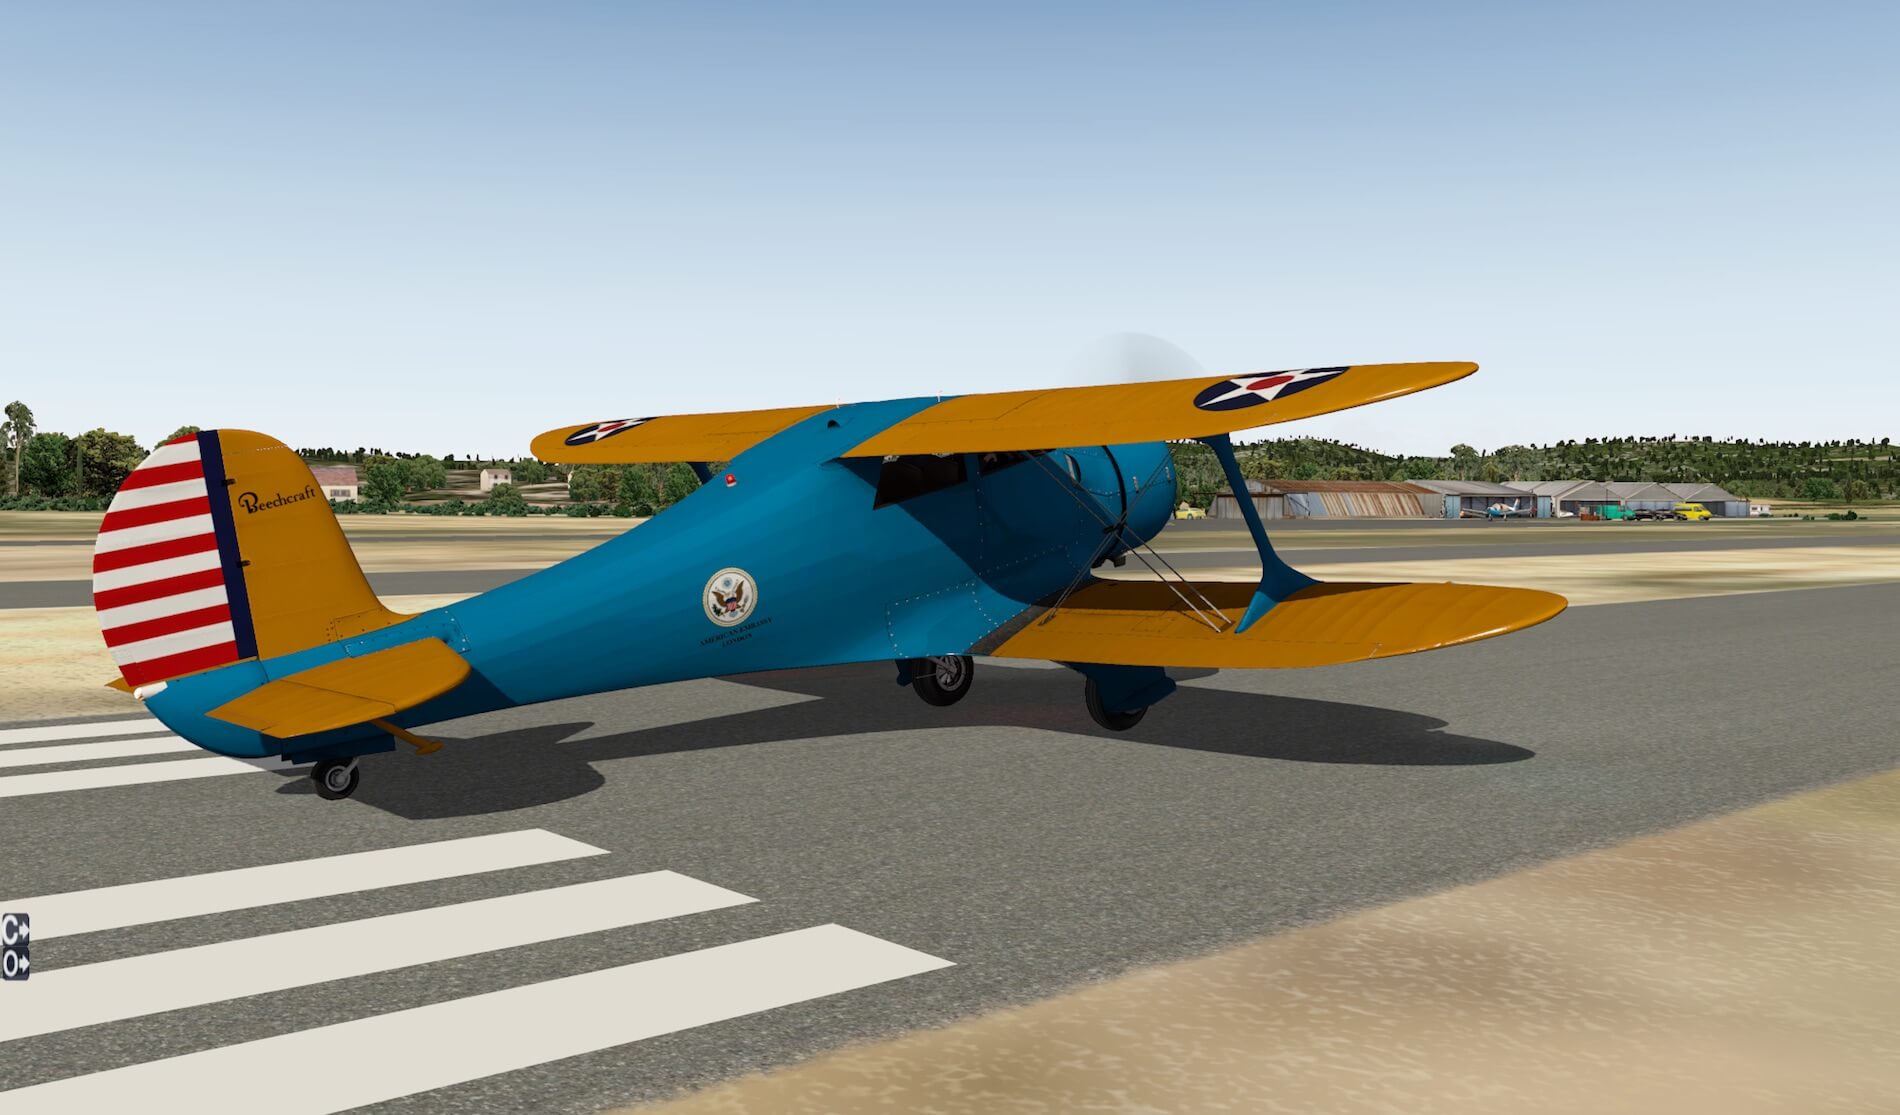
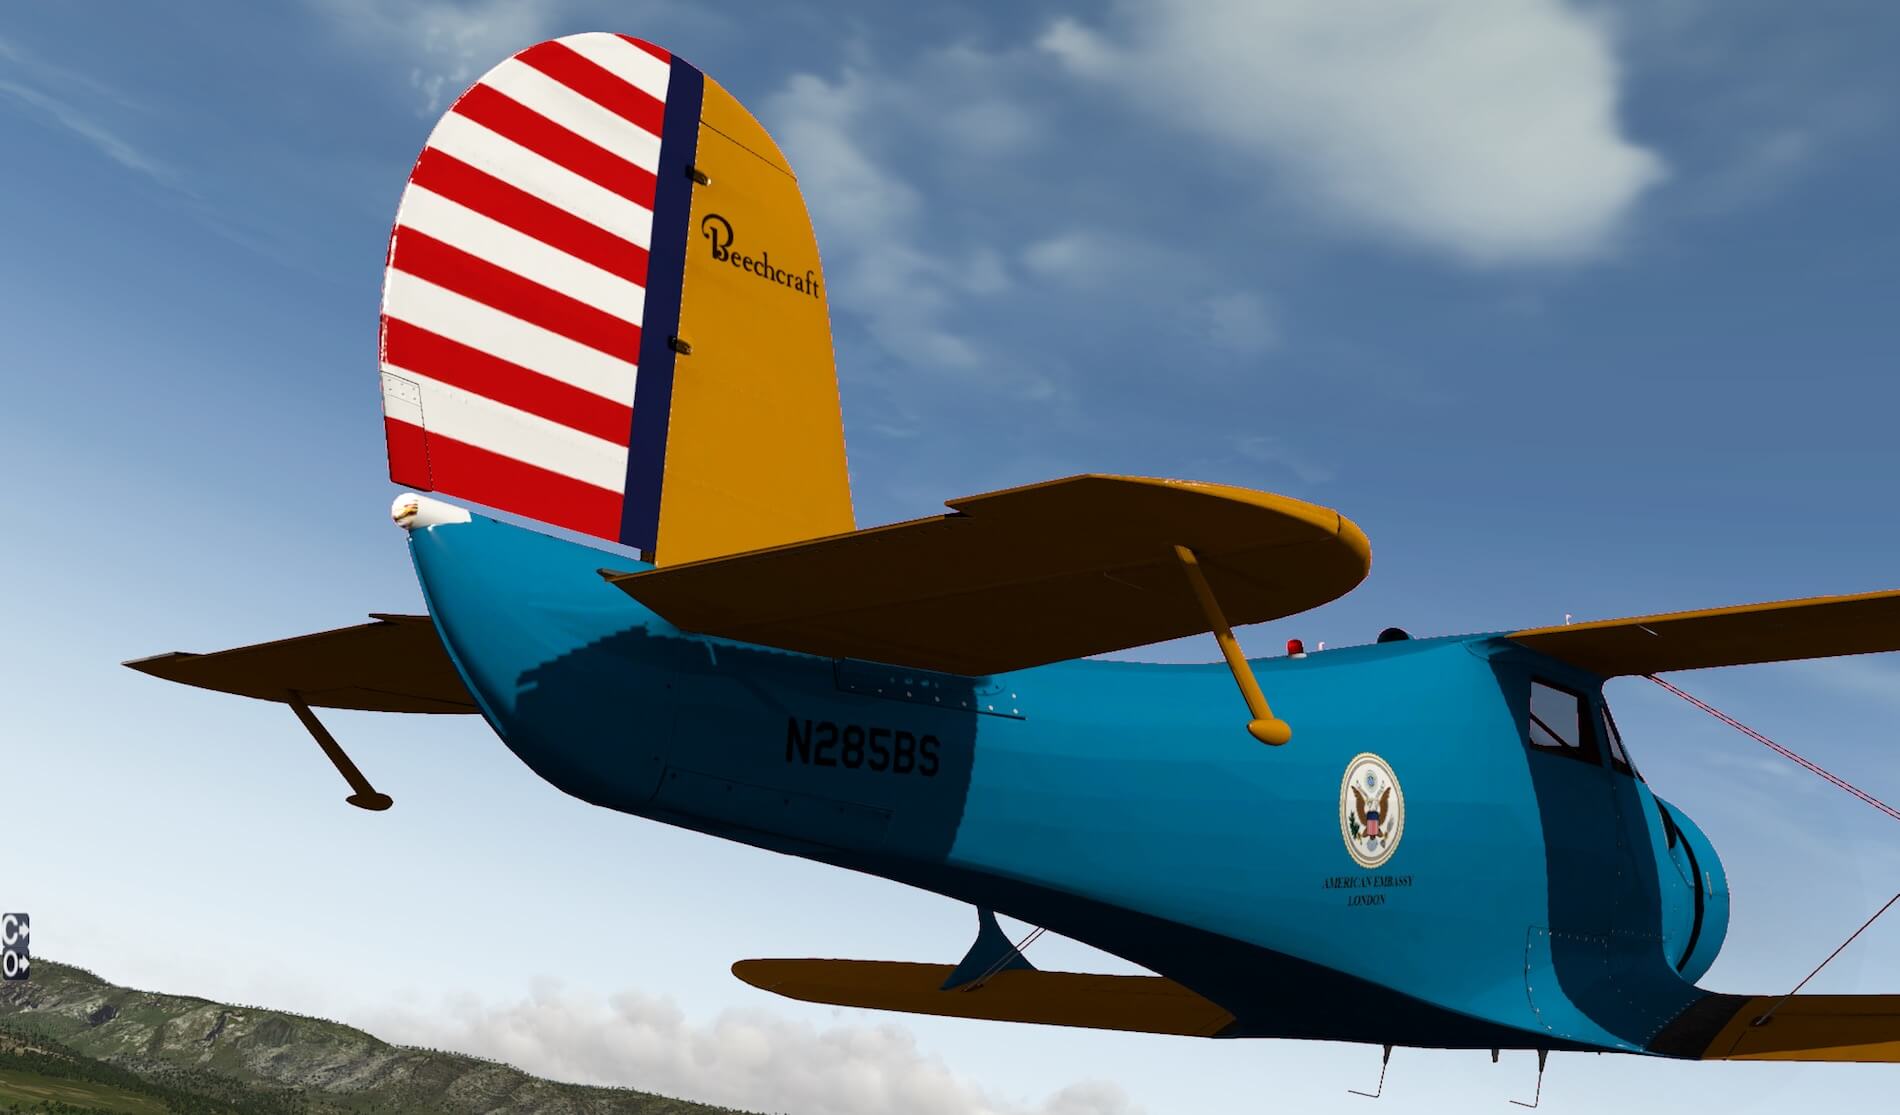
Before heading to our Alabeo Staggerwing, first some essential installation and documentation issues. Just unzip the Alabeo Staggerwing package and copy and paste the complete folder to the X-Plane Aircraft folder or any Aircraft sub-folder if you wish. When you check the Staggerwing folder, you’ll find a “Documentation” folder. Finally, the package comes with six liveries. Actually, five liveries since one is a white livery thus the paint kit. The other liveries are available in the colors of beige, blue, red, light gray (although the livery folder says white) and yellow.
My Walk Around Inspection
I’m ready for my walk around inspection, so please, join me!
This time, I’ll start my walk around inspection at the opened left hand passenger door. From here, I walk to the left hand wing tip, front section of the fuselage and then, via the other wing, to the tail and back to the door.
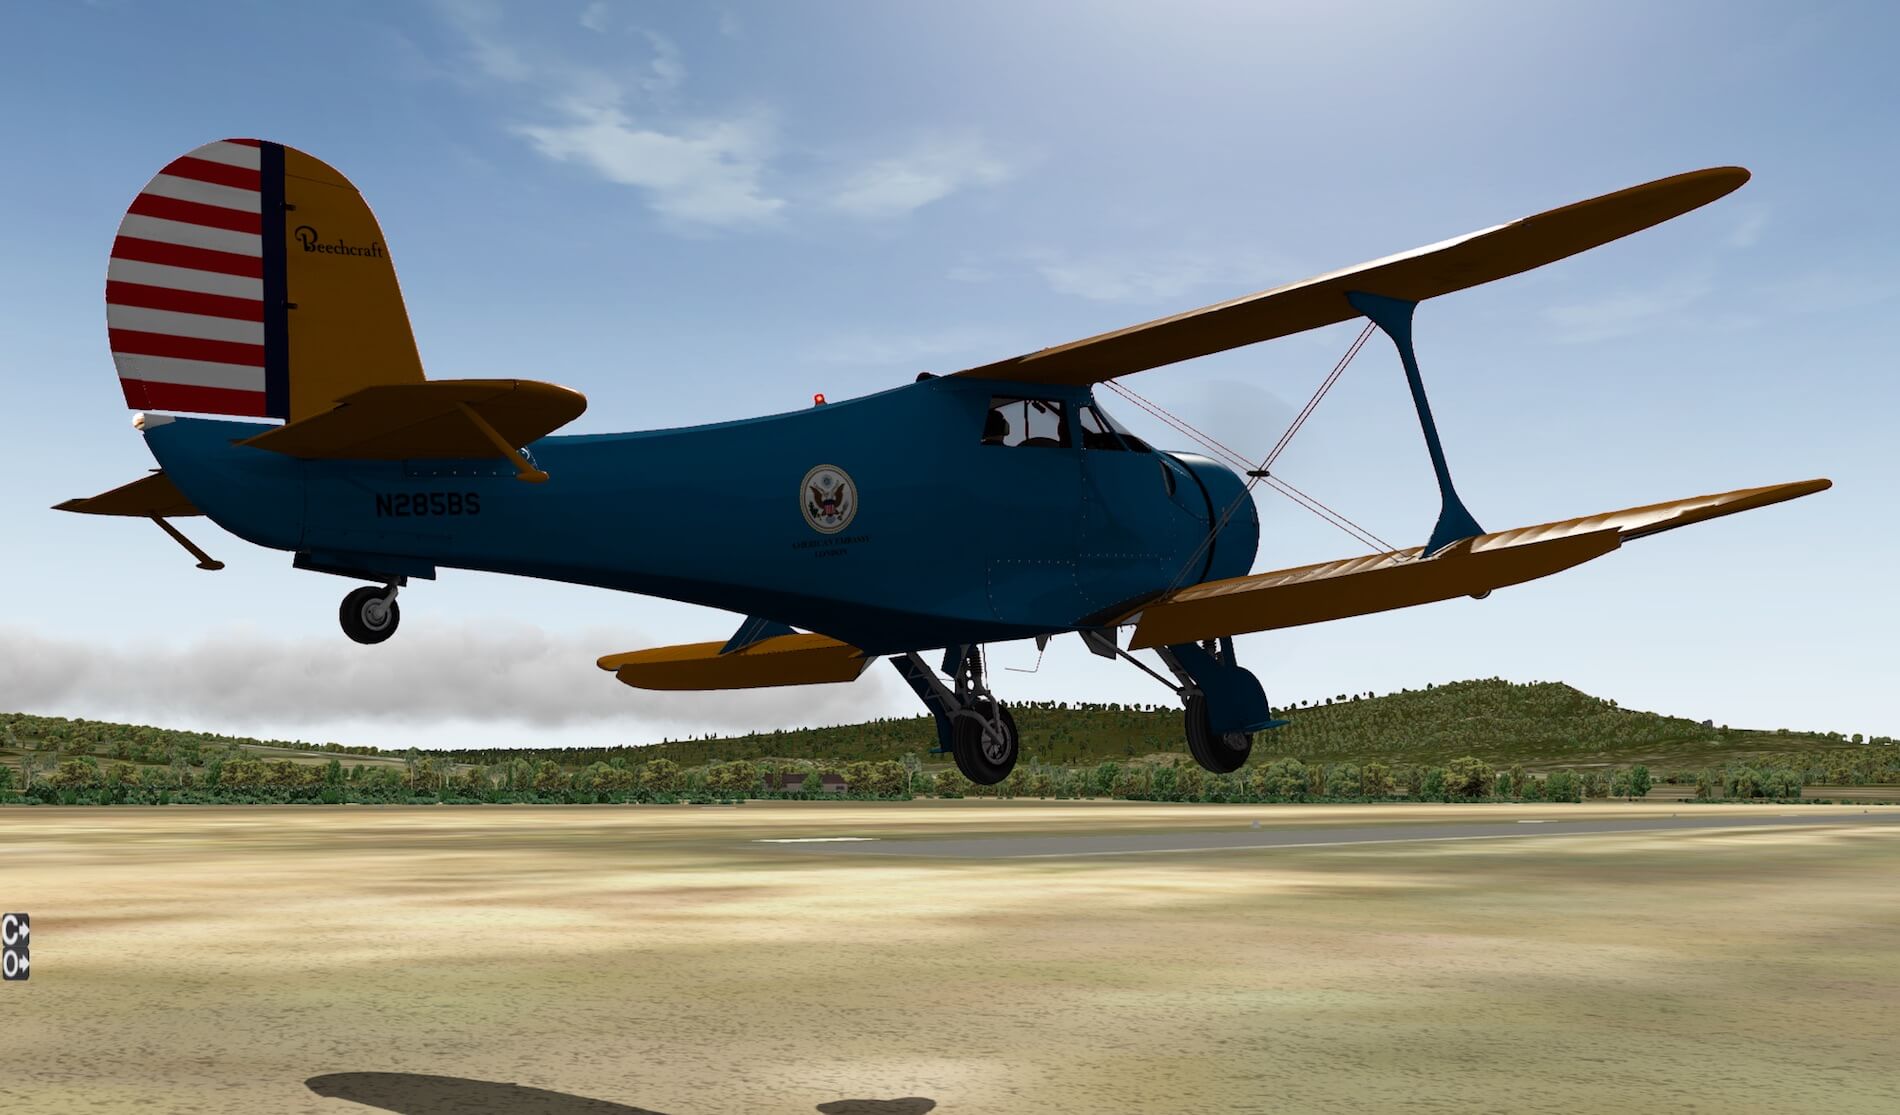
Carenado and Alabeo aircraft are known for their high quality external modeling. This Alabeo Staggerwing isn’t an exception. It’s all so well detailed. There’s a lot of those tiny details and you get the feeling that you’re really doing an inspection around a real aircraft. The simulated Staggerwing isn’t an aerodynamic model and thus the skins aren’t well aligned to each other, rivets are clearly visible and even bolts. This is something you’ll find on the real Staggerwing as well as the modeled Alabeo aircraft.


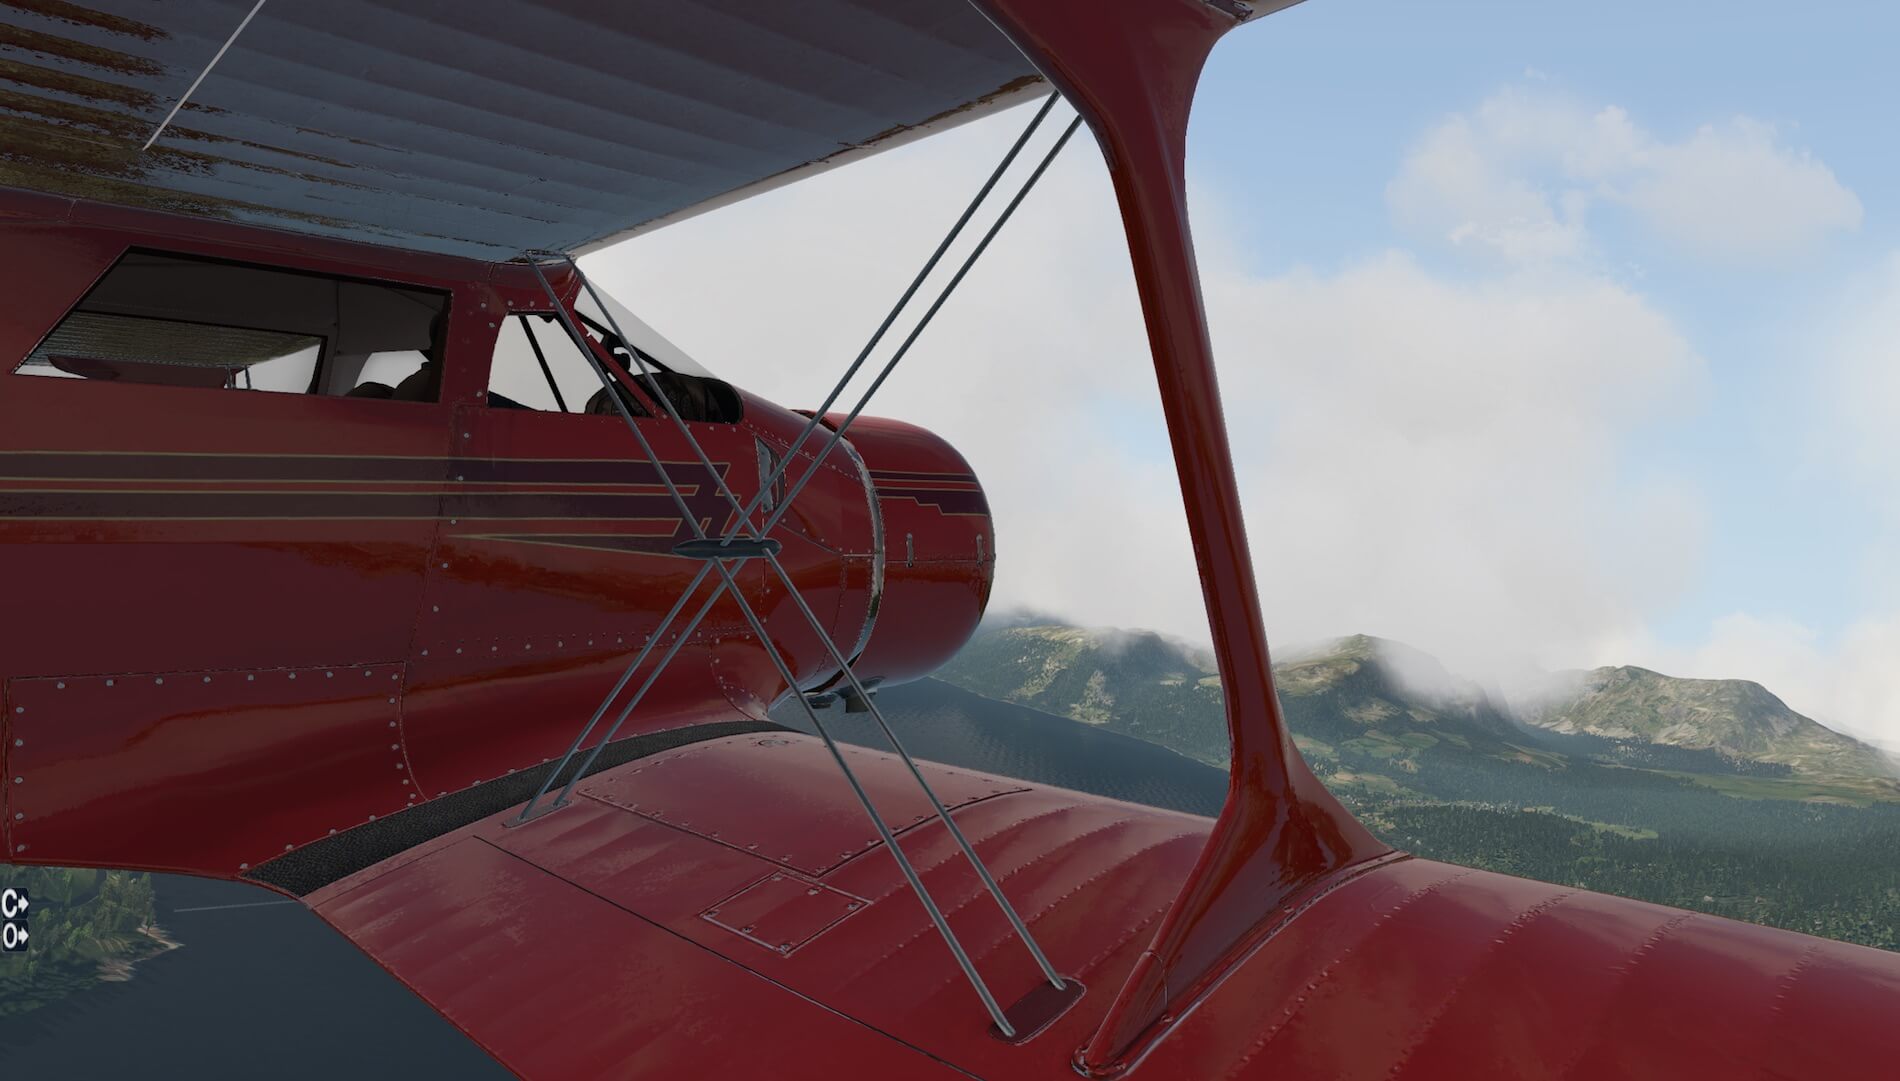
Walking towards the left hand wing tips, I observe the stainless steel cables between the upper and lower wings as well as the cream colored strut that separates the upper and lower wings. It’s amazingly detailed and highly realistic. Another amazing detail is the rounded wing tip. In real life it’s covered with linen and although the Alabeo model has no linen, it looks exactly the same since I know about that type of covering from my knowledge of older GA (General Aviation) aircraft.
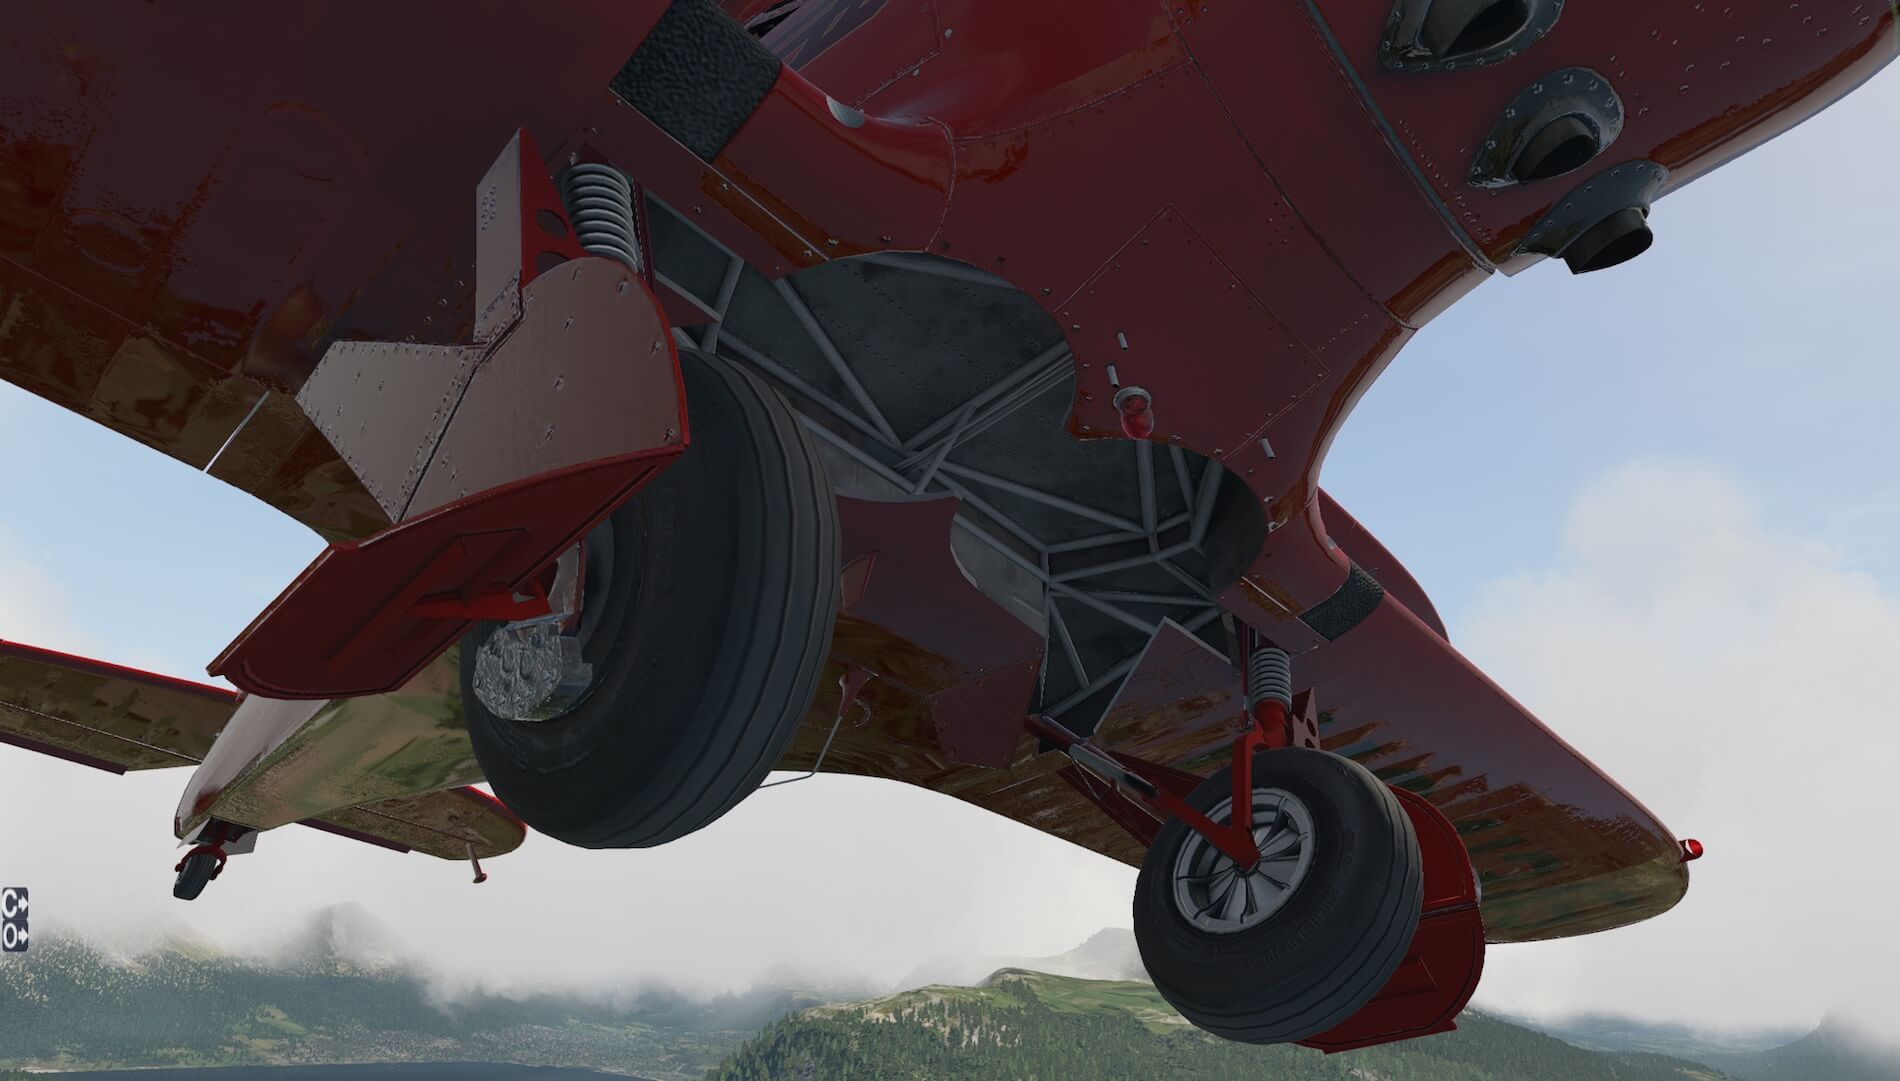
The leading edge of the lower wing houses the navigation lights and the landing lights, which are both nicely modeled. With a lower wing placed so low, it’s not easy to see the main landing gear. But then kneeling on the ground, I’m able to see the left hand main landing gear. Although it’s a simple landing gear, the fixed landing gear door, strut, spring assembly are all modeled with great detail. I also see some antennas mounted under the fuselage situated between both main landing gears. Almost forgotten is the old-fashioned beacon or anti-collision light. I write old-fashioned beacon light on purpose, since it’s a slowly flashing bulb and not a hi-intensity light unit.
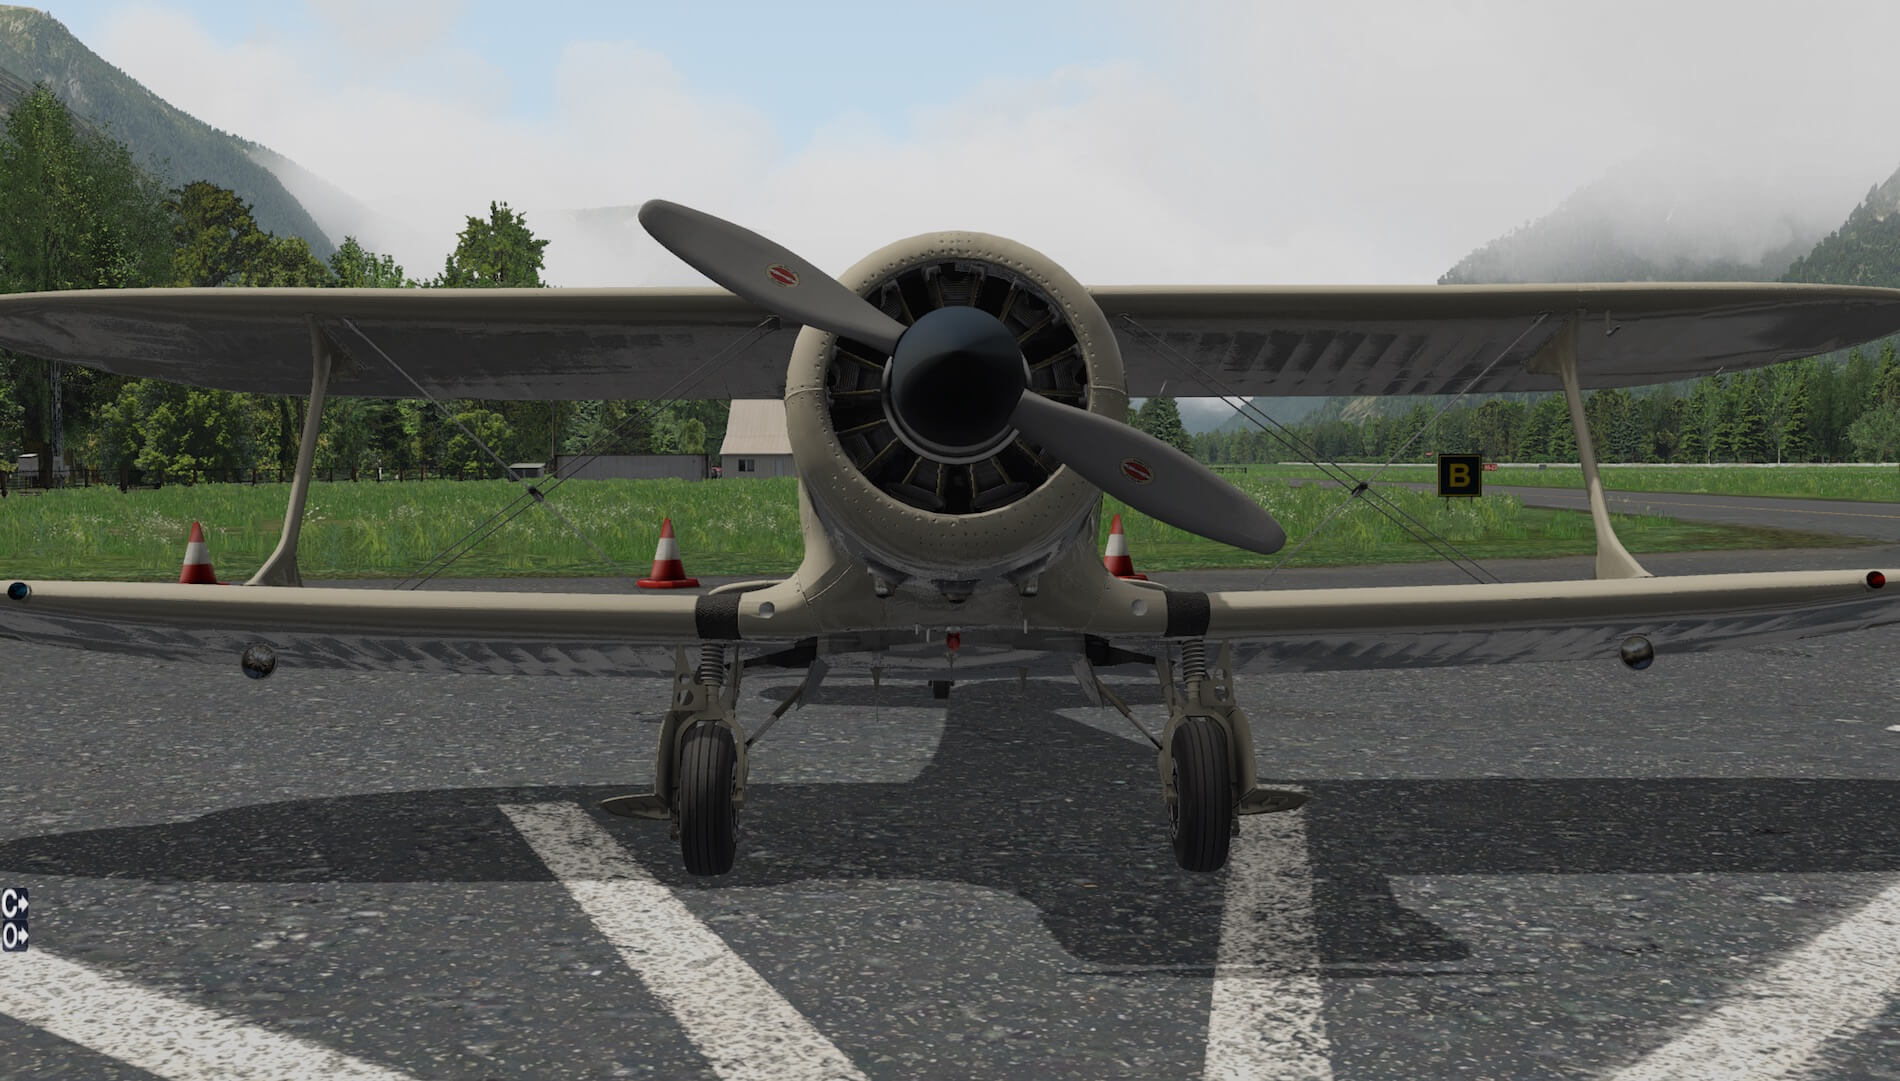
And then, there’s the impressive radial engine nose section with propeller. It’s difficult for me to find the correct words since it looks so real. The only thing that’s missing is the leaking oil and the smell that belongs to this type of engine. Overall, an awesomely modeled radial engine!


The two bladed propeller seems to have been manufactured by Hamilton Standard, but the radial engine was made by Pratt and Whitney and modeled by Alabeo. From this front view of the engine and fuselage, I’ve got a great view of the front of the main landing gear and again, I’m impressed how well this is modeled.
The right hand wing is, logically, of the same quality as the left hand wing. So there’s not much to add to this. But the tail fuselage? Now that’s something else.
It doesn’t make any difference which livery you use to check out the tail section. Besides a few aluminum skin components, the rest of the tail is covered with linen. The Staggerwing has a large rudder and elevator with a balancing unit and let’s not forget the tail wheel assembly. At the far end, you’ll see the white navigation lamp unit. Looking once more from the tail to the left and right hand wings, fuselage and gears, I must admit … Alabeo has done it again!
Oops, by pressing the Options menu icon “O” on the left hand side of your screen, you’re able to open/close the passenger door. Furthermore, you can activate instrument reflections to give the overall instruments an even more realistic expression and finally, transparent windshield to activate/deactivate the windshield reflection. This to increase FPS (transparent windshield deactivated) for low-end computers.
Jump In
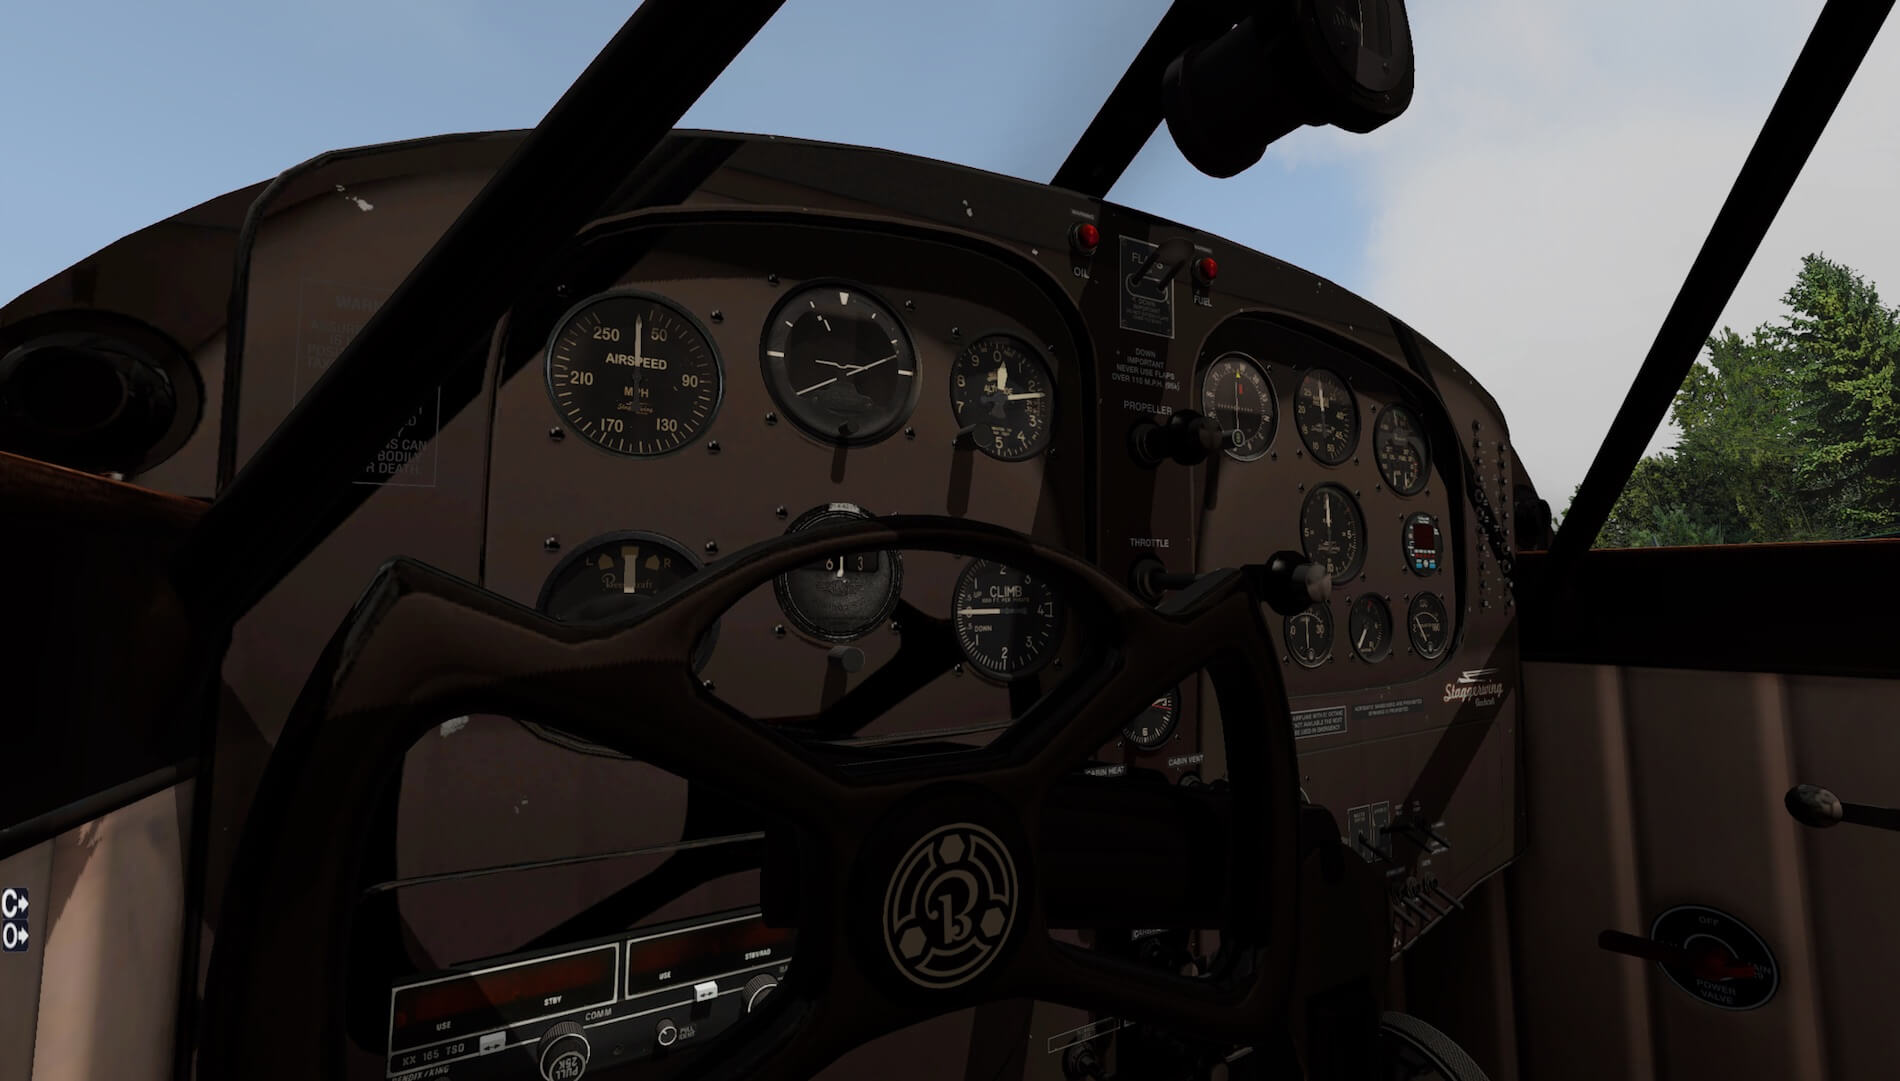
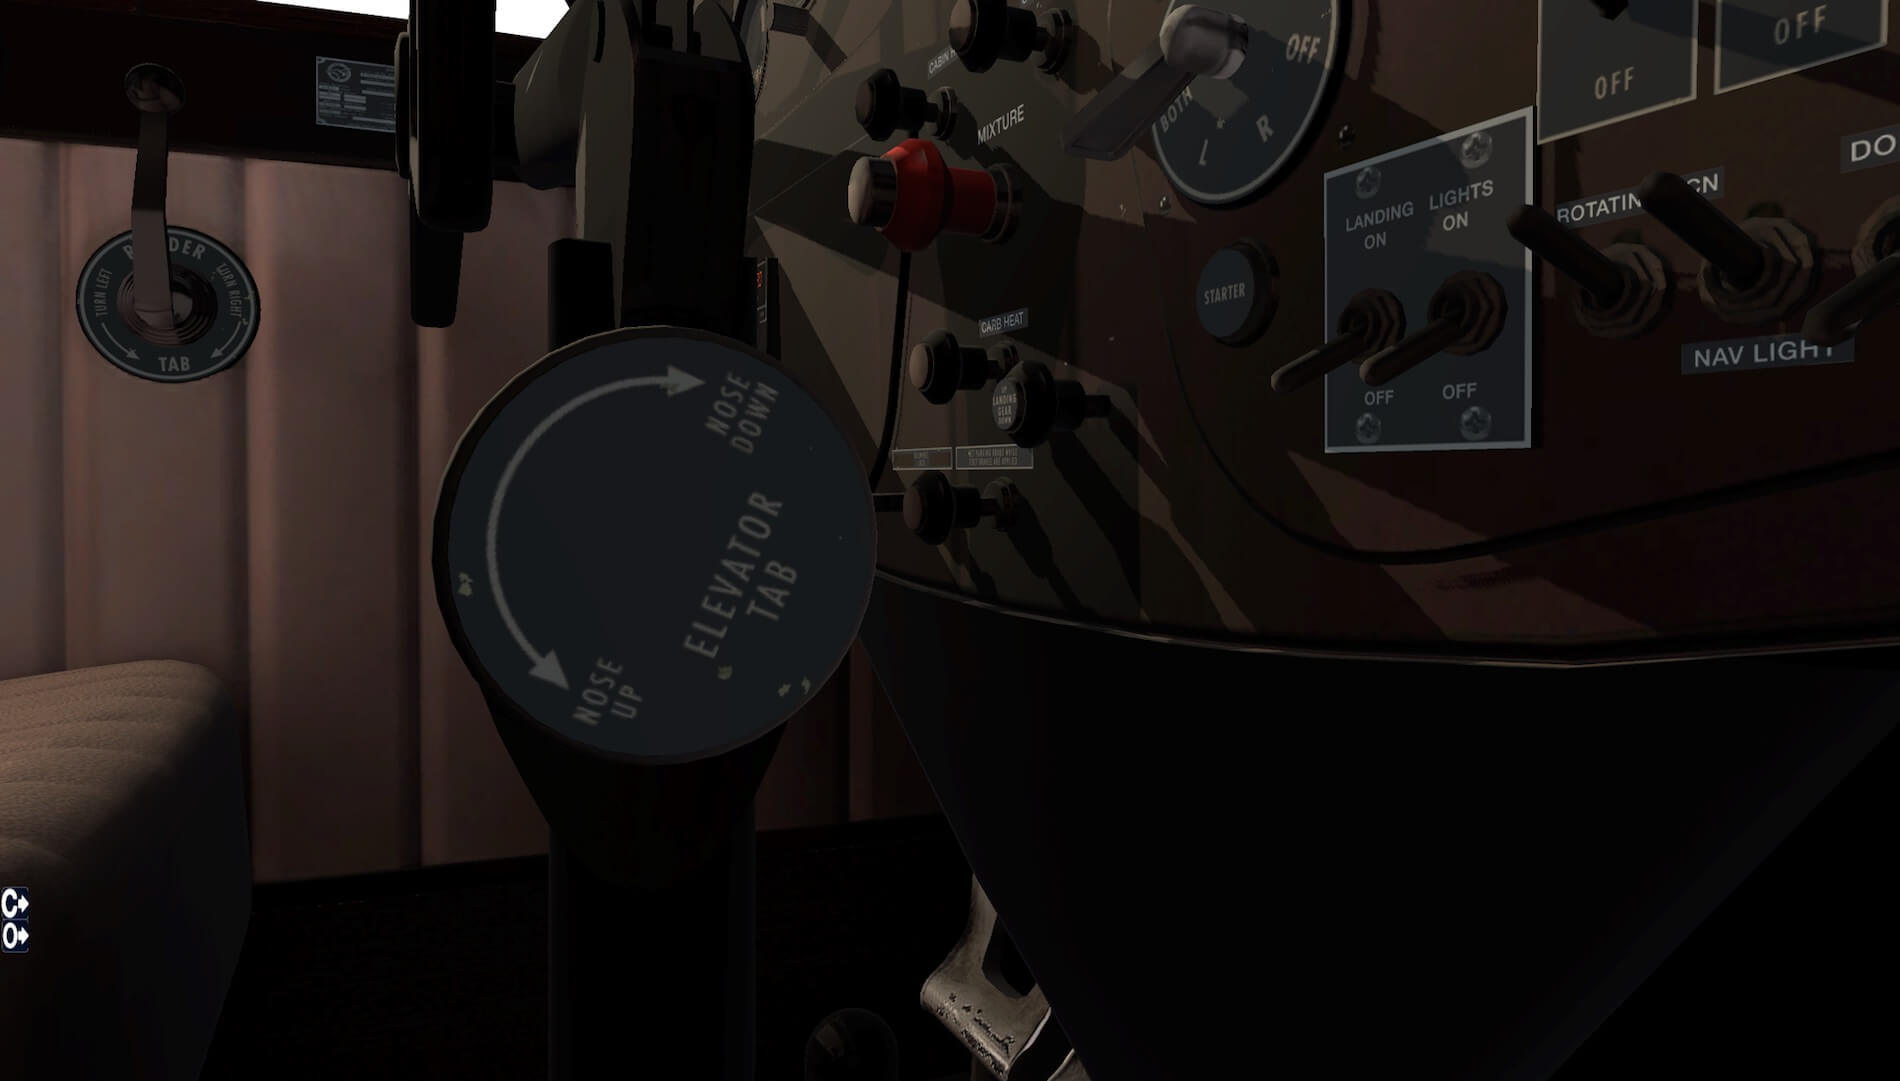
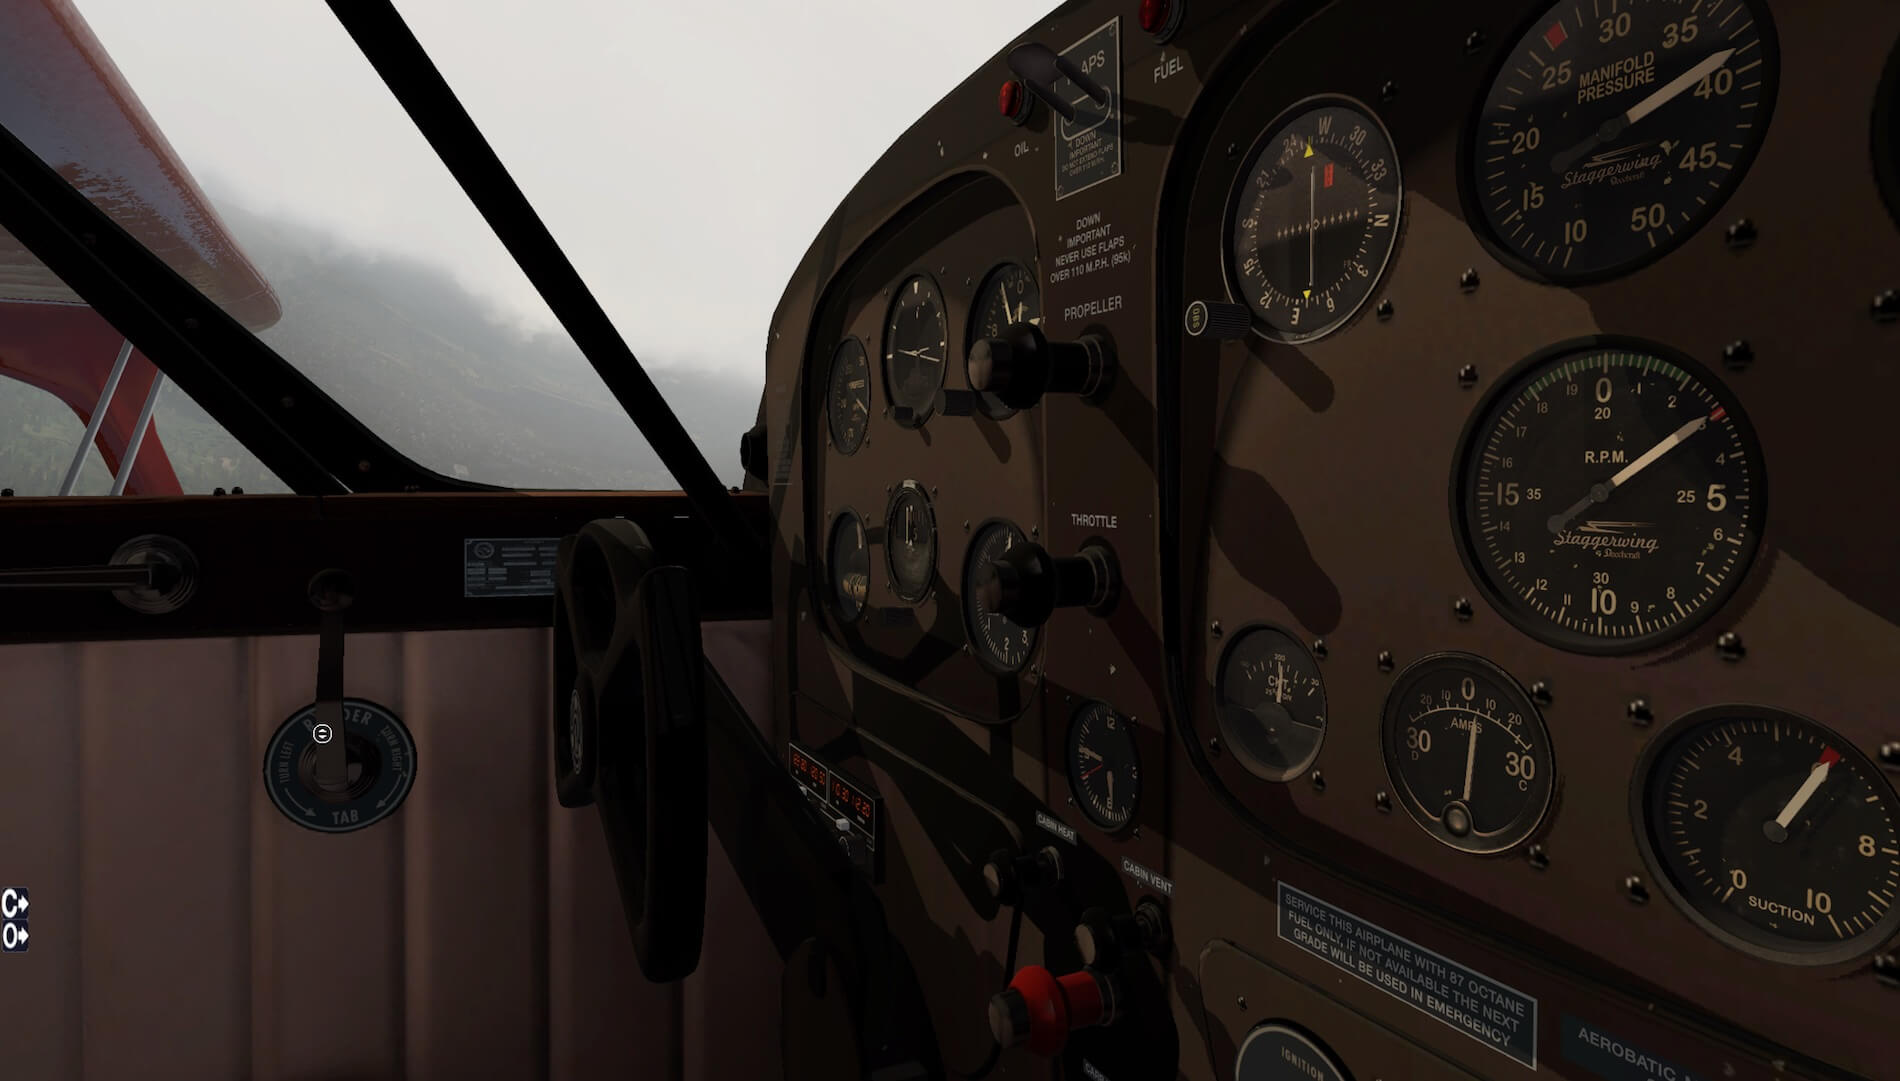
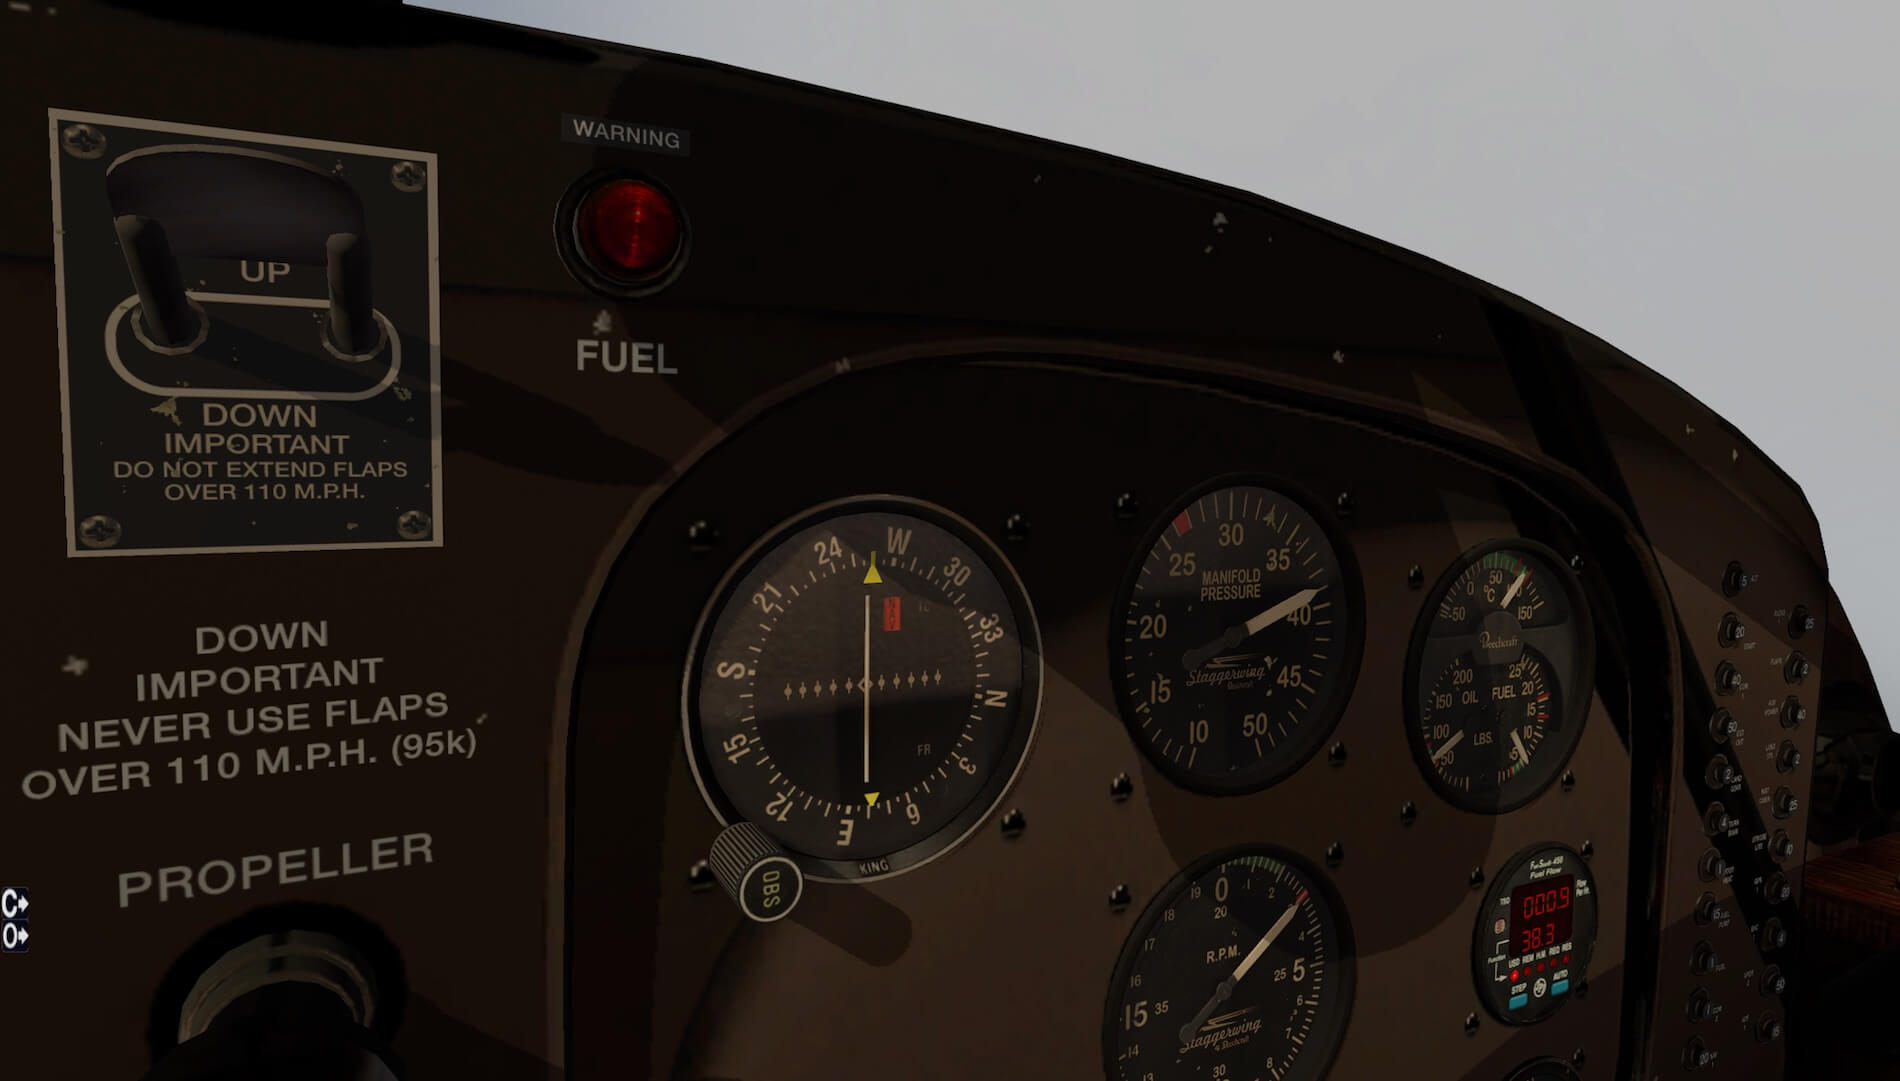
The Staggerwing cockpit is quite simple. Except for the FuelScan 450 indicator, all other indicators are old-fashioned types. That’s one of the reasons you won’t find a user manual for the Staggerwing about how to operate the instruments. So it’s only you, the front instrument panel and that’s’ it. No overhead panel, no pedestal or whatever side panels could be included. The instrument panel with indicators, applicable switches and selectors, are modeled with great detail and are unbelievably sharp when zoomed in. I’m impressed with the overall indicator quality.
Another interesting detail are the wooden armrests. These are actually not really armrests but more a part of the side construction of the fuselage. But the photo real material that’s used is so realistic and sharp that the look in the Alabeo Staggerwing reflect something of the real aircraft. And here’s another great mix of photo real material and modeling; the OIL and FUEL WARNING lights in the middle of the instrument panel.


The virtual cabin, with the two front seats, are simple, but reflect reality. Don’t expect a fancy seat. Instead, you’ll see basic simulated seats covered with leather and with the famous “B” from Beechcraft printed in it. And finally, there’s the Cameras screen icon “C” that allows you to control the Field of View (FOV) and to select different internal and external camera views.
Let’s Staggerwing with X-Plane 11
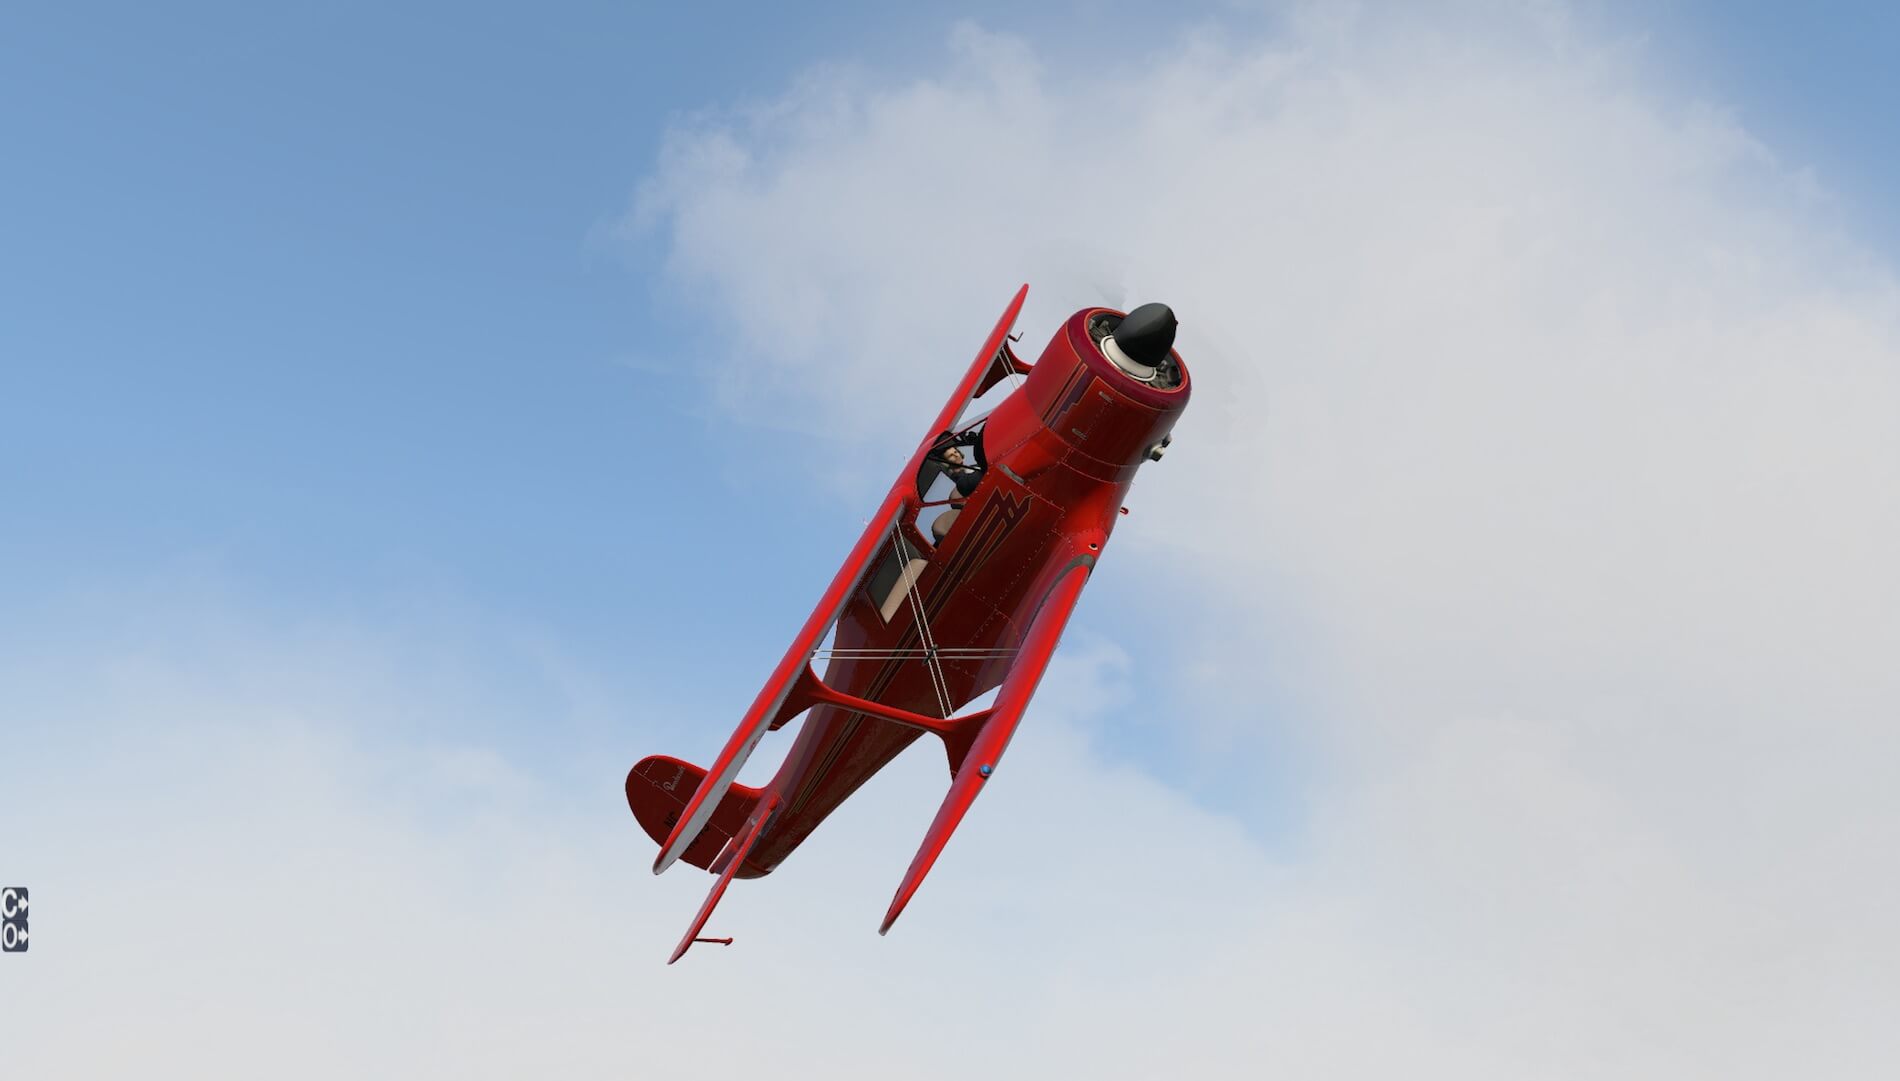
Flying the Staggerwing turns out to be fun although it feels different than a single wing aircraft and is different than a Cessna 152 or C172. Nevertheless, you don’t need much experience to fly the Staggerwing unless you want to do some acrobatic tricks. In that case, some flying experience with the Staggerwing is welcome.
But for now, I’ve decided to taxi from my parking spot to the runway. Not a long distance, but you can hardly see anything in front of you since this is a “tail dragger” and making turns isn’t easy. The turn itself isn’t the problem. The problem that you need quite a large circle to turn the aircraft. But that’s something you find out quickly and in the worse case, you taxi partly over the grass.
Once you arrive at the runway, hold the Staggerwing on the middle line, select the first FLAP position and off you go. Do it gently or you’re off the runway and in the middle of the grass. The moment the horizontal stabilizer gets enough lift, the nose of the Staggerwing moves slightly down. Watch out that you don’t move it too far otherwise the propeller hits the ground. Not much further along the runway, you’re able to liftoff the Staggerwing.


When you’re airborne, don’t forget to retract the landing gear. Nice sound by the way and the flaps. Now, it’s just you and the Staggerwing. It could be that I didn’t trim it well, but the aircraft needs, more or less, a constant correction to the left. The instrumentation is a valuable help when it comes to altitude and vertical speed, but from real Cessna C152 and C172 experience, I also know that when you listen to the engine sound the sound level tells you if you’re climbing or descending.
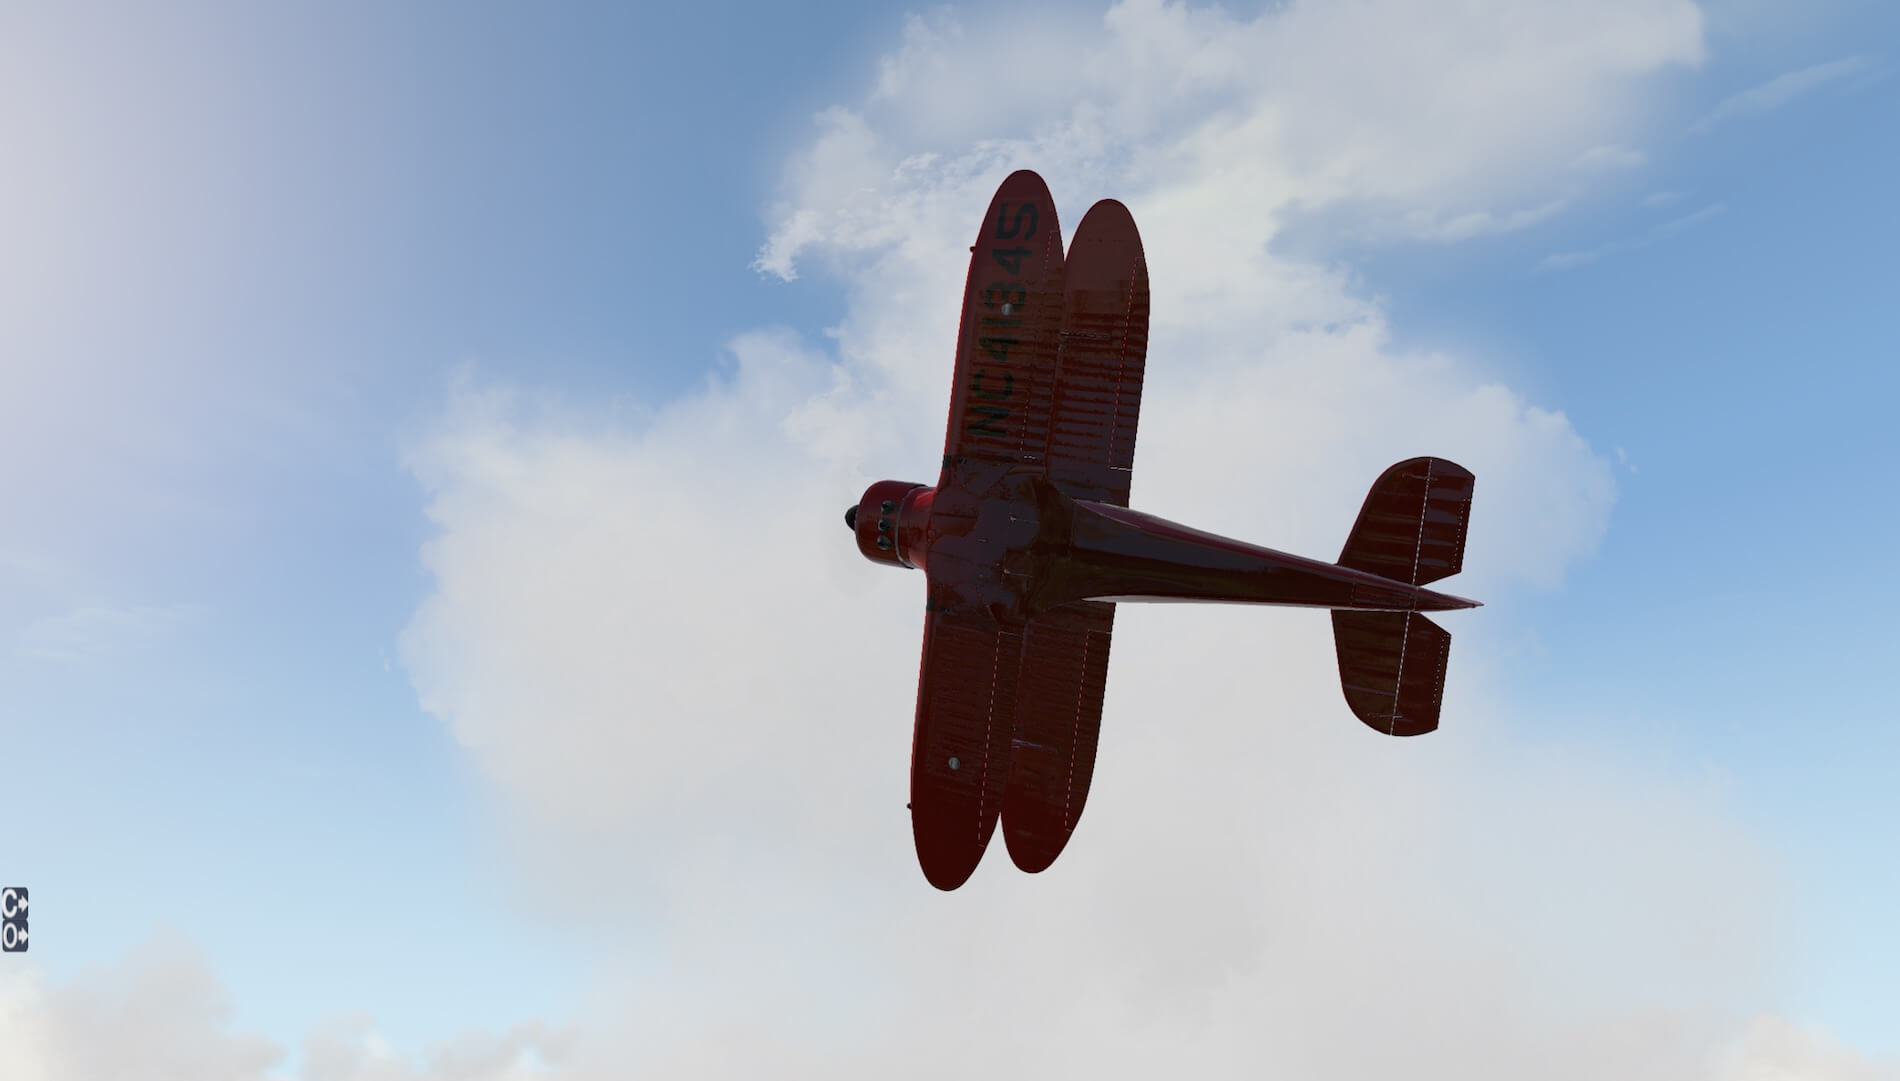
Roll is easy since that’s something you see when you look out of the small cockpit window. Most important to keep in mind while flying around is your IAS (Indicated Air Speed). The Staggerwing with the fitted engine is really powerful and speeds of 130-150 knots are reached quickly. It seems to me that when your speed is too high, a kind of buffeting is noticed. I think I faced this virtual shaking of the Staggerwing during a clear configuration at around 150+ knots. Good or not good? It’s great to see how this is integrated in this model.


While flying around, I’ve got some time to check the lower side of the Staggerwing, the landing gear and bottom side of the fuselage and wings. To be honest, it’s quite impressive how this is recreated.
Letting know you about my frame rates is nice, but it all depends on your PC hardware and settings. Most of my “Rendering Options” are set high and with a windowed screen X-Plane 11 mode (approximately 2000 x 1200 pixels), I get approximately 30 FPS (Frames Per Second). This seems low, but that’s partly because of my high settings. When you use more normal “Rendering Options” settings and keep the anti-aliasing within limits, then frame rates above 35 should be easily reached.
The recorded sounds for the Staggerwing are not only realistic, but bring the Staggerwing to life! This aircraft is an easy aircraft to fly and not much knowledge is needed. It’s a typical cross-country aircraft with a limited amount of instruments, but with an awesome external model.
Time for the approach and landing.
When you’re settled for a straight in approach, your seat set at the correct height, flaps and landing gear down, it doesn’t take much effort to make a successful landing. But remember, it’s a tail gear aircraft. That said, you need to try, no, you must land with the main landing gear first, keeping the fuselage parallel to the ground and when you’re stabilized, then you can safely lower the tail. When the tail lowers and the tail gear hit the ground, you’ll notice that you hardly see anything in front of you. The same issue as I discussed about taxiing around and the takeoff run. The Alabeo Staggerwing, an impressive aircraft to see and to fly! No more words are needed.
There’s a note I must add to this X-Plane 11 Staggerwing impression and that deals with taxing the Staggerwing. Either it’s my Saitek X-52 Pro setup, or it’s the Staggerwing aircraft, but I noticed that it’s not always easy to keep the aircraft yaw on the ground while taxing under control. I tried different airports, different hardware situation and I even re-calibrated my Saitek X-52 Pro for X-Plane 11. It would be interesting if others who read this, also experience this behaviour with the Staggerwing.
Another Staggerwing Flight Impression
For this additional Staggerwing flight I’m using X-Plane 10.51. Some simmers have said X-Plane 10.51 already goodbye, while I think, no, I know for sure, that there are still many simmers who don’t use “yet” X-Plane 11, while other mix flights between the older and brand new flight simulators. For many reasons, I decided to add this additional flight impression into this review while using X-Plane 10.51 since this is the official compatible platform for this aircraft.
Taxiing the Staggerwing isn’t easy unless you’re used to taxi with a tail gear. Ho ho, hold on. This is not a tail wheel but a real gear. When you retract the landing gear, you’ll see that the tail strut with wheel are fully retracted. Just in case you think it was just a tail wheel!
So taxing is difficult, first because of the position of the fuselage and thus your external cockpit view, but it also feels more nervous then with a nose wheel assembly. You can taxi with the Staggerwing, but keep you taxi speed low which allows you to control the yaw of the aircraft. And suppose it’s going too fast, press the pedals gentle and either reduce the forward speed or bring it to a full stop.
That said, once on the runway, be warned that you need to give a constant yaw correction to the left, the Staggerwing lifts off gently in the air. Want to know more about this left pulling effect? Check out this. I command the Staggerwing to climb out to my initial altitude of 2000 feet. Since the Staggerwing has no Auto Pilot, you need to use trim to bring it to a stable flight with almost no corrections needed besides the environmental changes.


When in the air, the external view from out the cockpit isn’t bad. Isn’t bad is partly because of the cockpit construction, glareshield (if I may identify it like that) and the struts that limit some of your external view. And since it’s a twin wing construction, I can’t look up from the side window nor I can look down. I both cases, my view is limited by the wings. The Staggerwing isn’t really an aircraft to fly level flights with, it expects more from the virtual pilot. It expects acrobatics!
That said, time to play, but before we can do anything, it’s a good idea to climb a bit higher, let’s say to 4000 feet AGL (height Above Ground Level). Being at this altitude is safer to do steep turns, stalls and so on. By the way; as long as the aircraft climbs (as of this writing), I noticed that my forward external view is really limited. I hardly see anything thus I don’t have too much references with the outside. That said, at these moments, monitoring your vertical speed, aircraft speed, altitude and compass are very important.
Performing all those unusual flight attitudes with the Staggerwing is easy. If this easy behavior is the same as with the real Staggerwing is something I don’t know. What I do know when searching the Web for Staggerwing movies, many movies show the acrobatic elegance of the aircraft thus it’s not unusual do to this with the Staggerwing. That still doesn’t confirm how real it’s modeled. Since I have no source who can confirm this. I need for now enjoy every minute I fly with the Staggerwing.


During all those exceptional flight attitudes, you need to look to your instruments, but also listen to the engine noise. That’s something I can remember during my PPL Cessna C152 lessons. Engine noise says something about climbing or descending. The only moment the Staggerwing needs your full attention is during the approach and then in particular the final approach and flare. I need to keep in mind that when I’ve made a good landing, that there will be a moment where the tail drops down and thus the forward external view becomes limited. Overall, a successful wild-west Staggerwing X-Plane 10.51 flight impression.
And what’s next?
As usual … my personal experience thus the summary of this review.
The Alabeo Staggerwing is an easy aircraft to fly, an awesome 3D model with a nice and realistic cockpit. And yes, the cockpit looks quite simple, but it looks the same as the real Staggerwing, so there’s nothing wrong with that. The Alabeo Staggerwing comes with a few liveries, but recently some others have been uploaded at X-Plane.Org.
The following is a list of these additional liveries from X-Plane.Org user amerrir as per October 20th, 2013:
– USAAF 8th AF livery, England 1943
– USAAF two tone livery
– RAF Restored livery PBI (Prince Bernhard of the Netherlands)
– US Navy livery
– Royal Navy liveries
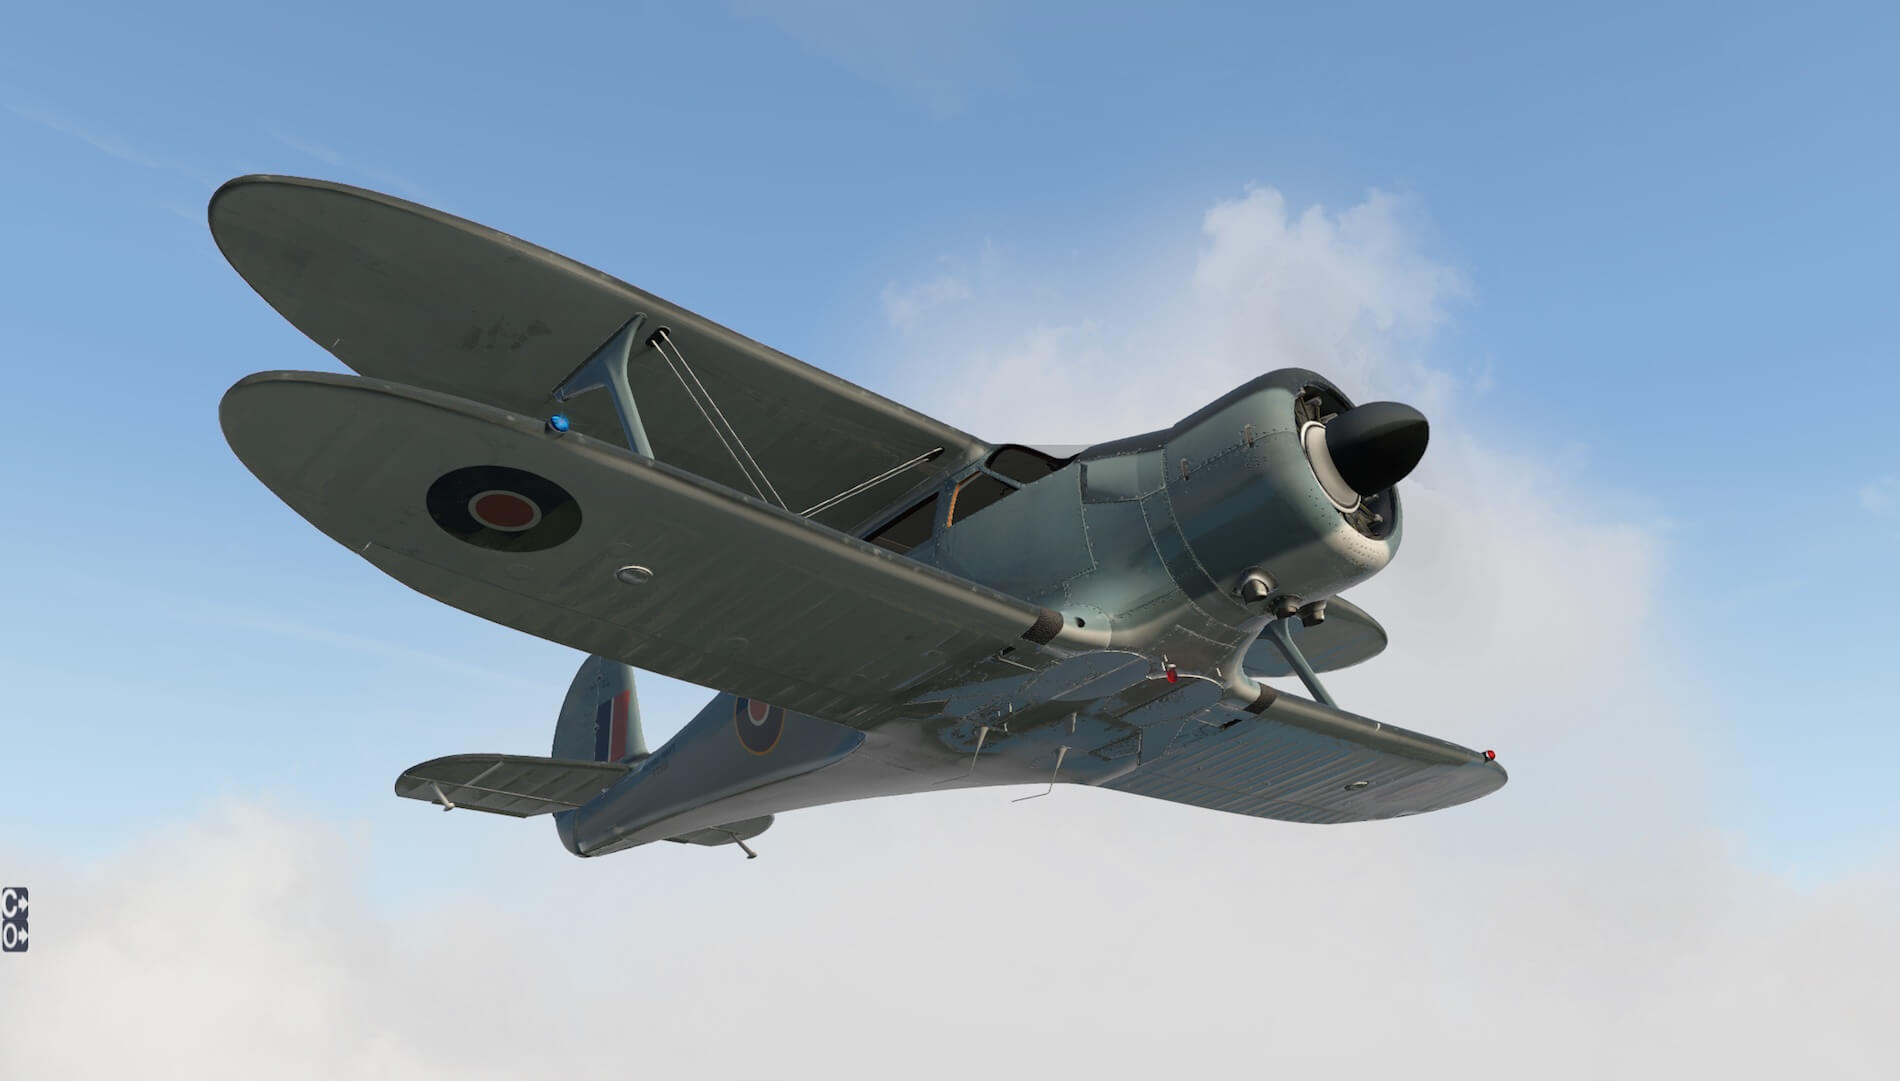
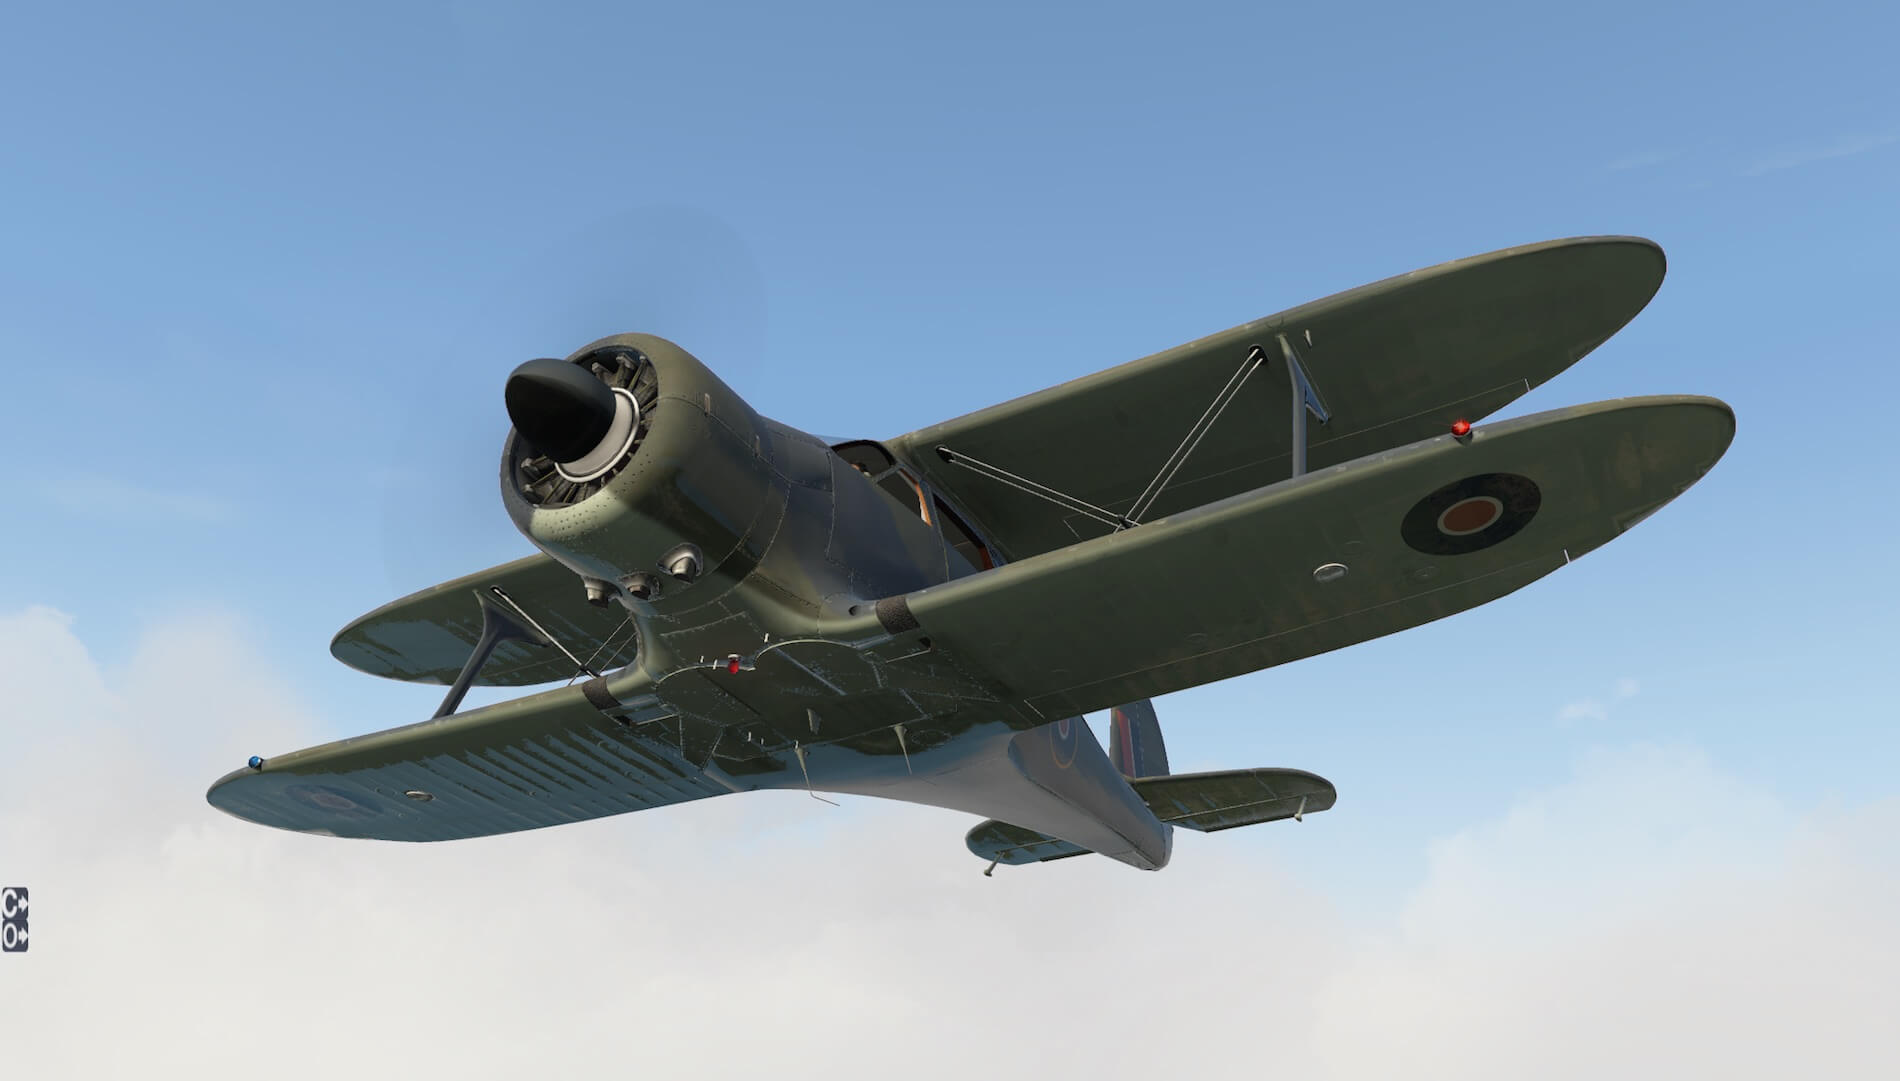
The following screenshots are just a small collection of the paintings from X-Plane.Org user amerrir. Is it worth to download them? When you own the Staggerwing or having intentions to buy it for your acrobatic free relaxed flights, then you must download his liveries too!

The installation is simple and straightforward. The Staggerwing comes with a few manuals of which the X-Plane 10 rendering settings are the most important ones. With some many liveries, it will be a pleasure to fly this extraordinary aircraft. It allows you to use it as a cross-country aircraft or try to master acrobatics. It’s up to you!
Every Alabeo and Carenado aircraft are always filled detail and it seems nothing has been forgotten. I’m always impressed by what Carenado and Alabeo can create, and they’ve done it with this Staggerwing. And yes, you’re right when you say that this aircraft doesn’t offer too much in the cockpit. Correct, the Staggerwing doesn’t come with sophisticated instruments or fancy Display Units. No, instead you’ll find high quality modeled old-fashioned instruments and I can tell you, these are of an awesome sharp and realistic quality.
More information about the Alabeo Staggerwing can be found at the dedicated Alabeo web page and it can be yours for only 19.95 USD. Or visit the dedicated Aerosoft eShop web page and finally, you can also buy the Staggerwing at X-Plane.Org.
Feel free to contact me if you’ve got additional questions related to this impression. You can reach me via email Angelique.van.Campen@gmail.com or to Angelique@X-Plained.com.
With Greetings,
Angelique van Campen
| Add-on: | Payware Alabeo Staggerwing |
|---|---|
| Publisher | Developer: | X-Plane.Org | Aerosoft | Alabeo |
| Description: | Realistic rendition of ther Beechcraft Staggerwing |
| Software Source / Size: | Download / Approximately 225MB (unzipped) |
| Reviewed by: | Angelique van Campen |
| Published: | June 6th 2017 |
| Hardware specifications: | - iMac 27″ Late 2013 - Intel i7 3.5Ghz / 3.9Ghz - NVIDIA GeForce GTX 780M 4GB - 32GB 1600MHz DDR3 - 1 internal 1TB SSD (Sierra 10.12.5) - 1 external 1TB SSD (El Capitan 10.11.6) | 1 external 1TB SSD (Windows 10 Pro) - Saitek Pro Flight System X-52 Pro and X-56 Rhino |
| Software specifications: | - Sierra (10.12.5) | El Capitan (10.11.6) - Windows 10 Professional - X-Plane 10.51c | X-Plane 10.51m | X-Plane 11.00r1 |
0 Comments