The PA38 Tomahawk II or …..?
Introduction
Folks either love the Tomahawk II or hate it. On the Internet, I found a nice story about a person who has been a Piper PA38 Tomahawk instructor who wrote “instructed in them for 15 years and never had an issue. The flight controls are a bit light for those moving on to heavier/bigger things, but as a basic trainer we found them reliable and trustworthy. Yes, in a deep stall or spin, the T tail did some interesting things, but we never had any huge problems.”
Real stories from Piper Tomahawk pilots are always interesting since they tell us something about how it really flies. For me then, it’s easier to check if the Alabeo model does the same. Here’s another story from a pilot who flew it many times “The Hawk is a very good flight training plane. It’s a bit unstable and requires continuous pilot input in order to maintain the desired flight path. The cockpit is very large and offers room for the tallest of pilots. Visibility is near-perfect. While taxiing, the plane is a bit sensitive to pedal inputs as the steering nose wheel is rather high geared.”
“Take-off is straightforward with lift-off at 65 knots for a best climb at 70. Although the max rate-of-climb is stated as 700 fpm (sea-level, ISA, MTOW), I frequently get 1,400 fpm in our club plane when flying solo with half tanks. Not bad for a 112 hp engine! In the cruise, it’s not that fast – 95 kias / 2350 rpm. Trimming is a bit of a chore as it uses a spring trim and is rather sluggish. You just keep turning the wheel using minor inputs. It’s difficult to get it perfectly trimmed out. However, precise trimming is mandatory since longitudinal stability is indifferent. Thats why it’s such a good trainer. The trainee is forced to monitor the plane at all times, rather than drive it. This is one plane that needs continuous attention!”
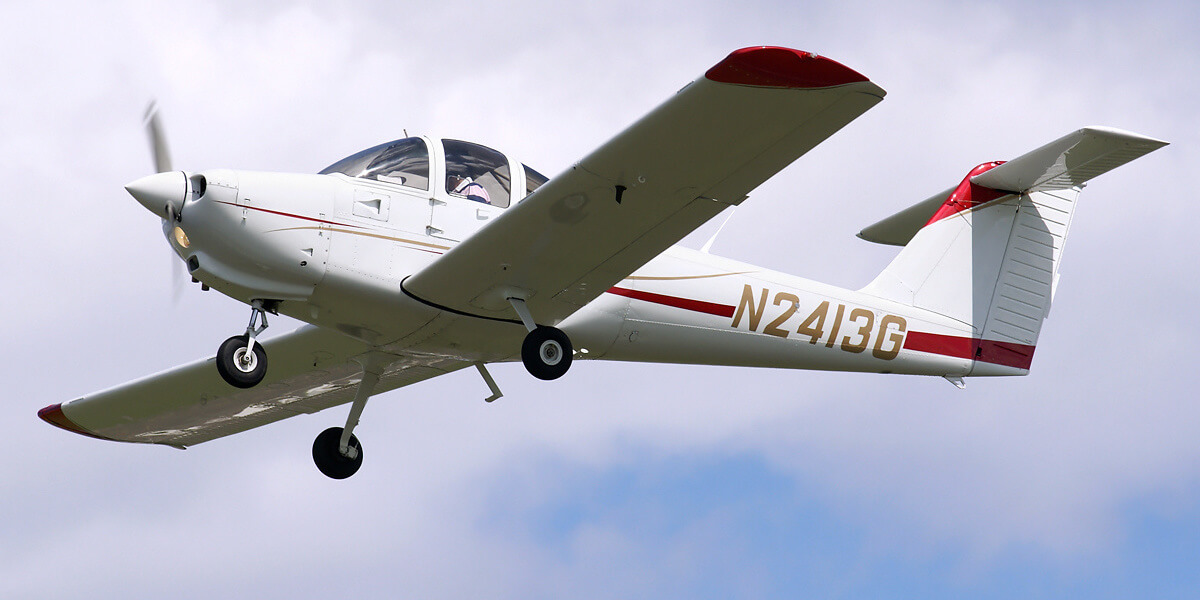
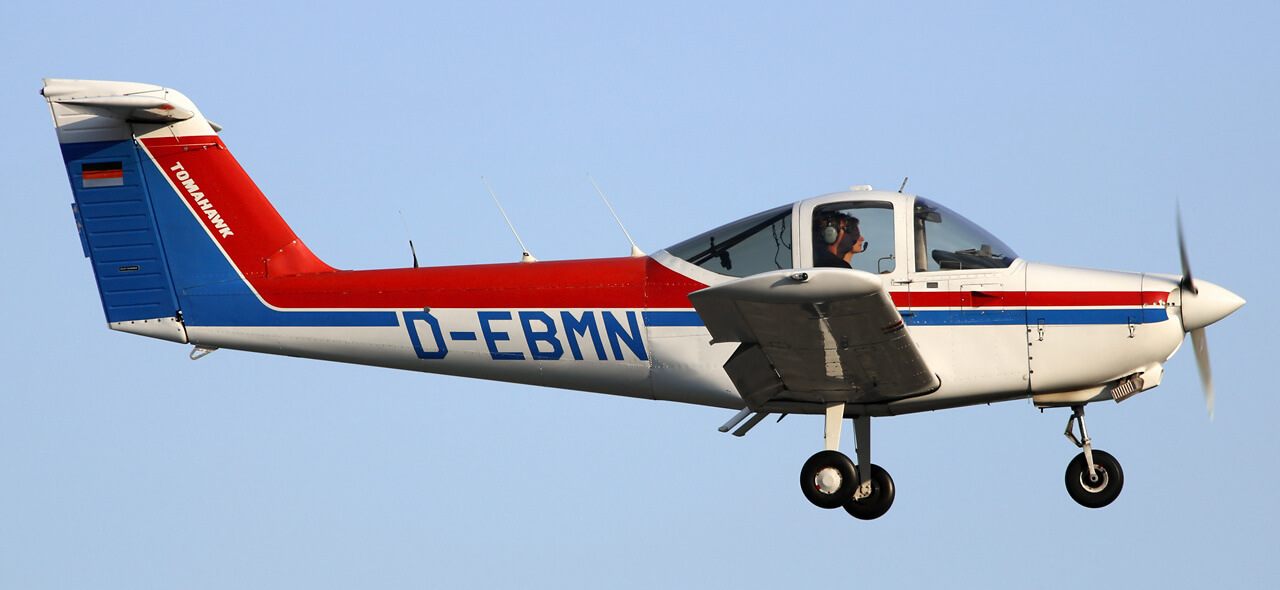
Real Tomahawk II Let’s have a quick look at the real life Piper PA38 Tomahawk II. The Piper PA-38-112 Tomahawk is a two-seat, fixed tricycle gear, general aviation airplane and was originally designed for flight training, touring and personal use. The 1981 and 1982 models were designated as the Tomahawk II. They incorporated improved cabin heating and windshield defroster performance, an improved elevator trim system, improved engine thrust vector, 100% airframe zinc-chromate anti-corrosion treatment, better cockpit soundproofing, larger 6″ wheels and tires for greater propeller ground clearance and improved performance on grass and dirt runways, among other enhancements.
When it comes to safety records, according to the Aircraft Owners and Pilots Association (AOPA) Air Safety Foundation, which published a Safety Highlight report on the Piper Tomahawk, the Piper Tomahawk has a one-third lower accident rate per flying hour than the comparable Cessna 150/152 series of two-place benchmark trainers. However, the Tomahawk has a higher rate of fatal spin accidents per flying hour. The National Transportation Safety Board (NTSB) estimated that the Tomahawk’s stall/spin accident rate was three to five times that of the Cessna 150/152. The above section is courtesy of WikipediA. For more PA38 Tomahawk II information, I can advice you to visit the dedicated WikipediA Piper PA38 Tomahawk web page.
My Alabeo P38 Tomahawk II Experience
Invited to see and test the Alabeo PA38 Tomahawk II for X-Plane, I was exited about what was to come. The only problem I had, was the limited time I had. I was able to do a quick walk-around check, but I didn’t have the time to check the cockpit thoroughly before my flight. However, there’s also some good news. I had plenty of time during my test flight, so during the flight, I was able to check every corner of this tiny PPL trainer.
Further on, the model is officially only for X-Plane 10.51, and nothing is mentioned about X-Plane 11. Ok, that means that it’s not officially supported for X-plane 11, but that doesn’t mean you can’t sue it with X-Plane 11. A while ago Fernando from Carenado told me that prop aircraft in general from Canreaod or Alabeo can be used with X-Plane 11, but the Tomahawk won’t benefit from all these special features X-Plane 11 has like the glossy look. That said,I decided to review the Tomahawk package version 3.2, with X-Plane 11.00rc1.
So, let’s deal with first things first. How do you install the Tomahawk II and what kind of manuals are included?
Installation and Documentation
Alabeo (but also applicable for Canreado models) installations are simple. Unzip the downloaded package and copy and paste the complete folder to Aircraft/Laminar Reseach. If you prefer a different sub-folder instead of the default Laminar Reseach, feel free to create a Alabeo folder. When you’ve created a dedicated Alabeo folder under Aircraft, you’ll notice that with X-Plane 11 up and running, the folder name isn’t Alabeo, but Alabeo / Thranda Design.
In the Alabeo Tomahawk II package, look for the folder “Documentation”. This folder contains the following documents:
– Acrobat Alabeo Copyrights (1 page)
– Acrobat Credits (1 page)
– Acrobat PA38 Emergency Procedures (6 pages)
– Acrobat PA38 Normal Procedures (8 pages)
– Acrobat PA38 Quick Reference (1 page)
– Acrobat Recommended Settings X-Plane10 (1 page)
– JPG picture Recommended Joystick Settings (1 page)
Some of the Acrobat manuals, as well as the only picture file, speak for themselves. But some need further explanation, such as the normal and emergency procedures manuals. The normal procedures file contains copies of the real Tomahawk POH (Pilot Operating Handbook). It’s a mix between walk-around inspection items and normal procedures to follow from the moment you start with taxiing till and including your landing. The emergency procedures manual is also based on real Tomahawk pages. You will find the following emergency procedure checklists:
– Speeds
– Engine inoperative
– Engine power loss in flight
– Power OFF landing
– Fire
– Loss of Oil / Fuel pressure
– High oil temperature
– Alternator failure
– Spin recovery
– Open Door
– Engine roughness
What else?
There’s the Quick reference Acrobat manual. This single page manual fills you in on maximum operating speeds and IAS (Indicated Air Speed) arc and red line speed.
Last, but not least, the Alabeo PA38 Tomahawk II comes with 6 liveries and one white package which can be used as paint kit:
– livery 1 | A/C registration CC-KSY (green/blue/white)
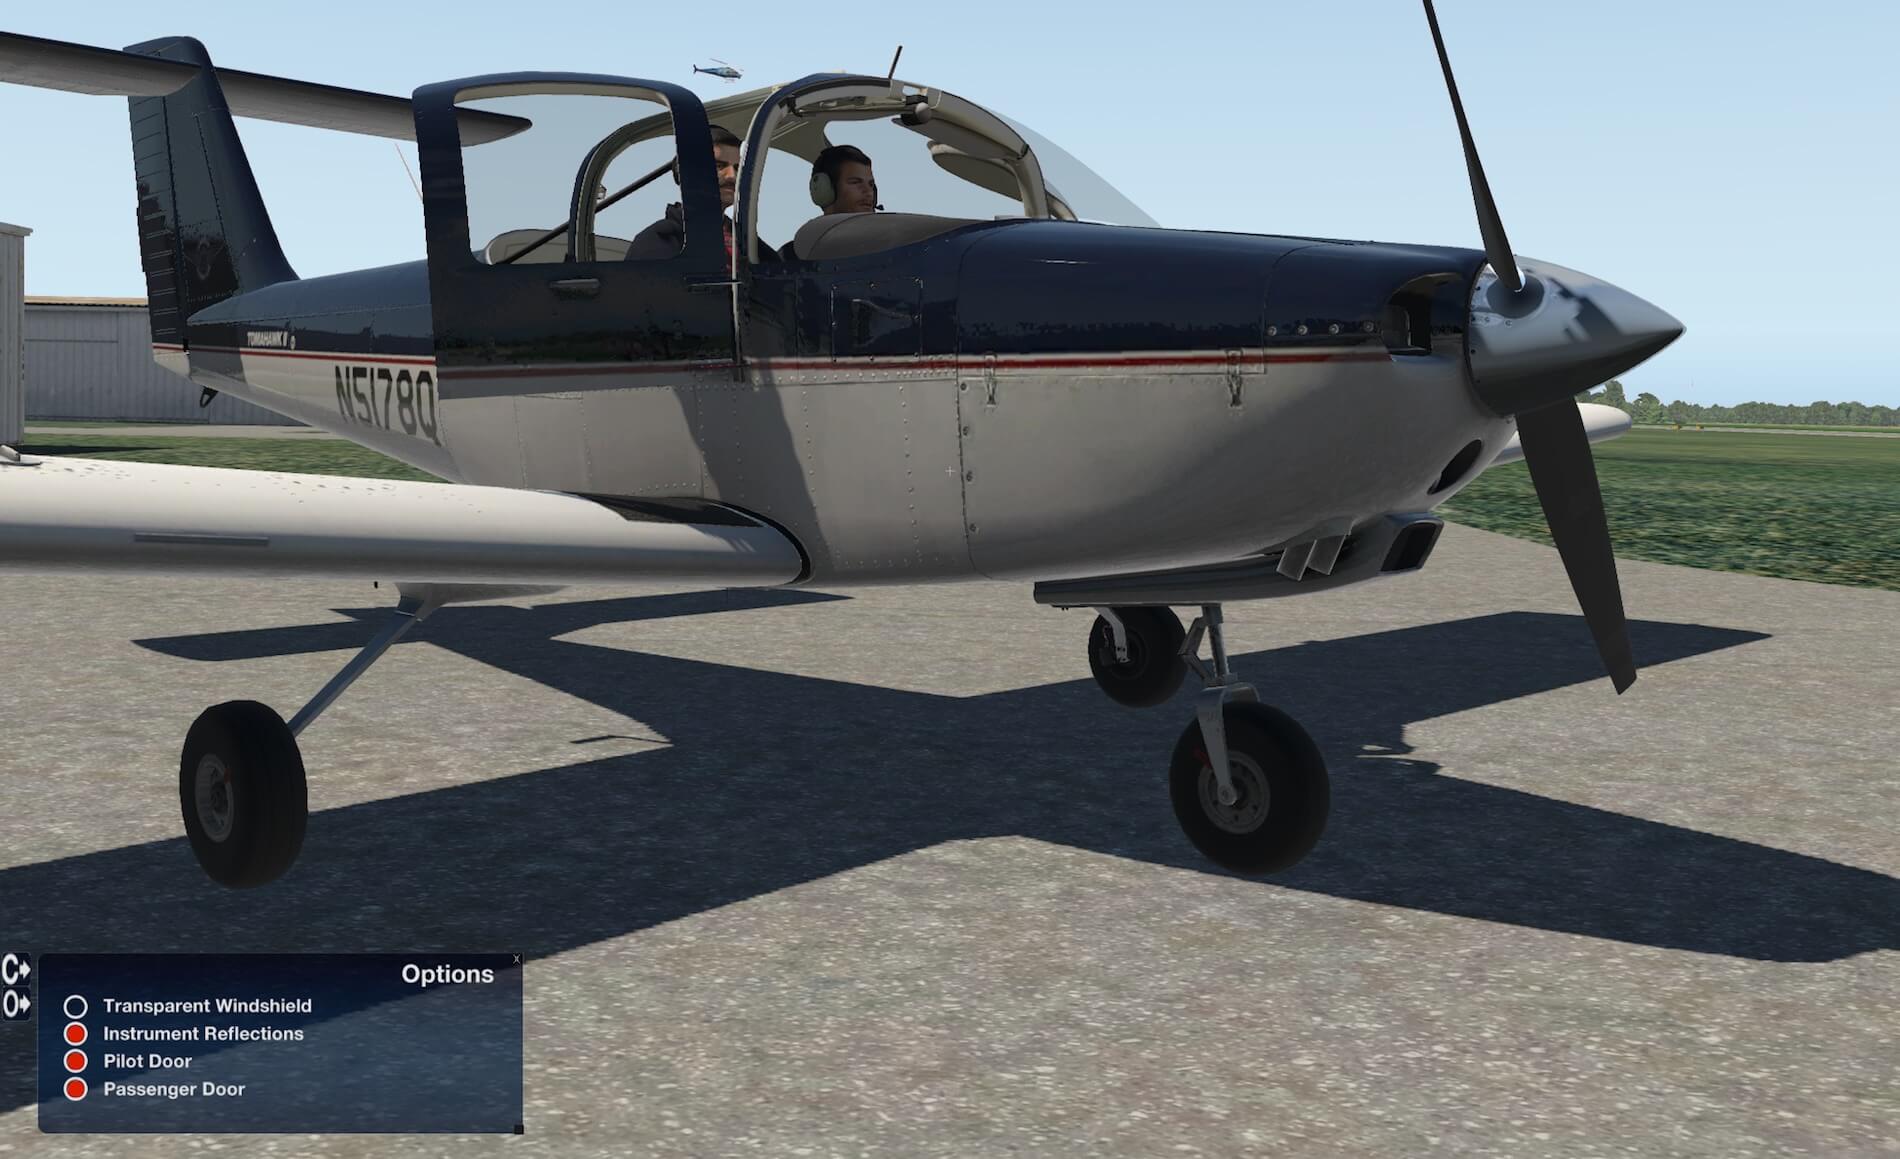
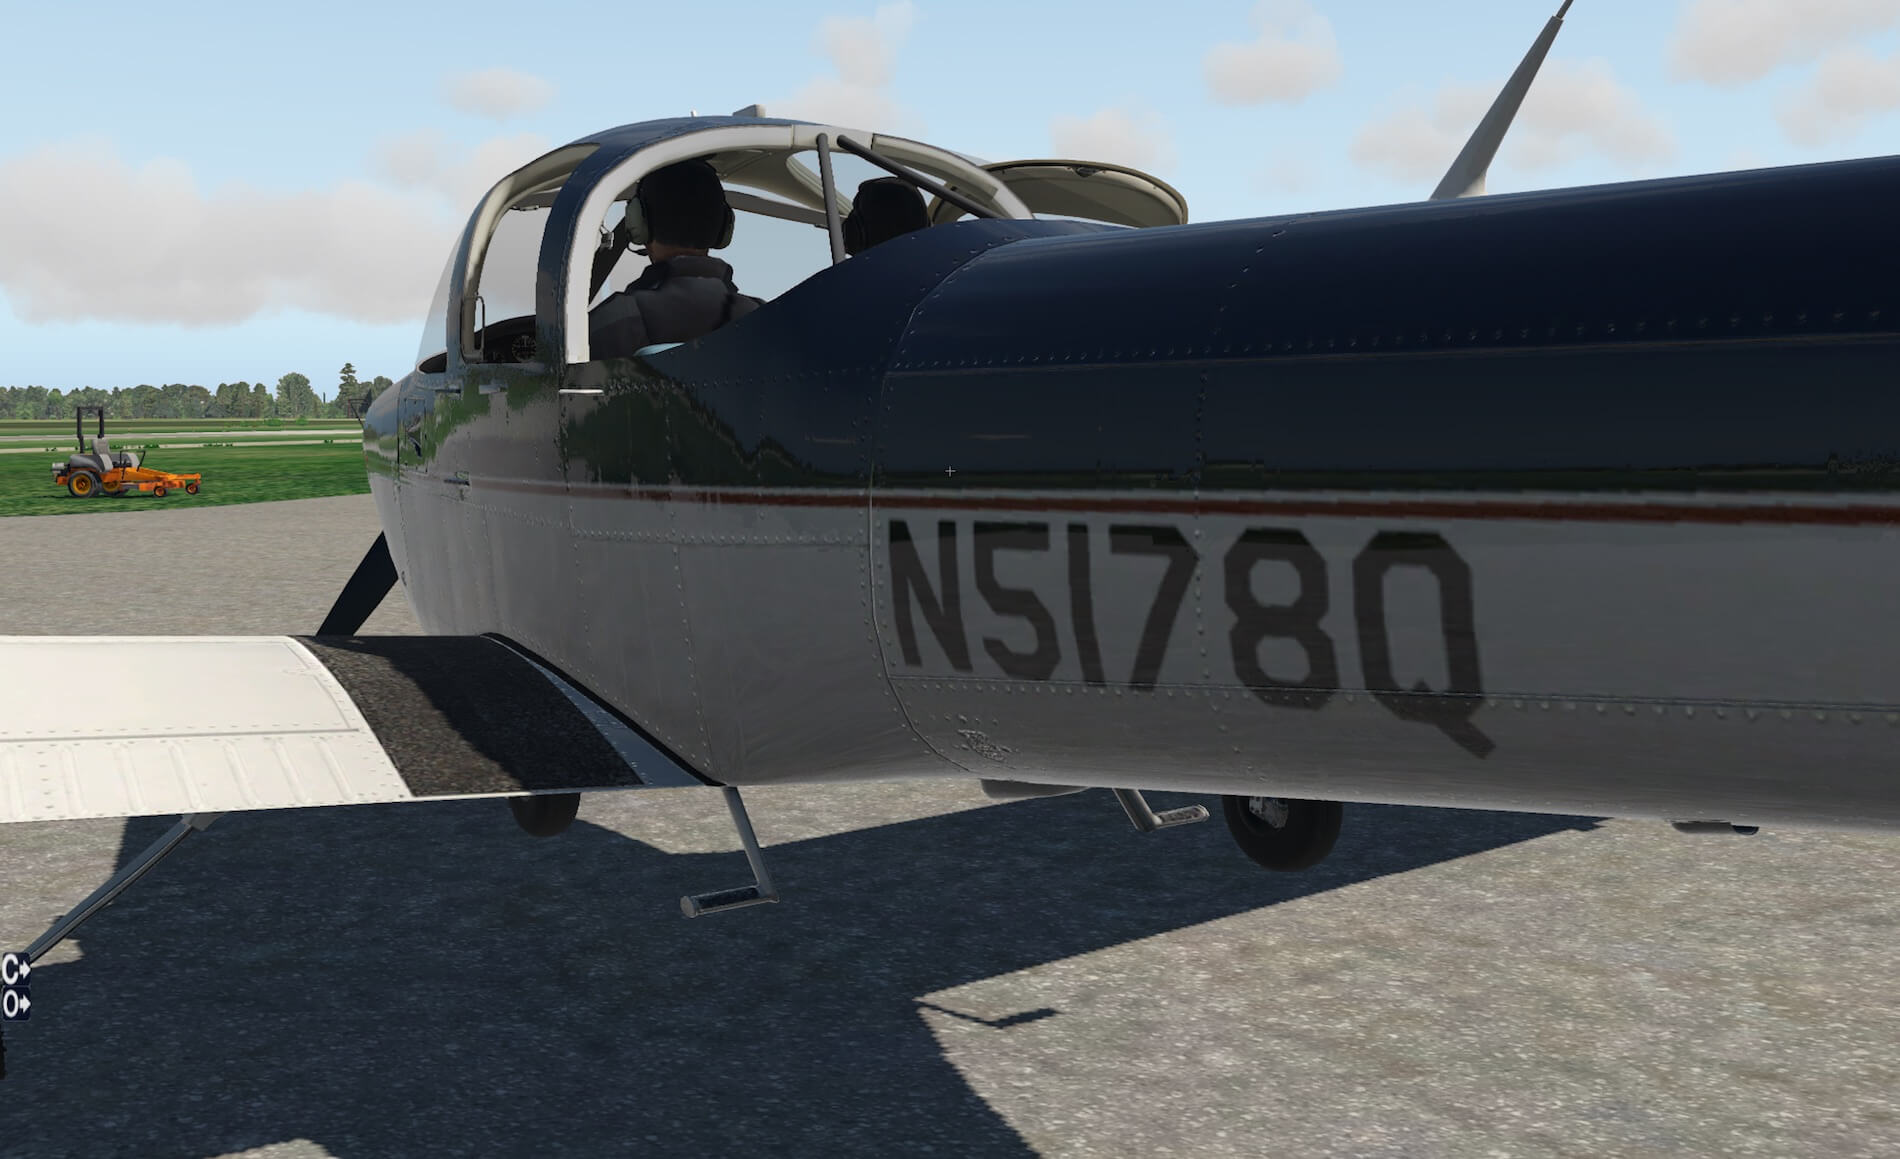
– livery 2 | A/C registration N5178Q (blue/gray)
– livery 3 | A/C registration VH-XGZ (orange/white)
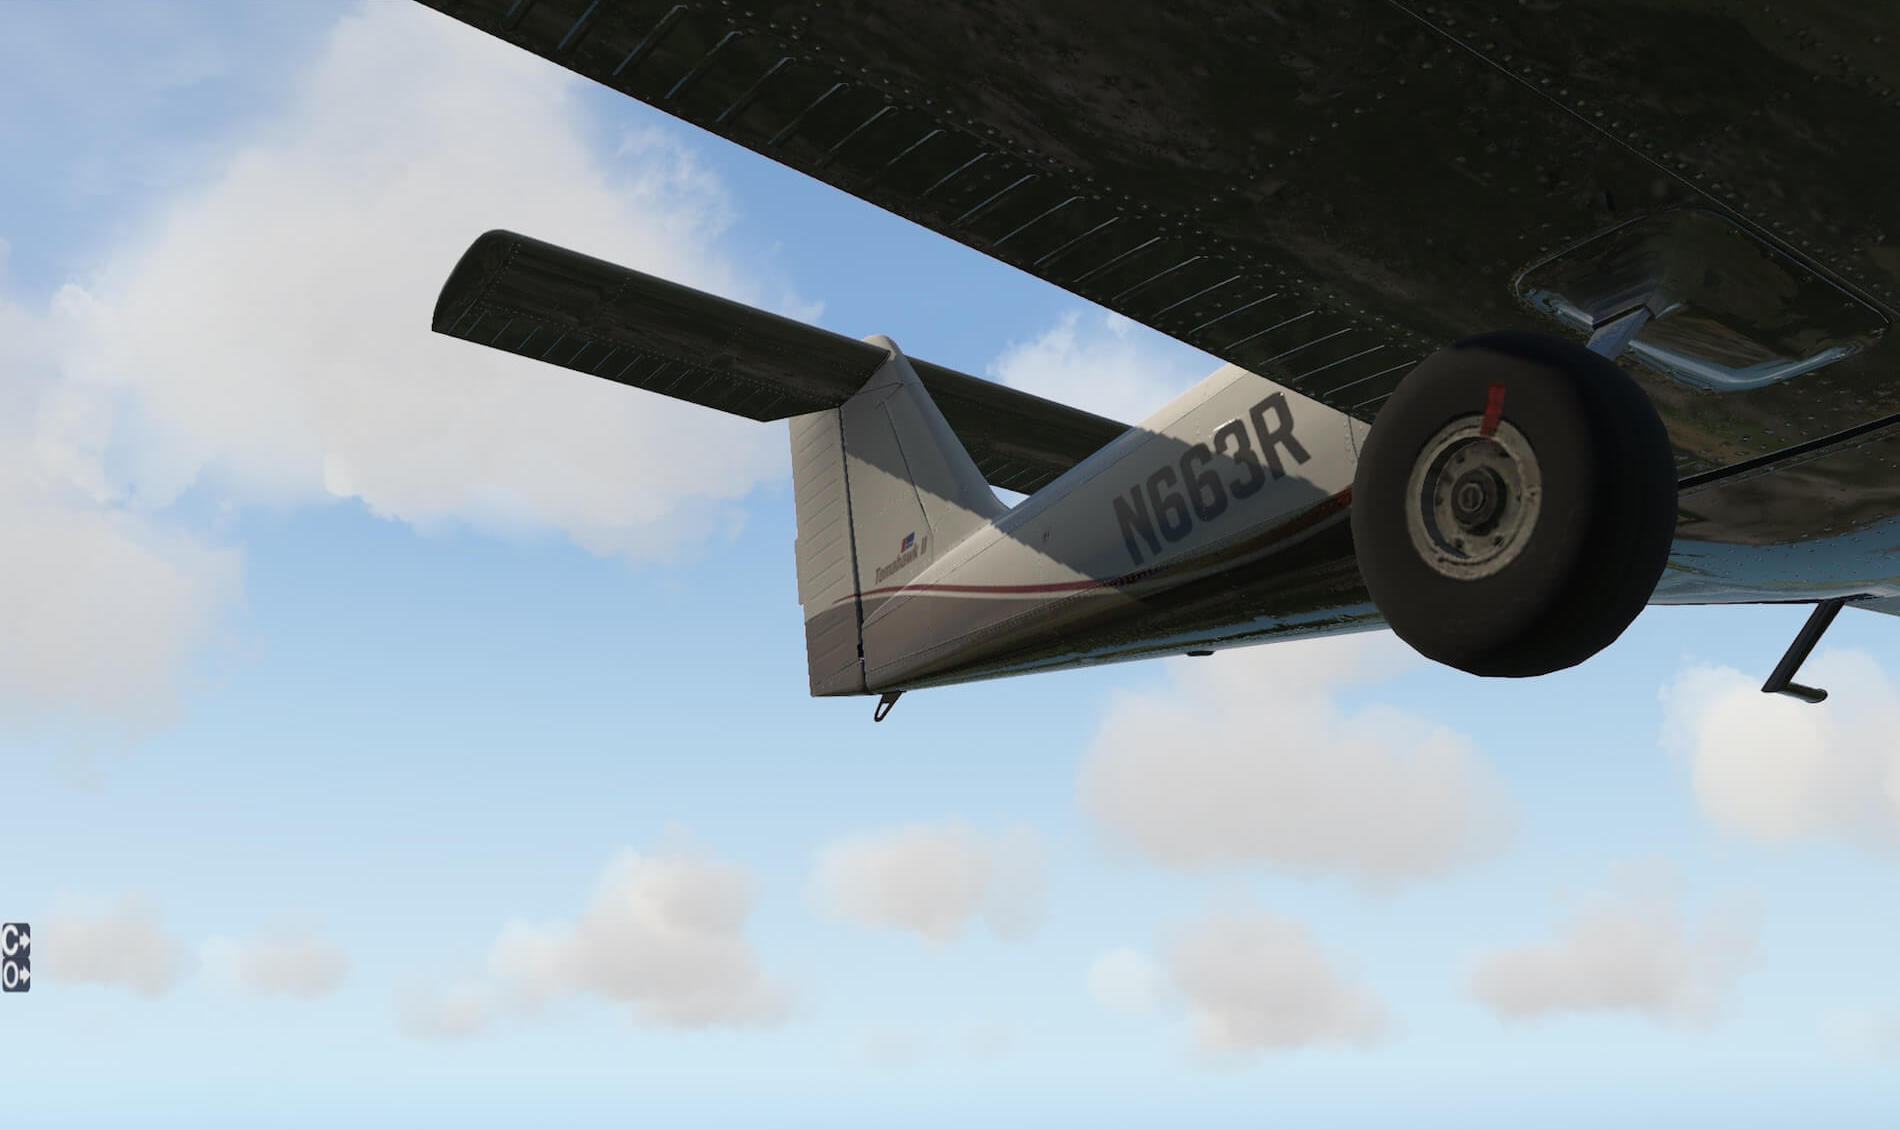
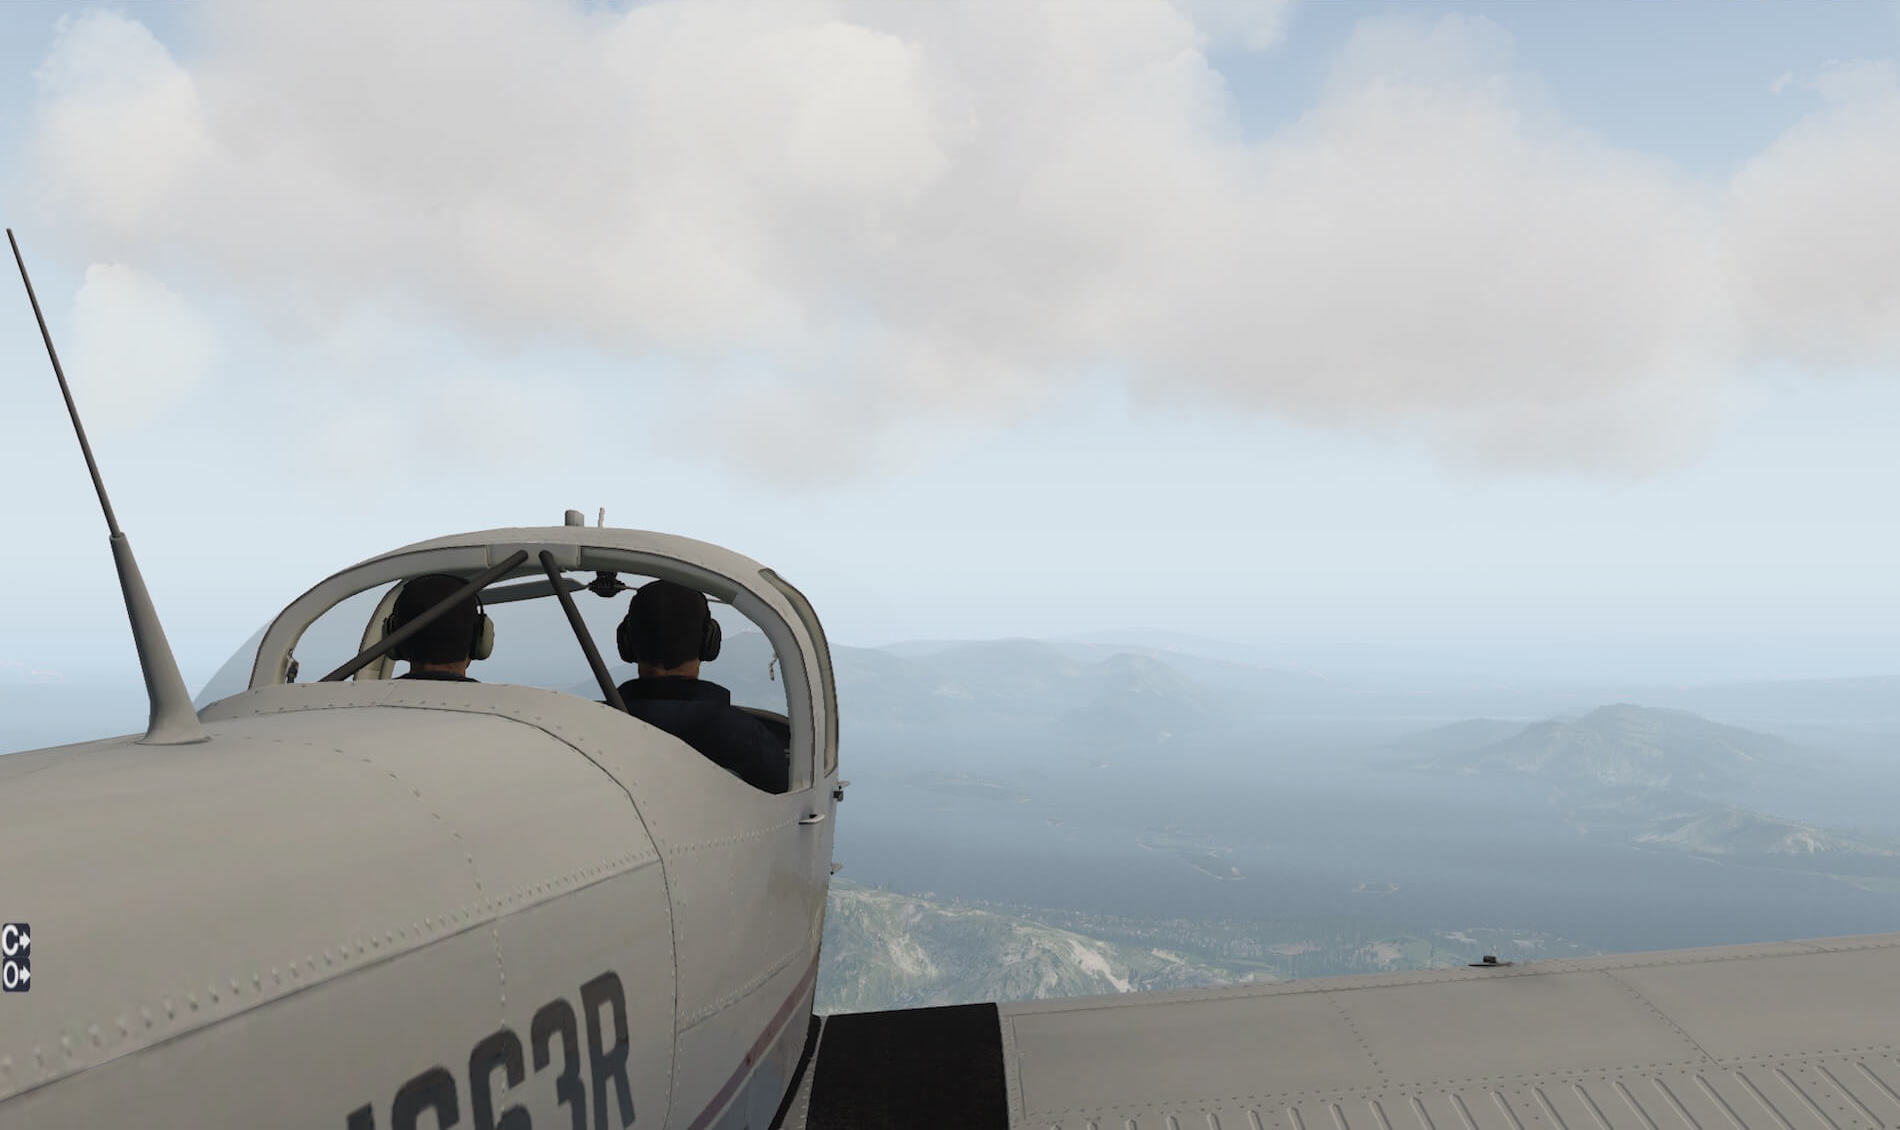
– livery 4 | A/C registration N663R (brown/white)
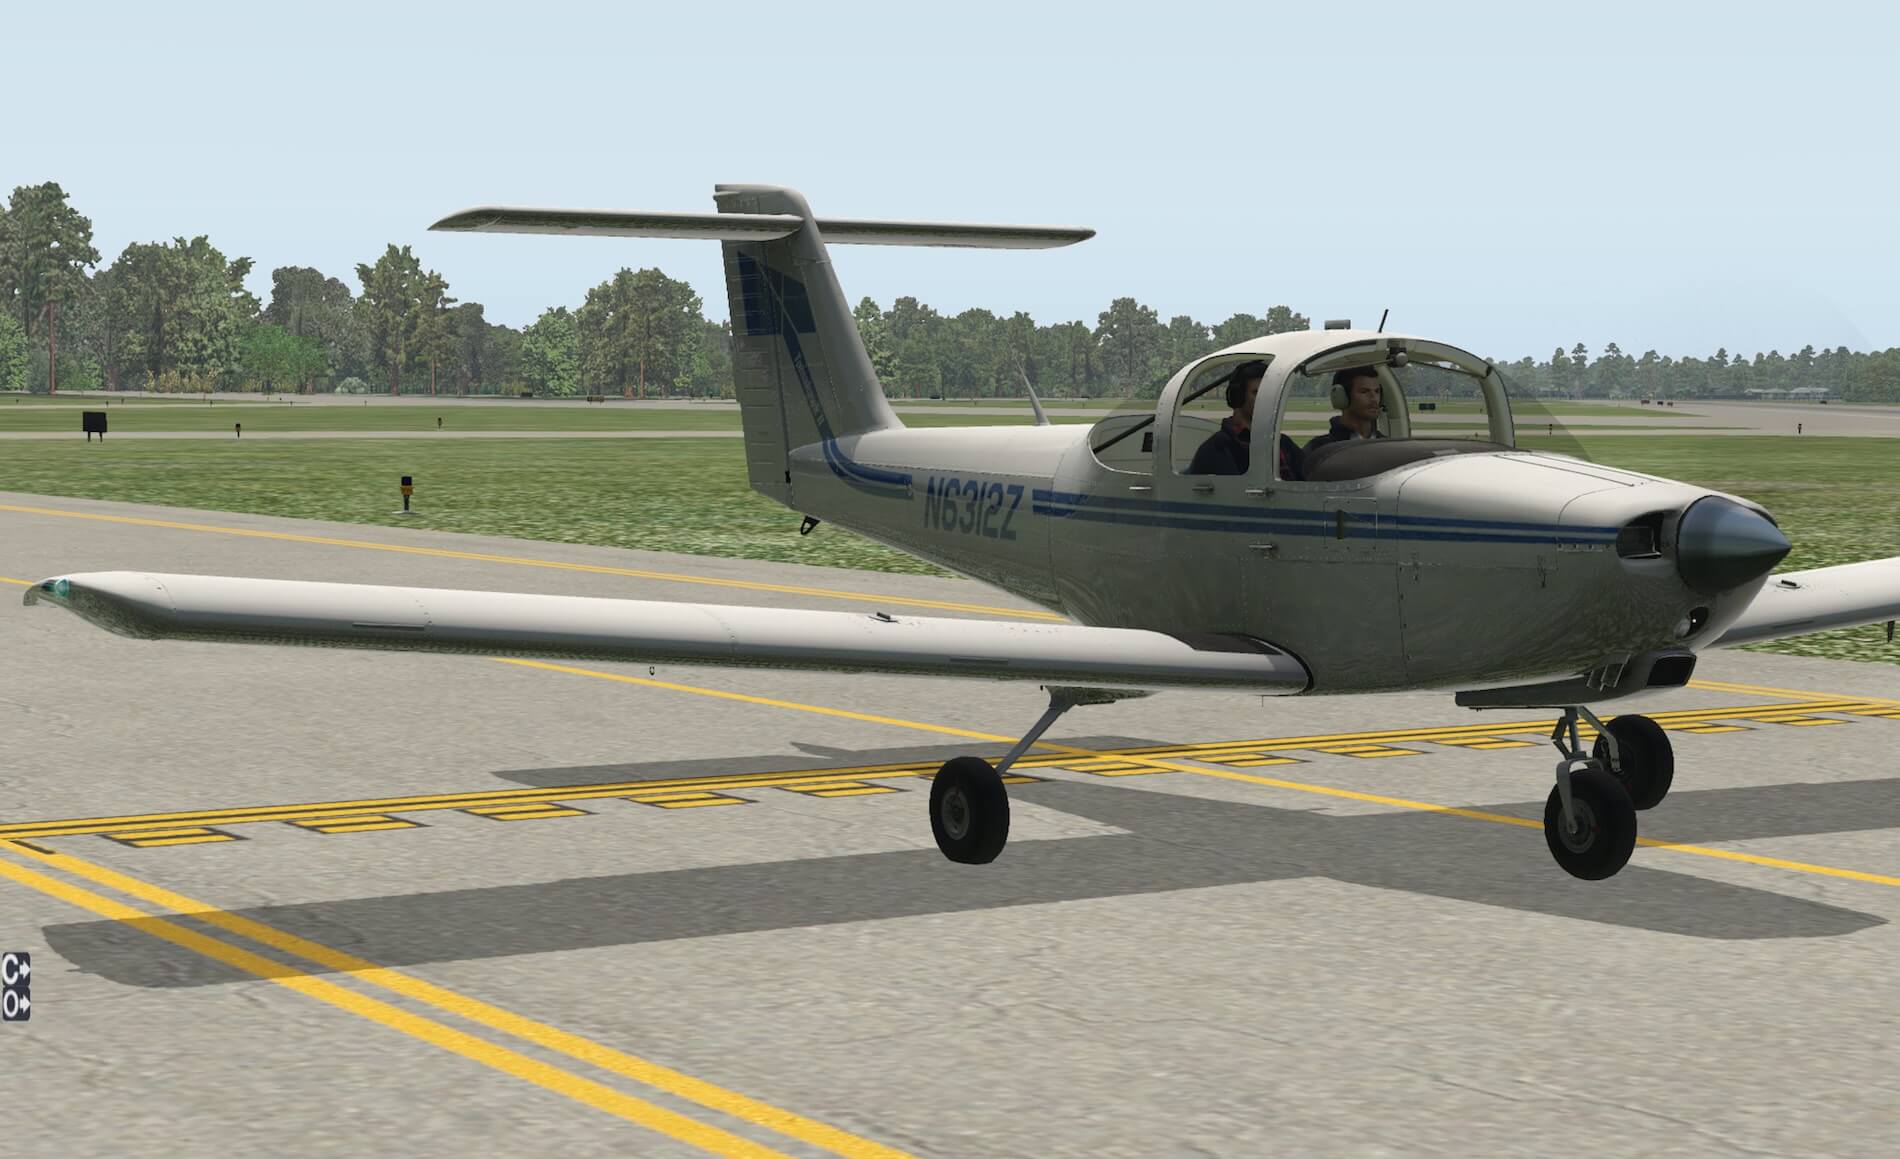
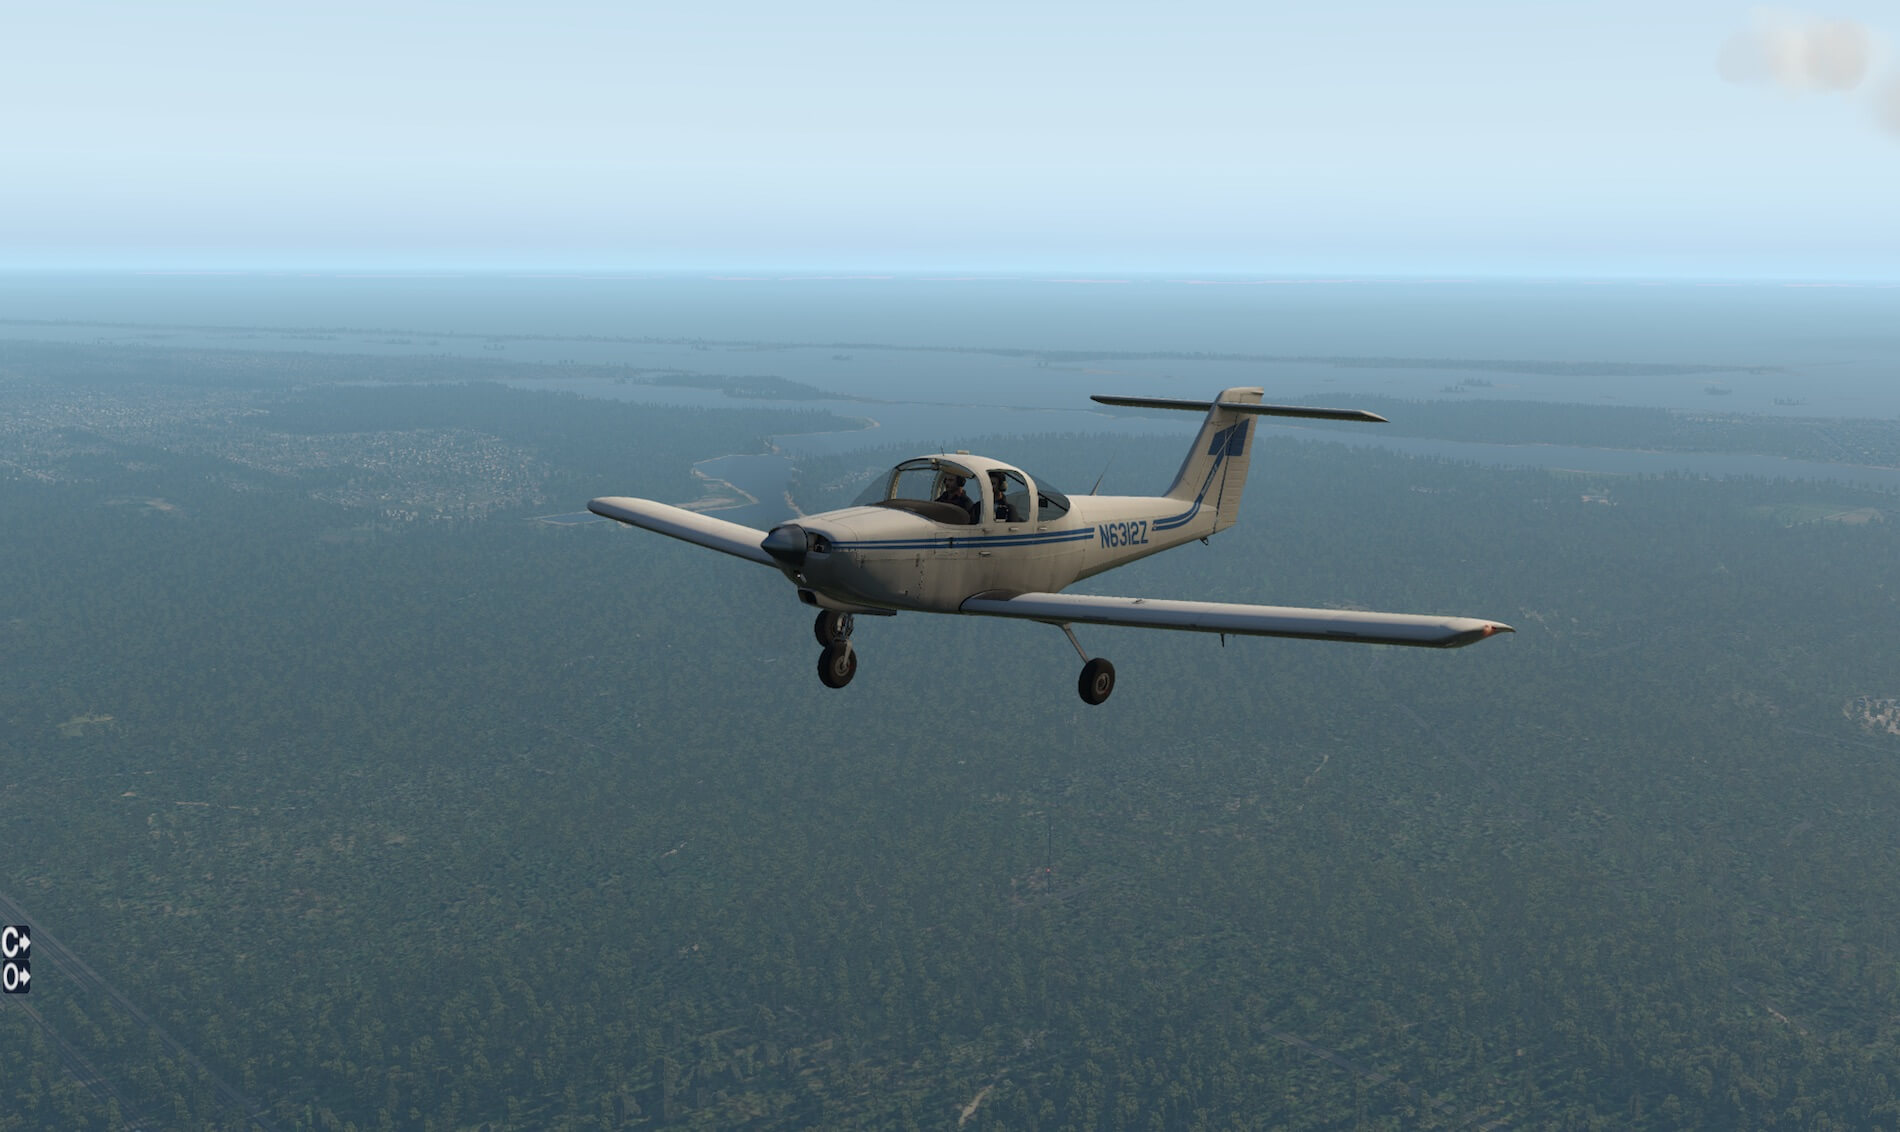
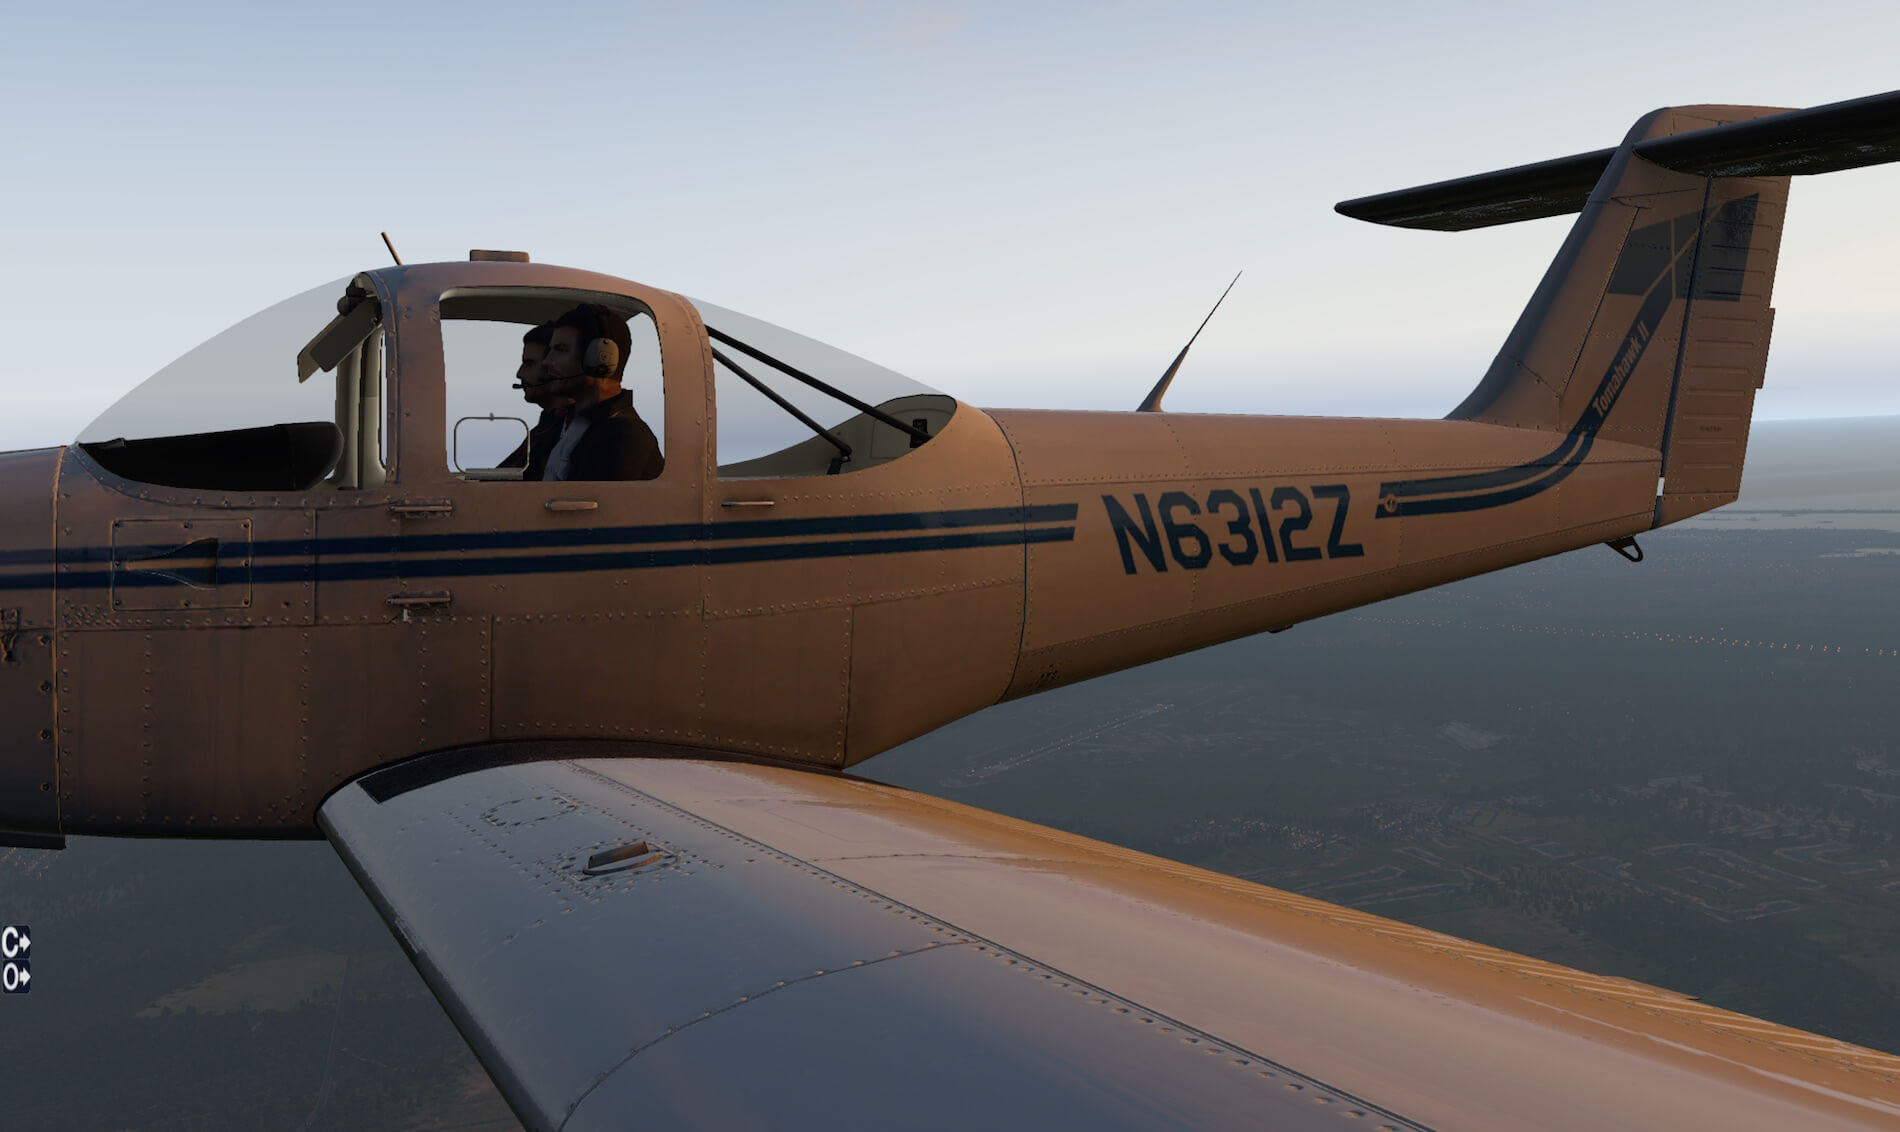
– livery 5 | A/C registration N6312Z (white/blue stripe)
– livery 6 | A/C registration N799IN (Bordeaux red/white)
Most of the above liveries are used during my test flight, so there’s no need to worry that you don’t get an idea how they look like. Further on, I would like to highlight the “O’ and “C” screens icons.
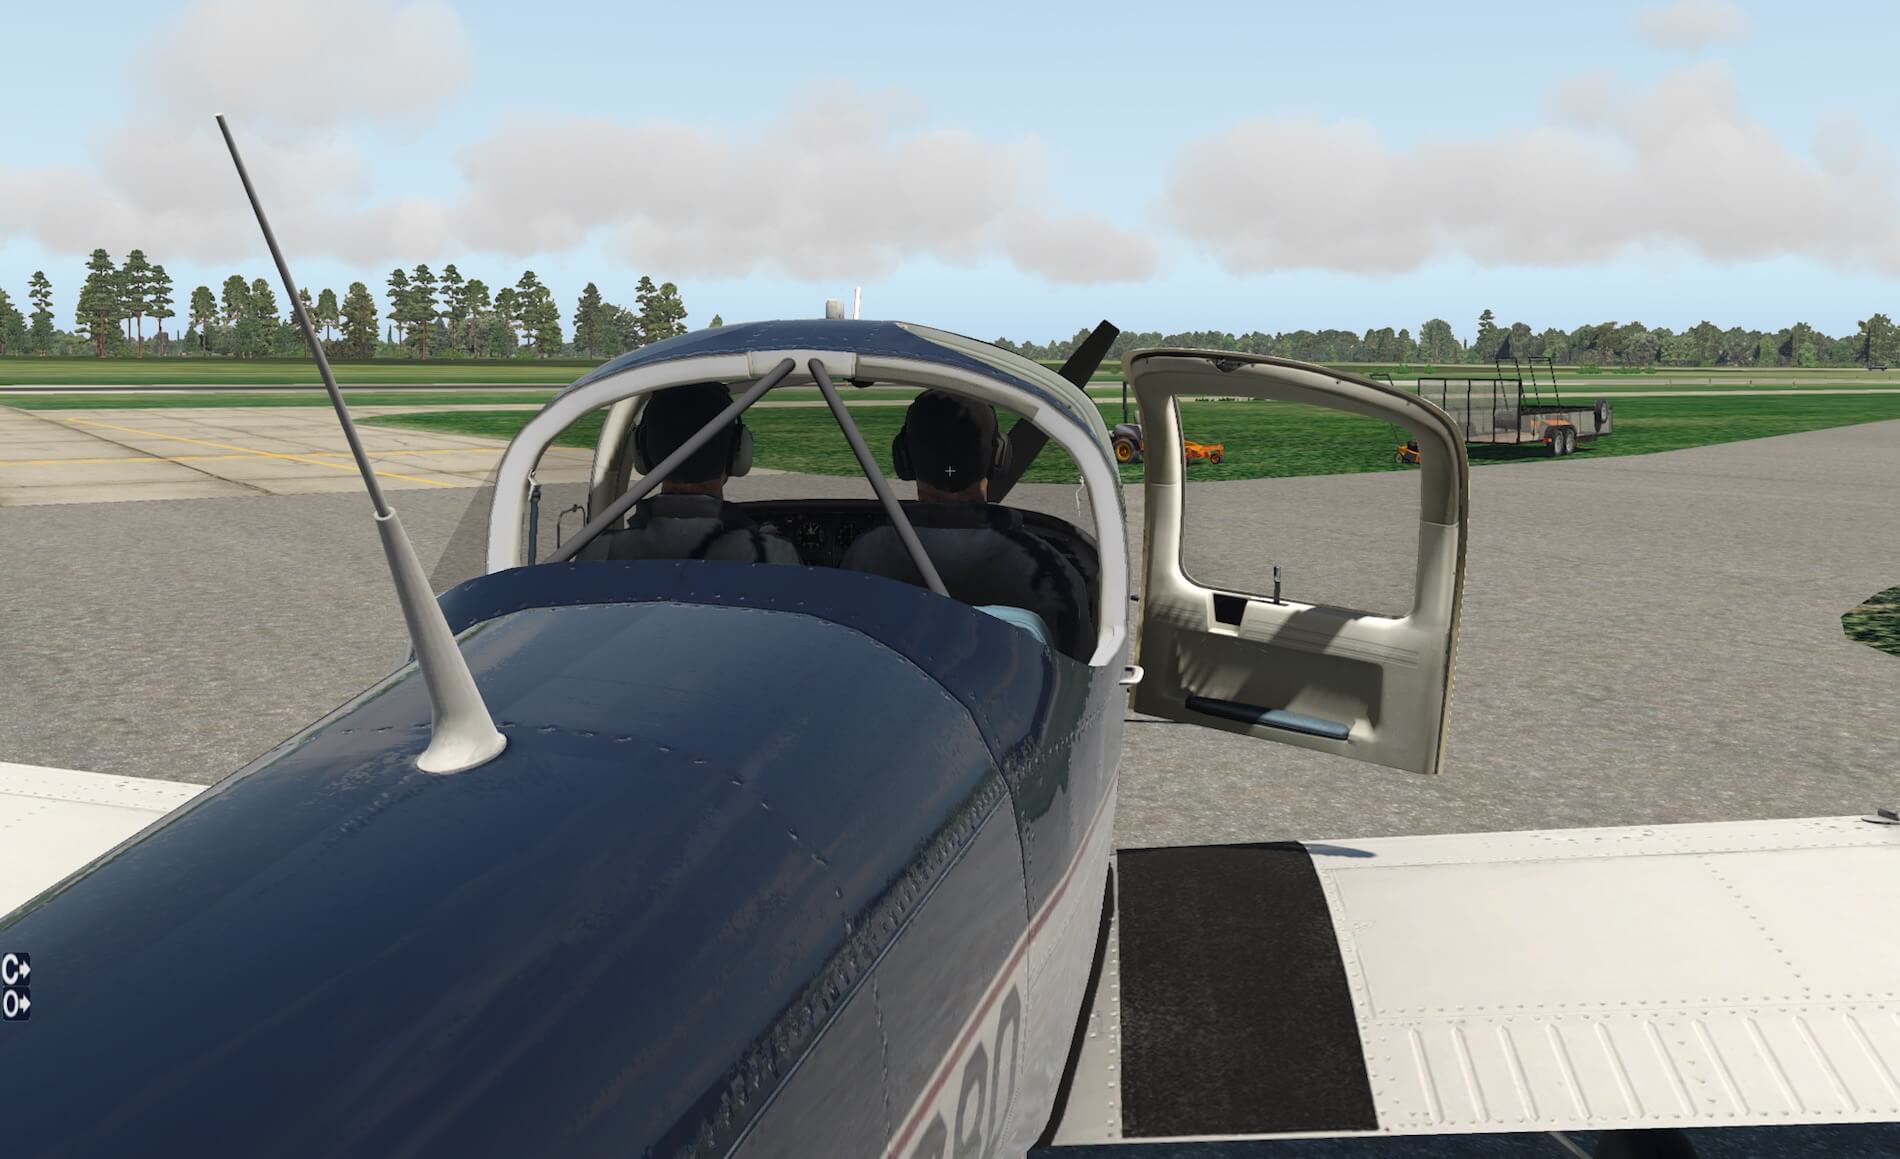
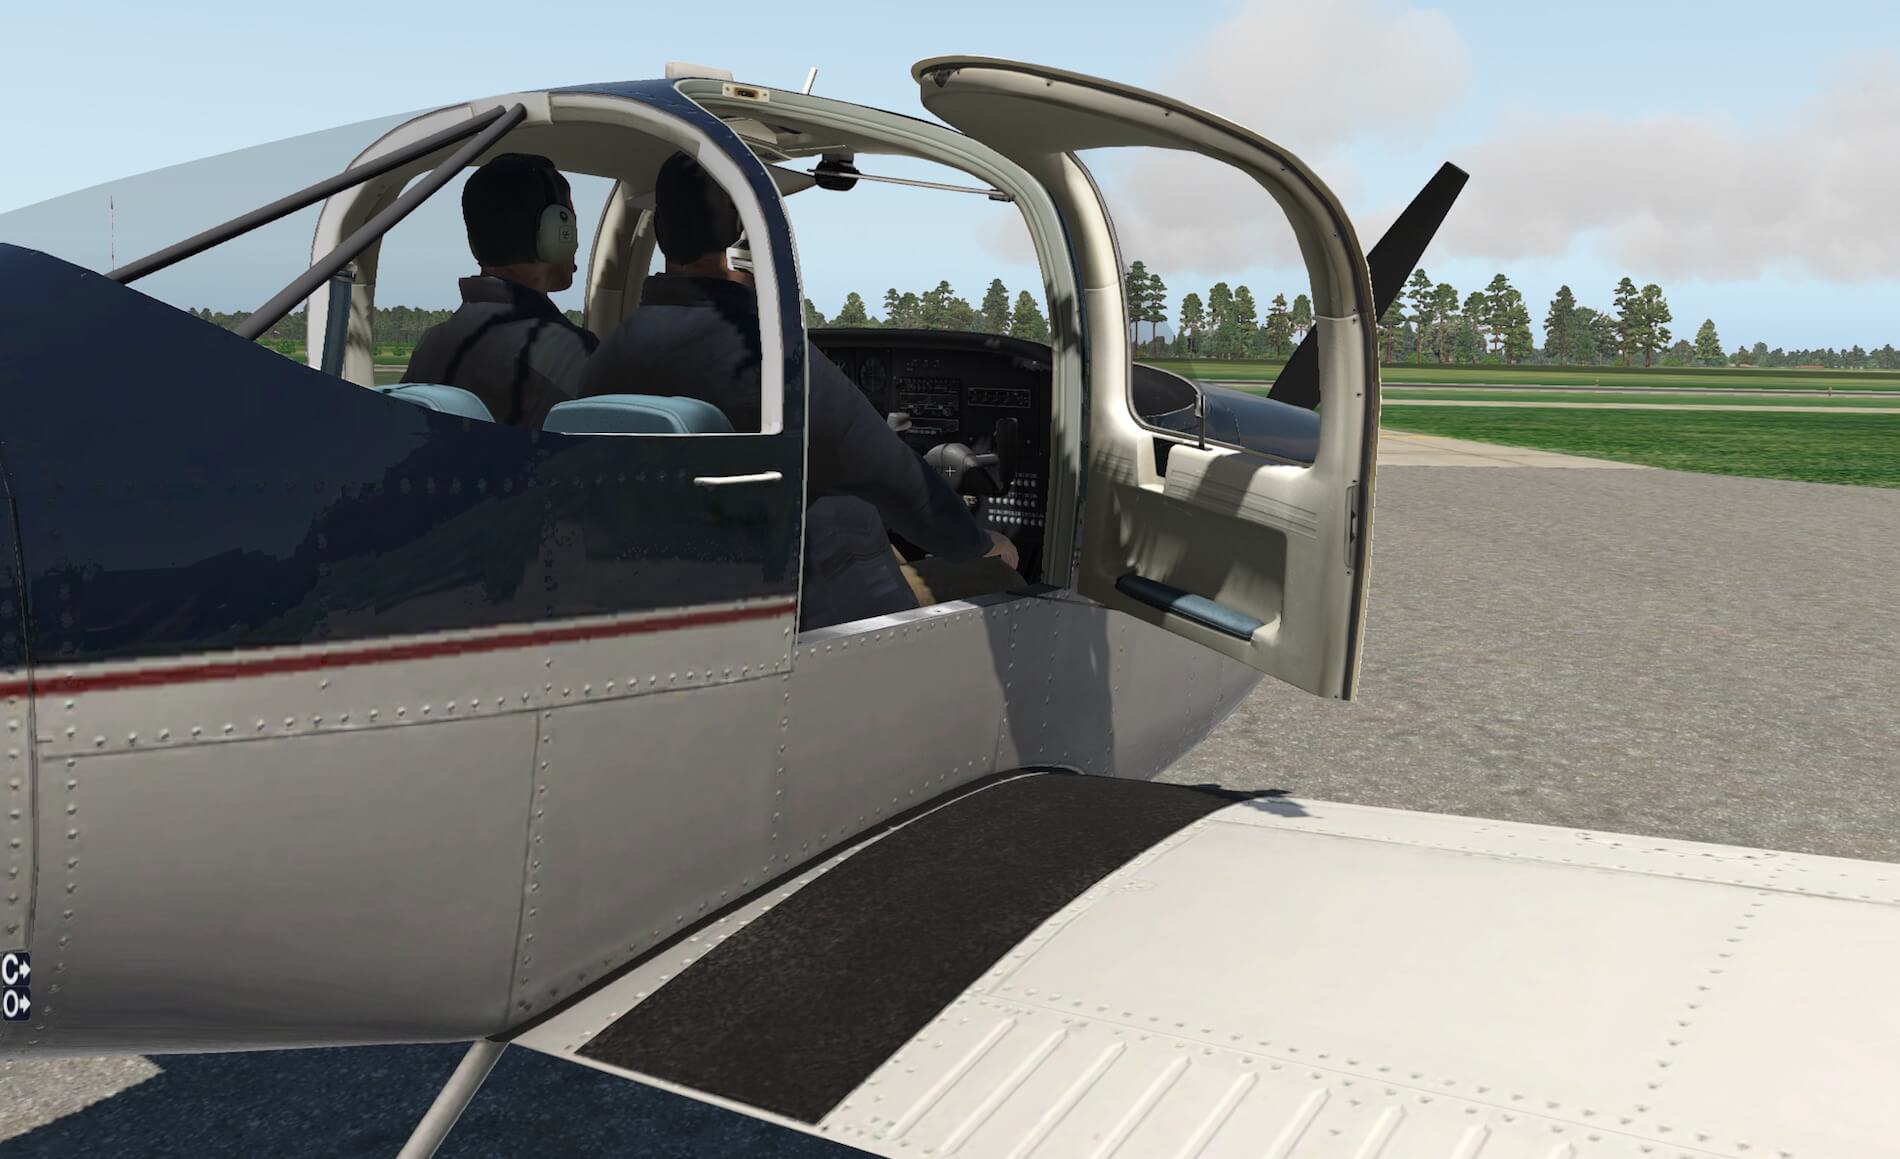
The first popup window, marked C(ameras) allows you to select different cockpit camera views, but also cabin views as well as an external view. The second pop-up window, marked with the O(ption), allows you open or close the pilot and passenger (or instructor) doors. Furthermore, you’re able to select window and instrument reflections ON/OFF.
Quick Walk-Around Check
In this case, quick means pilot speed! Don’t worry, I don’t miss anything … I hope!
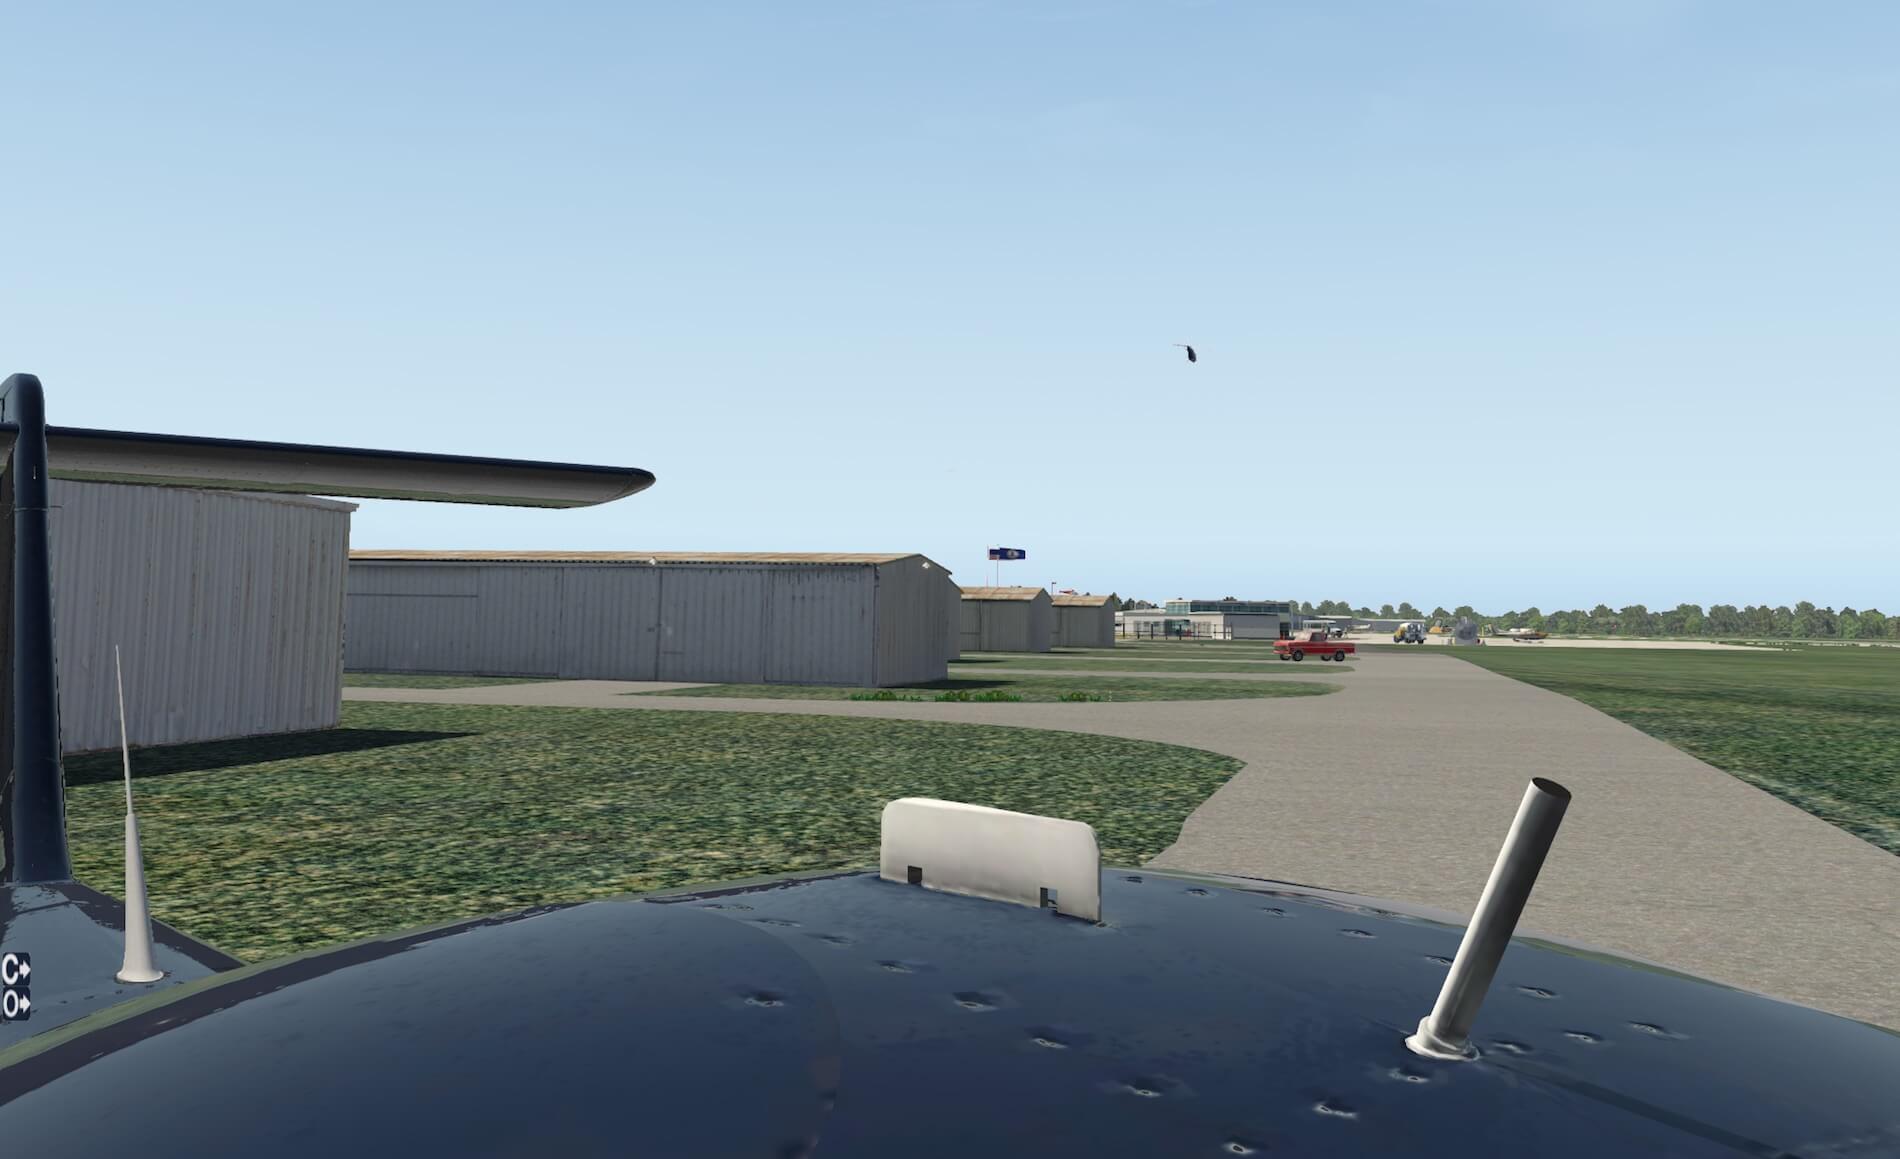
The first thing you can’t miss in the front of the engine compartment is the shiny spinner. In one word, beautiful! And the propeller itself looks pretty nice too. The livery I’m looking at has a black propeller and as far as I can see, no placards or vendor identification on it. While looking at the front of the engine cowling, I spot the taxi/landing light and the huge air inlet at the bottom. In this same area, of course we’ll see the nose landing gear.
As we know from Alabeo, their aircraft are always full of detail and covered with photo real material which gives the whole gear and tire area a realistic look. Both the engine inspection doors are very nicely done and filled with details like dirty spots, weathered painting, scratches, etc. The hinges on top can be clearly seen as well as the latches on the side. Unfortunately, they can’t be opened. That’s a shame, but on the other hand, if they were made to open, then the engine must be modeled too.
That would mean unnecessary use of polygons and a possible reduction of frame rates. Before moving to the wing leading edge, I have a closer look at the wing panel. It’s tinted and fixed with metal strips completely running around the whole circumference. This looks so real and probably you’d never see it if you don’t do a walk-around check. Believe me, you should do that!
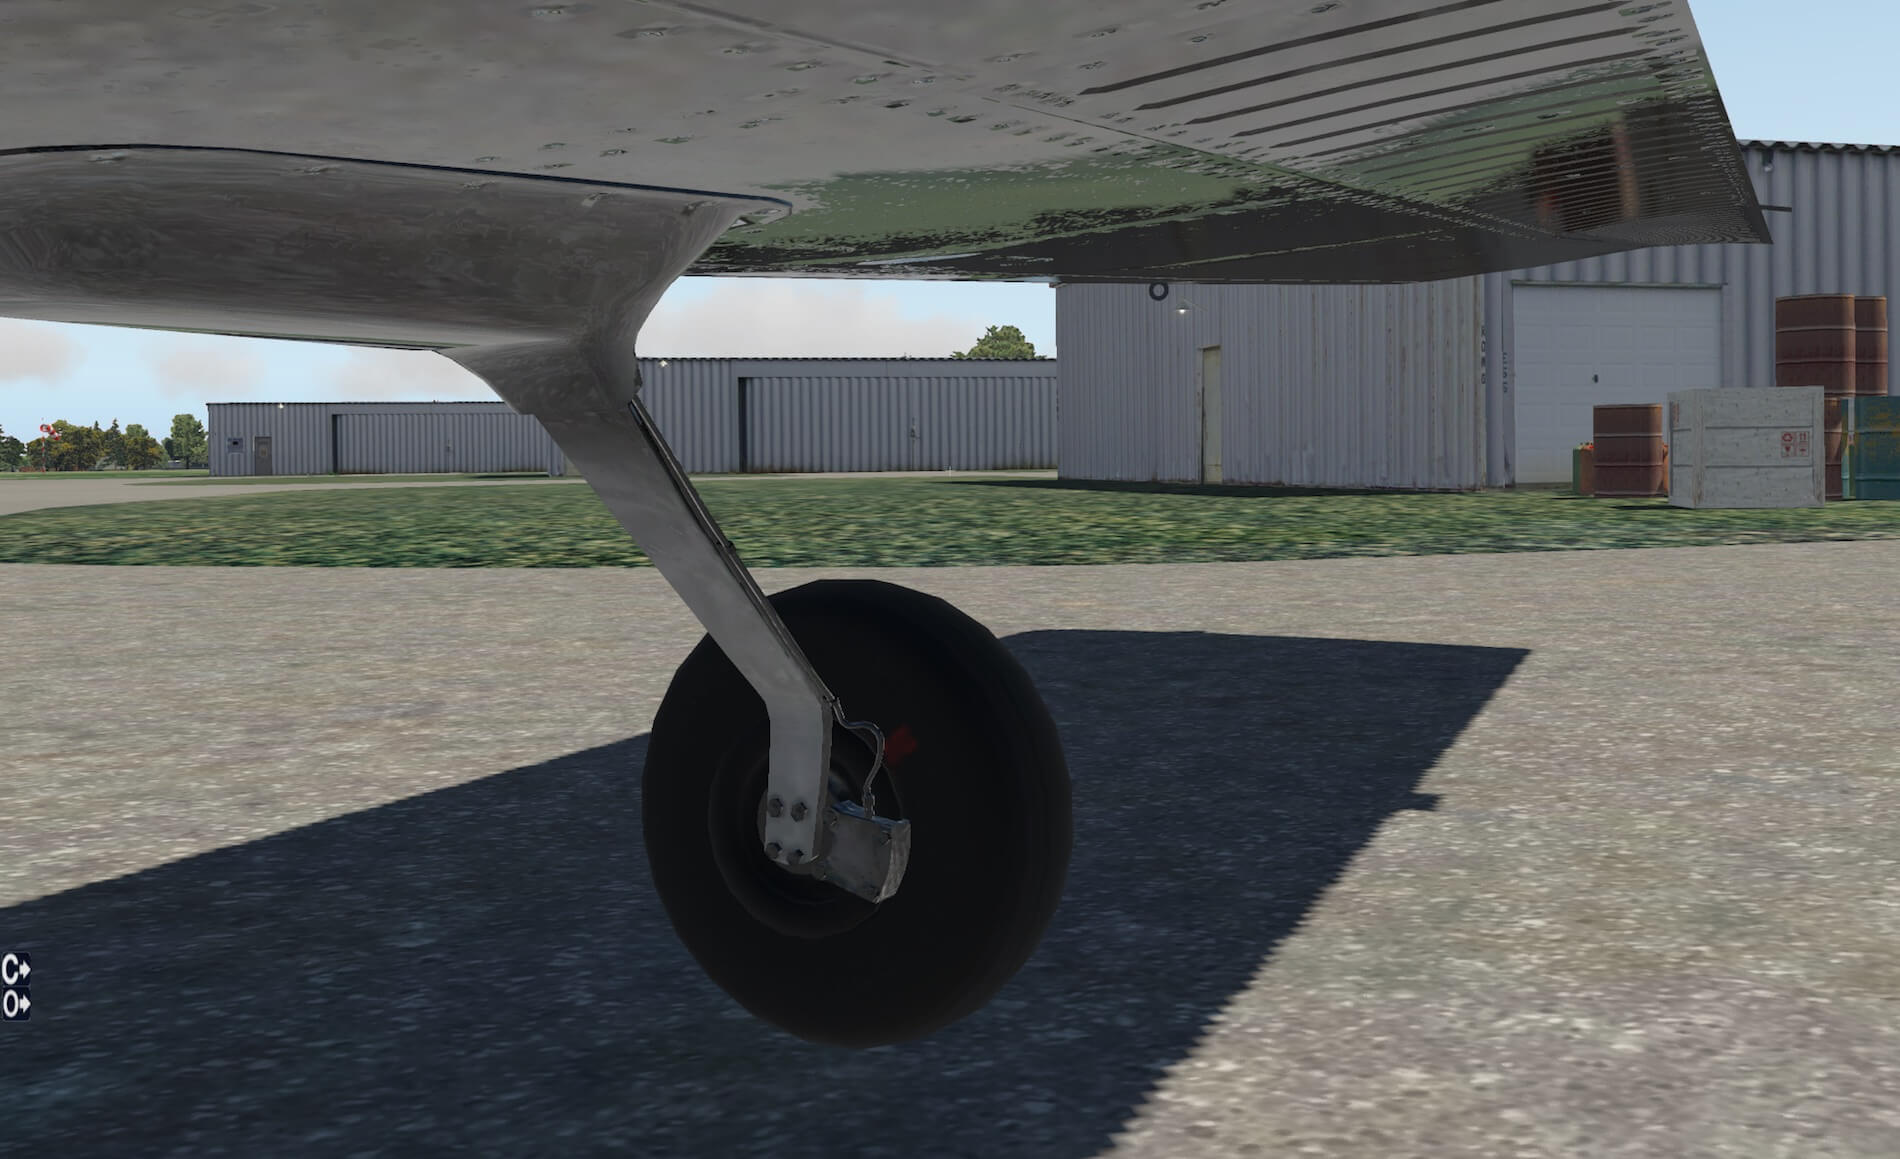
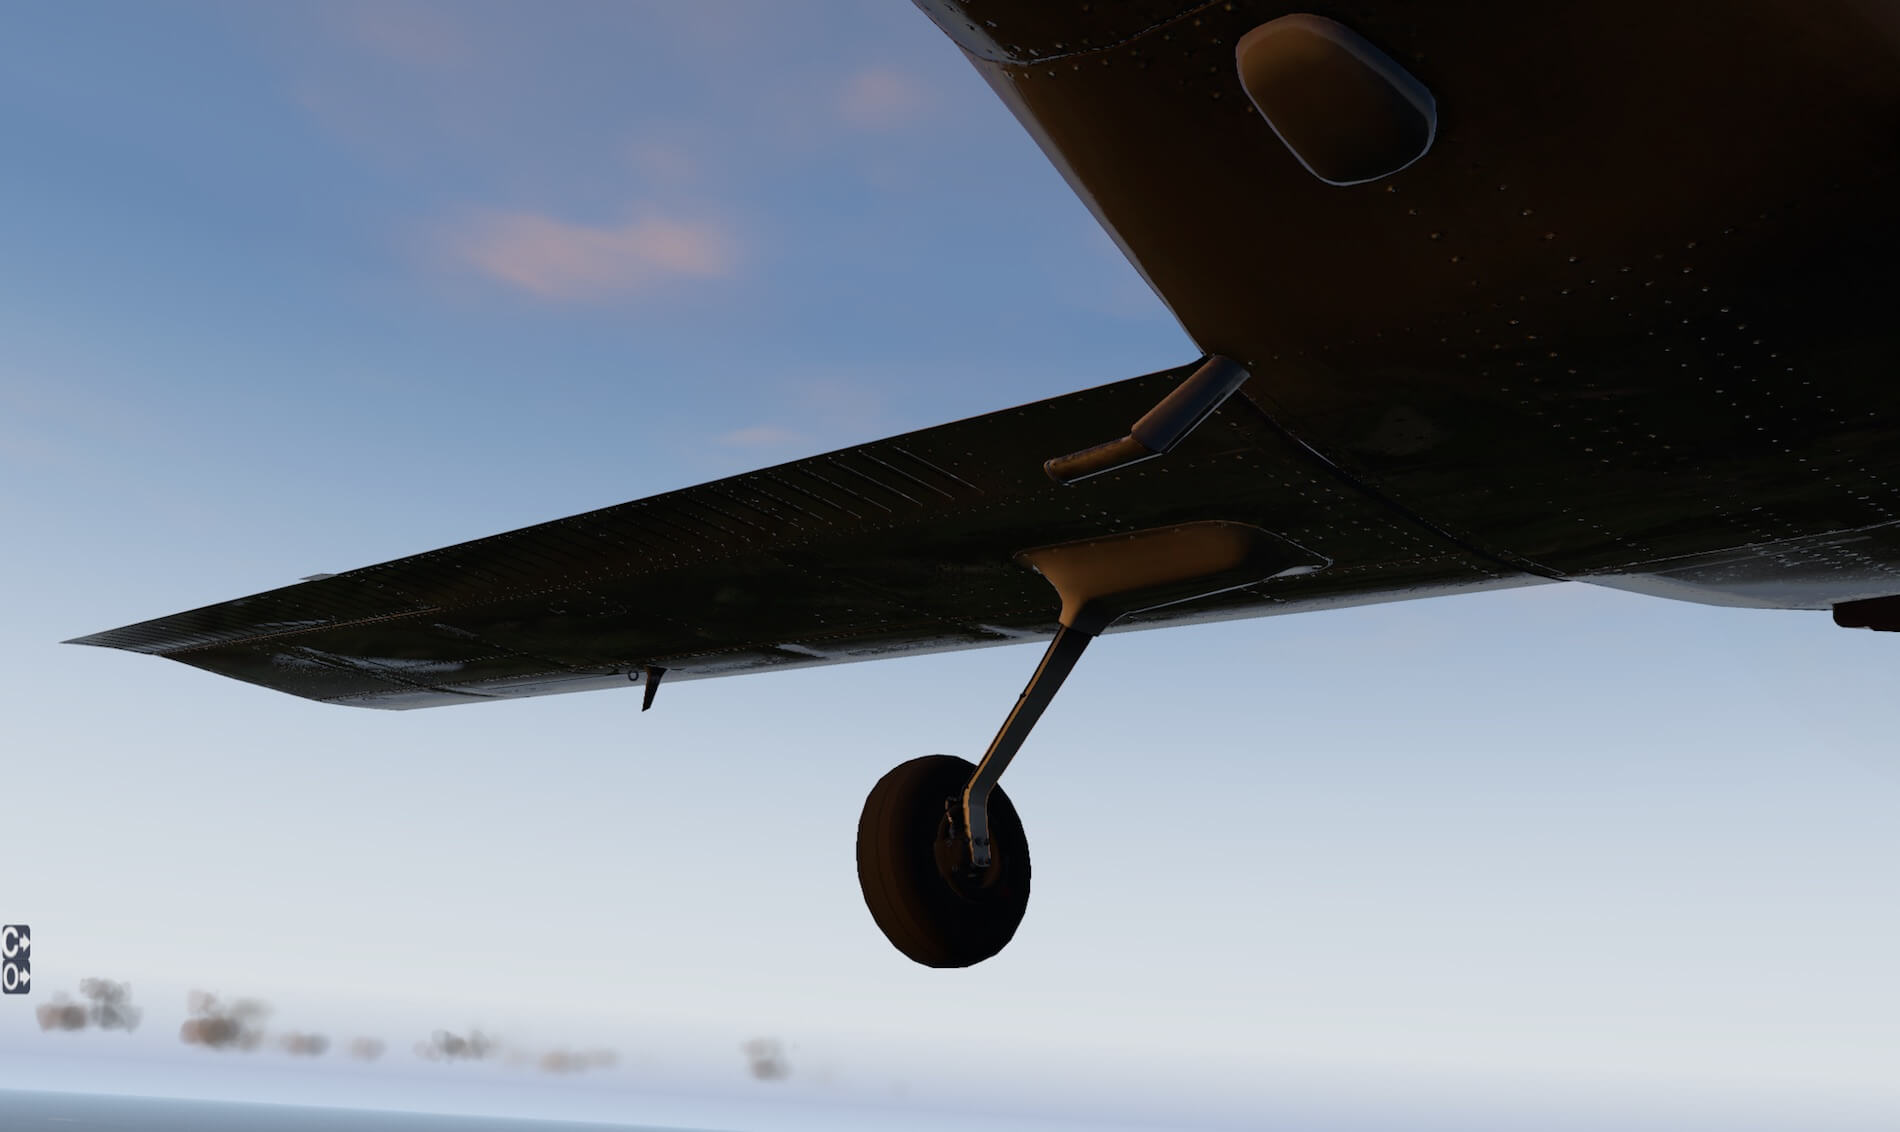
From the fuselage, I walk along the left hand wing leading edge to the first interesting item which is the pre-stall indicator. Before that, I’ll have a look underneath the wing and check the main landing gear. Basically, all the tiny details we see on the nose landing gear can be found here except that the main landing gear has no shock absorber. On the top of the wings you find the fuel cap.
A little further on, where the two top wing skin plates are fitted together, you’ll see the pre-stall indicator at the leading edge. It’s actually not an indicator, but rather, a small flapper that is linked to a switch. When the angel of attack is too high, the flapper activates the horn in the cockpit via that switch. Clearly visible is the presence of the NML files (Normal Mapping). Under the right lighting conditions, they give the fuselage, wing and tail, a kind of 3D effect. There’s also NML files for the interior or cockpit.
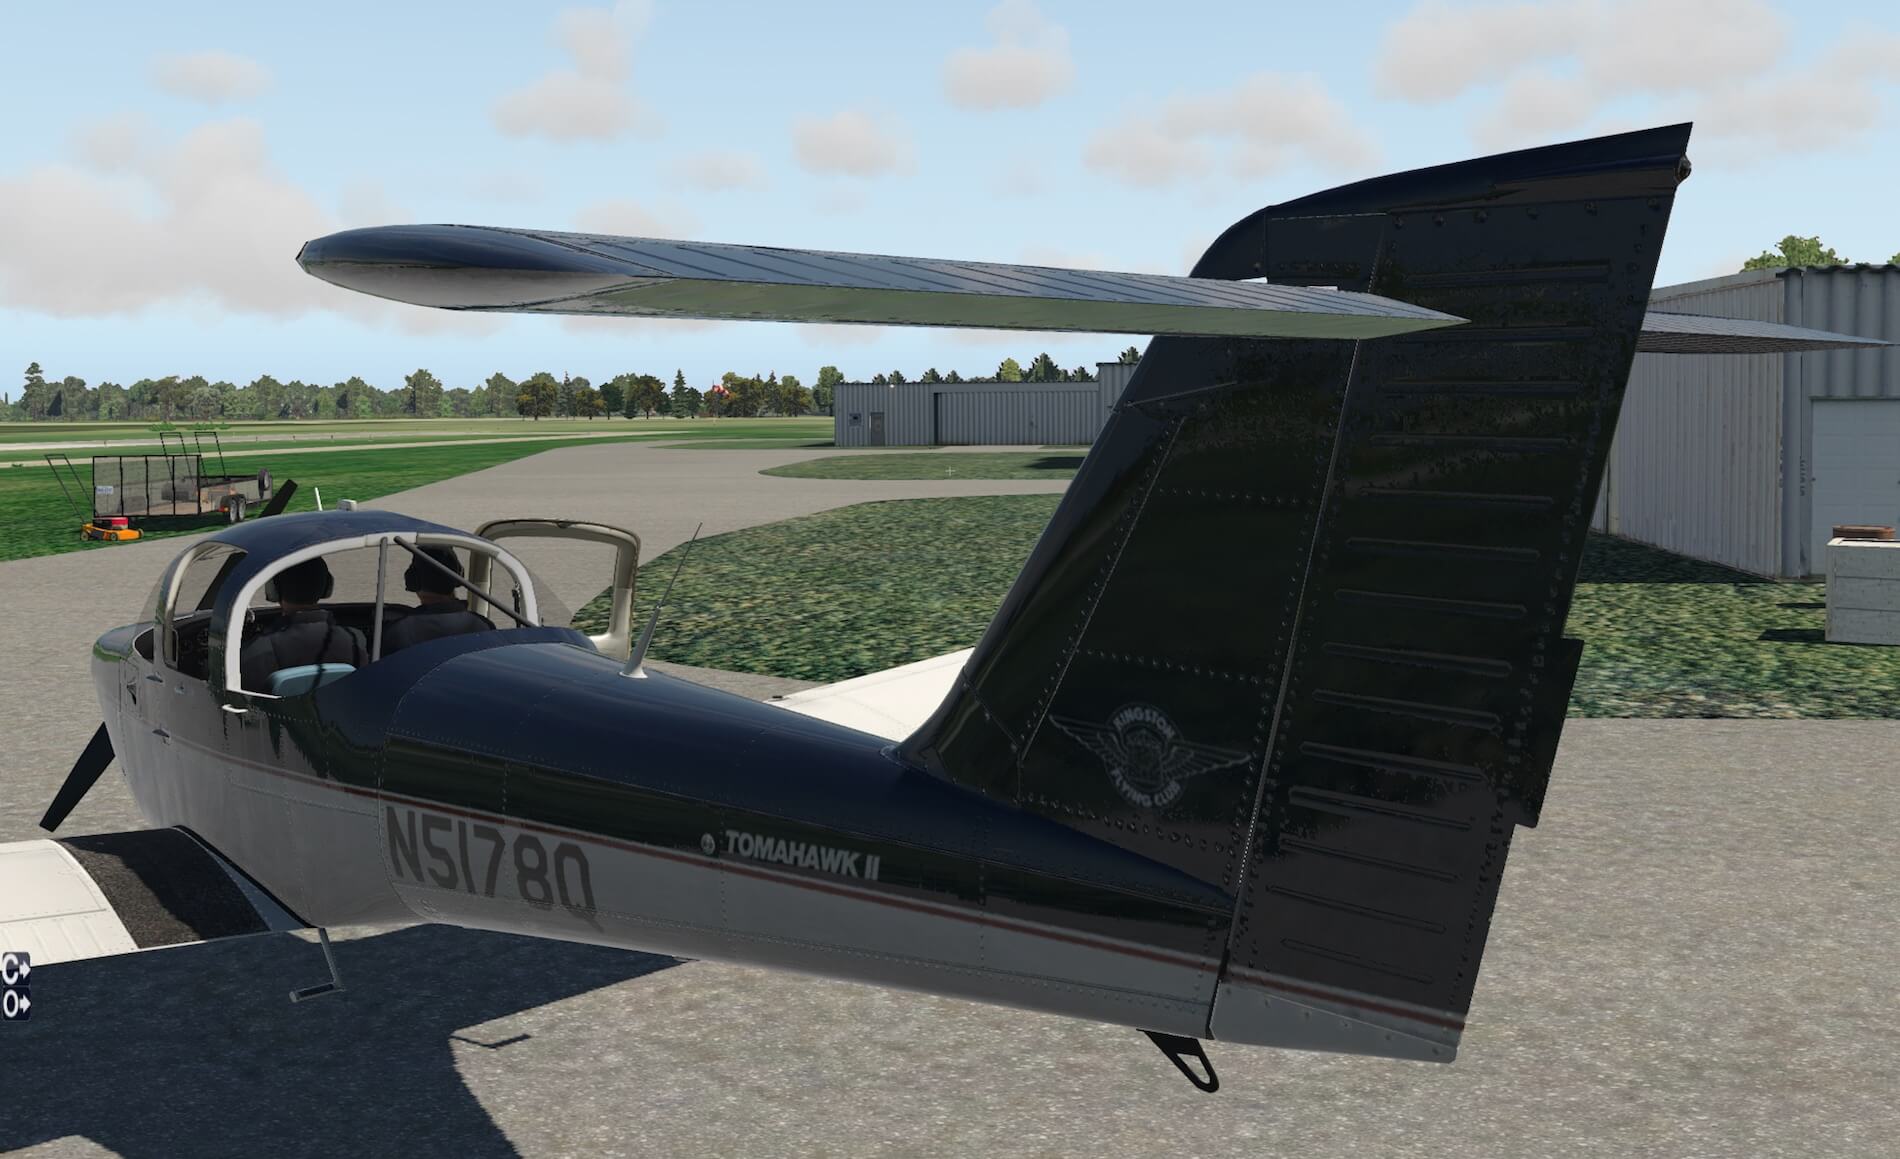
In real life, the wing is made of an Aluminum skin, while the wing tip assembly is, I think, from plastic .Not that you touch and feel the different material, but what you clearly can see is that the wing tip assembly is one complete housing mounted to the wing structure. At each wing tip you’ll find one navigation light and one strobe light or perhaps it’s more accurate to say, the white anti-collisions light, since this is how the switch is named in the cockpit. By way of the ailerons and extended flaps, I walk toward the rear of the fuselage to the T-tail. I noticed two things.
When I selected the flaps down, I was surprised about the extension speed. I have no reference, but I have my doubts if they can extend so quickly. The other thing I noticed is the weird looking fuselage tail section, aft of the cabin. It looks as if the fuselage tail is mounted clean to the forward fuselage section. It looks weird, but I can tell you, it looks just the same on the real Tomahawk II. So, that’s good news and I have no worries about the weird way the fuselage tail section mounted to the front section. On my way to the T-tail, I clearly spot the presence of a static port on each side of the fuselage. The tail is good looking.
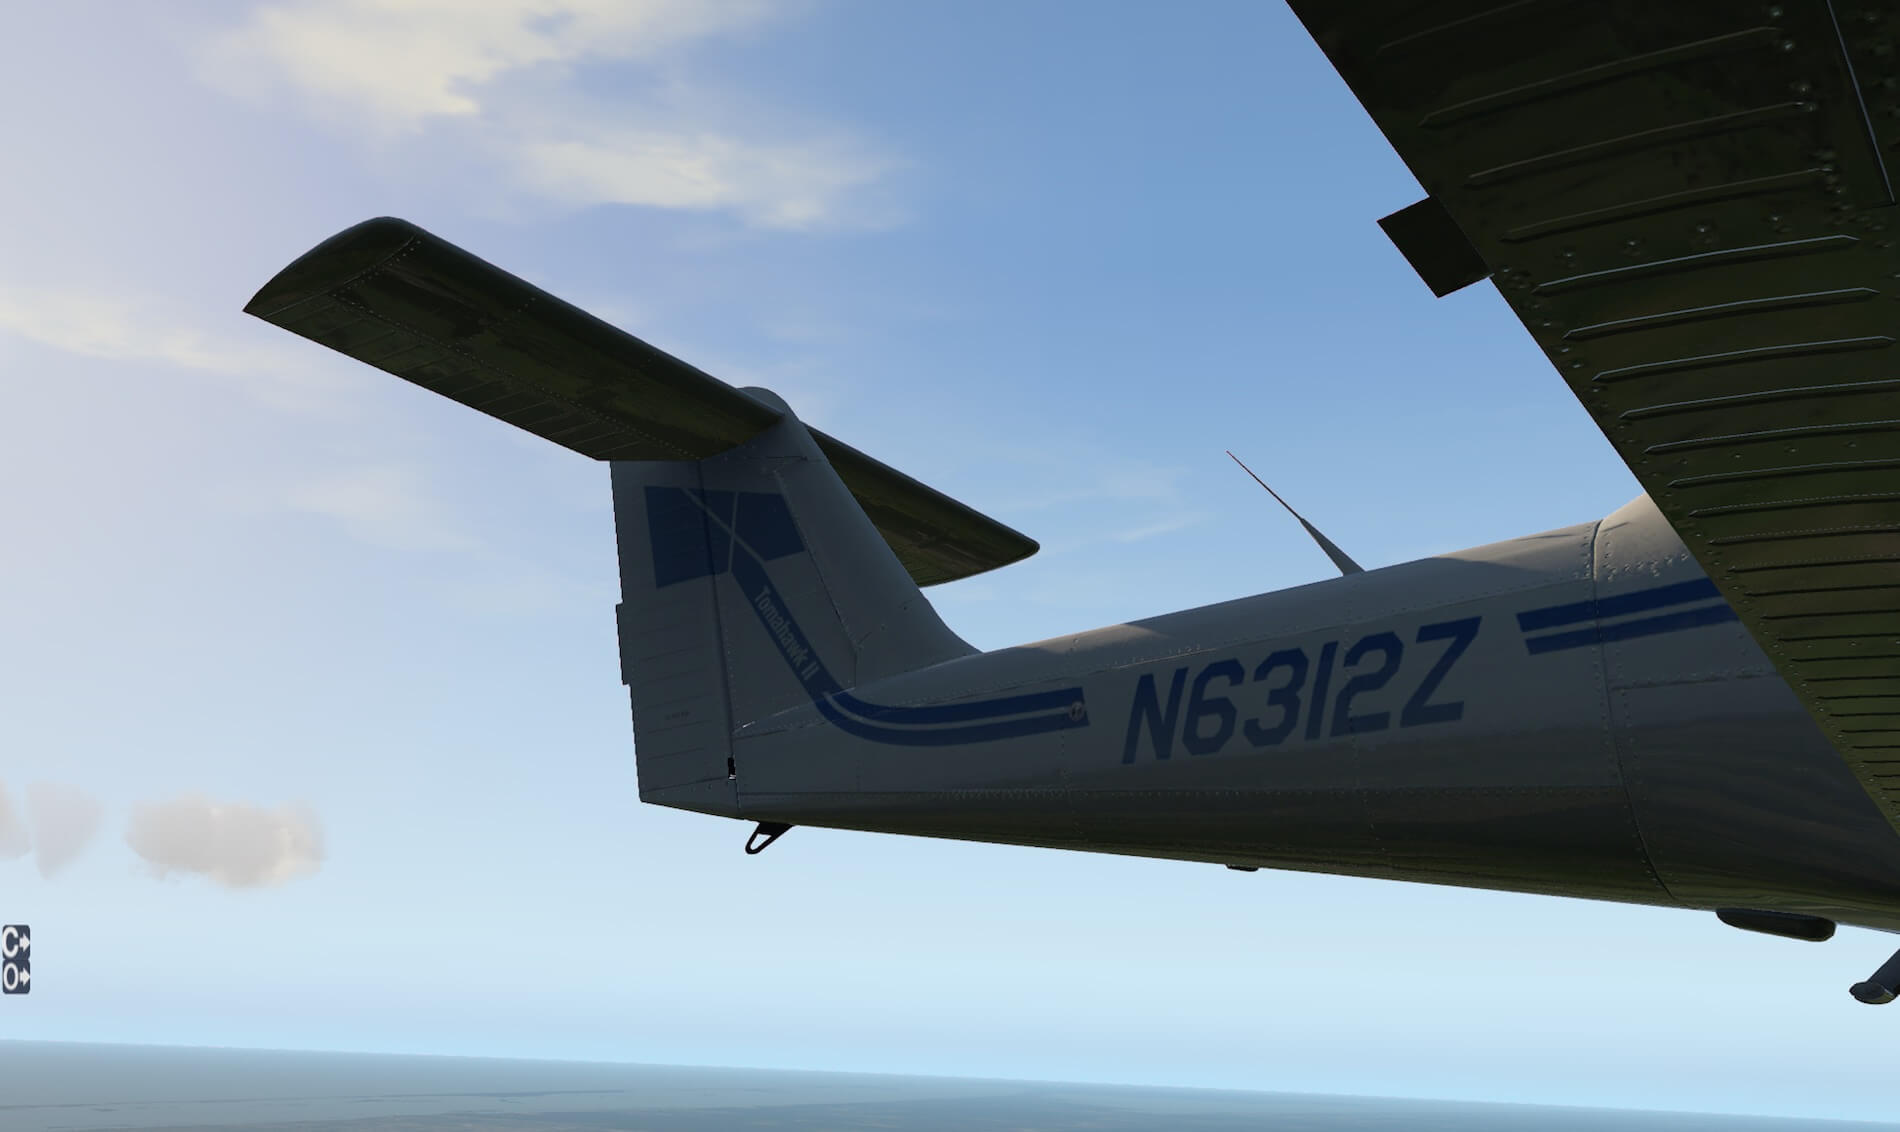
All the rivets are clearly visible and are at the same location as on the real Tomahawk II. The text on the lower part of the rudder, DO NOT PUSH, is razor sharp as well as the Tomahawk II text on the vertical stabilizer.
I’m not sure if these horizontal and vertical stabilizers are covered with photo real textures, but it looks unbelievably realistic. What else can I spot on the flight controls? At the rear top end of the rudder you’ll find the white tail navigation light, which is fairly normal for every aircraft. At the far end of the fuselage and on the wings lower surface, you’ll find mooring hooks and near the leading edge of the horizontal stabilizer, there are two small antenna’s.
Here we go … test flight 1 | KEVB – KEVB
Flying the Tomahawk isn’t the same as my Cessna C152, but it’s also a small GA (General Aviation) aircraft and it’s also a good aircraft to do your PPL (Private Pilot License) lessons with. The Tomahawk is an uncomplicated aircraft as is the instrument panel. There might be always some differences between different Tomahawks, keep that in mind. That said, the Alabeo Tomahawk is a possible panel configuration. Doing the necessary flight preparations before I go, aren’t complicated. I’ve got enough fuel, checked the oil level, checked for fuel leakage, oil leakage and dents and/or scratches on the fuselage, wing and tail. I visually checked and moved the flight controls and found it OK. I like to do all those things during my inspection and before my flight, but on an X-Plane aircraft, virtually walking around the aircraft and checking flight control surfaces, naturally enough, that’s something that I can’t feel or touch.
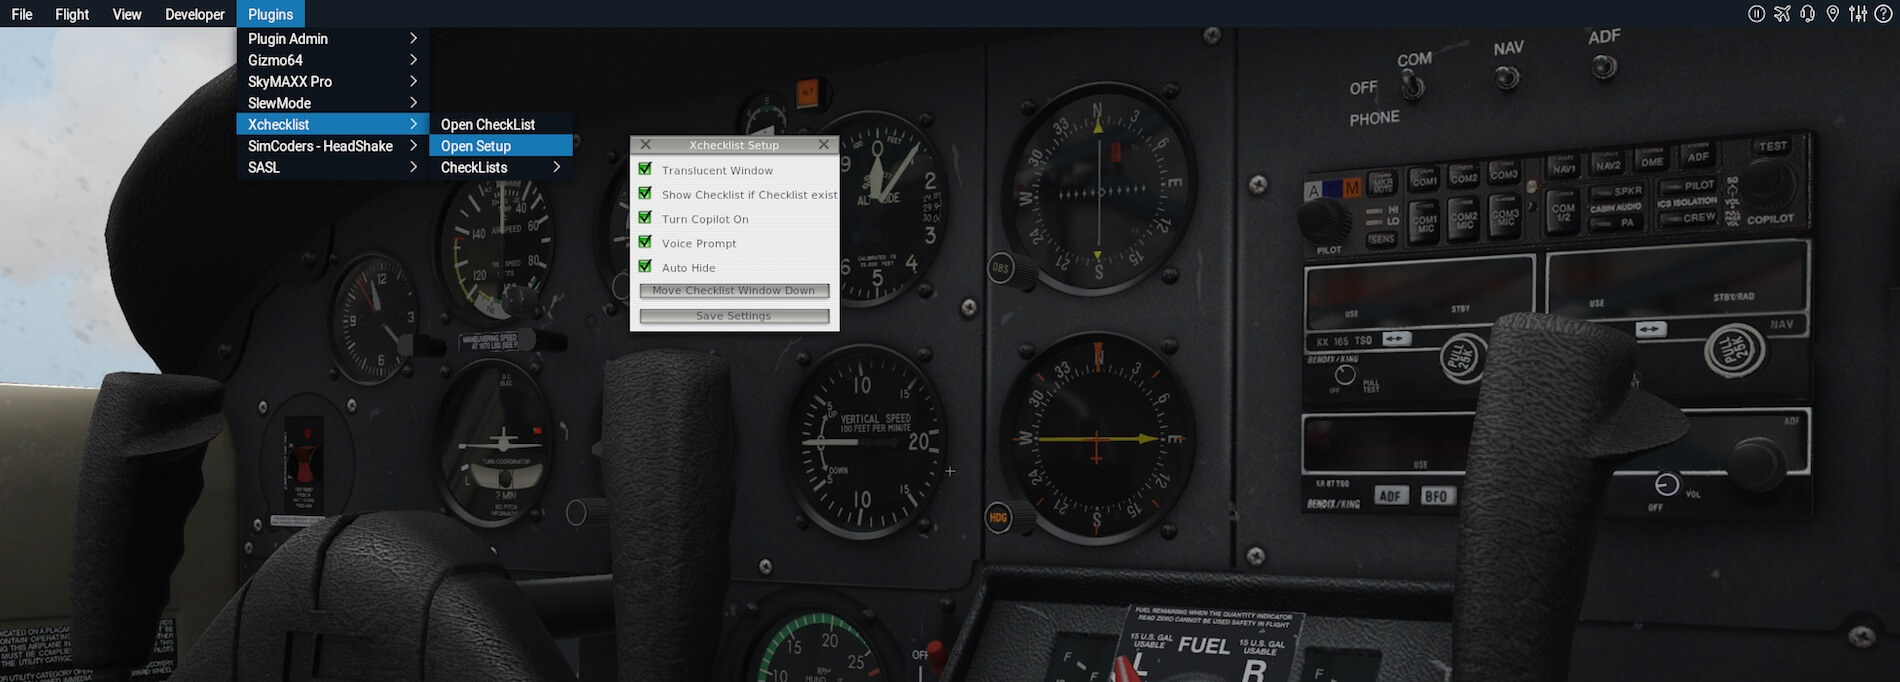
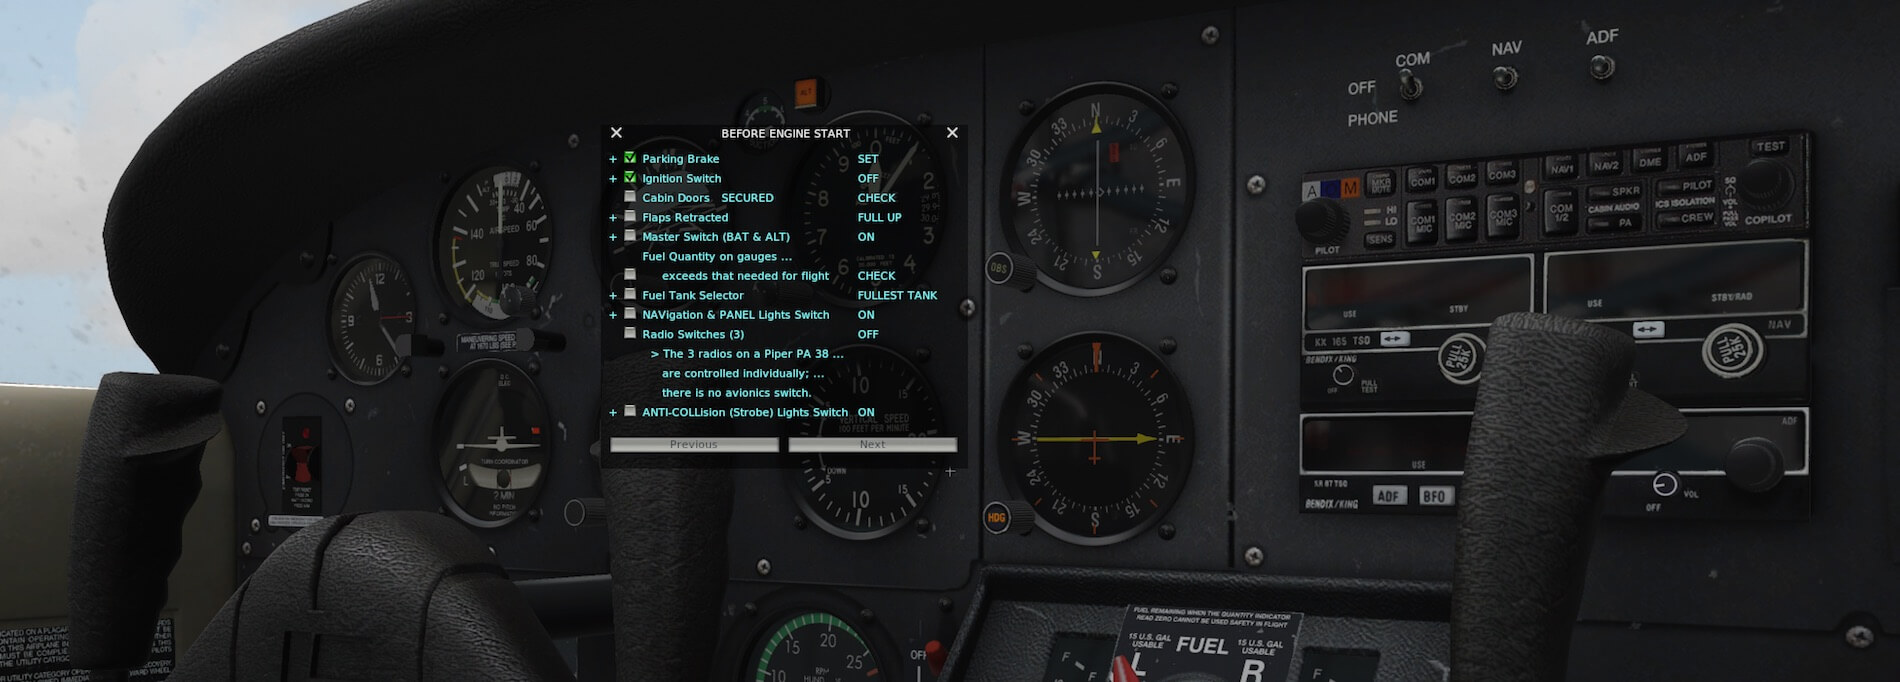
I grab the electronic checklist from Xchecklist and the clist file and follow every step as far as possible. It’s not a complicated cockpit, so before I know it, I’m ready to start my engine. Wait! I didn’t tell you what the flight plan is. Todays VFR flight goes from KEVB (New Smyrna Beach Municipal Airport, Florida) to the west of Florida and it depends on my flight testings (steep turns, stall, pre-stall, slow flights with/without flaps, etc. where I finally make my landing. I might return to KEVB. Time will tell. If you know how the Cessna 152 or C150 flies, then, except for the Tomahawk’s lower situated wings and T-tail, you’ll quickly feel familiar with this Tomahawk II.
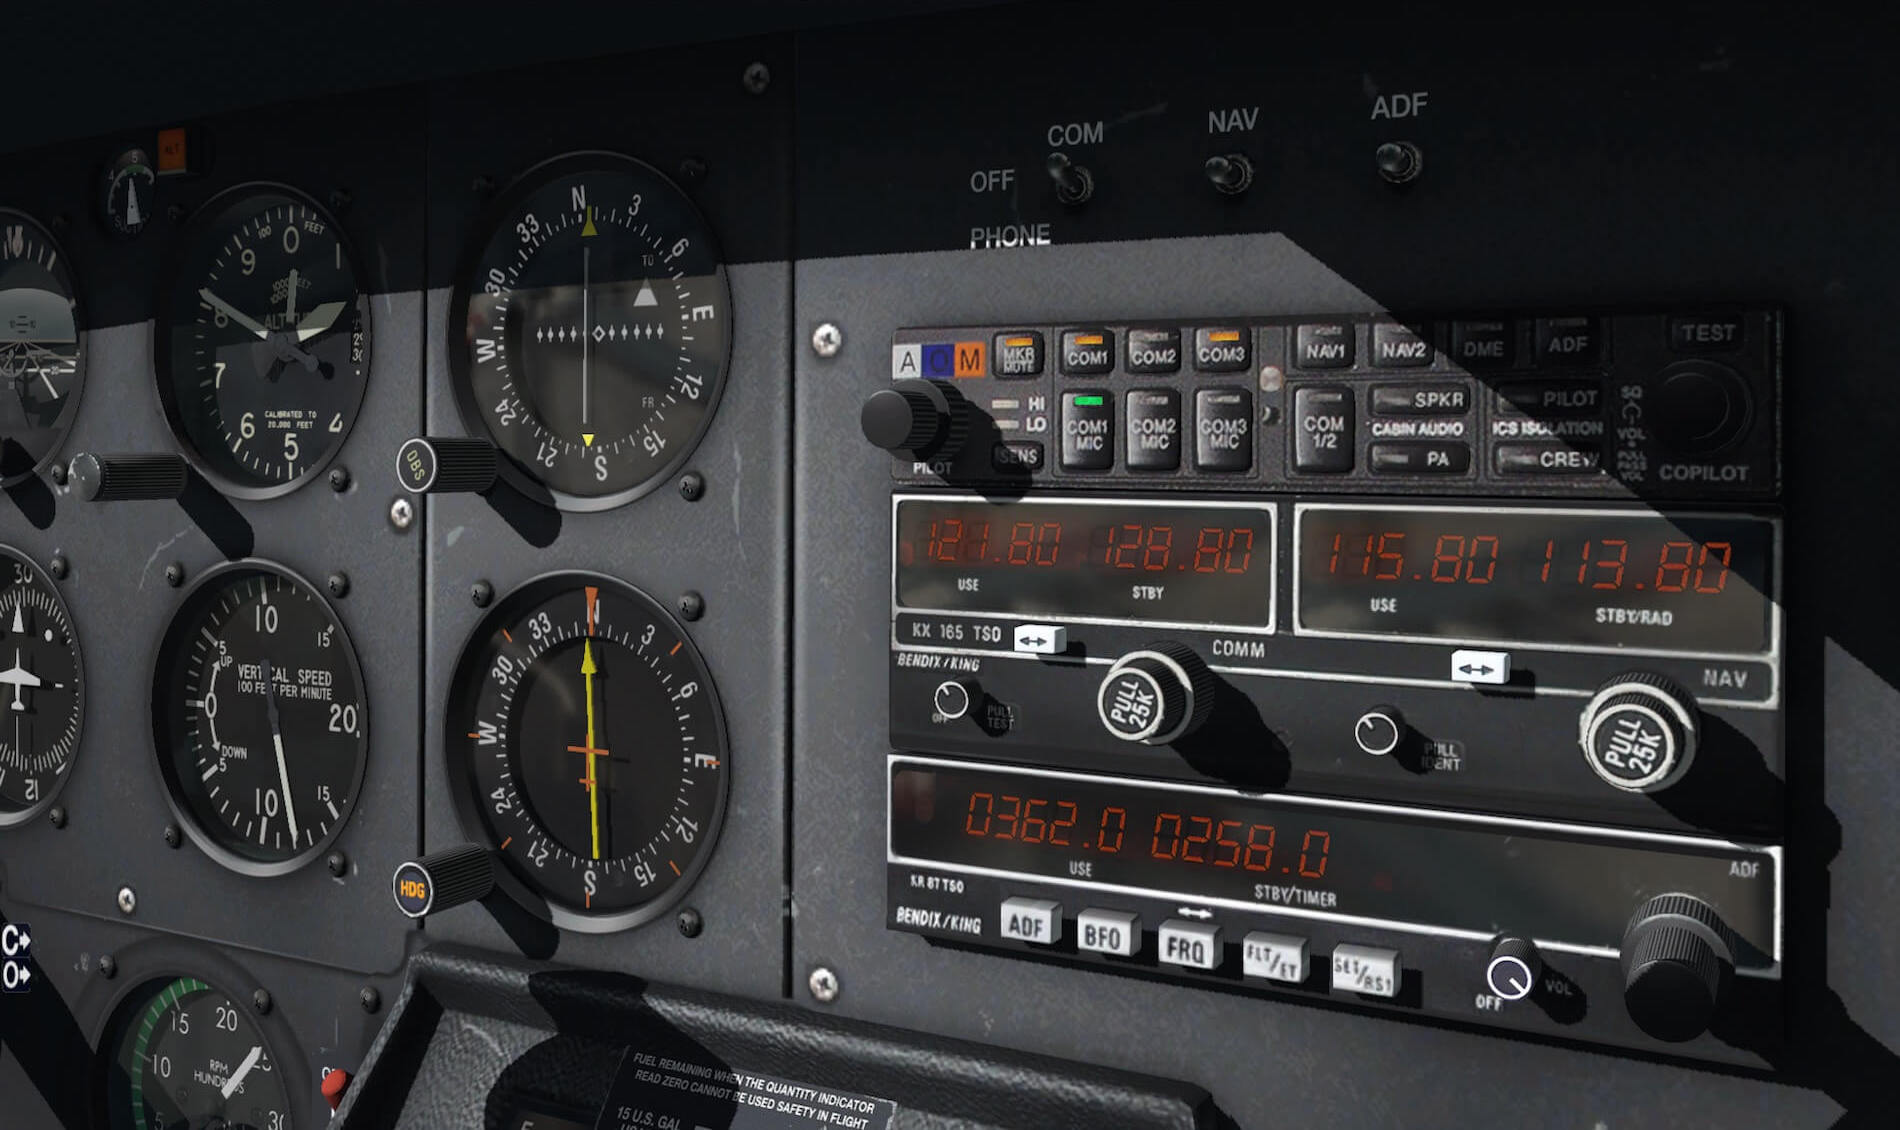
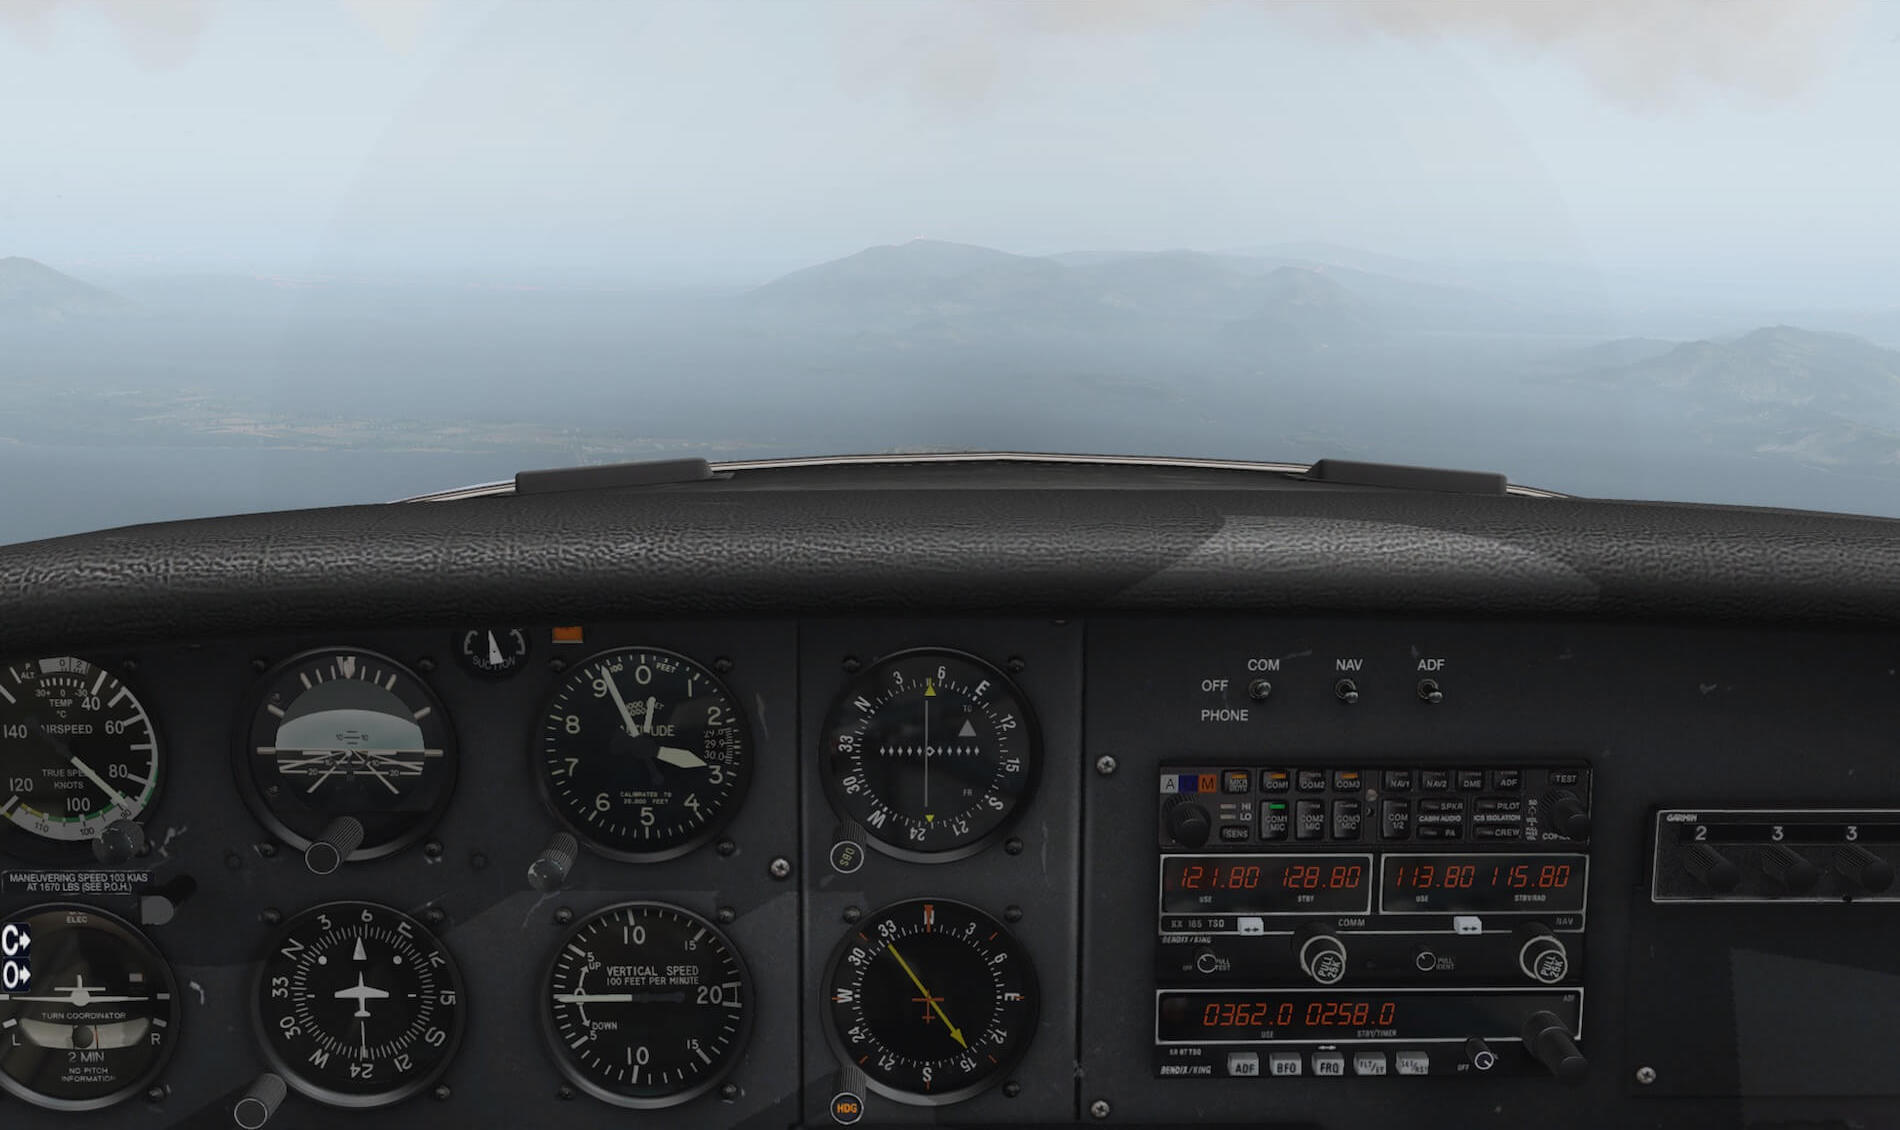
At least, I did. The Tomahawk is also used for flight training. It’s a two seater and has a minimum of equipment, but does have a COM/NAV and ADF radio set on-board. And of course, almost forgotten, the ATC transponder with altitude reporting. You won’t find an Auto Pilot and there’s only PITCH trim fitted and that’s it. Typical from what I know from my PPL C152 lessons. Literally, all what’s possible is simulated / modeled in the Alabeo Tomahawk II except for the circuit breakers. All switches, knobs, selectors, lights and handles are fully functional and do what you expect them to do. The instrument panel looks simple, but the real panel is simple too. As a result, what you see in this Alabeo Tomahawk is 99 percent the same as in the average real Tomahawk II.
As mentioned before, not every Tomahawk has the same instrument panel, so, it could be that you’ll find ones with a GPS added or other Garmin instruments. But, we’re not practicing with a real one, but with this Alabeo Tomahawk. Starting the Tomahawk engine is easy. First, don’t forget to set the MIXTURE back to FULL RICH and the throttle lever to a little bit out of idle. With the FUEL PUMP switched ON, hold the START switch to START and the engine should pick up and run up to at least 1,000 RPM. Once the engine is running, leave it running at idle for a couple of minutes before you apply power. Before taxiing to runway 29, check to see if you’ve completed all the checklist items, which includes the RADIO rheostat.
Don’t forget this one, otherwise the COM/NAV and ADF panels are not illuminated. From my parking location taxiing to runway 29 is the shortest way. Although runway 29/11 isn’t the longest runway there, since I’m flying alone, I don’t even need half of the runway. Because there’s hardly any wind, it doesn’t make much difference which runway I take. I’m aware that when you’re familiar with these starting procedures, its’ not new to you, but I can imagine that certain simmers are new to this and therefore these extended explanations.
Since I need to fly in the direction of KDED (DeLand-Taylor Municipal Airport) which lies roughly on a course of 270, runway 29 is a good choice. Once more before turning onto the runway, I check the checklist and found everything OK. With a rolling takeoff, I turn on 29 and, indeed, halfway down the runway, I’m already airborne. Nice and slowly I climb to approximately 750 feet to keep myself out of the Daytona beach class D circles.
At a given point, I’m allowed to climb further to 3,000 feet. That’s high enough and since the Tomahawk isn’t a “Speedy Gonzales”, it’s OK like this. After leveling off at 3,000 feet, I reduce the MIXTURE to a position where the engine starts running rough. Then, I use PITCH trim to keep it at approximately 3,000 feet and ROLL, which I need to steer to keep my intended heading. With my Tomahawk II trimmed as far as possible to offer me a straight and level flight, it’s time to explore the instrument panel.
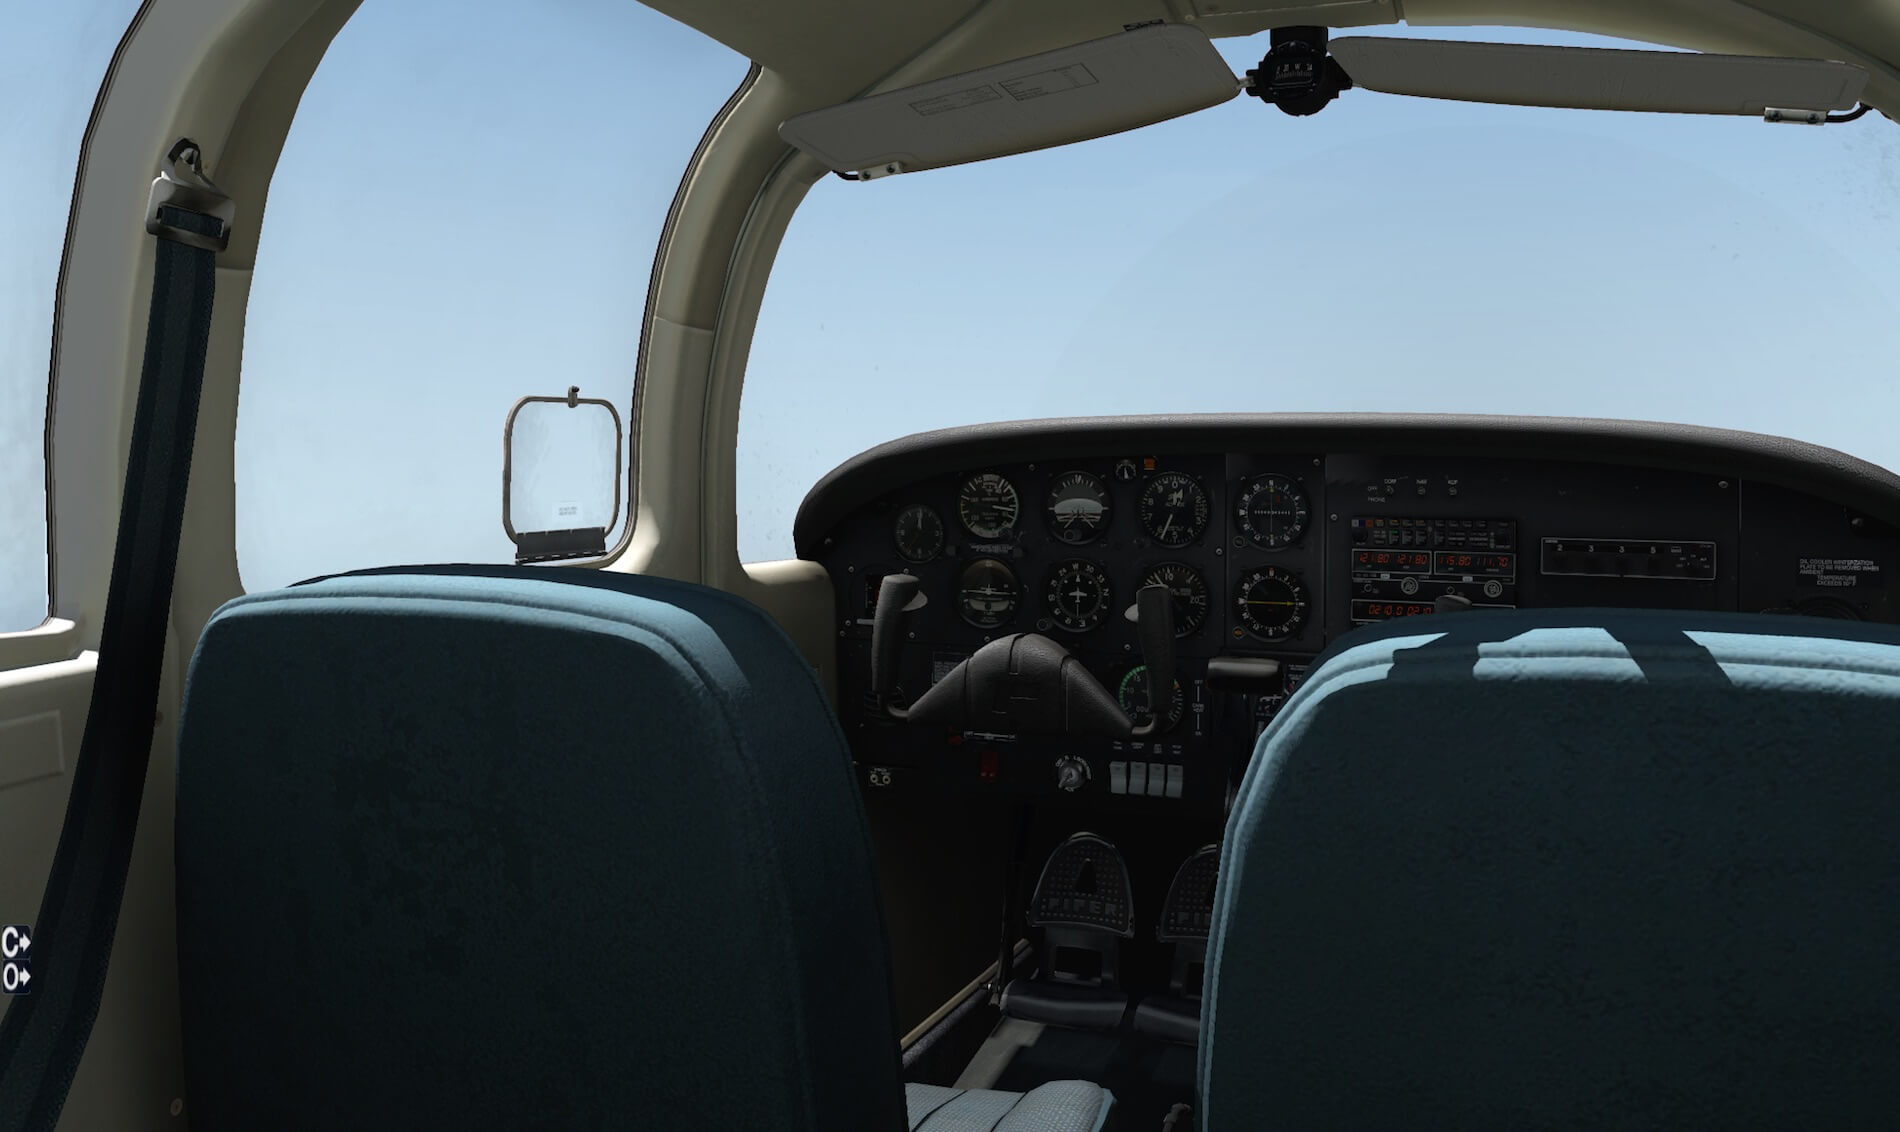
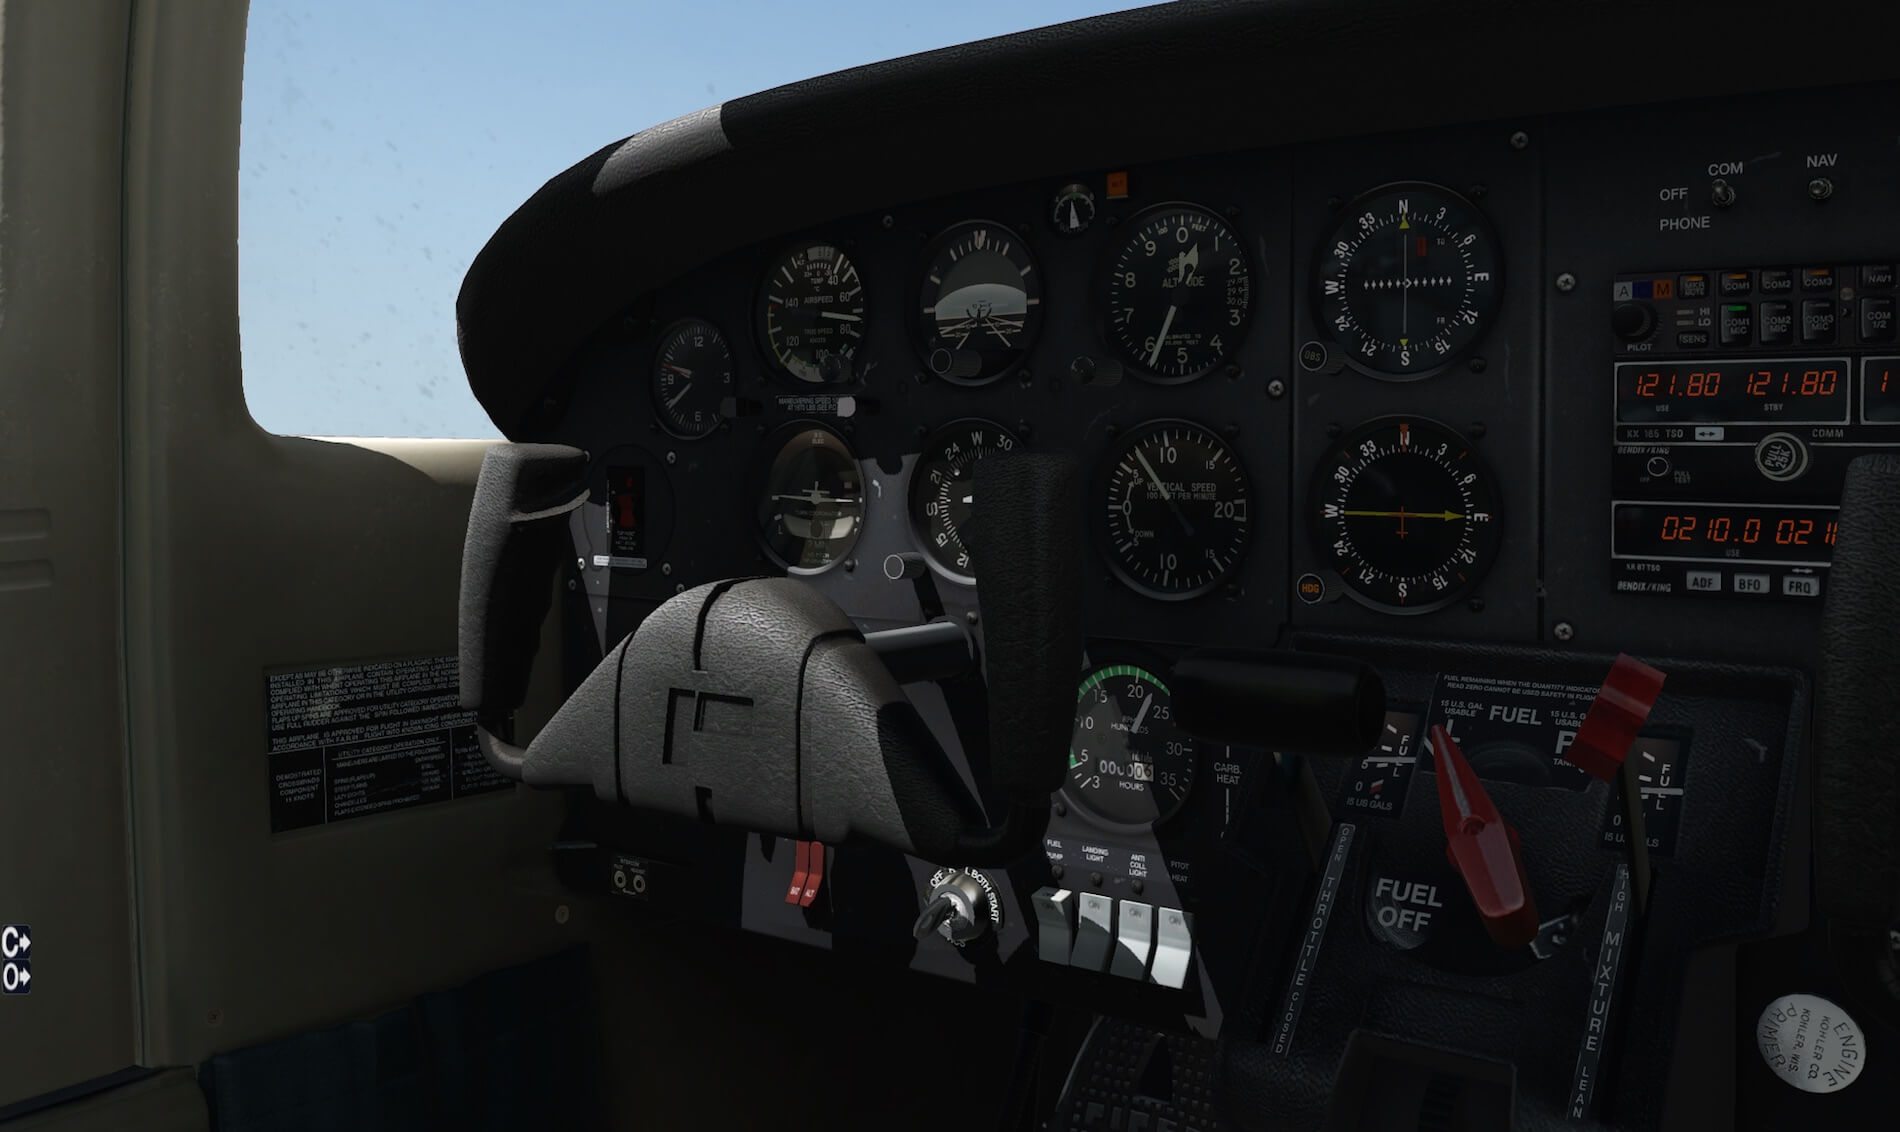
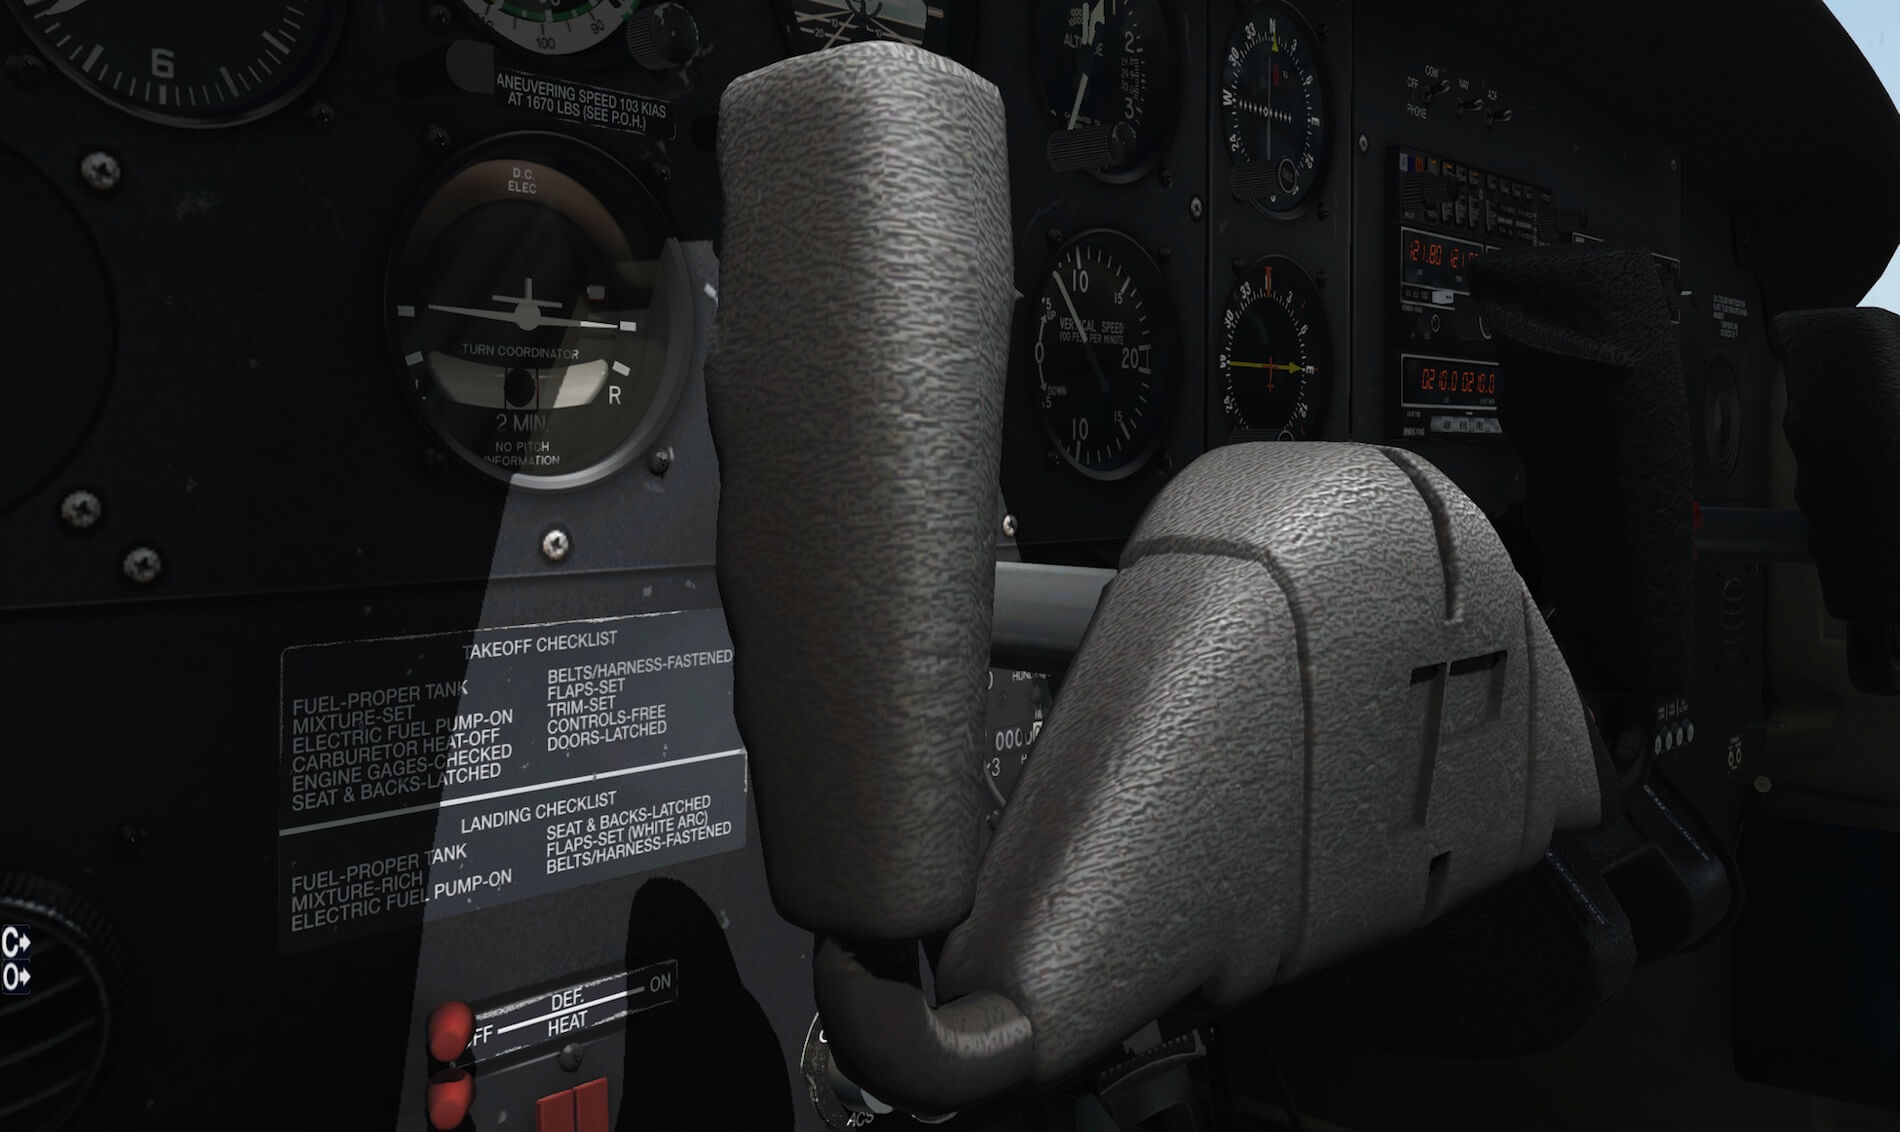
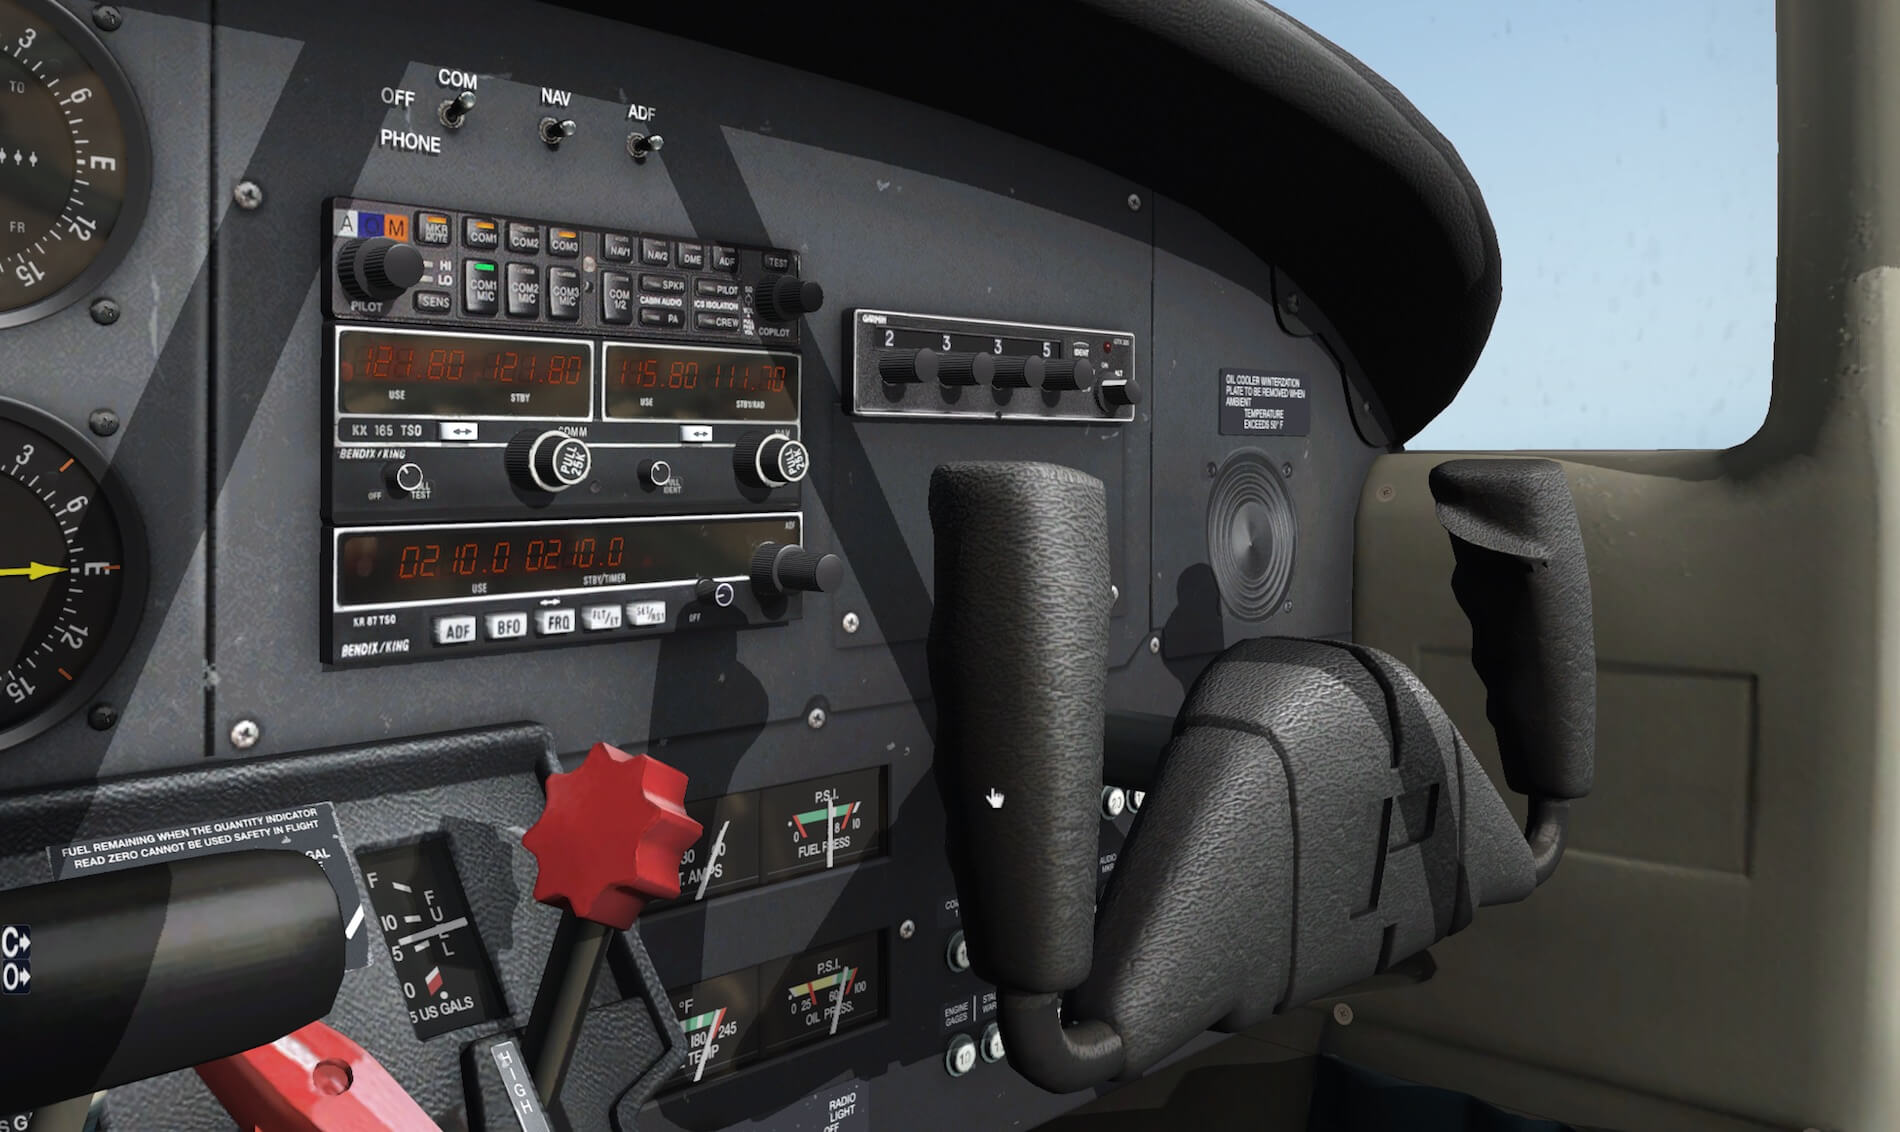
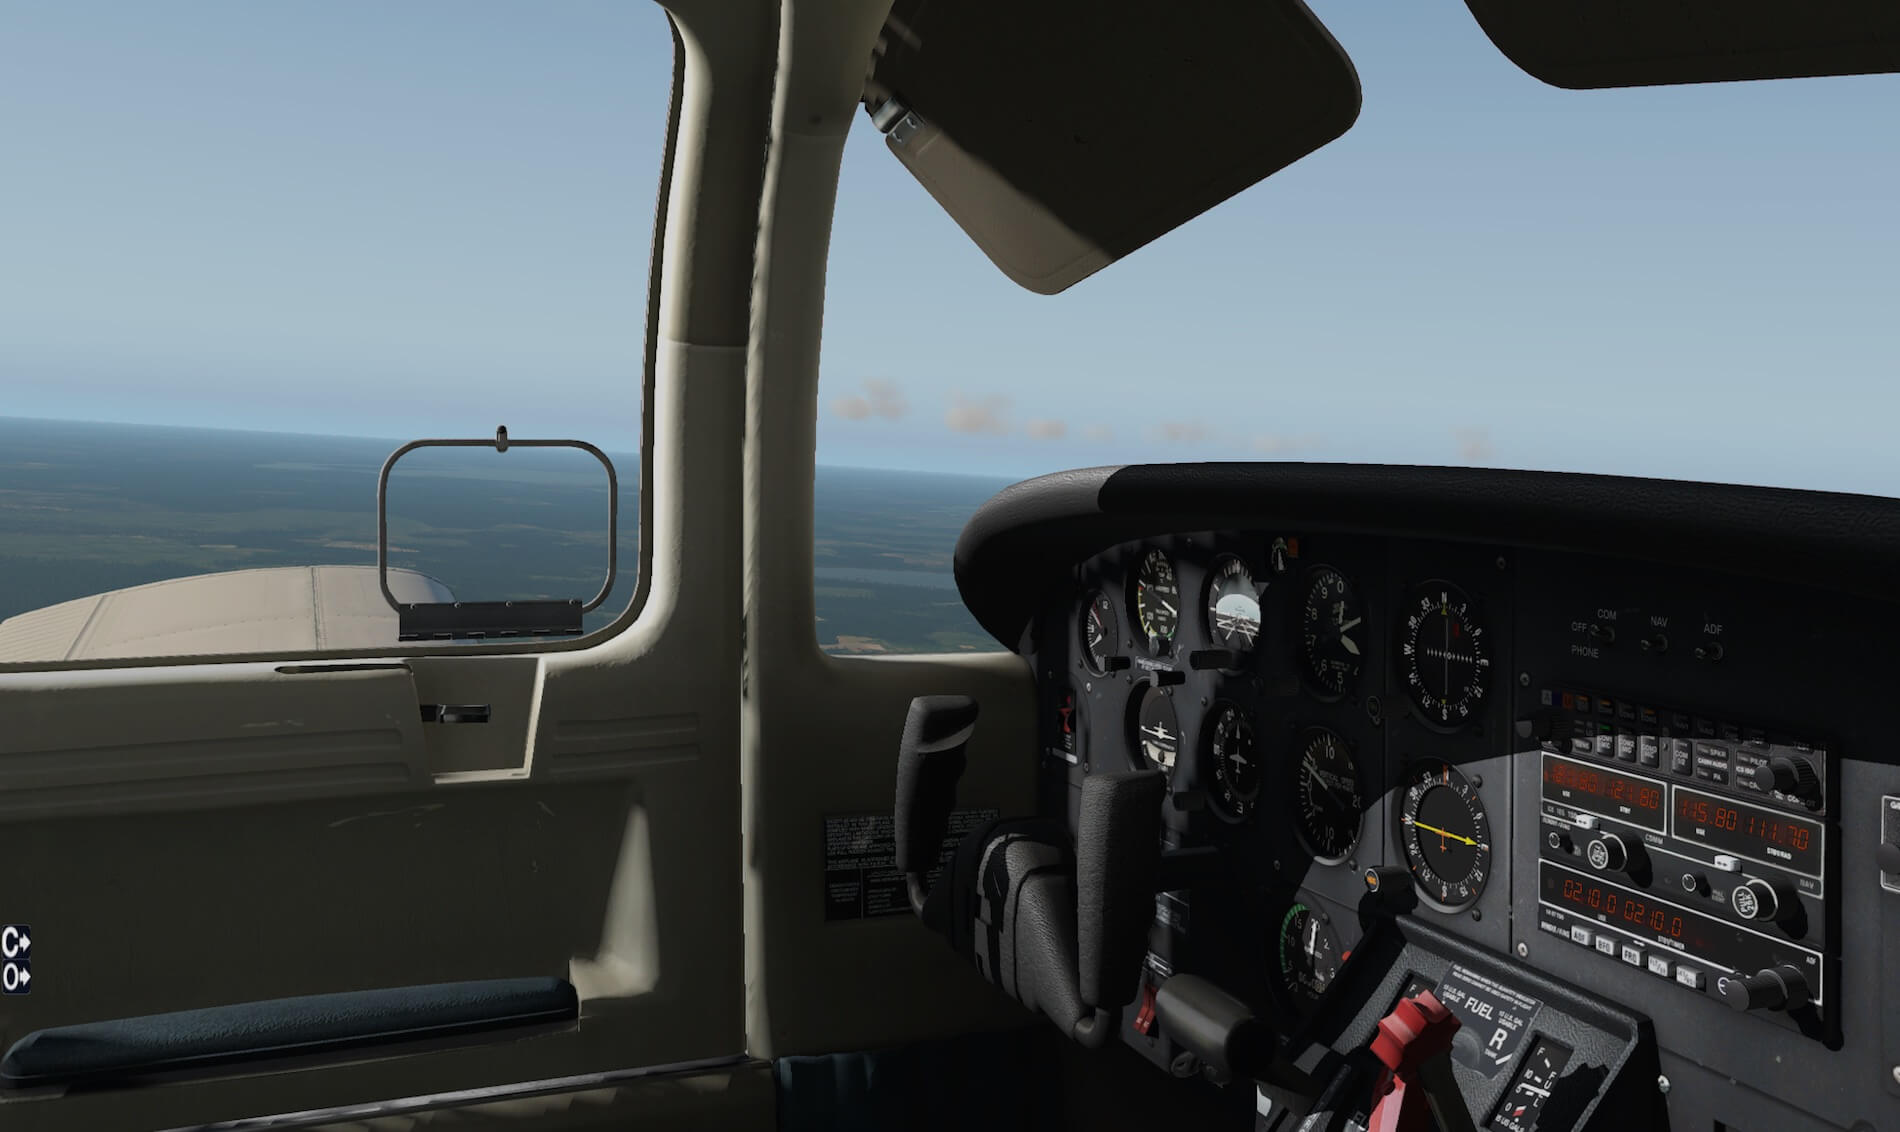
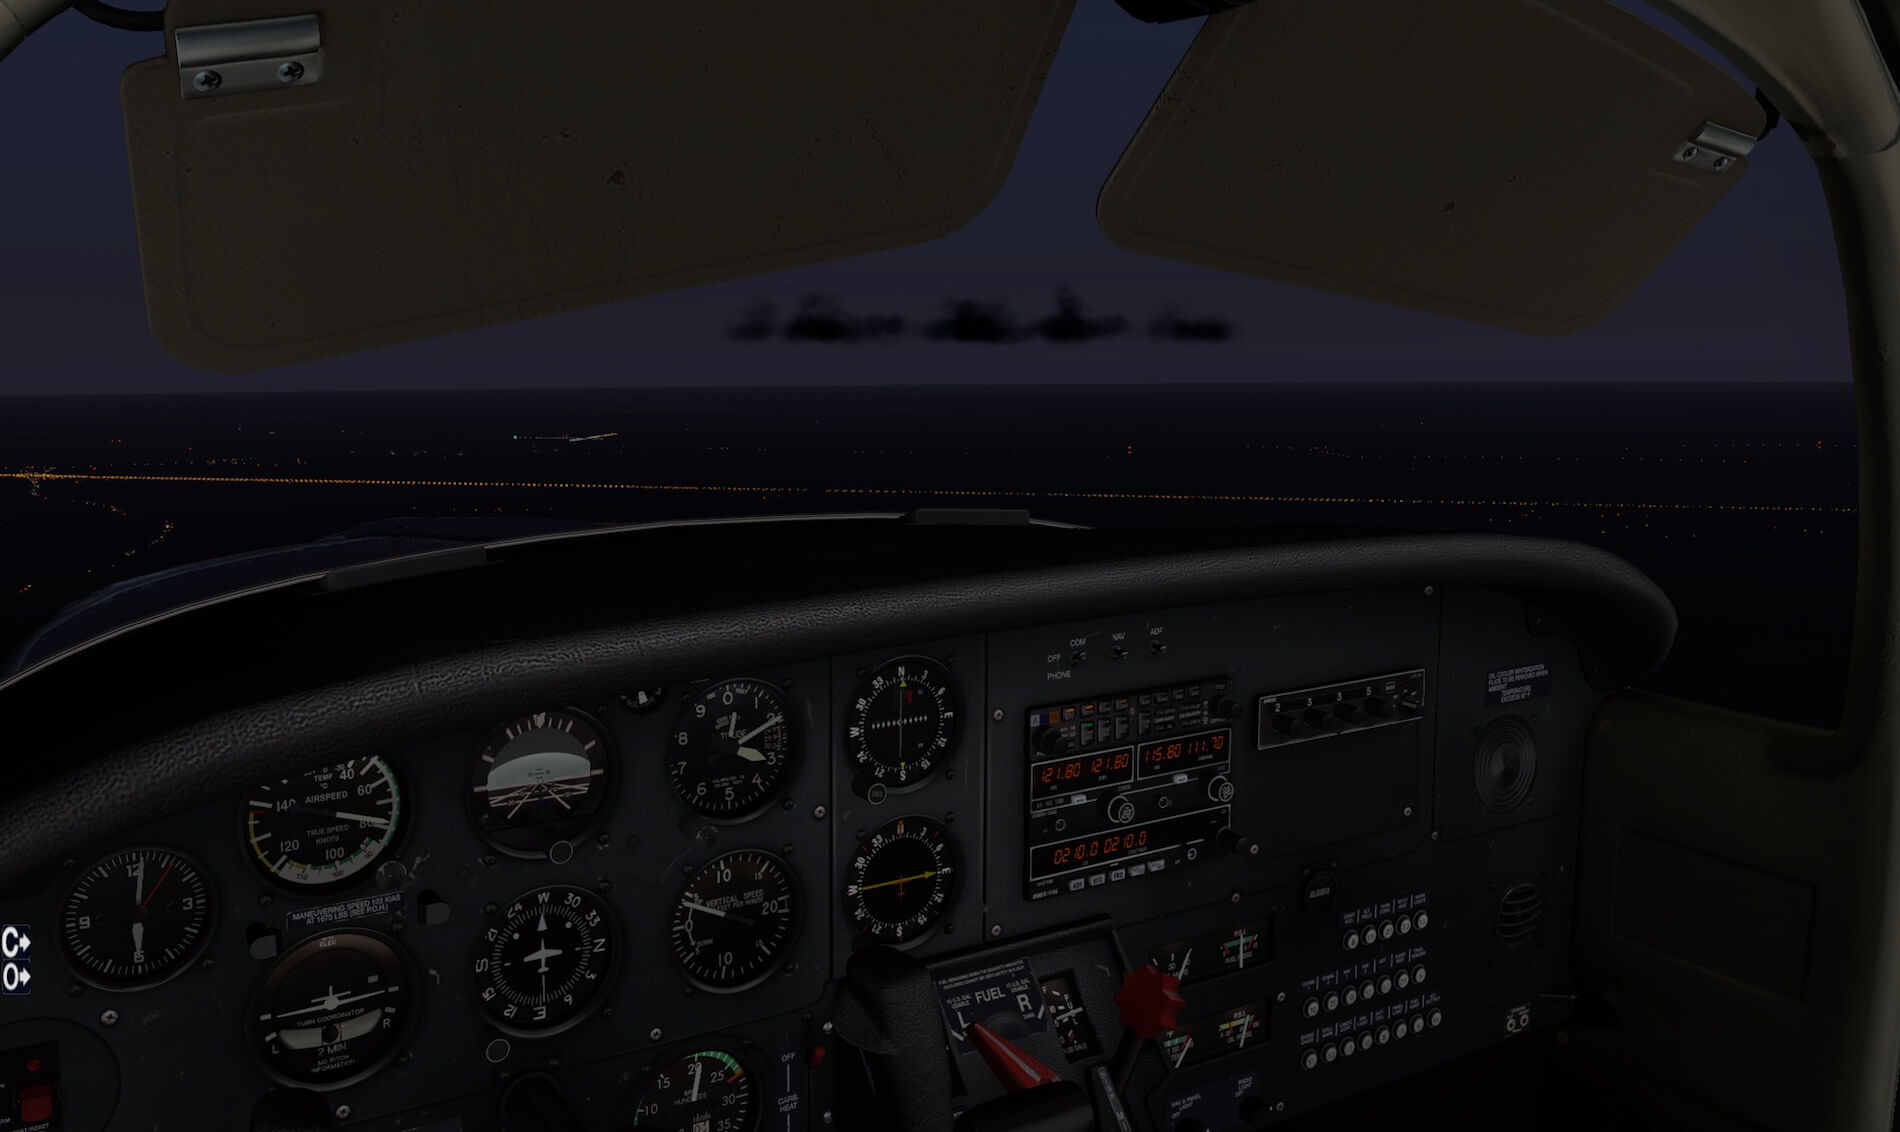
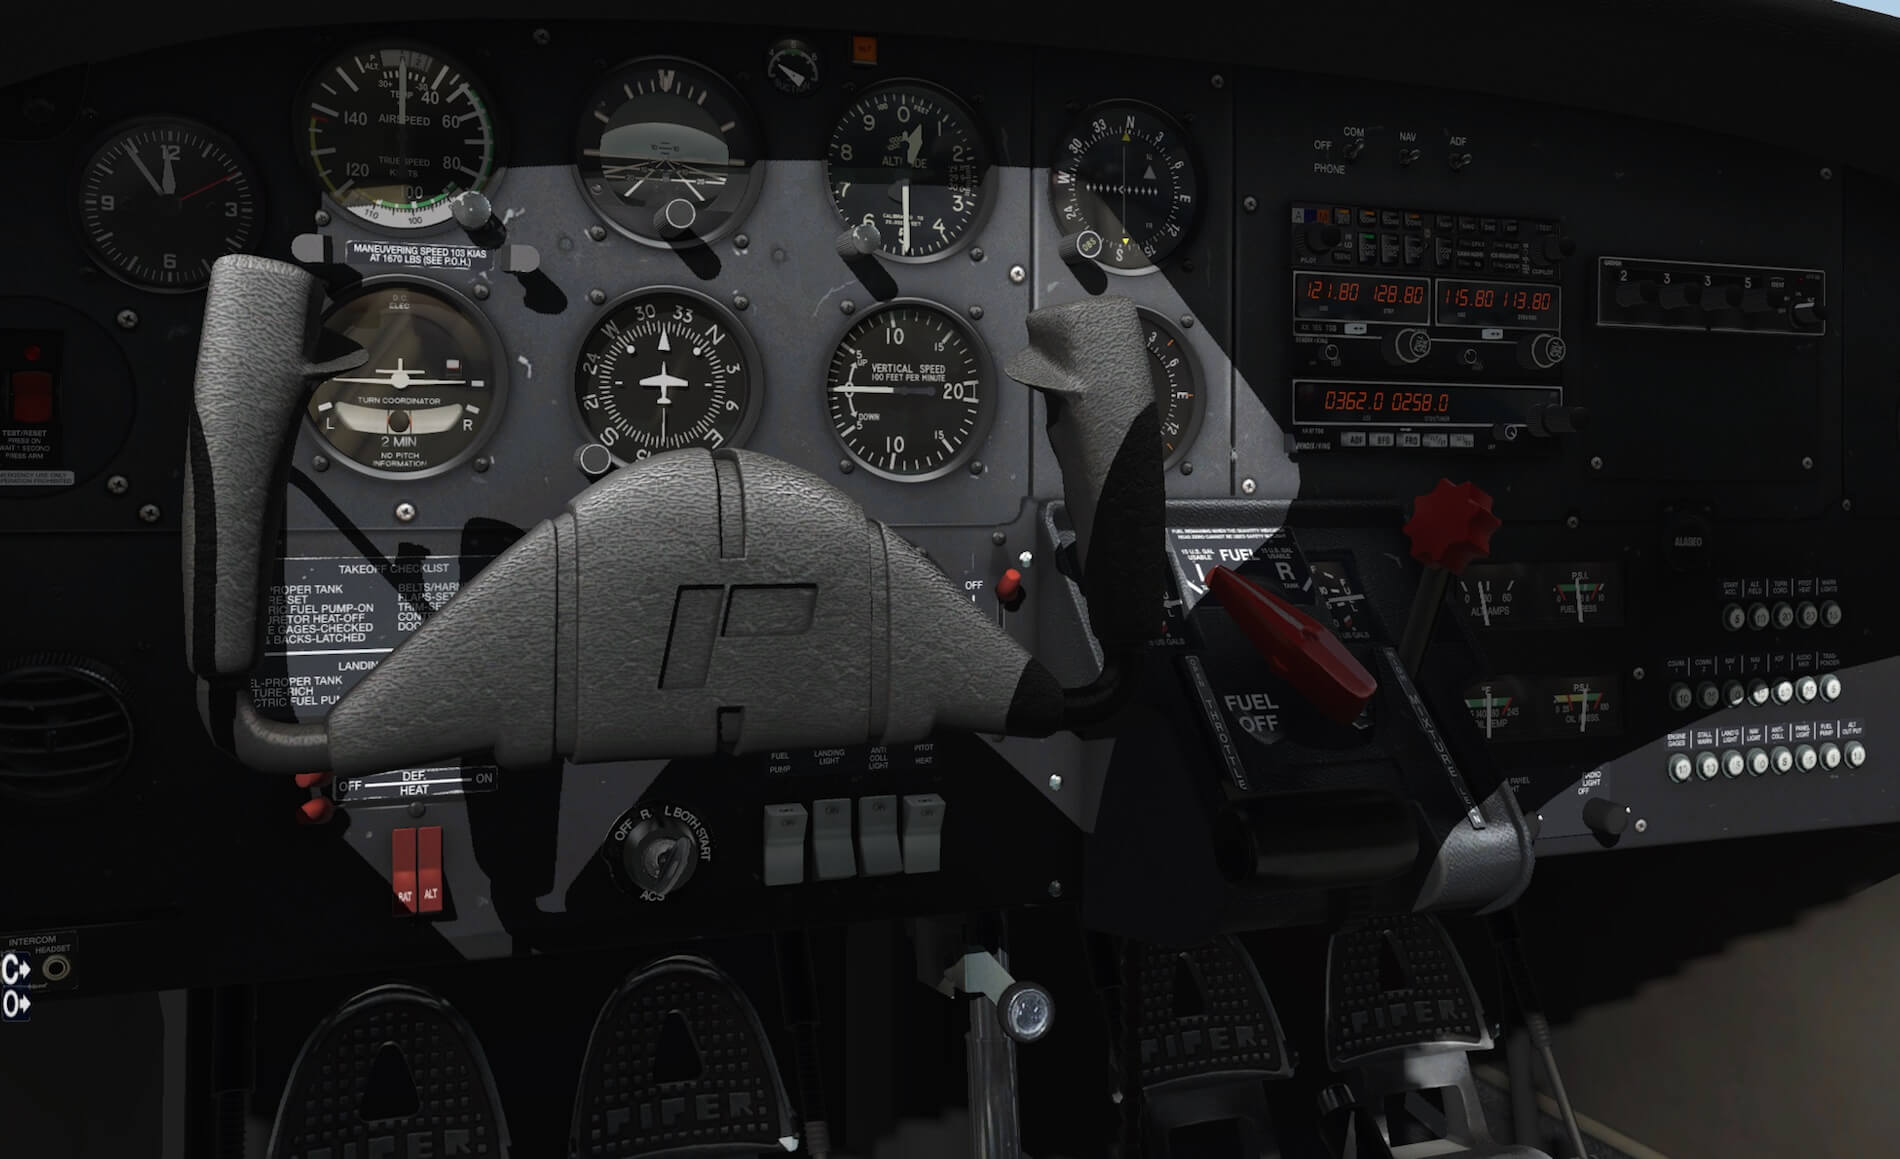
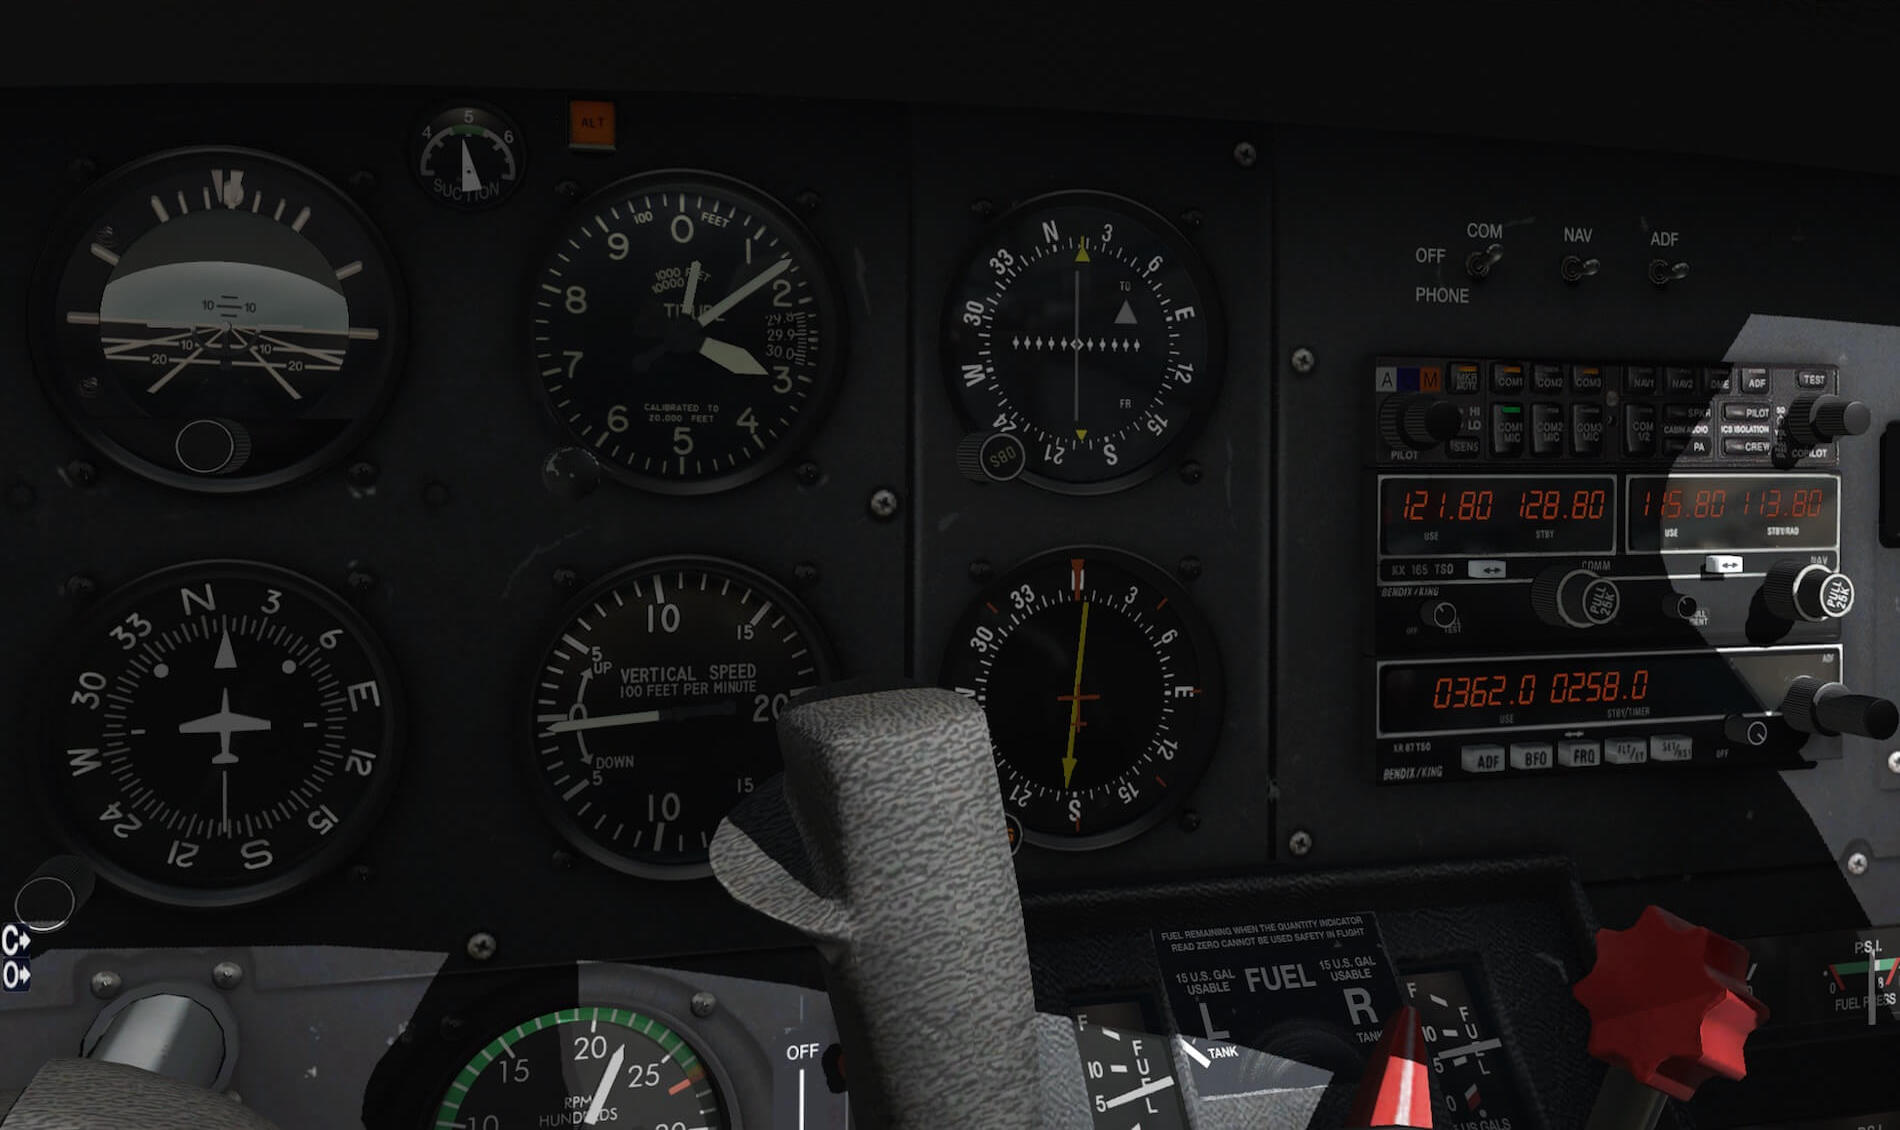
Like other Carenado and Alabeo instrument panels, this one looks realistic due to the scratches and dents, giving it a weathered and used look. This is also applicable for the side panels, floor, brake/rudder pedals and ceiling. When we talk about the instruments, then we see razor sharp gauges, from a distance but also when zoomed in. Some instruments are clean, no scratch while others have some weathered spots. This isn’t the first time that I’ve reviewed a Carenado or Alabeo aircraft, but I’m always impressed about the sharpness of the instrument plates, needles, text etc. The Alabeo Tomahawk II isn’t different in that respect.
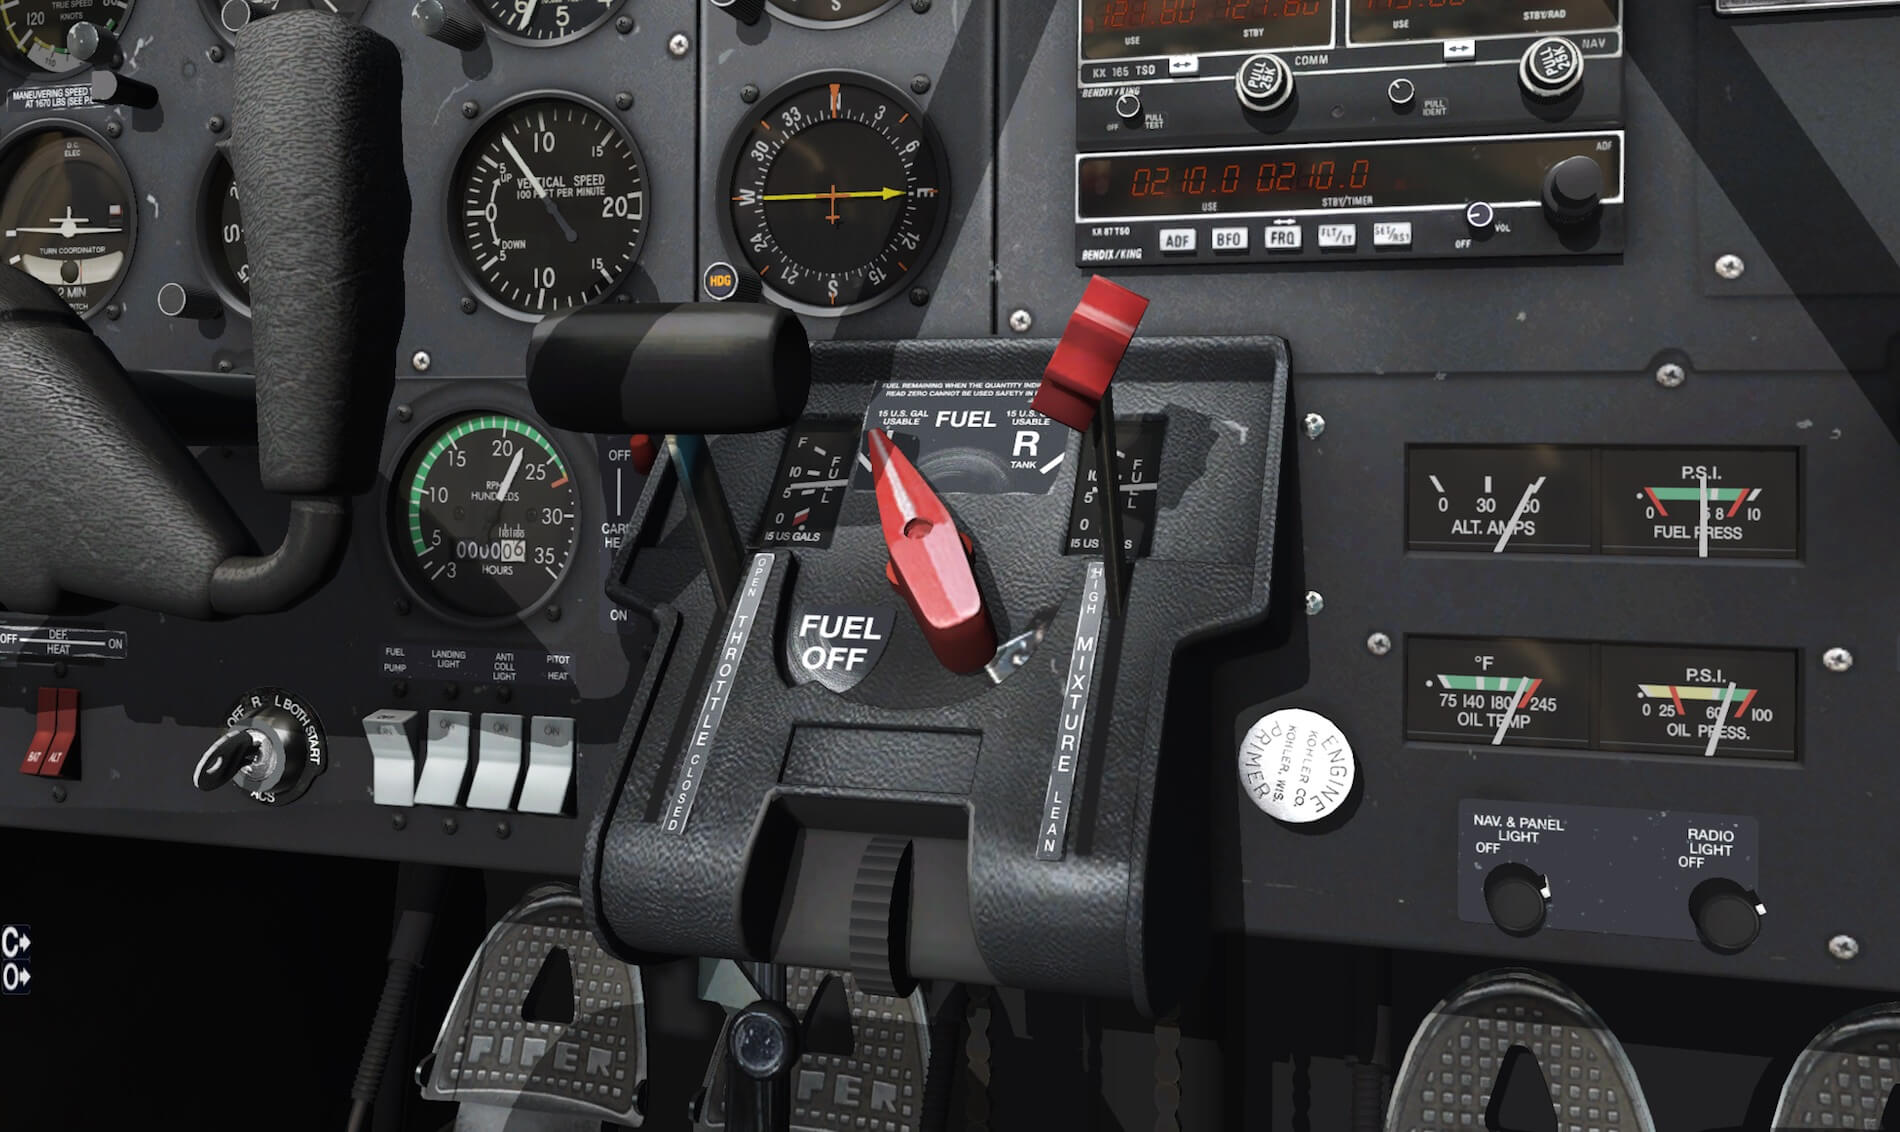
Looking from an angle to the instrument panel you will be impressed by the 3D effect of the switches, knobs, indicators etc. I’m not talking about the presence of the NML files. I’m talking about how the components like the switches, knobs and indicators are modeled. I’d suggest that you give it a try and see the 3D effect with your own eyes. On a side panel, by the pilot, you’ll find a placard with cautions, warnings or just checklist items on it. These placards, on the side panel and instrument panel lower side, are all sharp and very readable. Overall I’m impressed by the way the instrument panel is modeled. Left and right of the short pedestal, you’ll find an RPM indicator and some FUEL and OIL indicators.
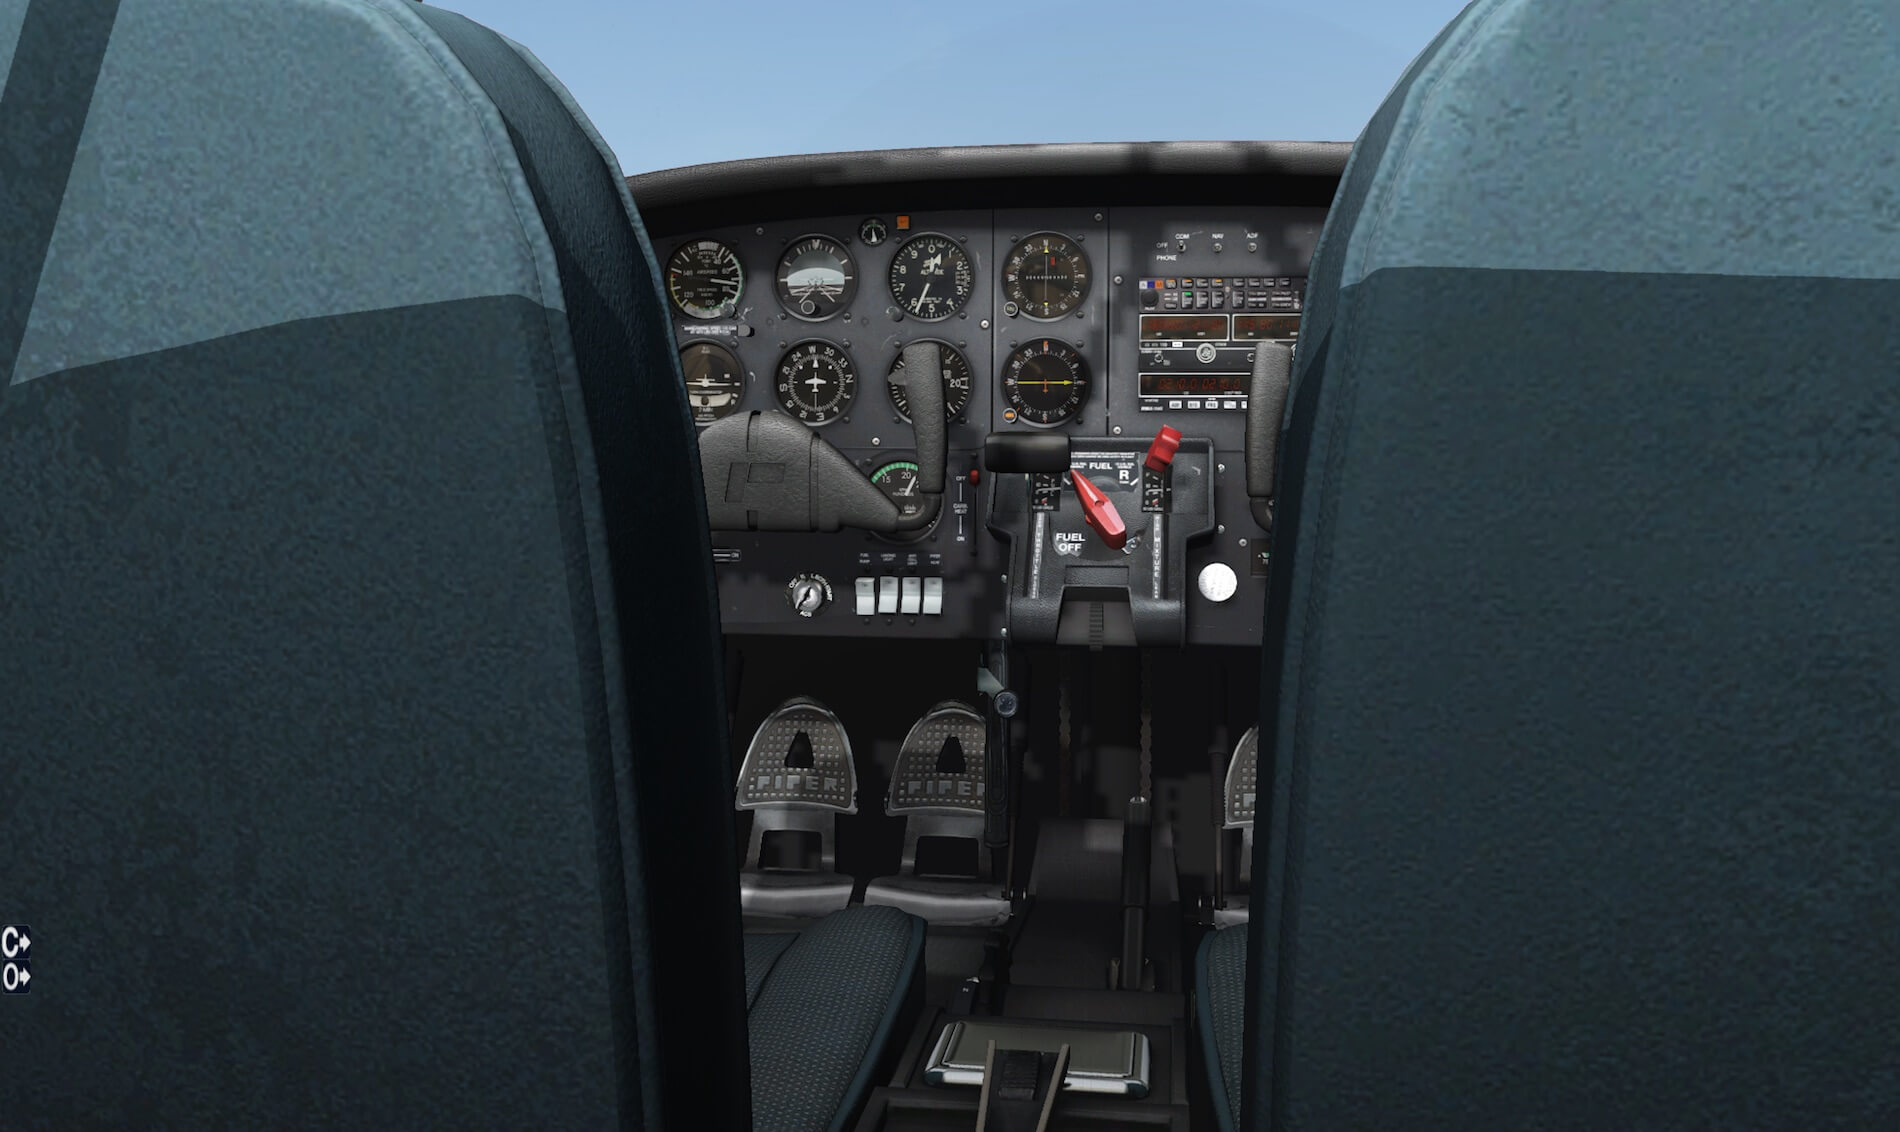
The pedestal itself is simple and besides the MIXTURE and THROTTLE levers, there’s a FUEL lever, a fuel primer knob and the pitch trim wheel at the end of it. In case you missed it, the Tomahawk II is flown from the left hand seat only. In front of the right hand seat you won’t find many instruments except a group of circuit breakers and the ATC transponder.
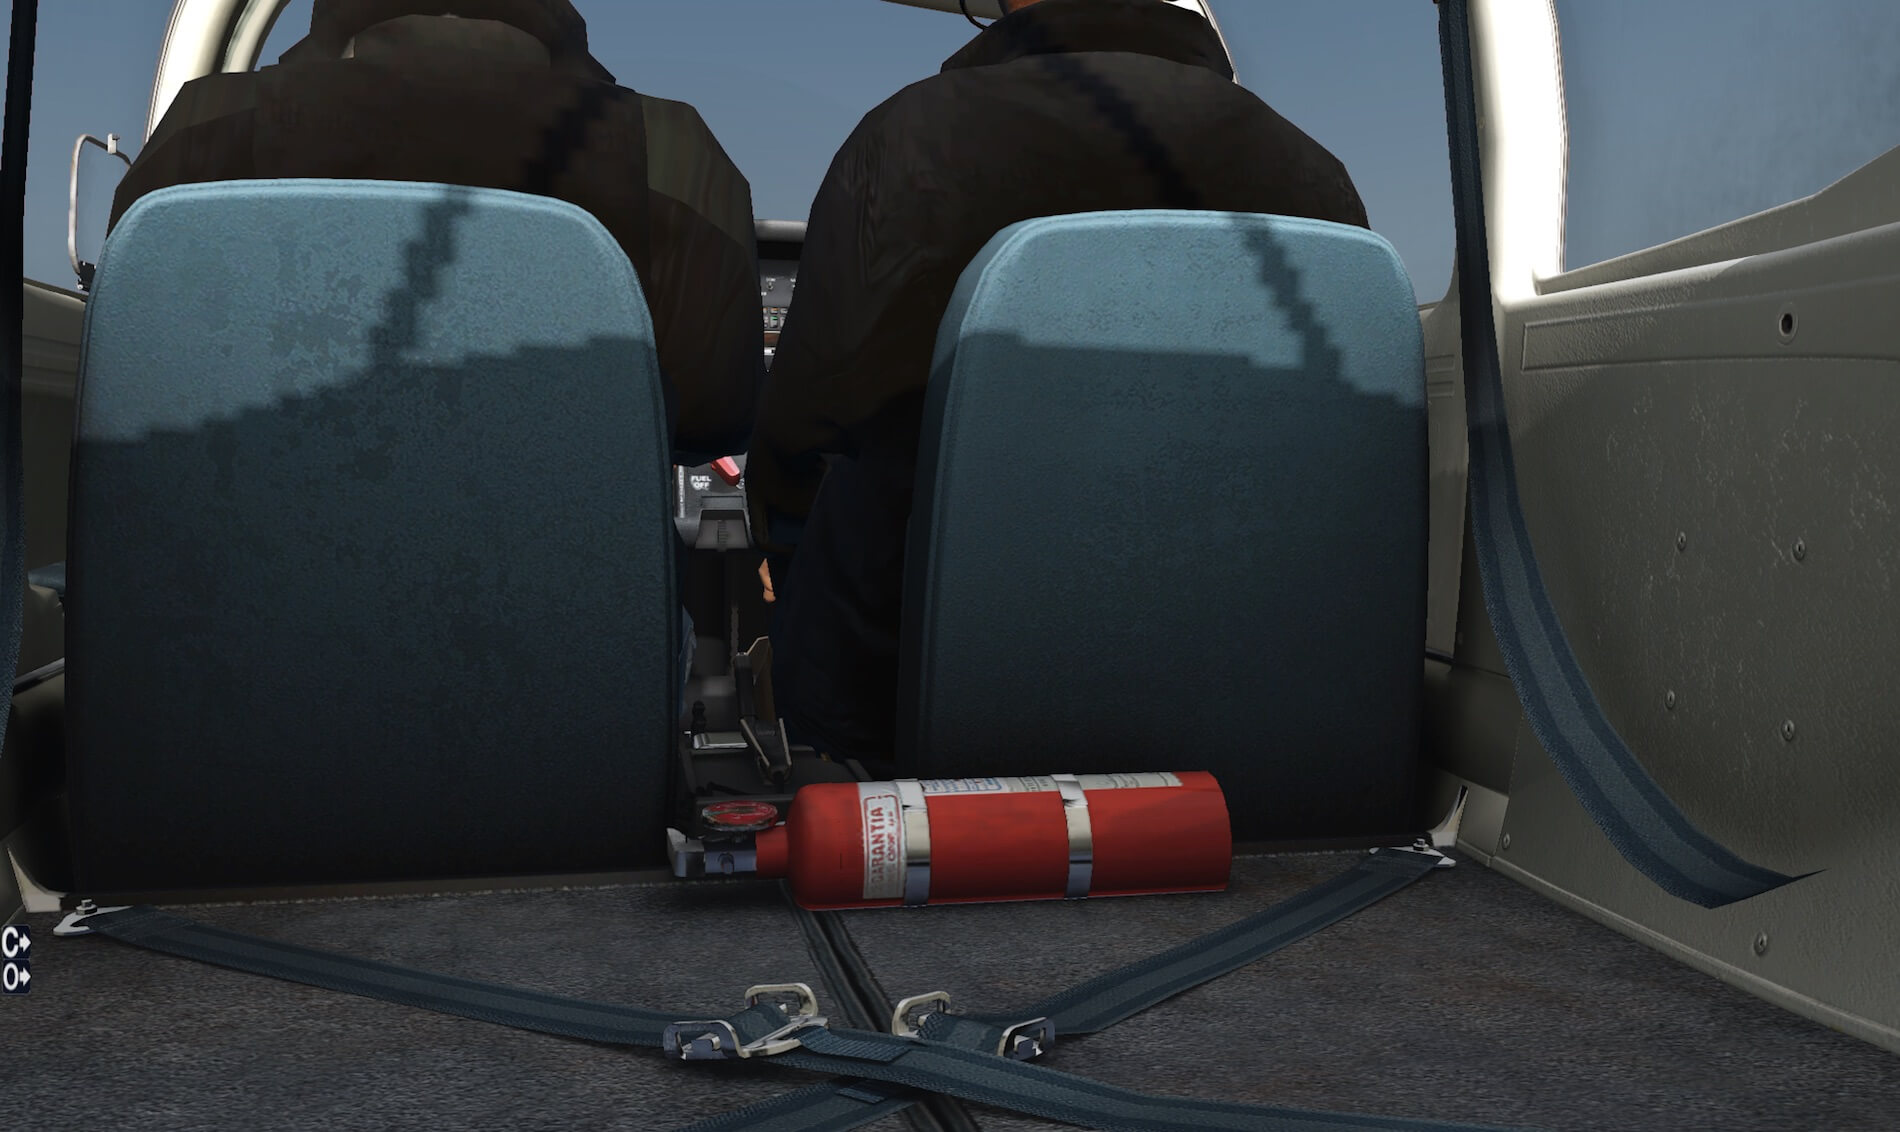
The Tomahawk has two seats with a baggage compartment behind them. You can strap down bags, boxes or whatever needs to be tightened to the floor. Beyond that is an empty space. We haven’t mentioned the ceiling. Besides having a white light unit for night flights, you’ll find the door locking handle, outside temperature indicator and in the front between the two sun visors, the Whiskey compass. Looking down at the floor underneath the instrument panel, I’m pleased with the way the rudder/brake pedals are modeled. There’s no doubt that the pedals are covered with photo real textures. This is the way I like it, but only if the photo material is of a high quality, otherwise it looks blurry and that’s not what you want.
What can I say about the overall cockpit area? Perfect! In case you face too many frame rate drops, you can always try to deactivate the “transparent windshield” and “instrument reflections”. If this doesn’t help, then you need to reduce some of your XP menu “Settings – Rendering Options”. It’s not the Alabeo Tomahawk II that will give you frame rate problems. The instrument panel is only filled with old-fashioned indicators, no complex PFD (Primary Flight Display),no MFD (Multi Function Display) or other complex Garmin equipment. Although the high quality cockpit textures are responsible for lower frame rates, you still should be able to get at least 25-30 FPS.
Some while ago, I mentioned that the Tomahawk II is a flight training aircraft and that means it’s also used for steep turns, slow flights with or without flaps and practicing stalls. Perhaps the instructor will show you how to get out of a spiral, but I’m not sure if this is simulated. During my real PPL lessons, I can remember that part of the training as if it was yesterday. I was very happy to hear that this wasn’t a part of the examination. Good, let’s try some of these basic training exercises. Steep turns are turns with a bank angle of 60 degrees and while performing this, you need to maintain your altitude.
Since many things happen during this practice, maintaining your altitude isn’t easy and with the Tomahawk not impossible. I’ve learned that first, going to a 45 degrees bank angle, to try maintaining the altitude and that’s what I try with the Alabeo Tomahawk. After that was accomplished, then I turn to a bank angel of 60 degrees. I tried to make a full 360 degree turn which was successful. Did I drop some altitude? A little. I was impressed how easy it was and I’m not sure if this reflects the same flight dynamics as the real Tomahawk II. Now, let’s do the same practice the other way around. Slow flights are, as expected, easy, but you need to keep away from the stall. First, you get a pre-stall with the annoying horn and a little later, the Tomahawk will fall to the left to enter the actual stall.
The time between the pre-stall and actual stall is quite long. What’s long? It takes at least 3-5 seconds and perhaps even a little longer before you reach the actual stall. It should be difficult to stay out of a stall. Suppose you’re not paying attention and you reach a stall? It’s not difficult to get out of the stall. Again, I have no idea what the real flight characteristics are of the Tomahawk II, but since it’s a common flight training aircraft, I may assume that the real and modeled Alabeo flight characteristics are close to the real aircraft. It turns out that my Alabeo Tomahawk II test flight has become successful. I’m pleased with the way the cockpit looks, how the instrumentation is made, how sharp it all is and how nice the sidewalls, ceiling, seats and baggage area are.
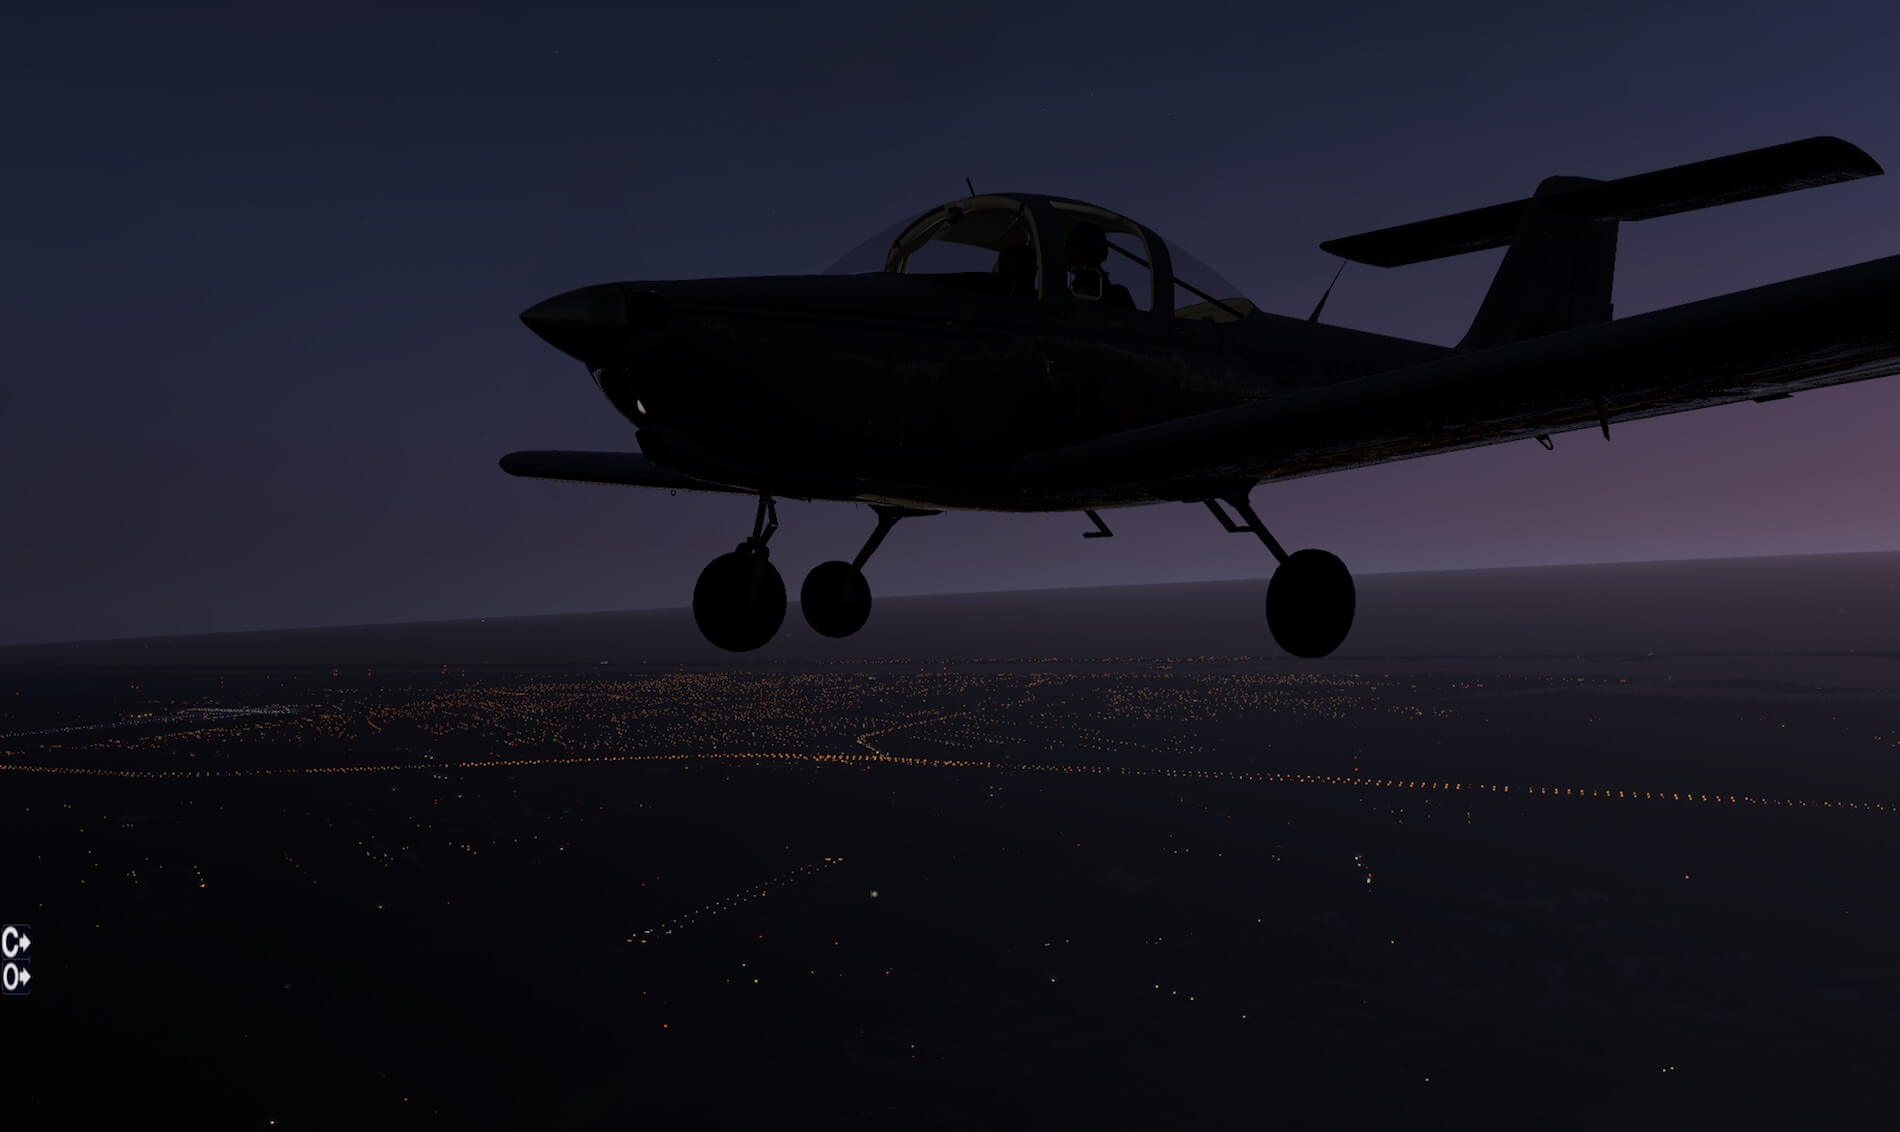
I fly a little further in a westerly direction, towards Leesburg (KLEE), make a 180 degree turn before heading back to KEVB. I think it’s time to perform the landing preparations. Since it’s a VFR flight, there’s not so much to prepare in the cockpit, but although being a simple uncomplicated cockpit, the checklist is almost the same as the Holy Bible. I’ve decided to return to New Smyrna Beach and fly in for a VFR pattern runway 29.
I could also do a straight in approach via the coast, over the inner lake, passing the horrible swamp with all it’s updraft winds (lucky that this isn’t simulated in X-Plane) to runway 29. When you trim the pitch, set the flaps to whatever is needed, it’s an unbelievable aircraft to train with. It’s relaxed flying the Alabeo Tomahawk II. KEVB runway 29 doesn’t have an ILS (Instrument Landing System), nor does my Tomahawk, but instead, I can use PAPI (Precision Approach Path Indicator).
Using PAPI is really easy as long as you don’t have to correct too much pitch. Not too much pitch … that was the pitch trim and the right power settings. The only thing you can’t trim is the roll, but I’ve mentioned that earlier. I finally make a smooth landing at KEVB.
Here we go again … test flight 2 | ENOV – ENOV
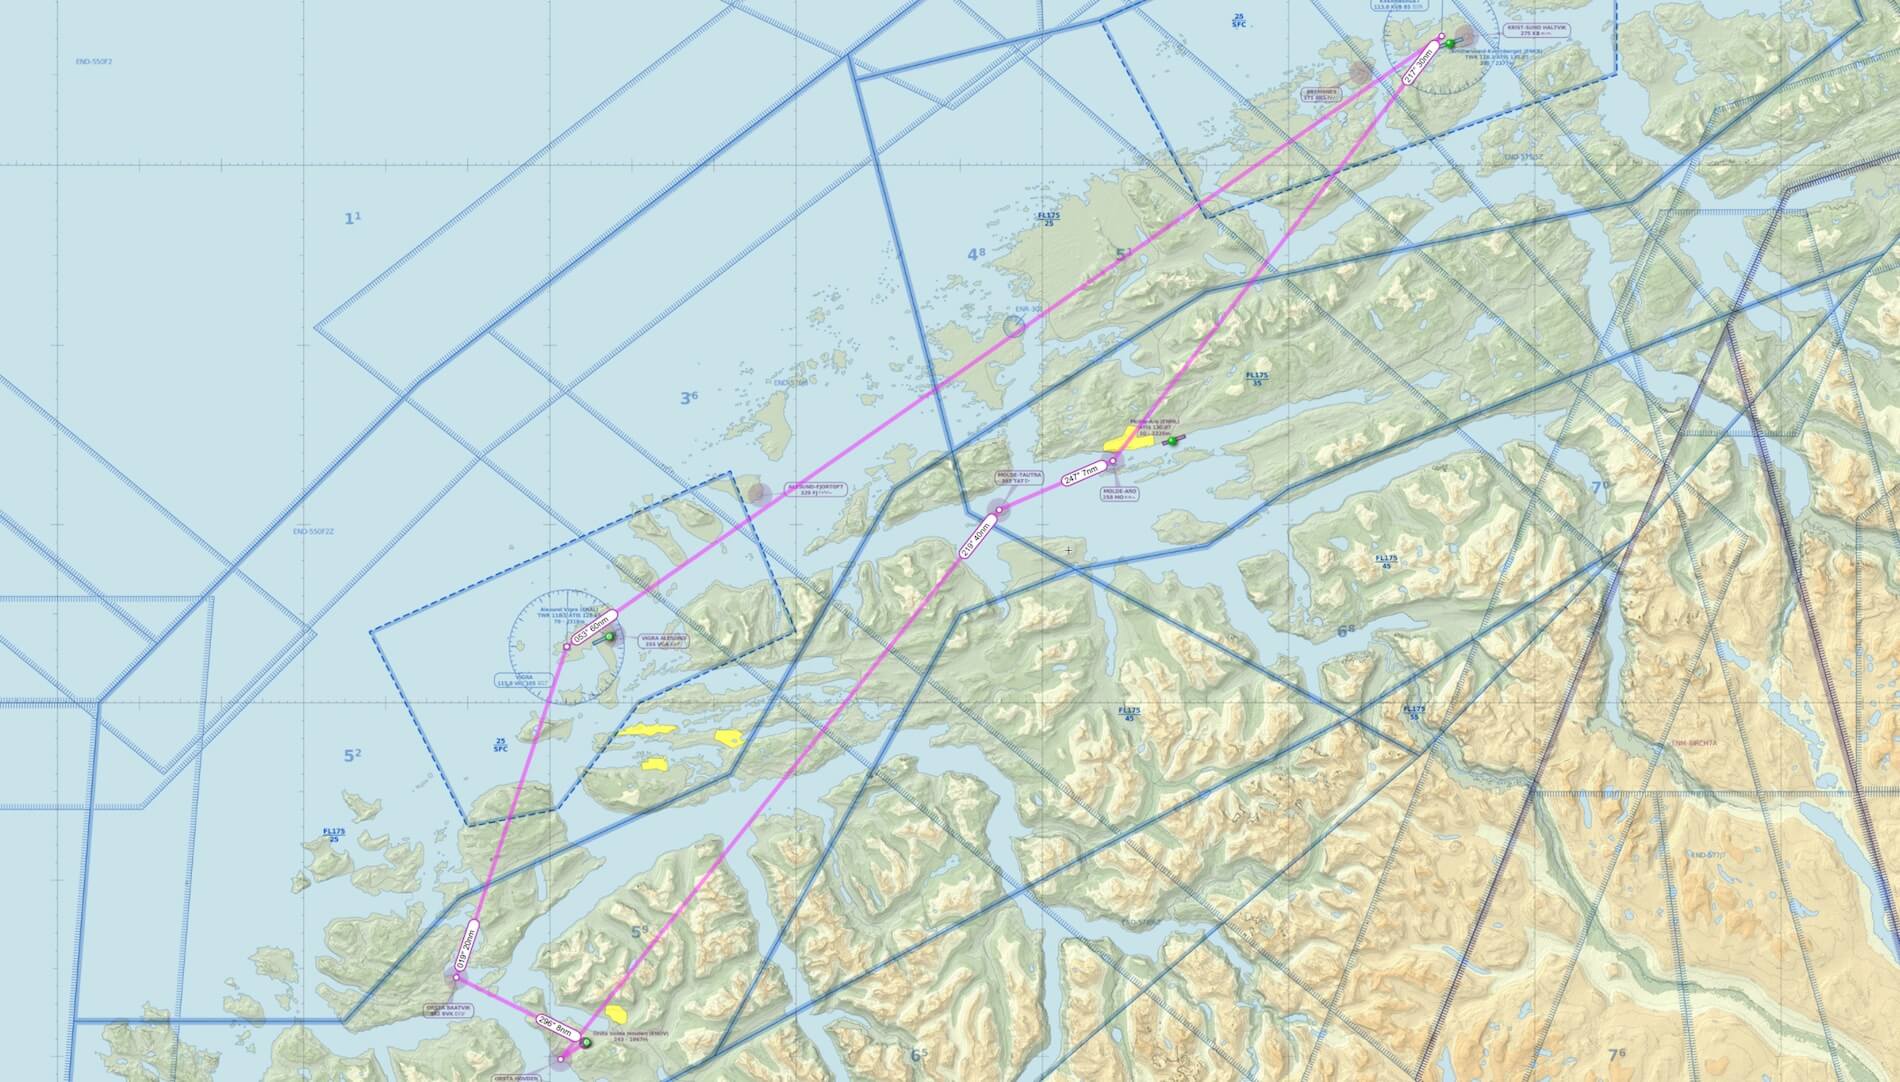
As mentioned before, the Tomahawk doesn’t offer a Garmin GNS430 which is a pity. A pity because that doesn’t allow me to practice a flight plan and thus to use waypoints mixed with VOR (VHF Omni Directional Radio Range) and/or NDB (Non Directional Beacons) beacons. This means, we can’t use waypoints (lat/log coordinates), but need to use VOR and/or NDB beacons to make a kind of flight. A simplified flight plan could look like this: Departing from ENOV – NDB BVK (Orsta Baatvik 362) – VOR VIG (Vigra 115.8) – VOR KVB (Kvernberget 113.8) – NDB MO (Molde-Aro 258) – NDB TAT (Molde-Tautra 393) – NDB HN (Orstra Hovden 389) – arriving at ENOV. NDB beacon HN is more to find our way to the airport.
Once close enough to the airport, and visual conditions are OK, we can fly a circuit and land. Oops, it would help when you have some charts from ENOV, right? Here you are … Avinor or also known as AIP Norway. When you do a serach for ENOV charts you end up with a start page of ENOV and the option to download some. One can be found below which is the visual approach chart.
Since I couldn’t find an interesting KEVB add-on airport, that flight from to KEVB wasn’t my favorite, but that will change when we go for this Norway VFR flight. We need for this the following add-on scenery, libraries and some other stuff as wlel as how to arrange this in the scenery_pack.ini file.
Ok, we need the following add-on pacakges:
– Freeware | ENOV Ørsta-Volda Airport (Custom HD Airport) 1.0.0
– Freeware | FF Library from Franknfly
– Freeware | R2 Library 2.0
– Freeware | World Models 0.8.0
– Freeware | Norway Pro
– Freeware | alpilotx.net Mesh HD v3 from Andras
The Norway Pro and HD Mesh packages aren’t directly needed, but I highly recommend it to install them too. Knowing this, what’s should be the correct scenery_pack.ini order. In the example ini file below, the bold lines are related to the above software:
I
1000 Version
SCENERY
SCENERY_PACK Custom Scenery/a – ENOV Orsta Volda/
SCENERY_PACK Custom Scenery/Aerosoft – EBBR Brussels/
SCENERY_PACK Custom Scenery/Aerosoft – EDDF Frankfurt/
SCENERY_PACK Custom Scenery/Aerosoft – EDLP Paderborn-Lippstadt/
SCENERY_PACK Custom Scenery/Aerosoft – EGBB Birmingham/
SCENERY_PACK Custom Scenery/Aerosoft – EGKK London-Gatwick/
SCENERY_PACK Custom Scenery/Aerosoft – EGLL Heathrow/
SCENERY_PACK Custom Scenery/Aerosoft – EGPF Glasgow/
SCENERY_PACK Custom Scenery/Aerosoft – EGSS London-Stansted/
SCENERY_PACK Custom Scenery/Aerosoft – LEMD Madrid/
SCENERY_PACK Custom Scenery/Aerosoft – LFMN Nice Cote d Azur X/
SCENERY_PACK Custom Scenery/Aerosoft – LFPG Paris CDG/
SCENERY_PACK Custom Scenery/Aerosoft – LFPO Paris Orly/
SCENERY_PACK Custom Scenery/Aerosoft – LPFR Faro/
SCENERY_PACK Custom Scenery/Aerosoft – LSGG Genf/
SCENERY_PACK Custom Scenery/Global Airports/
SCENERY_PACK Custom Scenery/KSEA Demo Area/
SCENERY_PACK Custom Scenery/LOWI Demo Area/
SCENERY_PACK Custom Scenery/OpenSceneryX/
SCENERY_PACK Custom Scenery/ff_library/
SCENERY_PACK Custom Scenery/norway-pro/
SCENERY_PACK Custom Scenery/R2_Library/
SCENERY_PACK Custom Scenery/world-models/
SCENERY_PACK Custom Scenery/z – ENOV Mesh XP11/
SCENERY_PACK /Volumes/My Book I/X-Plane/Scenery/Alpilot.X.net/HD Mesh version 3.0/zzz_hd_global_scenery3/
SCENERY_PACK /Volumes/My Book I/X-Plane/Scenery/Alpilot.X.net/Trees and Farms version 2.0/zzz_Treelines_Farms_Europe_v2/
SCENERY_PACK /Volumes/My Book I/X-Plane/Scenery/Alpilot.X.net/UHD Mesh version 1.0/zzz_uhd_global_scenery1/
Ok, you’ve got that ….. time to fly, right?
Before takeoff, I think it’s a good idea to tune for NDB BVK (Orsta Baatvik 362) and VOR VIG (Vigra 115.8). Then at least you’ve got some references with the instruments once in the air. Taxxing from the apron to the runway is not long so there’s not so much to test, but I do hear a rumbling noise from the apron, taxiway and runway. Is it X-Plane 11 that’s responsible for this or is it the model itself. Whatever it is, it sounds good, very good and above all, realistic.
Since I don’t use online ATC, I decide to takeoff from runway 24. This means that I need to steer towards the right to pick up my first signal. Although an NDB station isn’t so accurate as an VOR or VORTAC, it’s not strange that this area doesn’t offer so many VOR beacons. As long as there’s not too much cross wind, a NDB works fine. Just in case you’re confused about NDB and/or ADF …. “ADF avionic system (the aircraft indicator/instrument) is a short range navigational aids and it stands for Automatic Direction Finder. It provides aircraft bearing information with respect to a ground station known as NDB (Non Directional Beacon).”
On my simple flight plan, I don’t want to climb too high, but you need to keep in mind that either you have to climb to cross a mountain, or you fly around the mpountain if you don’t want to climb. For the moment a cruising altitude of 3000 to 3500 feet would do fine.
As I mentioned before, the Tomahawk is, same as I know from the Cessna C152, not a very stable aircraft. It’s a light model, and thus external conditions like cloud formations can influence the stability. That means, I’m facing being moved around by the environmental conditions along my flight path. Can you maintain your intended heading and altitude? You can, but it depends a bit on the conditions and another advice, small streering corrections are enough. When the aircraft is correctly trimmed, it should always return to this flight attitude ……. ho ho, provided the environmentals are not too worse.
Flying towards NDB BVK (Orsta Baatvik 362) and from there to VOR VIG (Vigra 115.8) goes according to my plan. The radio/beacon signals are strong enough, but the weather conditions are, perhaps for this region normal, far from favourable. Ok, it’s more or less a clear sky with a couple of clouds, but a lot of windgusts. That can, no, that will happen when you fly under real environmental conditions! Anyway, it confirms that I wrote before, the Tomahawk is a real PPL trainer. It’s not stable, it floats with the wind in any direction and corrections under these environmental conditions are constantly needed. On the other hand, that’s the fun flying this kind of aircraft. That’s the fun flying without an autopilot,without any Garmin equipment and so on. This is what I call real VFR flying!
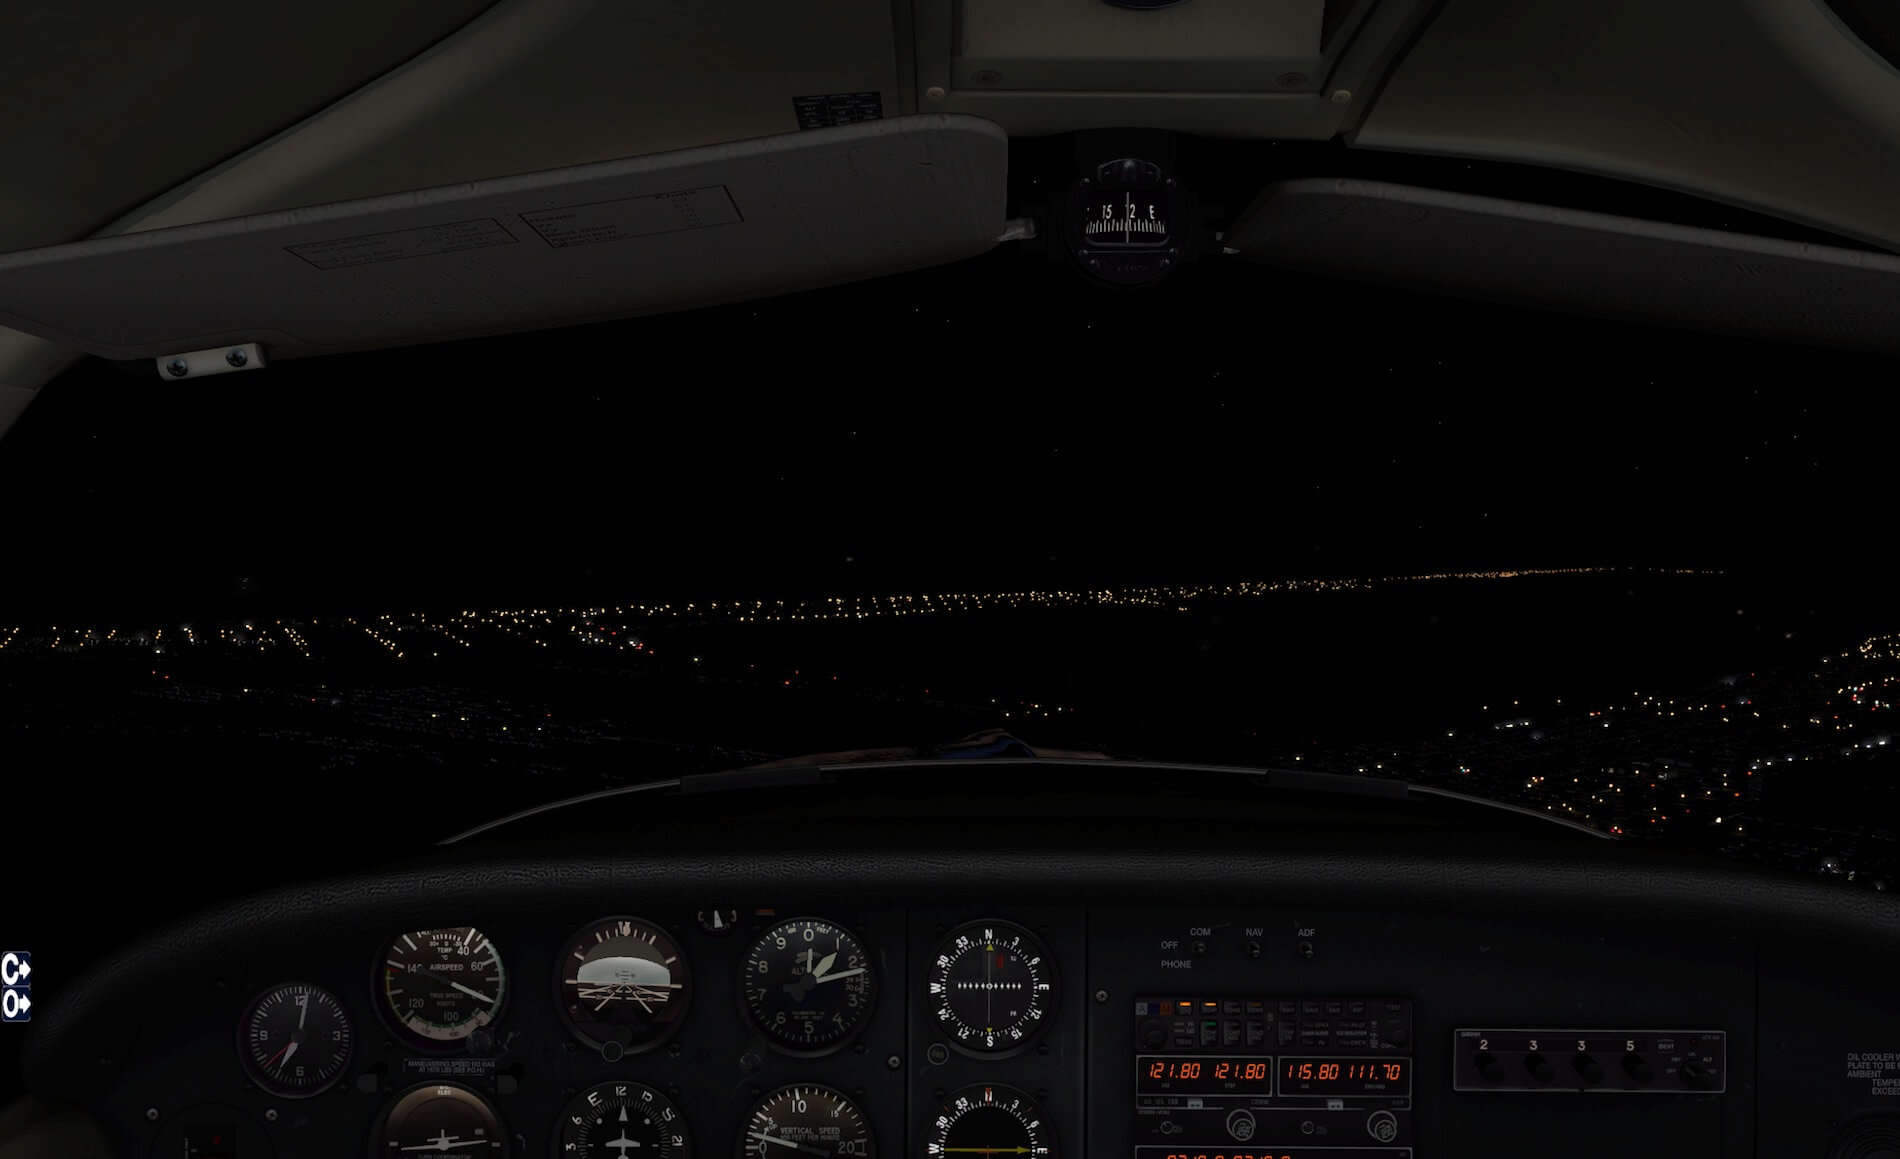
After my last VOR beacon (KVB (Kvernberget 113.8), it’s time to move south via NDB MO (Molde-Aro 258), NDB TAT (Molde-Tautra 393) and finally NDB HN although using NDB HN is more to guide me in the right direction to the airport. I decide to land in the opposite direction which fits while flying towards NDB HN, runway 06. Flying in-between the mountains feels a bit better then along the coast. Along the coast the windy and gusty conditions are more annoying then inlands. As mentioned before as planned, and during the flight, an altitude of 3000 to 3500 feet is fine.
Sometimes a mountain is in-between me and my next destination, but then flying around the mountain has also its sharm. Suppose you dicide to fly this small route too, it’s fun, so see a lot of the wonderfull Northern region although I couldn’t find any ortho real material. I had hoped to find some ortho-real photo material on ZonePhoto, but they have a coupleo of ortho sectionals however, they lay higher. Still with all the packages installed as indicated above, it’s fun to fly her and the X-Plane 11 scenery looks not bad at all! I’m busy with my last stretch. Slowly decending to 2000 feet, the lake in front of me and I know that on the right-hand situated mountain there’s ENOV.
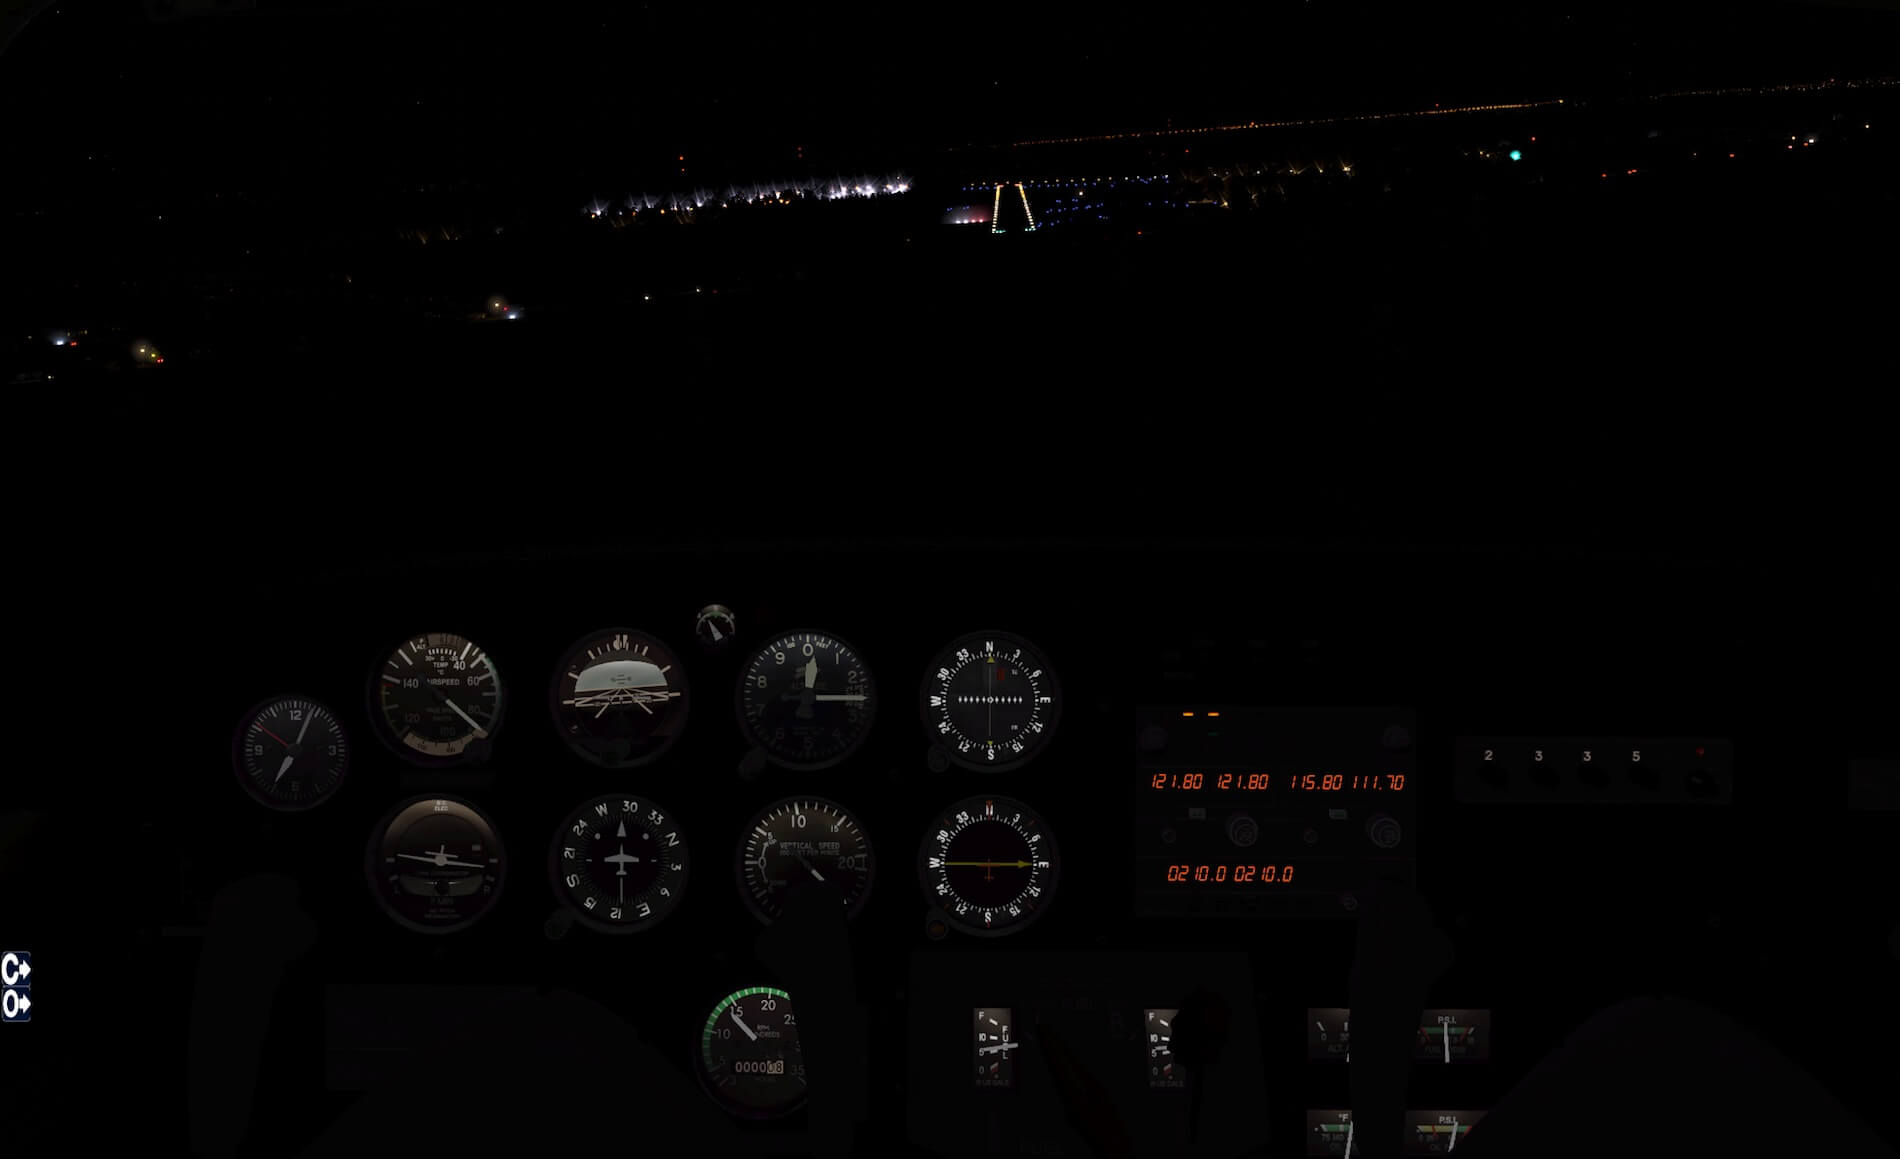
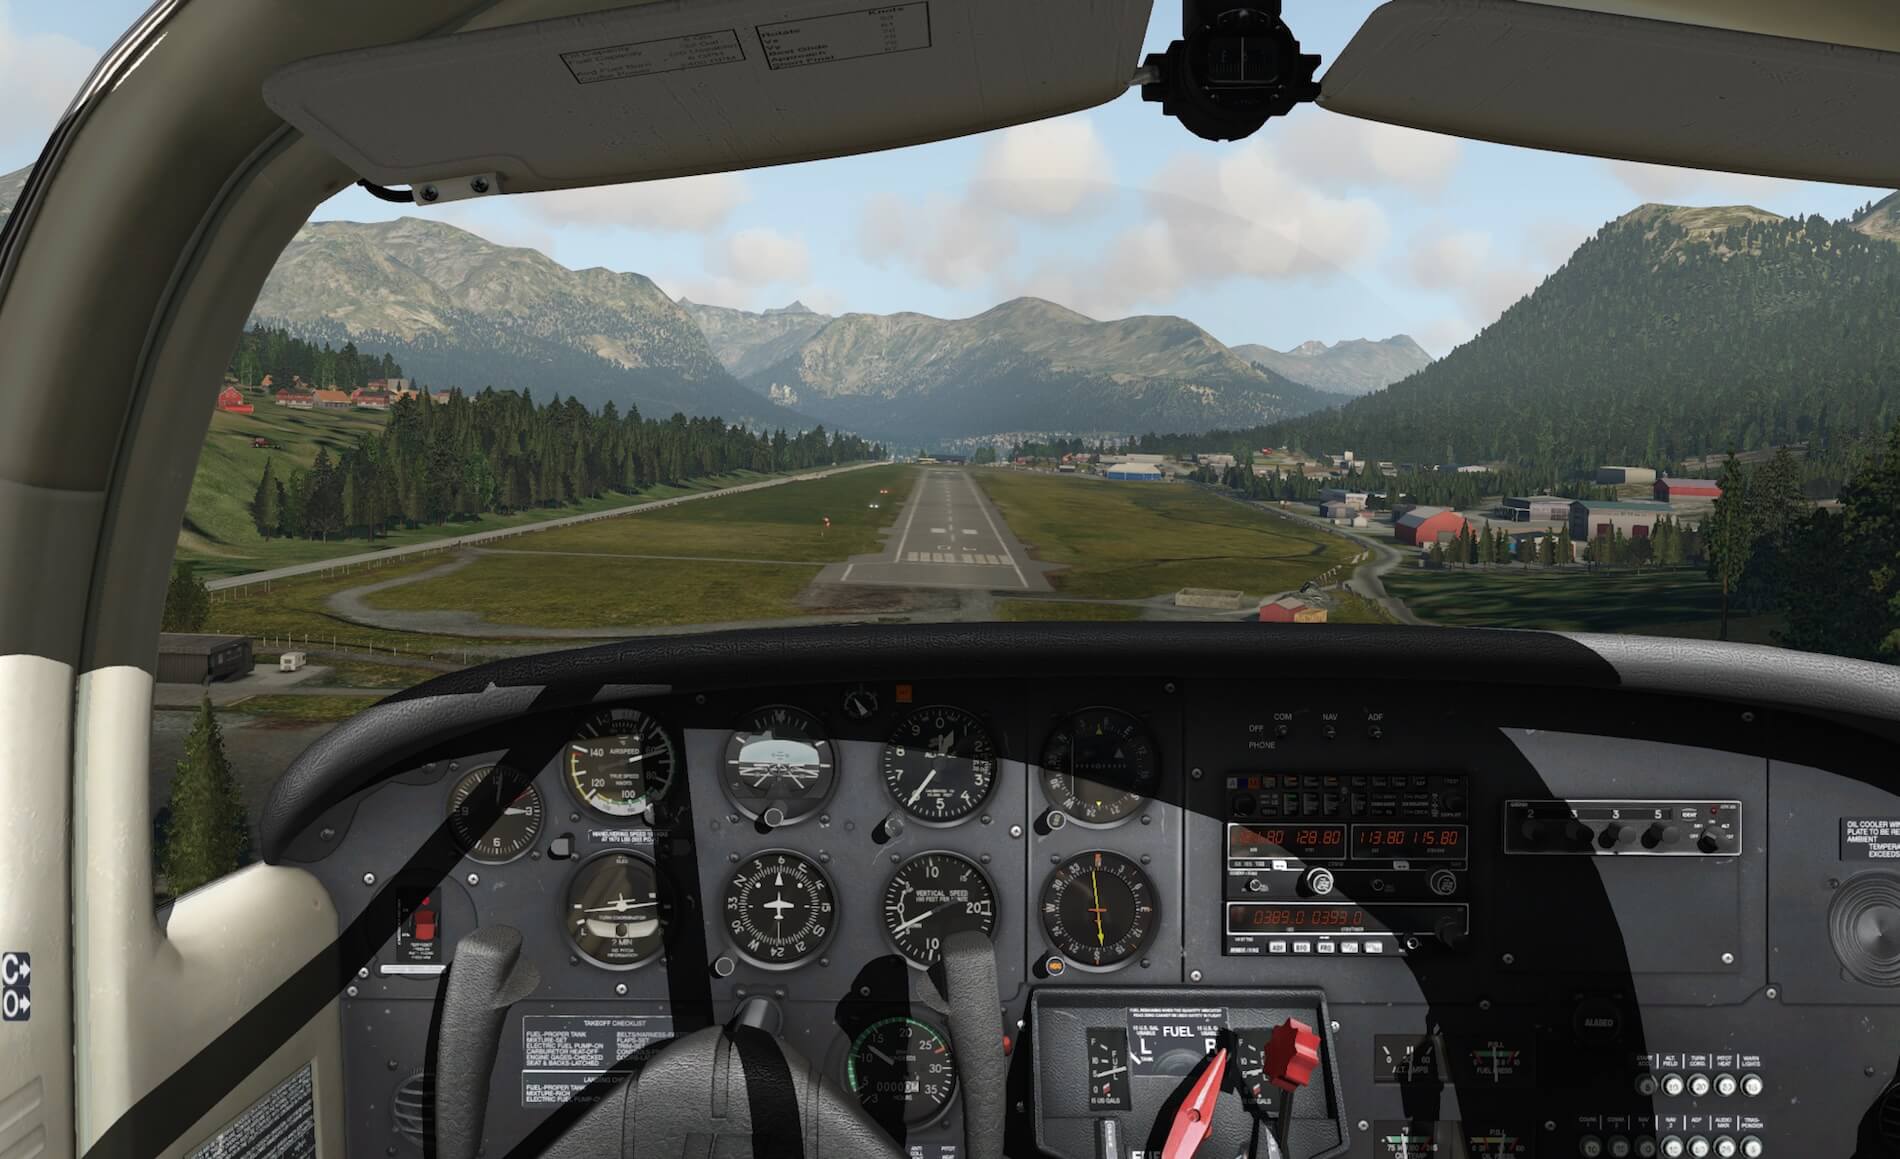
I decide to dropped altitude above the lake to 1500 feet which should give me enogh time to descent to airport altitude. Making my last turn and yeap, there’s runway 06/24. The VFR conditions are great thus a full visual landing and before I know, I’ve touched the ground. I can’t say anything else then … this was great. Perhaps on thing that needs to bring up, but at the same time also no idea if this is due to X-Plane 11, or due to the officially not 100 percent compatible Tomahawk with X-Plane 11. Once and a while I missed the Alabeo mouse scroll function. Since there’s no other option, you can’t control any NDB or VOR frequency. That’s not good, but no idea who’s responsible for this.
Alabeo Tomahawk II missions completed!
Although I enjoyed every minute of my X-Plane 11 Tomahawk adventure, the following information is important to keep in mind when you’re using a non-certified X-Plane 11 aircraft. According to Carenado “Many people have been asking about the compatibility between our X-Plane 10 (XP10) fleet and the new X-Plane 11 (XP11).”
“After many weeks of research, we have realized that the new X-Plane platform has many changes compared to the old one, the new visual engine is very powerful and it was developed using cutting edge technology. Therefore, in order to take advantage of this new platform we will create native aircraft for X-Plane 11, meaning we will add all the necessary elements to our aircraft to reach a new level of products.”
“From now on, and until the end of 2017 we will provide dual version products (XP10 and XP11) with any new release, as we did it with the Phenom 100. All the rest of our fleet will be redone for X-Plane 11 and will be sold as a new product. Please note: while our currently XP10 fleet will work in X-Plane 11, they do not take full advantage of X-Plane 11-specific features and systems.”
Summary
Tomahawk, which also has some Internet nicknames like “Traumahawk” and “Tommy”, although those are rarely found. So, Tomahawk is the official name for this PPL trainer aircraft. Even though it had some stall and spin issues, it was a great PPL trainer for many private and professional pilots.
The Alabeo PA38 Tomahawk II may be a simple, straight forward, uncomplicated aircraft, but the modeled version looks elegant. On the outside, it’s very nice and even tiny things haven’t been forgotten and neither has the interior and instrument panel. I’m aware that the interior with the old-fashioned panel is easy to model, but it’s straight forward without complex instruments, which flies great. For those who like simple, but good looking GA aircraft, this should be in your hangar. You have no hangar space? Then you can leave it outside at the virtual platform.
I think I’ve covered most of the aircraft. Normal flying is great, during steep turns you won’t find yourself lost since it’s easy to fly steep turns. The same with pre-stall conditions and even if you wait long enough for a real stall, then you either apply full power or leave the Tomahawk to do what it will do during a stall. All nice challenges I would say.
You can buy the Alabeo PA38 Tomahawk II at the dedicated Alabeo web page,at X-Plane.Org or via Aerosoft.
Not related to the Alabeo PA38 Tomahawk II, but worth highlighting: At X-Plane.Org, Sparker (Bill) released, together with Michal, their Xchecklist plugin for X-Plane on Linux, Windows and Mac 32/64 bit version 1.22. But, you also need the text file that has all of the checklist items of the PA38 Tomahawk II included. There’s more good news. Follow this X-Plane.Org link and download the Alabeo Piper PA38 Tomahawk clist version 1.1 created by Org user “wmg”. Looking for additional liveries? Org user “adler58” panited a couploe. You can grab this package via this dedicated X-Plane.Org link.
In this review I used the following add-on packages:
– Freeware | ENOV Ørsta-Volda Airport (Custom HD Airport) 1.0.0 from Org user antwob.
– Freeware | FF Library from Franknfly
– Freeware | R2 Library 2.0
– Freeware | World Models 0.8.0
– Freeware | Norway Pro (not needed) from Org user antwob
– Freeware | KEVB New Smyrna Beach from Gateway X-Plane.Com
– Freeware | alpilotx.net Mesh HD v3 from Andras
Feel free to contact me if you’ve got additional questions related to this impression. You can reach me via email Angelique.van.Campen@gmail.com or to Angelique@X-Plained.com.
With Greetings, Angelique van Campen
[table “” not found /]






























0 Comments