A brand-new refreshing Piper Arrow III
In Flight
Oops, in flight … what does that mean?
I welcome you on-board of the brand-new ported Piper Arrow III created by Just Flight in corporation with Thranda Design although I need to make some corrections to clarify the word “ported”.
According to Just Flight “The starting point was a Microsoft Flight Simulator FSX model, but the aircraft was not ported from FSX to X-Plane 11 as that isn’t actually possible as it would be from say FSX to P3D. The model and some of the textures were reused but also modified, and the rest is entirely new. The aircraft is designed to be consistent in style with the existing FSX/P3D/FSW versions. Further on, worth clarifying that this is a fully-fledged XP aircraft which takes full advantage of the platform.”
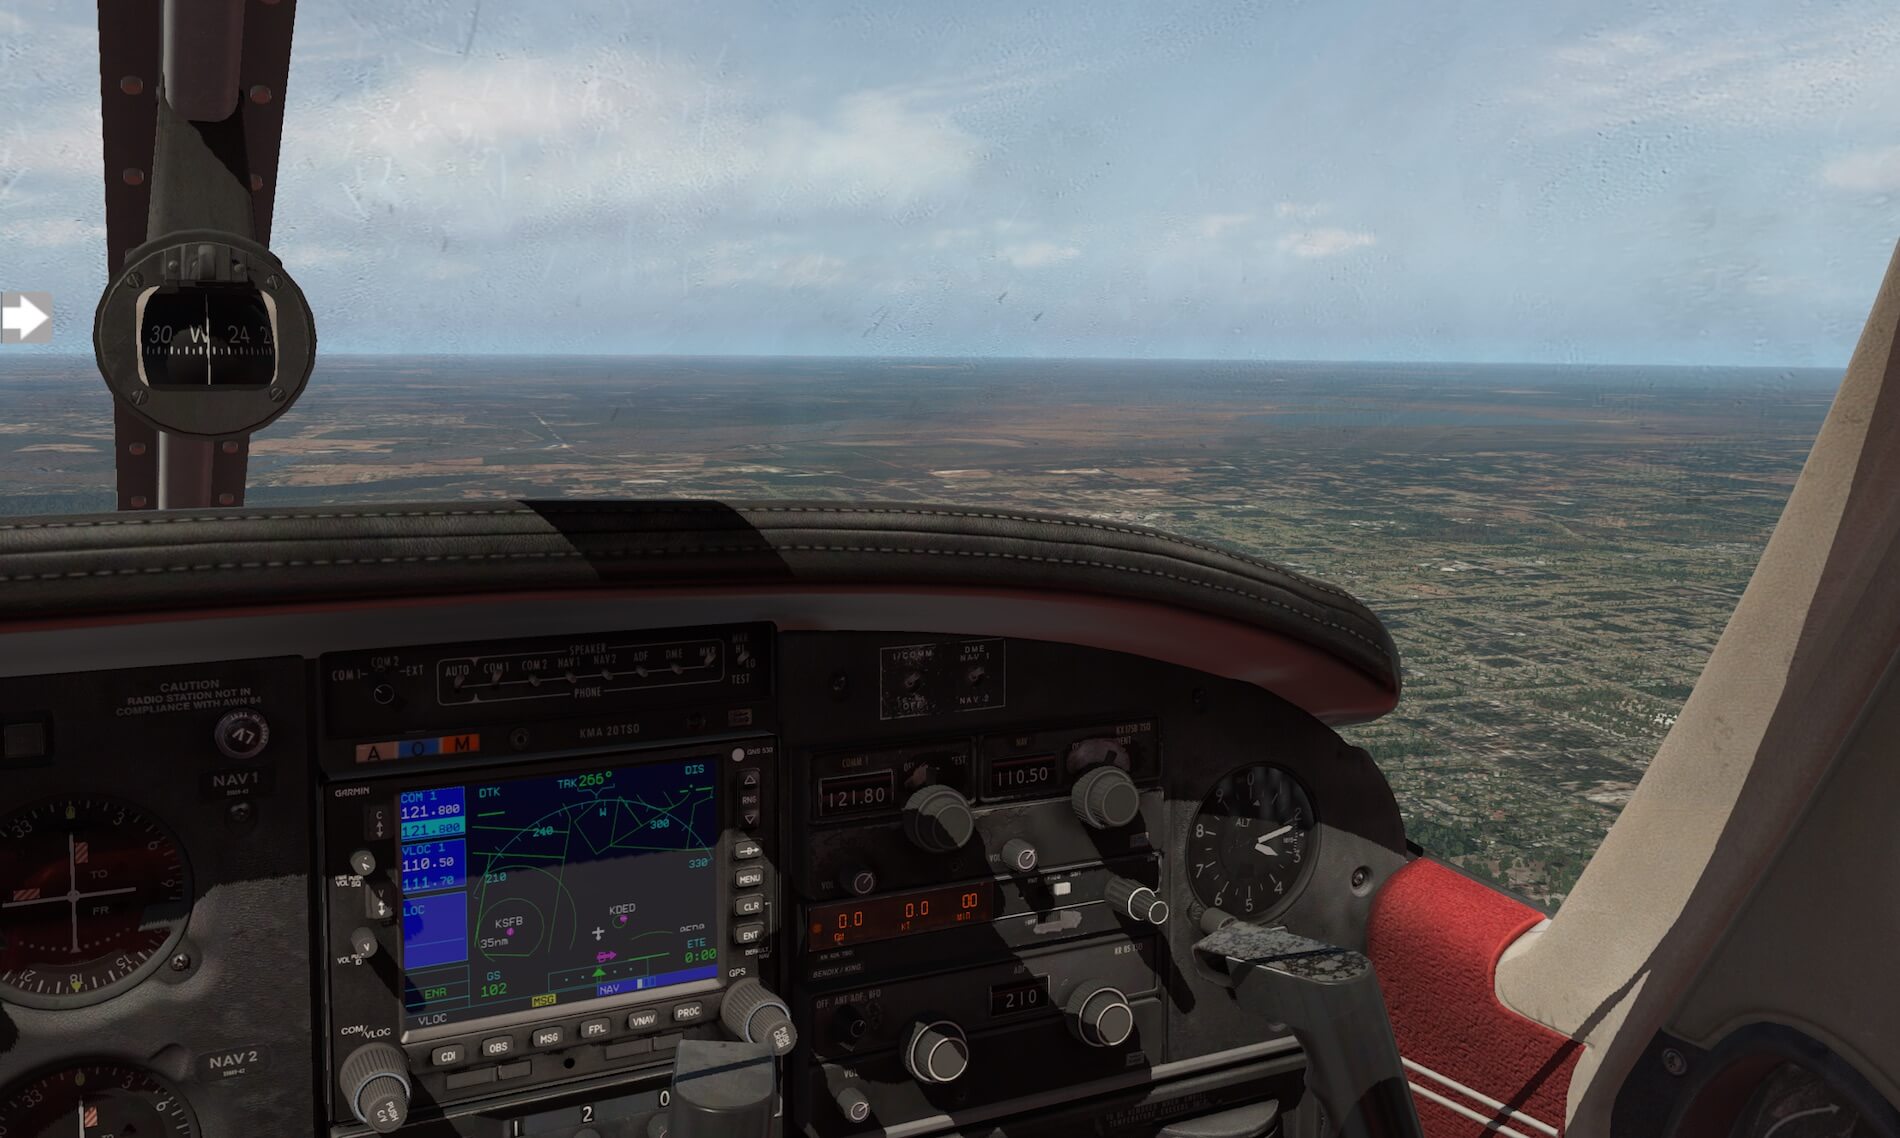
As I started with, we’re on a test flight somewhere in Florida, USA where I’m pleased to inform you that the Arrow III flies, looks and sounds gorgeous. I had, many years ago, my PPL lessons at KEVB (New Smyrna Beach), so I found it a good idea to do this first test flight near KEVB. Anyway, I’ve departed from KEVB and flying in a Western direction at an altitude of maximum 1000 feet till I’m close to DeLand airport (KDED) where I will climb to an altitude of 3000 feet.
Let me go back to the moment I taxied from the apron, near my flying school, to runway 25. I could also have taken runway 29 which is on the other side of the apron. Whatever I did, either runway points more or less in a Western direction. Climbing out to approximately 1000 feet goes easy and when I’ve got a stabilized flight, it’s time to trim. I did assign ROLL and PITCH trim via my Saitek 52 Pro, but it should be noted that the real Arrow III only has RUDDER and PITCH trim. So, when you want to go for the fully realistic mode, you should assign only RUDDER and PITCH trim to your hardware equipment.
Anyway, I’ve never flown the real Piper Arrow III, but I can imagine that this aircraft model is also a PPL trainer. Is it in real also such a nervous aircraft? I have no idea if this is, but it makes flying the Arrow III by hand very realistic. My personal experience with the Cessna C152 is without doubt a nervous aircraft and the ones I flown didn’t had a basic Auto Pilot. That’s the advantage of this modeled Piper, it does have an AP although a basic one. Is there really a need for or can you do it without it?
Answer is short; you need it!
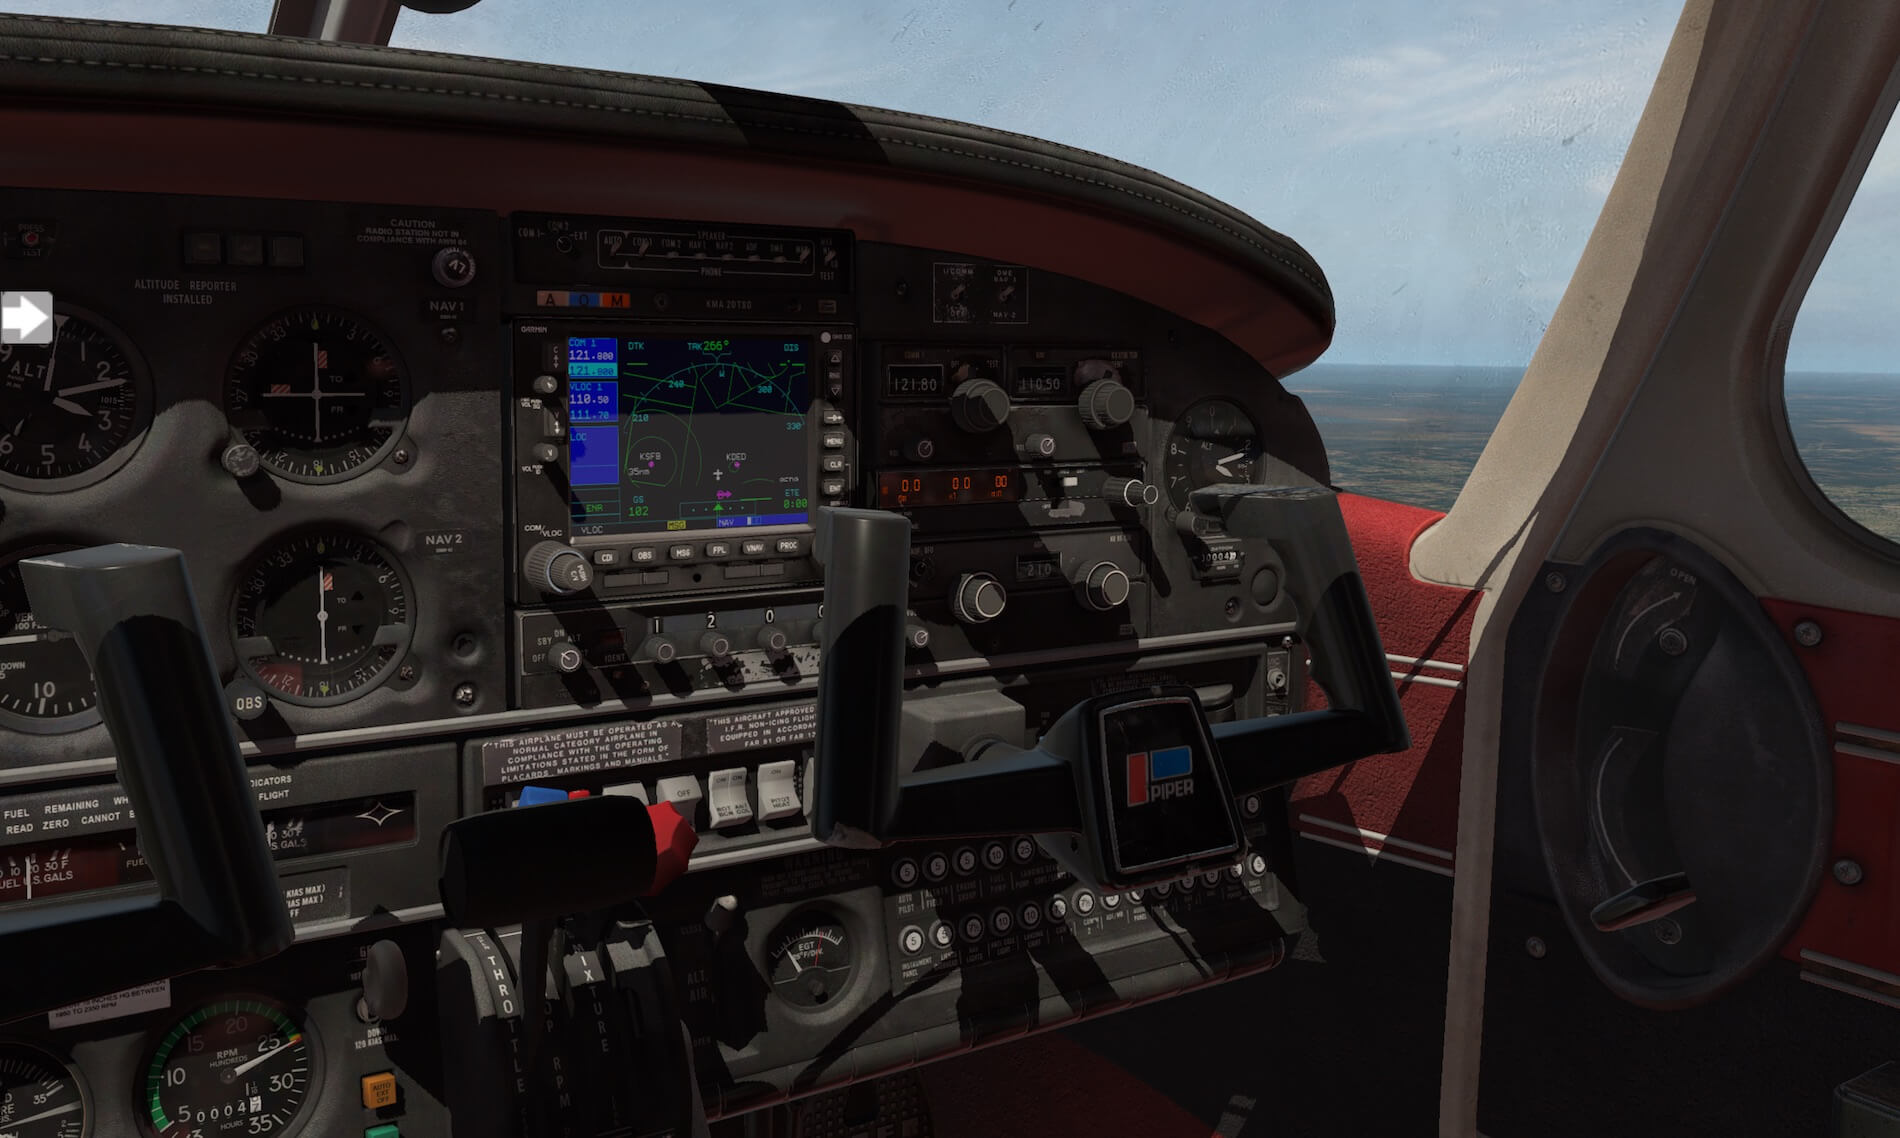
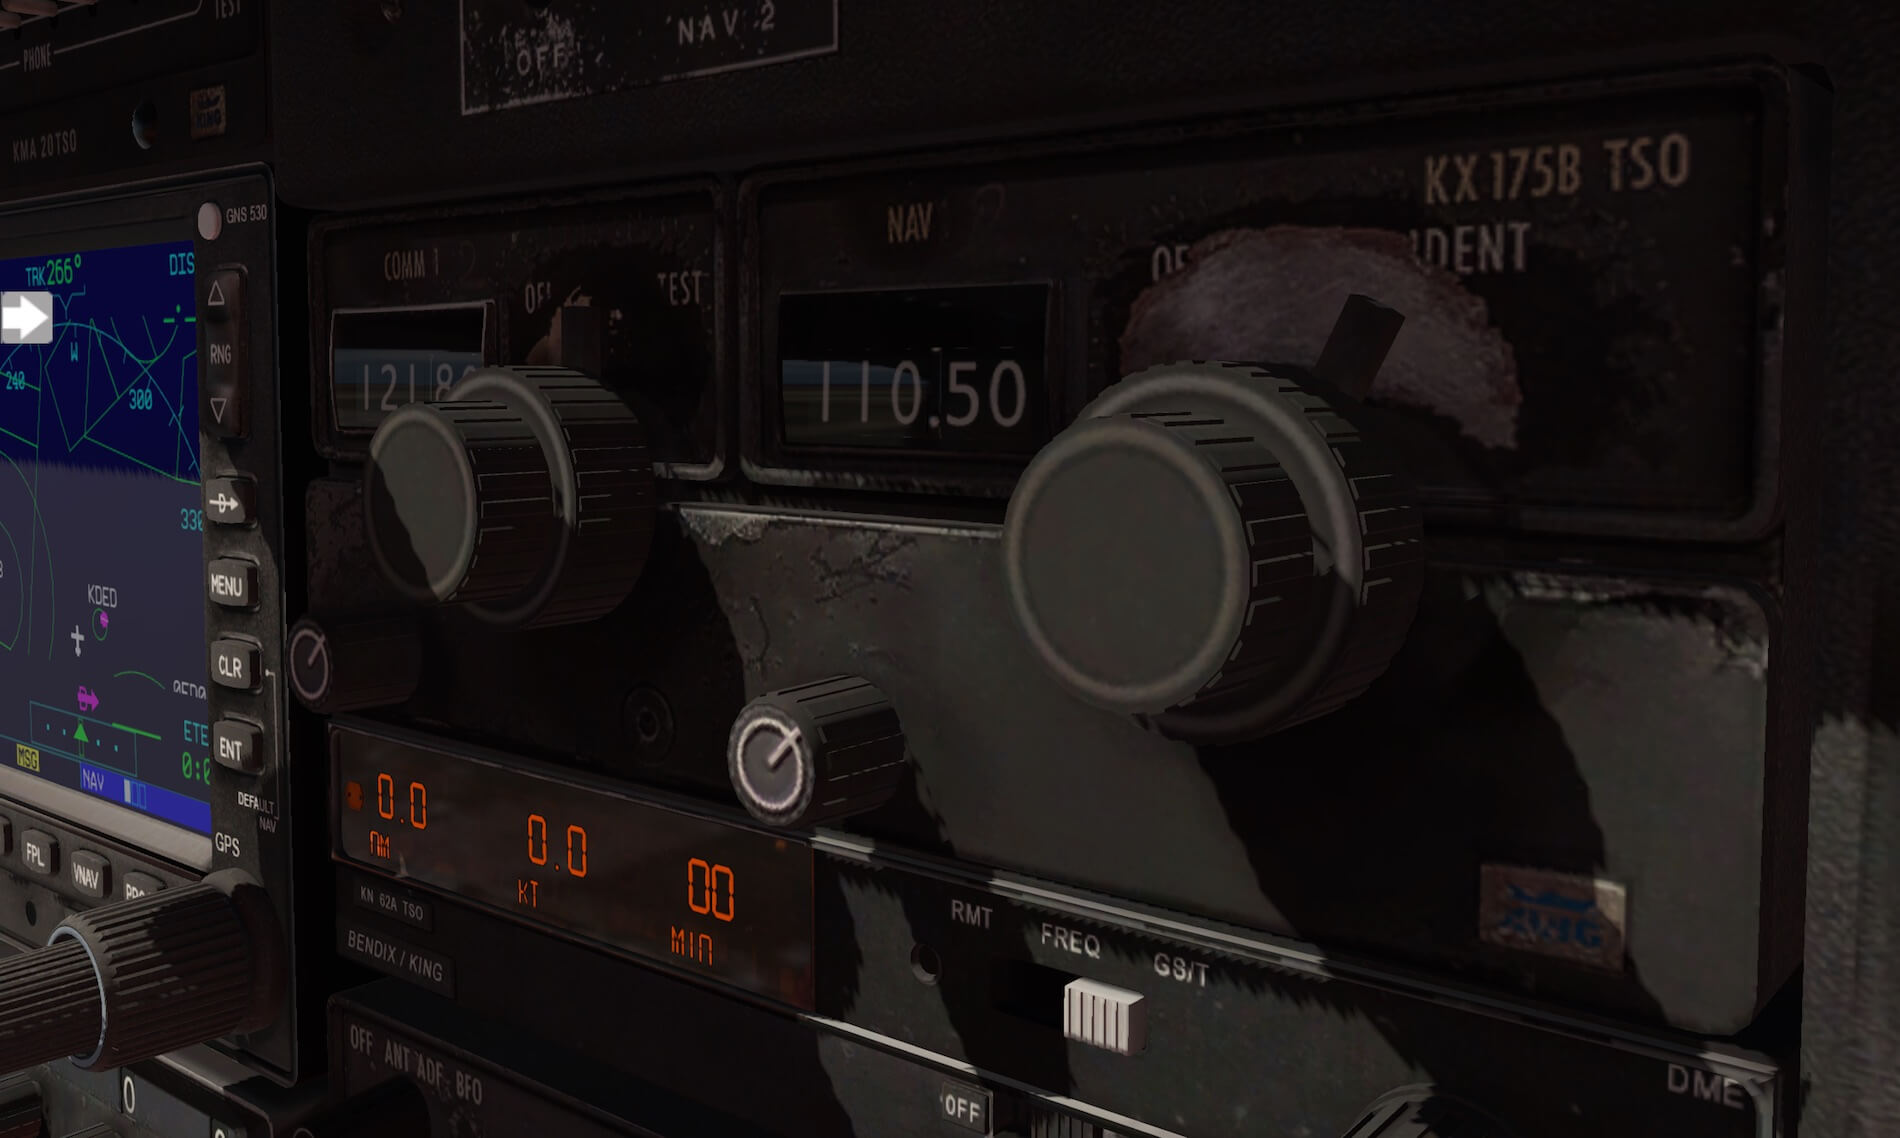
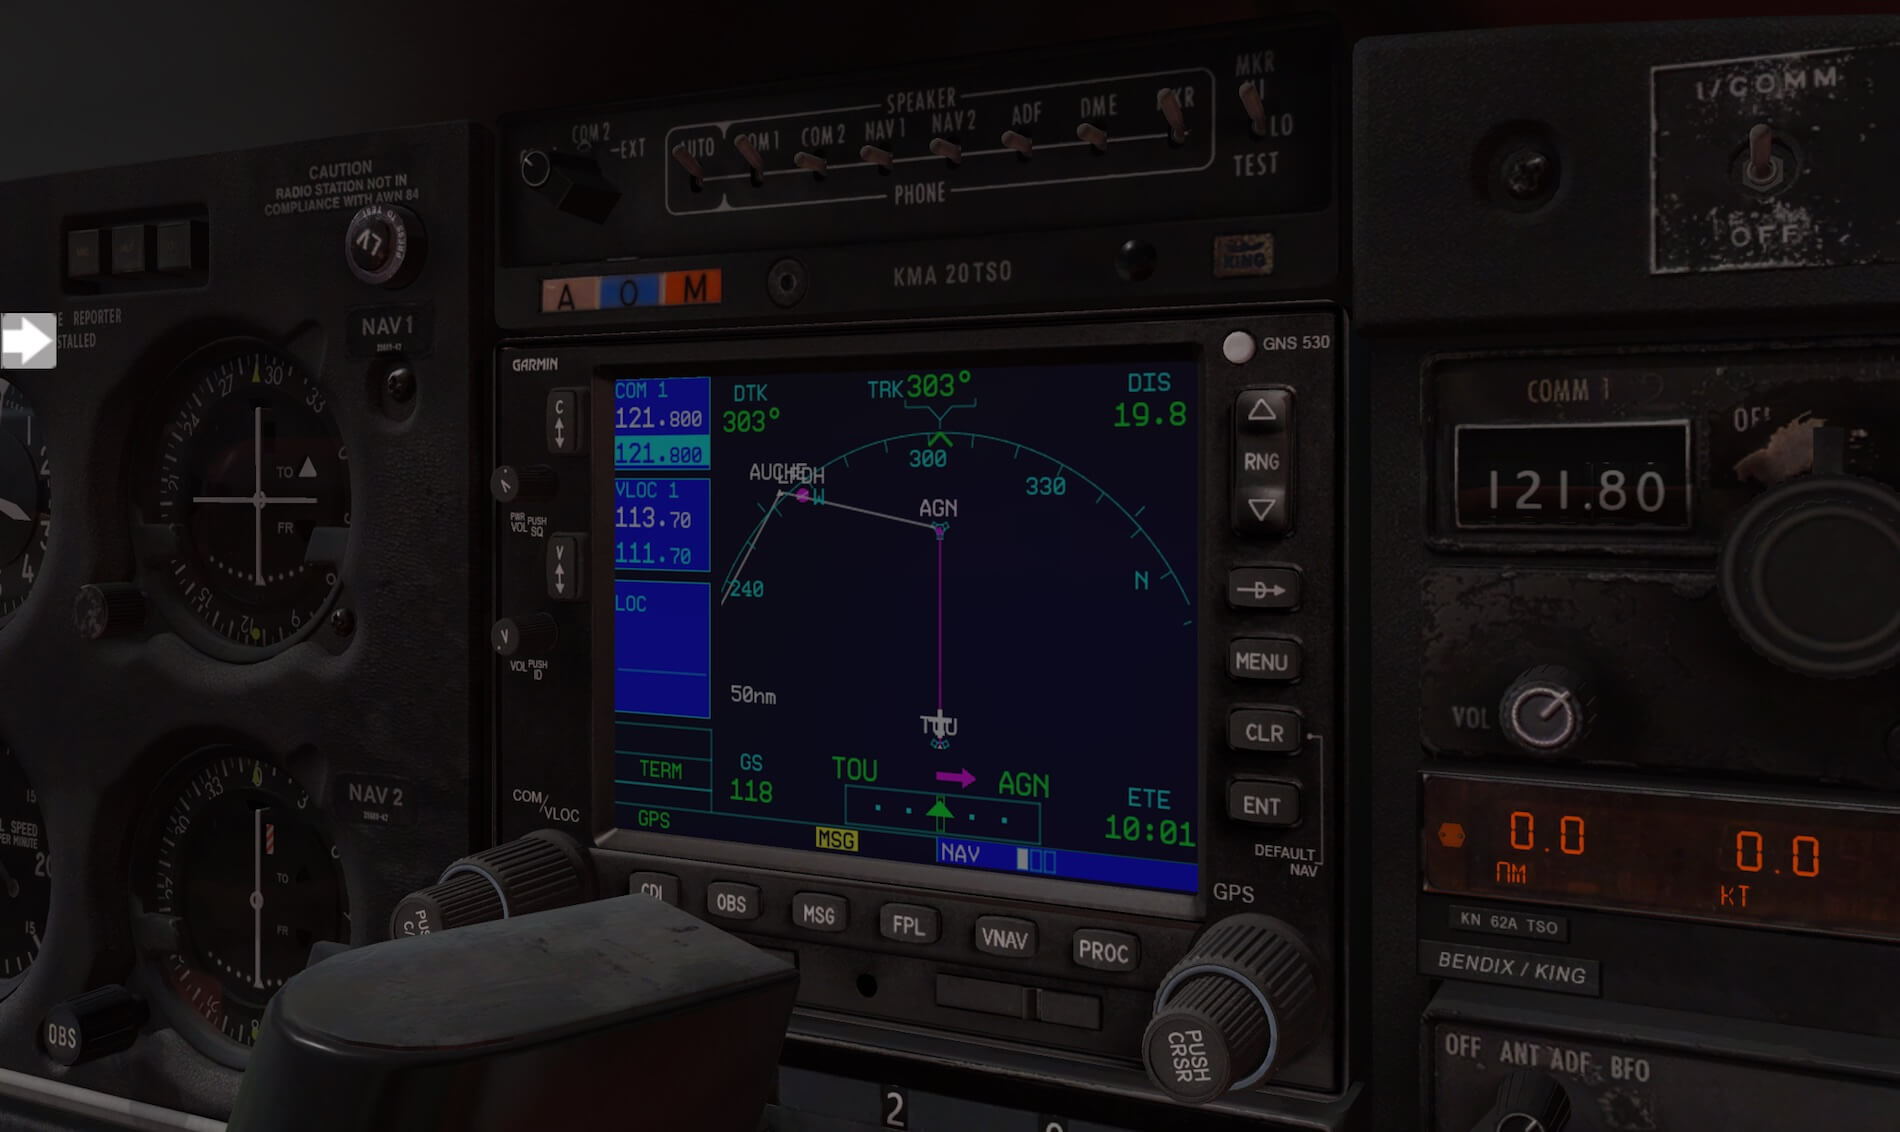
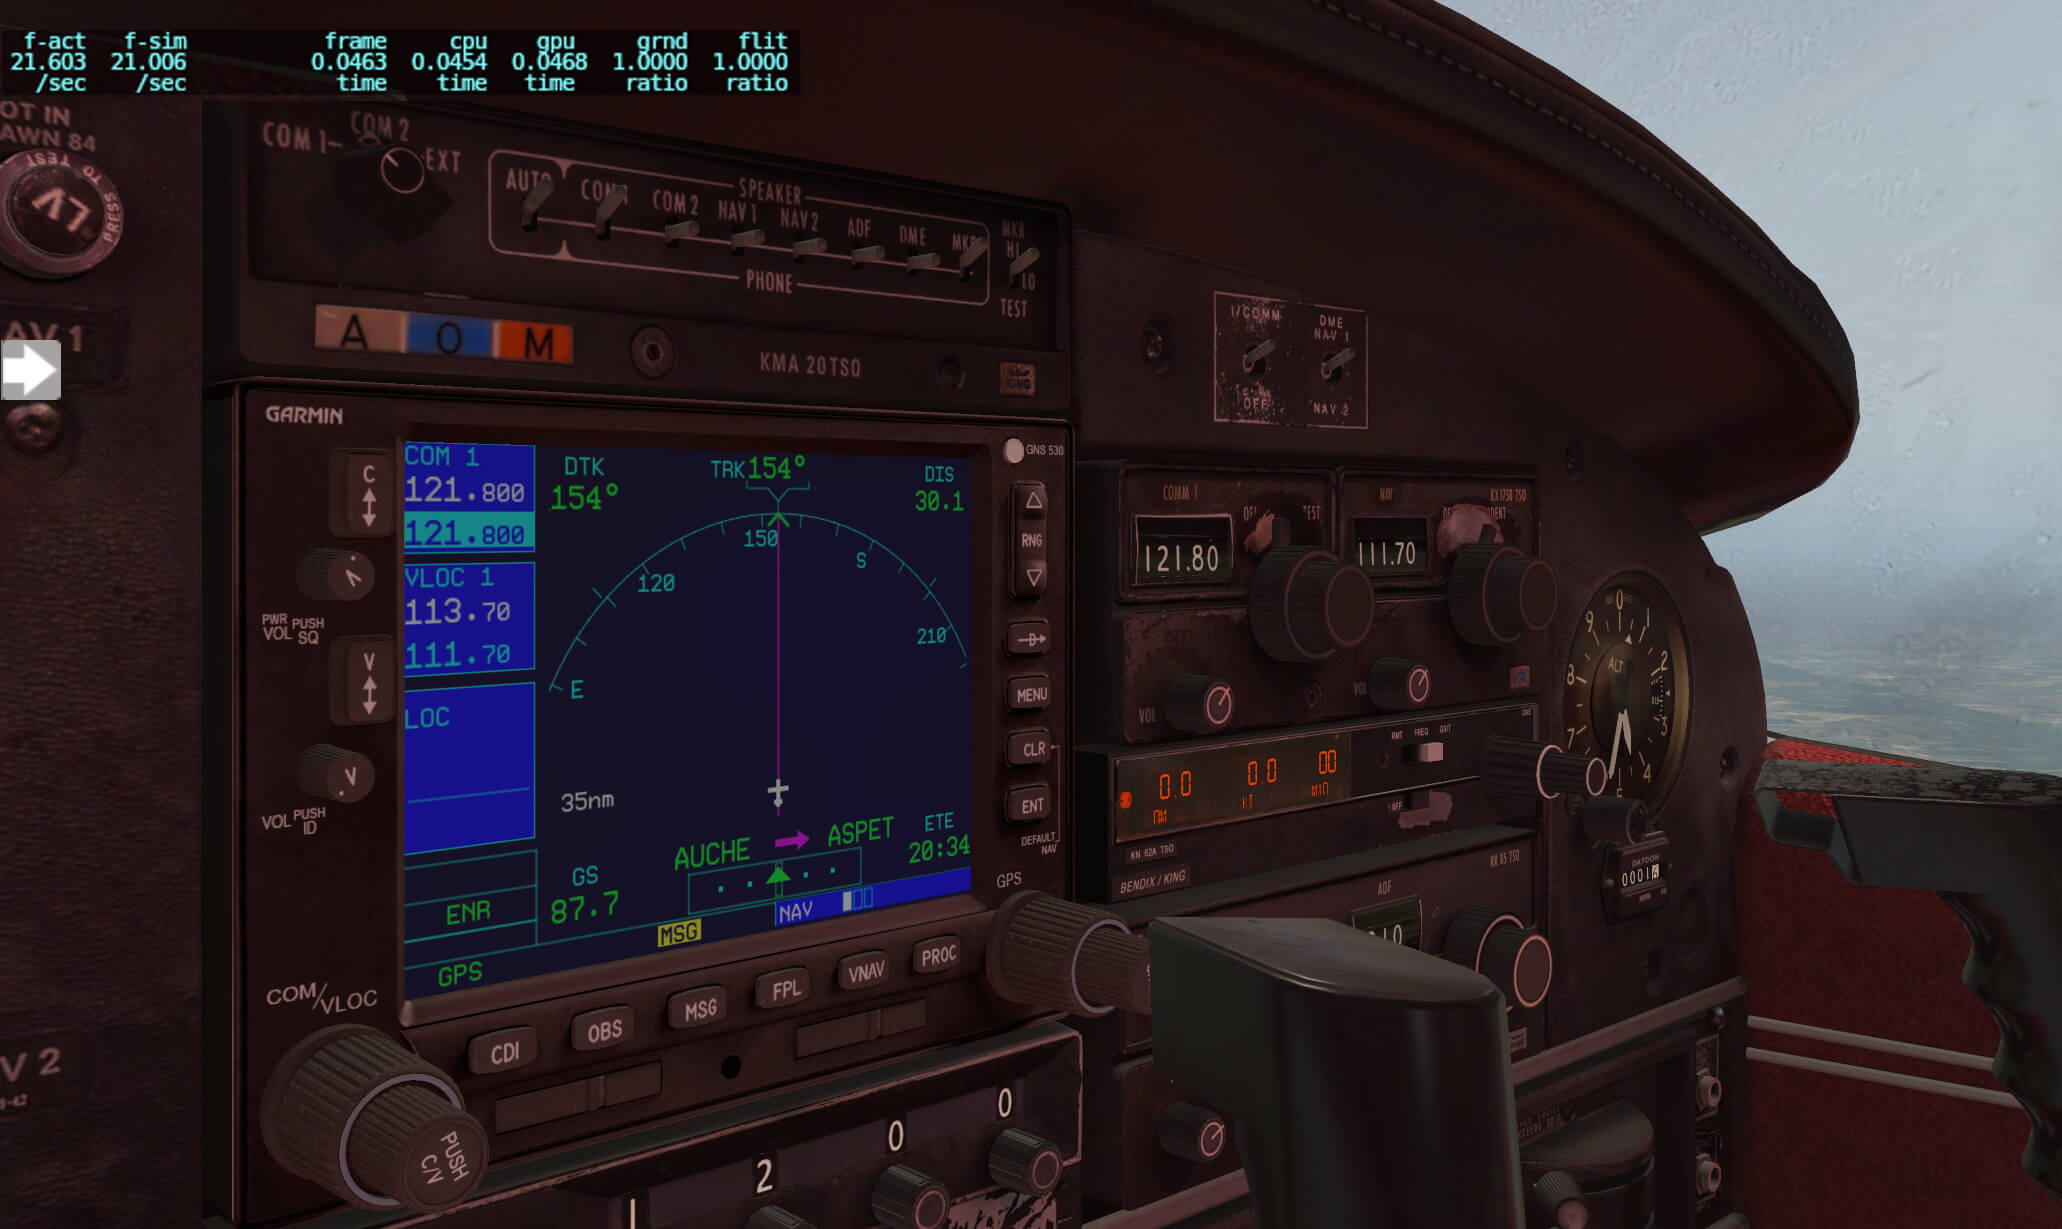
You don’t need the Auto Pilot for a 30-minute flight, but when you fly as I plan to do it – approximately 1 to 1.5 hour per flight, you need something to keep track else you’re constantly correcting for roll, yaw and pitch. What said before, currently I’m flying at 1000 feet in the direction of DeLand and although I’m not using the default X-Plane 11 Garmin GNS 530, you can watch for KDED on the Garmin display and yes, when you’re living in this region, you know that DeLand is also a small town.
Since I’m still flying the Arrow by hand, I can’t look thoroughly around me in the 3D cockpit and look behind over my shoulder how the passenger area is modeled. Ok, passenger area is a bit too much. It only consists of two seats and a small storage area behind. But looking around and hoping that the Arrow III continues its flight in a trimmed situation, that won’t work. I need to engage the Auto Pilot and select for the current pitch and heading. Before engaging heading, I first align the HDG bug with my current HDG.
You can find the AP panel on the lower left-hand side of the instrument panel. Click for AP ON and HDG ON. This is enough for the moment, but a few things are needed since it’s a very basic AP. Just in case you have different thoughts … let me clarify that “very basic” has nothing to do with the functionality of the AP. This is well programmed, no doubt about that. The word “basic” indicates more that there are no preselection’s possible like setting an altitude, a heading etc. By the way, after verifying with Just Flight “The modelled autopilot functions like the unit in the real aircraft, so the modelled Arrow doesn’t use the default X-Plane AP, but has a dedicated Arrow AP.”
When the HDG bug is set, it follows the current HDG bug position, but with the AP ON there’s no ALT HOLD mode available or is there? OK, let me check. The original Arrow III didn’t had an AP PITCH mode, but for your convenience, Just Flight modeled a PITCH TRIM ALT HOLD mode. According to the manual page 60 “As you’ve reached your altitude, place your mouse cursor over the PIPER logo above the navigation/approach coupler knob (this is the AP panel RH section with the selector knob) and press the left button on your mouse. This toggles AP ALT HLD mode. The autopilot will capture and hold the current altitude (rounded to the nearest hundred feet).”
More about the AP and other modes later.
Panel Select Arrow
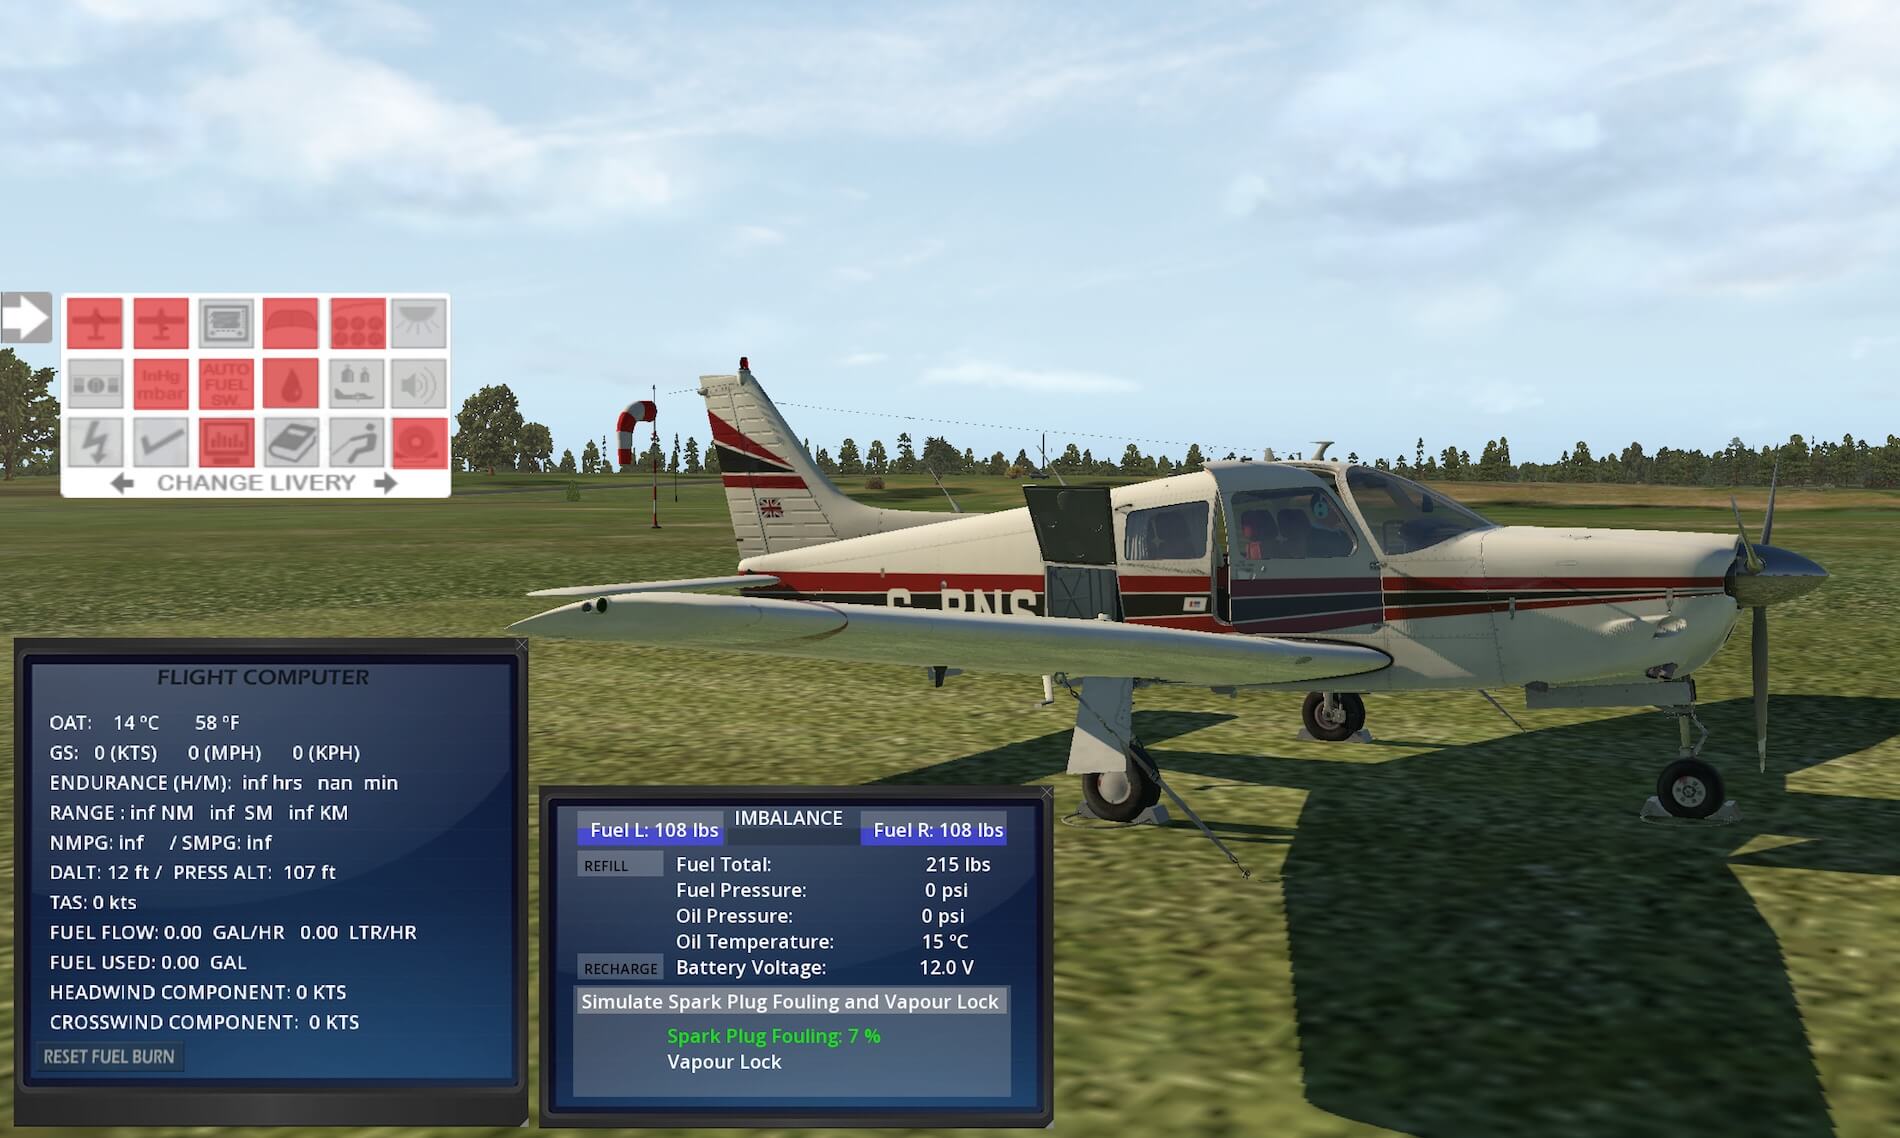
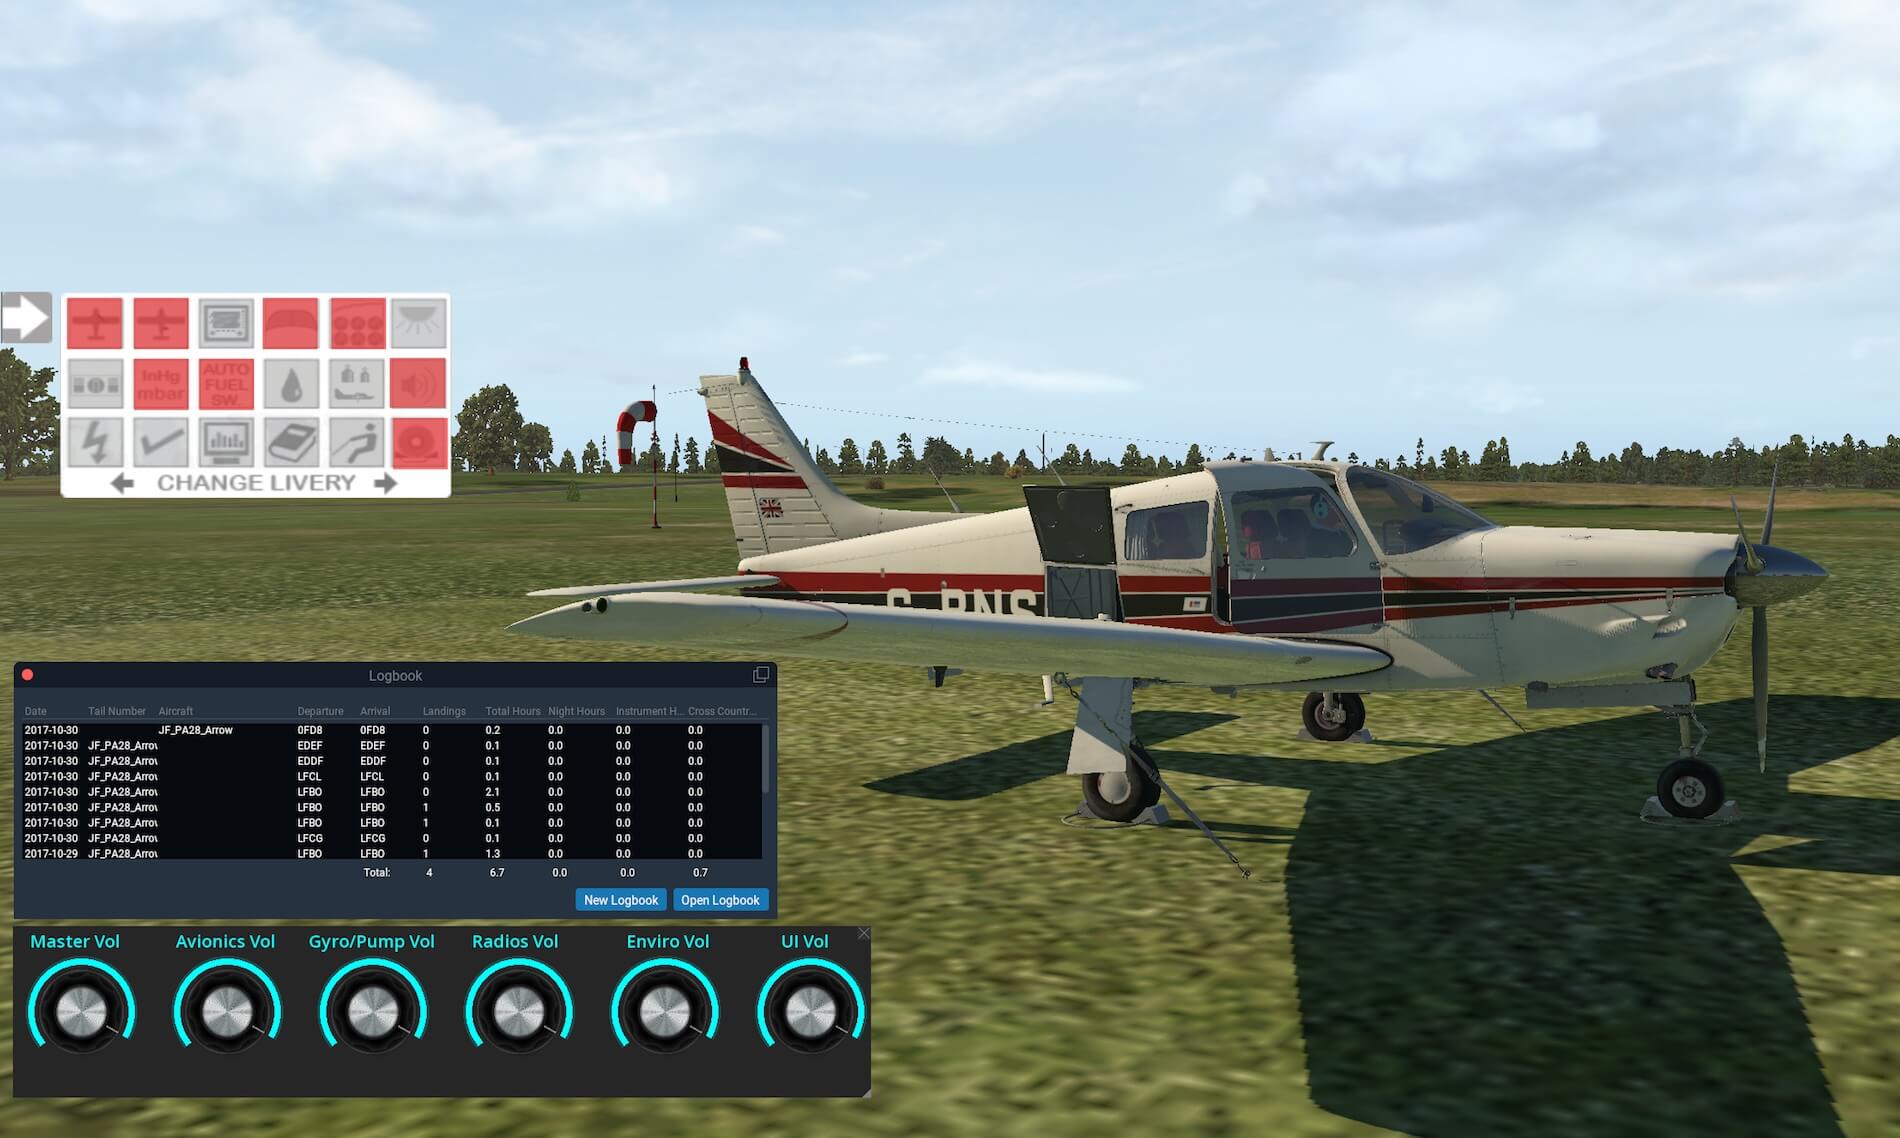
What said, the white arrow in a grey square on the left-hand of the screen is quite big, so you can’t miss it| Perhaps it could be, at least that’s how I feel about it, with a future update, modeled a bit smaller. When you click the arrow, a popup window appears and lets you make several changes to the Arrow III as well as on the fly changing the aircraft livery. The manual explains all these option, but I would like to highlight a few of these options. One of them is the AP button. He, that’s much easier then I just explained. No need to fiddle around on the lower left-hand instrument panel, but simple call-up the AP panel.
Next, there’s a dynamic checklist and although some will say “I can do it without the checklist”, my answer is …. don’t!
It’s not much more work to follow a checklist and besides that, you learn something of the aircraft and you follow the workflow as it should be. When you don’t need to checklist for the moment, use the “X” in the right-hand corner to close it. To reserve frame rates although I didn’t notice this on my iMac, you can disable the gorgeous and above all, the realistic weathered window/windshield panel and indicator reflections.
Incoming note from Just Flight and Thranda Design regarding the Panel Select Arrow; “the panel selector arrow can be hidden using the mouse-wheel. Just hover the mouse cursor over it, and scroll down the scroll wheel. More information is explained in the manual.” I very nice and elegant feature.
And what about the interior?
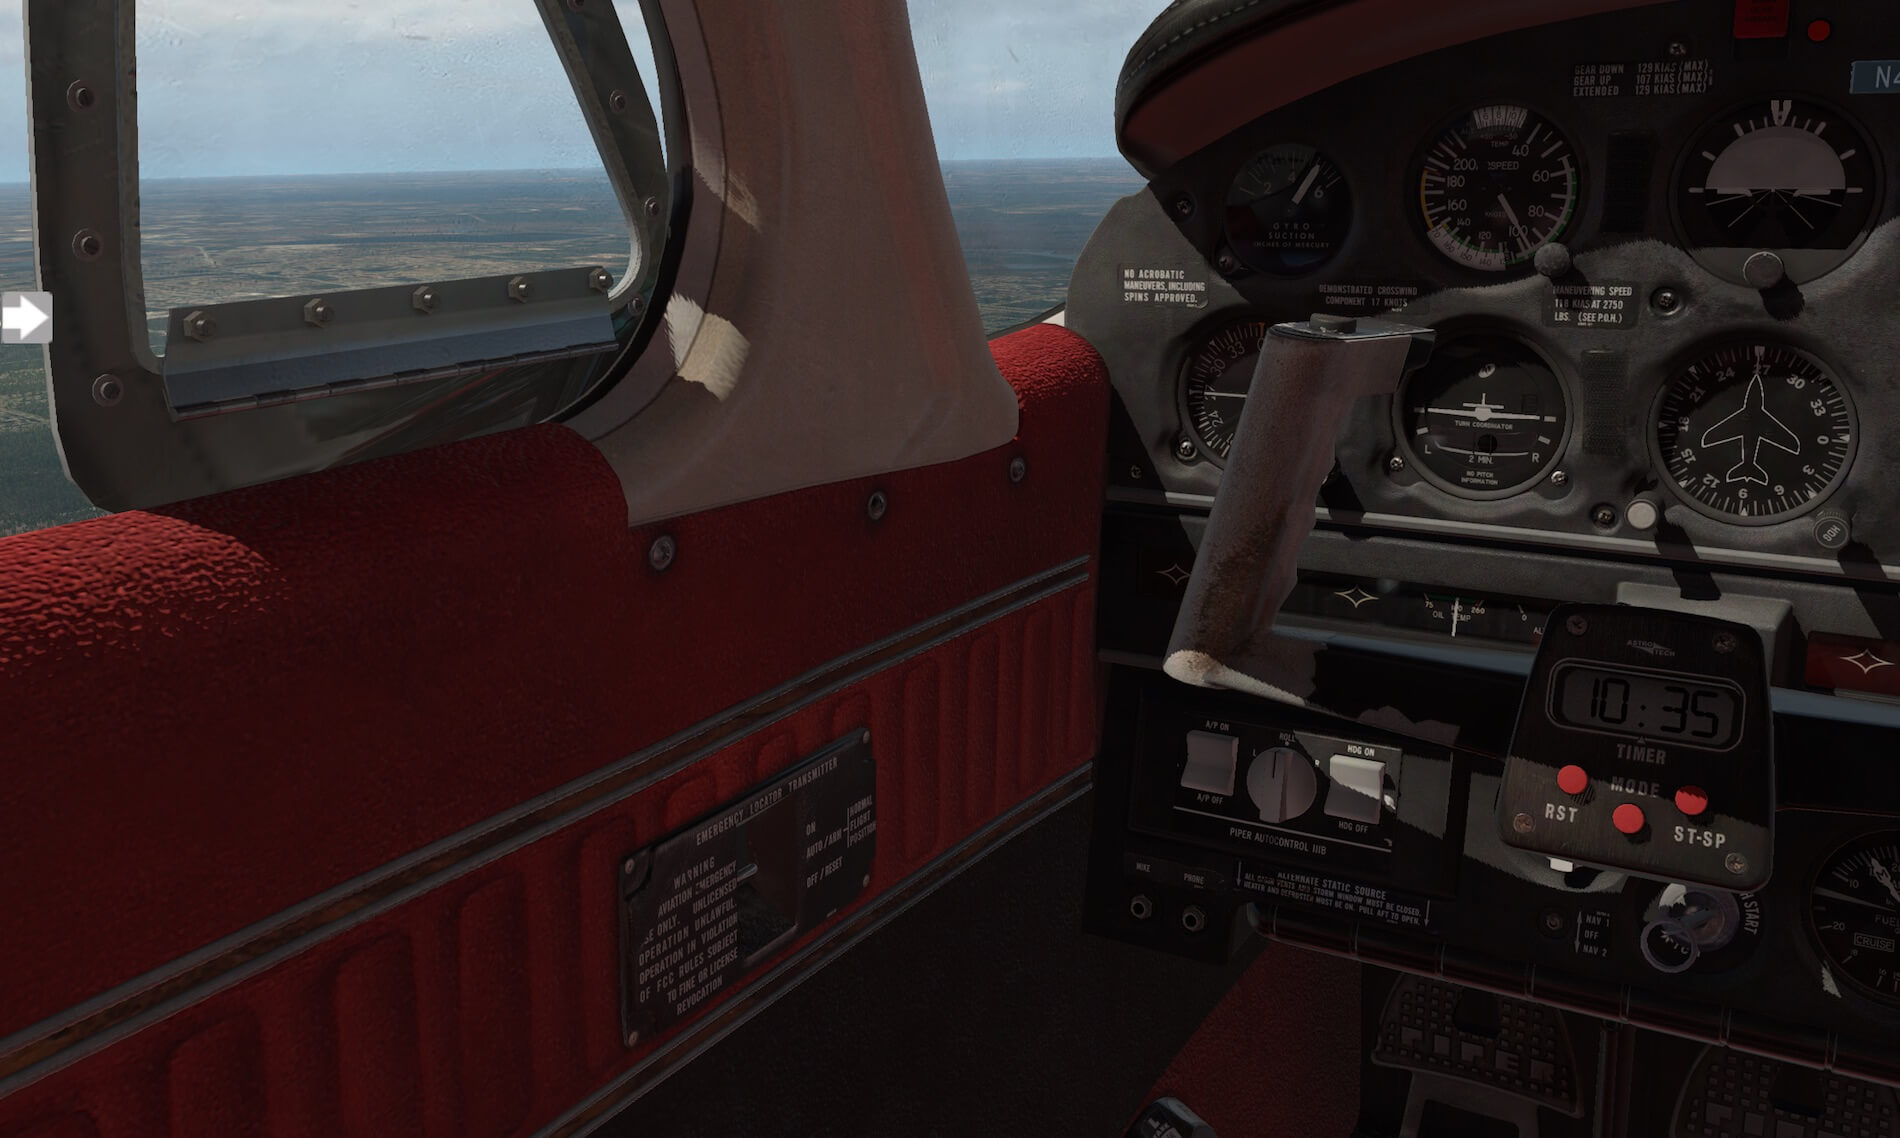
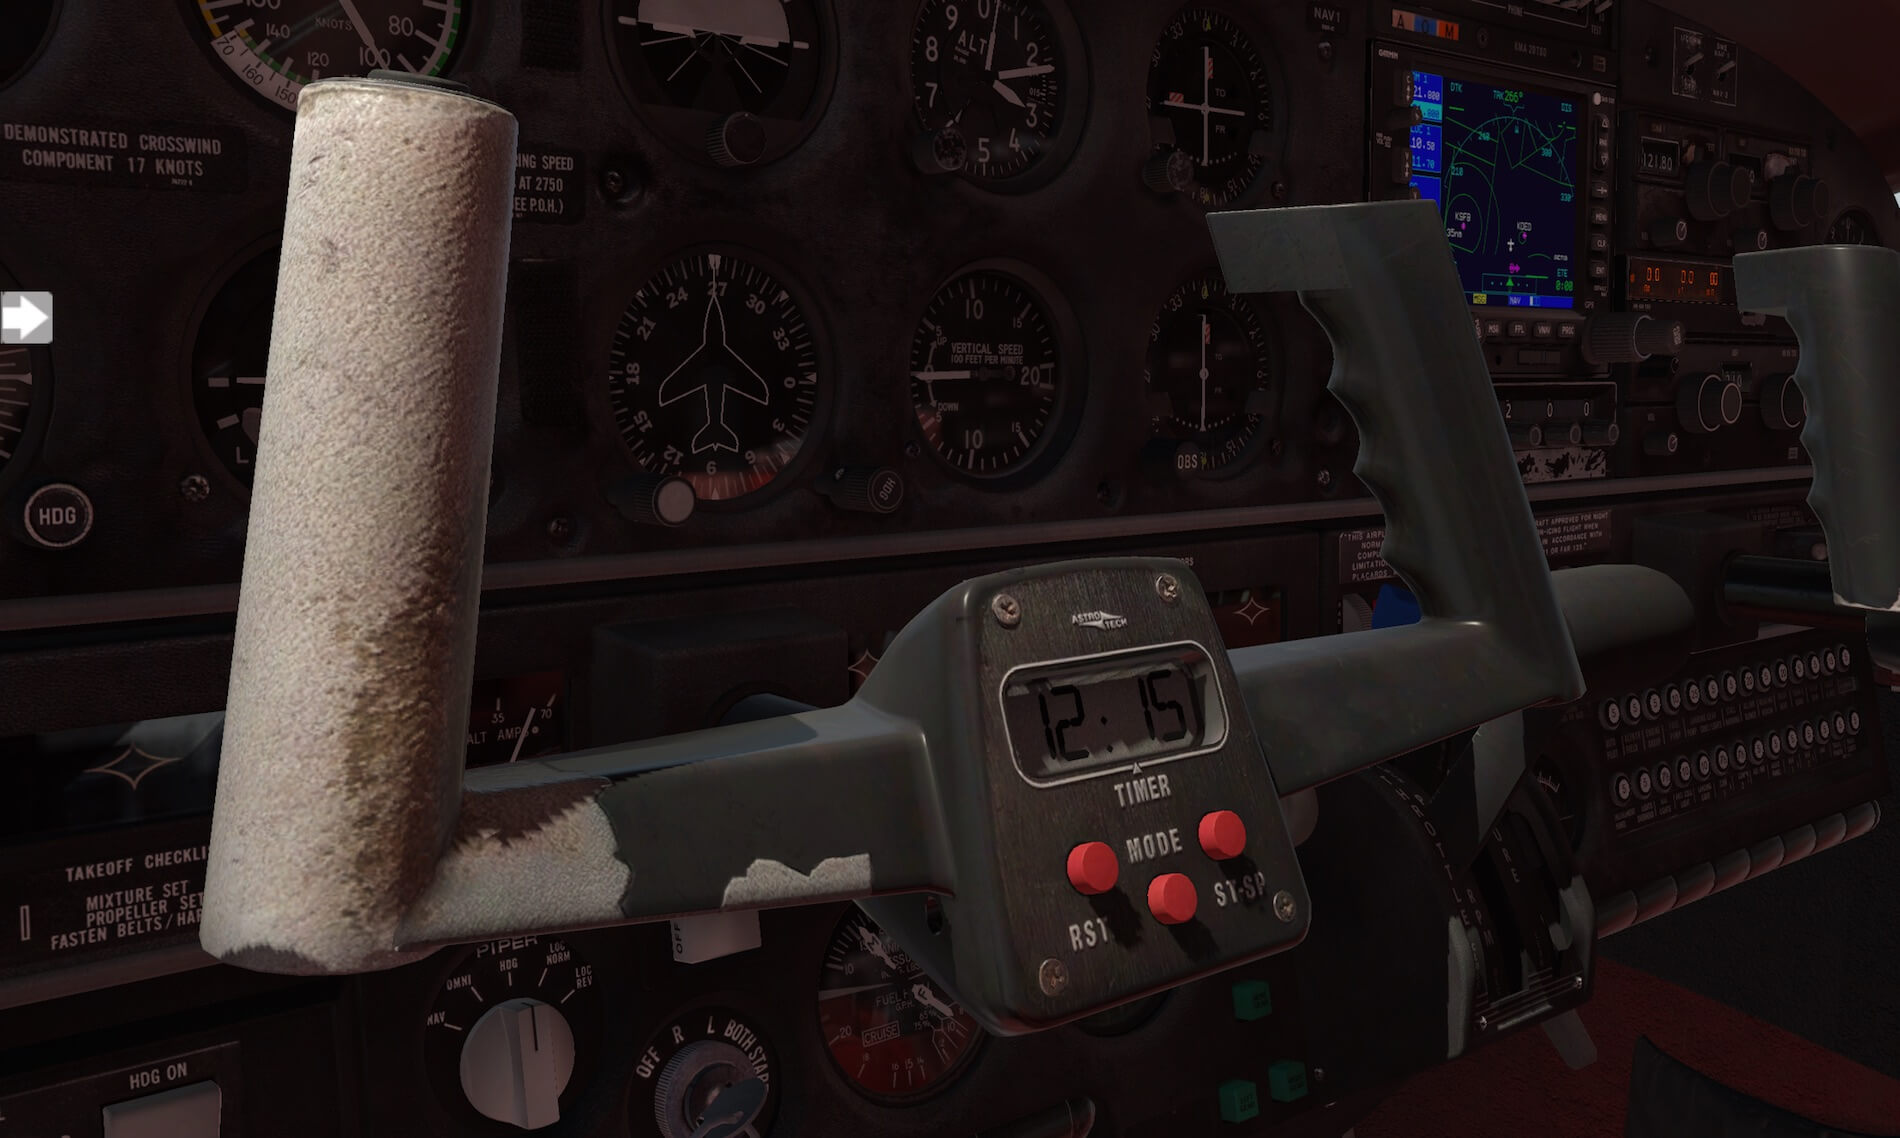
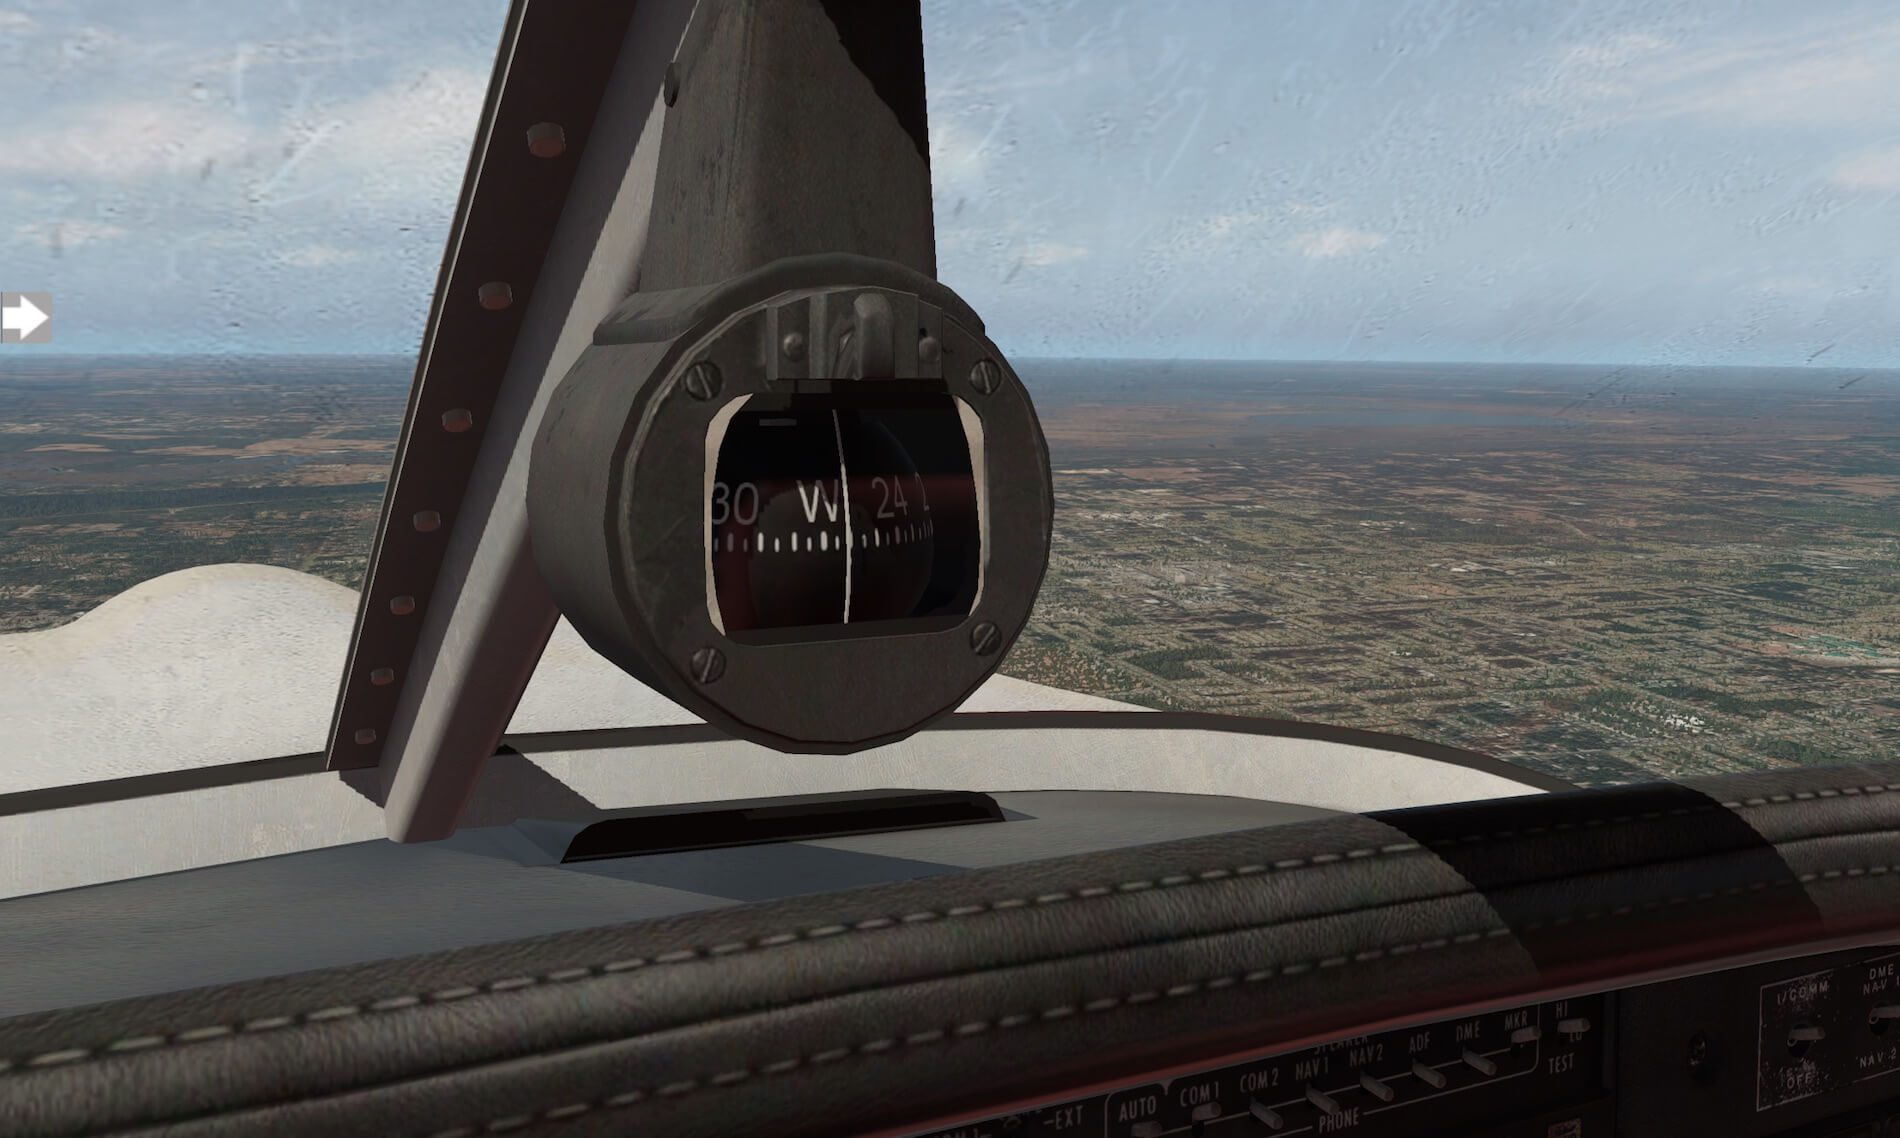
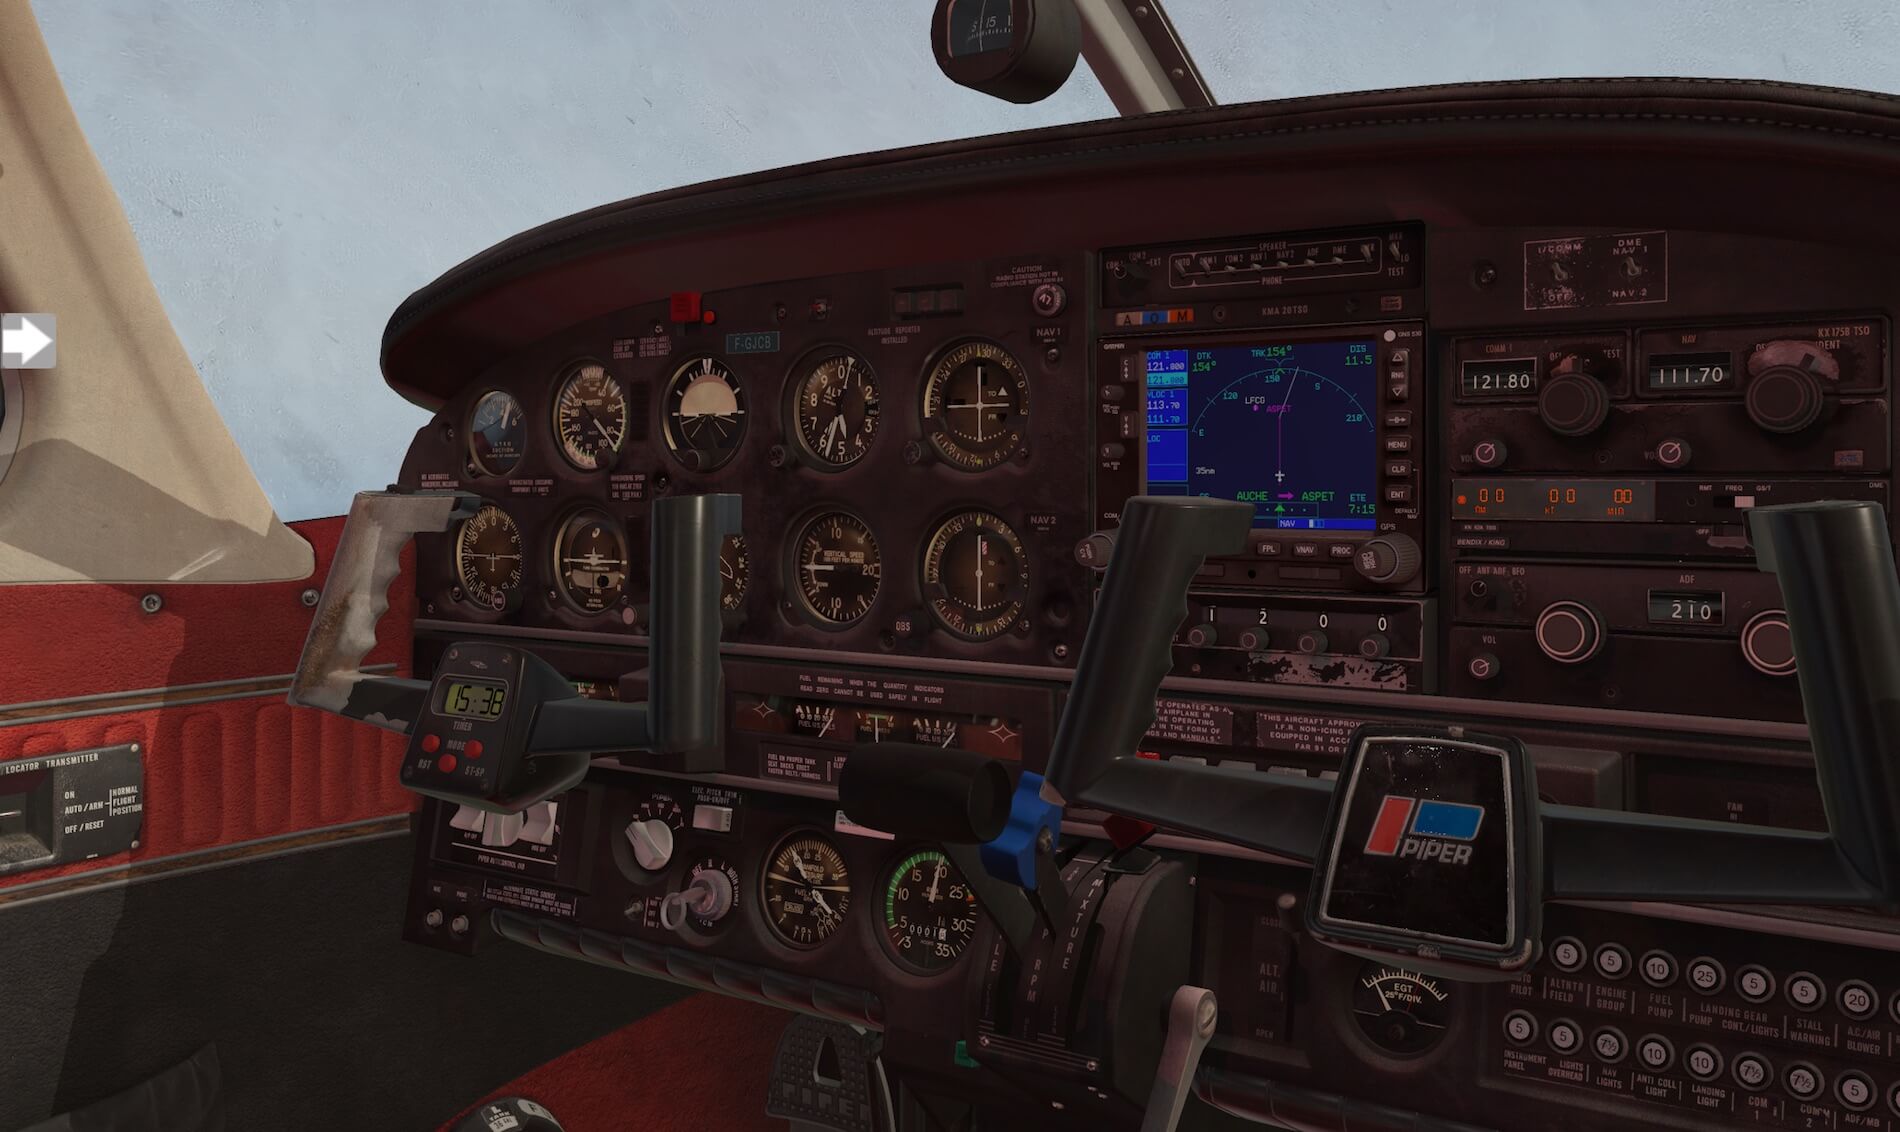
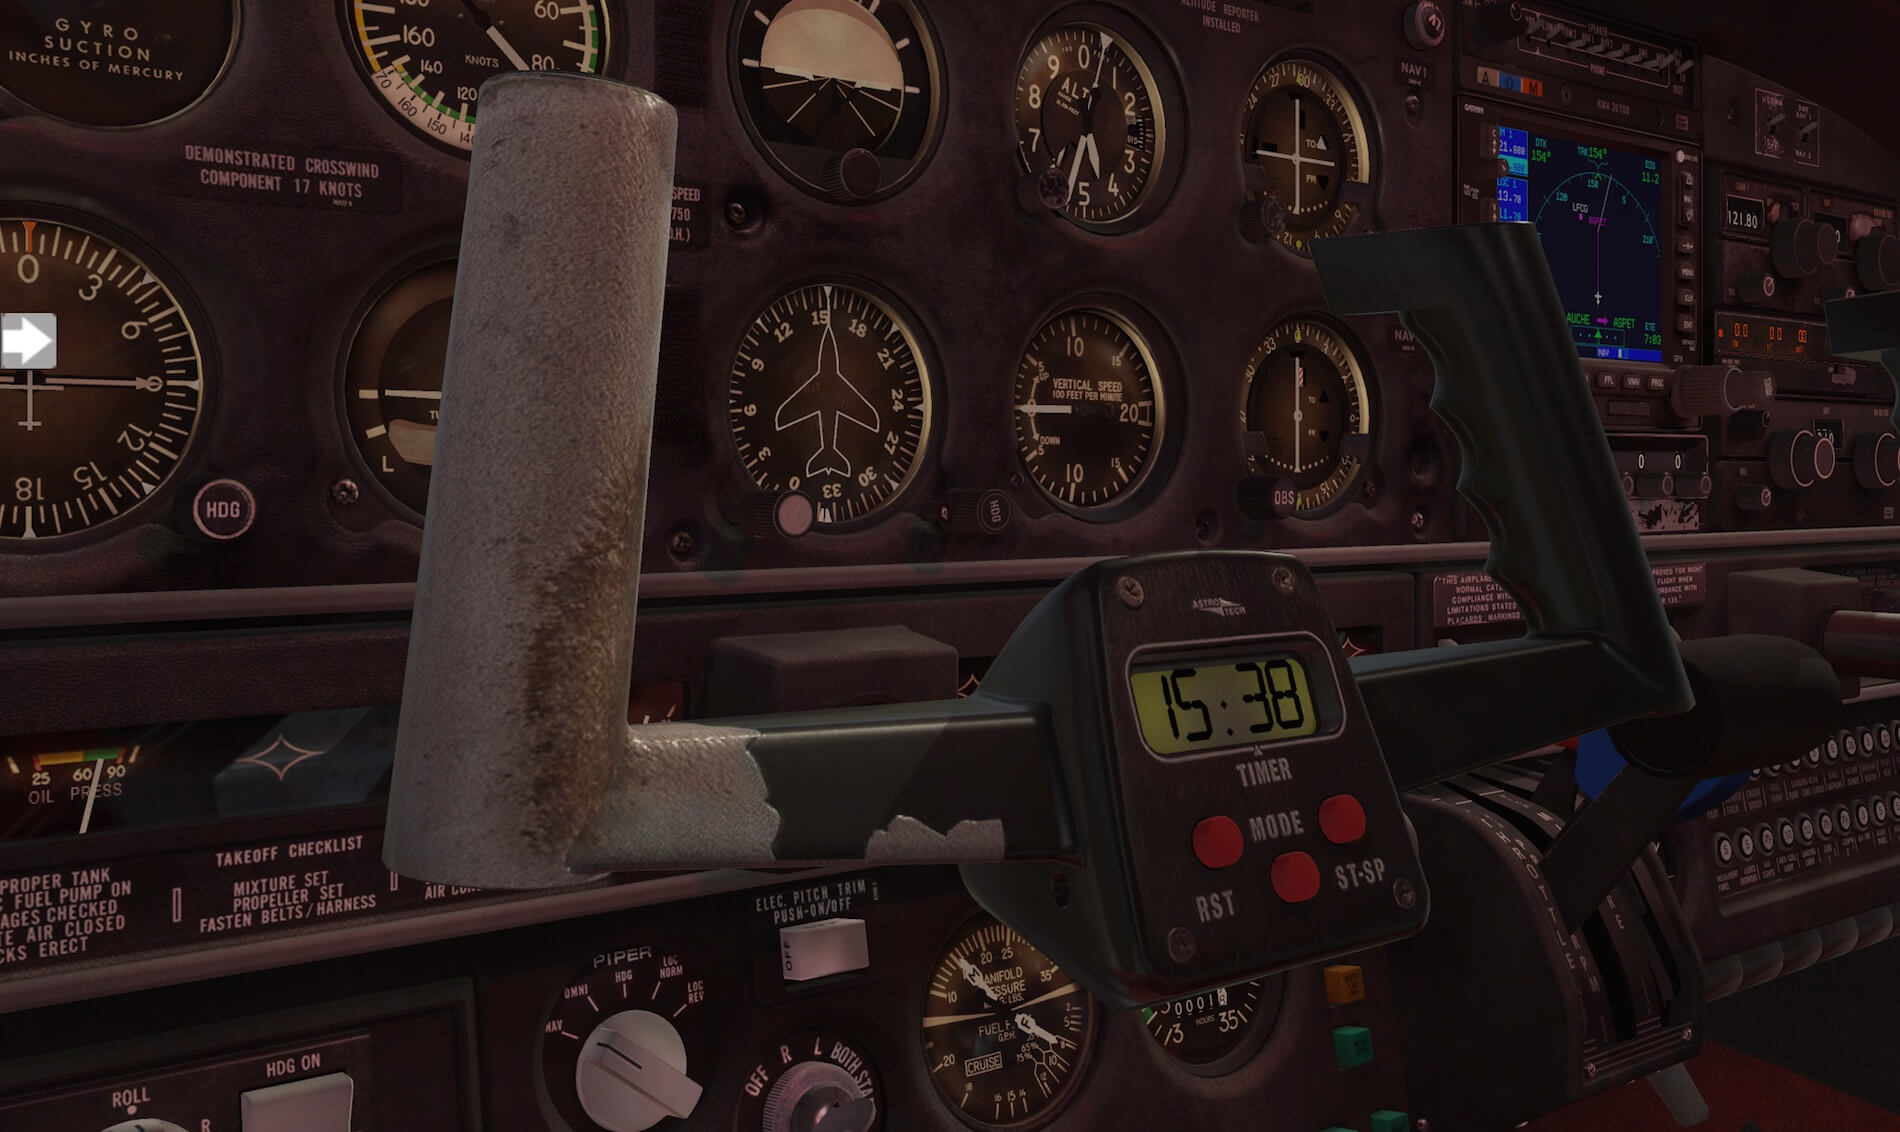
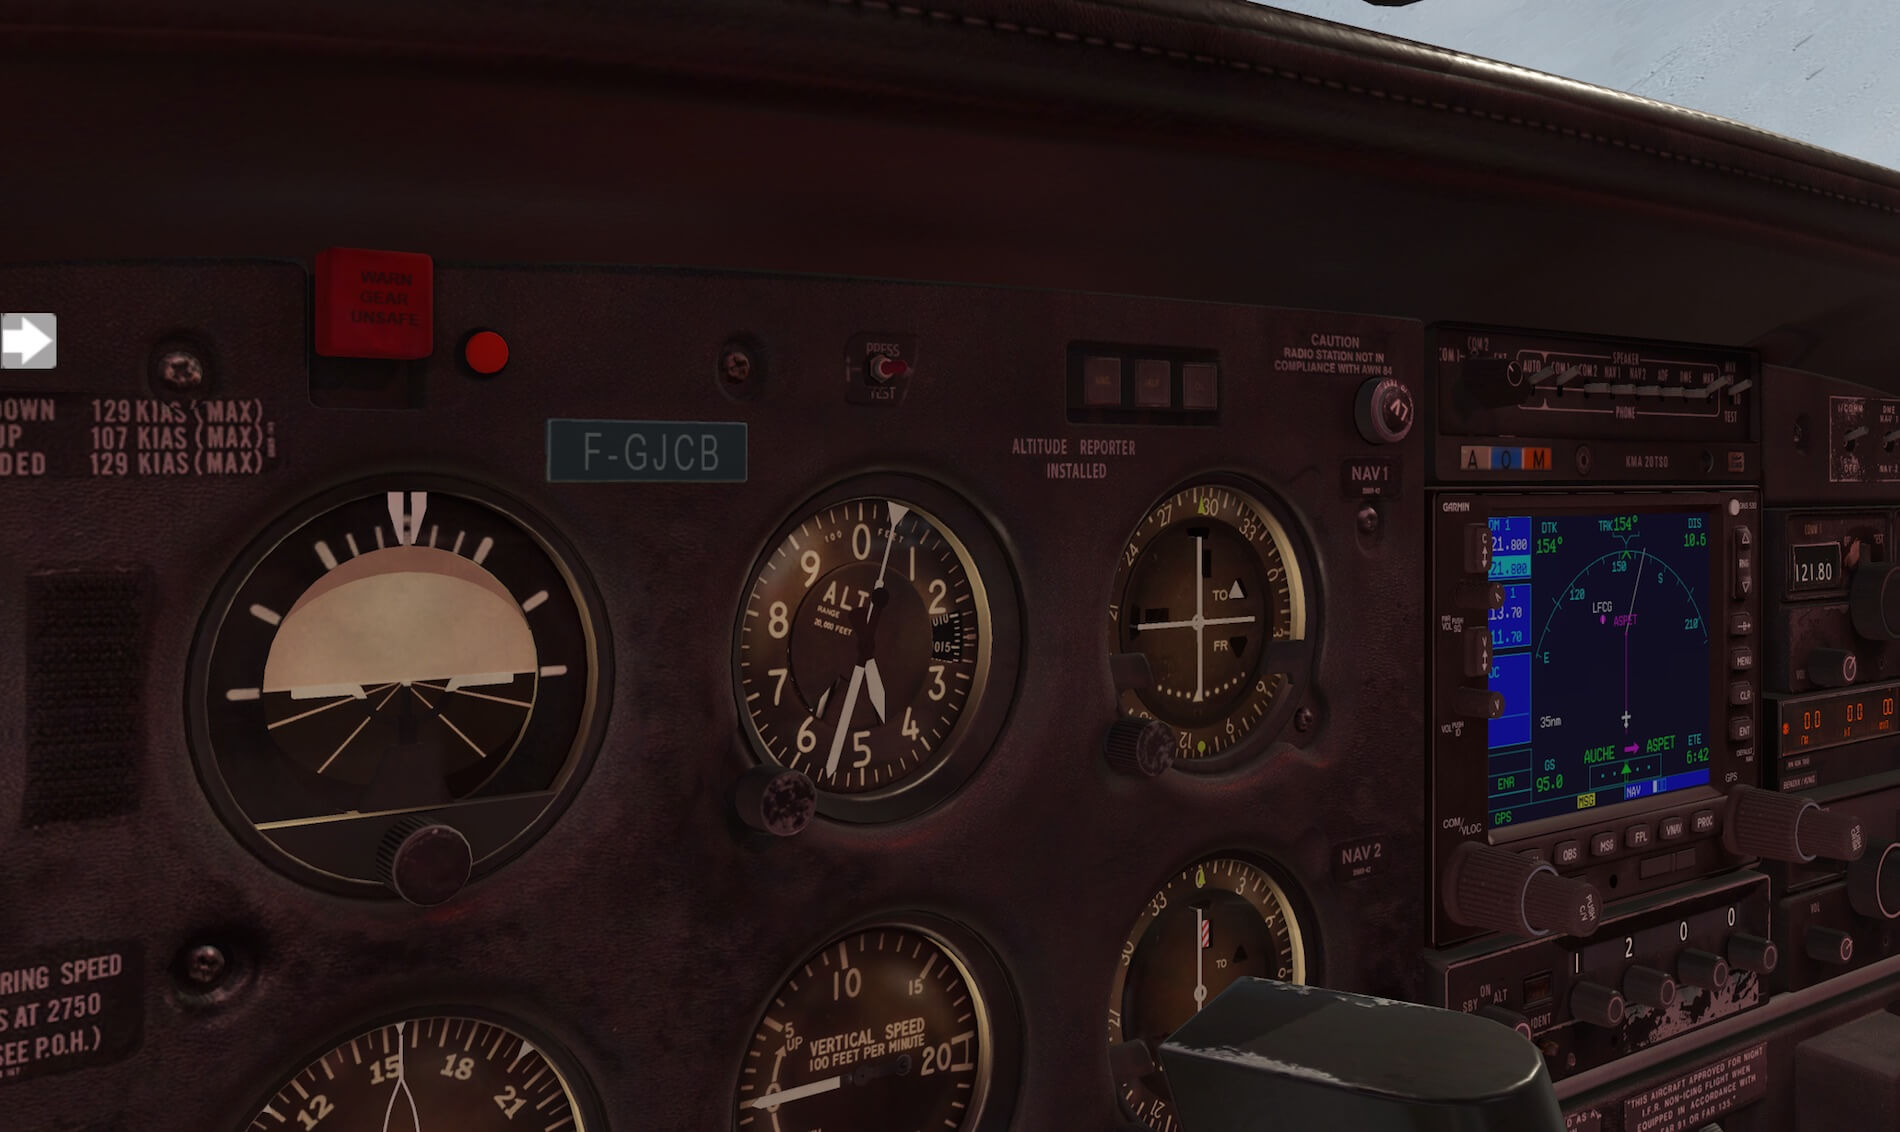
I can tell you that the 3D cockpit looks very nice. No nice is not the right word, it looks beautiful! The instrument panel cover is in the real Arrow made from plastic and that look and feel does have the modeled Arrow too. It’s also a bit dirty, which gives it a real look. Whenever decals or stickers are placed or added to the panel, they are as real as it gets. Very well done.
When it’s not a sticker but just bare text, then this is razor sharp which is, in case you think something else, also applicable for the stickers. The very small but well modeled black screws that hold the indicators as well as the indicator dial plates are beautiful too. It’s because I noticed it, and when you think about it’s logical too, but the panel registration plate changes upon aircraft livery. Logically, but not directly expected.
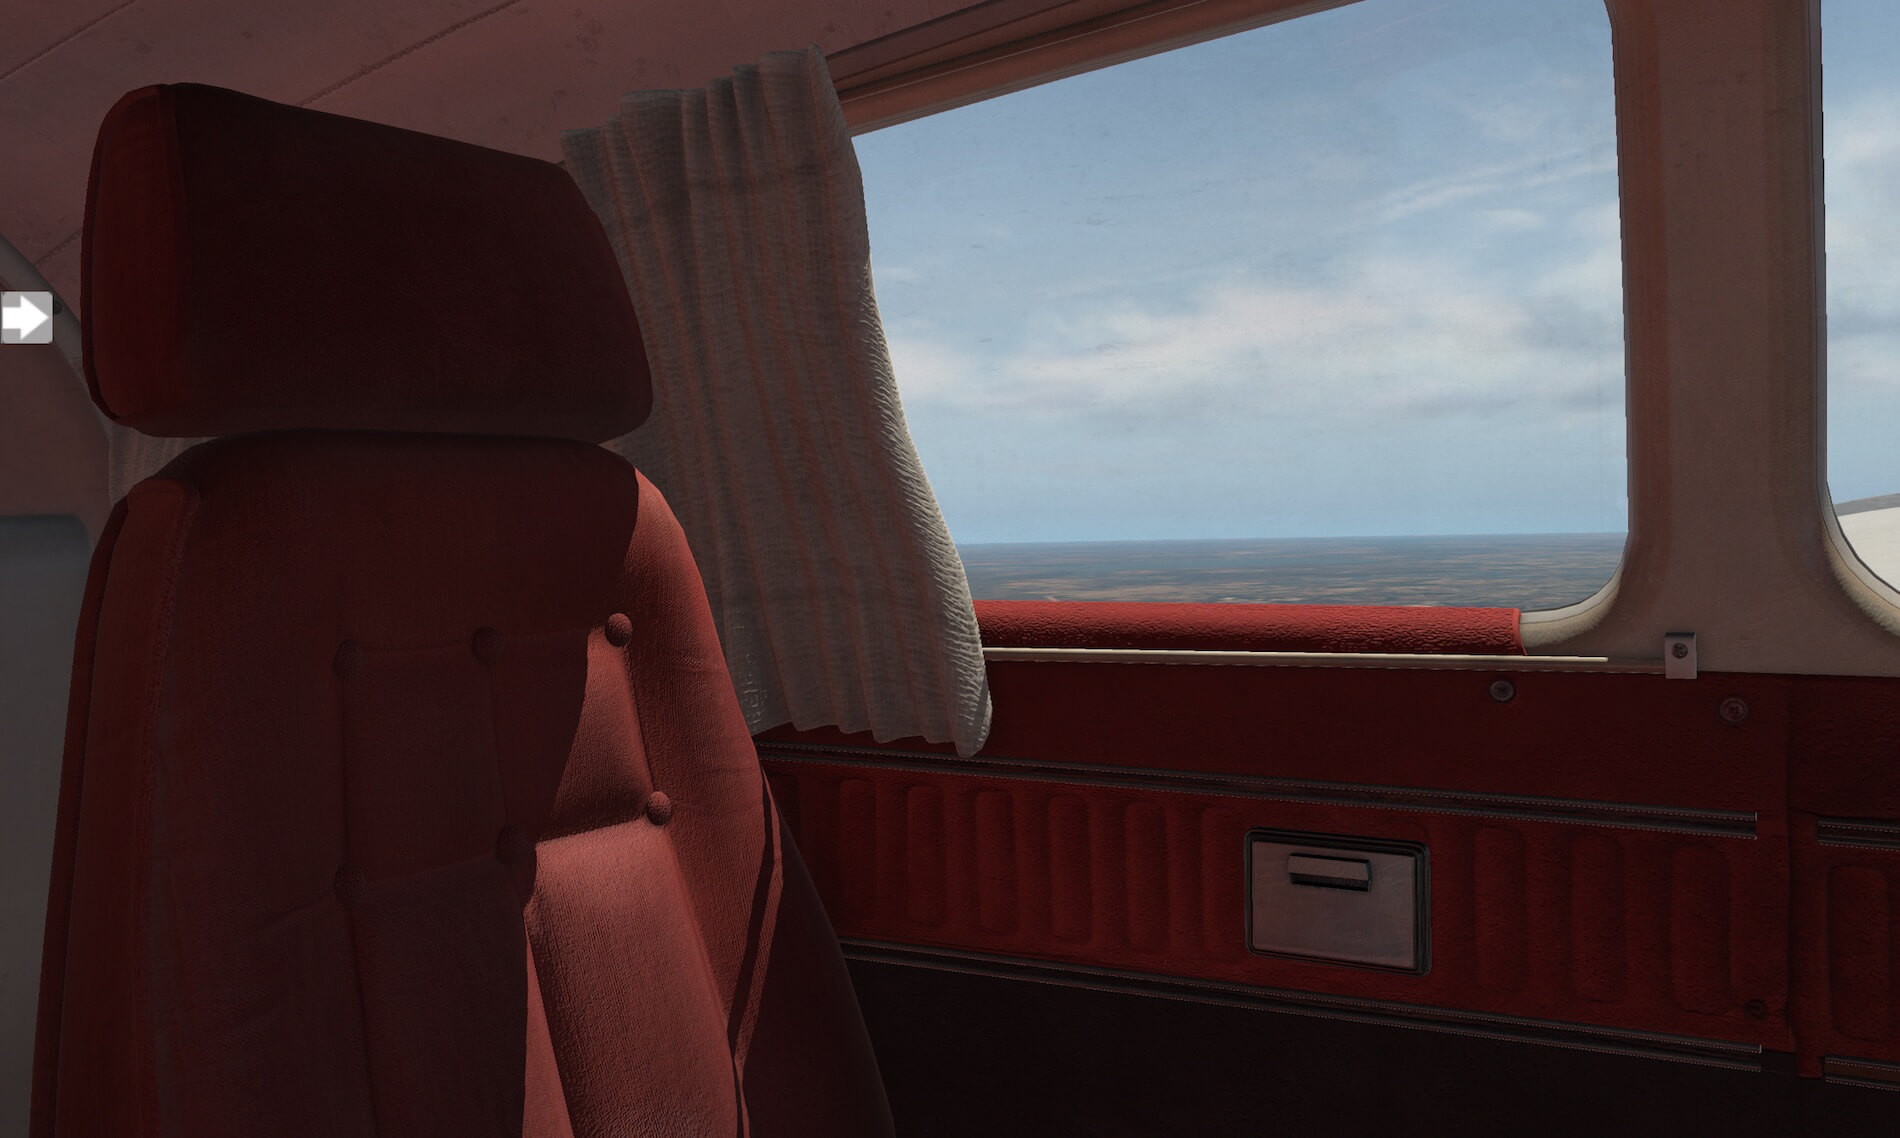
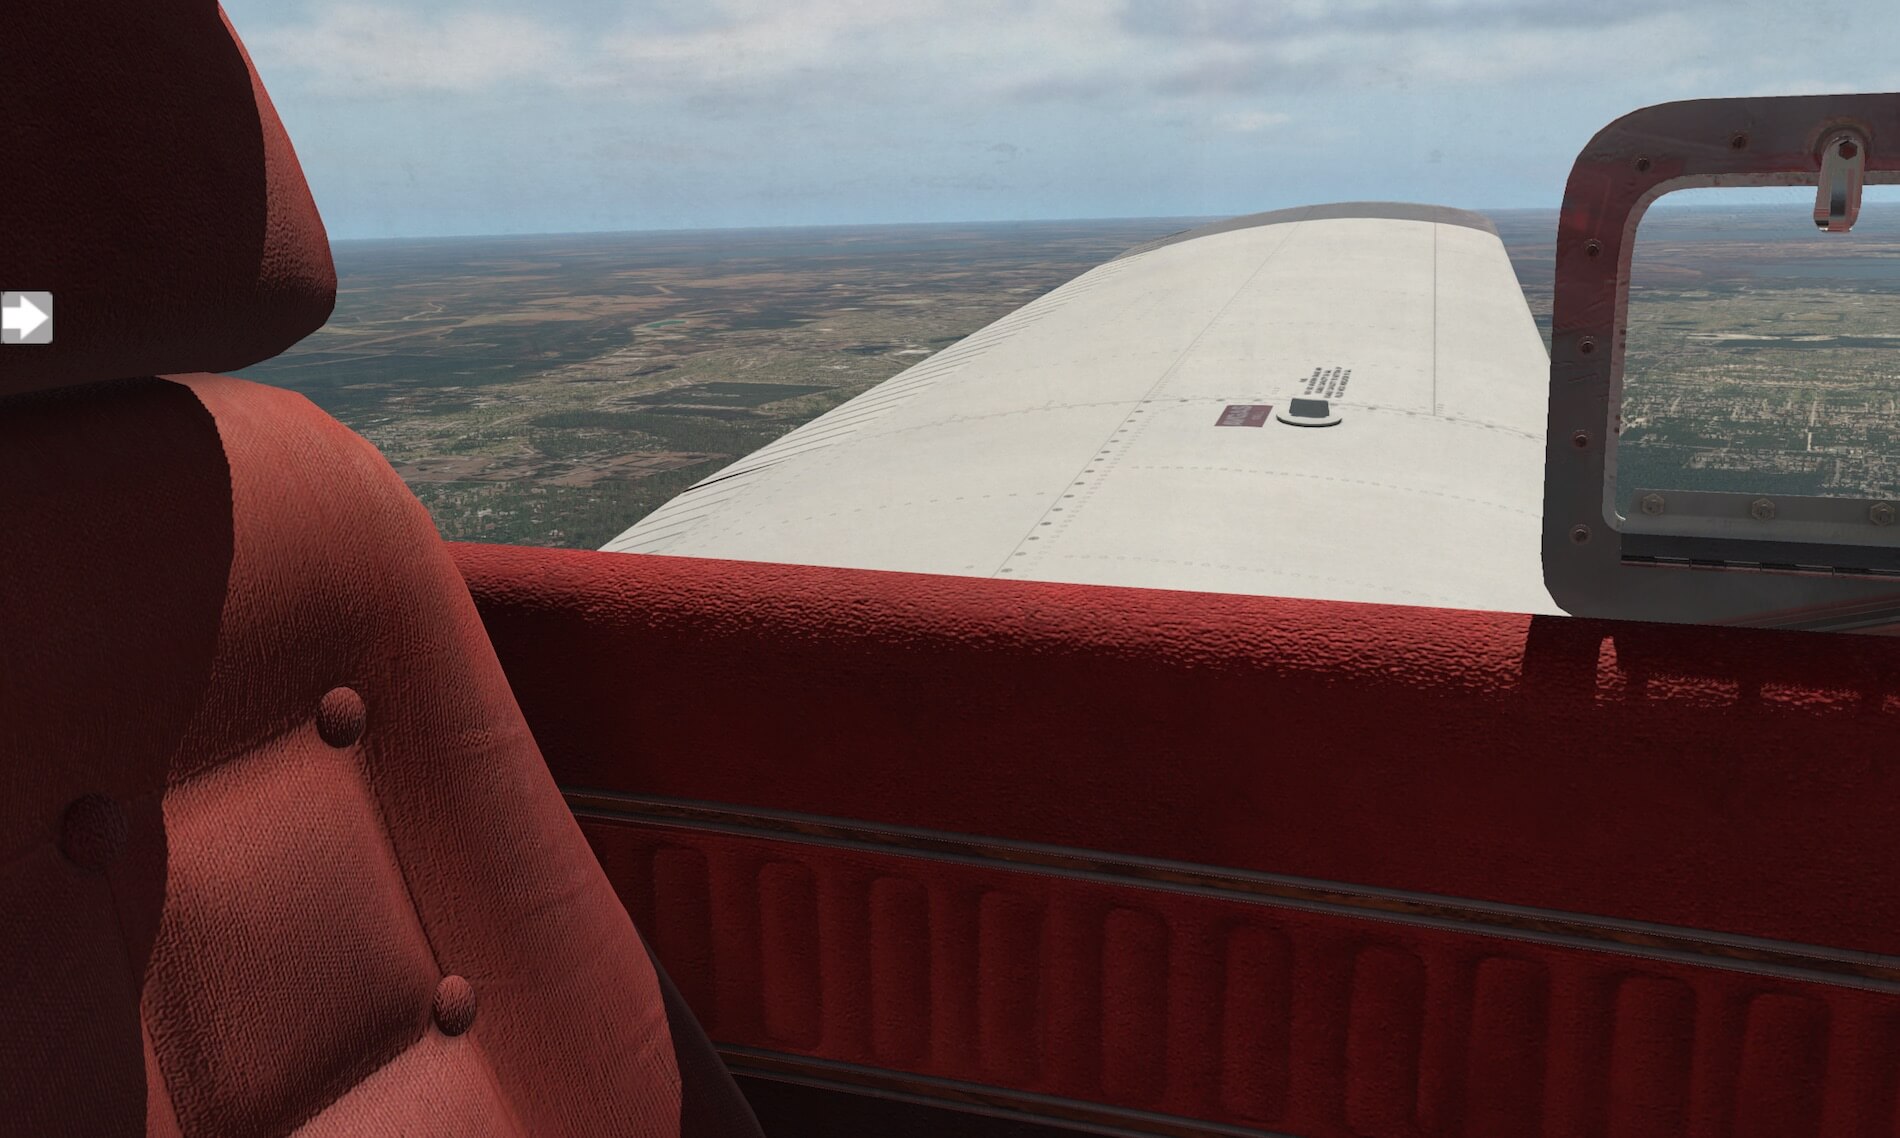
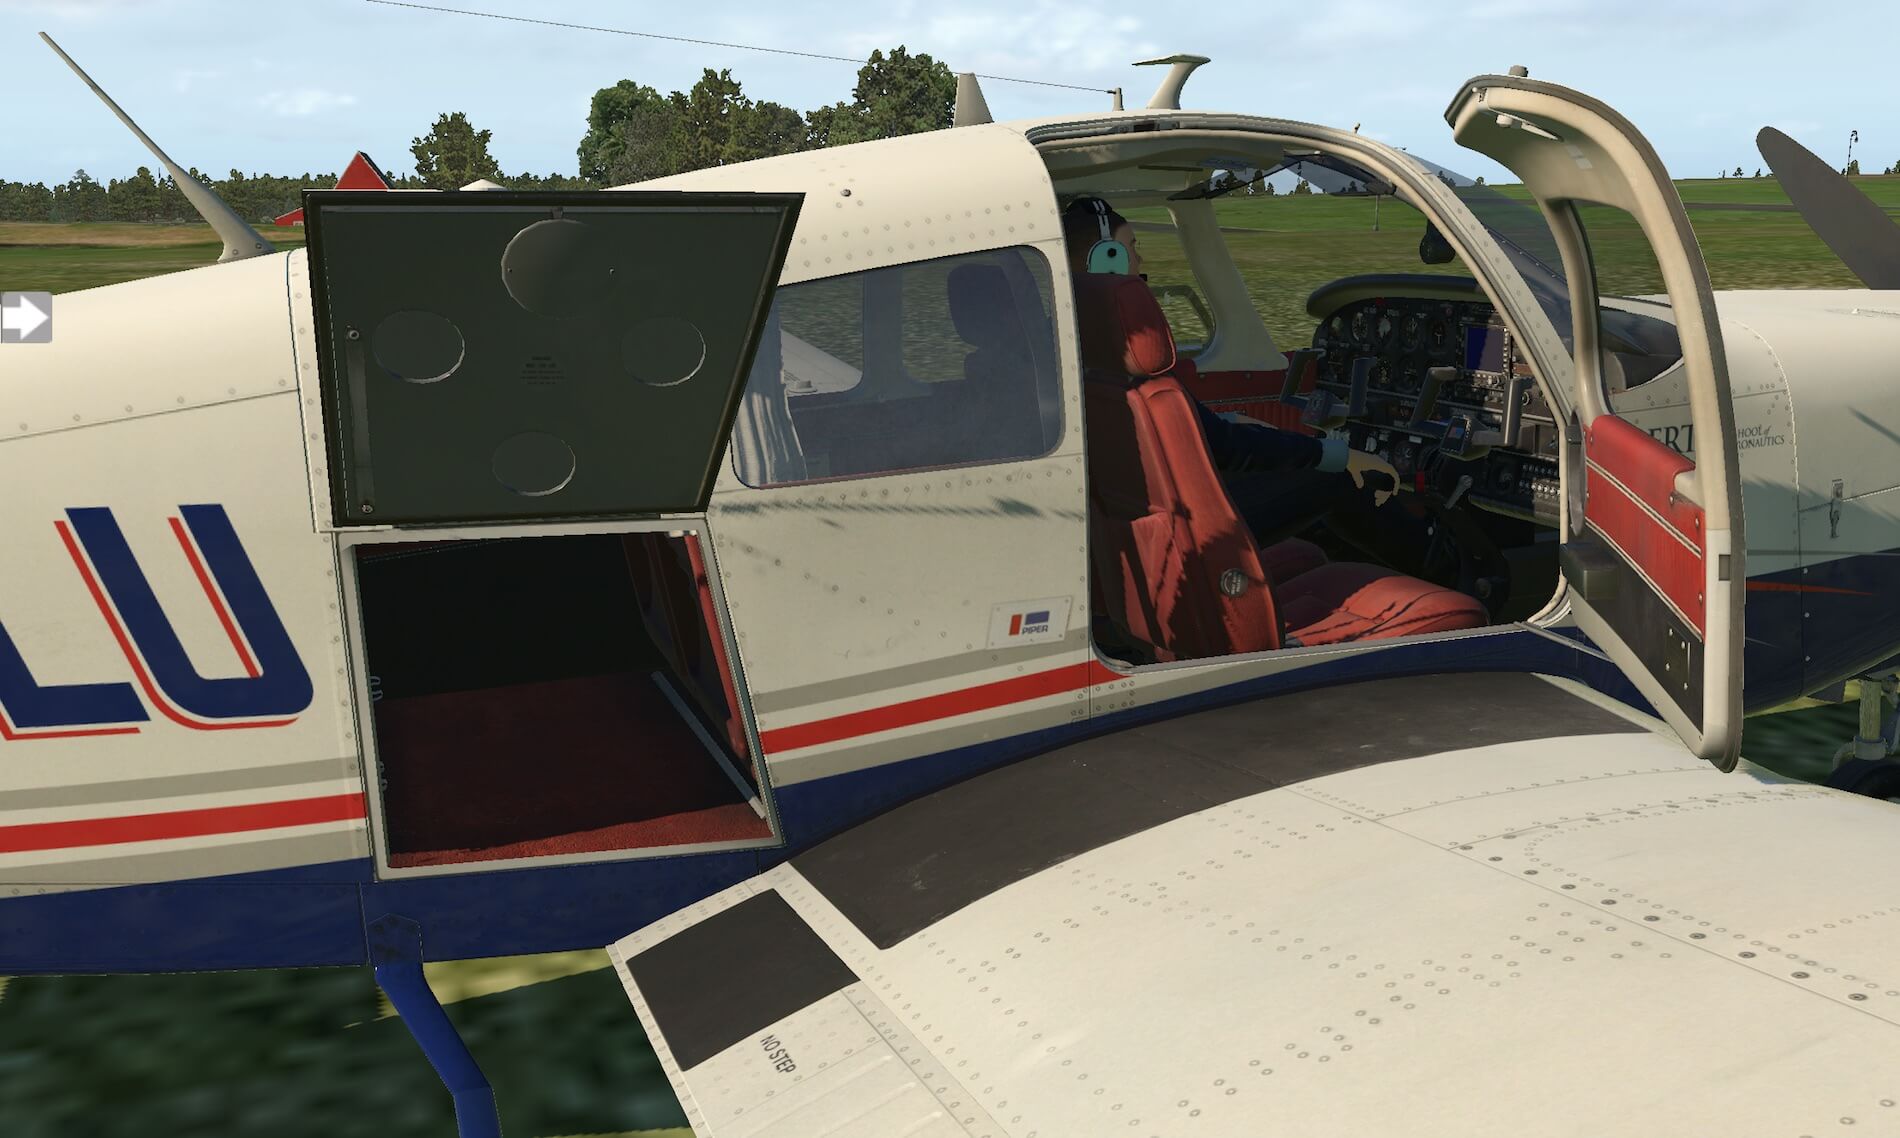
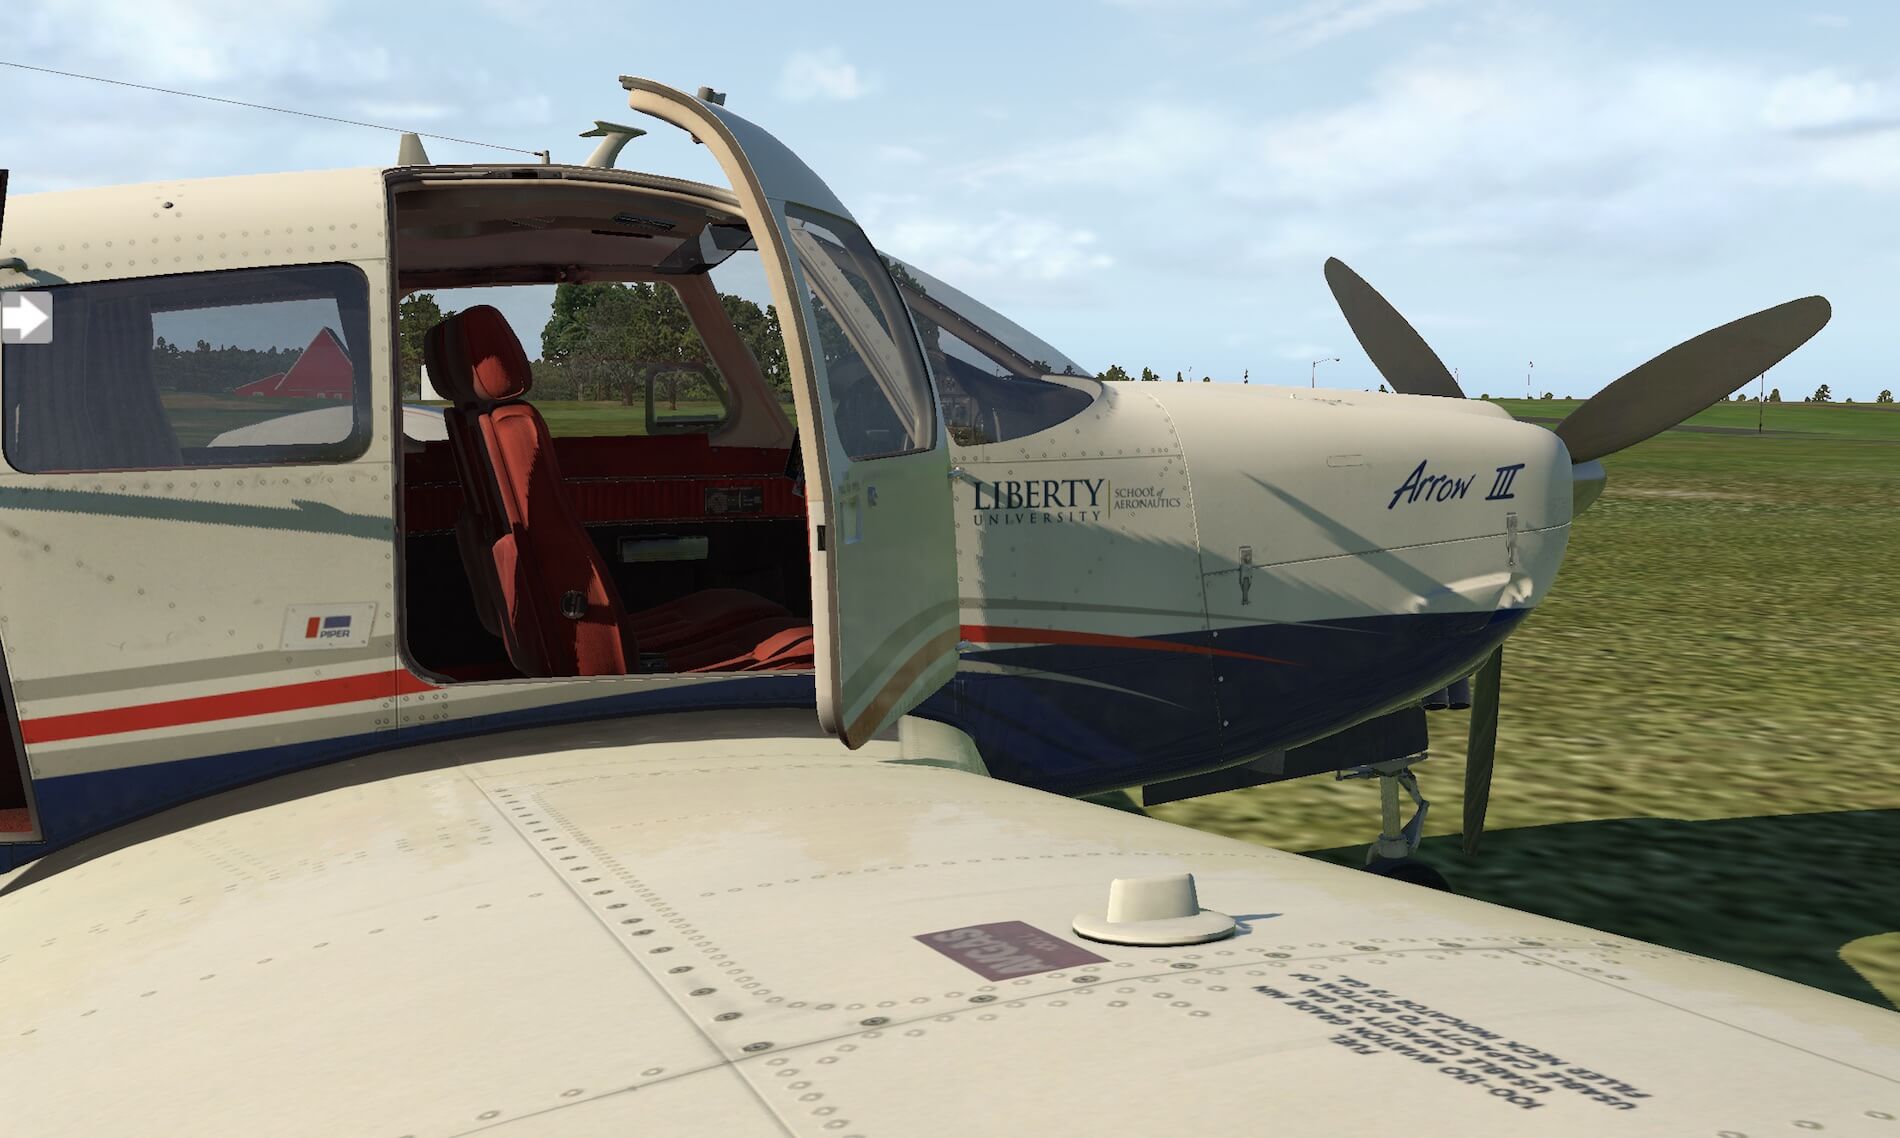
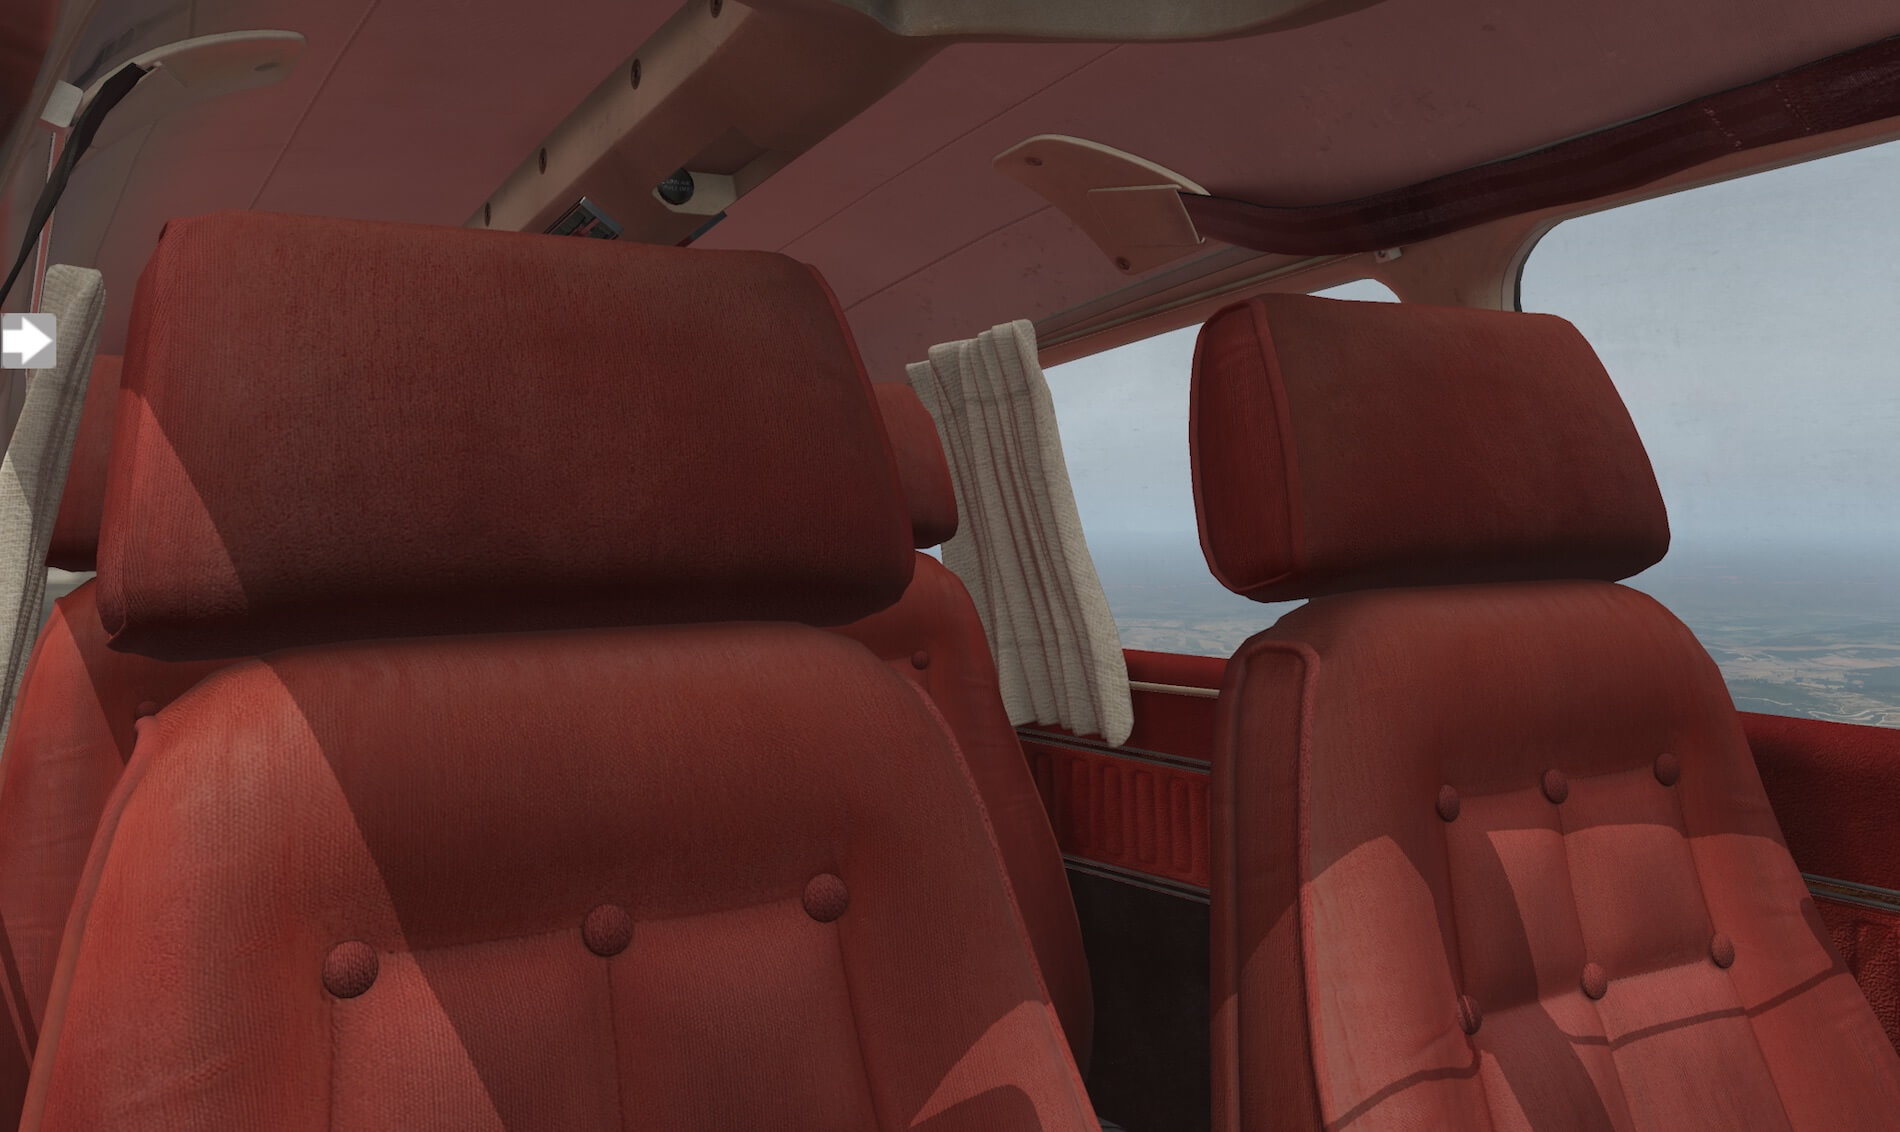
Different then with most other GA developers; the seats are not covered with leather, but a red fabric. Disappointed? Not at all! It looks quite realistic and that’s the most important thing. The rear seats, the ceiling panels and curtains, it’s all a pleasure to see how much time is put into this to give it that look and feel. And, while looking to the right-hand passenger door, I noticed the present of the stainless-steel aircraft ID plate and guess what … I can read every letter! That’s great news that these tiny things haven’t forgotten by the developer.
Overall, I’m very pleased with the whole 3D cockpit design. I can’t say anything else. Removing the control wheels out of view is done in the same way as with many other developers. Click the control wheel rod near the instrument panel, and it’s out of view. Or click the opening on the instrument panel and you’ll get the clearly weathered control wheel back in view.
And worth to highlight, everything that’s below the instrument panel thus the side wall panels, brake/rudder pedals, linkages, mid console structure, red carpet and (stainless) steel floor panels underneath the pedals, all is modeled with eye for tiny details. In case for early or late flights, there’s also an individual indicator lighting rheostat installed and further on, there’s also a red 3D cockpit lighting system available. You can activate this via the Just Flight/Thranda Design white screen arrow on the left, icon “bulb” or reaching out to the ceiling and turn the rheostat.
And at the end …. anything forgotten ….. animations?
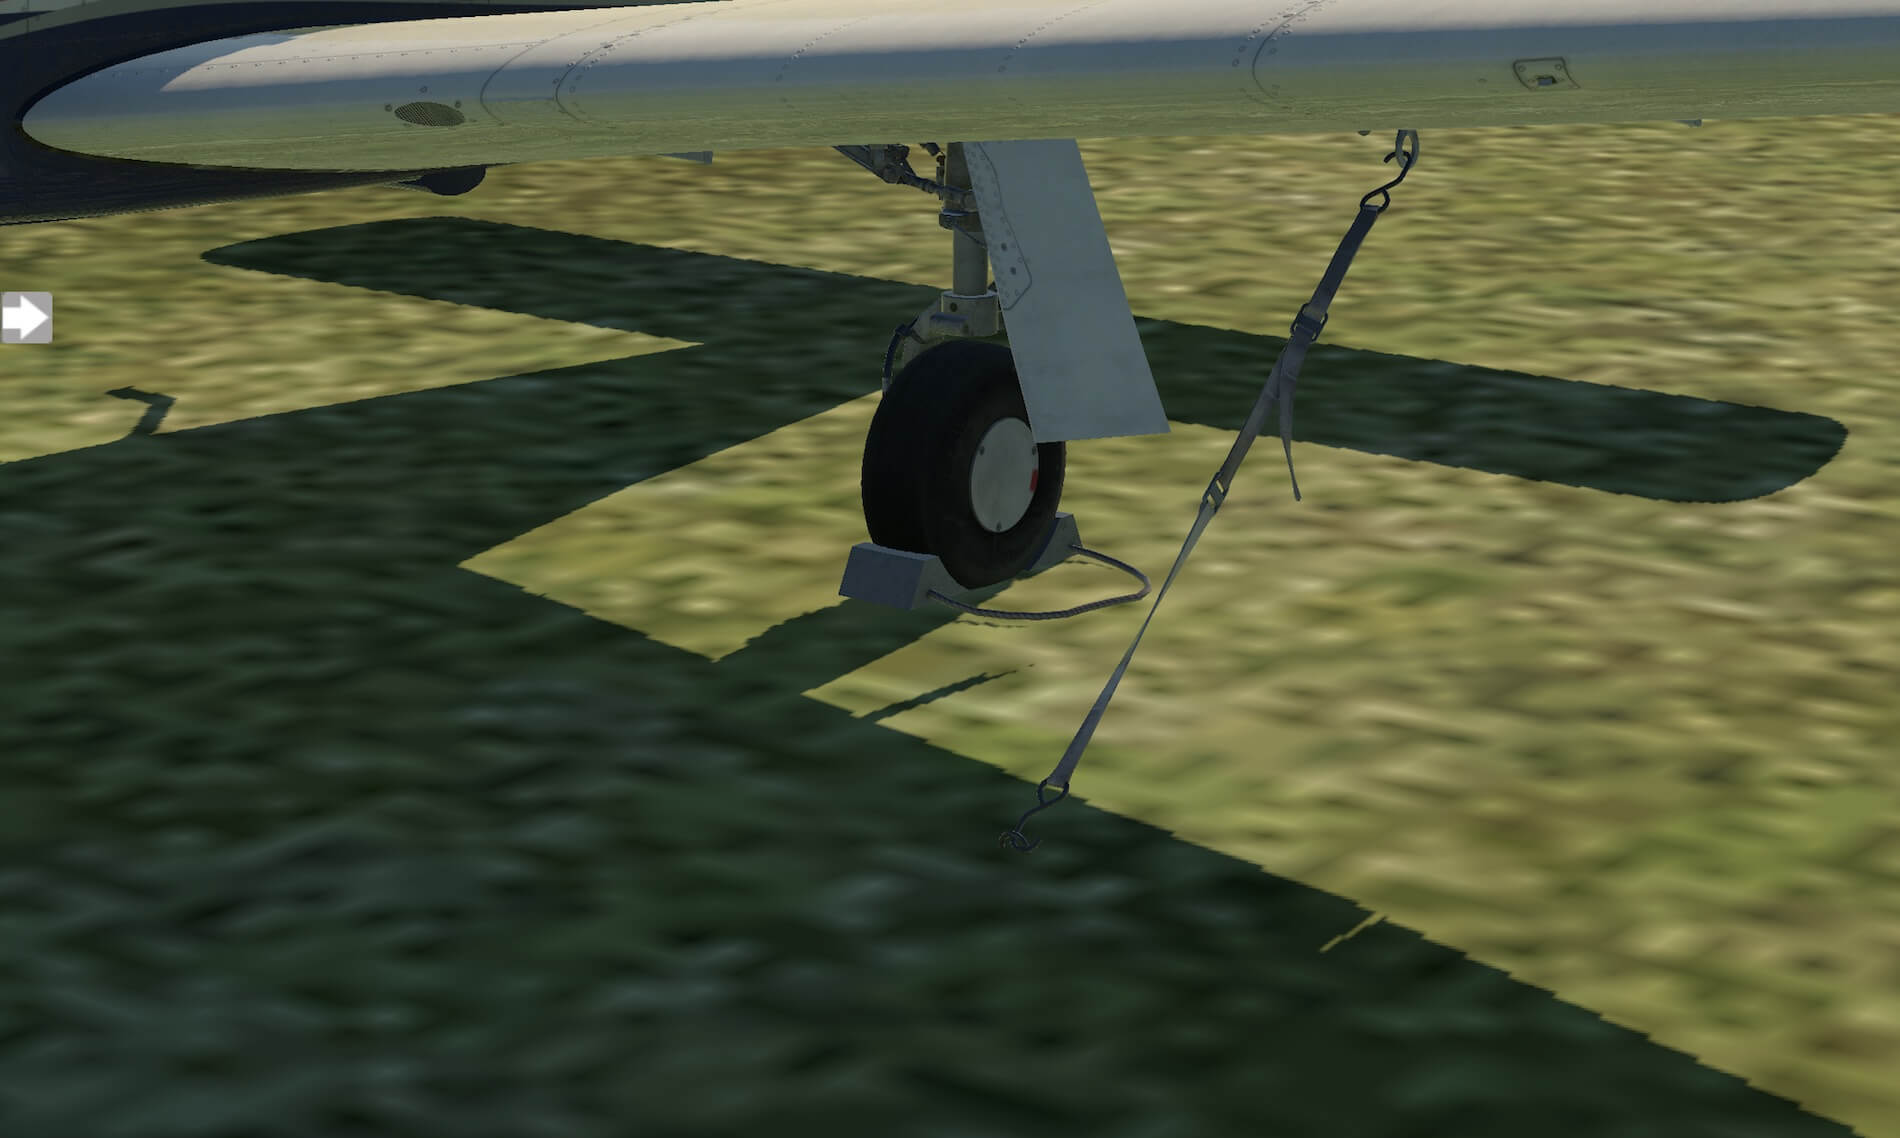
The only animations I found is the small side window – left-hand pilot seat – and the two sun visors. Externally, you find the passenger door (right-hand side) and the baggage door, also located on the right-hand side of the fuselage. And not to forget, the ground equipment.
Flight Continuation
Back to our test flight.
While the AP flies the Arrow III, I think it’s time to check out some unusual flight attitudes like speed turns, slow flight with and without flaps and power ON- and OFF stalls, of course, without the AP!
One flight test after the other is performed and I must say that it behaves as expected. Steep turns are never fun, although the fun lies in keeping the right turn (angle) while maintaining the same altitude. Not my favorite thinking back of the same practices with the Cessna C152. Slow flights aren’t difficult, but speed and altitude need to be monitored closely. The stalls are probably the most important tests do to since you never know how the aircraft will react and if it will react as expected. As far as my feeling says, all test did well. By the way, practicing spins isn’t possible since the Arrow III isn’t certified for this, at least, that written on a decal, placed on the left-hand side of the interior.
With the aircraft being back in a normal flight, I tune for VORTAC (tactical VOR) OCF or also known as OCALA. Since I’m curious if the AP can follow a VOR or VORTAC, I select the selector switch on the AP panel to NAV and this works. The Arrow III is now following OCALA instead of my previous selected HDG. For those who are a bit more interested in an in-depth document of the AP, have a look to this link. It’s the official manual of the Piper Autocontrol IIIB panel.
I’m half way the flight, and I’ve decided to add another interesting practice …. A POWER OFF (throttle back in idle) EMERGENCY landing. Lucky for me, there’s not far from my current flight location, a grass strip. I have no clue which ICAO field this is – no time to check since I’m in an emergency situation – so time to do the necessary preparations for a successful landing, at least I hope. Although this is not for the fully 100 percent an emergency landing – I still have power and the engine is running – it was one of the practices I needed to do during my PPL lessons.
With FLAPS DOWN and GEAR DOWN, it’s a matter of the right feeling when to turn in for final. Although it’s easier then without a running engine, the engine doesn’t offer any power anymore so I need to watch out when I’m making my final turn for the runway. Assuming that the Arrow III is a great PPL aircraft to learn to fly, I can confirm this right now. It’s not difficult to keep it on track, and thus without any issue I’m able to land with this power OFF situation.
Ground Check
While here, in the middle of nowhere, it’s the time to check the Arrow III exterior or as I always say, doing a walk-around check.
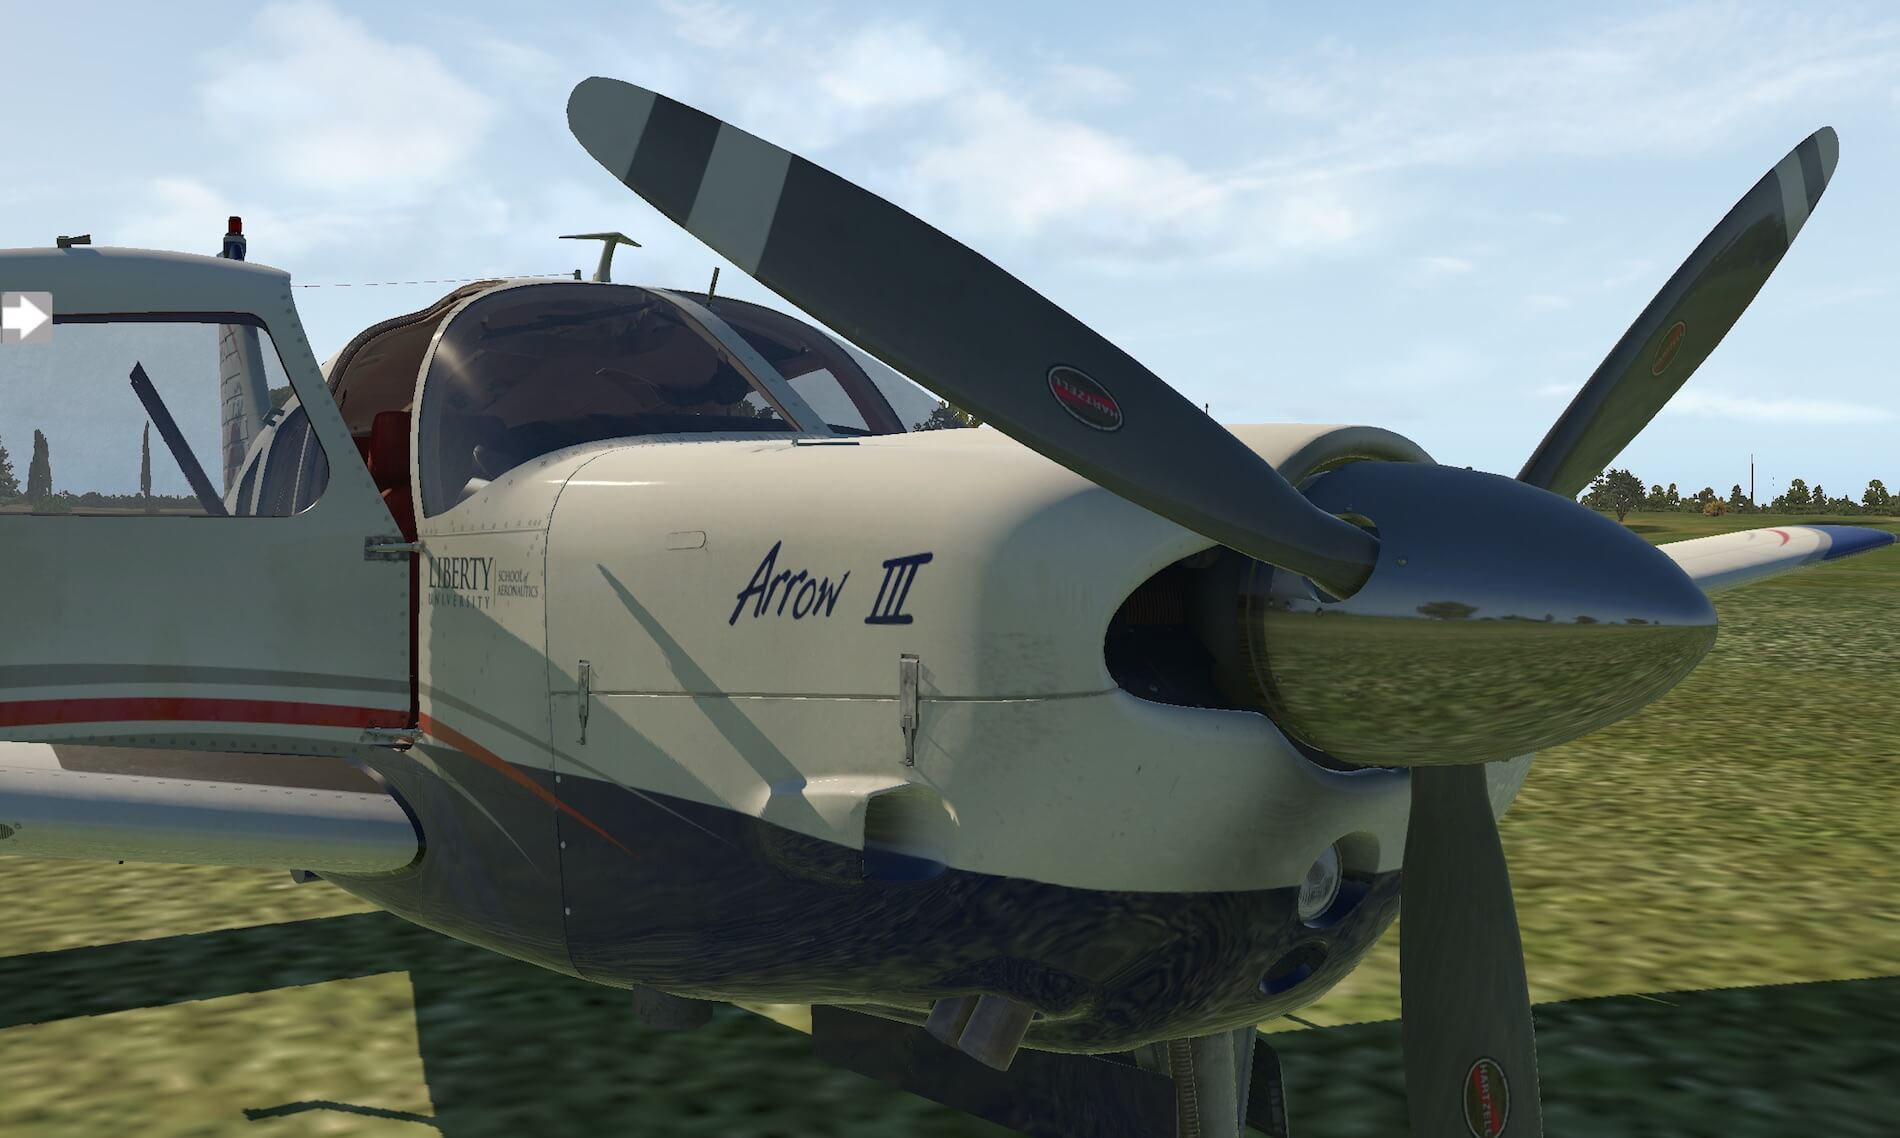
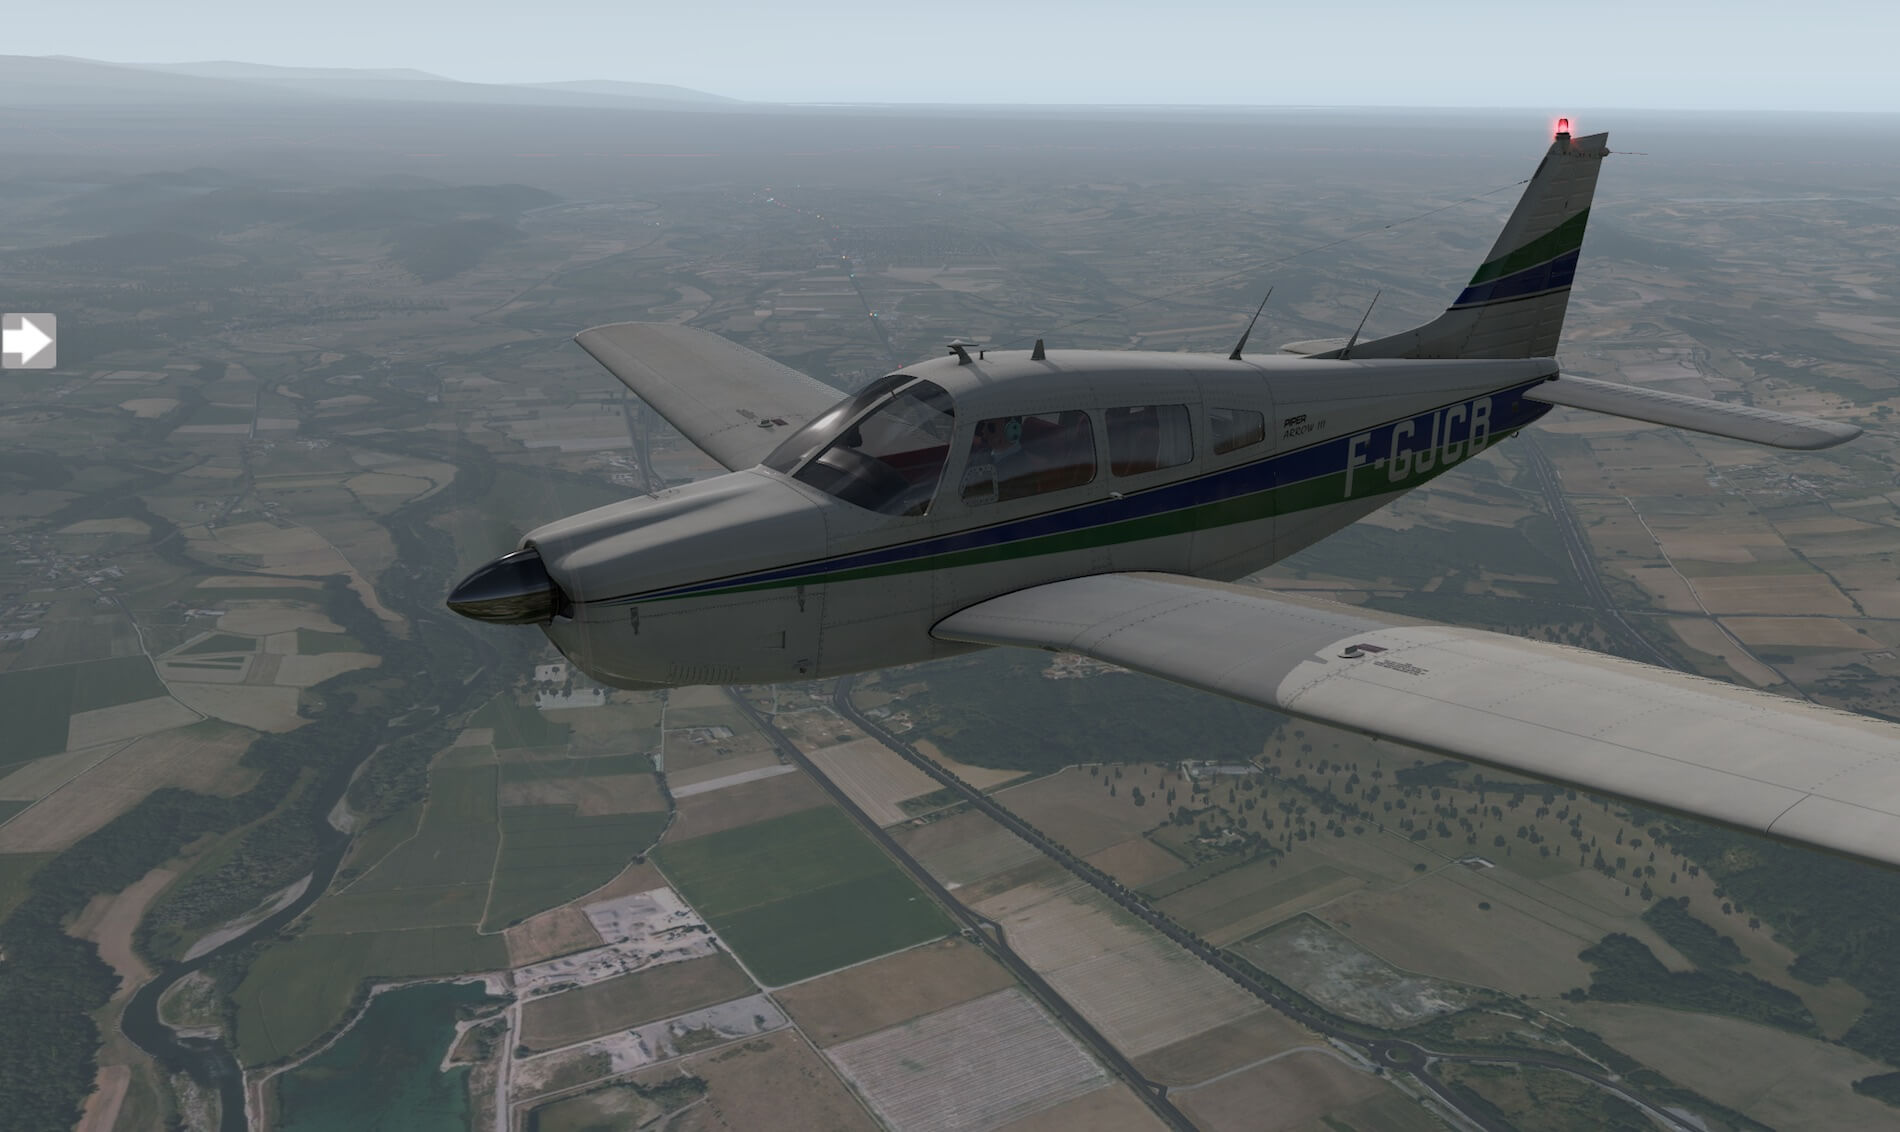
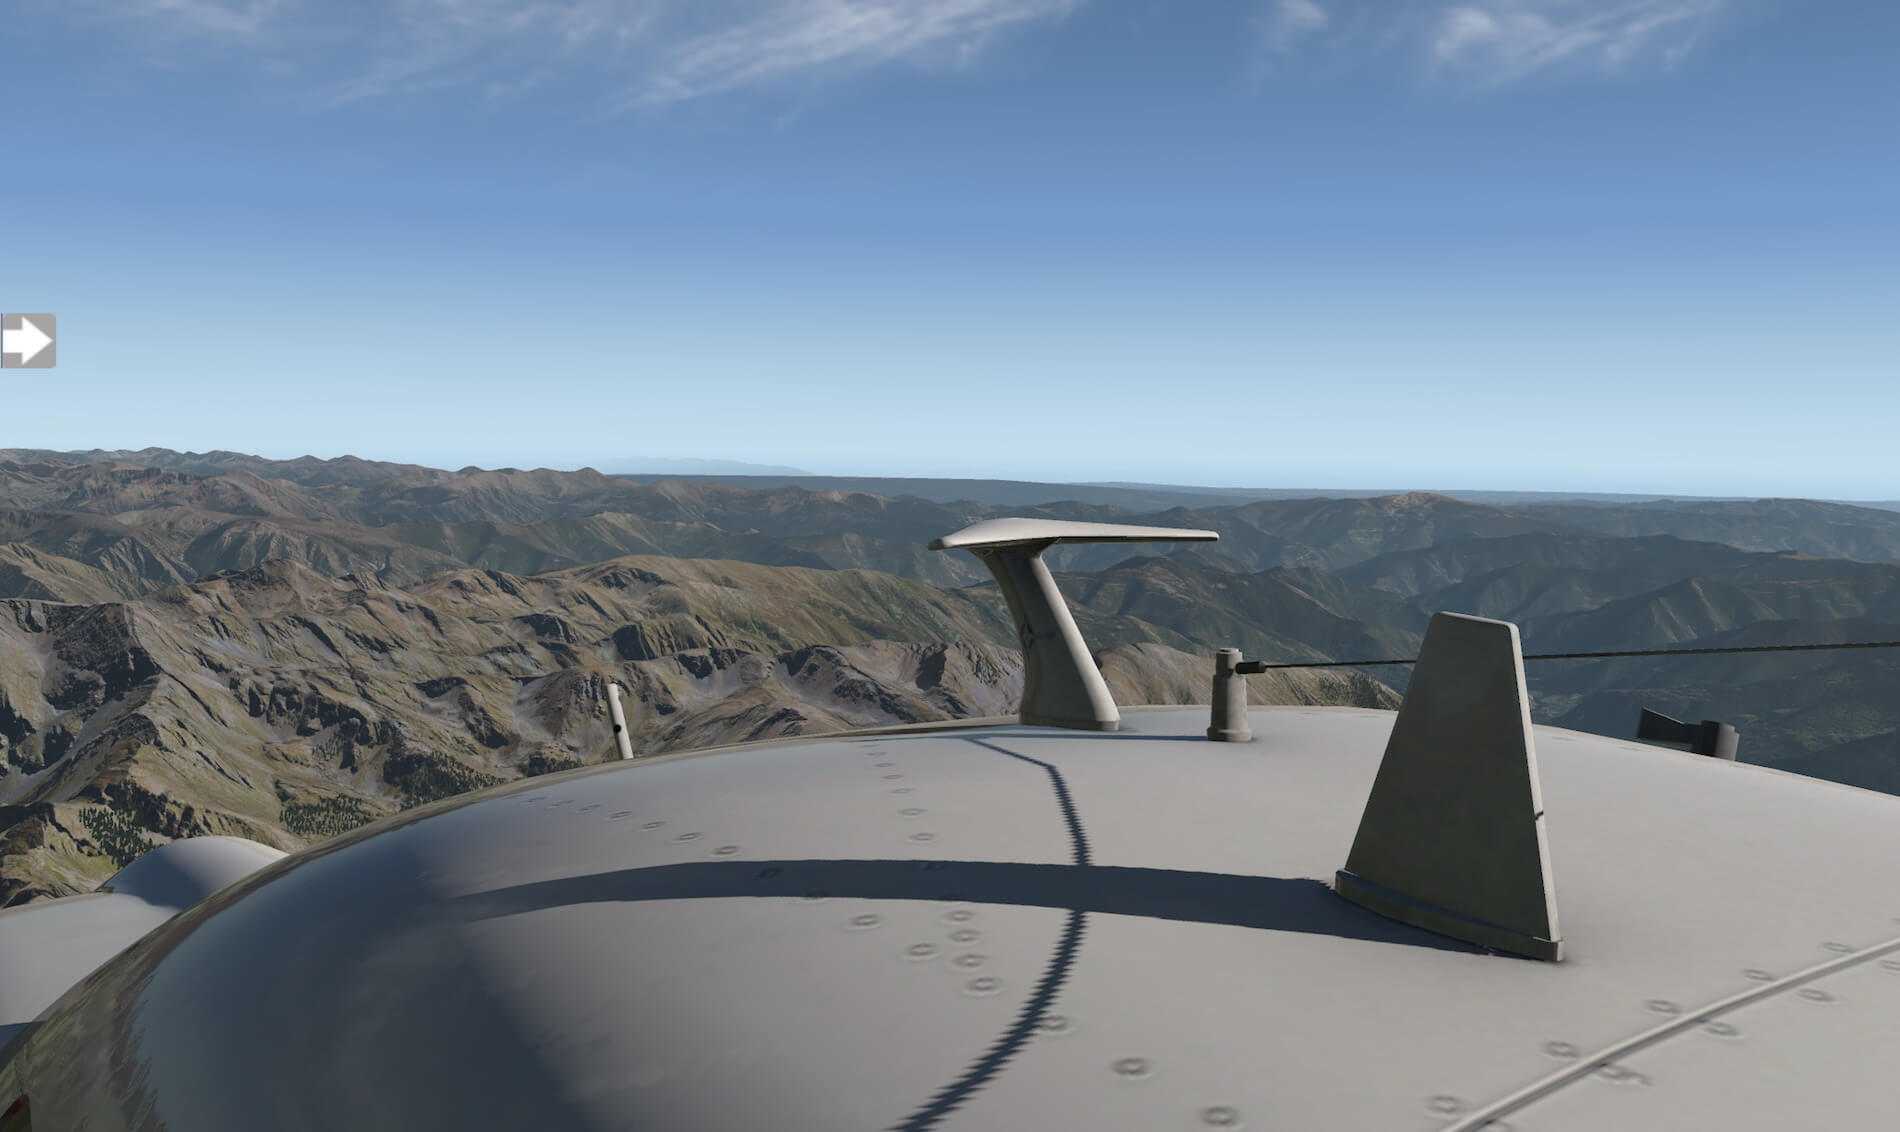
My first impression looking from a distance to the modeled Arrow III is …. wow, but that wow isn’t only for a distance. Even a close-up walk-around reveals a through modeled Arrow III with eyes for details. Things look sharp and clearly readable decals are one of these tiny details although some decals could be a bit sharper like the text on top of the wing near the fuel cap.
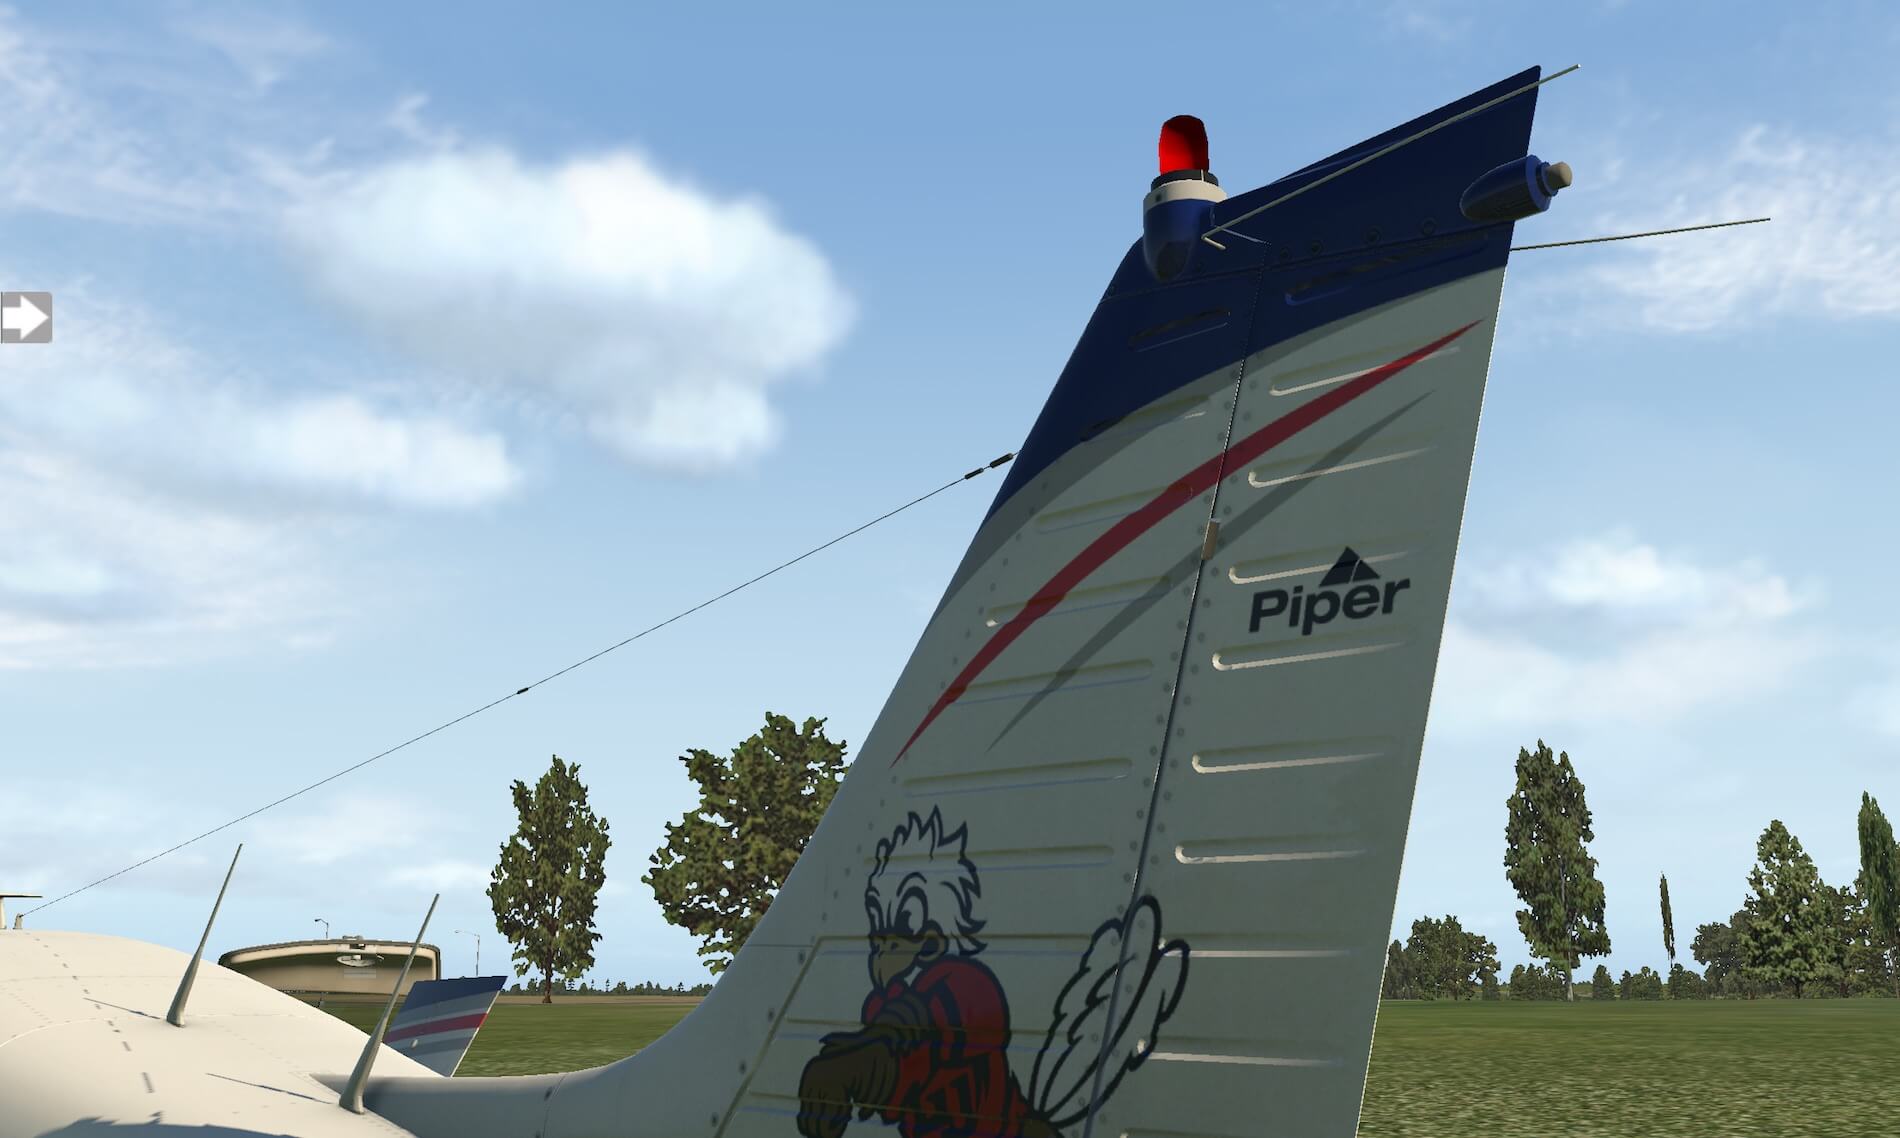
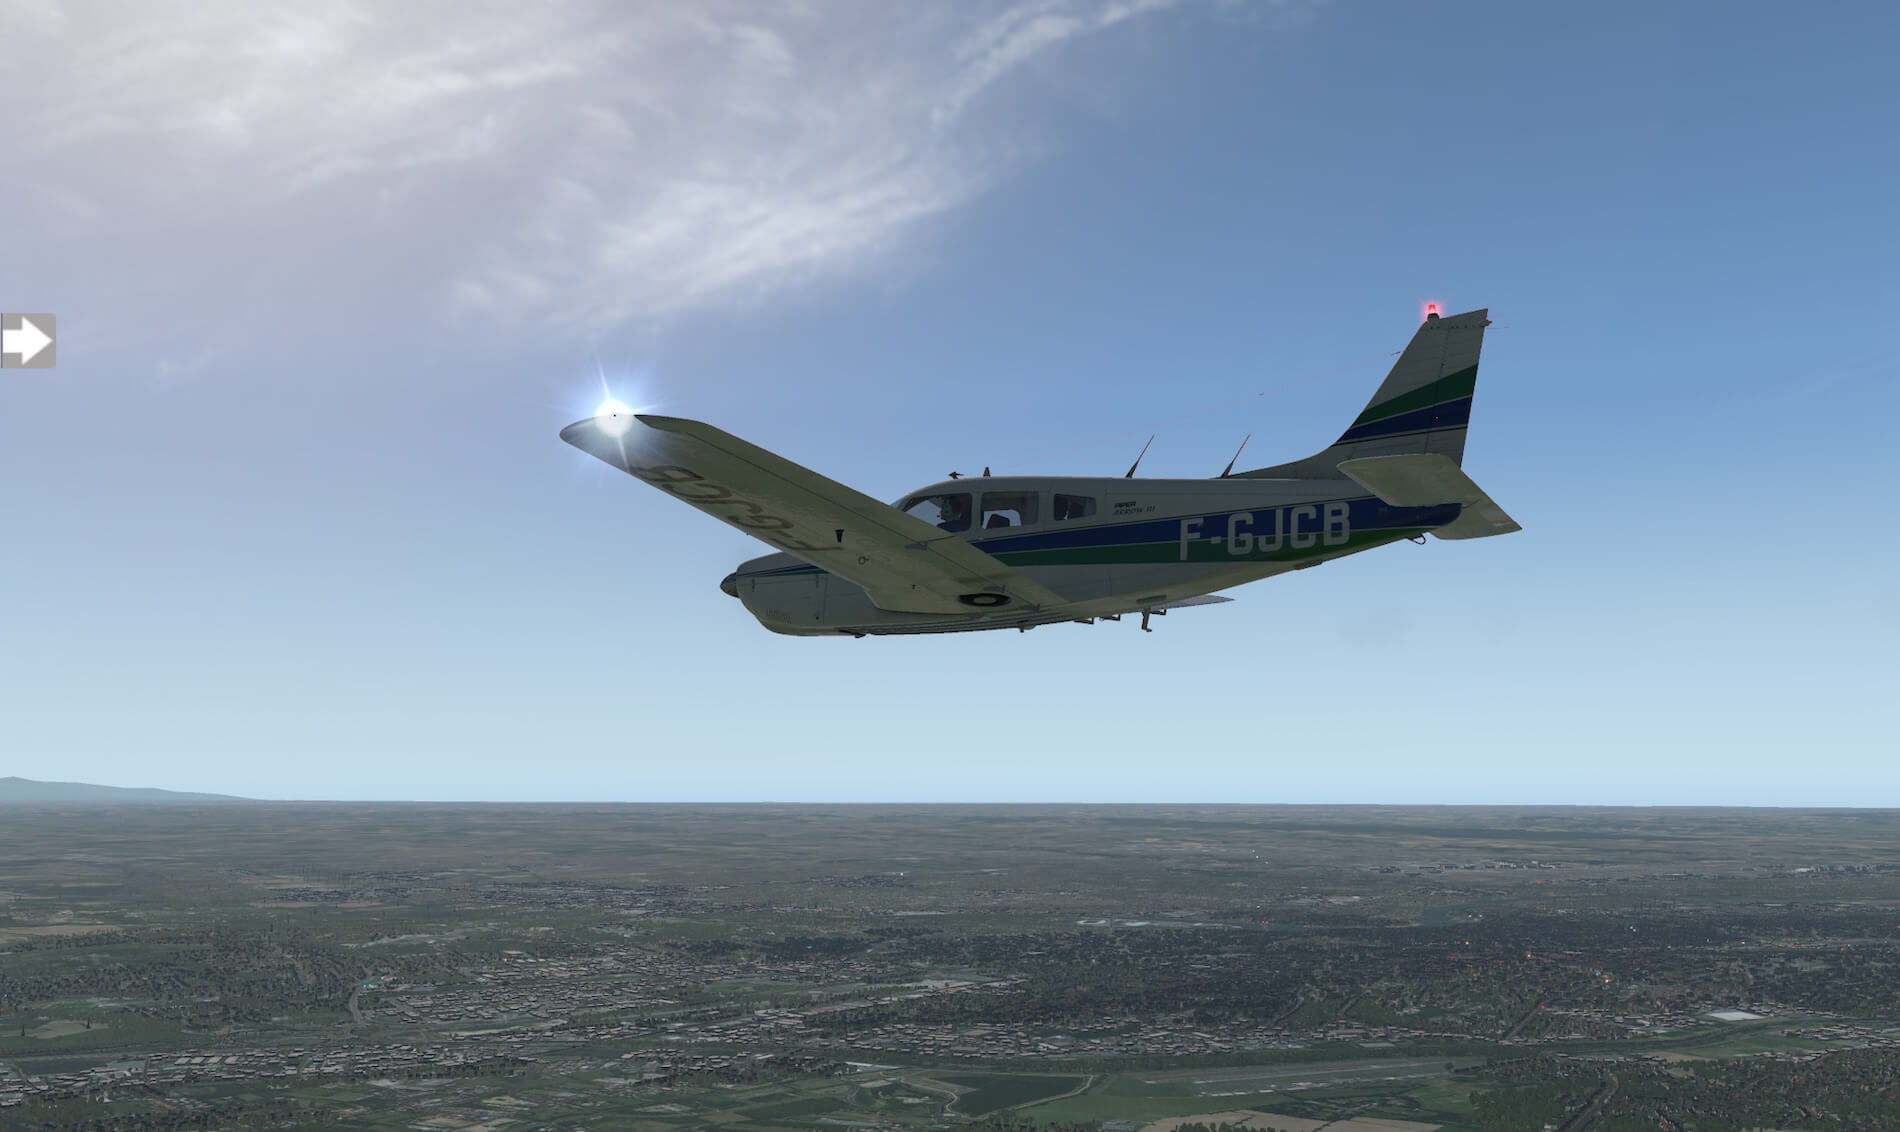
What’s weird too, and perhaps some additional work has to put into this, are the navigation and strobe light units at the wing tips. The strobe light bulb glass is, when the light is OFF, grey and doesn’t look OK to me. The navigation lamp unit is dull and personally I think these should be semi-transparent or am I completely wrong? I think this comment is also applicable for the beacon light on top of the vertical fin and the tail strobe/navigation light on the rudder trailing edge. They are normally made of glass or plastic, but at least semi-transparent.
I mentioned before that on the right-hand cockpit/passenger door you’ll find the aircraft ID stainless-steel plate, can you remember …… just in front of the left-hand horizontal stabilizer, I notice the presence of a stainless-steel plate with all aircraft details however, this is blurry and I can’t read anything. This could be better and I sincerely hope that the developer can upgrade that plate to a readable aircraft ID plate. Will the Arrow III fly less due to these tiny comments? No, it won’t, but it’s always a challenge to improve whenever it’s possible.
It’s not a golden rule that modeled aircraft must have a weathered skin. No, it’s also up to the developer if he or she wants this. And, at the same time I have to admit that privately owned aircraft are kept as clean and new as they were in the beginning. But in the case of the modeled Arrow III, all paintings have a minimum of weathering.
All the liveries have a dirty belly and the underside of the wings are dirty too, and when you look closely, the Aluminum skin has many dents. In that respect, it fits well with the cockpit instrument panel, components, control wheels that too shows a weathered look.
While doing my walk-around check, I’m pleased with the detailed modeled landing gears although it must be noted that the modeled springs on the NLG (Nose Landing Gear) and MLG (Main Landing Gears) look like springs, but in reality, it’s just a tube that is modeled with a spring texture wrapped around it. An issue? No, not worth it, but I just saw it. All three struts are covered with texture that simulate dirt.
I must say that the overall look of the modeled Arrow III is very good, full of details, but also a couple of small issues which I mentioned before, that need the developer attention and I hope that with future updates these small issues can be improved and/or solved.
A typical Garmin flight
The Plan
I did make already a test flight which was successful, but I feel there’s a need to make another test flight. A flight that uses the build in Garmin GNS530. To make this happen, I make a flight in southern France, Blagnac/Toulouse.
Although this will be a short flight, it’s a good idea to create a flight plan (fms format is a requirement), and moreover to play around with the Garmin during the flight. Therefore, I would like to explain you how I created this “fms” format flight plan unless you know this already, then you can skip this section.
To create a flight plan you could use many programs like Routefinder which offers you quickly a flight plan, but this is not in “X-Plane fms” format. Or you could go for FlightAware, but again, this doesn’t allow you to export it to an fms file format. Another option simBrief. You need to register but it’s for free and a wealth of flight planning information becomes available.
Then there’s also the browser-based Online Flight Planner, but I go for SkyVector, but I need for this X-PlaneTools. You and I all know SkyVector, but SkyVector saves your flight plan in fpl format which in turn can be converted to fms with X-PlaneTools. I prefer to create a sightseeing IFR flight, so I use SkyVector above all the other options since it allows me to add waypoints on my scenic IFR route.
Loading the Flight Plan
Loading the created flight plan in your GNS530 could be easy, but for some reason I hear from many simmers that it isn’t so easy as they had hoped for. Right, let me help you with that in case you’ve not done this before or in case you’re struggling with loading flight plans in the Garmin navigation devices.
Copy the created fms file into the X-Plane root folder Output/FMS plans. With the fms file in this folder, you’re able to load the flight plan into the Garmin GNS 530. Once you loaded the aircraft and powered it up, click the flight plan button till you got the empty “ACTIVE FLIGHT PLAN” page. Next click once on the right hand inner knob.
The saved flight plan(s) come into view. Click the PUSH CRSR button to highlight the upper flight plan. If this is the flight plan you need, click then the ENT button else place the mouse symbol at the right-hand side of the outer knob from the PUSH CRSR button. In both cases, the previous page is replaced by a “FLIGHT PLAN CATALOG”.
Just to clarify; when the “FLIGHT PLAN CATALOG” page only shows one flight plan, then this is most likely yours. When you have more flight plans installed, then click as many times as needed on the right hand outer ring of the knob. Once your flight plan is highlighted, click the ENT (enter) pushbutton. Your GNS 530 goes back to the overview page and shows a loaded flight plan. It turns out that it’s better and easier to use for this the popup window of the GNS 530, but that’s also a personal taste.
One thing to keep in mind is don’t forget to select on the GNS530 the CDI to GPS. By default, it shows in white VLOC. You need the green GPS above the CDI button else you can’t connect the AP to the Garmin.
Ready to Fly?
Taxiing goes well. A lot of taxi sound is implemented which makes it realistic. Oops, I didn’t tell you before. The created flight plan covers a scenic IFR route of approximately 2:45 hours and is roughly 400 kilometers (250 SM) long. How do I know all of this? Via the Panel Select Arrow lower row, the 3rd icon from the left (computer screen icon) is actually a flight computer and besides the previous information, it offers much more. Check it out yourself!
Before my engine start, I selected the FUEL selector to the LH tank, but how do I know how much fuel I used so far. Click again the Panel Select Arrow, middle row, 4th icon from the left (a drop icon) and a fuel imbalance window pops up. Easy, isn’t it? But do you know what’s even more easier although not as real as it gets; let the Arrow III itself do the fuel imbalance and let the Arrow take care for this.
Again, click the Panel Select Arrow, middle row, 3rd icon from the left (AUTO FUEL SW icon). Verify that the icon is colored red thus active and it taken fuel imbalance out of your hands!
I need to mention this once more since I though different during my first test flight. When you connect the AP, and select a ROLL mode, please remember that there’s an ALT HOLD mode implemented although AP PITCH is via an alternative way possible since the original Arrow III AP didn’t have an AP PITCH mode.
As indicated before in one of the first sections, I know that the AP is modeled as the real AP, but it’s great to notice that when the Garmin commands the AP to make a left-hand turn to the next waypoint, the aircraft first slightly drops altitude even though the PITCH mode is engaged. Remember, left-hand wing goes down for the left-hand turn which results in a slight loss of lift and thus the aircraft drops altitude. When the turn reaches a stable roll, pitch is added and the –V/S goes back to 0 V/S. So that’s good news, as real as it gets!
While the Arrow is cruising at approximately 4000 feet, controlled and monitored by both the AP and Garmin, I have some more time to explore other features of the aircraft.
Included Documentation
Not discussed yet, but what said before, the Arrow is doing all the flight work, so let me check the two provided manuals. In the DOCUMETATION folder you’ll find the following Acrobat files:
– PA-28R Arrow III manual X-Plane
– PA-28R Arrow III ODM manual X-Plane
In the same folder you also find, already discussed, a paint kit.
The 80 pages – including advertisement pages – of the PA-28R Arrow III manual for X-Plane explains all the ins and outs of the modeled Arrow III. It can basically be divided into the following sections:
– System Guide
– Panel Guide including Auto Pilot panel description
– Flying the Arrow (actually it’s a tutorial)
– Normal- and Emergency procedures
The modeled Arrow III may be at first look, a simple GA aircraft, but the moment you decide to follow the tutorial, you’ll find out that the modeled Arrow III has much more in house then you’ll expect. In other words, the included tutorial is absolutely worth the read.
The PA-28R Arrow III ODM manual or actually it’s the Operating Data Manual (ODM) deals with take-off, climb-, level flight-, descent- and landing performances. A must for the serious Arrow III virtual pilot.
The Package
As of this writing, end of October 2017, you can buy the Arrow III package via Just Flight, Aerosoft or X-Plane.Org. It comes with a serial number, needed to activate the product. Further on, it comes with a couple of liveries, to be exactly 12 liveries or I would say 11 since number 12 is a blank livery. Additionally, and mentioned before, the documentation folder has a paint kit included. The aircraft is compatible only with X-Plane 11.
Sound and Frame Rates
Some words about the included sounds and the FPS (Frame Rates per Second). When it comes to the included sounds I’ve got the impression that these are all recorder from a real Piper Arrow. I can’t prove anything, I can check anything, but many sounds I hear are new to me which means when they are new, then they have been added to it and thus being a part of the modeled Arrow. Overall a great pleasure to listen to all the sounds which gives this Arrow III the right feeling.
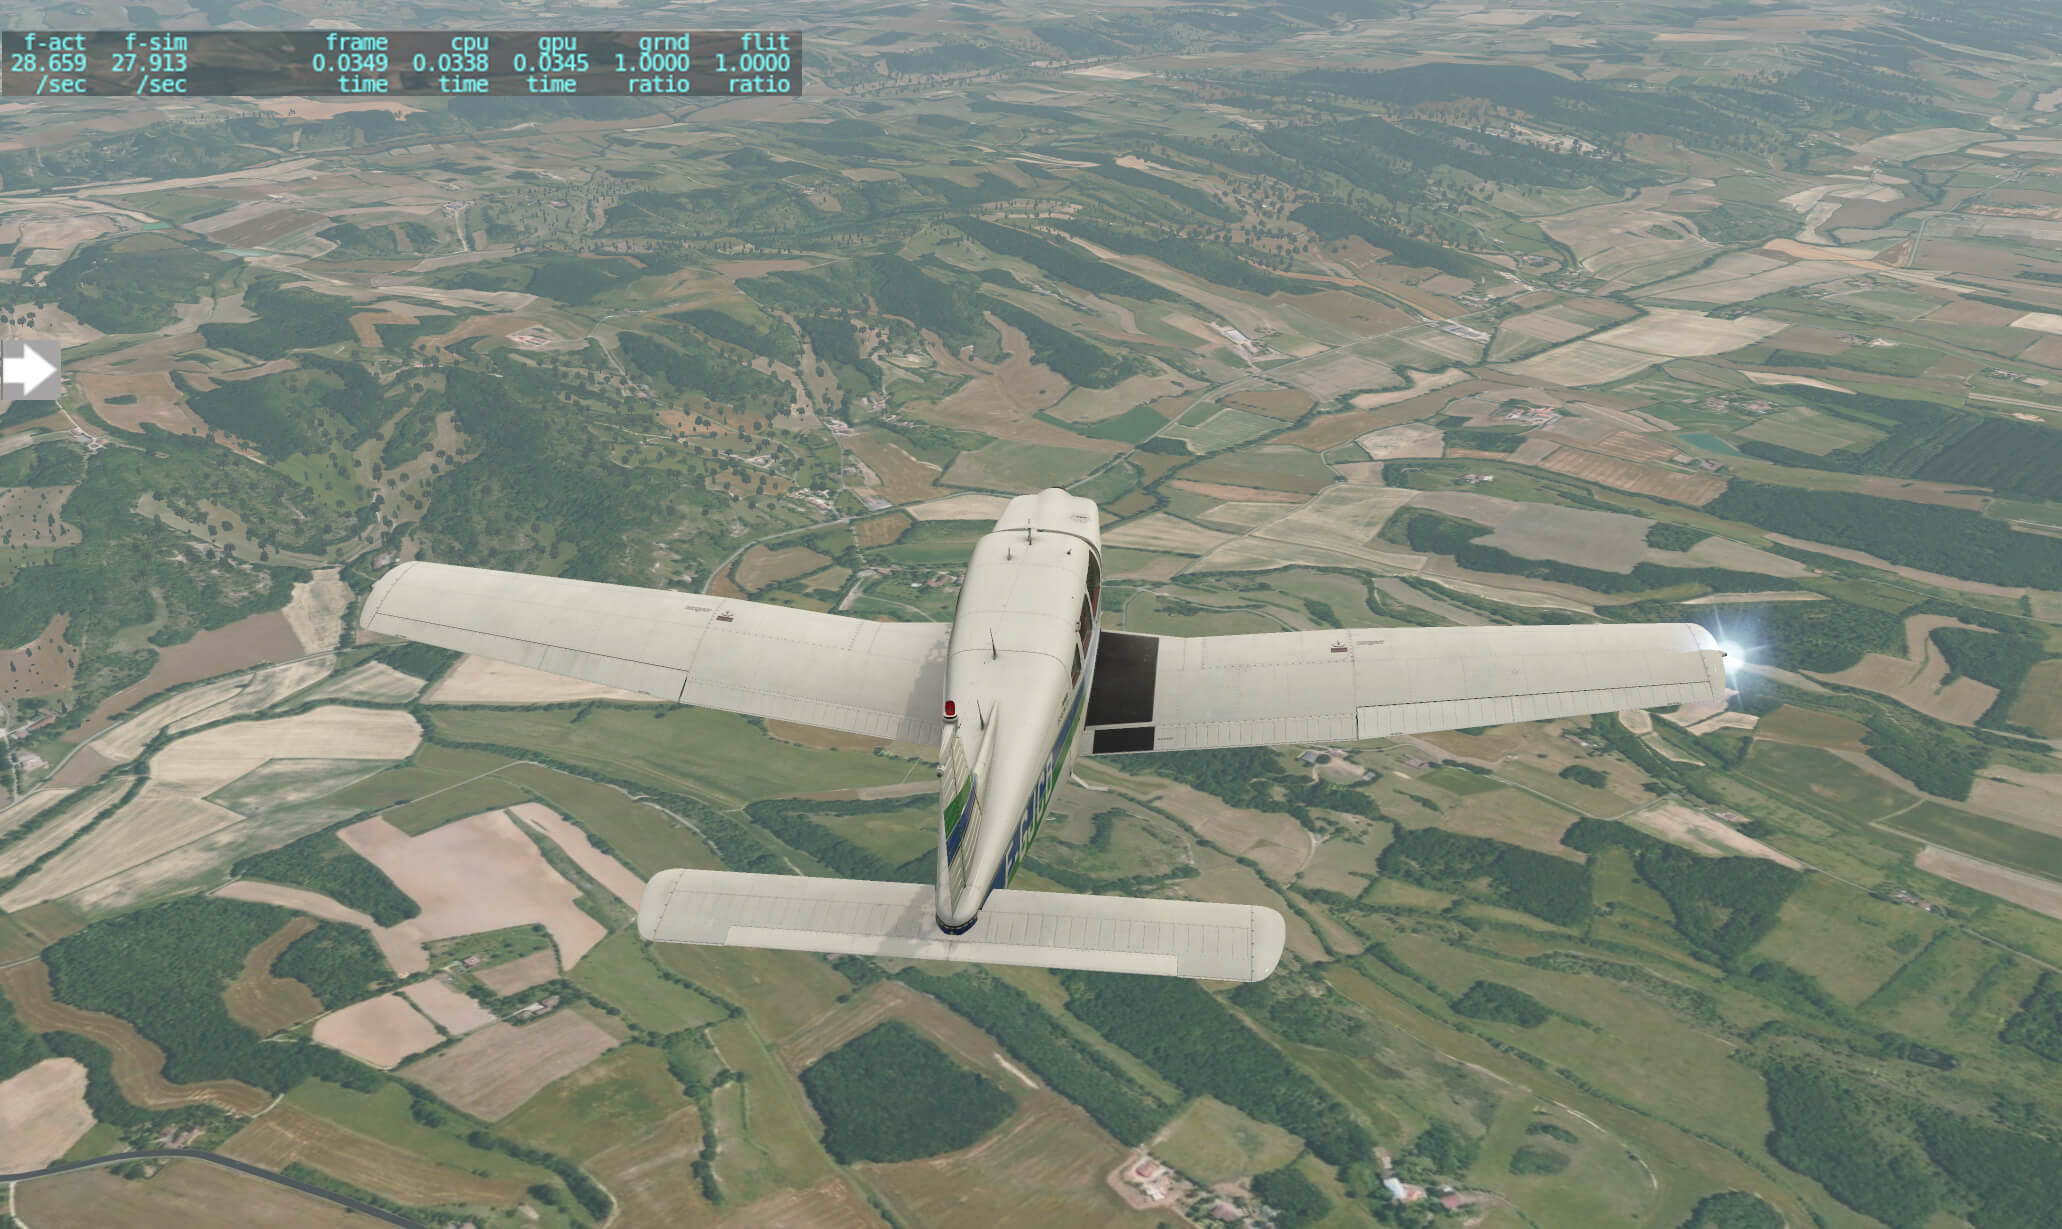
Frame rates … that shouldn’t be a problem I think. At least, it isn’t a problem on my Late 2013 iMac running X-Plane 11.05. Yes, I need to look for a new iMac, but I’m very satisfied with the overall produced frame rates.
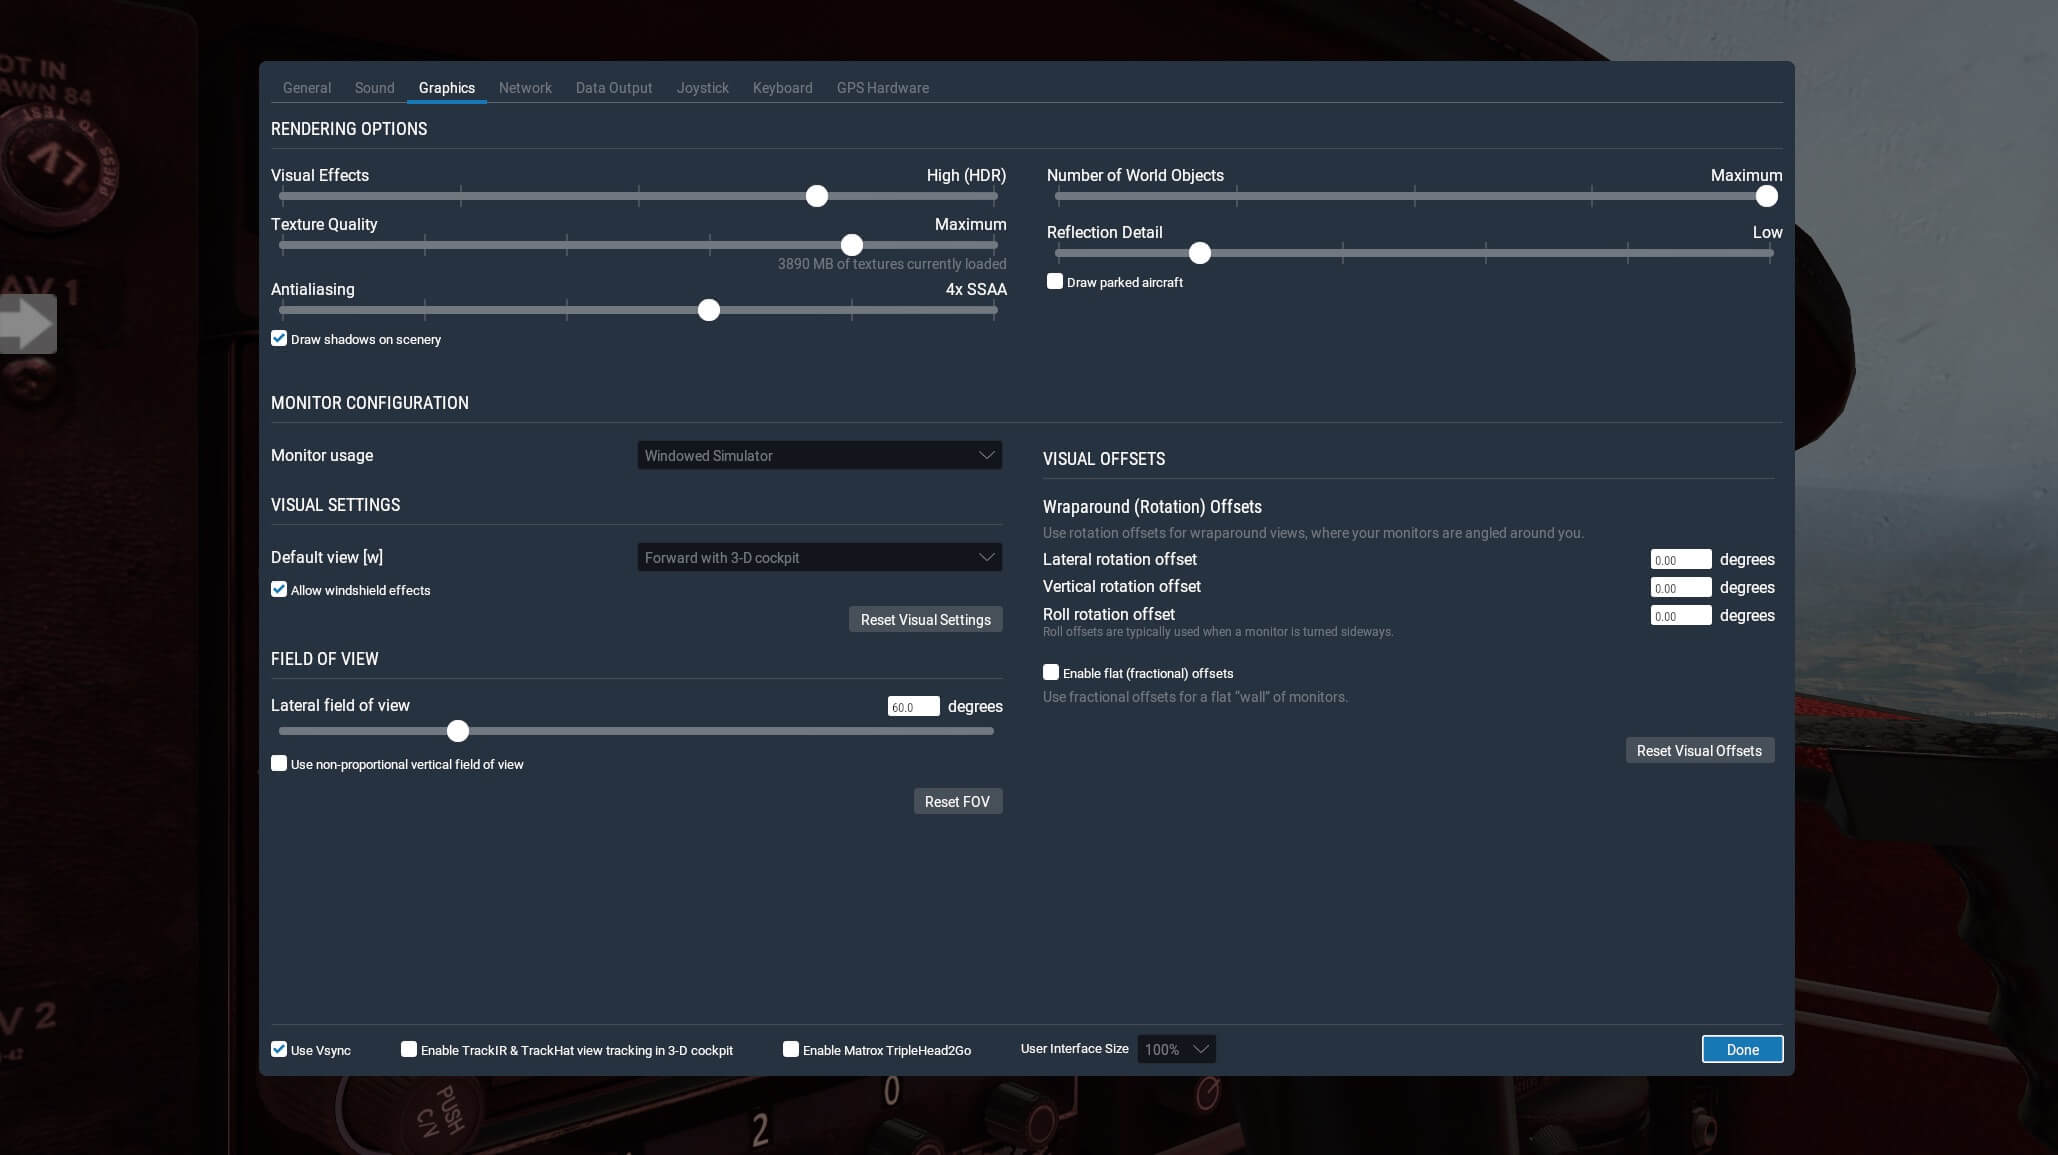
I don’t have any idea what computer you have, and which OS you’re using, as well as that I have also no idea about your monitor size, nor I know your X-Plane 11 rendering settings, but on my iMac with quite high rendering settings in (see specs at the end of this review) I can easily get 30, 40 or even more, but also 22 FPS. The 22 FPS depends of course on e.g. the environmental conditions, lighting, zoomed in on specific cockpit parts etc.
Flight Continuation
Ok, I’m back on my place.
Perhaps it’s a good idea to focus a bit more on the Auto Pilot and then in particular the ROLL modes. With the AP panel in view, you and I have seen the selector knob on the right-hand side, also known as the navigation/approach coupler. According to the manual the coupler has five modes (HDG, OMNI, NAV, LOC NORM and LOC REV). The HDG mode we used before in our flight which is used for tracking a selected HDG via the HDG bug. LOC (localizer) modes are used for ILS approaches while the NAV mode is used for VOR, VORTAC stations or when the Garmin GNS530 is used to fly a flight plan, but what is OMNI?
In the manual, you can find the following related to the OMNI mode. The coupler will automatically intercept, track and make crosswind corrections on any desired VOR radial the pilot selects. But hold on, when you select the NAV mode, the coupler will automatically intercept, capture, track and correct for crosswind on any desired VOR radial the pilot selects. But there’s one more sentence added for the use of the OMNI mode namely “It is recommended procedure to use only the OMNI mode for VOR approach work. Added to this I would like to highlight an example given on page 40 of the manual between a VOR navigation and VOR approach.”
I knew this before, but thought let see what it brings. The overall flight plan is for such a small Arrow III a bit too long. We can easily run out of fuel what we don’t want, especially when I’m above the Pyrenees.
So, you have several options; to break the flight plan and add a DIRECT-TO, or to switch back to HDG mode and fly back to LFBO, or find another airport where you can land and refuel or, less realistic but so handy, refill the aircraft in flight.
Yes, I’m aware that this is an option that’s far from realistic, but it allows you to make longer flights then normal. I mentioned this already before, click the Panel Selector arrow on the left-hand of your screen, find the “drop” icon (middle row, 4th icon from the left) and with one click you did an in-air refill!
Since a part of the flight plan goes over the Pyrenees, you and I should climb to a saver altitude. No, not should, but must! With a gorgeous external landscape beneath me – ZonePhoto ortho packages of Southern France – I come to the conclusion that I like what I see. By the way, when you climb, keep in mind that the service ceiling level is 15.000 feet. There’s no need to climb to this service ceiling level since the highest mountain in the Pyrenees where we fly – east of Andorra – is below 12.000 feet.
While on-route, you can play a bit with VOR cross-checks and calculate you’re distance to a VOR station or just tune for a NDB beacon. There’s no need that you disconnect the AP from the Garmin. You have still other sources in the cockpit that tell you a distance and direction to a VOR station. It’s fun although the Garmin is very handy. On our stretch to waypoint GIROM it’s time to climb. Don’t wait too long to start with the climb so try to be at 11000+ feet when passing GIROM, heading for OKABI. And while climbing to approximately 11000 feet, please don’t forget to monitor your IAS (Indicated Air Speed). Don’t let it drop too far!
There’s light at the end of the tunnel …. finally …. Toulouse/Blagnac is back on the Garmin display. I need to test for myself on more thing with the Arrow and that’s making an ILS landing. I don’t expect any issues, but some preparations are welcome. My plan is to land on runway 32R ILS CAT-II. The belonging ILS frequency is 108.35, 324 degrees and it has ILS ID “TD”. In the worst scenario, I could go for runway 32L which is officially used by EADS (or Airbus Industries) and this is also an ILS CAT-II runway. That comes with the following ILS information: TBN | 322 | 109.30. I’ll see what happens and if it’s busy at the time of arrival.
While descending, I trim the Arrow manually for a V/S of approximately -700 to -1000 feet/min. I do this by using the mechanical trim (on my Saitek it’s of course the electrical input signal), but I could also trim for “a” V/S and then click the ELEC PITCH TRIM knob, situated just above the starter switch. I have to descent for my approach to a final altitude of 3000 feet. With the ILS for runway 32R tuned, everything should be OK, but hold on, don’t forget to set the coupler knob on the AP panel to LOC NORM.
When nearby waypoint FINOT, I decide to change from NAV to HDG mode and steer in the direction of LFBO. And, I mentioned this before, I first set the HDG bug at the current heading, then select from NAV to HDG, and then change the HDG bug to a heading of approximately 270. When you try to do this trip yourself, check for your situation on the Garmin map which heading you need to select.
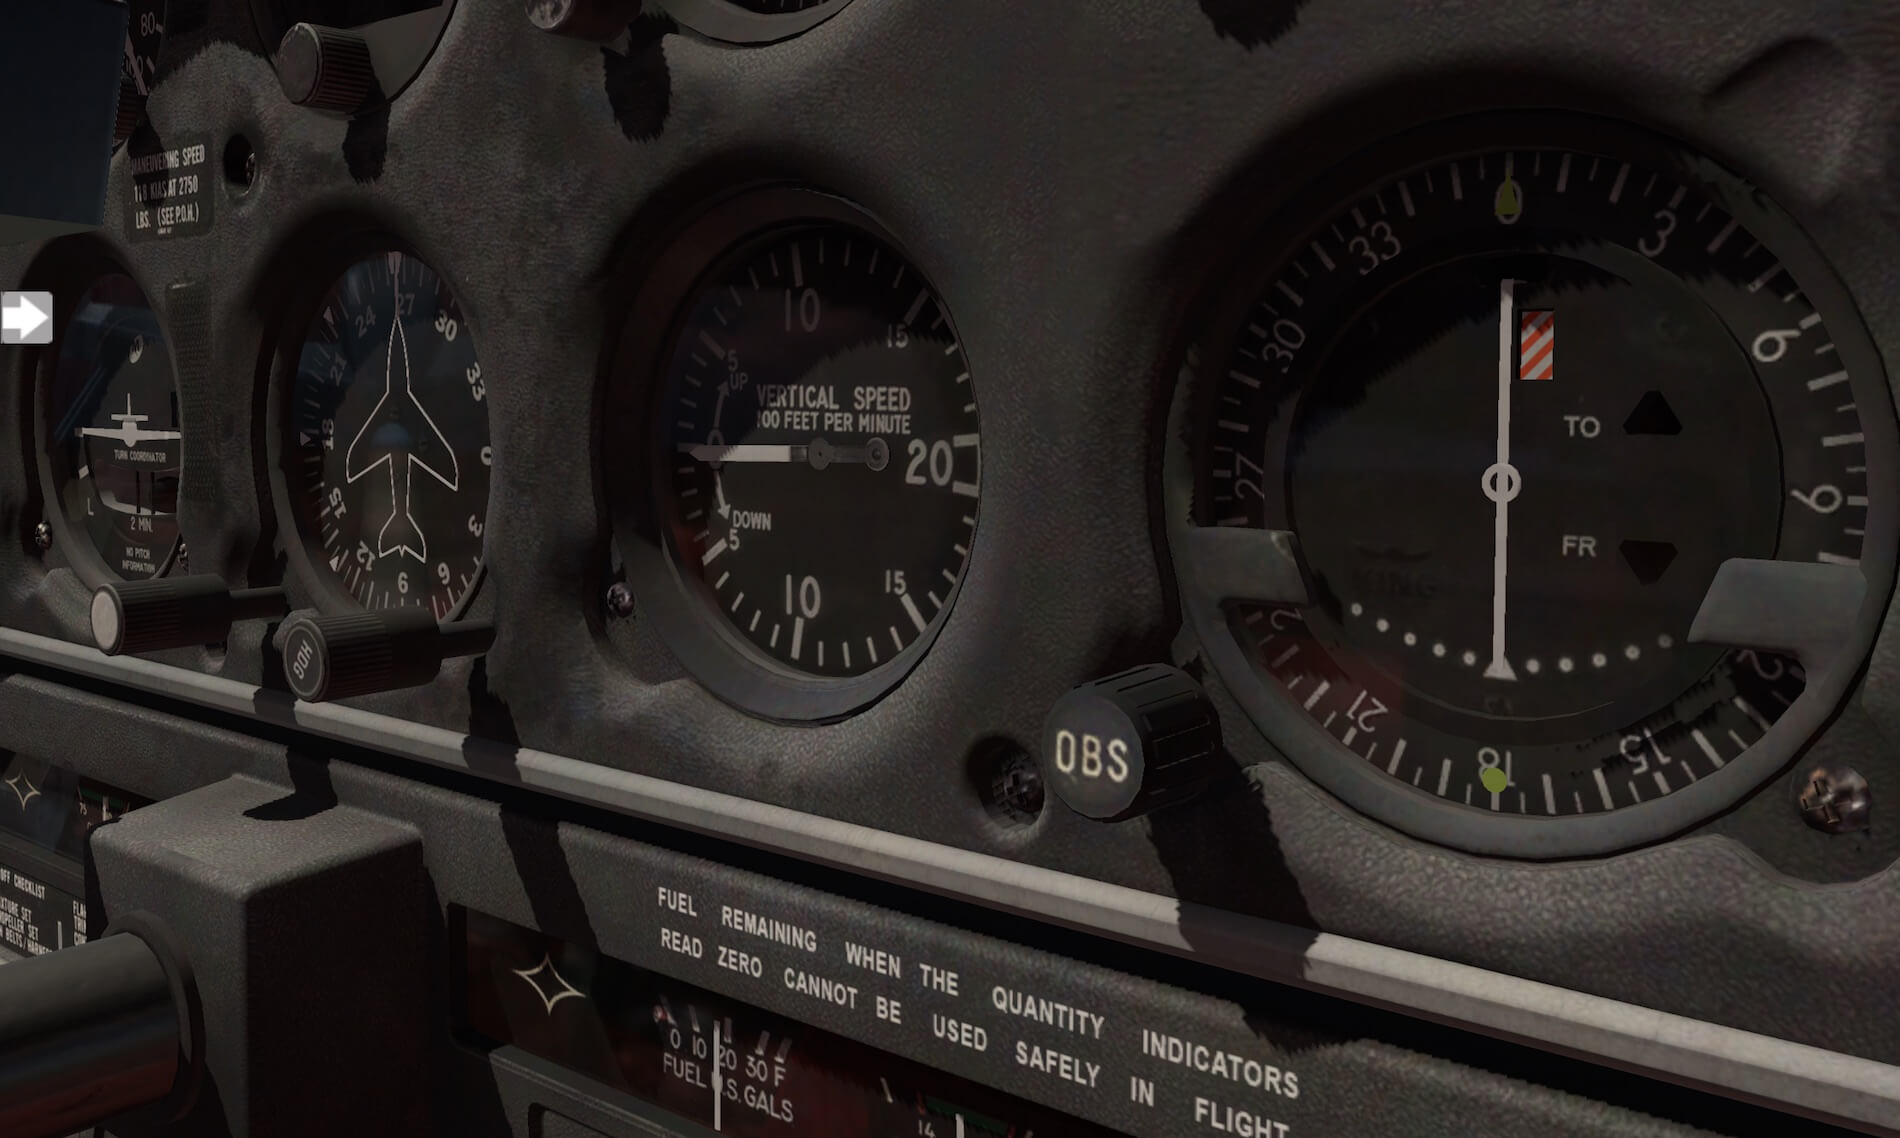
While approaching runway 32R at an altitude according to the papers of 3000 feet, I did see in the OBS indicator active GS and LOC needles, but the moment I expected the Arrow to follow the GS path, nothing happened. Weird, GS needle shows me clearly if I’m above or below the GS, but the AP doesn’t do anything.
Time to consult Just Flight to see what I’m doing wrong or that it isn’t simulated for a specific reason. Just Flight came up with the following answer that explains me thoughts …. “The answer to the question is, that the way the autopilot was implemented is, that it goes beyond the functionality of its real counterpart; the real autopilot should not follow the glide slope. It only has LATERAL servo control. It’s technically a 1-axis autopilot. But we’ve added the pitch axis as a hidden “Altitude hold” function. The instrument will ALWAYS pick up a GS signal if theres one; usually an ILS or VOR frequencies are just “carriers” for other two specific frequencies. The GS is usually 330MHs above the selected range, so the instrument is always looking 330Hz above that freq. If your station has an LOC and GS frequency., it will catch and display on the instrument. The thing is that our autopilot ONLY catches a single axis, being the lateral one, so the GS has to be done manually. Both NAV1 and NAV2 are capable of catching the GS frequency, but ONLY NAV1 displays the GS needle.”
Answer more then clear!
The OBS will show you the GS and LOC information provided a GS signal is available, but the AP will only control the LOC (pitch) signal. In other words, flying along the GS has to be done by hand, but that’s simple, just follow the GS needle in the OBS.
Conclusion
As always with myself, before I start with every review, I dig into it, look for the necessary background information, look to clues, look for more in-depth information and then, I think it’s time to start a review.
Will a review cover everything?
No, that’s impossible unless the review takes a couple of month to test, to explore, to write, and waiting for some updates, checking out all the forums etc. Then there’s a chance that that review will be complete. On the other hand, each publisher or developer would love to see a review, even though you’re not able to add everything in it and that the review written within a reasonable time frame.
Lucky for me, the modeled Piper Arrow III is a small GA aircraft, not equipped with fancy and/or complex instrument systems thus such a review shouldn’t take too much time. Looking to this aircraft, I feel that most of it is covered and therefore I can say that I’m pleased with the end result.
Oh yes, I believe you’ll find other look-alike Arrow models on the X-Plane market, but it’s not my intention to compare these with this Arrow III model. I can confirm if it’s a dedicated modeled Piper Arrow AP, and yes, it feels very reliable and accurate. Remember, a good and realistic Auto Pilot isn’t something that’s obvious being modeled. It’s still a difficult task for a developer to model an Auto Pilot by unless the developer is a real-life Auto Flight programmer.
The 3D cockpit is well modeled, realistic, lots of used weathered parts are included and, unless I’m wrong, many photo real textures are used to give it that realistic look as it has now. That realistic weathered look is something I miss a bit on the outside of each livery. All the included liveries may by dirty, but have a minimum of weathering although I spotted several dents on the bottom of the skins.
Another thing I noticed with the red ceiling lamp off, but for sure there’s a good reason for, is the red glow visible over the instrument panel. Ok, it could be that this is due to the red carpet, the red seat fabric and the red fabric on the doors, but I’m not 100 percent sure if this is the reason. Taking that into account, it could be logic that the instrument panel has a red reflection on it. But what then when somebody paints the seats with a blue fabric?
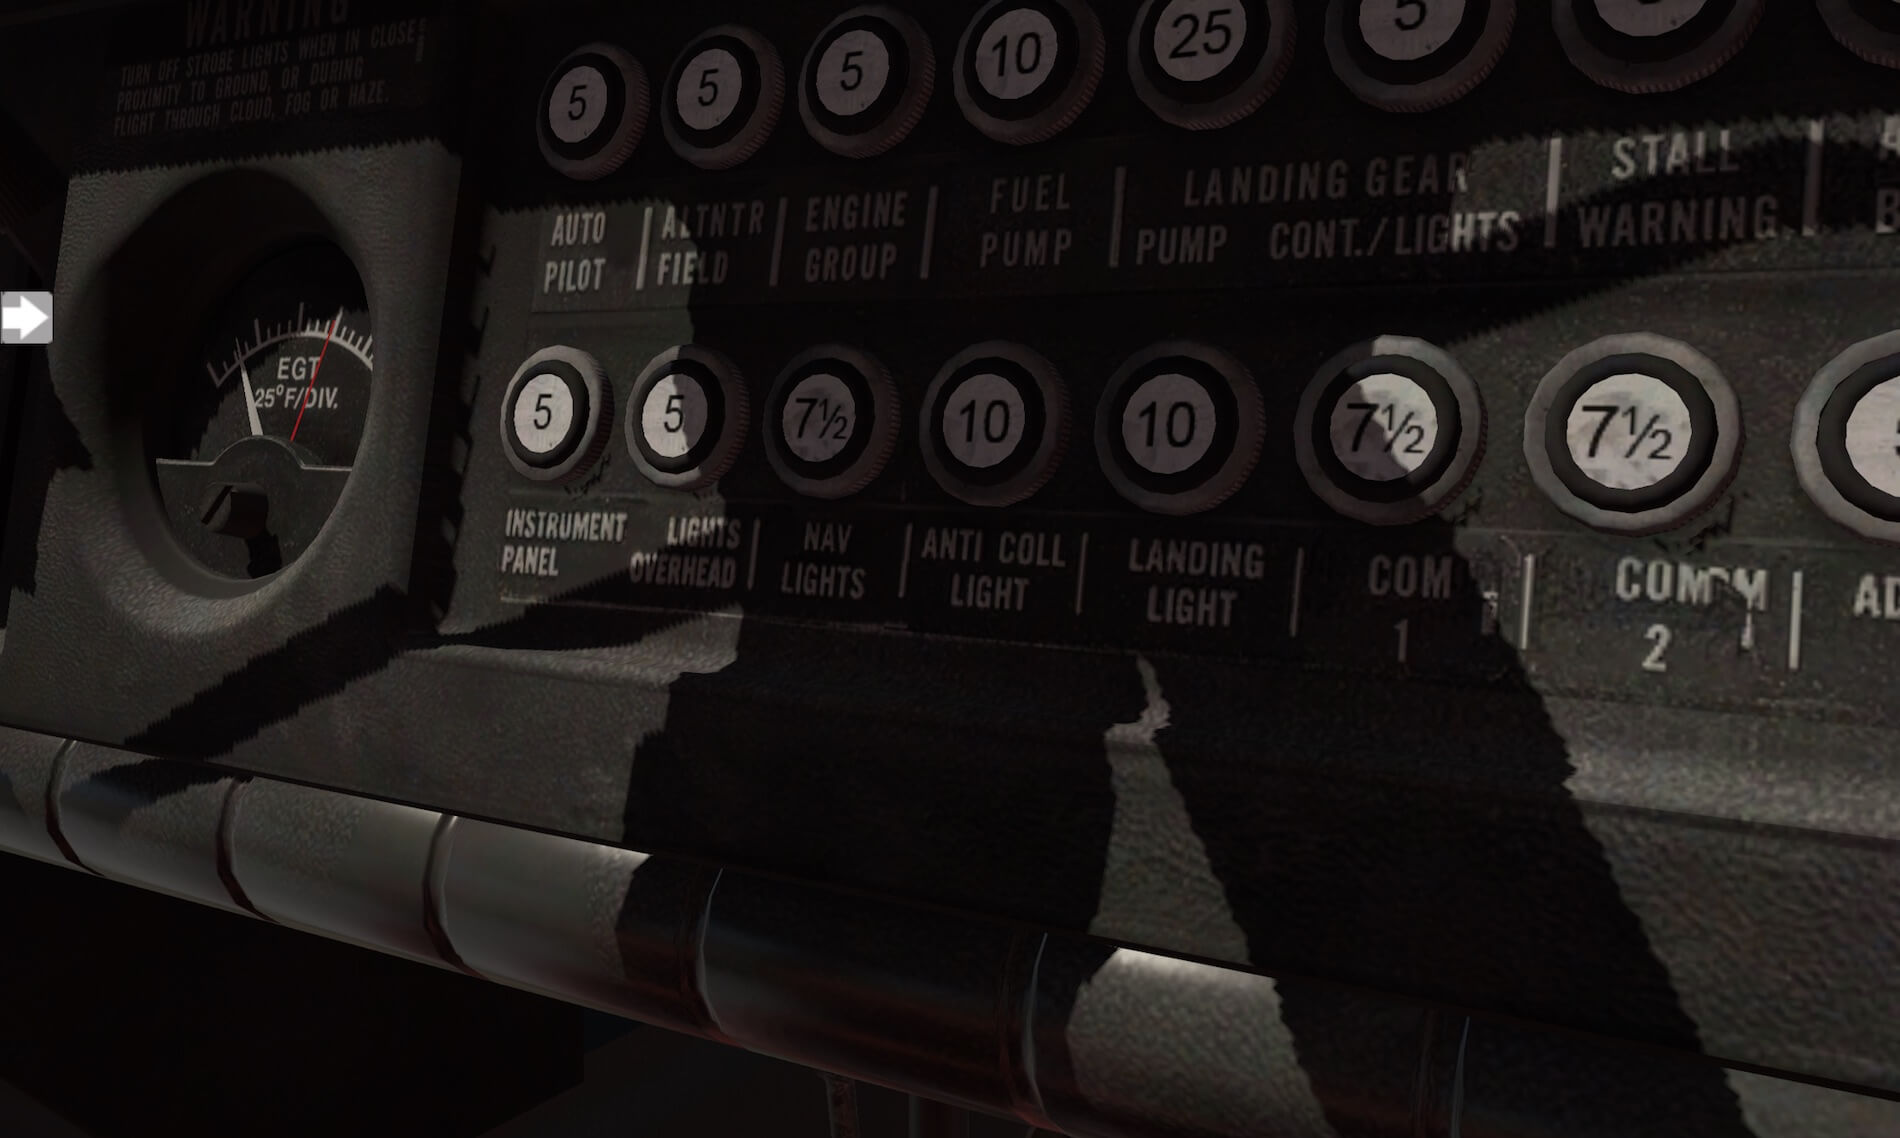
I didn’t mention anything yet in the review about functional circuit breakers (CBs). Not many developers add this feature in their aircraft. Logically, when you find functional CBs in modeled aircraft, then this is mostly in GA aircraft. These aircraft don’t have many CBs so it’s not too difficult to make them functional. That said, when you go to the bigger commercial jets, then it’s almost impossible to model functional CBs. Developers need in that case electrical schematics or the real Wiring Manuals to get a good idea what each CB is doing. Anyway, this Arrow III has a reasonable number of CBs and as far as I have tested, all are functional and pulling them will result in the correct action, as far as I’ve seen.
As mentioned before, you can check the dedicated Just Flight Piper Arrow III X-Plane 11 web page for additional information and/or decide to buy the product. As of this writing, the end of October 2017, the Piper Arrow III for X-Plane 11 cost you 34.95 Euro including VAT. Or you visit the dedicated Aerosoft web page or you can grab your copy at the dedicated X-Plane.Org website.
Back to Just Flight; this dedicated web page link offers you all the features the aircraft offer. And yes, I could add that complete list of features also in this review, but I think my goal is to offer you my personal Arrow III experience rather then duplicate what Just Flight has on their website.
One last item to highlight is the implementation of RealityXP software. If you have purchased Reality XP’s GTN 750 and have it installed in X-Plane 11, you can use the unit in the Arrow cockpit, but remember, for Windows only!
Feel free to contact me if you’ve got additional questions related to this impression. You can reach me via email Angelique.van.Campen@gmail.com or to Angelique@X-Plained.com.
With Greetings,
Angelique van Campen
| Add-on: | Payware Just Flight Piper Arrow III |
|---|---|
| Publisher | Developer: | X-Plane.Org | Aerosoft | Thranda Design |
| Description: | Realistic rendition of Piper Arrow III |
| Software Source / Size: | Download / Approximately 1.4Gb (unzipped) |
| Reviewed by: | Angelique van Campen |
| Published: | October 31st 2017 |
| Hardware specifications: | - iMac 27″ Late 2013 - Intel i7 3.5Ghz / 3.9Ghz - NVIDIA GeForce GTX 780M 4GB - 32GB 1600MHz DDR3 - 1 internal 1TB SSD (Sierra 10.12.6) - 1 external 1TB SSD (El Capitan 10.11.6) | 1 external 1TB SSD (Windows 10 Pro) - Saitek Pro Flight System X-52 Pro and X-56 Rhino |
| Software specifications: | - Sierra (10.12.6) - Windows 10 Professional |
7 Comments
Submit a Comment
You must be logged in to post a comment.





















I would like a more updated interior. Like a newer model that I rent. Maybe I’m being to picky. I just don’t like worn out things. Then I might buy it.
Have you got the ILS procedure the wrong way around ?
Surely if it only captures the localiser, then the lateral axis (or roll), is commanded by the autopilot. The pilot would then need to adjust pitch and throttle, in order to fly the glideslope.
Your final section is completely wrong. If you follow the needle, you are fighting the AP which is capturing the lateral axis.
nice plane. but nobody wants to buy a plane that costs as much as the entire sim. that is stupid. i h ave bought plenty of planes over the years but most of mine were 15 dollars or 25 dollars. why is everything being pushed to be more than the sim? xeviro and other weather for this sim is more than the sim. that’s stupid. the sim can do more than any of those can. so why would they be more ? you posed to ge t what you pay for. this plane is to much money.
Everyone knows that this is a high price tag item, except for those at JF. So when people are forced to pay a premium price for an item, they expect premium features. While I agree that this aircraft is very detailed, the only thing that truly sets this apart from its competition is its price tag. So for this premium price, they should be willing to do a few extra things for their buyers.
I find this to be a nice aircraft, and enjoyed all of the videos of it on Youtube. However, after reading your review, and a few others on YT, I have a few things which bother me. I have heard JF answer several questions about this aircraft saying that they modeled it after a specific “ONE” aircraft. This in basics is fine, however, why limit all of it’s parts and pieces to just this one aircraft, with so many different tastes and opinions around the world? For instance, the interior is wonderfully designed and appointed. However, the red color of the seats and carpets are a very polarizing color for many. So why not allow the simmer to change to several colors, just like we change the liveries on the outside. That specific aircraft they modeled this product after didn’t have all those different liveries, but yet they still provided them to change the way the outside looked. So why not be able to change the way the inside looks as well? The same goes for a few of the instruments. I see discussions about the horizon instrument, and it could be changed for different older or newer ones. I only mention this for the reason of price. This item is on the high side of normal pricing, and thus should be more versatile than the normal product.
Hi, did you contact Just Flight already about these issues?
No, but I have seen these discussions on multiple forums, Youtube video comment sections and JF Facebook page. And they did not respond positively to those people, so I haven’t bothered to waste my time with it personally. If I thought it would have an impact, I would. But I am not convinced that it would. But I do appreciate you taking the time to write this review. It was very helpful.