Skunkcrafts P-51 Mustang
Introduction
The developers have included an introduction to the aircraft in their Flight Manual taken from Wikipedia and as this represents the aircraft they have modelled I have reproduced it here. The North American Aviation P-51 Mustang is an American long-range, single- seat fighter and fighter-bomber used during World War II and the Korean War, among other conflicts. The Mustang was designed in 1940 by North American Aviation (NAA) in response to a requirement of the British Purchasing Commission.
The Purchasing Commission approached North American Aviation to build Curtiss P-40 fighters under license for the Royal Air Force (RAF). Rather than build an old design from another company, North American Aviation proposed the design and production of a more modern fighter. The prototype NA-73X airframe was rolled out on 9 September 1940, 102 days after the contract was signed, and first flew on 26 October.
The Mustang was originally designed to use the Allison V-1710 engine, which, in its earlier variants, had limited high-altitude performance. It was first flown operationally by the RAF as a tactical-reconnaissance aircraft and fighter- bomber (Mustang Mk I). The replacement of the Allison with a Rolls-Royce Merlin resulted in the P-51B/C (Mustang Mk III) model and transformed the Mustang’s performance at altitudes above 15,000 ft, allowing the aircraft to compete with the Luftwaffe’s fighters.
The definitive version, the P-51D, was powered by the Packard V-1650-7, a license-built version of the Rolls-Royce Merlin 66 two-stage two-speed supercharged engine and was armed with six .50 caliber (12.7 mm) M2/AN Browning machine guns.
From late 1943, P-51Bs and Cs (supplemented by P-51Ds from mid-1944) were used by the USAAF’s Eighth Air Force to escort bombers in raids over Germany, while the RAF’s Second Tactical Air Force and the USAAF’s Ninth Air Force used the Merlin-powered Mustangs as fighter-bombers, roles in which the Mustang helped ensure Allied air superiority in 1944.
The P-51 was also used by Allied air forces in the North African, Mediterranean, Italian and Pacific theatres. During World War II, Mustang pilots claimed to have destroyed 4,950 enemy aircraft.
At the start of the Korean War, the Mustang, by then re-designated F-51, was the main fighter of the United Nations until jet fighters, including North American’s F-86, took over this role; the Mustang then became a specialised fighter- bomber. Despite the advent of jet fighters, the Mustang remained in service with some air forces until the early 1980s. After the Korean War, Mustangs became popular civilian warbirds and air racing aircraft.


Installation and Documentation
– X-Plane 11 (latest stable version)
– Windows, Mac or Linux
– 4Gb VRAM Minimum – 8Gb+ VRAM Recommended
Download speeds vary with internet connection but the download from the store was a straight forward procedure providing a folder of 21 items and this, in turn, contains the document folder.
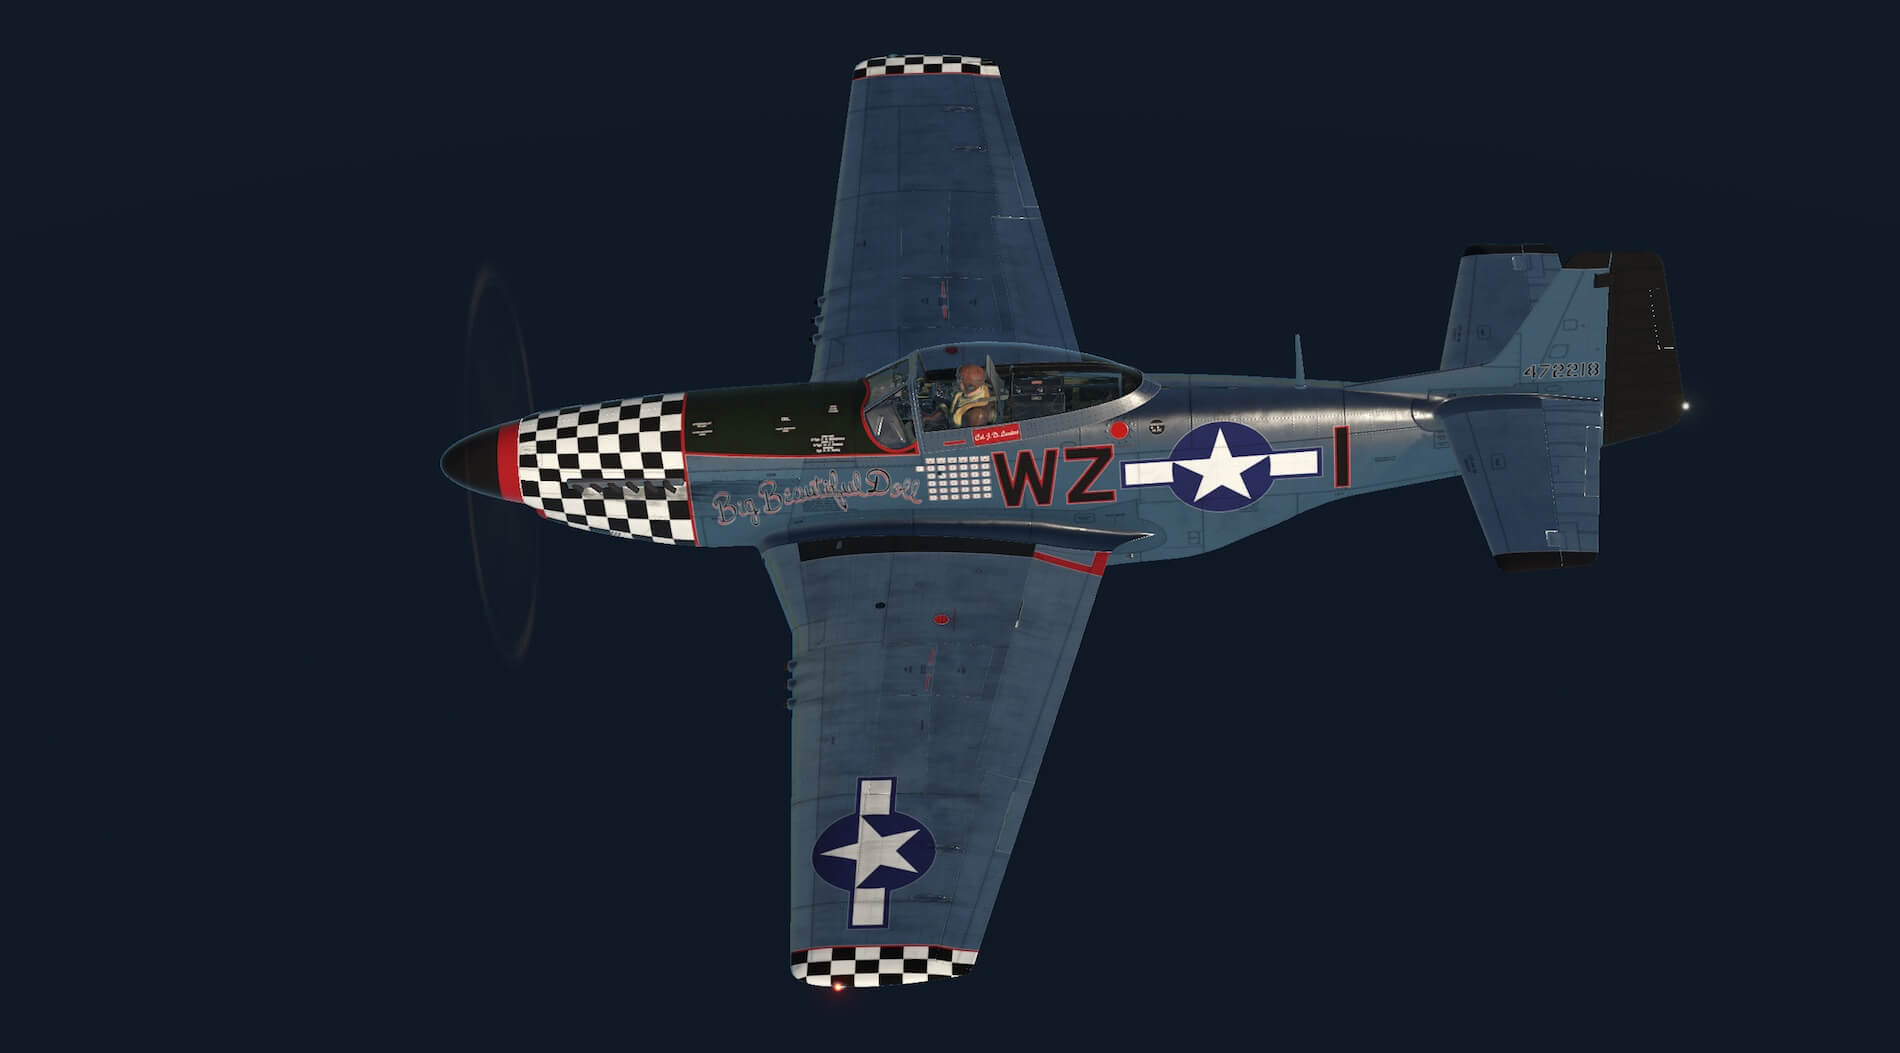
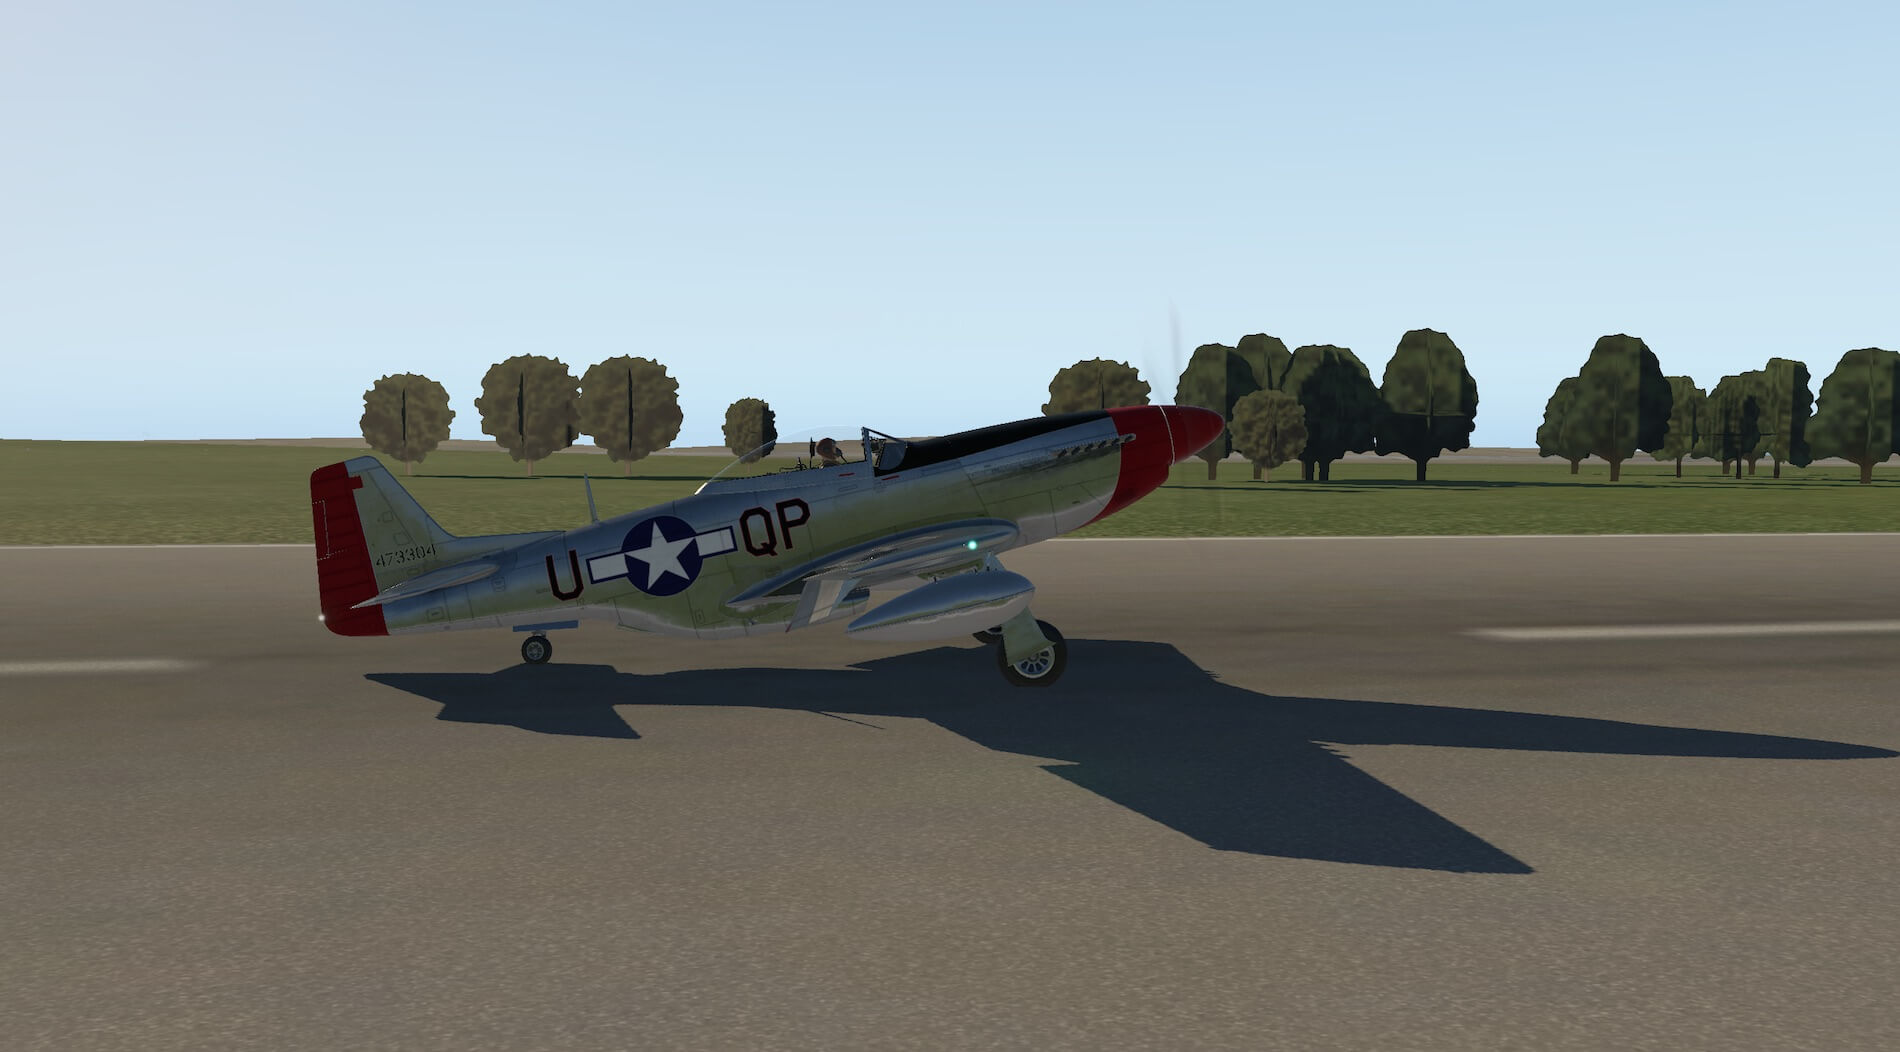
The download should be copied in to the aircraft folder, or users sub folder, in X-Plane. The aircraft is provided with a default livery and four further detailed colour schemes. The documents folder contains two very useful and well-produced documents, a flight manual pdf and a P-51D checklists pdf.
The flight manual starts with a copyright notice and then goes on to an index of pages although the page numbers and items do not exactly match. The manual is comprehensive and useful for users of all levels of experience. The first items cover the installation process, requirements, settings and limitations followed by a 3 views drawing of the aircraft giving measurements and details of the P51D.
The next page gives the introduction to the aircraft as reproduced in the introduction above. The developers then provide three pages each with a colour screen shot of the cockpit with annotations for the front, left and right views of instrumentation and controls. This is detailed and very helpful.
A fourth screen shot then illustrates the xVRbox which is cleverly modelled as part of the cockpit but allows the user to manage audio, com/nav, autopilot, transponder and user settings, Notes below the screenshot explain this clever addition further. The following pages then explain flight controls, landing gear, power plant, engine controls, fuel system, oil and cooling systems, electrical equipment, gunnery equipment, bombing equipment, communications equipment and heating, ventilation and defrosting systems.
The descriptions given outline what happens on the real aircraft and how it is provided in the model. The manual finishes with a credits page. This is a thorough and well thought out document of seventeen pages.
The check lists pdf consists of twenty seven pages covering lists and guidance for thirty four different issues from flight restrictions and limitations, getting in to the cockpit, issues on the ground before flight, take off, issues during flight, lights, approach, landing, stopping the engine through to leaving the aircraft.


This enables users to follow more and more procedures in a genuine fashion whilst increasing familiarity with the aircraft. This creates a model with the potential for very realistic use and flights.
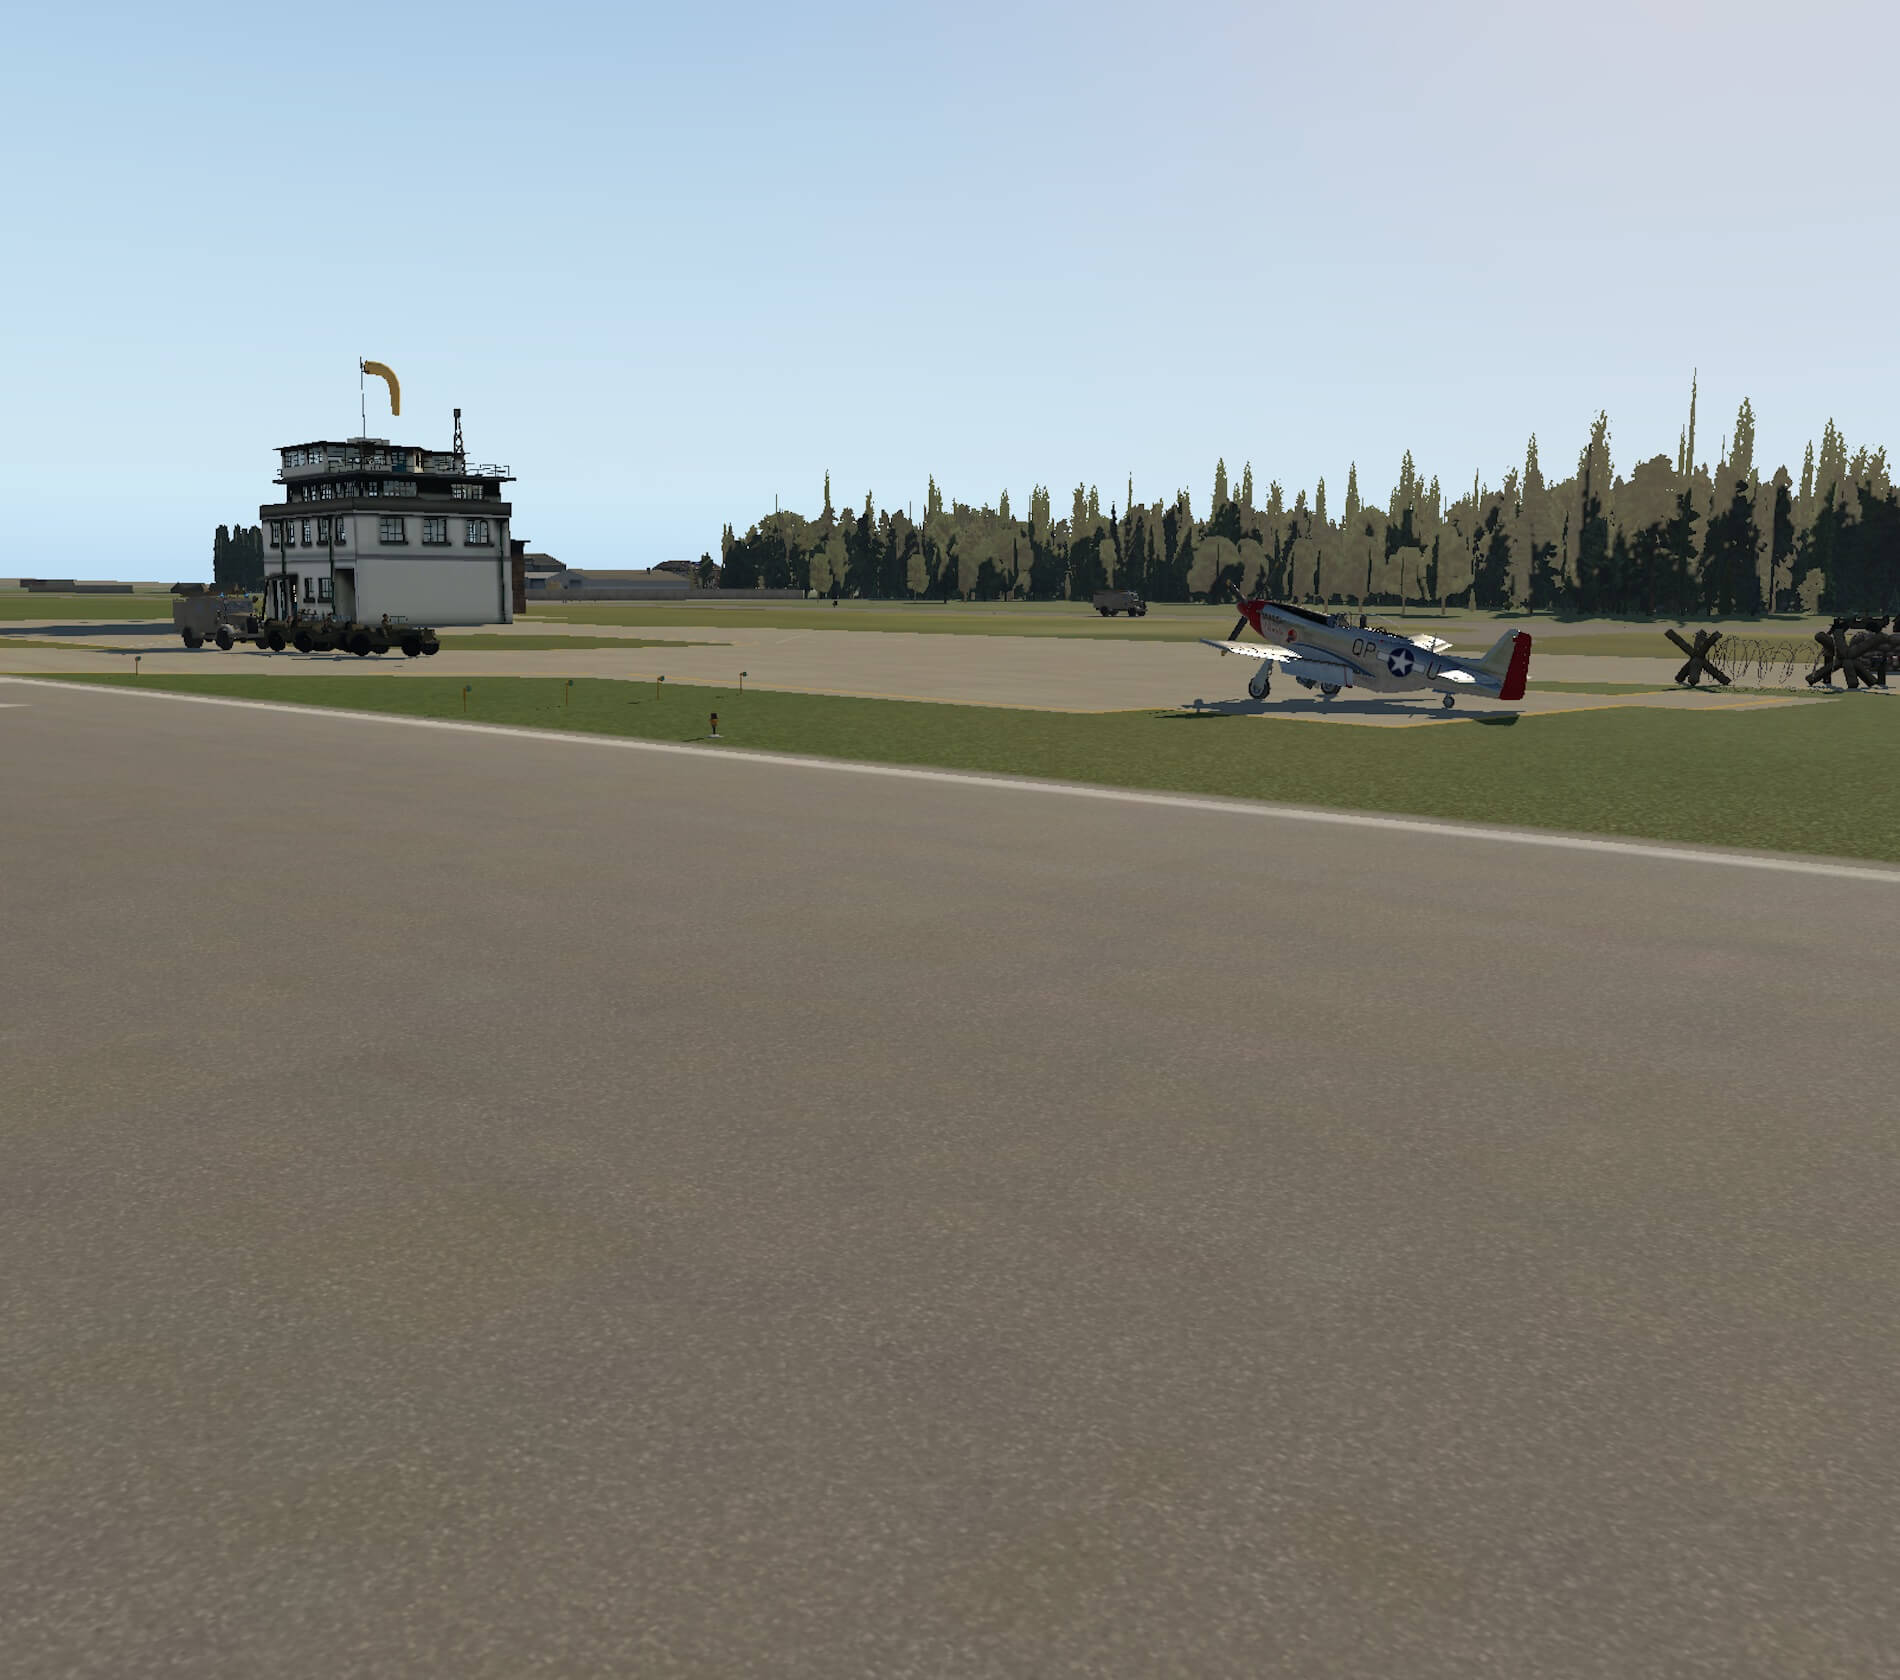
Exterior Modelling
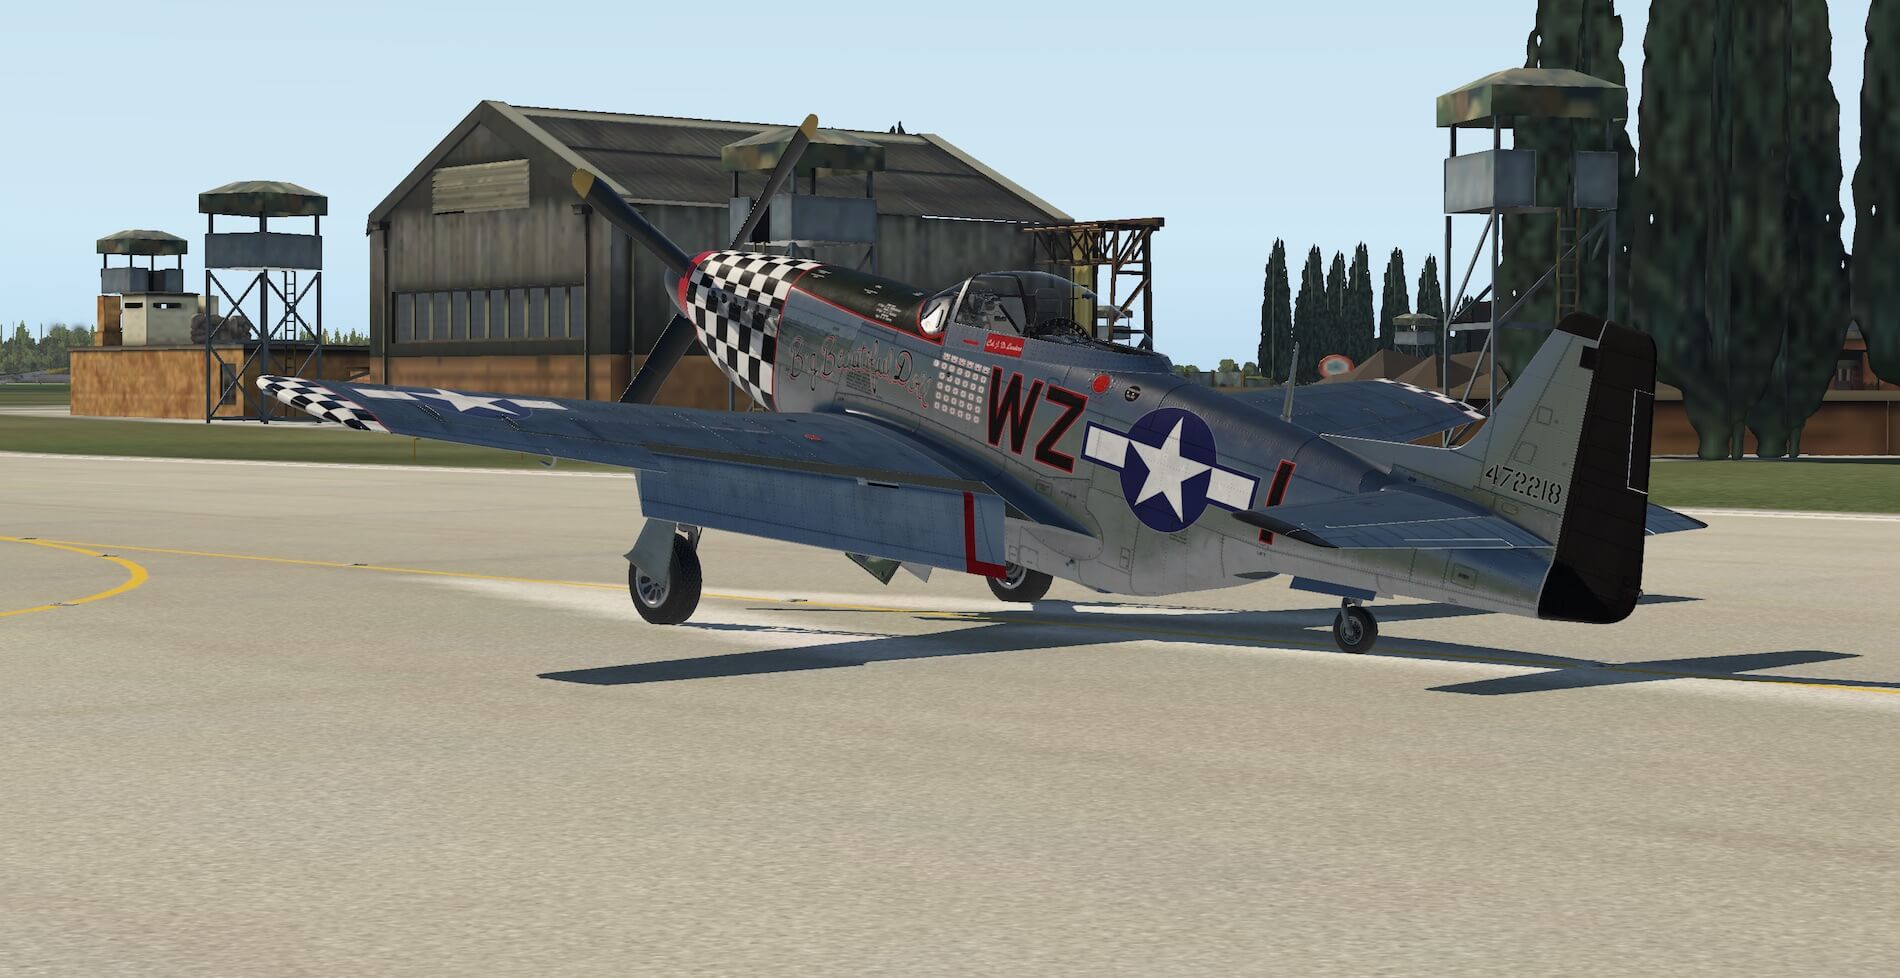
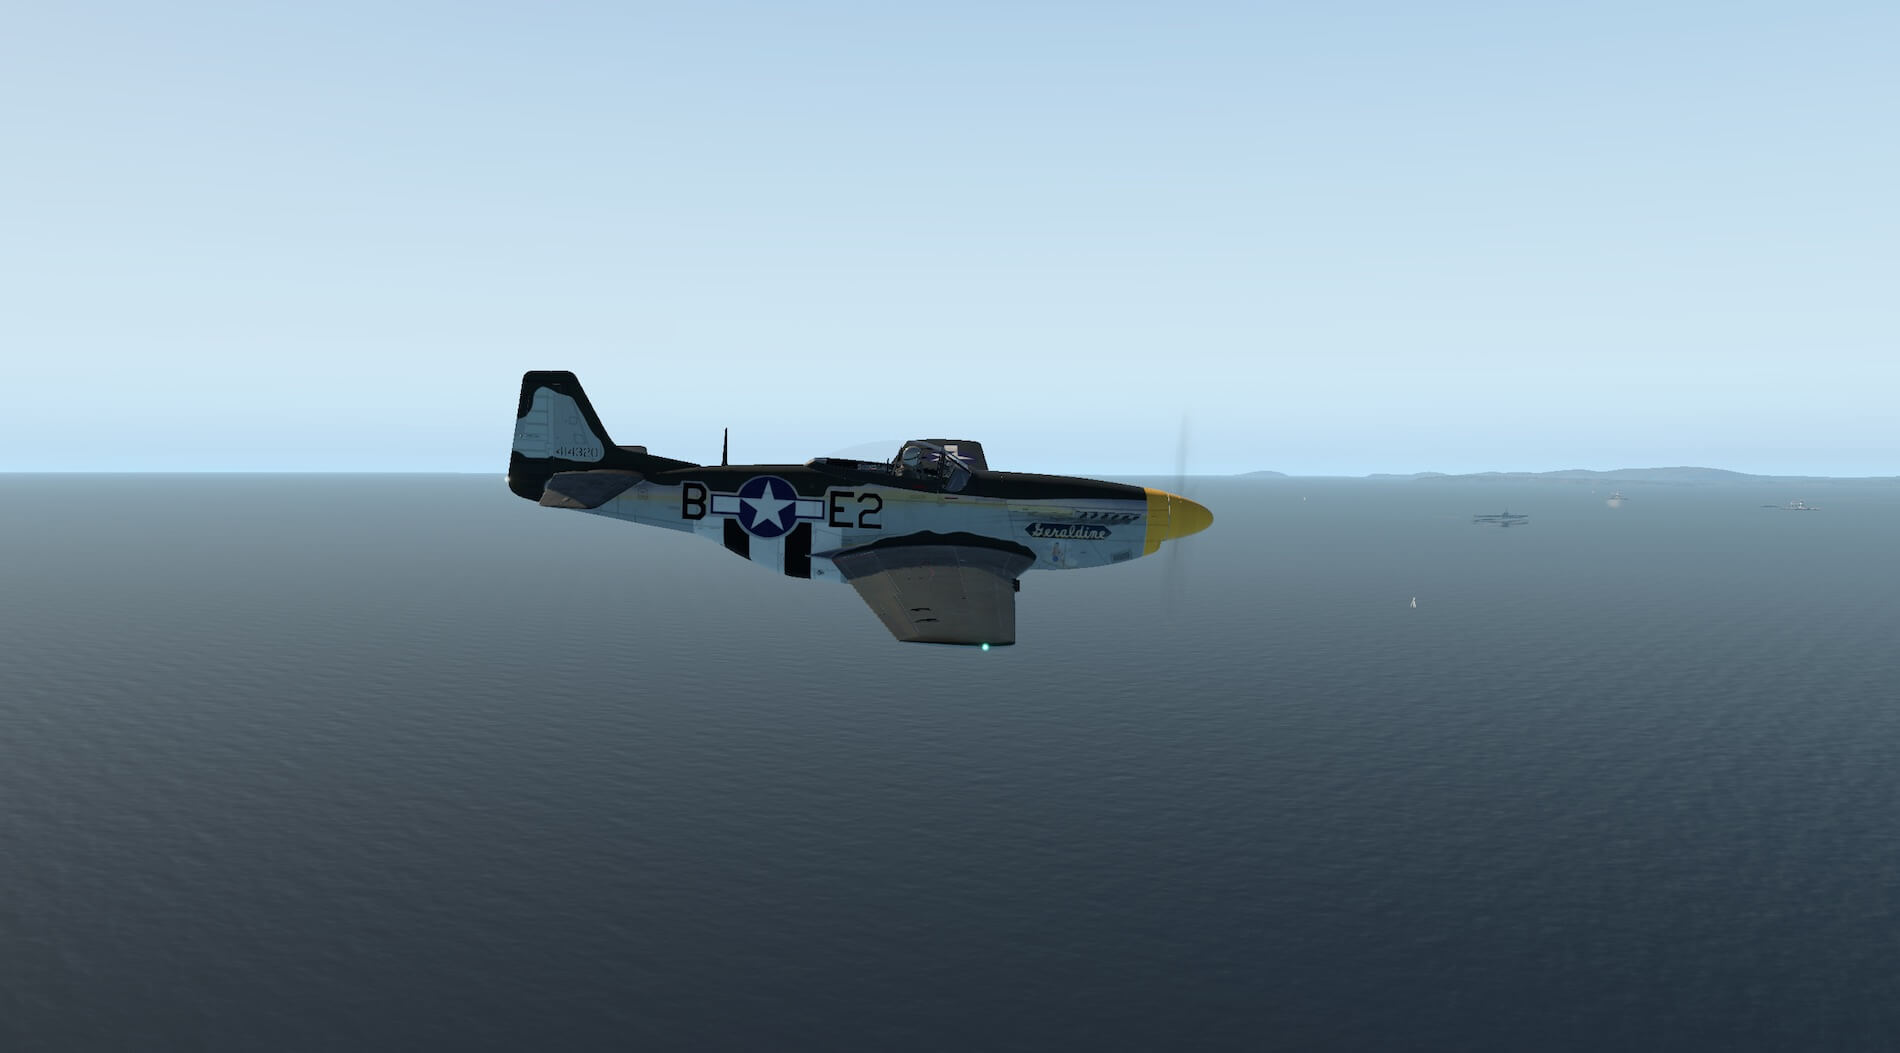
Approaching the aircraft the brightness of the colours of the various colour schemes stands out as does the reflection effect on the metal surfaces. Checking the tyres shows great tread detail which continues inside the wheel wells with weathered surfaces and detailed struts and hinges.
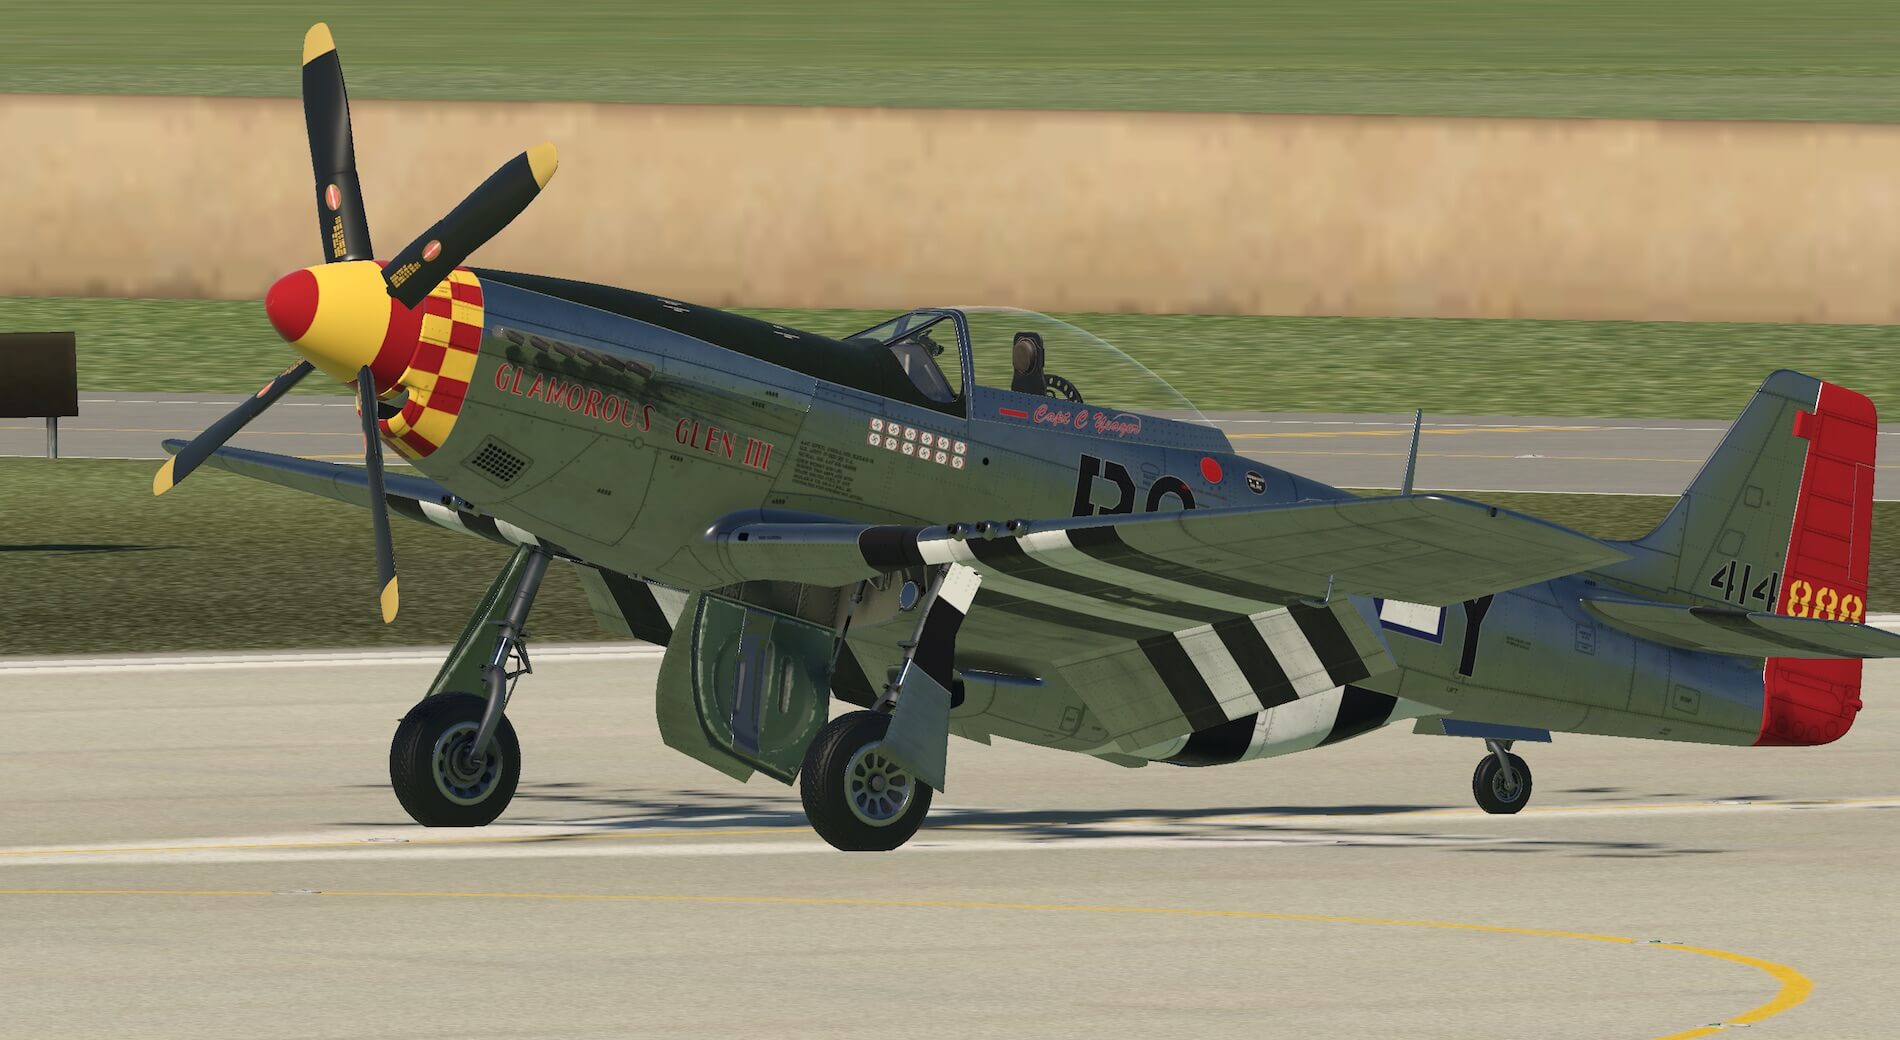

The rivets and finish on the wing and fuselage surfaces are also very impressive. Colours remain convincing at close quarters and the weathering is effective and realistic. The exhausts are clearly modelled with exhaust marks across the fuselage and each panel can be made out individually.

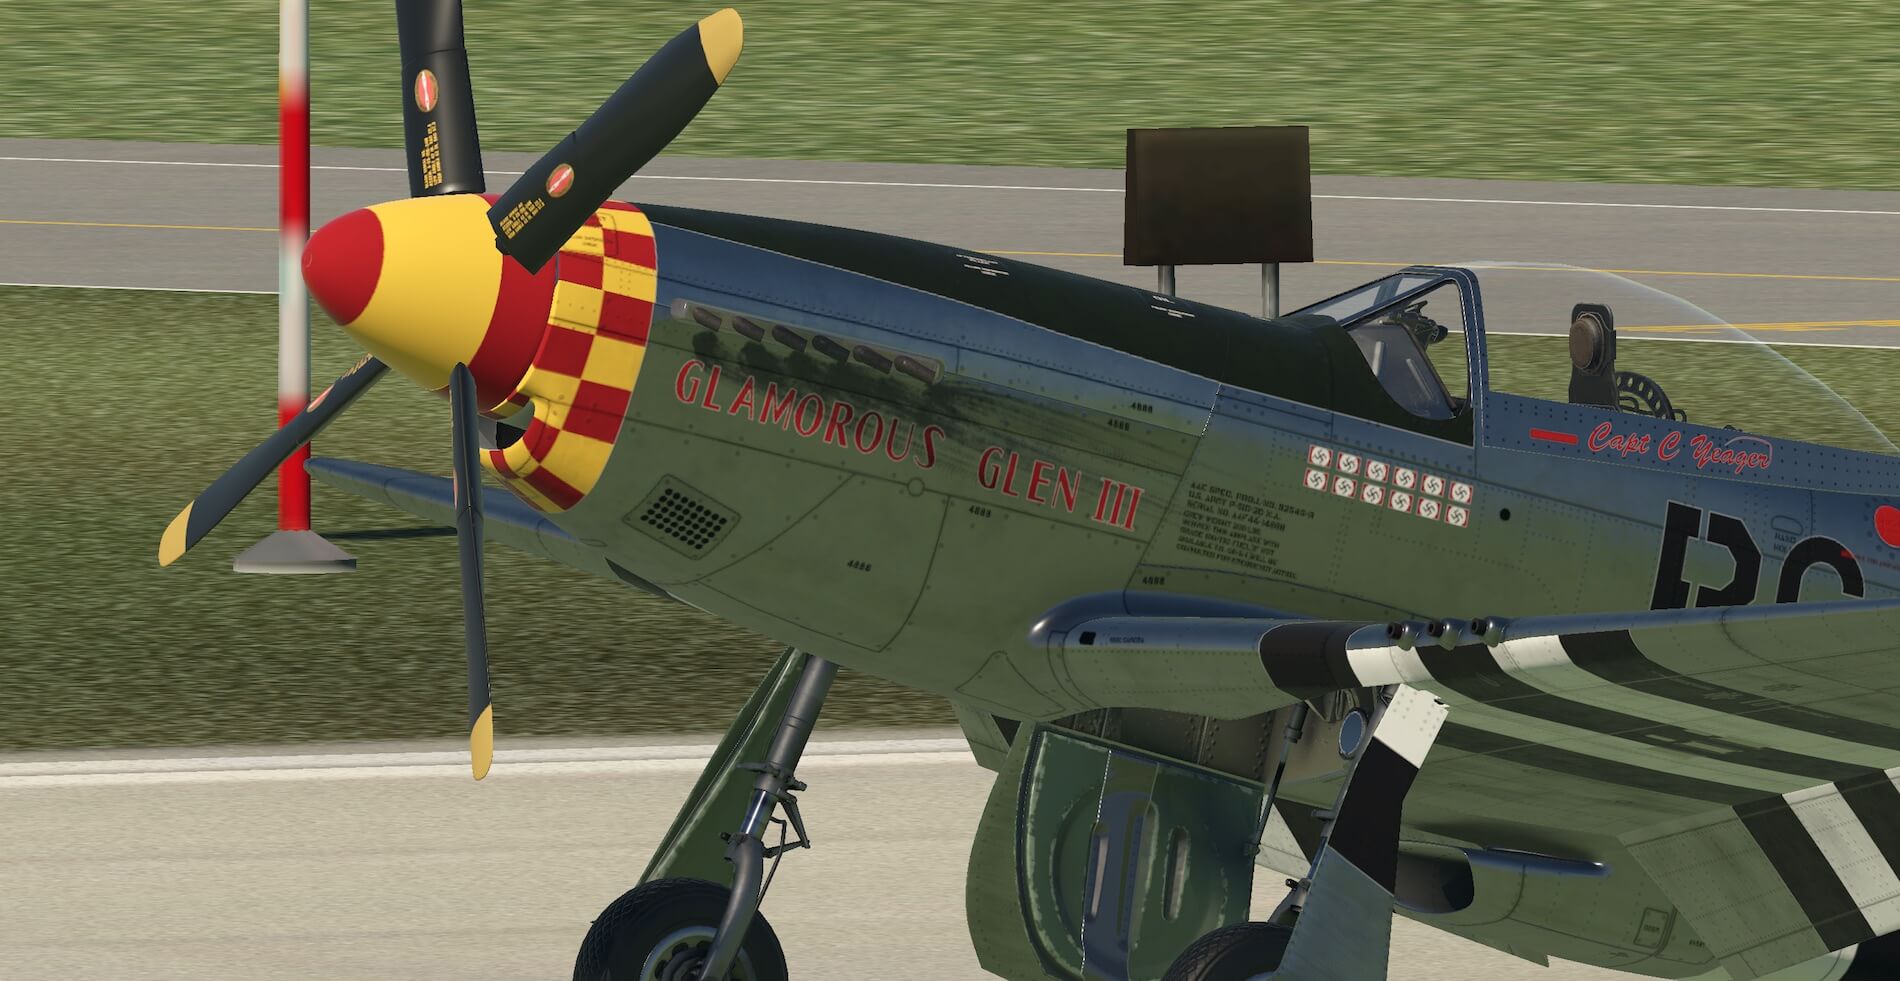

Moving to the front of the aircraft the propellor hub and the propellors themselves are clear and reflect light as would be expected. The detail continues with makers marks and writing on the blades. Gun ports are clear and realistic and the cockpit glass reacts with light and reflection in a convincing way.
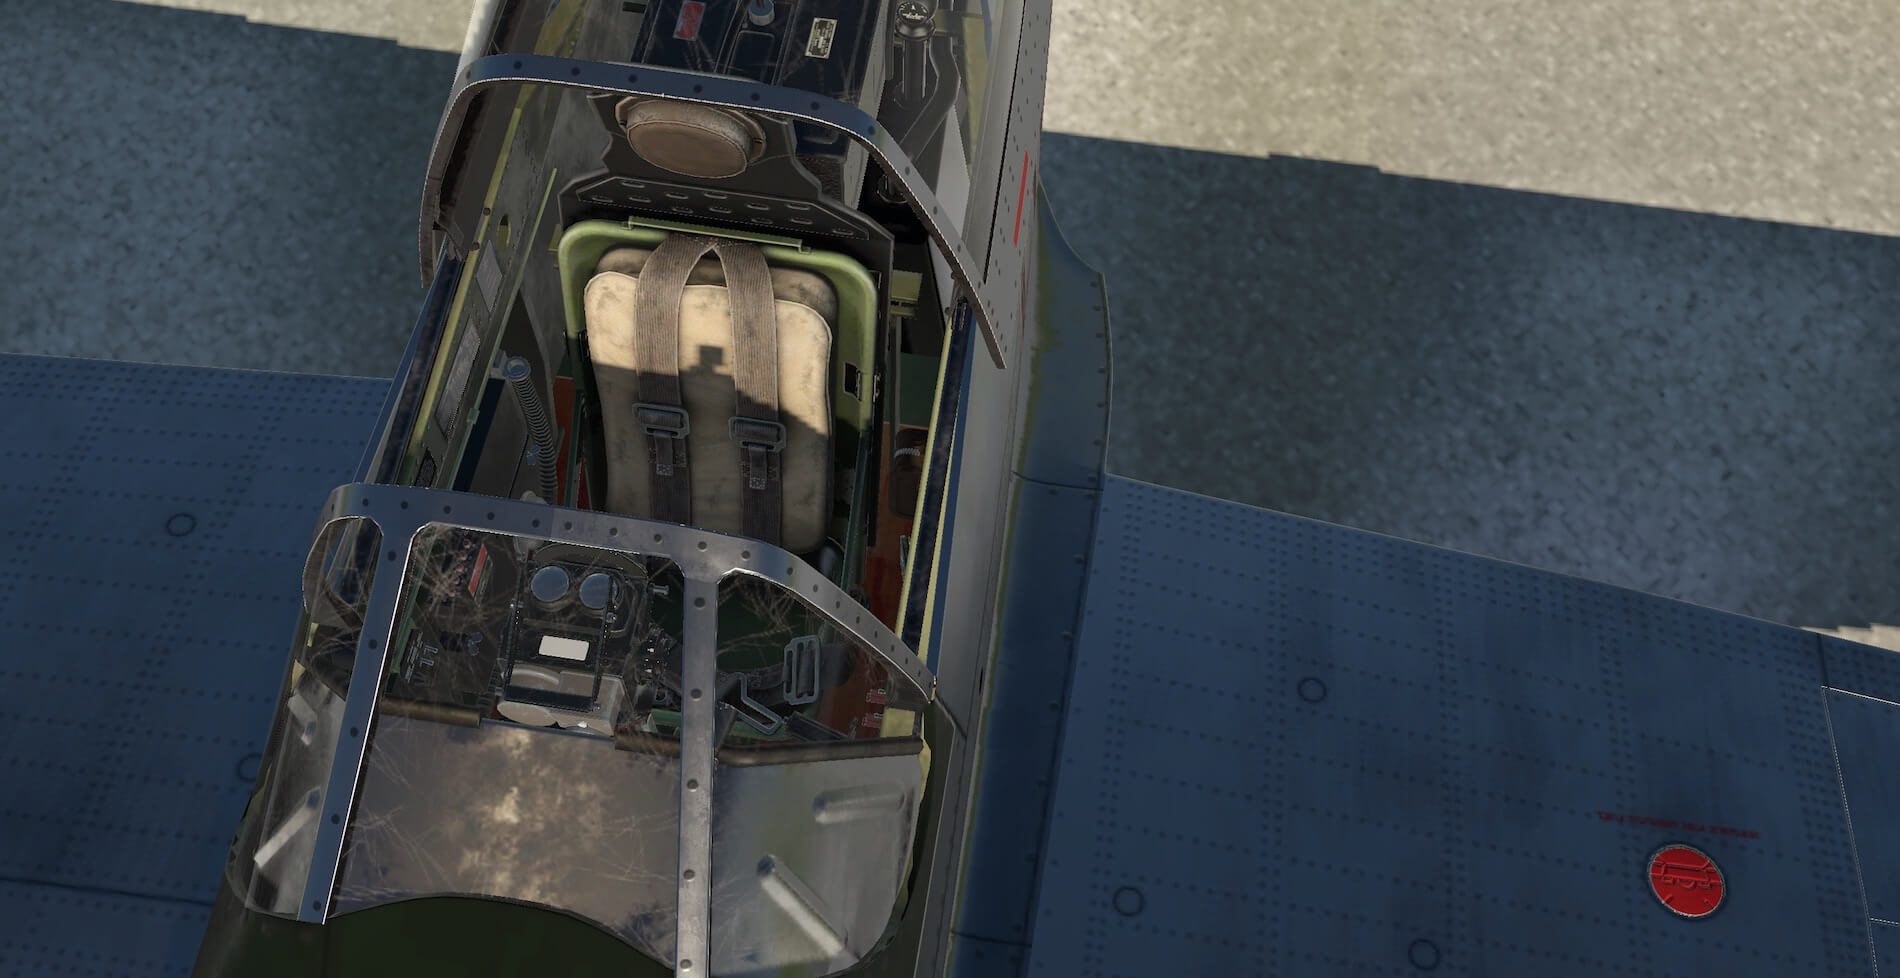
With the engines off the flaps hang down below the wings showing their own detail. Moving around to the right shows more detail in the right wheel well and a closer view of the cockpit illustrates a well modelled seat when viewed from outside.
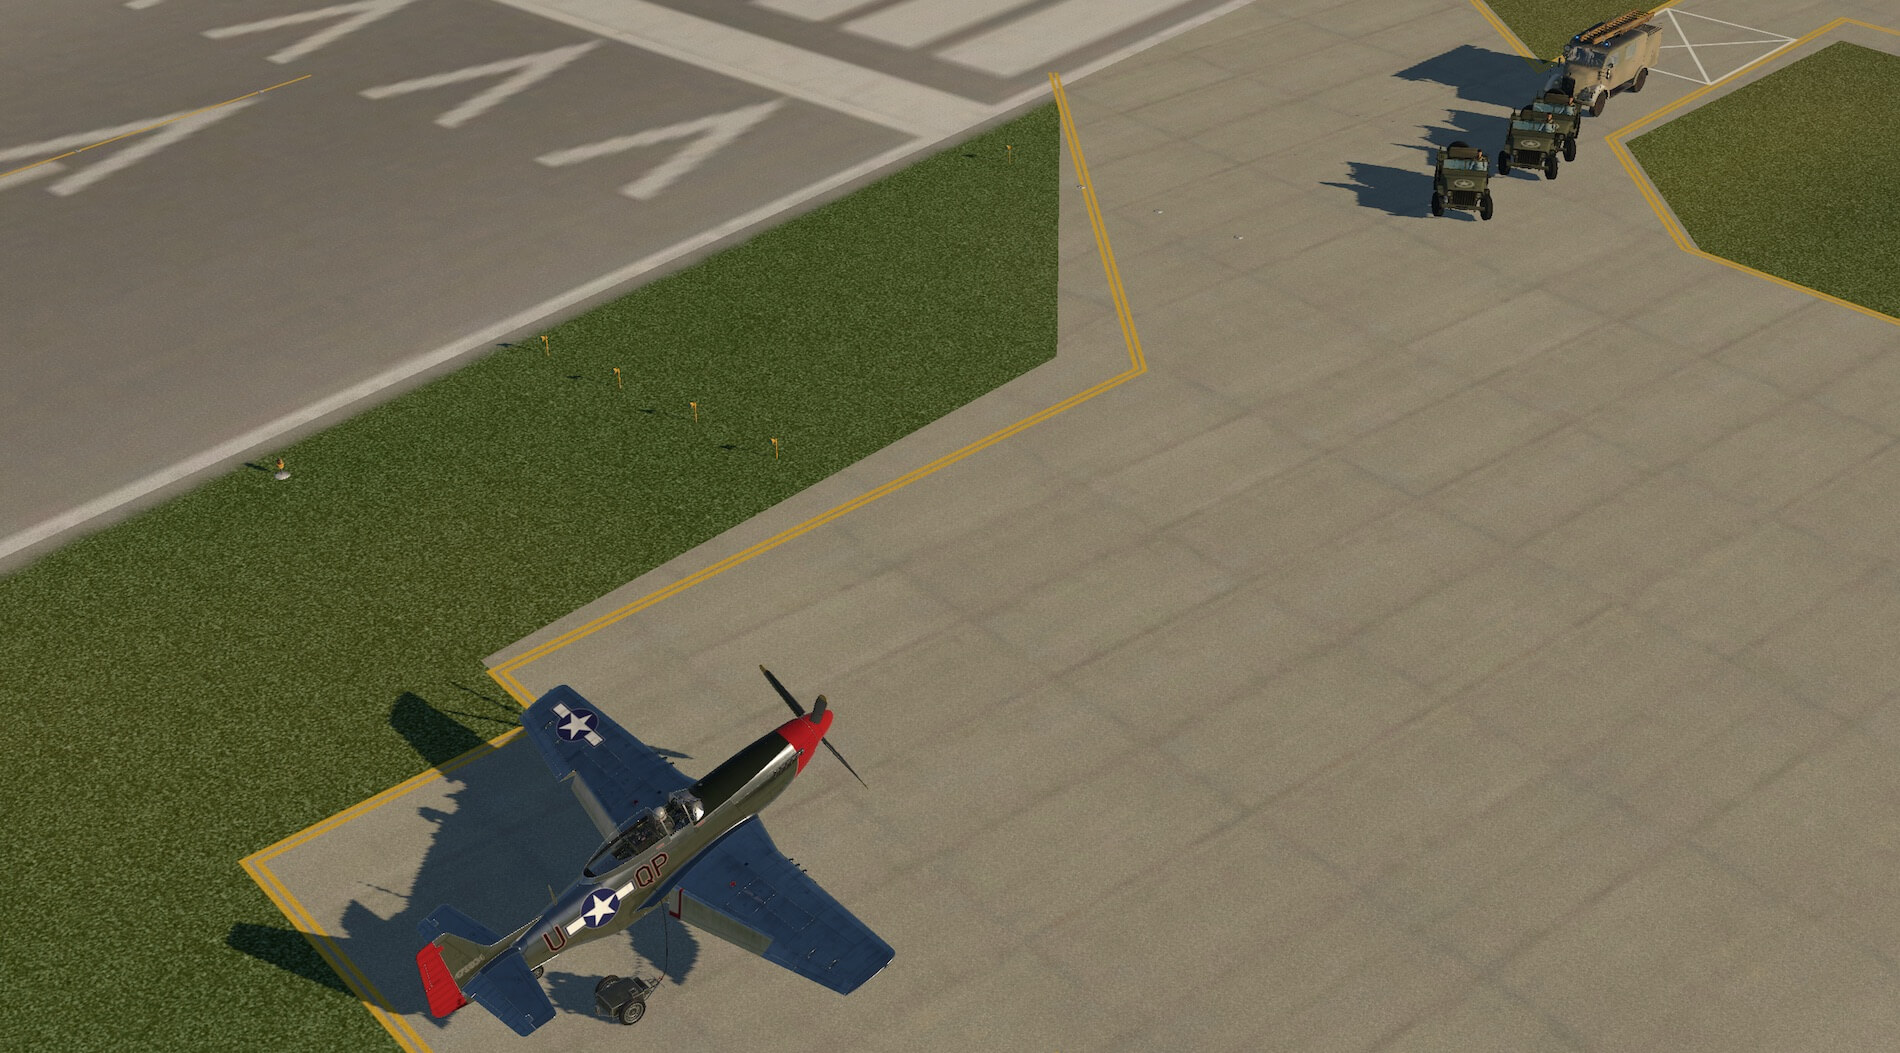
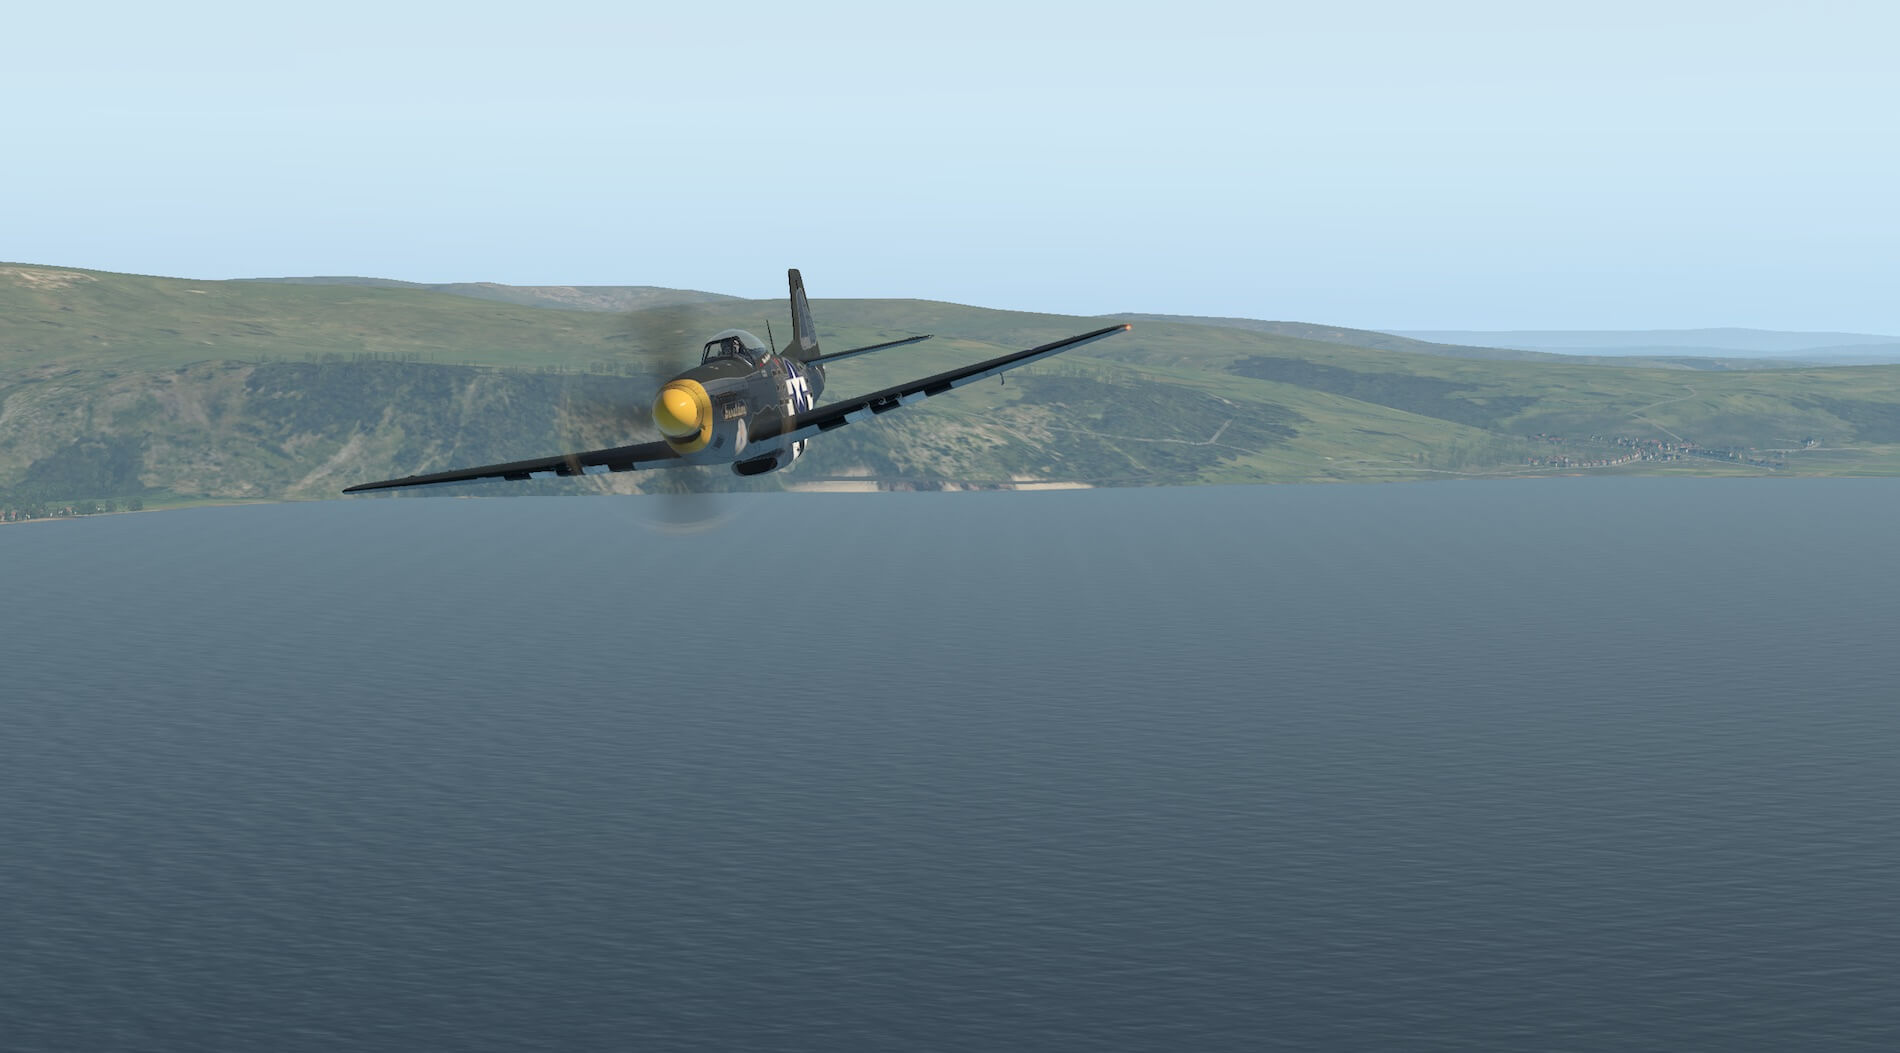
Moving past the right wing and viewing the aircraft from the side the large air intake under the fuselage becomes apparent as does the angle at which the aircraft sits on the ground, with the engine bay extending in front and above of the cockpit, a challenge for taxiing, take off and landing.
The aircraft looks very impressive and interacts well with the surrounding scenery with clean crisp edges and surfaces, colours and weathering increasing the realistic presentation of the model.


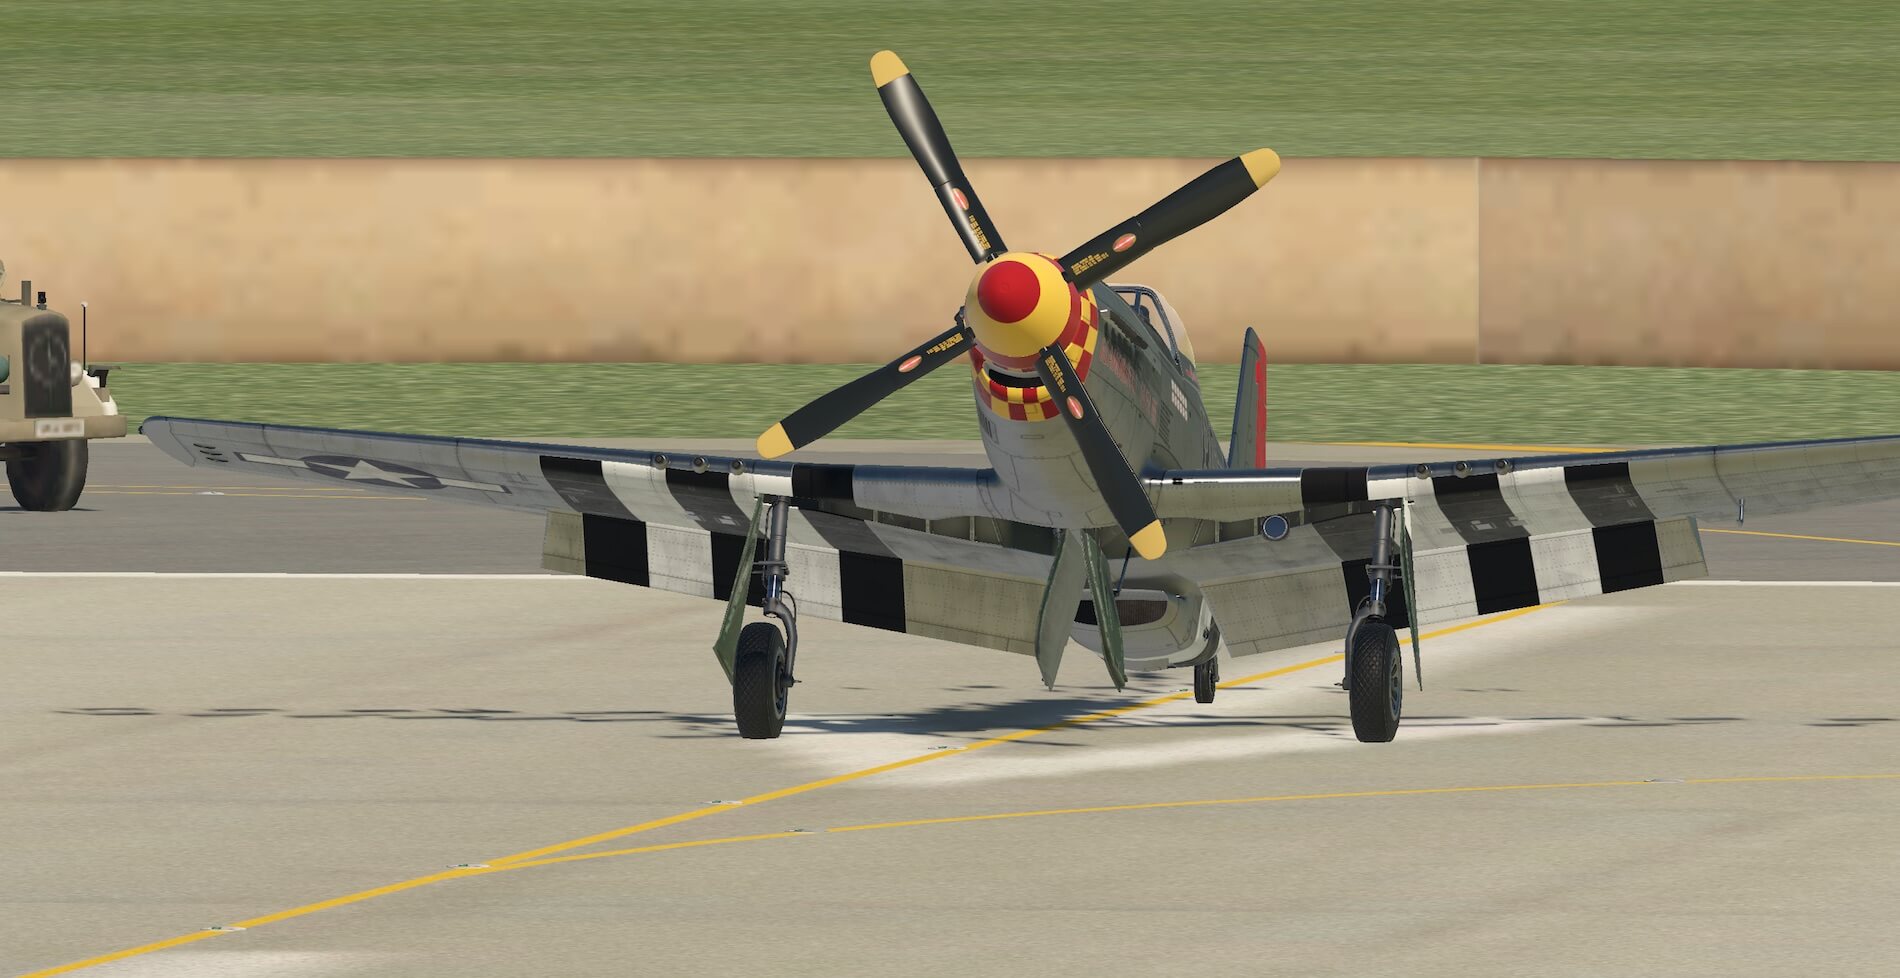
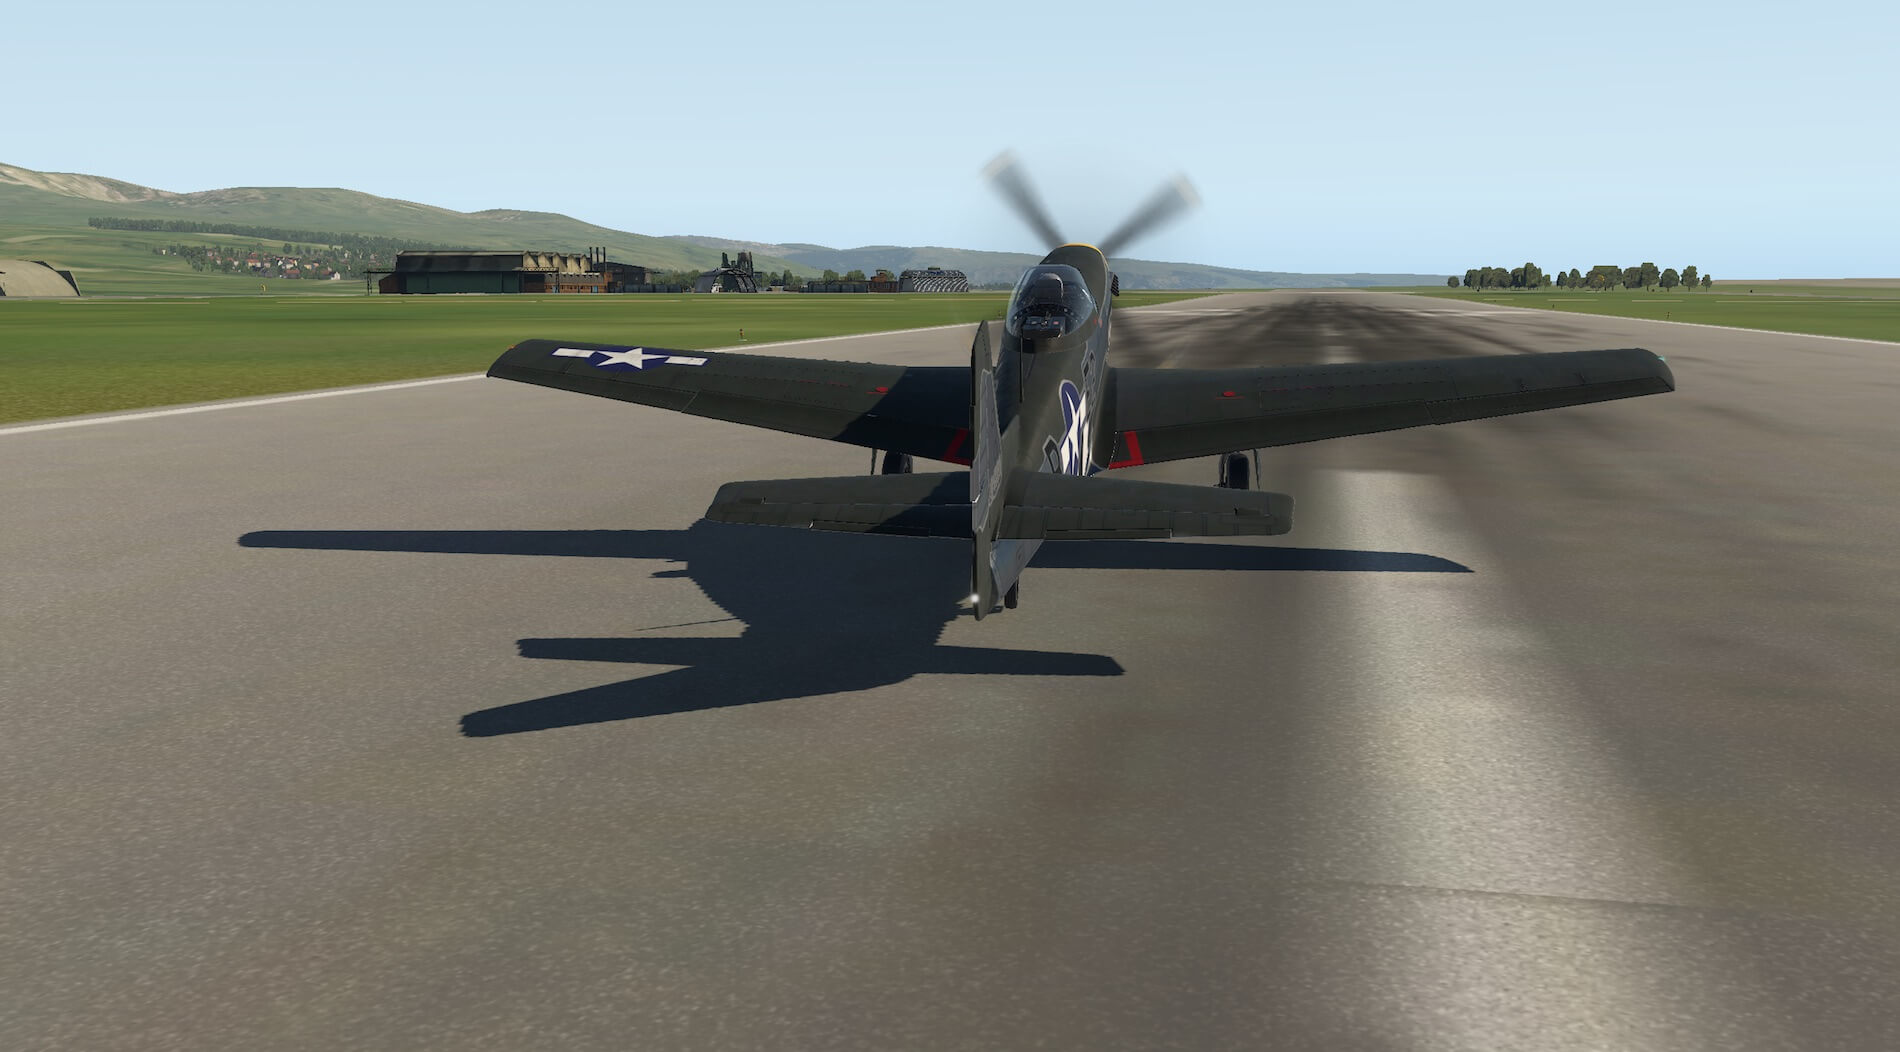
Moving to the rear right quarter of the aircraft all flight surfaces look highly convincing and the view looking into the cockpit from outside shows considerable detail. The light passes across the surface of the aircraft in a very convincing way and shows off the detailed riveting, panels and wear marks. Again the fact that the aircraft sits well down at the tail is very evident as the engine bay moves up and away from the cockpit.
The fuel filler caps are clear and the tail wheel receives the same attention to detail as the main undercarriage. Aircraft markings and colours remain crisp and clear. The views from the rear left quarter give access to even more detail with lettering and filler caps modelled and visible. The aircraft continues to impress.
Views from the left wing show the aircraft is produced in detail and is realistic from any angle. The open cockpit allows the user to contrast the glass finish with clear views in to the cockpit and hints at a high level of detail once inside. Shadows of the aircraft react well with the scenery and make the model stand out further.


Moving above the aircraft the interior detail becomes more evident and approaching the aircraft to climb in over the left wing the aerial and step areas can be seen more clearly as can the clips on top of the wing which give access to the guns mounted in the wings themselves. A really impressive model when viewed from outside.
Interior Modelling
Standing on the wing, about to enter the cockpit, the view illustrates a high attention to detail. Surfaces have differing textures and colours and all are made to carry weathering and wear and tear which creates a sense of realism.

Writing and signage are clearly visible and the seat cushion and belts are modelled to a high standard. Climbing in to the aircraft and sitting in the pilots seat immediately immerses the user in the aircraft with great attention to detail shown to the whole of the interior. The restricted forward view when taxiing and taking off is immediately evident and the No Hand Hold sign sits right in front of the pilot. Instrumentation and signage remain very clear whatever the level of zoom and the realistic wear and tear continues throughout the cockpit.
Using the manual diagrams to move around the cockpit from left to right it is clear that the developers have worked hard to create a very accurate reproduction of the interior of the aircraft. The signal pistol stowage case is a good example of this as it could easily have been ignored but is presented in detail as a zipped case along with the pistol mount on the side of the cockpit wall which can be toggled on and off.
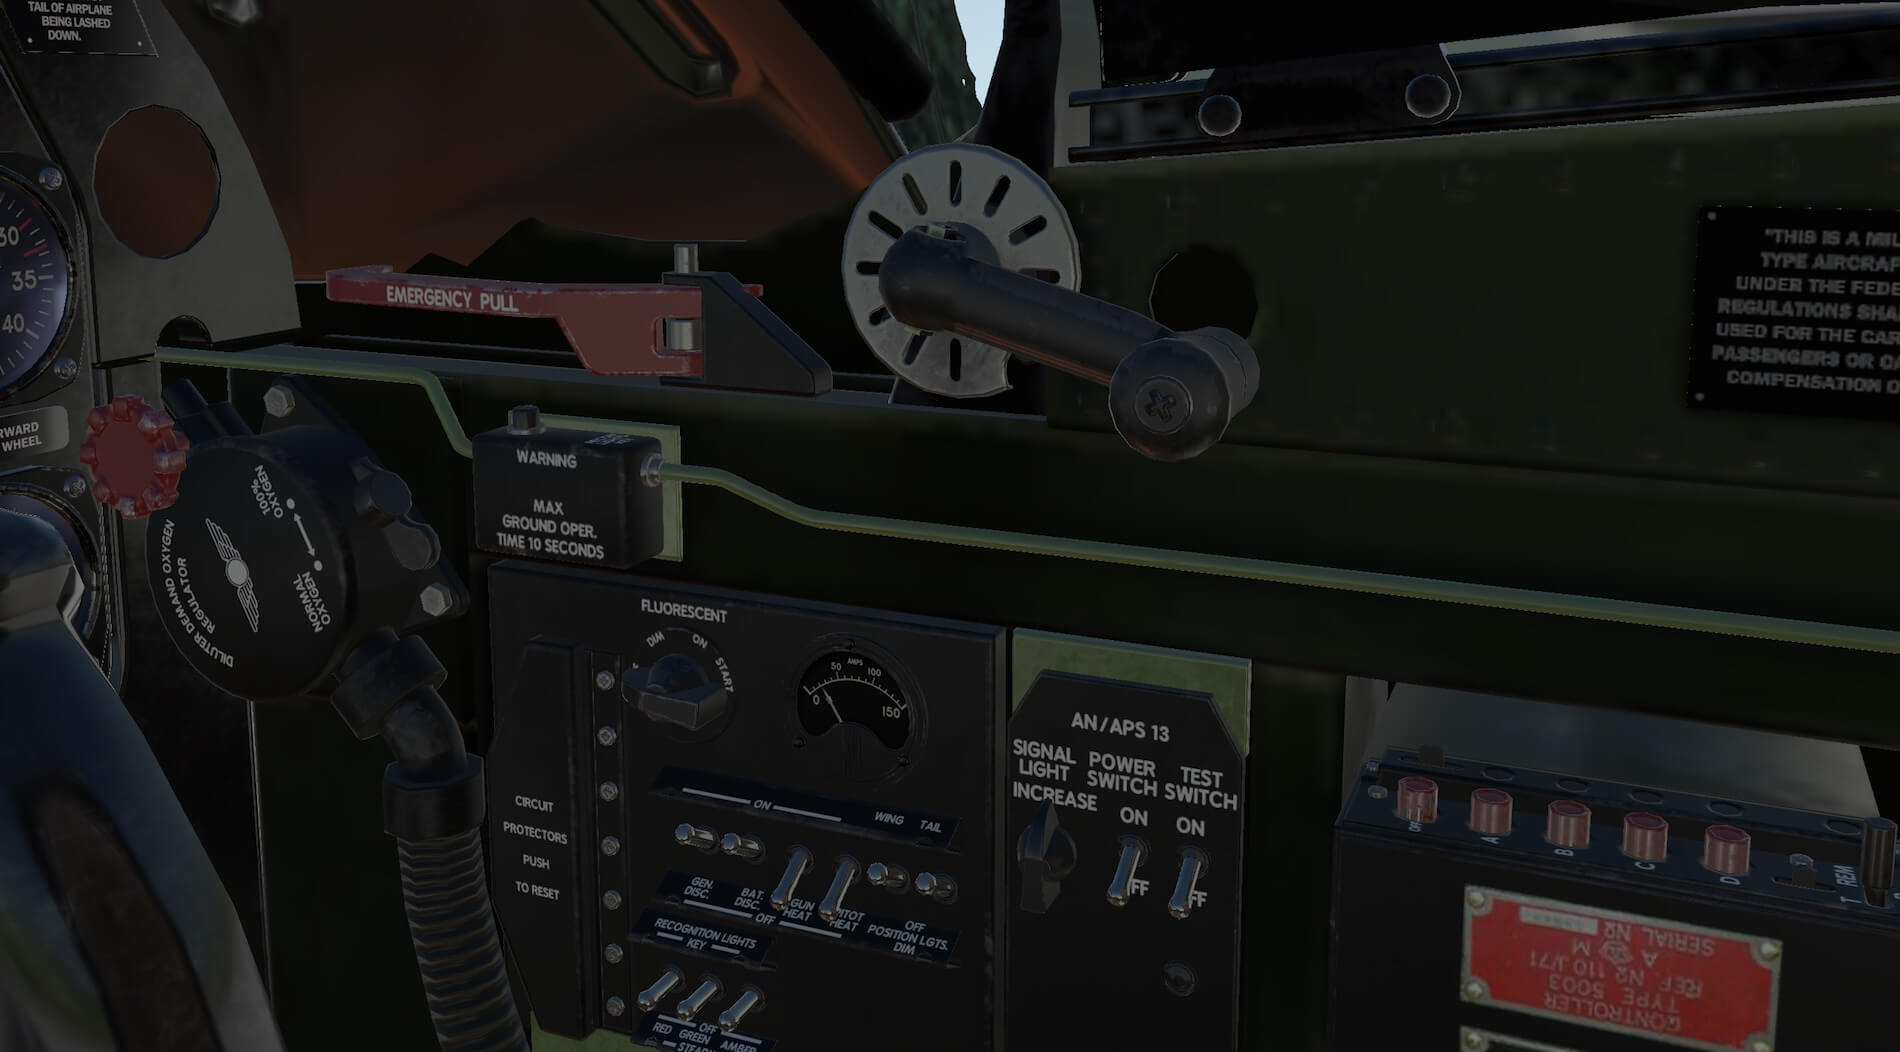
The aircraft restriction and serial plates are legible, fixed to the cockpit wall. Trim tab controls are modelled and move in a convincing way. The finishes on the different surfaces, instruments and controls are varied and realistic with clear and legible markings and the light and reflections work across them to add depth to their appearance.
All of the switches modelled move and create an authentic action, for example the bomb salvo release switches also release the fuel drop tanks and there is a modelled notice in the aircraft stating this fact. Whilst checking these lower switches and levers it is worth noting the modelled wooden floor with wear marks and the foot pedal with instructions to release the parking brake.


Moving to the instrument panel this too is detailed and realistic. The instruments, dials and levers all show signs of wear and tear and fit with the character of the aircraft. Just about every switch and lever is operable and the various instrument settings can be adjusted. Colours are convincing and all writing and numbers are clearly legible.
Light and reflections on the glass of instruments and the cockpit canopy work well and colours outside the aircraft are vivid and authentic. The view through the front cockpit panel is filled with the engine cowling and propellor.
The annotation on the cockpit diagram is very useful as the instrument panel is so well equipped. I could not find a way to hide the joystick but it can be moved by the mouse or the users own joystick to give a clear view of the panel. Looking back in to the cockpit from outside the two different pilot figures can be viewed, one from WW2 and one from the 50s to cover the Korean war. Both are created to a high standard with appropriate clothing and equipment.


Back in the cockpit the right hand panel can be viewed using the diagram in the manual as guidance. Most switches are modelled to work and those that do not remain very convincing and are marked as not simulated in the manual.
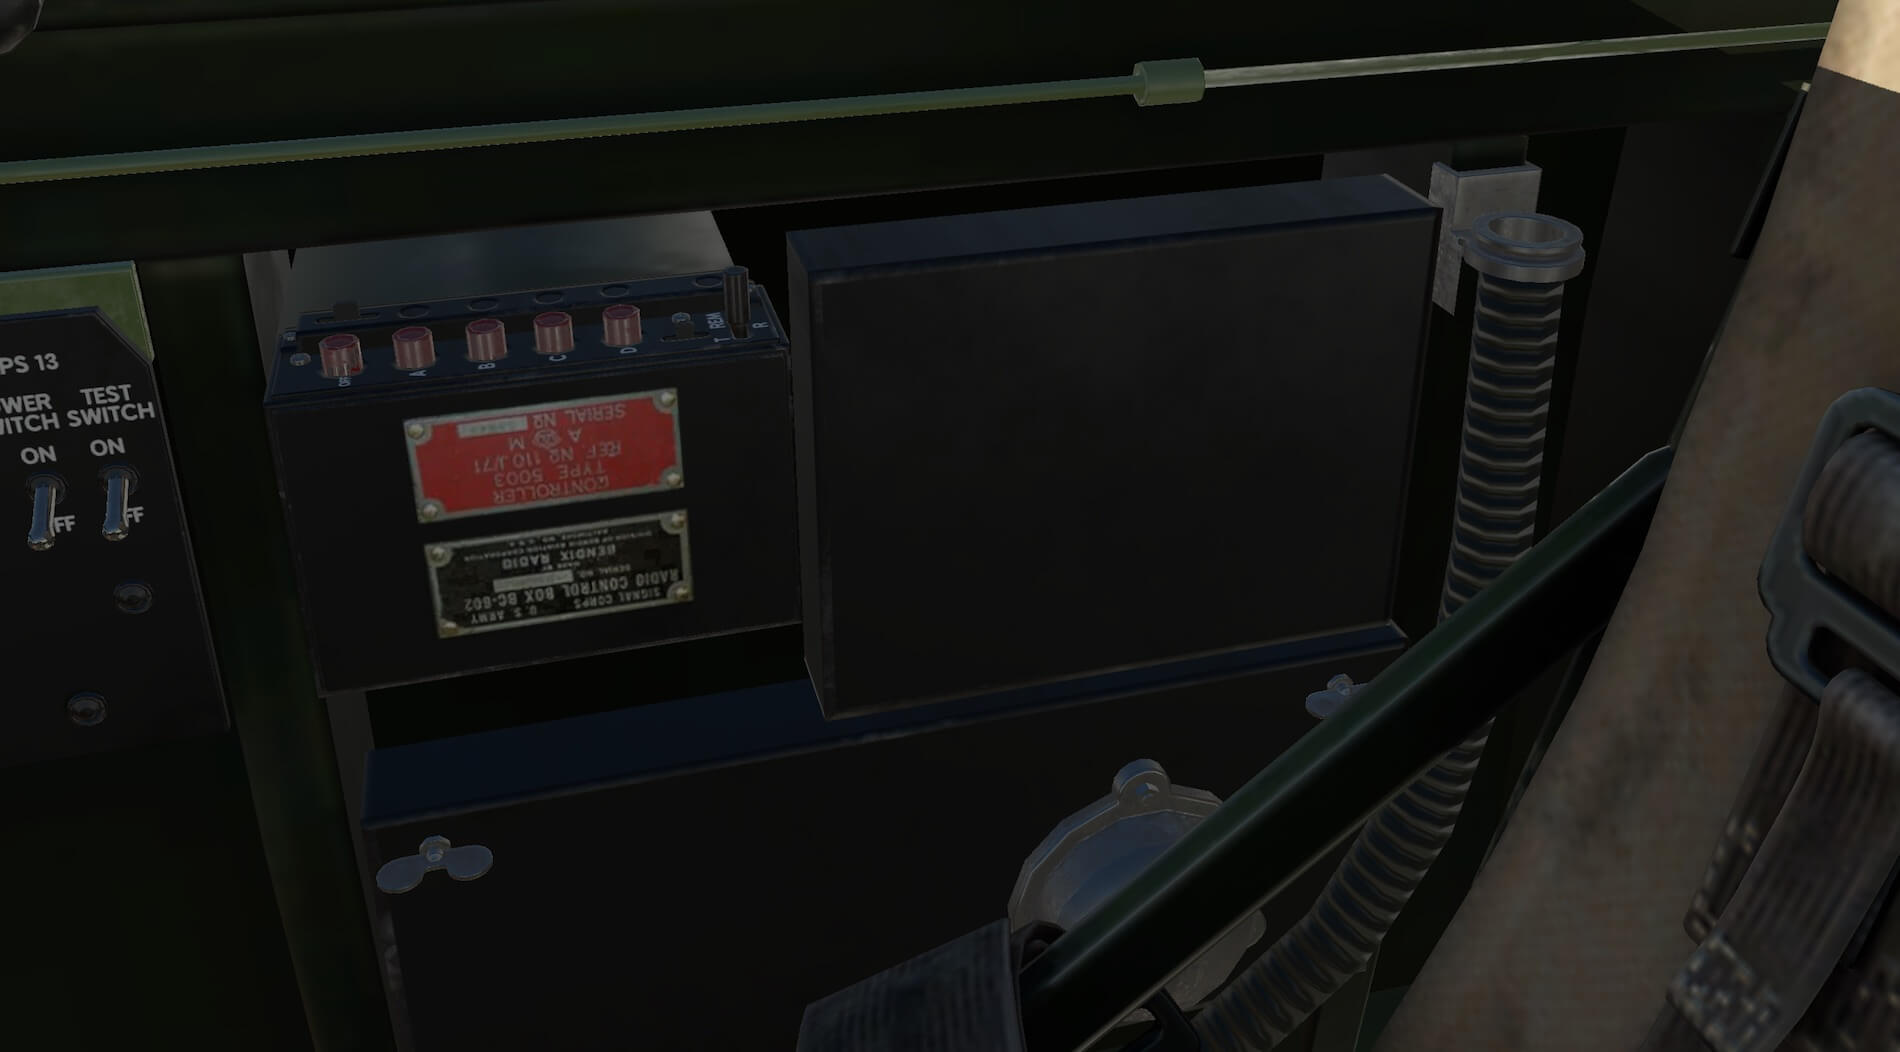
Switches for lighting and pitot heat are available and the canopy can be opened and closed with the working winding handle. The radio control box is modelled and when clicked it pops out as the xVRbox which has its own diagram page in the manual as mentioned earlier. The interior behind the seat is well modelled with electronics and fuselage frame visible.


The interior of the aircraft is created to meet the high standards set by the exterior. Whilst this is an older aircraft and it could be assumed the cockpit would be quite simple this model has a large amount of detail with much of it working simulation.
This does mean that the user would have to keep looking away from the view out of the cockpit to find switches and levers but the developers have used the facility within X-Plane, to create joystick and keyboard settings for different aircraft, to a good extent and going into keyboard settings reveals a Skunkcrafts section allowing many of these functions to be completed with the users own hardware.
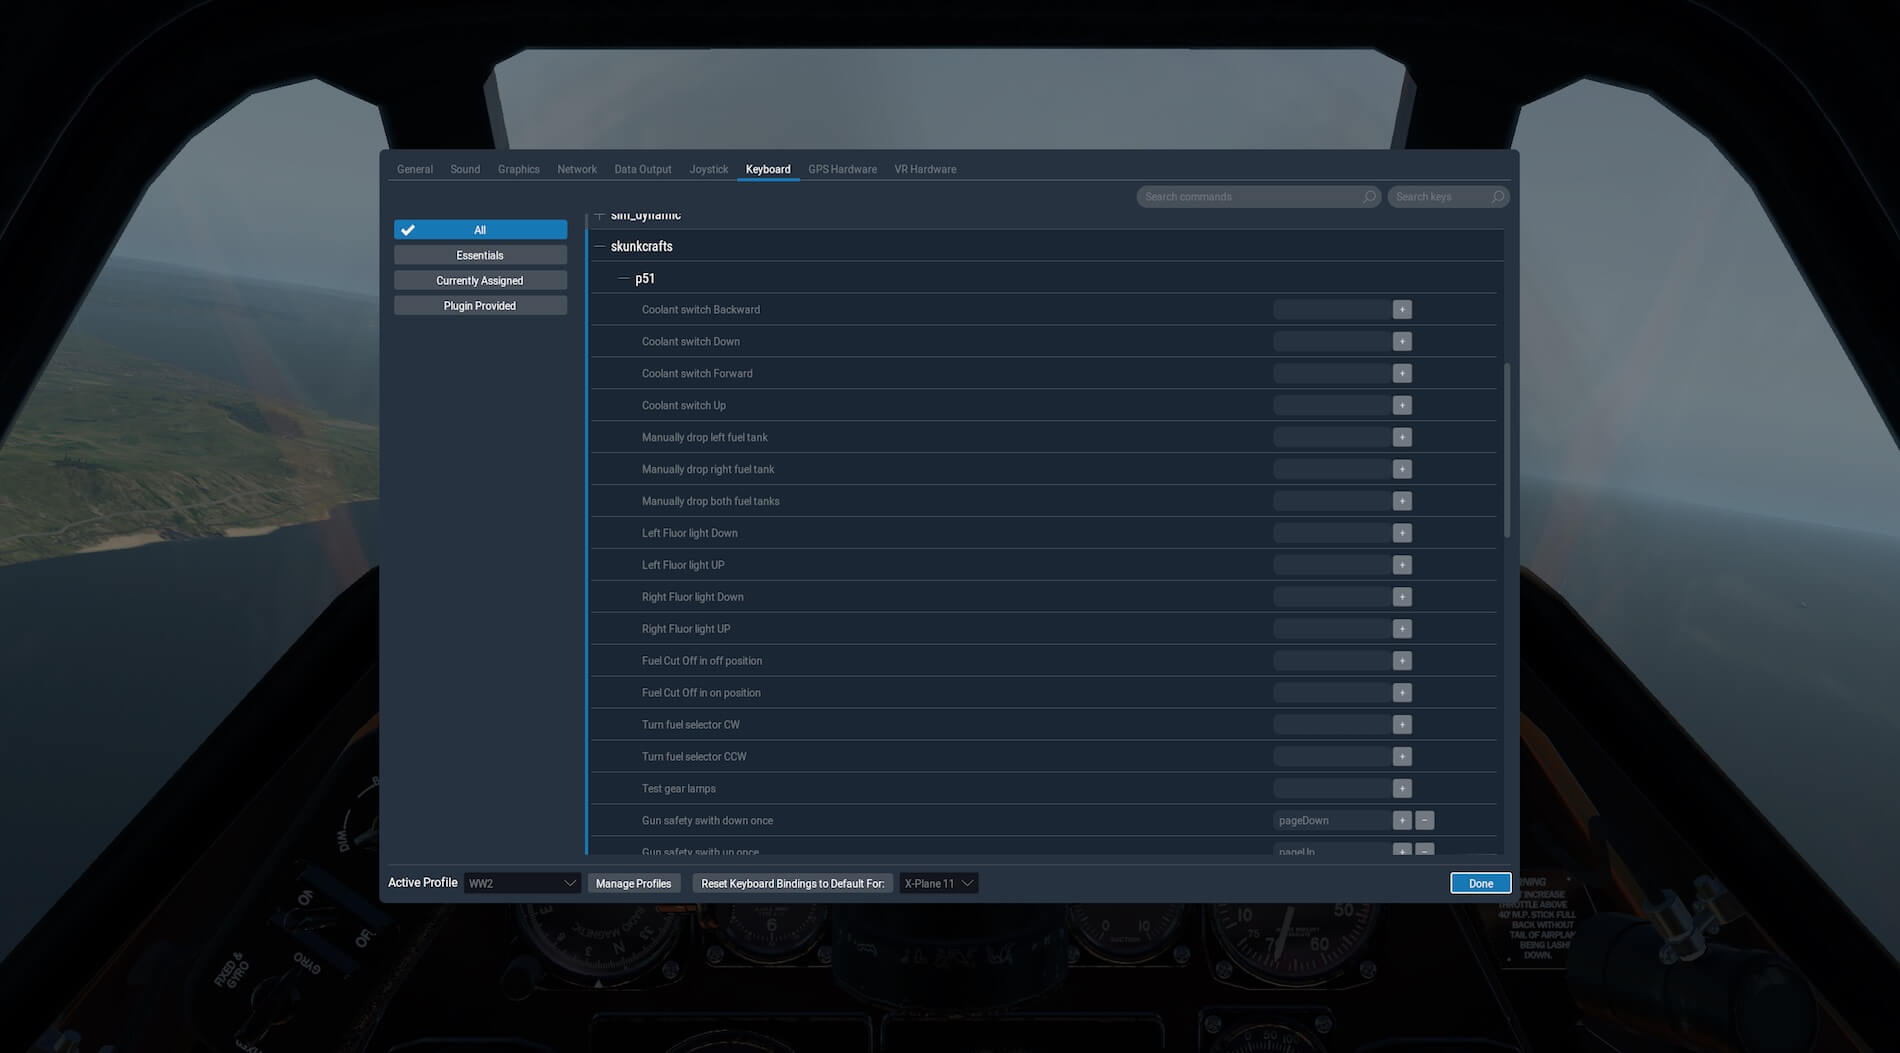
36.png
This is very much a matter of personal preference and I will make no further comment on which keys to use.
Sound
The details in the store describe a superior sound system which creates sounds like the real thing with switches, gyros and levers with their own noises. When sitting with the aircraft on the ground the engine gives a throaty roar which increases with intensity as the throttle is increased. Opening the cockpit increases the volume and true to life the engine noise drowns out most other sounds.
Once back in an enclosed cockpit switches, levers and actions have their own noises, with an alarm for the movement of the undercarriage when on the ground, and they add to the detail of the aircraft to create a very immersive experience. In the air there is always the engine tone but other noises accompany turns and manoeuvres ensuring the user knows things have moved from straight and level flight.
Different actions do indeed create their own sounds and the firing of the weapons is accompanied by realistic gun fire. Separate controls for the volume for different aspects of the sound package enable the user to design and customise the whole experience to their own requirements.
Basic Flight Experience
It is possible, though not necessarily easy, to load the aircraft at the end of a runway with the engine running, take off and fly. The difficulty is not with how the model works but because the aircraft sits back on the tail wheel so even travelling down the runway is not straight forward as the only way to keep aligned is to look to the sides at the runway edge. It is difficult then to go through pulling back the stick at the right time to take off smoothly.
Once airborne the model is great to fly with the visibility levels you would expect from a fighter aircraft. The response to control inputs are quick and smooth and the aircraft feels comfortable although it should be remembered this is a high performance fighter aircraft and is sensitive to controls so inputs should be gentle and gradual for regular flight.
The guns can be fired once the safety switch is set correctly and it is possible to see the track of the rounds as well as smoke appearing at the rear of the wings. I did find that my initial joystick settings had the trigger set to” fire selected weapon” and nothing happened. I changed this command to” fire guns” and all went well. The gun safety switch can be set as safe or with sight and camera together or sight and camera with guns.
When using the camera without guns a pop up window appears showing what the camera can see. Landing was even more challenging than taking off as again the view forward is restricted and staying on the runway, especially at a high landing speed, was difficult. It feels like a long time for the tail wheel to drop to the ground and beware of those brakes if you want to preserve the propellor! Once the user has overcome the challenge of take off and landing this is a great model to fly.


I then completed a flight from the apron with engine off, following the manual and check list to complete a flight. The initial checklist covers entering the cockpit and I followed the instructions ensuring the ignition, parking brake, bomb and gun safety switches and landing gear levers were all set correctly.
The next item is to unlock the surface control lock at the base of the control stick and this is modelled but not simulated. I then checked that the remote reading compass, found by referring to the diagram in the handbook, was reading correctly. The next action is to turn the battery-disconnect switch to on, this is on the right hand side of the cockpit, and I checked the landing gear warning lights were working correctly and confirmed the gun sight was illuminating as it should.
I then ensured the battery and generator-disconnect switches were off and closed the canopy. As I was not intending to go night flying at this time I did not carry out that part of the checks.

The next check list is for engine start. Following the check list I ensured ignition was off, mixture control was at idle/cut off and turned the battery-disconnect switch to on. I set the throttle and propellor control as required and ensured the supercharger blower switch was at auto.
I set the oil and coolant radiator air control switches, selected the appropriate fuel tank, switched on the fuel booster, ensuring it was providing the correct fuel pressure, turned the ignition switch to both primed the engine and then started the engine afterwards, making sure the mixture control was set correctly. The engine started after a couple of tries and roared in to life.
The cockpit is so detailed and simulated that it was possible to carry out each of those actions in the modelled cockpit and not use keyboard or joystick commands.


I moved on to the warm up and ground test section of the checklists. I warmed up the engine according to instructions and then checked fuel pressure, wing flaps, visible from the cockpit, radiator air outlet flaps, communication equipment, pressures, amps and magnetos before taking the engine back to idle and ready to taxi.
The taxiing process meant weaving in a zig zag to check ahead and waiting at ninety degrees to the runway to obtain a clear view of other traffic, before entering the runway and ensuring the joystick was in the correct position to steer the tail wheel.

Before take off I set the trim according to the check list, checked control movement, fuel settings, propellor settings, coolant controls, carburettor and canopy before moving to the take off position. I did the final temperature checks, set the flaps, took off the brakes, increased the throttle and took off. It is interesting holding the tail down as speed increases but following the advice I achieved a smooth take off.


The next part of the checklist document I referred to was the climb section. I raised the undercarriage and then the flaps. The check lists covered engine failure during take off but I hoped I did not need to refer to this. Following this the manual provided settings advice for normal flight. The user can go into as much detail as they require through a flight, making this aspect as realistic as possible.
The manual then discusses War Emergency Rating settings for the engine. This allows maximum manifold pressure at which the engine may be used and is designed for use in combat and for a maximum period of five minutes only. There is guidance about the effects of the use of the setting on the life of the engine and the criteria under which it may be used.
The manual then discusses engine failure, stalls, spins and dives and as I did not intend to induce these during this flight it is something I could come back to when I was more used to the aircraft. The information provided is in depth and useful and provides even more realism to flights where these things occur.
There is then further guidance on night flying and lighting the aircraft, which, again, does not apply to this flight.


Before returning to the airfield I used the xVRbox, modelled as the radio control box in the cockpit, which has its own diagram page in the manual. The top section allows for modern communications equipment and allows for separate volume adjustment for Com1/2 and Nav1/2, with individual source selection buttons.
Frequencies can be altered by simulated knobs alongside each of the four frequency displays. The next panel down contains a transponder and controls which are modelled to work. Alongside this is a basic autopilot which allows control of altitude and heading and also pitch with plus and minus buttons to control aircraft pitch.
I switched on the autopilot during the flight and the aircraft reacts to inputs in a smooth and responsive way and using this gives the user chance to look at the cockpit equipment and become more familiar with it in flight. It is a great addition to the model and allows a less experienced user time to create the correct settings and readings within the cockpit. The bottom panel is the settings section.
This allows for a ground power unit, modelled to the period, to be used and also the drop tanks configuration to be changed either on the ground or during a flight. The section also allows for the toggling on and off of reflections and a choice of pilot figures as mentioned earlier.
A failures switch allows for custom failures of engine fire and carburettor icing. A line of buttons across the bottom of the unit allows adjustment of Master, Exterior, Interior, Copilot, Radio, Environmental and Guns volume separately. This is a really clever and innovative way of adding some equipment which helps the user but was not necessarily available to the real pilots at the time.
Modelling this in the same style as the rest of the cockpit and within existing original equipment integrates this very well.


Going back to the checklist the next section was the approach and landing guidance. I set the mixture and coolant and radiator air controls as required selected the interior tank with the most fuel, using the realistically modelled tank selector, and followed instructions for flaps, undercarriage and airspeed.
The landing speed of at least 100 knots felt very quick, especially as I knew that applying the brakes would put the aircraft on its nose, but the aircraft lost speed comfortably on the ground and as I could not see forward once the tail wheel met the ground I continued along the runway by looking sideways until the aircraft came to a controlled stop. I then raised the flaps before taxiing to avoid damage.


I taxied back to the apron and positioned the aircraft ready to switch engines off. Taxiing remained challenging in that the balance of speed and steering, keeping the joystick in a position to control the tail wheel, and a blocked view made the process interesting!
Once at the apron I referred to the next section of the checklists which was stopping the engine. I turned the fuel booster pump to off, ran the engine at 1500 RPM and set the mixture control to Idle/Cut Off.
Finally, I switched the ignition to off and turned the fuel cut off to off. The engine stopped during the process and the low grumble stopped as I watched the propellor stop rotating. This all happened in a very convincing fashion and according to the check list. I followed the final instructions for leaving the aircraft before opening the canopy and leaving the plane.
The flight was totally immersive and to carry out all the actions on the checklist was challenging and made the time very busy. The addition of the autopilot created more time to be able to do these things but on finishing the flight I was left with even more respect for those who flew these aircraft for real, in combat and with limited training. This in itself is a compliment to the developers due to the experience they have created.


Checking the lighting levels for night flight the cockpit is very well lit with the lighting controls simulated to work. Lighting is not harsh but is effective and the different lights have varied colours and intensity and cause shadow and reflections in a very convincing fashion. Both inside and out the model is very impressive in low light.
Summary
It would be easy to imagine that the modelling of a WW2 origin, single seat fighter would be straight forward and with limited detail and equipment. The developers have proved this too be very wrong with a great amount of detail both inside and outside the aircraft and with most of the cockpit switches, instruments, levers and operations simulated to work.
Several useful additions have been created to enhance the flying experience together with a sound package that is easily customised and very realistic. Whilst the model is great to just climb in and fly, with sensitive controls and details such as working guns, it is when the user starts to add more detail and procedures to the flight that it can be seen how challenging these aircraft were and just how much went in to flying them.
Navigation aids are limited in addition to the many dials and equipment that need monitoring. The model reacts well with the surrounding scenery and reflections, shadow and the finish of the aircraft make it impressive in any light level.
A great immersive experience with detail and equipment that put the user in to the era and places them in a great flight in a classic aircraft.
More information about the Skunkcrafts North American P51 Mustang XP11 HD can be found at the dedicated X-Plane.Org store page (https://store.x-plane.org/Mustang-P-51-XP11-HD_p_859.html). As of this writing, the P-51 cost 34.95 USD, works only for X-Plane 11 and the review is based on model version 11.1.2.
Feel free to contact me if you’ve got additional questions related to this impression. You can reach me via email Angelique.van.Campen@gmail.com or to Angelique@X-Plained.com.
With Greetings,
Andy Clarke
| Add-on: | Payware Skunkcrafts P51 Mustang |
|---|---|
| Publisher | Developer: | X-Plane.Org | Skunkcrafts |
| Description: | Realistic rendition of North American P51 Mustang |
| Software Source / Size: | Download / Approximately 867MB (unzipped) |
| Reviewed by: | Andy Clarke |
| Published: | September 28th 2018 |
| Hardware specifications: | - iMac Intel i5 27" - 3.5 GHz Intel Core i5 - AMD Radeon R9 M290X 2048 MB - 16 GB 1600 MHz DDR3 RAM - Logitech Force 3D Pro |
| Software specifications: | - macOS Big Sur 11.x - X-Plane 11.5x (64 Bit) Private Use - A variety of freeware and payware airports |
0 Comments