What’s possible with SketchUp
What’s possible with SketchUp by Marc C. Leydecker a.k.a. Belga12345.
The reason of this article is not only showing his amazing work, but also to trigger my mind after I did some investigation of a payer American airport. Although I can review, I’m not a skilled SketchUp user. Perhaps that will come, but for the moment, I’ve got other priorities. Anyway, I ask Marc the following … “When you don’t have photo real photomaterial as Belga12345 is doing with his small GA airports, then it would be great when you’re able to add something else to the graphics of each building to make them look real. How does this work, how should you do it and what problems can you expect?
As usual, Marc puts a lot of effort and patient in his replies. Just try to follow him and find in-between some awesome SketchUp projects.
I do not know where the people are getting photo textures from or how they get their photos, but for me it’s quite simple … it’s called a camera, then Photoshop and hours of stitching bricks together to create a photorealistic wall.
First of all my building textures are 2048 x 2048 and this gives me 4 times more room compared to others. My texture files are converted to DDS while most of the texture files I’ve seen in other member airports are PNG’s. A DDS file might be larger in size, but the graphics card does not have to convert it! It has been reported that DDS files tax the graphics card 4X less than a PNG.


When you build a texture file, strategy is the key. Many hangars are very similar, thus more than one building can share the same texture file. Do the math, my files might be bigger, but per example for 10 buildings, I only have to throw 3 files in graphics memory. I never wrap textures as indeed stains and weathering would be repetitive thus my 2048 wide texture always covers the full width of the longest building (quite some calculations involved).
NEVER EVER stretch a texture, stretching means distortion (unless it is a calculated stretch) so per example let’s assume your window in the texture is 33 pixels wide, you now want to shrink that to 50%. A computer can not display 16.5 pixels…. hence the texture will have artifacts and will not look sharp. There is a little, but more to than just throwing some textures or pictures in the file or maybe I’m too much of a perfectionist!


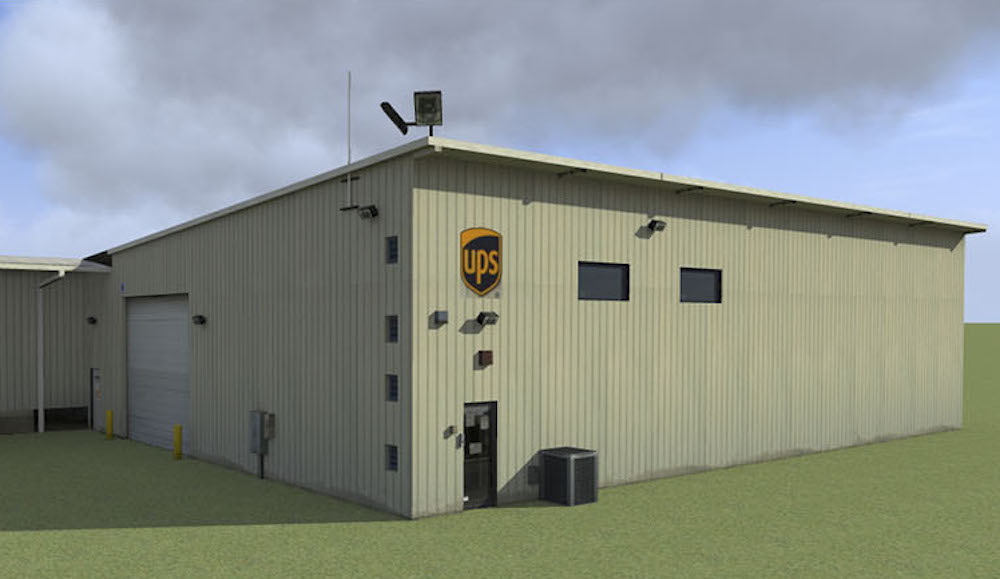
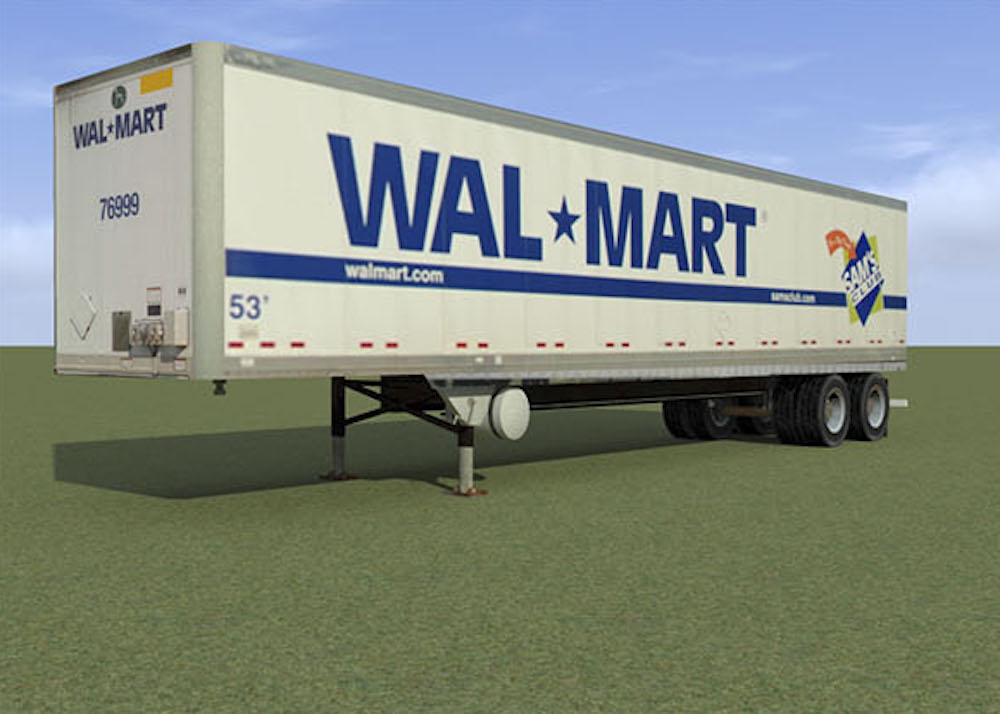
Indeed it is not easy to get always pictures of the actual building at the airport. I always carry my camera with me and build over time a collection of doors, windows, brick, concrete, etc. If you can’t get to an airport, drive to a harbour or industry zone. A metal rollup door is a metal rollup door no matter where you go. Per example each airport has a freight terminal with hundreds of loading ramps. Those loading ramps have standard sizes as the ramp height in US and Western European trucks are standard. I did not drive to the airport but to the back of our local Wall-Mart (Albert Hein) and shot a slew of pictures. The colours of the rollup doors are altered in Photoshop to match the airport buildings (Fedex, UPS, DHL, etc).
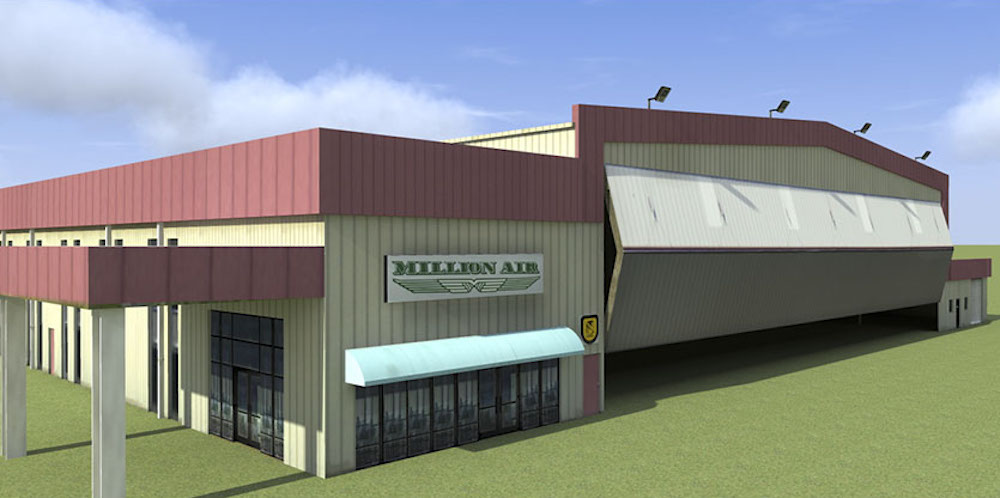
Here another problem or challenge …. roofs.
I do not have a hot air balloon thus you have to be creative. In Europe some high buildings, churches are open to the public. Take your camera and make hundreds of shots of corrugated roofs, asphalt roofs etc. Look at Google Earth and determine what type of roof the airport building has.


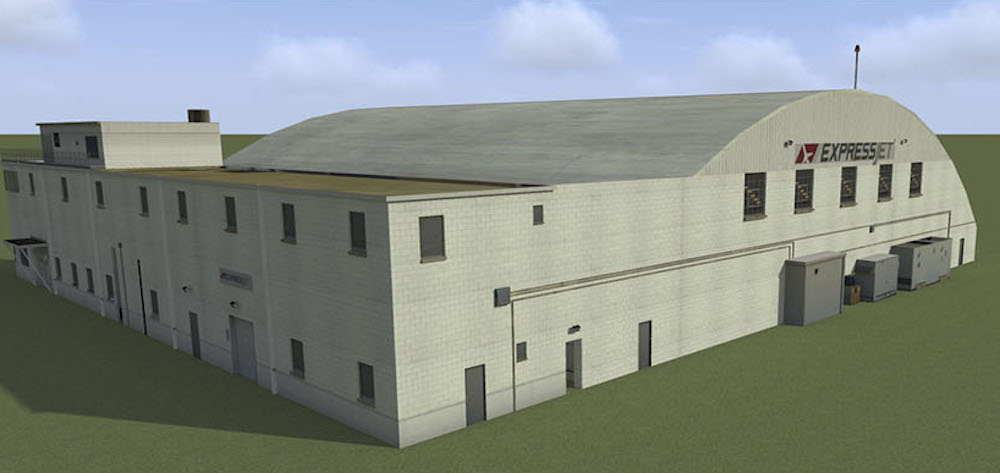
Weathering, an always returning issue.
Details and weathering, just like when you make a diorama with your Airfix or Tamiya models. Weathering is what makes it realistic. I have seen so many nicely modeled airports spoilt by shiny plastic looking grey concrete. Nature is an artist, so use her!
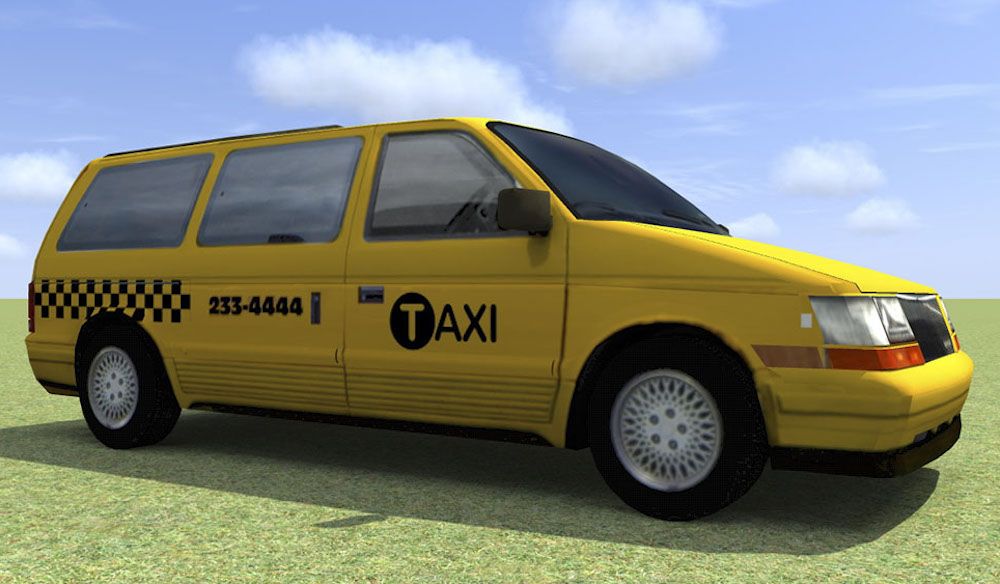
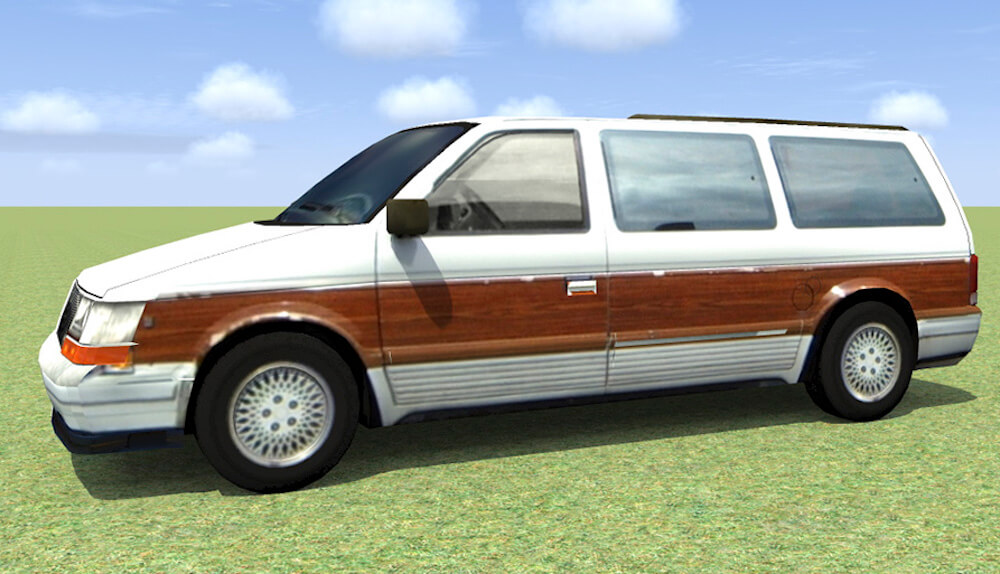
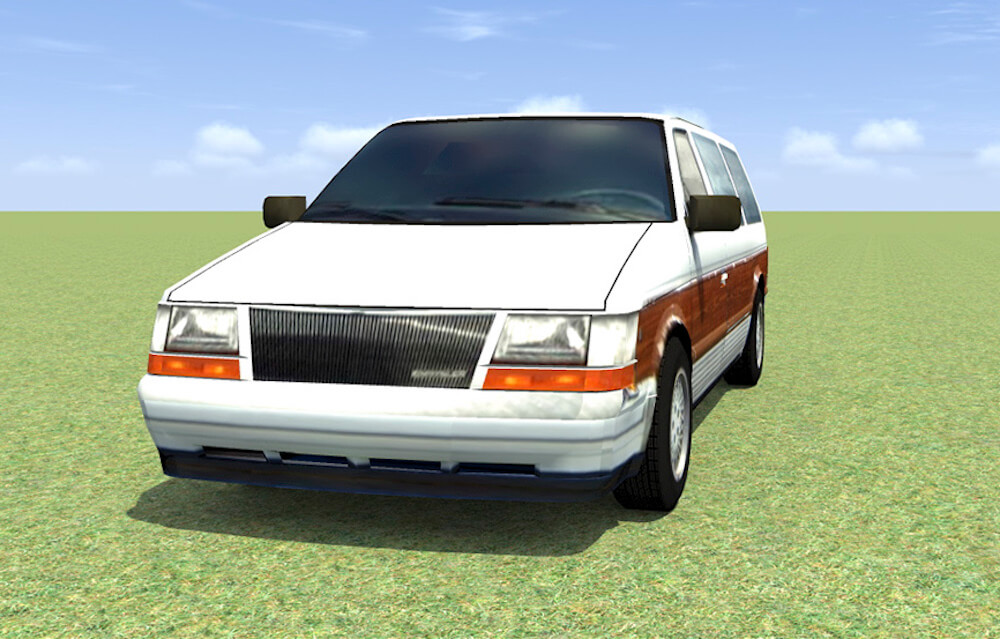
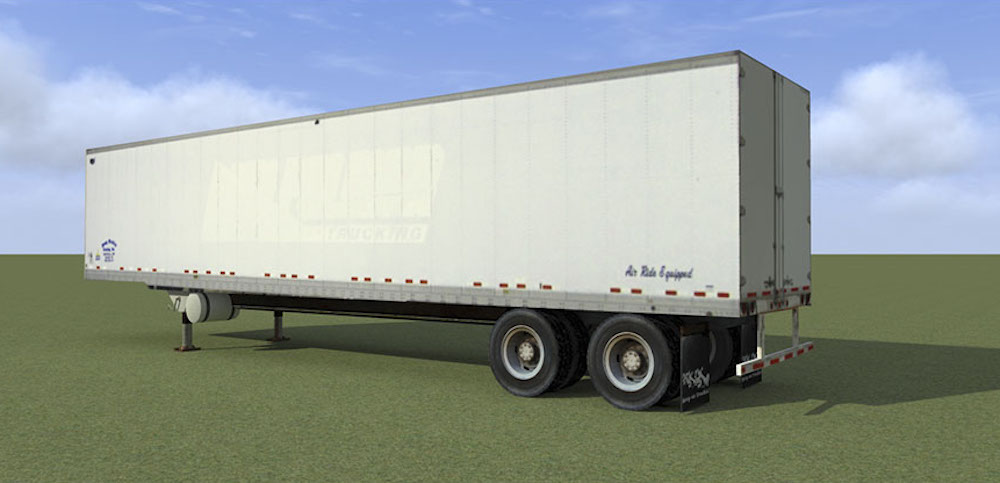
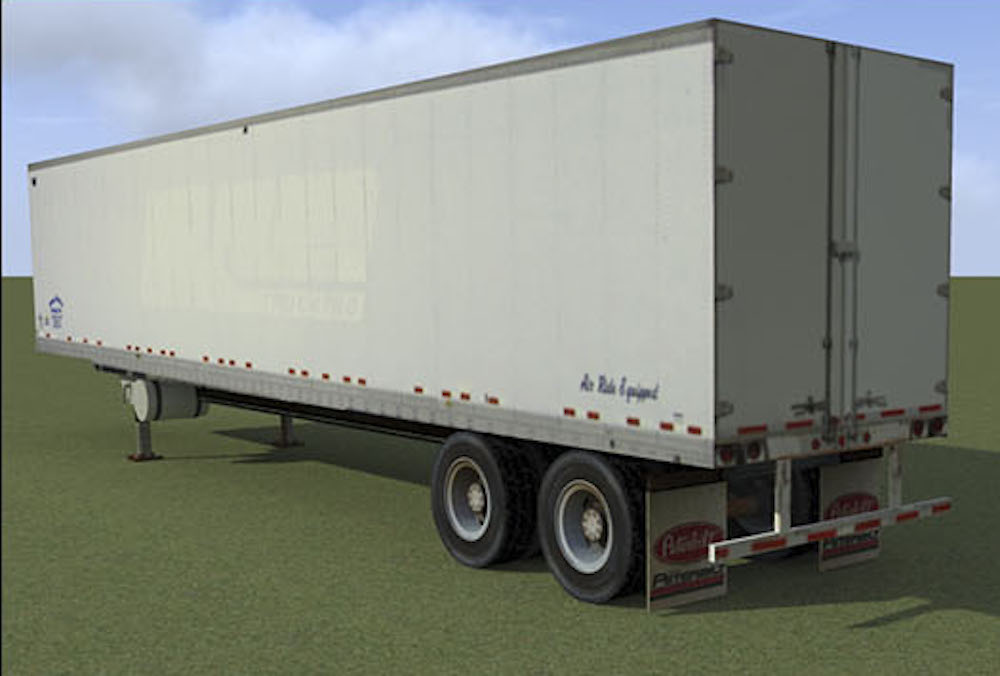
And trucks, cars and vans.
See what’s possible and you hardly believe they are made with SketchUp! Many thanks Marc for letting us sharing your SketchUp skills.


With Greetings,
On behalf of Marc Leydecker, Angelique van Campen
0 Comments